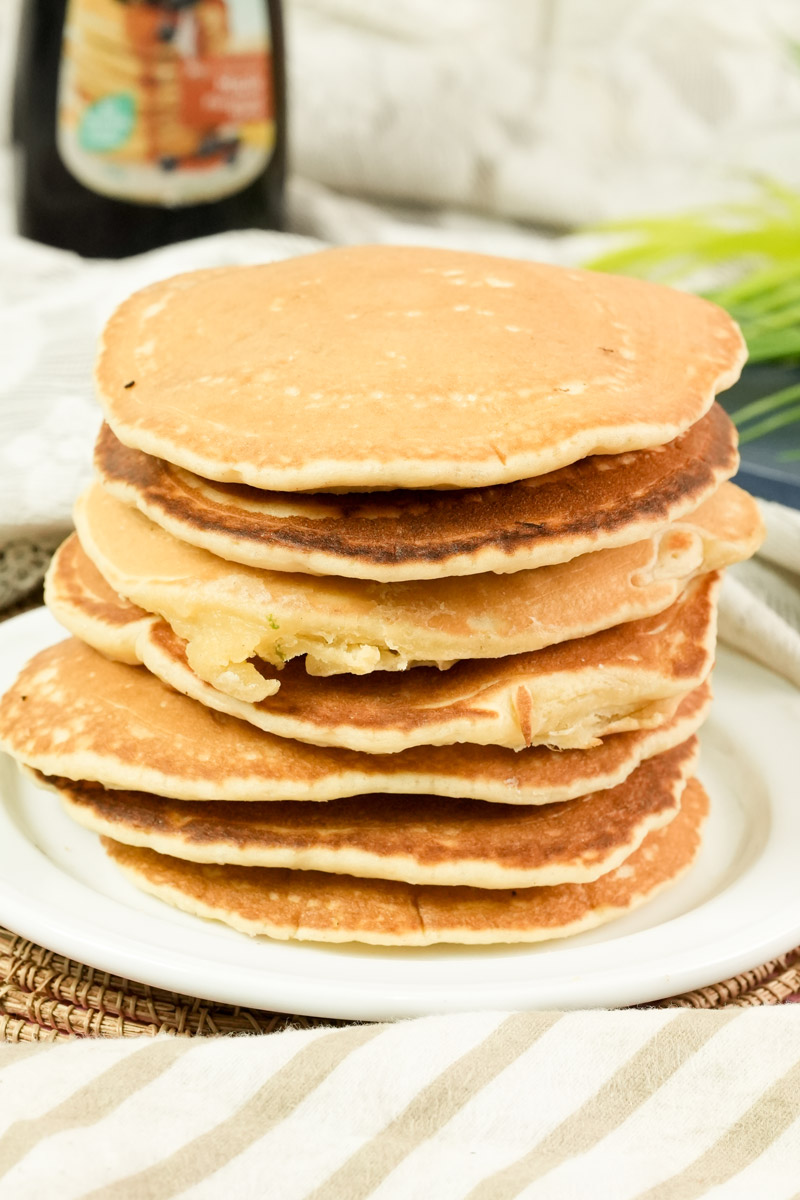
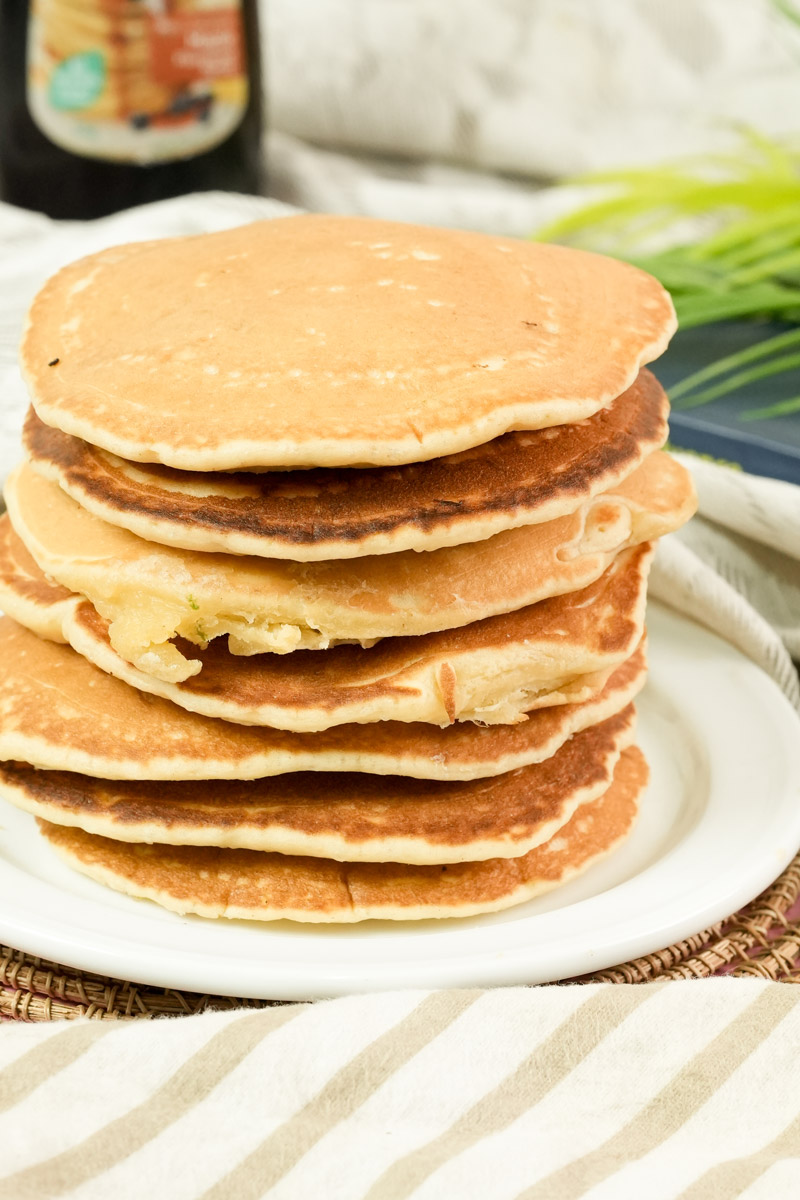
Nothing beats the smell of a hot griddle on a Saturday morning. It’s like a warm hug for your kitchen. Today, we’re making classic American pancakes.
Most cultures have some version of a fried dough. You’ve got fancy French crêpes or savory Korean pajeon. But the American style? That’s all about being tall and thick.
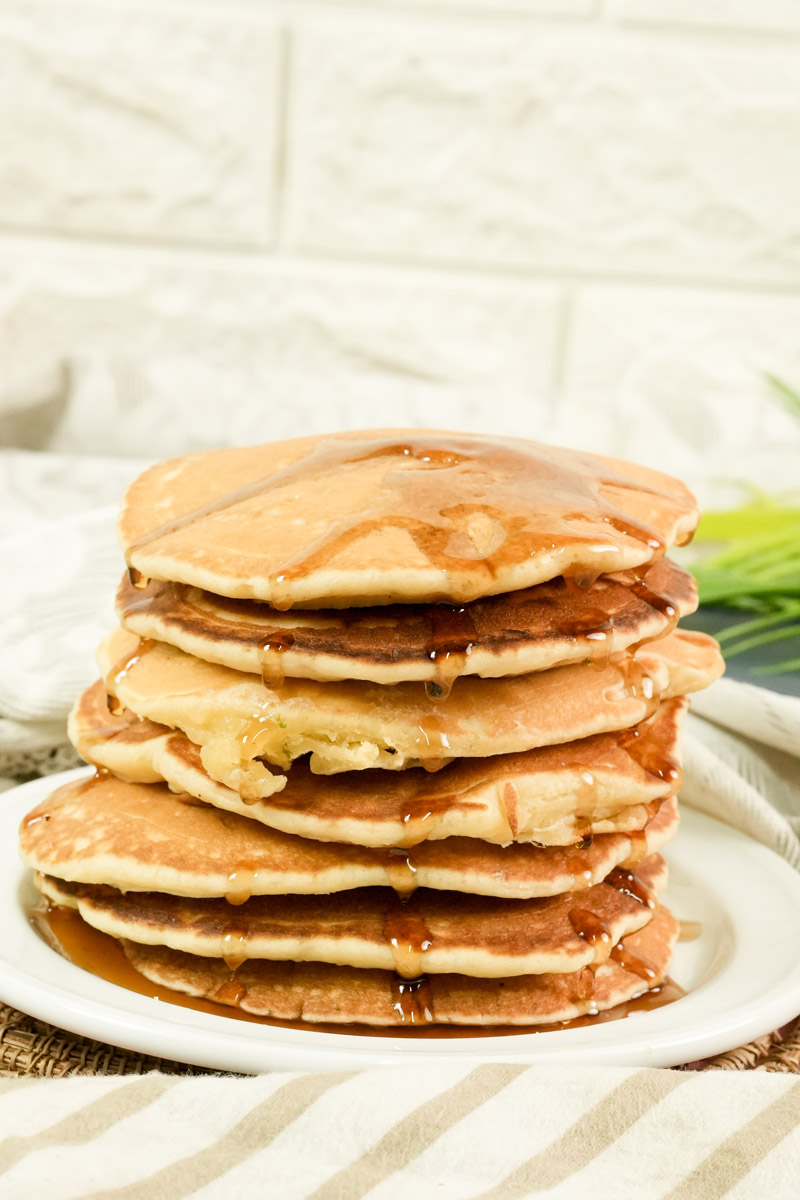
I remember the first time I tried to make these for my family. I over-mixed the batter so much they turned into hockey pucks. I learned the hard way that a lumpy batter is actually your best friend. This recipe gives you that “diner” feel. Think golden, crispy edges and a center like a warm cloud.
It’s simple. It’s fast. You’re about to flip the best stack of your life.
The Game Plan
You don’t need to be a pro chef for this. It takes about 20 minutes from start to finish. I’d call this “Easy” level. It’s a great way to get the kids involved or to survive a sleepy morning.
You’ll need a few basics:
- A large non-stick skillet or flat griddle
- Two mixing bowls
- A whisk
- A thin spatula
If you have a big family, use this table to scale up.
| For This Many People | Flour Amount | Milk Amount | Egg Count |
| 2-3 People | 1 Cup (120g) | 1 Cup (240ml) | 1 Large |
| 4-6 People | 2 Cups (240g) | 2 Cups (480ml) | 2 Large |
| 8-10 People | 4 Cups (480g) | 4 Cups (960ml) | 4 Large |

The Ingredients
Good pancakes start with good stuff. Here is what you need and how to swap things out.
The Dry Stuff
We use all-purpose flour for the bones of the pancake. Pro tip: fluff your flour with a spoon before you scoop it. If you pack it down, your pancakes will be heavy. The “lift” comes from baking powder. If your box has been in the back of the pantry for a year, toss it. Fresh powder is the secret to huge pancakes.
The Wet Stuff
Whole milk makes them rich. But oat milk or 2% works too. I’ve found that oat milk actually browns really well because of the natural sugar. Use a room-temperature egg so it mixes better with the melted butter. Butter gives that savory taste, but vegetable oil makes the edges extra crispy. Don’t skip the salt! It makes the sugar and vanilla taste better.

Step-by-Step: How to Flip Like a Pro
Cooking these is like a dance. You have to watch and listen.
Warm the plate: Set your oven to 200°F. Put a plate inside. This keeps the first batch warm while you finish the rest. No one likes a cold pancake.
Mix dry and wet: Whisk the dry stuff in a small bowl. Whisk the milk, egg, and fat in a big bowl.
The “Well” Method: Pour the dry stuff into the wet stuff. Stir until just combined.
Stop stirring: You should see lumps. If it’s smooth, you messed up. Over-mixing makes them rubbery. Stop when the white flour streaks are gone.
Heat the pan: Set it to medium. Flick a drop of water on it. If it dances and sizzles, you’re ready. Wipe the pan with a tiny bit of oil on a paper towel.
The Pour: Use about 3 tablespoons of batter per cake.
The Wait: Look for bubbles. When they pop and stay open like tiny craters, it’s time. The edges should look dry, not shiny.
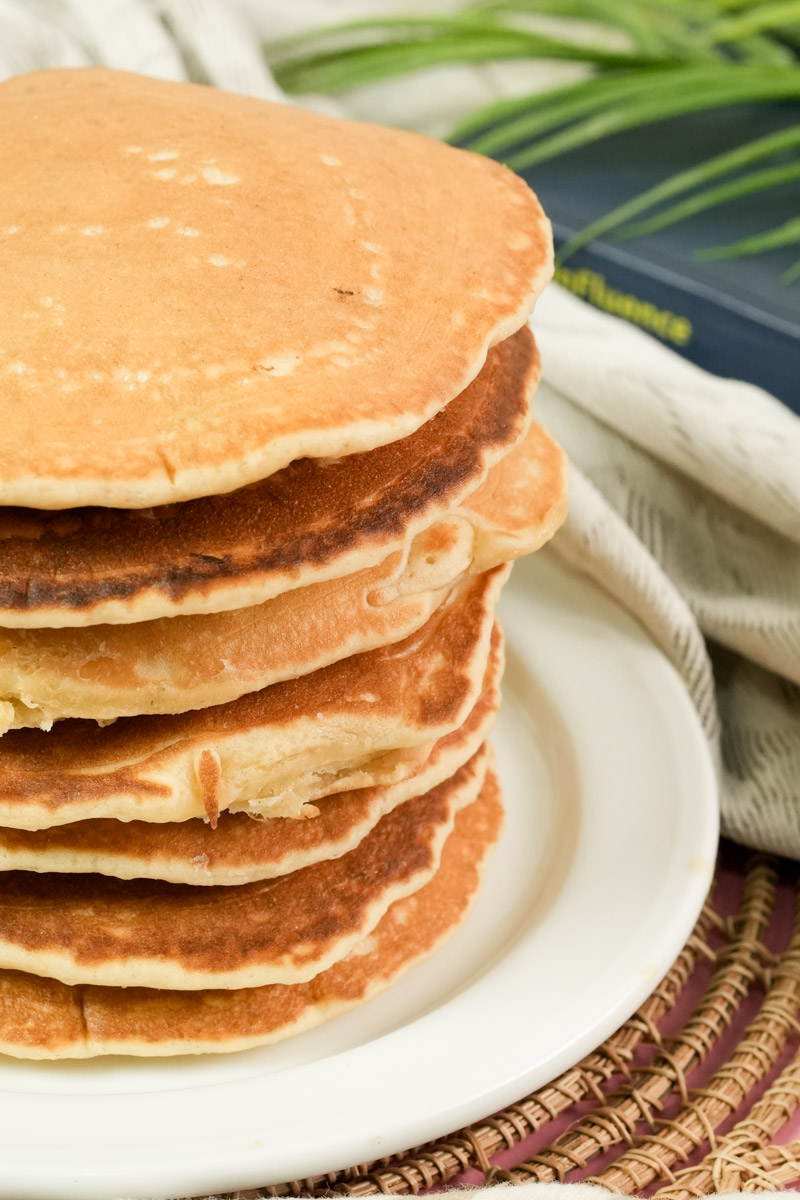
The Flip: Slide the spatula under and be confident. Flip it! It should be a pretty mahogany gold.
The Finish: Cook for another minute. Poke the middle. If it springs back, it’s done.
Make It Your Own
The best part about this recipe is how easy it is to change.
- Gluten-Free: Use a 1-to-1 baking flour. It works great because the batter is already thick.
- Vegan: Use a “flax egg” (1 tbsp ground flax + 3 tbsp water) and plant milk with a splash of vinegar.
- Add-ins: Throw in blueberries or chocolate chips. For a cozy vibe, add some cinnamon and nutmeg.
- The Crunch: Sprinkle a little sugar on the raw side right before you flip. It turns into a sweet caramel crust.

Saving Some for Later
If you have leftovers, you’re in luck. These are great for meal prep. It’s like having a homemade toaster pastry.
- Fridge: Keep them in a sealed container for 3 days.
- Freezer: Put parchment paper between each one so they don’t stick. Wrap them in foil and toss in a freezer bag. They stay good for 2 months.
- Reheating: Don’t use the microwave. It makes them soggy like a wet sponge. Use the toaster instead. It makes the edges crunchy again.
Would you like me to help you find some cool topping ideas or a recipe for a quick fruit syrup?
PrintAmerican Pancakes
Who doesn’t love the smell of a hot griddle on a Saturday morning? This recipe is my go-to when I want that classic “diner-style” breakfast—thick, golden, and incredibly soft. These aren’t your average flat pancakes; they’re tall and cloud-like, but simple enough to whip up even if you’re still half-asleep.
- Prep Time: 10 mins
- Cook Time: 10 mins
- Total Time: 20 mins
- Yield: 2–3 people 1x
- Category: Breakfast
- Cuisine: American
Ingredients
- 1 Cup (120g) All-purpose flour
- 1 Cup (240ml) Whole milk
- 1 Large Egg
- 2 Tbsp Butter (melted) or vegetable oil
- 2 Tbsp Sugar
- 2 Tsp Baking powder
- 1 Pinch Salt
Instructions
- Prep your “warm nest”: Heat your oven to 200°F (90°C). Put a plate inside. This keeps the first pancakes warm while you finish the batch.
- Mix the dry stuff: In a small bowl, whisk the flour, sugar, baking powder, and salt.
- Mix the wet stuff: In a larger bowl, whisk the milk, egg, and your choice of melted butter or oil.
- The “Well” Method: Pour the dry ingredients into the wet ones. Stir until just combined. Stop immediately when the flour streaks disappear. Lumps are good—over-mixing makes them rubbery!
- Heat the pan: Get your skillet to medium heat. Flick a drop of water on it; if it sizzles and dances, you’re ready. Lightly oil the surface.
- The Pour: Spoon about 3 tablespoons of batter per pancake.
- The Wait: Watch for bubbles. When they pop and stay open like tiny craters, and the edges look matte, it’s time to flip.
- The Flip: Slide your spatula under and flip in one confident motion. Cook for 1-2 more minutes until the center feels springy.
Notes
Serving Suggestions
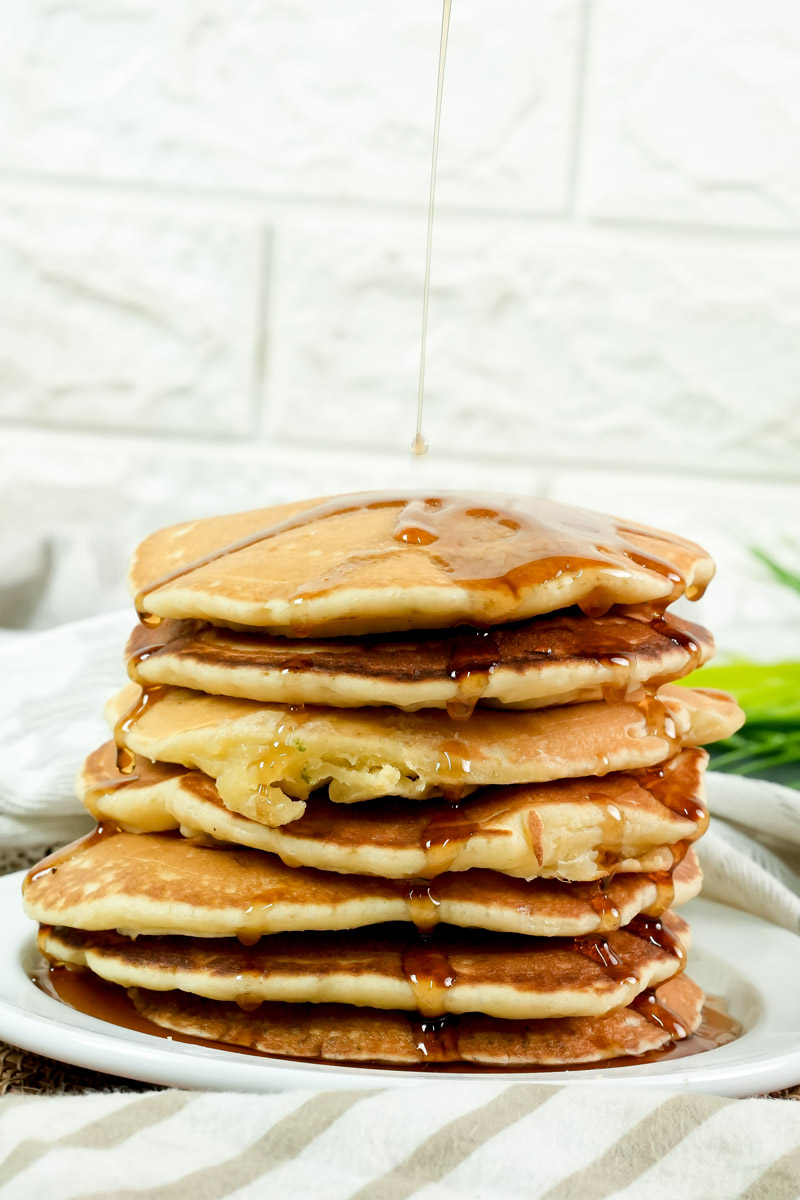
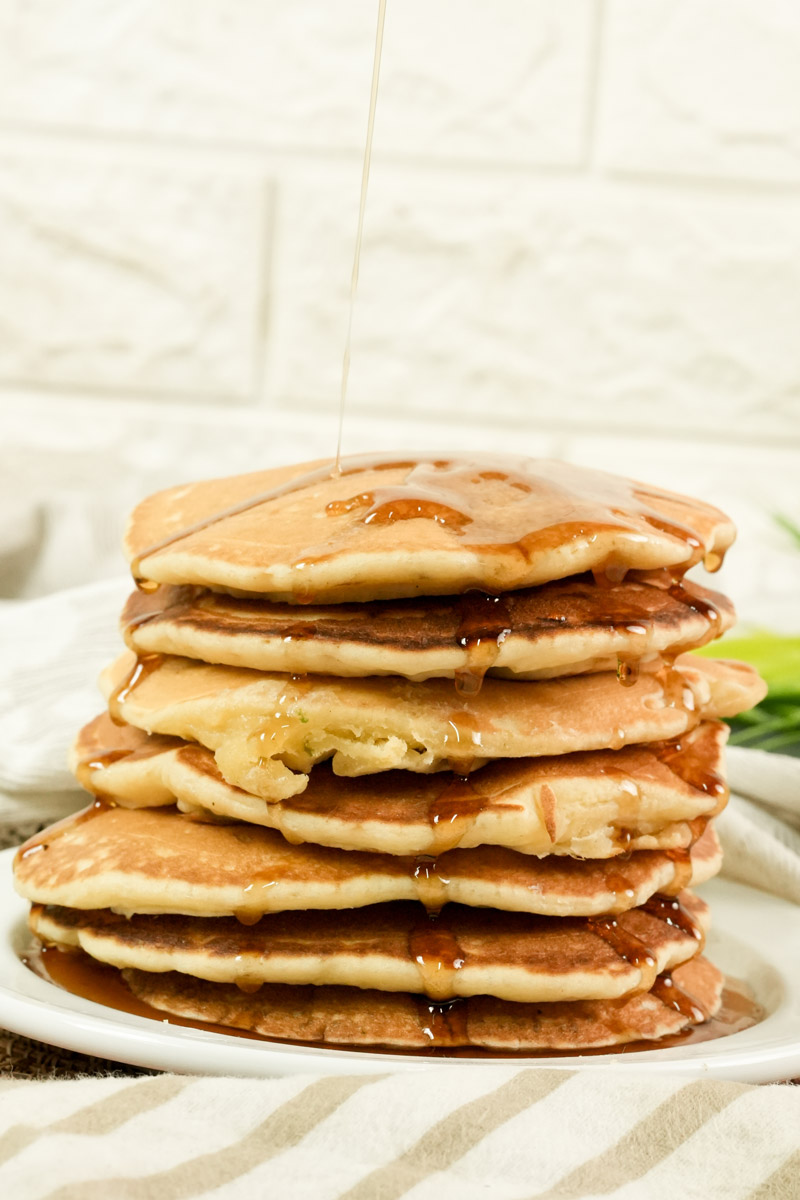
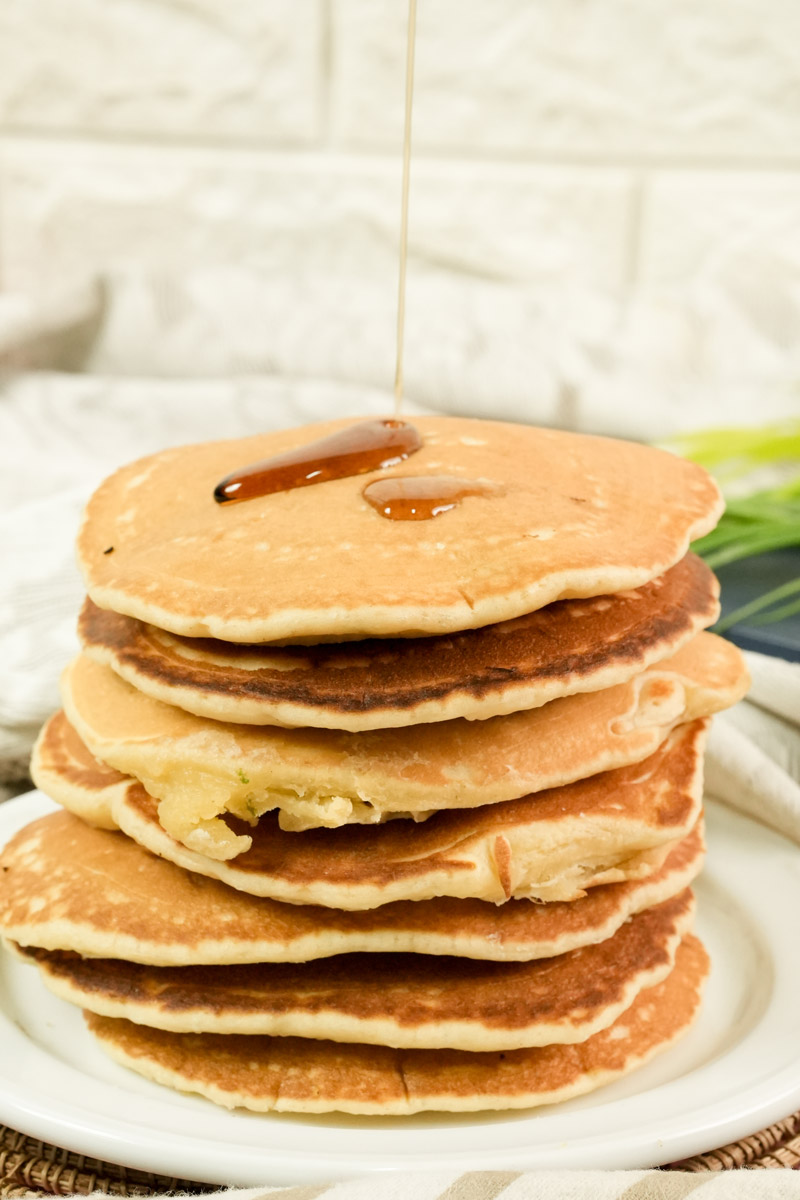
- The Classic: A big pat of salted butter and real maple syrup.
- The Fancy: Top with Greek yogurt and a little lemon zest to cut the sweetness.
Tips & Tricks
- Fresh is Best: Make sure your baking powder isn’t older than 6 months. It’s the secret to that “sky-high” rise.
- The Crunch: For a diner-style crust, sprinkle a tiny bit of sugar on the raw side right before you flip.
Storage & Reheating
- Store: Keep in an airtight container in the fridge for up to 3 days.
- Freeze: Stack with parchment paper between them and freeze in a bag for 2 months.
- Reheat: Use a toaster! It keeps the edges crisp. Avoid the microwave, or they’ll get soggy.