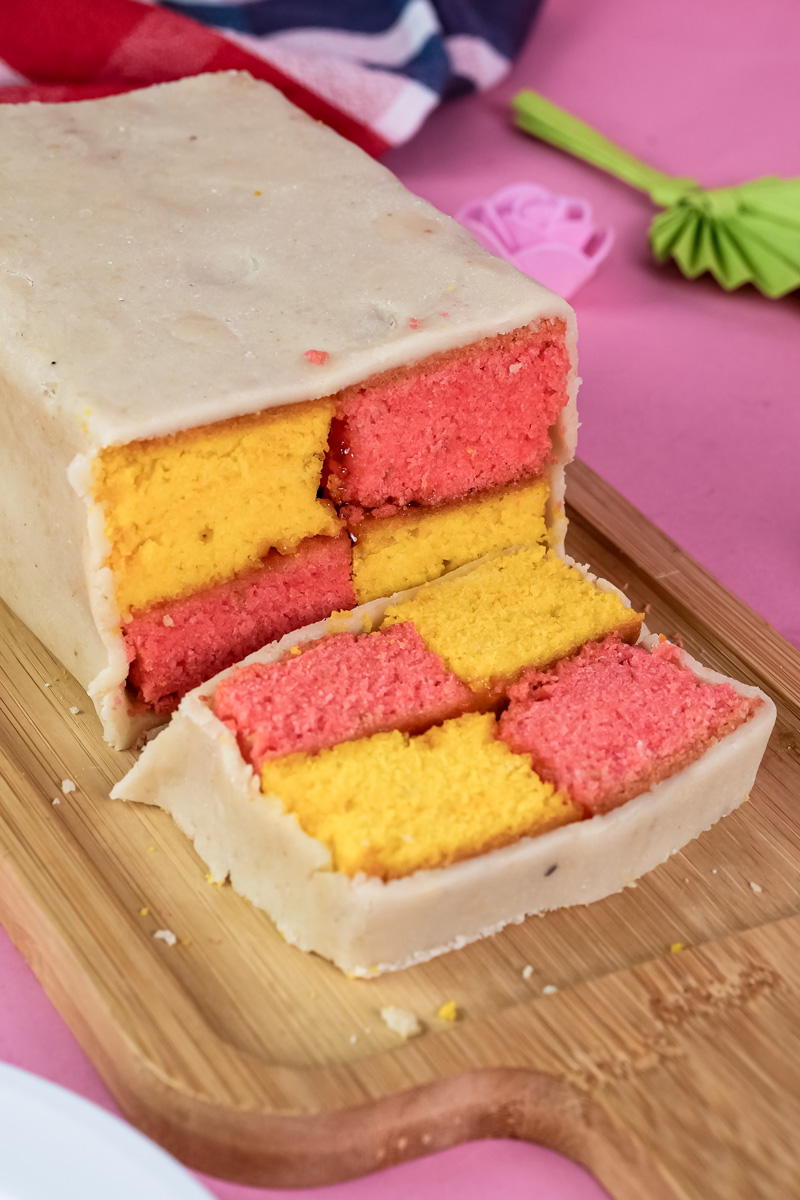
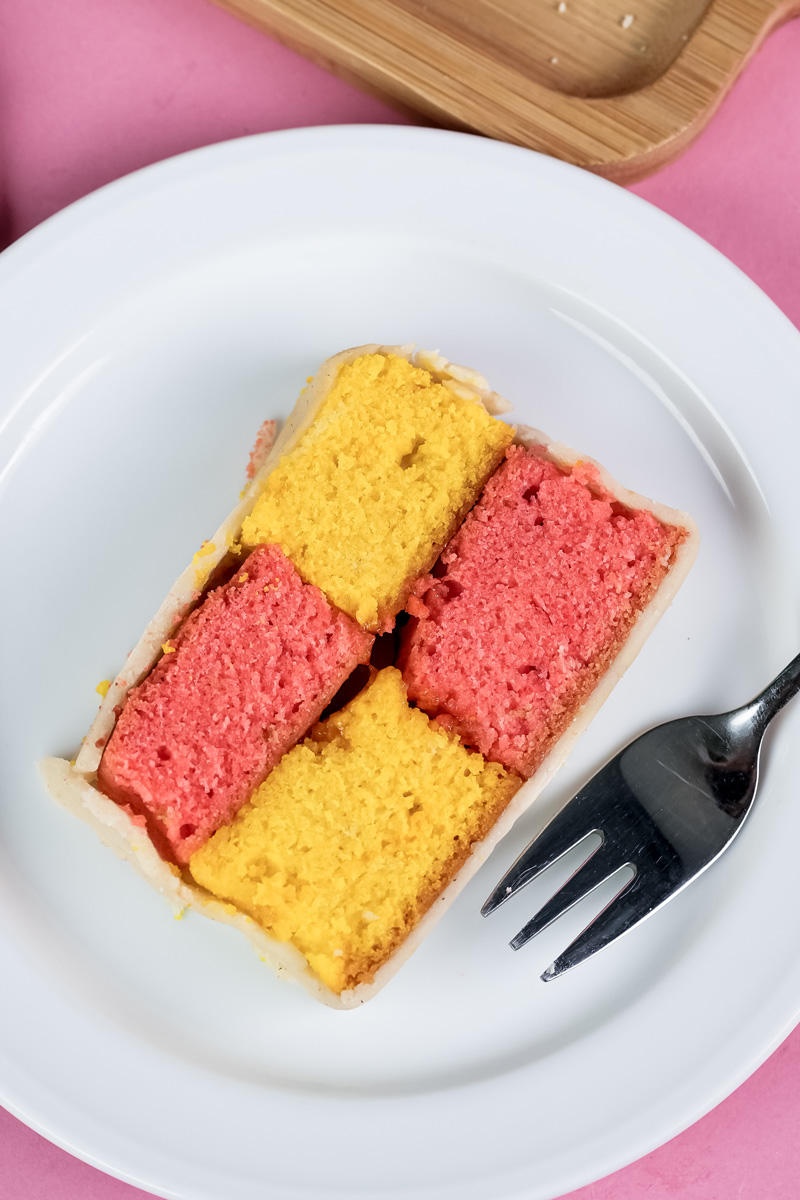
Hey friends! Today I want to share one of my favorite baking projects: the beautiful Battenberg Cake. If you’re like me and have always been charmed by that perfect pink and yellow checkerboard, all wrapped up in a cozy layer of marzipan, then you’re in the right place.
This cake looks like a work of art, but it’s surprisingly straightforward to make at home.
And here’s a fun little fact for you. The story goes that this cake was first made way back in 1884 for a royal wedding! The four squares were said to represent the four princes of Battenberg. So, when you’re baking this, you’re not just making a cake; you’re taking part in a tradition that’s over 100 years old. Pretty neat, right?
The best part about the recipe I’m sharing today? It makes two full cakes.
That makes it perfect for sharing. You can bring one to a party and keep the other for yourself. Or gift one to a neighbor. Trust me, the first one will disappear faster than you think!
So, grab your apron, and let’s get baking.
What to Expect
Before we jump in, let’s get a quick overview of what’s ahead. This will help you feel organized and ready to go.
- Time Commitment: You’ll need about 40 minutes to get everything ready and 30 minutes for baking. The total time is around 1 hour and 40 minutes, but a good chunk of that is just hands-off cooling time!
- How Much It Makes: This recipe makes two full cakes, which gives you about 20-22 slices. If you only want to make one, no worries! I’ve included a handy table at the end to scale everything down.
- Difficulty: I’d call this a fun weekend project. It’s not technically hard, but it does take a little bit of care to get that neat checkerboard look. But I’ll share all my best tips to make it easy.
A Few Key Tools
You don’t need a professional kitchen, but a few items will make this process much smoother. I’ve also listed some common substitutes you can use.
| Essential Equipment | Possible Substitutes |
| Stand Mixer with Whisk | A handheld electric mixer works great. Or a whisk and some elbow grease! |
| Two 20cm (8-inch) Square Tins | You can use one tin and bake the cakes one after the other. |
| Digital Kitchen Scales | I really recommend using scales to get even cake layers. It’s a big help. |
| Baking Parchment | Greaseproof paper will do the job too. |
| Wire Cooling Rack | Any flat, ventilated surface, like an oven rack, will work in a pinch. |
| Sharp Knife & Ruler | A long, sharp knife is key. The ruler is your best friend for precision! |
| Small Saucepan | A microwave-safe bowl also works for warming the jam. |
The good news? You can totally break this up. Bake the sponge cakes a day ahead. Once they’re completely cool, just wrap them tightly in plastic wrap and store them on the counter. Then you can do the fun assembly part whenever you’re ready.

Gather Your Ingredients
The magic of a Battenberg is in its simple ingredients. Let’s walk through what you’ll need.
For the cake itself, the foundation is 360g of very soft unsalted butter. And when I say very soft, I mean it. It should be easy to spread, almost like mayonnaise. This helps create a super smooth batter. You’ll also need 350g of golden caster sugar—I love the hint of caramel it adds, but regular fine sugar is fine too.
The structure comes from 280g of self-raising flour and 100g of ground almonds. This combo is my secret weapon. The flour gives it a classic cakey feel, while the ground almonds make it incredibly moist and tender. A single teaspoon of baking powder gives it that extra little bit of lift.
To bind it all together, you’ll need 6 medium eggs, preferably at room temperature. For flavor, grab 1 teaspoon of vanilla extract and ½ teaspoon of almond extract. The almond extract really makes the cake pop!
And for those famous colors? You’ll need yellow and pink food colouring gel. I really recommend using a gel (like from Wilton or another brand) instead of liquid colouring. Gels are super concentrated, so you get a bright color without watering down the batter.
For assembly, you’ll need two 500g blocks of yellow or white marzipan and about 300g of apricot jam. This jam is the yummy glue that holds our checkerboard together. Finally, have about 1 cup of confectioners’ sugar ready for dusting.

Okay, Let’s Bake!
Ready to get your hands dirty? Just follow these steps.
Part 1: Making the Sponge
First things first, preheat your oven to 180°C (350°F) for a fan oven.
Next, let’s get the tins ready. Line two 20cm square tins with baking parchment. A little trick I use is to dab a bit of butter on the tin first—it helps the paper stick.
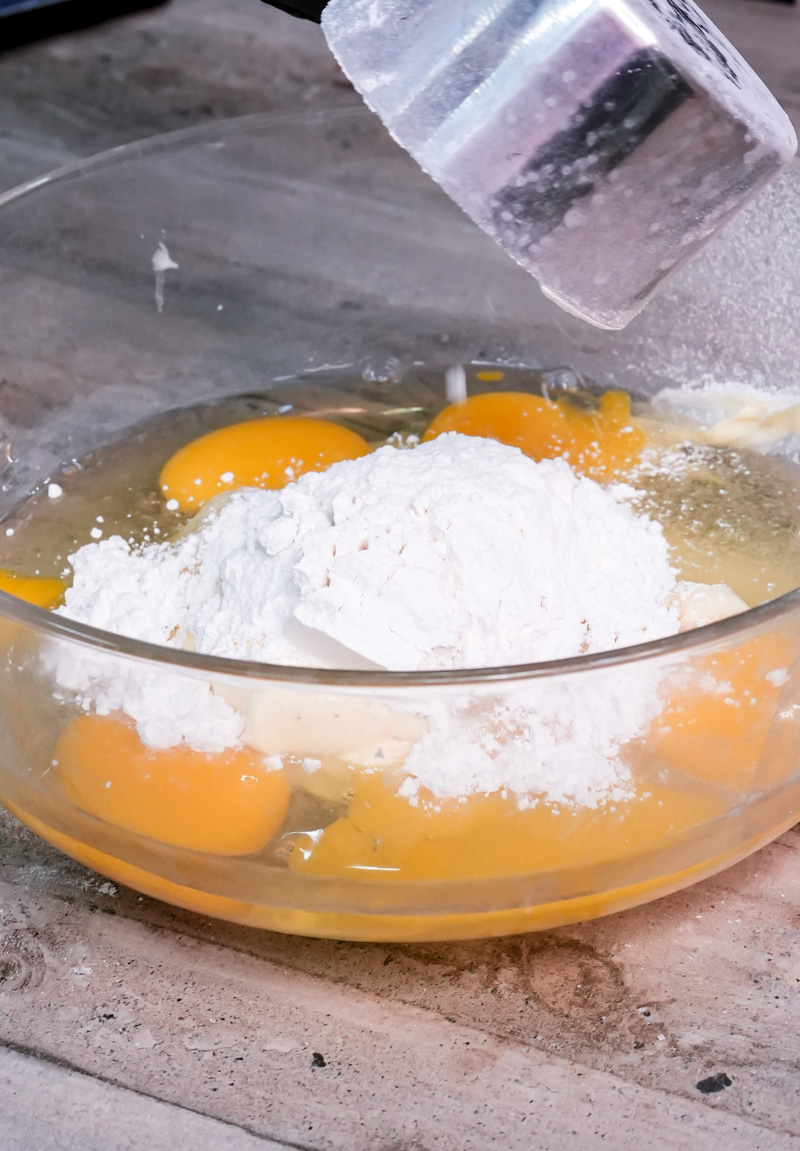
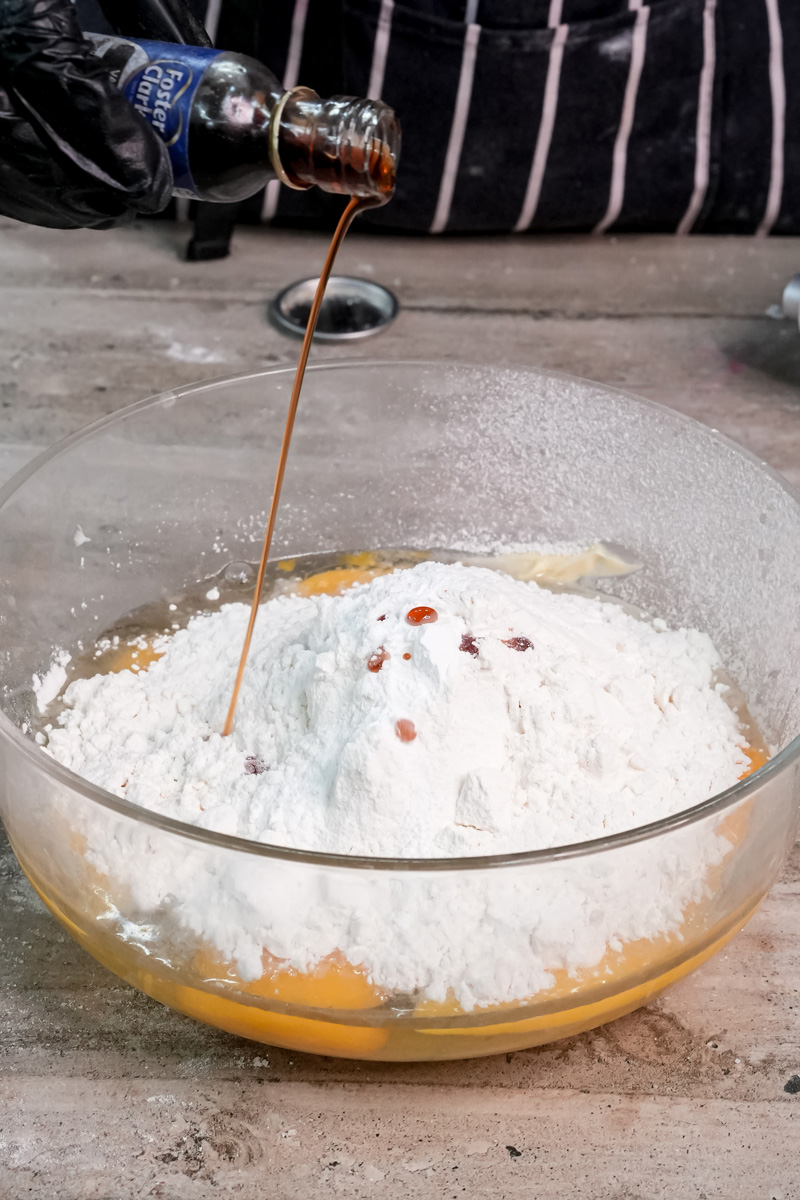
Now for the batter. This recipe uses an “all-in-one” method, which is just as easy as it sounds.
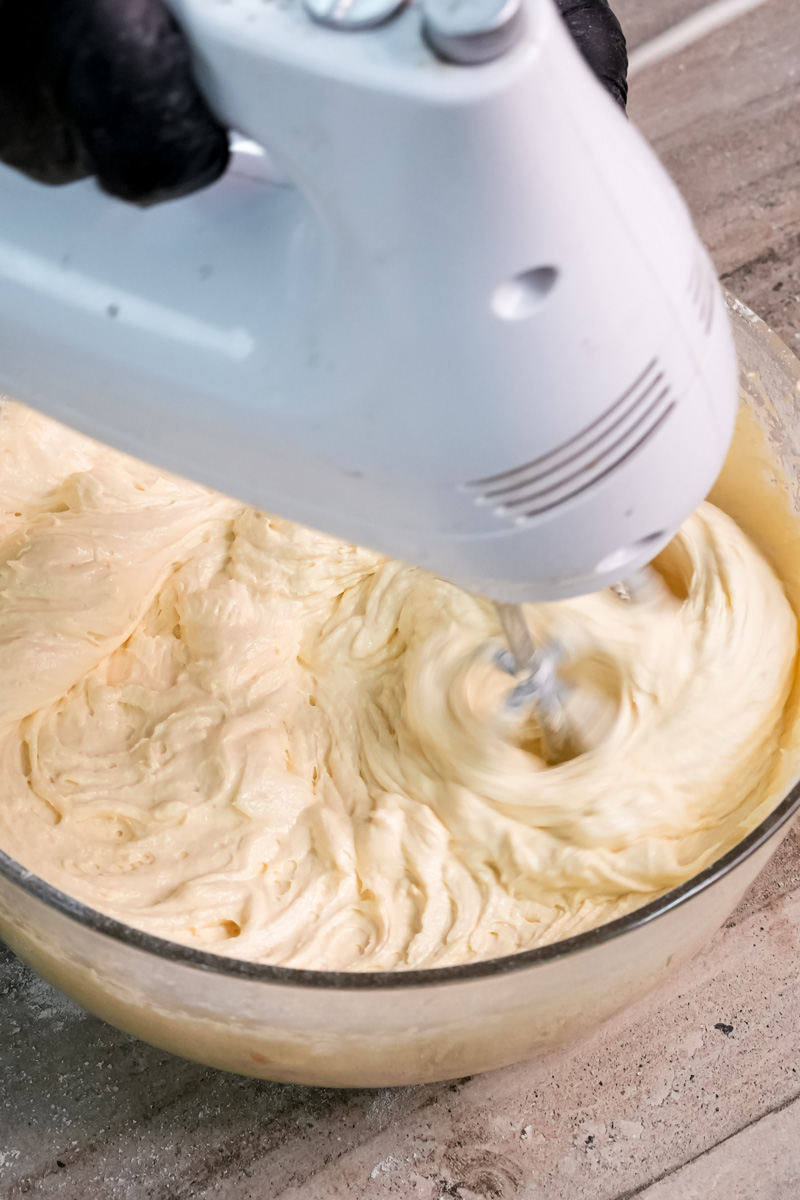
Put the soft butter, sugar, flour, ground almonds, baking powder, eggs, vanilla, and almond extract right into your mixer’s bowl. Beat everything together until it’s just smooth. You’re looking for a thick, pale batter. Stop mixing as soon as it all comes together. Over-mixing can make the cake tough.
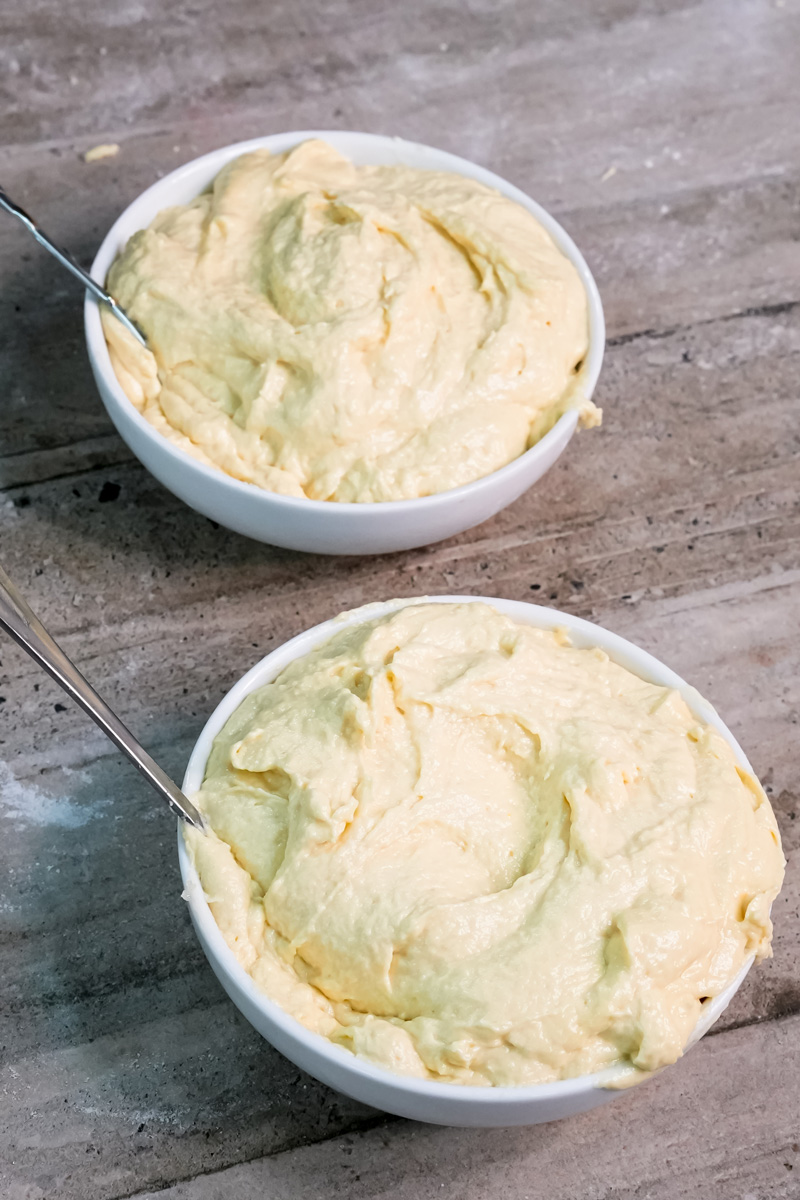
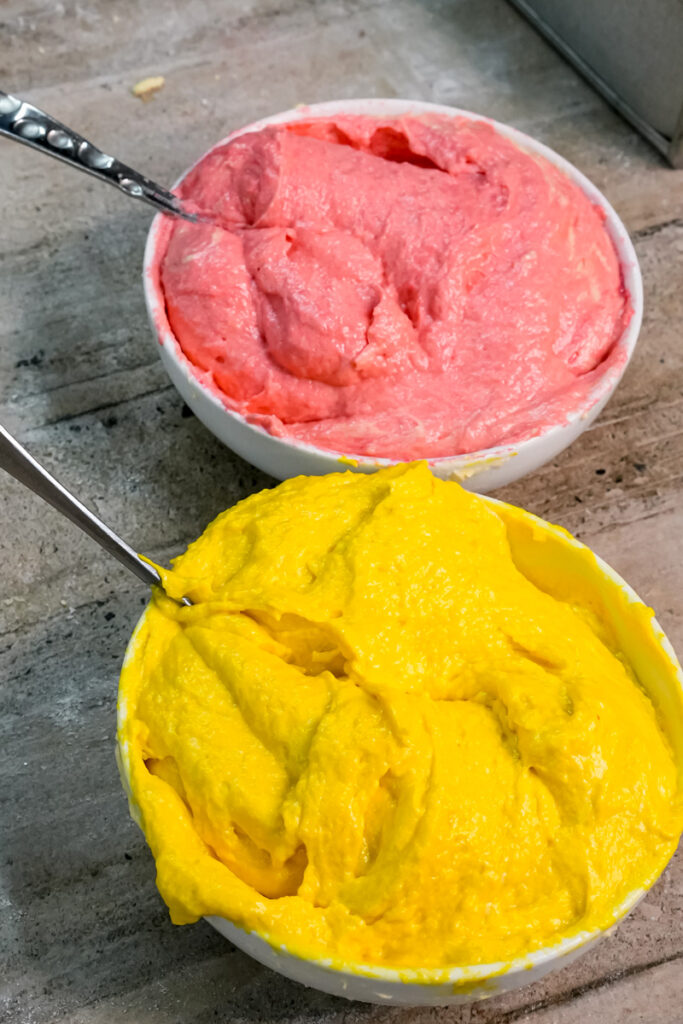
Time to divide. Use your kitchen scales to divide the batter evenly between two bowls.
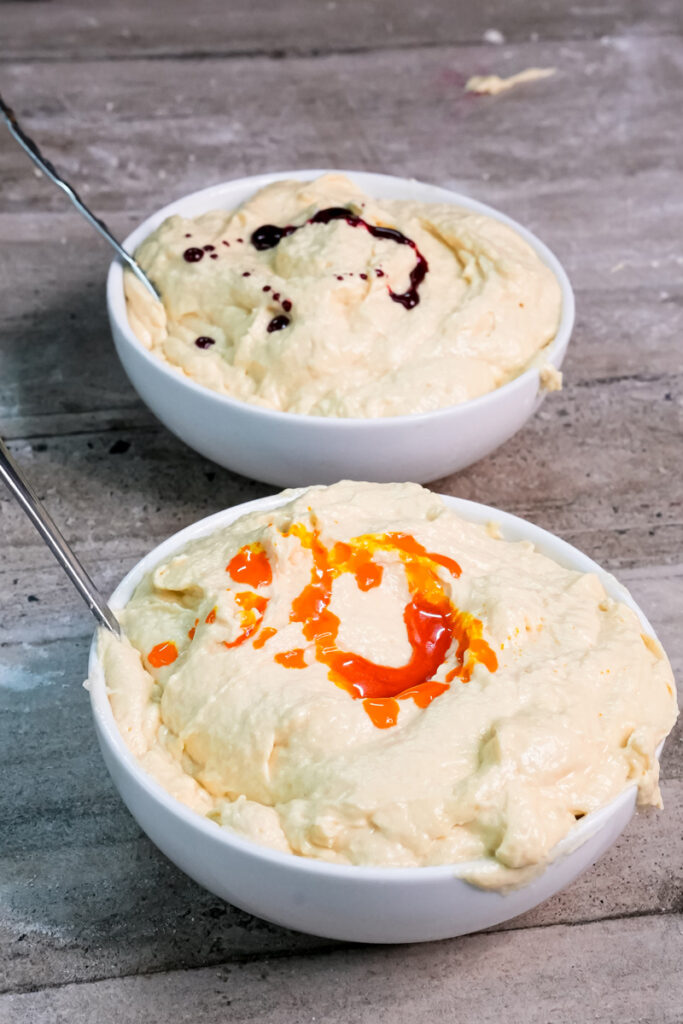
- Add yellow food colouring to one bowl and mix.
- Add pink food colouring to the other and mix.
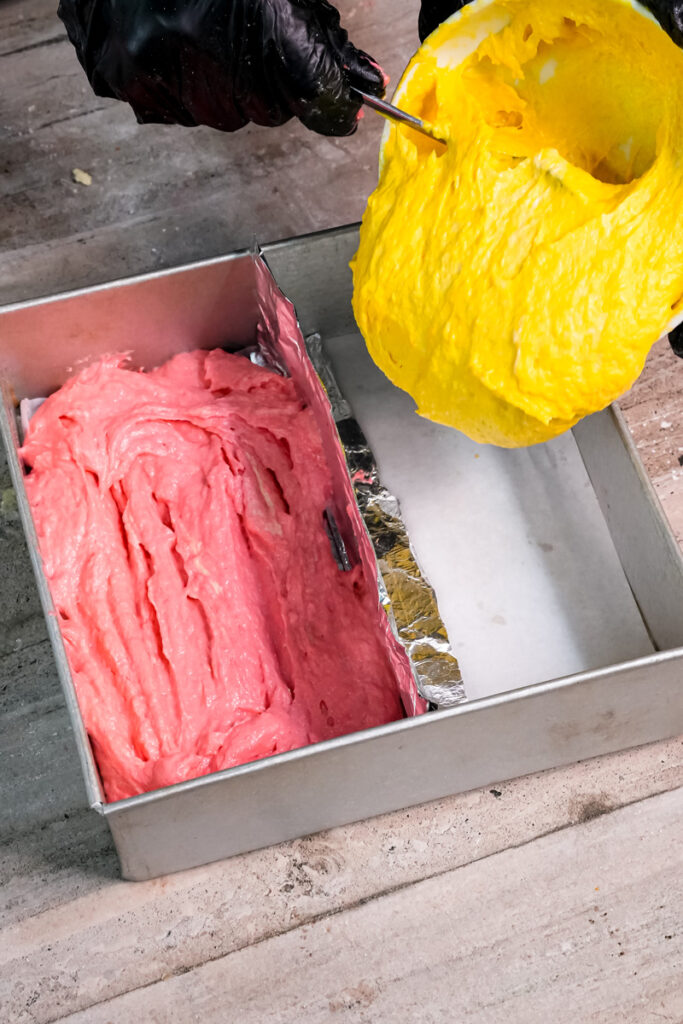
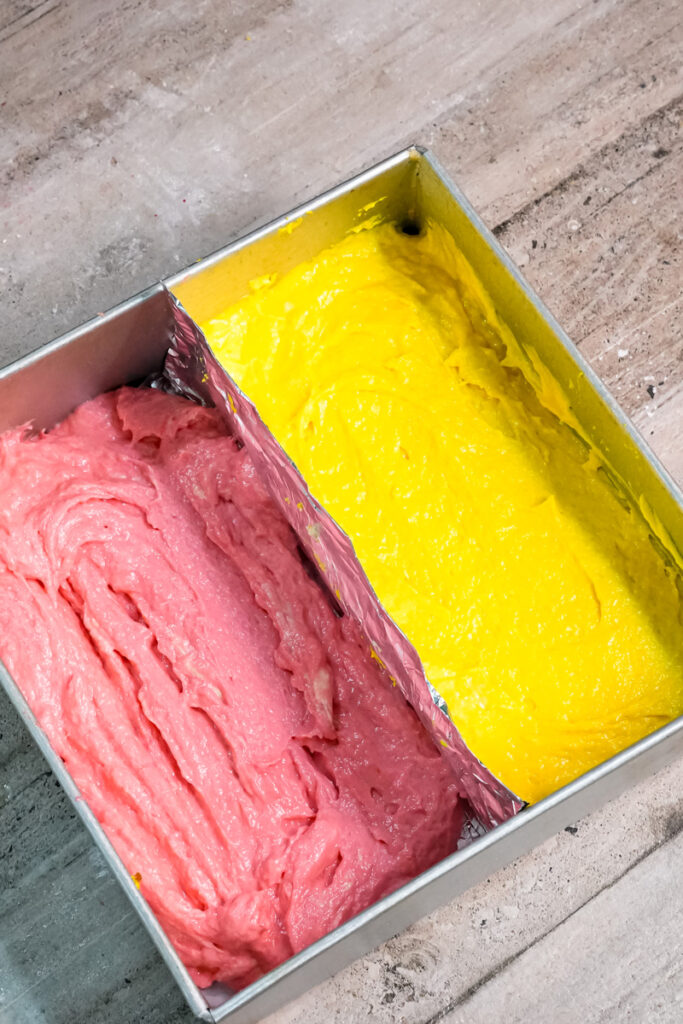
I like soft pastel shades, but feel free to add more gel if you want a bolder color! Spoon the yellow batter into one tin and the pink into the other, smoothing the tops with a spatula.

Part 2: Baking and Cooling
Pop both tins into the oven and bake for 25-30 minutes. The cakes are done when they are golden and spring back when you gently touch them. A skewer inserted into the center should also come out clean.
Let them cool in their tins for about 10 minutes. Then, carefully turn them out onto a wire rack to cool down.
And I mean completely cool. Don’t even think about assembling a warm cake! It will lead to a sticky, melty mess, and all your hard work will be for nothing.
Part 3: Assembling Your Masterpiece
This is where the magic really happens! Once the cakes are totally cool, it’s time to build.
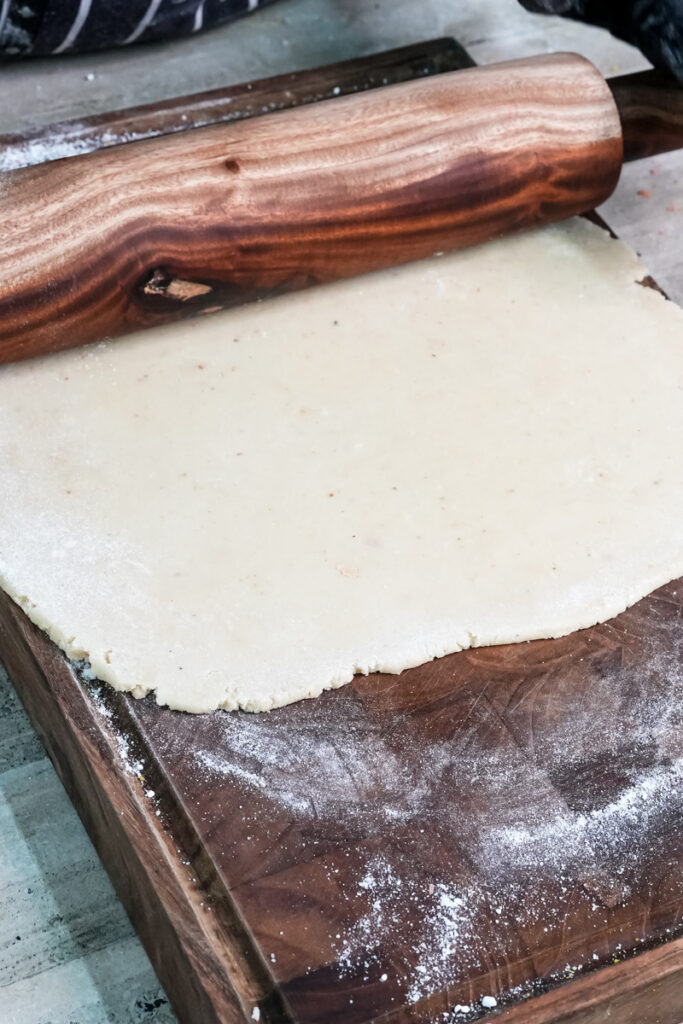
- Prep the Marzipan and Jam: Dust your work surface with confectioners’ sugar. Roll out one 500g block of marzipan into a big rectangle (a little wider than 20cm and about 40cm long). Gently warm your apricot jam in a small saucepan or the microwave for a few seconds until it’s runny.
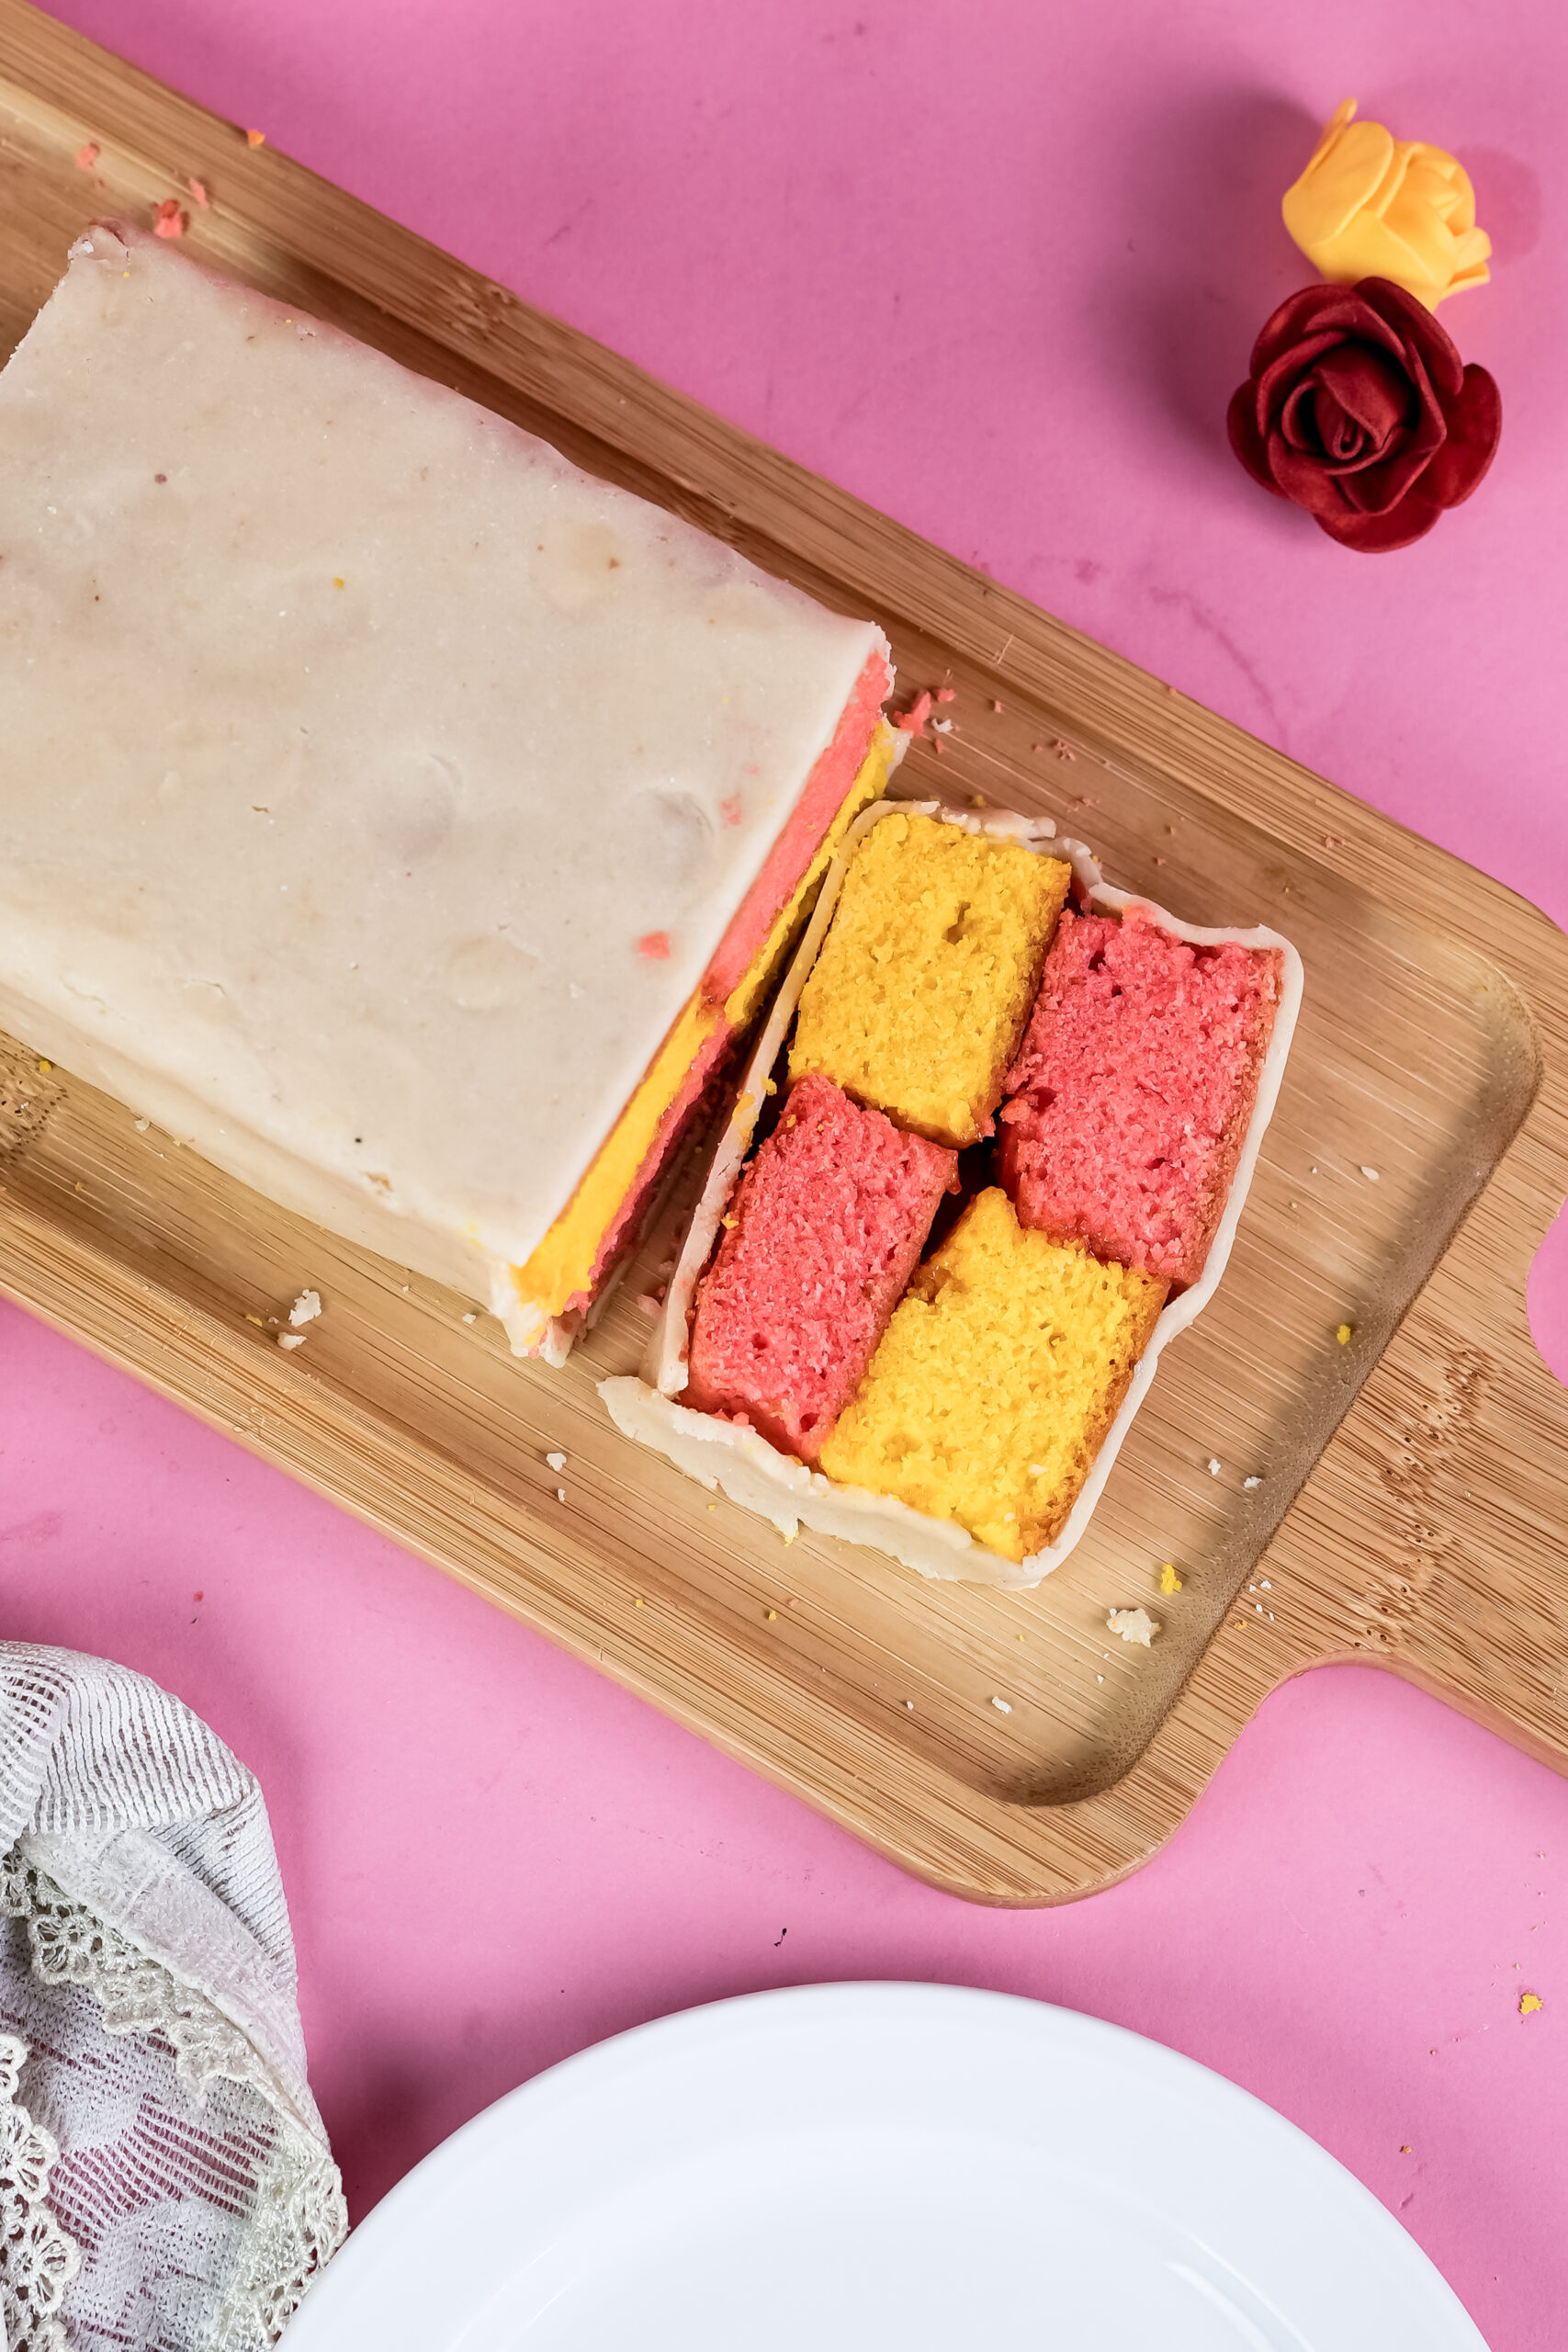
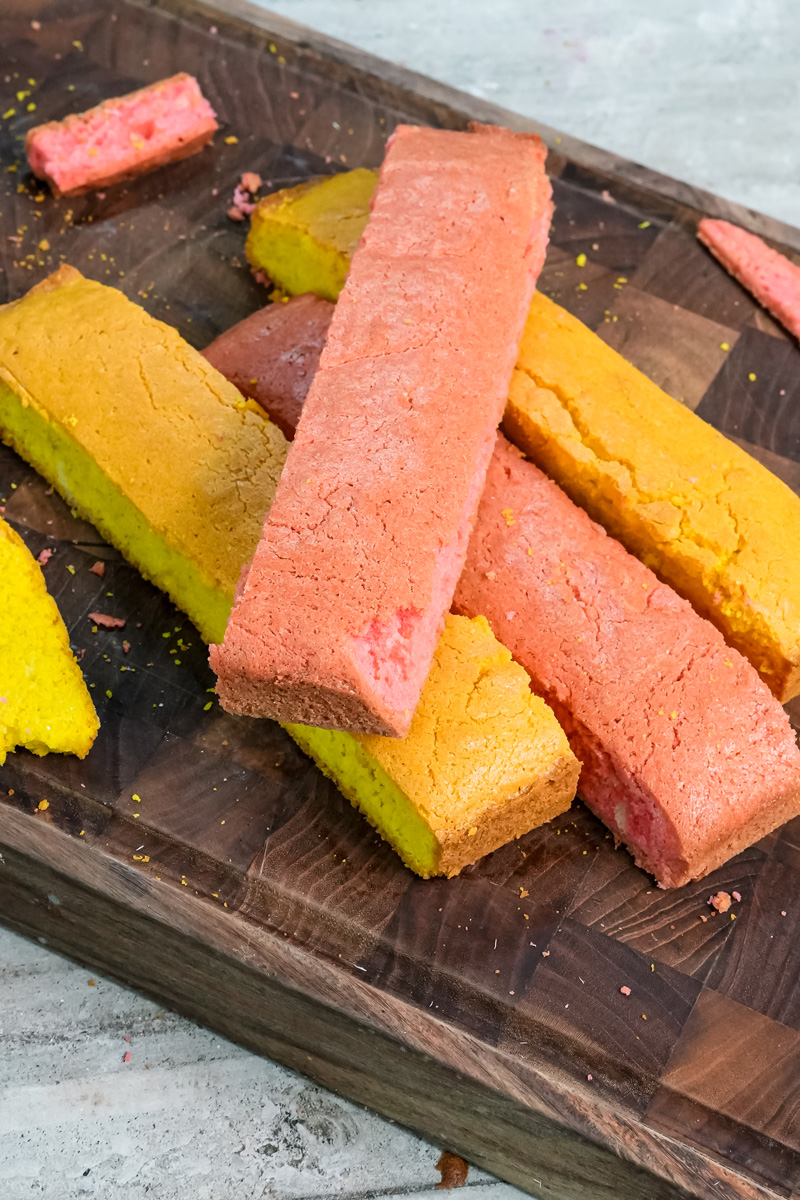
- Trim the Sponges: This is the most important step for that sharp, professional look. Take one of your cakes and trim the thin, brown crust off the top and all four sides. Then, carefully cut the sponge into four long, even strips. A ruler is your best friend here! The goal is for each strip to be a perfect square on the end. Repeat with the other colored sponge. Oh, and don’t you dare throw away those offcuts! They are the baker’s treat—perfect with a cup of tea.
- Build the Checkerboard: Brush a line of warm jam down the middle of your rolled-out marzipan. Place one yellow strip on top. Brush one side of it with jam and stick a pink strip right next to it. Now, brush the tops of those two strips with more jam. Place the other two strips on top in a checkerboard pattern—pink on yellow, yellow on pink. Don’t forget to add a little jam between them so they stick together.
- Wrap It Up: Spread a thin layer of jam over the rest of the marzipan that’s still showing. Carefully but tightly, fold the marzipan up and over the cake. Press the seam together at the top to seal it. Trim any extra marzipan off the seam.
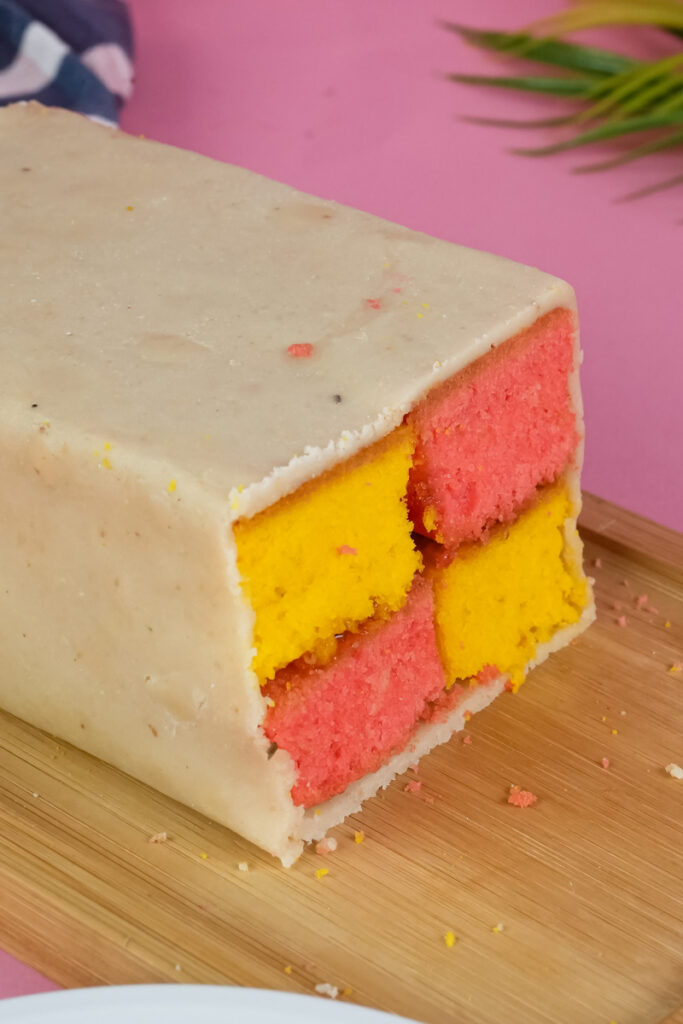
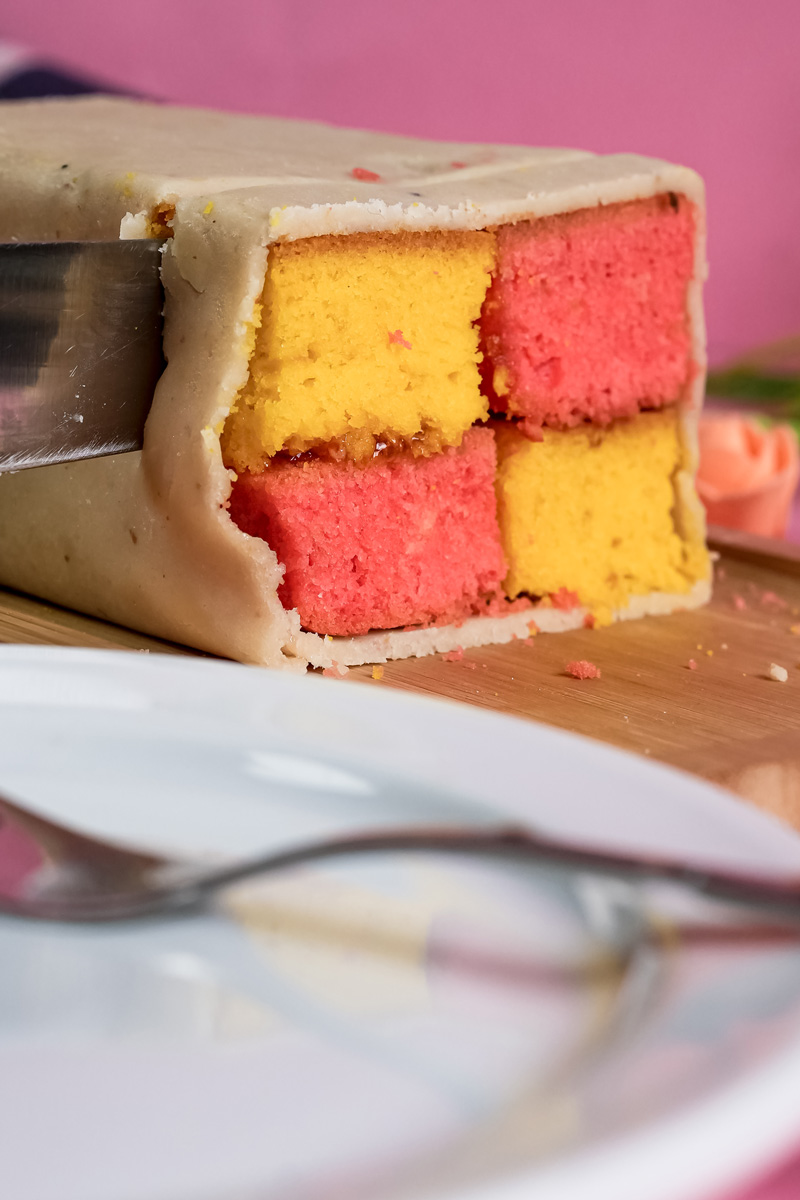
- The Big Reveal: Gently flip the cake over so the seam is on the bottom. With a sharp knife, slice off both ends of the cake. This is the best part—you finally get to see that beautiful, neat checkerboard pattern!
Now, just do it all over again for the second cake.

Fun Twists to Try
While the classic pink and yellow is amazing, here are a few fun ways to make this recipe your own!
- Go Gluten-Free: Use a good gluten-free self-raising flour blend instead of regular flour. Just make sure your baking powder is certified gluten-free, too.
- New Flavors: How about lemon and raspberry? Use lemon extract in the yellow sponge and raspberry jam for the glue. A chocolate version is also delicious! Just swap about 40g of flour with cocoa powder in one of the batters.
- Seasonal Ideas: For fall, you could try a spiced apple or fig jam. Around the holidays, a little orange zest and cinnamon in the batter with cranberry jam would be so festive.
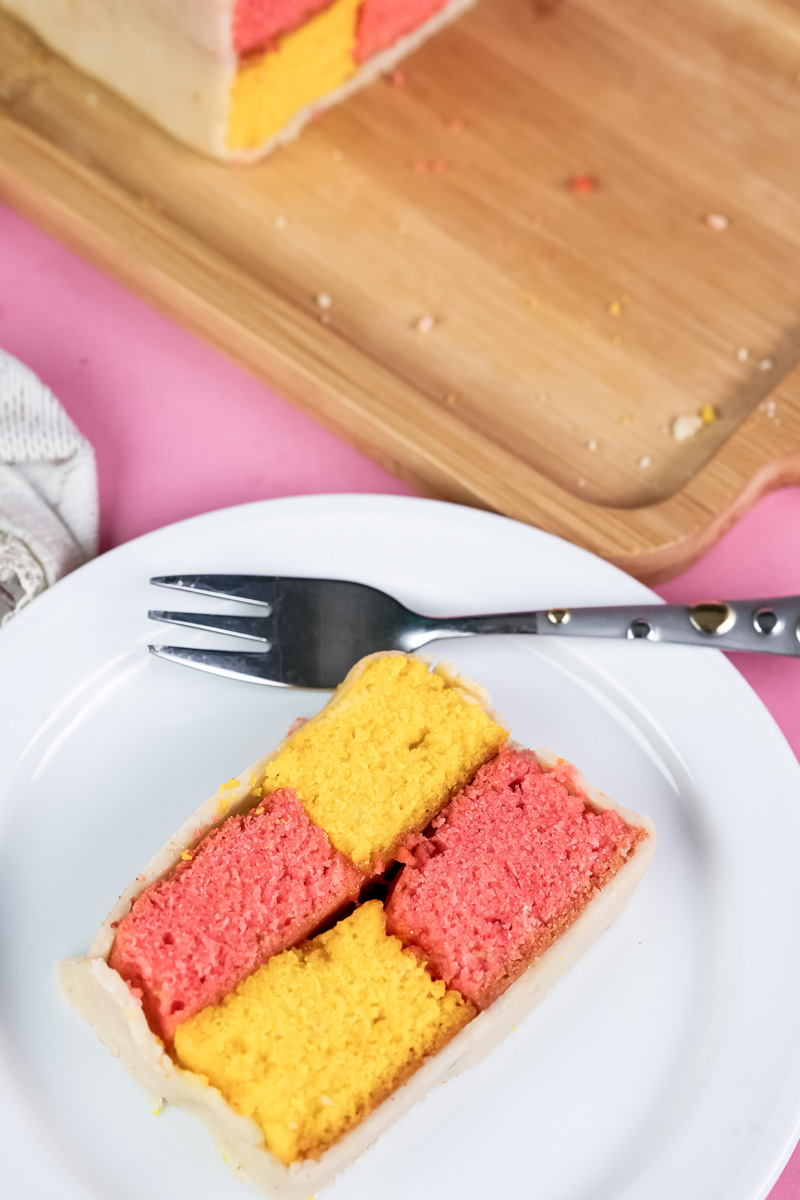
How to Serve and Store Your Creation
You did it! To serve, just place the cakes on a long platter and maybe give them a final light dusting of confectioners’ sugar. Honestly, Battenberg needs nothing more than a simple cup of tea or coffee.
To store it, place it in an airtight container at room temperature. It will stay fresh and moist for up to 5 days. The marzipan does a great job of locking in all the moisture. Do not refrigerate it, as that can dry out the sponge.
And yes, you can freeze it! Wrap the whole cake (or individual slices) in two layers of plastic wrap and a layer of foil. It will last in the freezer for up to 3 months. Just let it thaw on the counter for a few hours before serving.
Just Making One Cake?
If you’d prefer to make just one Battenberg, no problem at all. Here are the measurements you’ll need.
| Ingredient | Amount for One Cake |
| Soft Unsalted Butter | 180g |
| Golden Caster Sugar | 175g |
| Self-Raising Flour | 140g |
| Ground Almonds | 50g |
| Baking Powder | 1/2 tsp |
| Medium Eggs | 3 |
| Vanilla Extract | 1/2 tsp |
| Almond Extract | 1/4 tsp |
| Food Colouring Gel | A few drops of each |
| Marzipan | 1 x 500g block |
| Apricot Jam | 150g |
| Confectioners’ Sugar | For dusting |
I hope you have a blast making one of Britain’s most beloved cakes. Happy baking!
PrintBattenberg Cake

A delightful British cake featuring a beautiful pink and yellow checkerboard sponge, all wrapped in a sweet layer of almond marzipan. It looks impressive, but this recipe makes it simple and fun to bake at home.
- Prep Time: 40 minutes
- Cook Time: 30 minutes
- Total Time: 1 hour 40 minutes
- Yield: 2 cakes (20-22 slices) 1x
- Category: Dessert
- Cuisine: British
Ingredients
For the Cake:
- 360g very soft unsalted butter
- 350g golden caster sugar
- 280g self-raising flour
- 100g ground almonds
- 1 tsp baking powder
- 6 medium eggs
- 1 tsp vanilla extract
- ½ tsp almond extract
- Pink food colouring gel
- Yellow food colouring gel
For Assembly:
- 2 x 500g blocks of marzipan
- 300g apricot jam
- Confectioners’ sugar, for dusting
Instructions
- Prep Oven and Tins: Preheat your fan oven to 180°C (350°F). Line two 20cm (8-inch) square tins with baking parchment.
- Make the Batter: In a large bowl, combine the butter, sugar, flour, ground almonds, baking powder, eggs, vanilla, and almond extract. Beat with a mixer until just smooth and creamy.
- Colour the Batter: Divide the batter evenly between two bowls. Mix pink food colouring into one and yellow into the other. Spread each colour into a separate prepared tin.
- Bake the Cakes: Bake for 25-30 minutes, until a skewer inserted into the centre comes out clean. Let them cool in the tins for 10 minutes before transferring to a wire rack to cool completely.
- Trim the Sponges: Once cool, trim the brown crusts off the sides and top of each cake. Cut each cake into four long, even strips.
- Assemble the Cake: Warm the jam until it’s runny. Roll out one block of marzipan on a surface dusted with confectioners’ sugar. Brush jam onto the marzipan and sponges to “glue” two strips (one pink, one yellow) side-by-side, then stack the remaining two on top in a checkerboard pattern.
- Wrap and Finish: Fold the marzipan tightly over the cake, pressing the seam to seal. Place the cake seam-side down and trim the ends with a sharp knife to reveal the pattern. Repeat the process for the second cake.
Notes
- Serving Suggestion: This cake is perfect with a simple cup of tea or coffee. It needs no fancy additions!
- Tip for Success: Use a ruler when cutting your sponges to get those sharp, even checkerboard squares. And remember, the cakes must be completely cool before you try to assemble them.
- Storage: Keep the cake in an airtight container at room temperature for up to 5 days. Do not refrigerate it, as this will dry out the sponge. You can also freeze the whole cake or individual slices for up to 3 months.