Hey friends! So, you’ve got some awesome ingredients ready to go? Perfect! Let’s turn them into the foundation for a truly stunning Black Forest Cake. Think of me as your baking buddy right here with you, guiding you step-by-step.
We’re going to make the cake part today – those rich, chocolatey layers that are the heart of this classic dessert.
Your Guide to the Ultimate Black Forest Cake Base
Hello fellow baking lovers! Ready to bake something really special? We’re tackling the Black Forest Cake, or Schwarzwälder Kirschtorte if you want to get fancy. It sounds intimidating, right? But trust me, it’s worth it.
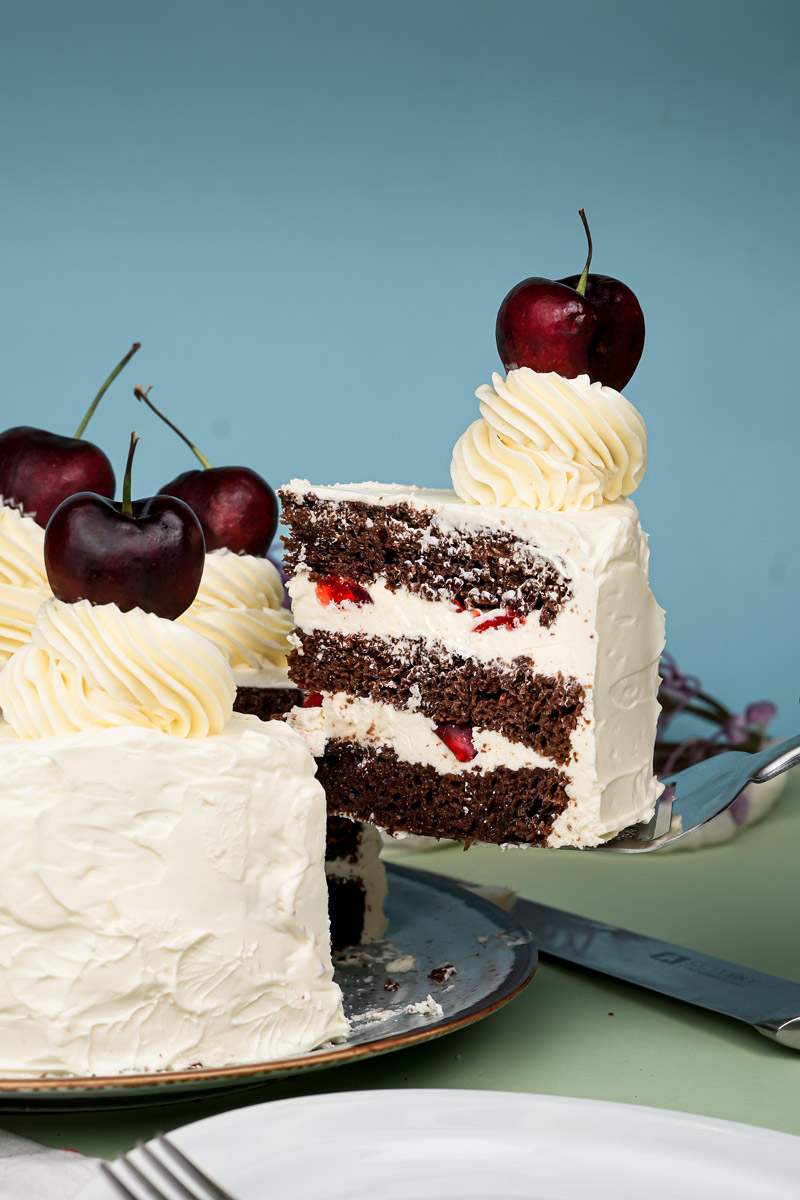
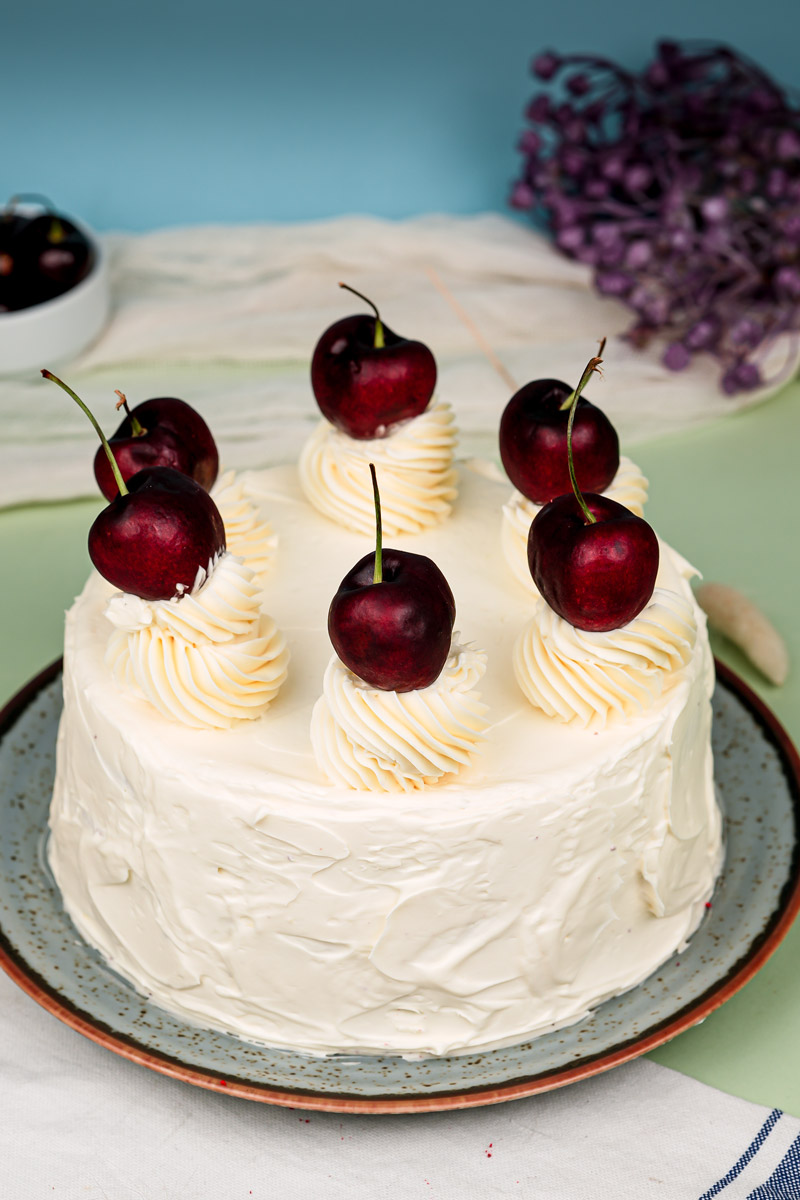
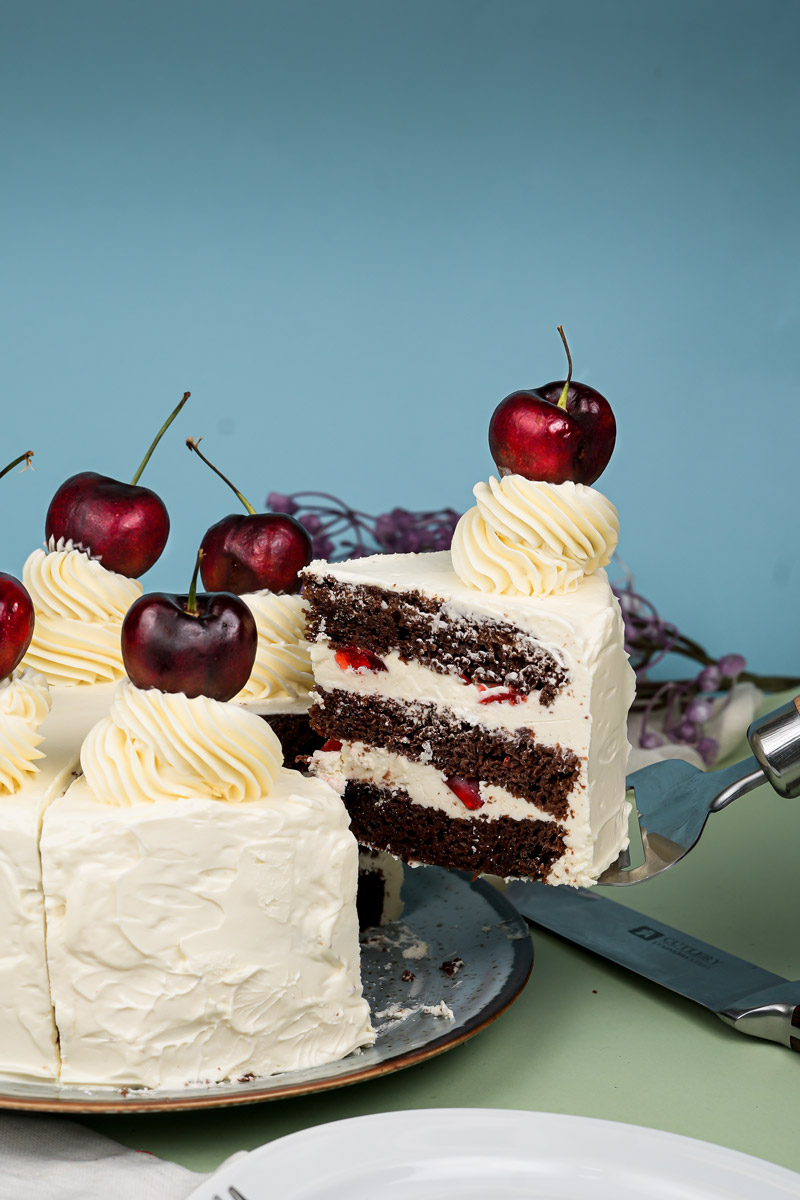
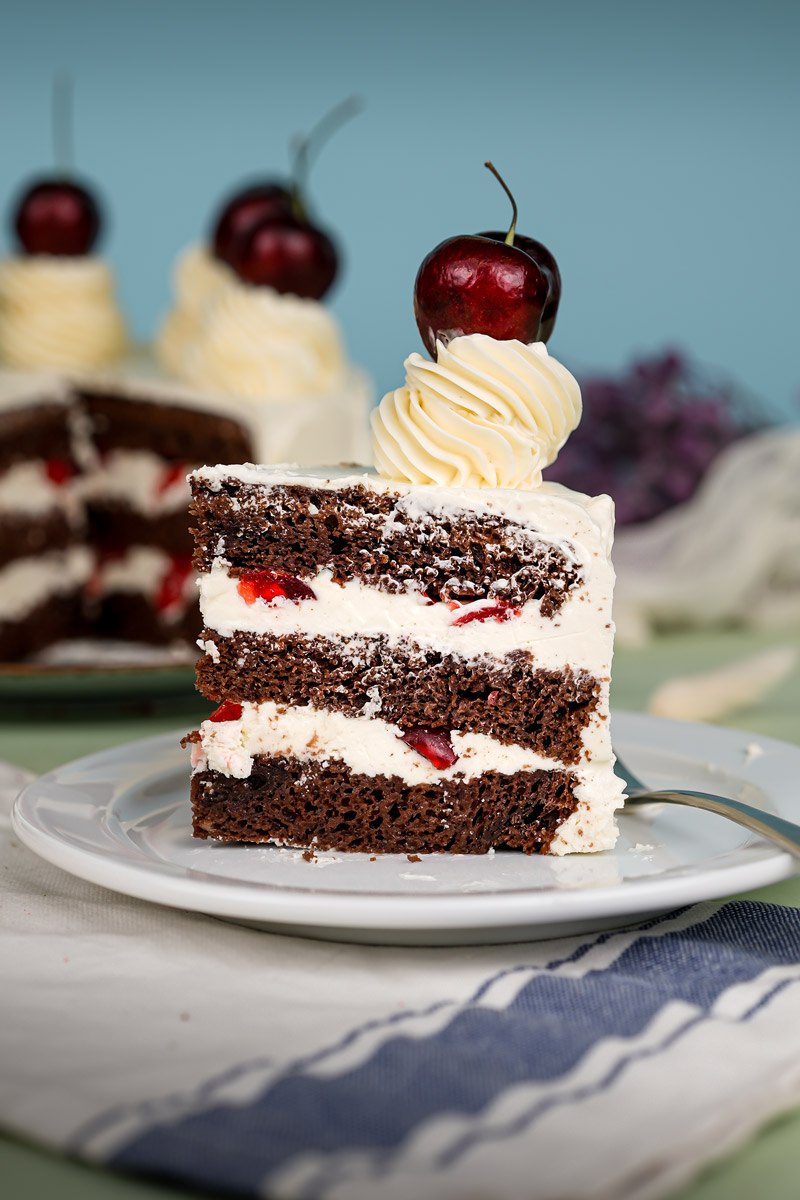
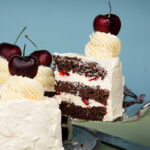
Picture this: layers of super moist chocolate cake, a zingy cherry filling (sometimes with a splash of cherry brandy called Kirsch), fluffy whipped cream, and those pretty chocolate shavings on top. So good.
People argue about where it first came from, but everyone agrees it’s linked to Germany’s Black Forest region. That place is famous for its trees and yummy Kirsch. The magic of this cake? It’s all about balance. The chocolate is deep but not too sweet. The cherries add a nice tart kick. The Kirsch gives it a little warmth (but hey, we can leave that out if you prefer!). And the light whipped cream just pulls it all together.
Today, we’re focusing on making the perfect chocolate cake layers. Seriously, this is the most important part. Get this right, and you’re golden. Using the ingredients you have, we’ll whip up a cake base that’s incredibly moist, packed with chocolate flavor, and strong enough to hold all that creamy, cherry goodness. This might just become your go-to Easy Black Forest Cake Recipe base!
Alright, let’s fire up those ovens!
What You’re Getting Into (Recipe Overview)
Before we start slinging flour, let’s quickly look at the plan. Knowing what to expect makes baking way less stressful and way more fun.
- How Long Will This Take? The hands-on part? Pretty quick! You’ll probably spend about 15-20 minutes mixing everything up. Baking takes 35-40 minutes. But don’t forget cooling time! This is super important. Your cakes need at least an hour, maybe longer, to cool completely before you start building your masterpiece. Seriously, don’t rush this part.
- How Much Cake Does This Make? This recipe makes a good-sized cake, enough for 15-16 people. Perfect for a party! You’ll get enough batter for two round cake layers, either 8 or 9 inches across. That’s the standard size.
- Need Less Cake? Easy! Just cut all the ingredient amounts in half. Bake it in one 8 or 9-inch pan (you might need to adjust the baking time a bit) or even smaller pans if you have them.
- Feeding a Crowd? You could double everything, but make sure your oven can handle baking it all evenly. You might need to bake in batches.
- Is It Hard? Making just the cake layers? I’d say it’s beginner to intermediate. The mixing is simple – no weird techniques here. You just need a little care when baking and handling the layers. Putting the whole Black Forest Cake together is a bit more intermediate, but totally doable! You got this!
- What Gear Do I Need? Good news: you probably have most of this already. No crazy gadgets needed!
- Two 8-inch or 9-inch round cake pans
- Parchment paper (you can skip it, but I highly recommend using it – makes getting the cakes out SO much easier!)
- A big mixing bowl
- A medium mixing bowl
- A whisk
- A rubber spatula or wooden spoon
- Measuring cups and spoons
- A wire rack for cooling
- Optional Helper: Got a stand mixer or electric hand mixer? Cool, it makes mixing the wet stuff a bit faster. But honestly, you can totally do this by hand with a whisk and some elbow grease.
- Can I Make It Ahead? Yes! Totally! These cake layers are perfect for making ahead. Let them cool completely, wrap them up tight in plastic wrap, and they’ll be fine on the counter for up to 2 days. Or, pop them in the freezer for up to 2-3 months (more on freezing later!). This is a great way to break up the work.
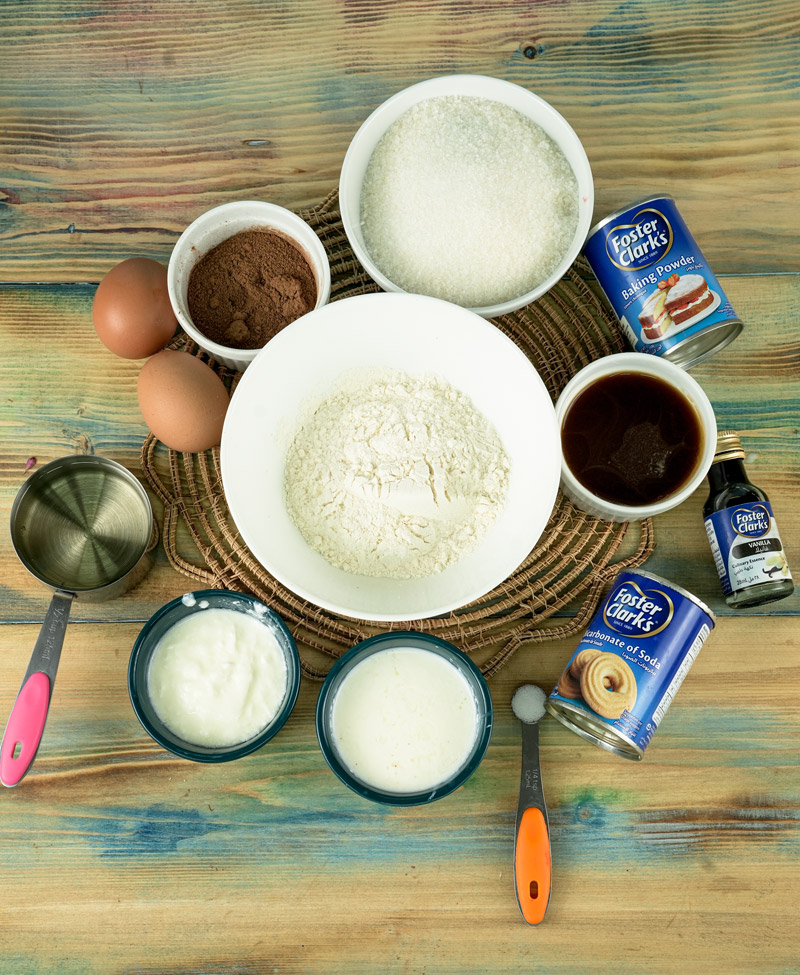
Let’s Grab Our Ingredients
Okay, time to gather our tasty building blocks. Using good ingredients, measured right, really makes a difference. Here’s the list for those amazing chocolate layers:
| Ingredient | Amount | Quick Note |
|---|---|---|
| All-purpose flour | 2 cups | Spoon it into the cup, level it off! Gives the cake its shape. |
| Unsweetened Cocoa | 1/3 cup | Natural kind works best with baking soda here. For flavor & color! |
| Granulated Sugar | 1.5 cups | For sweetness and moisture. Makes the cake tender. |
| Baking Soda | 2 teaspoons | Helps the cake rise! Make sure it’s fresh. |
| Baking Powder | 1 teaspoon | The other rising helper. Freshness matters here too! |
| Salt | 1 teaspoon | Don’t skip it! Makes chocolate and sweet flavors pop. |
| Canola/Vegetable Oil | 1/2 cup | Key for a Moist Black Forest Cake. Keeps it soft longer than butter. |
| Large Eggs | 2 | Best at room temp. Adds richness and holds things together. |
| Full-Fat Sour Cream | 1/2 cup | Room temp, please! Adds moisture and makes the cake extra soft. |
| Buttermilk | 1/2 cup | Room temp too! Adds moisture and tang. Works with baking soda for lift. |
| Pure Vanilla Extract | 2 teaspoons | For that warm, lovely flavor boost. |
| Hot Water or Coffee | 1/4 cup | The secret trick! Hot liquid makes cocoa taste richer. Coffee = deeper flavor! |
Quick Ingredient Tips Before We Start:
- Seriously, make sure your eggs, sour cream, and buttermilk aren’t fridge-cold. Let ’em sit out for a bit.
- Measure that flour right (spoon & level). Packing it in makes the cake dry. Sad!
- Have your hot water or coffee measured and ready near the end.
How to Make the Cake Layers: Step-by-Step
Get Ready: Oven On & Pans Prepped! First up: Get that oven heating to 350°F (175°C). Let it get fully hot – this helps your cakes bake evenly. No sad, droopy centers allowed! While it’s heating, grab your two round cake pans (8 or 9-inch). Let’s make sure those cakes slide right out later. Rub some soft butter or use baking spray all over the inside. Really get in there.
Now, for extra insurance (I always do this!), trace the pan bottoms onto parchment paper, cut out the circles, and stick ’em in the bottom. Grease the paper too! Last step: sprinkle a little flour (or cocoa powder, so you don’t get white spots on your dark cake!) into each pan. Tilt and tap until the bottom and sides have a light dusty coat. Tap out any extra flour into the trash. Boom. Pans = ready.
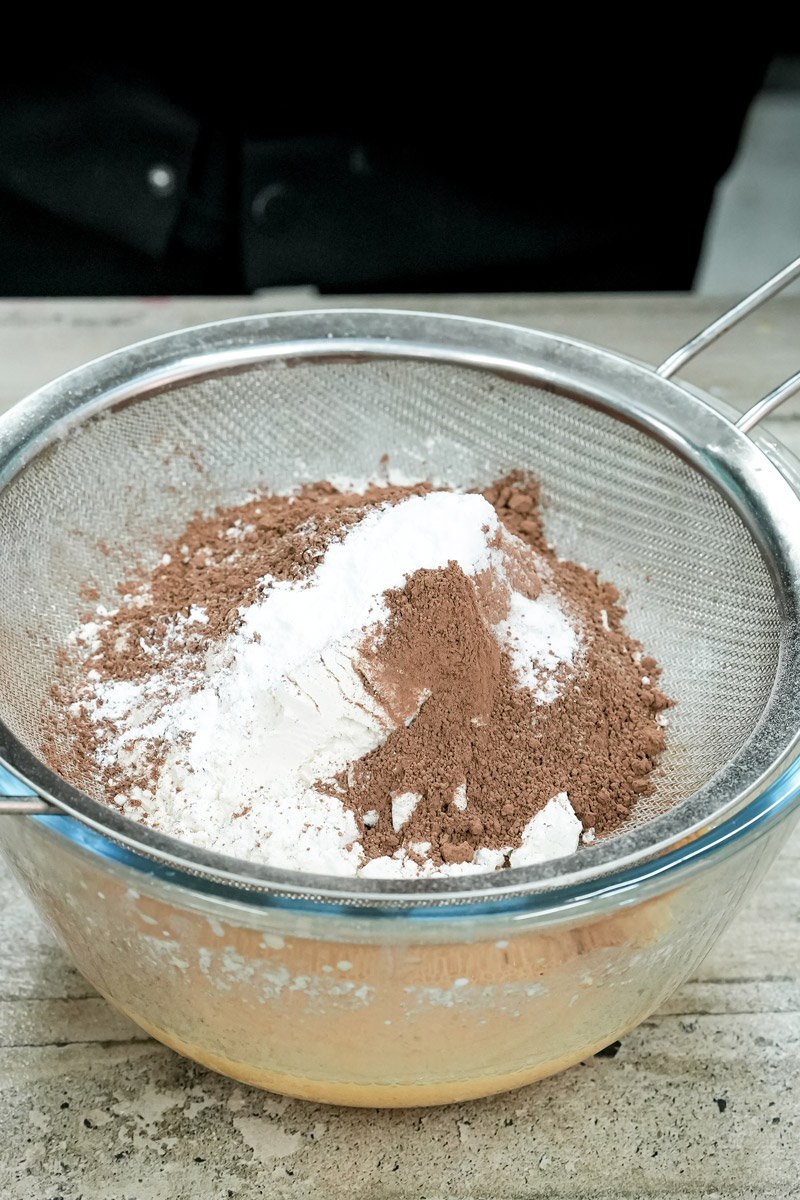
Dry Stuff Time: Whisk it Good! Okay, grab your biggest mixing bowl. Dump in the flour (spooned and leveled!), cocoa powder, sugar, baking soda, baking powder, and salt. Now, take your whisk and give it all a good mix for about 30 seconds to a minute.
You want to break up any clumps (especially cocoa!) and make sure the baking soda and powder are spread out evenly. This helps the cake rise nicely everywhere. It should look like light brown, powdery goodness. Sniff it – starting to smell like chocolate?
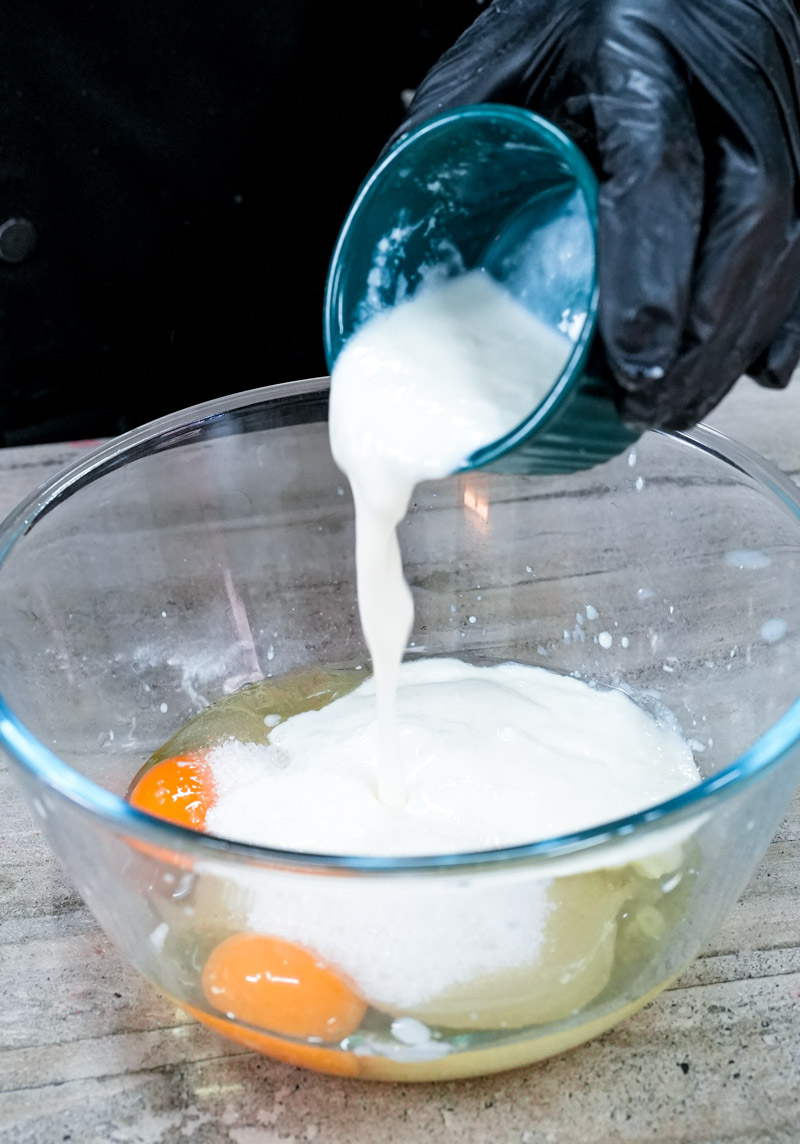
Wet Stuff Time: Mix the Rich Base. Set the dry stuff aside for a sec. Grab your medium bowl. Crack in your room-temp eggs (maybe whisk ’em lightly first?), then pour in the oil (hello, moisture!), the room-temp sour cream, the room-temp buttermilk (remember the trick: 1/2 tbsp vinegar or lemon juice in 1/2 cup milk, let sit 5-10 mins if you don’t have buttermilk!), and the vanilla. Whisk this all together until it’s smooth and creamy looking.
No yellow streaks or sour cream lumps! Using room temp stuff here really helps it all blend nicely for a better cake texture later.
Putting It Together: Gently Does It! Okay, here’s an important part. Pour the wet mixture from the medium bowl into the big bowl with the dry ingredients. Put down the whisk! Grab a rubber spatula or wooden spoon. Now, mix just until you don’t see big streaks of dry flour anymore. Seriously, stop mixing then! A few little lumps are totally okay. The biggest mistake people make is mixing too much here.
Overmixing makes the cake tough. We want tender, moist cake, not chewy! Think gentle folding, like you’re folding laundry, not churning butter. It shouldn’t be hard work.
The Secret Weapon: Hot Liquid Magic! Now for that weird-sounding but awesome step. Carefully measure your hot water or hot coffee (coffee makes the chocolate taste even better!). Gently pour the hot liquid into the batter. Use your spatula to slowly fold it in just until it’s mixed. The batter will suddenly get thinner and look kind of glossy. That’s perfect!
The heat helps the cocoa “bloom” – basically, it wakes up the flavor. And it makes the cake super moist. Again, don’t mix too much! Just until the liquid disappears. It should smell really chocolatey now!
Divide, Tap, and Bake! Our batter looks amazing! Time to split it between those pans we prepped so nicely. Try to get it pretty even. You can eyeball it, or if you want to be super precise, use a kitchen scale. Pour half the batter into each pan. Give each pan a couple of gentle taps on the counter. This helps knock out any big air bubbles. Open your hot oven and carefully place the pans inside, usually on the middle rack. Try to give them space so air can move around them.
Close the oven door gently. Set a timer for 35 minutes to start. And try really hard not to open the oven for the first 25-30 minutes! Peeking lets the heat out and can make your cakes sink.
Is It Done Yet? The Poke Test. Around the 35-minute mark, your kitchen should smell incredible! Time to check the cakes. Gently open the oven. First test: lightly touch the center of a cake with your finger. Does it spring right back? Good sign! If it leaves a dent, it needs more time. Best test: Stick a wooden skewer or toothpick (or even a thin knife) right into the middle of each cake.
Pull it out. Is it clean? Or does it have just a few moist crumbs stuck to it? If yes, woohoo! They’re done! If you see wet batter, give them a few more minutes (check again every 2-3 mins). The edges of the cake might also look like they’re pulling away from the pan sides a little.
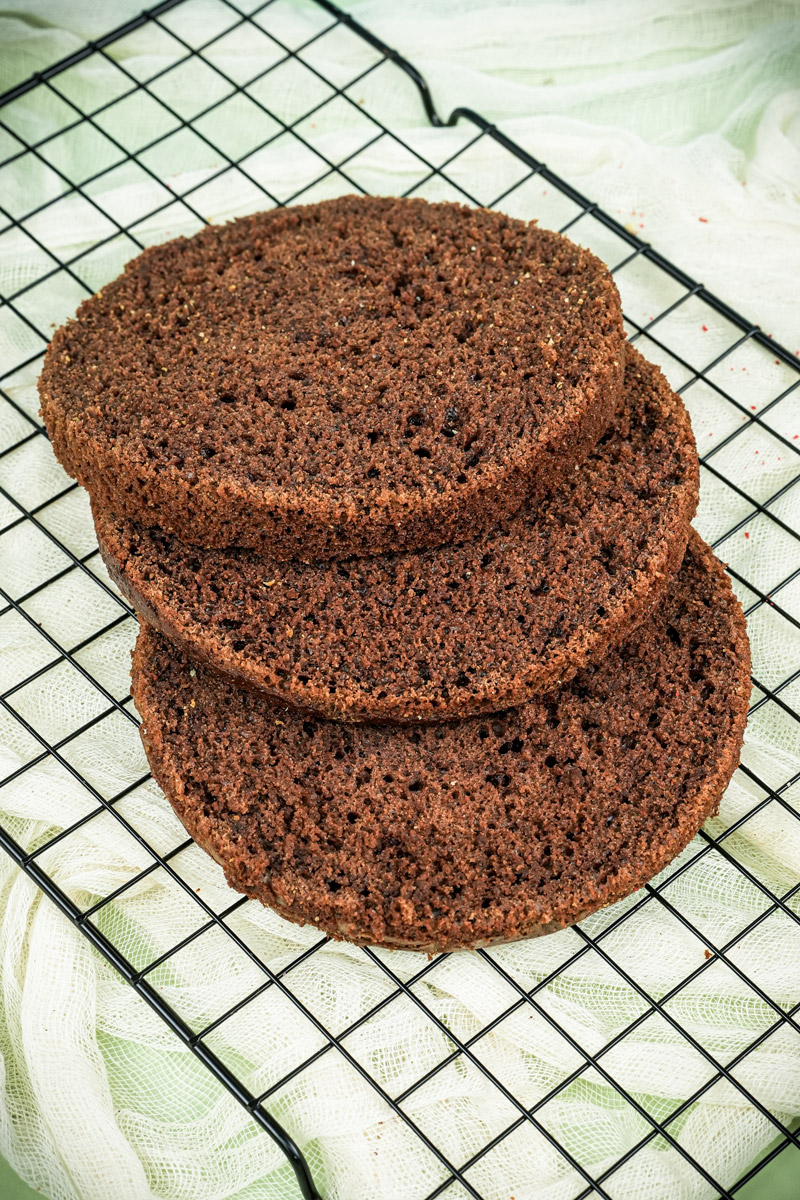
Cool Down! Patience is Key. Yay, they’re baked! Use oven mitts to carefully take the hot pans out of the oven. Put them directly onto a wire cooling rack. Now, the hardest part… waiting! Let the cakes cool in the pans for about 15-20 minutes. Don’t try to take them out yet! They need this time to firm up a bit so they don’t fall apart. After 15-20 minutes, run a thin knife around the edge of each cake to loosen it. Place the wire rack (or a plate) on top of one pan, take a breath, and flip it over. Lift the pan off. Peel off the parchment paper if you used it. Do the same for the second cake.
Now, let the cakes cool completely on the wire rack. Right side up, upside down, doesn’t matter. I mean totally cool. No warm spots in the middle! This might take an hour, maybe more. Why? If you try to stack, fill, or frost a warm cake, it’ll crumble, and your frosting or cream will melt. Disaster! So be patient here. It guarantees your layers will be perfect for assembly.
What Comes Next? (Building the Cake)
Once these amazing chocolate layers are 100% cool, you’re ready to build your Black Forest Cake! Usually, you’d:
- Level them: Slice off any domed tops so they’re flat. A serrated bread knife works great.
- Soak ’em: Brush some Kirsch syrup (or non-alcoholic cherry syrup) on each layer. Adds moisture and flavor!
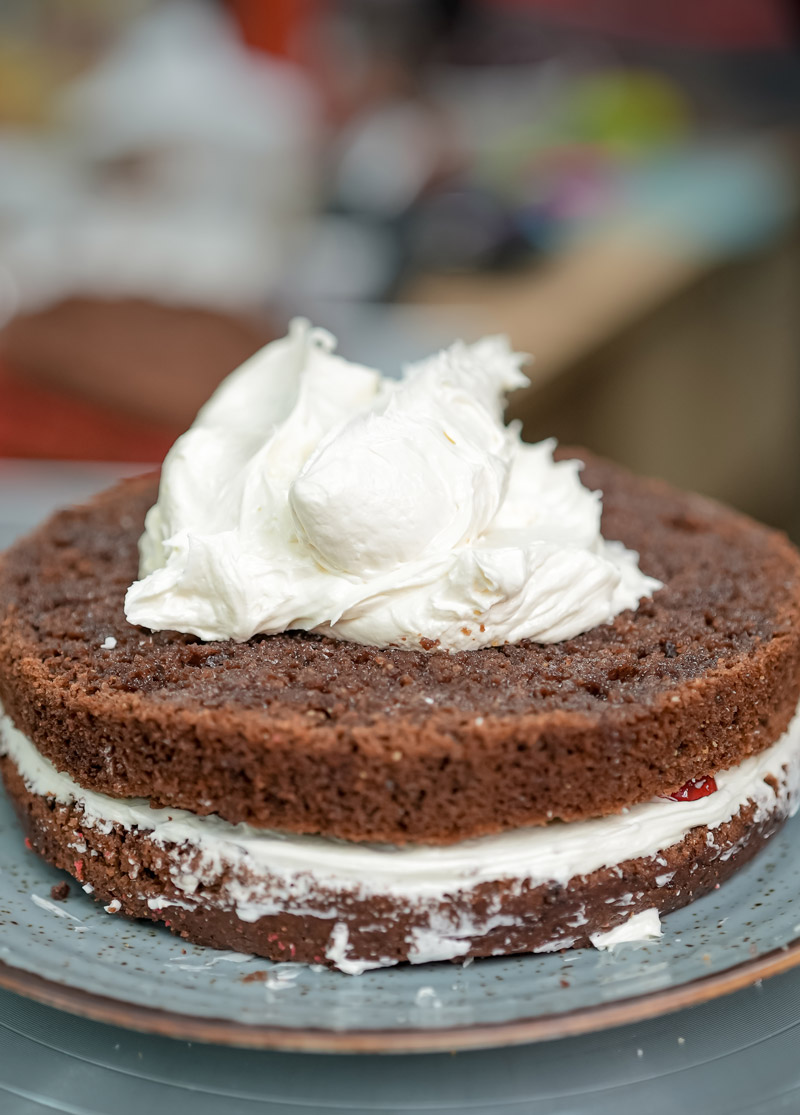
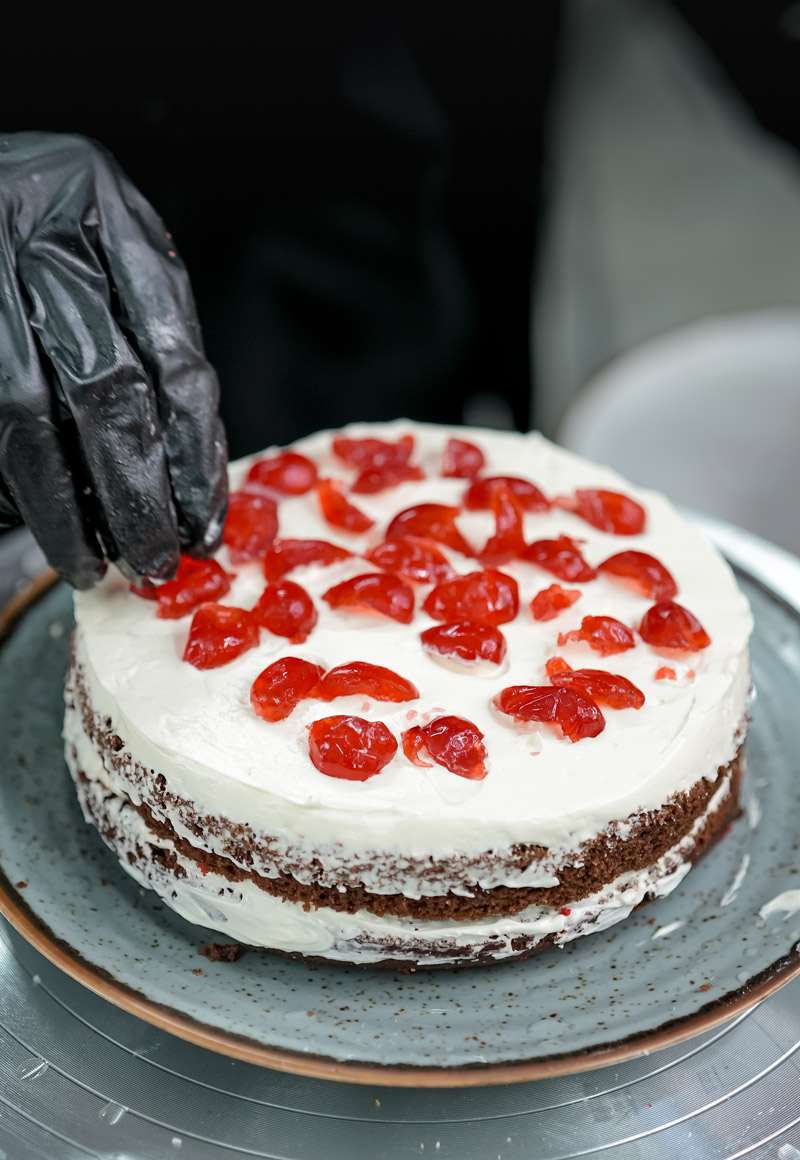
- Layer up: Put one layer down. Pipe a border of whipped cream. Fill the middle with cherry filling. Top with more cream.
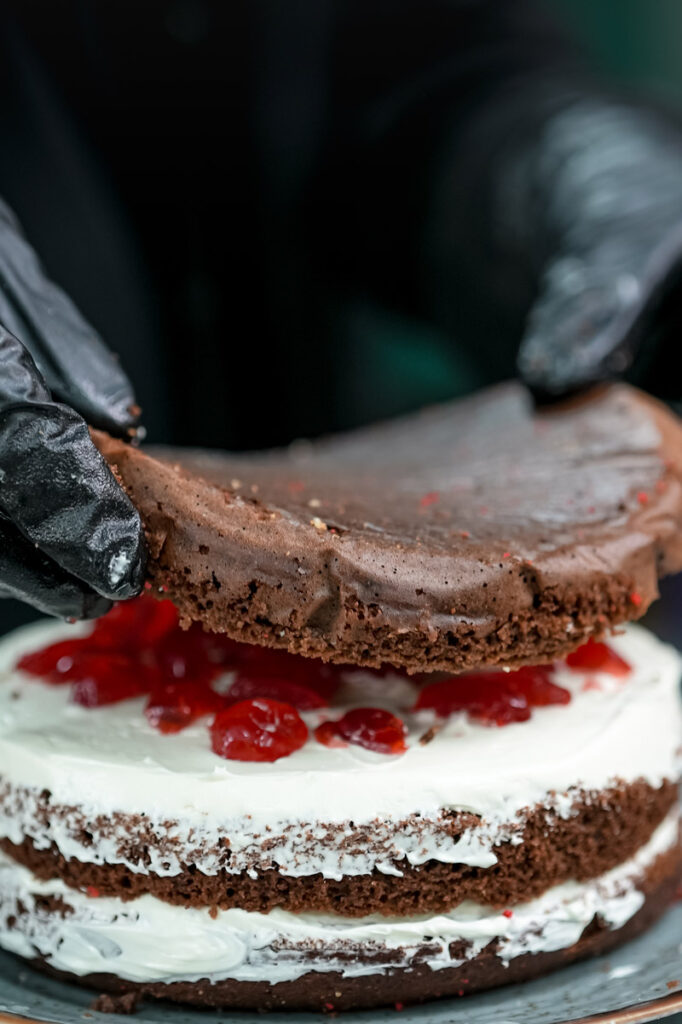
- Repeat: Add the next layer, soak, cream, cherries…
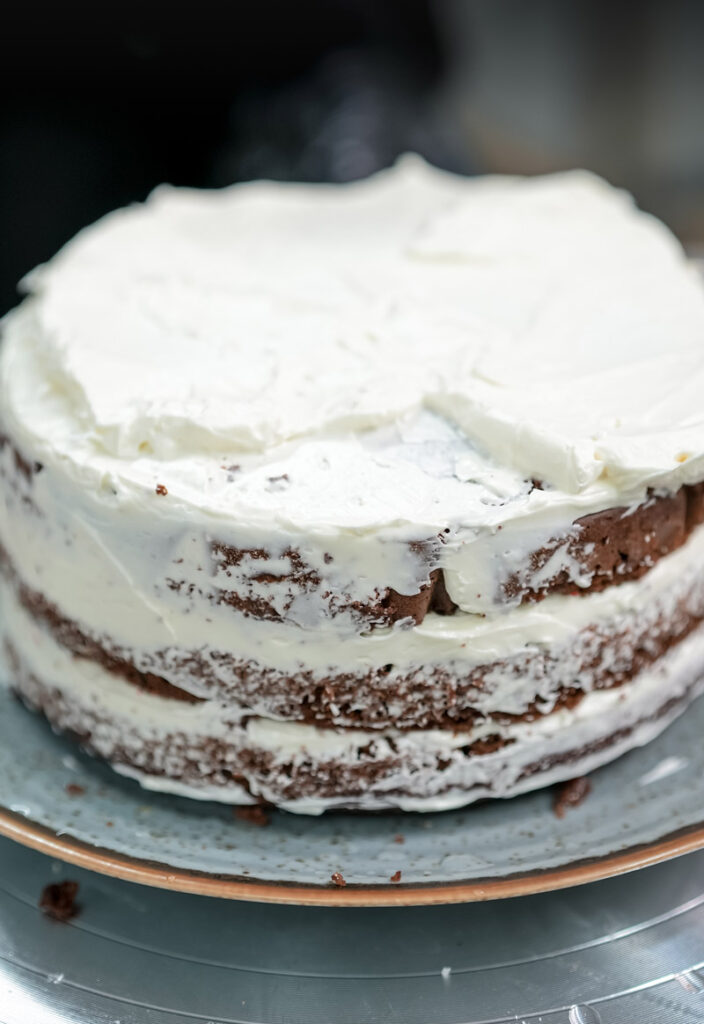
- Frost it: Cover the whole thing (top and sides) with yummy stabilized whipped cream.
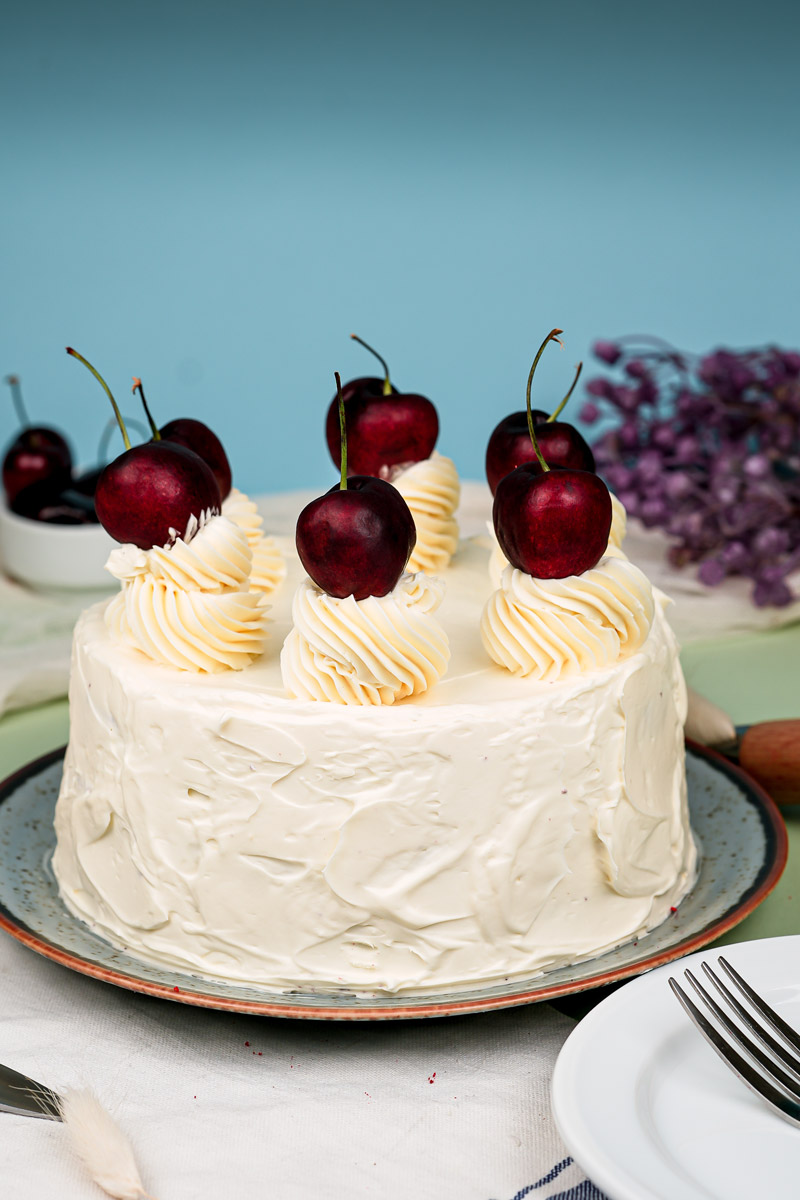
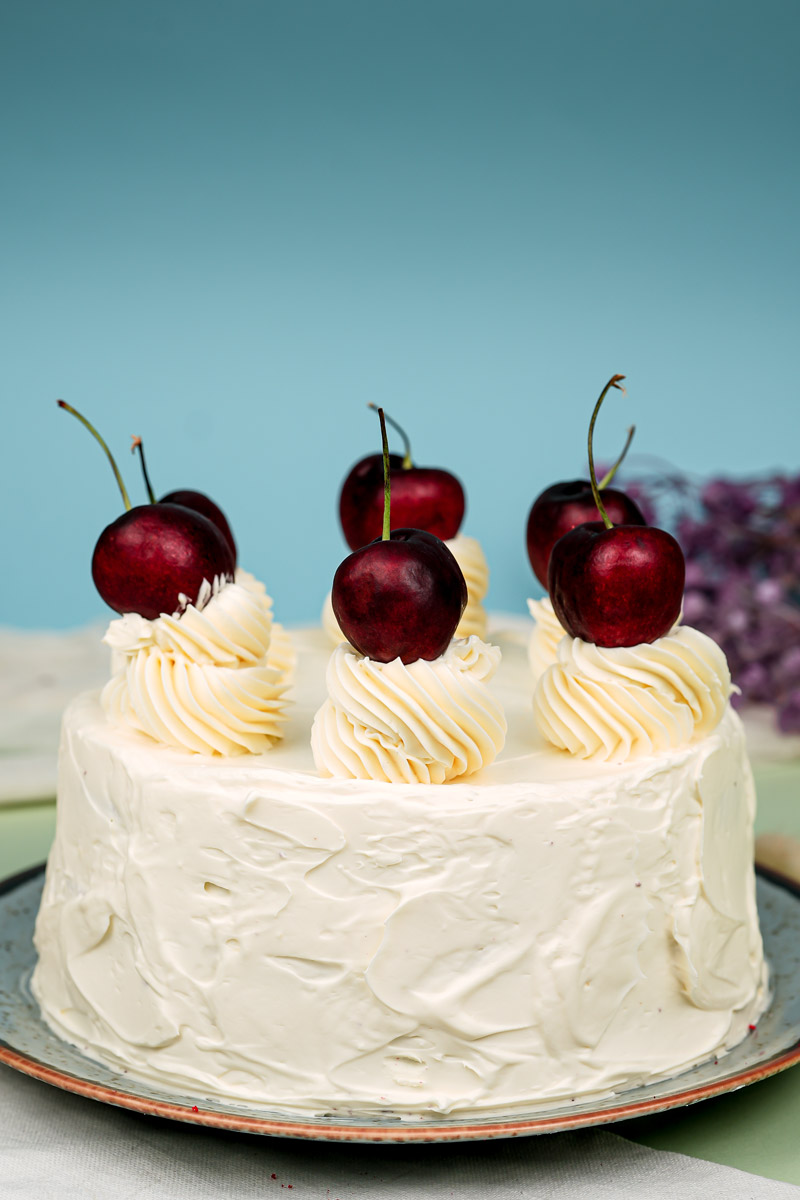
- Decorate: Press chocolate shavings onto the sides. Pipe some cream swirls on top and add cherries. So pretty!
Want to Mix Things Up? (Variations)
The classic is great, but feel free to play!
- Dietary Needs:
- Gluten-Free: This specific recipe wasn’t made for GF flour. You could try a good 1-to-1 GF blend (with xanthan gum), but results might vary. Best bet? Look up a recipe designed to be a Gluten-Free Black Forest Cake.
- Vegan: This needs bigger changes (egg replacers, plant-based dairy subs). It’s probably easier to find a specific vegan Black Forest cake recipe.
- Less Sugar: You can try reducing sugar a little, but it affects moisture and texture. Baking with sugar substitutes can be tricky.
- Flavor Fun:
- More Coffee: Definitely use hot coffee instead of water! You could even add 1-2 teaspoons of instant espresso powder to the dry stuff for a bigger kick.
- Spice it Up: A tiny pinch of cinnamon or cardamom with the dry ingredients adds a nice warmth.
- Almond Touch: Add 1/2 teaspoon of almond extract with the vanilla. Almond and cherry are amazing together!
- Fancy or Simple:
- Easy Black Forest Cake: Keep it simple! Two layers, smooth frosting, lots of chocolate shavings and cherries. Still super delicious!
- Wow Factor: Slice each layer in half to make four thin layers. Use fancy Morello cherries. Make cool chocolate curls. Get creative with piping the cream.
- Seasonal Twist: Usually made with canned/jarred cherries (so you can make it anytime!). But if it’s summer and you have amazing fresh cherries? Go for it! Cook them down a bit with sugar and cornstarch to make your own filling.
Serving & Storing Your Cake Layers (or the Whole Thing!)
You did it! Beautiful cake layers are ready. Here’s how to handle them.
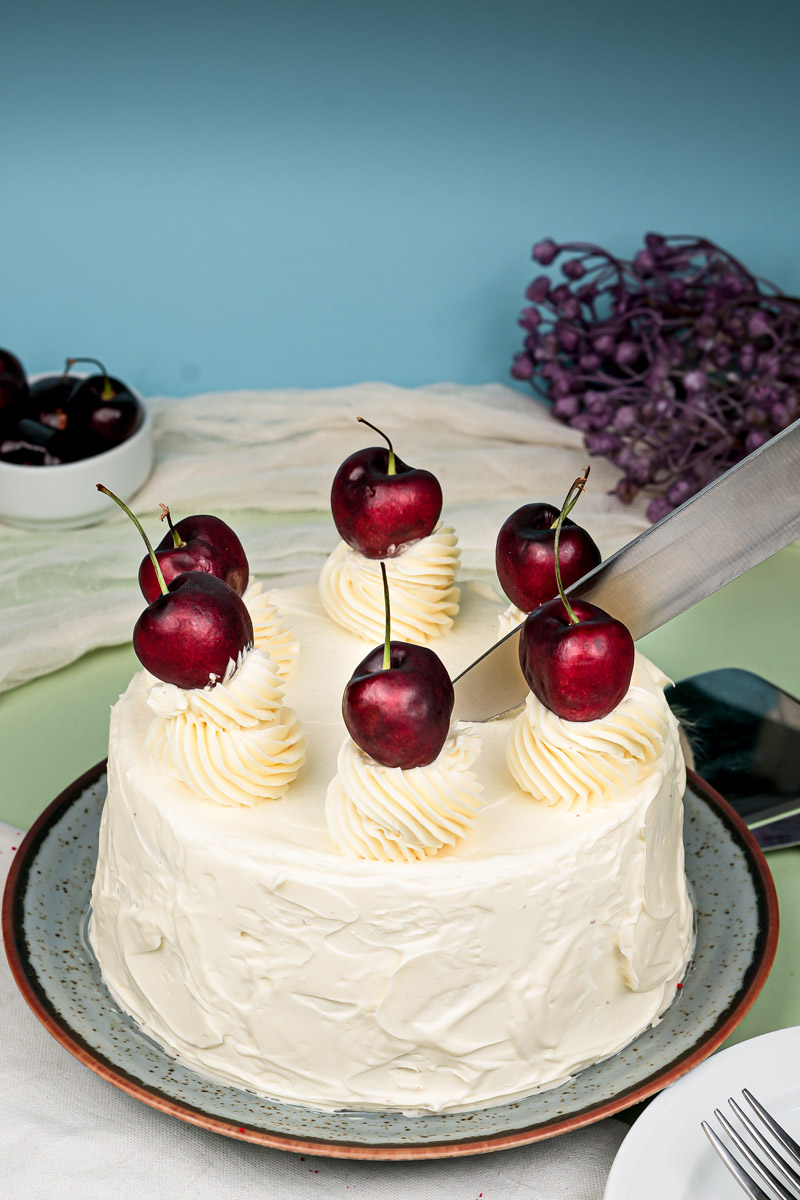
- Serving the Finished Cake: Once it’s all put together, Black Forest Cake is best served chilled. It tastes amazing cold! Use a big, sharp knife to cut slices (wipe the knife clean between cuts for neatness). Maybe add an extra blob of whipped cream on the side? Perfect with coffee or tea.
- Storing Tips:
- Just the Cake Layers: Once they’re totally cool, wrap each layer tightly in plastic wrap. Keep them on the counter for up to 2 days.
- The Assembled Cake: Because of the cream and cherries, the finished cake has to go in the fridge. Cover it well (a cake carrier is great) so it doesn’t dry out or taste like fridge leftovers. It’s good for about 3-4 days, but the whipped cream is best in the first day or two.
- Freezing Tips:
- Cake Layers: These freeze beautifully! Cool completely. Wrap well in plastic wrap, then add a layer of foil or put them in a freezer bag. Label with the date! Freeze for 2-3 months. To thaw, leave them still wrapped in the fridge overnight (this stops them from getting soggy). Then assemble your cake!
- Assembled Cake: Yeah… I wouldn’t freeze the whole finished cake. The whipped cream gets weird and watery when it thaws, and the cherries can make things soggy. Big nope. Freeze the layers, assemble later. Much better!
- Reheating: Nope! This cake is meant to be enjoyed cool.
And that’s it! Everything you need to bake the most delicious, Moist Black Forest Cake layers ever. I really hope this helps you feel ready and excited to bake. Remember, baking is supposed to be fun! Enjoy the process, breathe in those amazing smells, and get ready for some seriously tasty results!
Happy Baking!
PrintBlack Forest Cake
Ready to bake the BEST chocolate cake layers for your Black Forest cake? This recipe makes them super moist, rich, and perfect for stacking. They’re the amazing foundation for that classic dessert. Let’s do this!
- Prep Time: 20 mins
- Cook Time: 40 mins
- Total Time: 1 hr (+ Cooling Time!)
- Yield: 15–16 servings (Two 8 or 9-inch layers) 1x
- Category: Dessert, Cake Base
- Cuisine: German-inspired
Ingredients
- 2 cups all-purpose flour (spooned & leveled!)
- 1/3 cup unsweetened cocoa powder
- 1.5 cups granulated sugar
- 2 tsp baking soda
- 1 tsp baking powder
- 1 tsp salt
- 1/2 cup canola or vegetable oil
- 2 large eggs (room temp!)
- 1/2 cup full-fat sour cream (room temp!)
- 1/2 cup buttermilk (room temp!)
- 2 tsp pure vanilla extract
- 1/4 cup hot water or hot brewed coffee
Instructions
- Get Ready: Fire up your oven to 350°F (175°C). Grease and flour two 8 or 9-inch round cake pans. Pro tip: Line the bottoms with parchment paper for easy release!
- Dry Mix: Grab a big bowl. Whisk together the flour, cocoa, sugar, baking soda, baking powder, and salt. Make sure there are no sneaky cocoa clumps!
- Wet Mix: In a separate medium bowl, whisk the oil, room-temp eggs, room-temp sour cream, room-temp buttermilk, and vanilla until nice and smooth.
- Combine: Pour the wet ingredients into the dry ingredients. Using a spatula, mix just until you don’t see big streaks of flour. Seriously, don’t overmix! A few lumps are totally fine.
- Hot Liquid Magic: Gently stir in the hot water or coffee until just blended. The batter will get thinner – that’s perfect!
- Bake Time: Divide the batter evenly between your prepared pans. Bake for 35-40 minutes. You’ll know they’re done when a wooden skewer poked into the center comes out clean (or with a few moist crumbs).
- Cool Down is Crucial: Let the cakes cool in their pans on a wire rack for about 15-20 minutes. Then, carefully flip them out onto the rack, peel off the parchment (if using), and let them cool completely. And I mean completely – no cheating! Warm cakes = messy assembly.
Notes
- Serving Ideas: These layers are your delicious starting point! Once cool, level the tops, maybe brush with some simple syrup (or cherry syrup!), then layer with whipped cream and that yummy cherry filling for the full Black Forest Cake experience. Serve the finished cake chilled!
- Tips & Tricks: Room temp ingredients (eggs, sour cream, buttermilk) really do make a difference! Spoon your flour into the measuring cup, don’t scoop. Using hot coffee instead of water makes the chocolate flavor even deeper. Never try to assemble or frost a warm cake – patience pays off!
- Storage:
- Layers Only: Once totally cool, wrap tightly in plastic wrap. They’re good at room temp for up to 2 days. For longer storage, wrap well (plastic wrap + foil/freezer bag) and freeze for 2-3 months. Thaw still wrapped in the fridge overnight.
- Assembled Cake: Keep the finished cake covered in the fridge. Enjoy within 3-4 days (cream is best in the first 2). Don’t freeze the assembled cake – it gets weird.