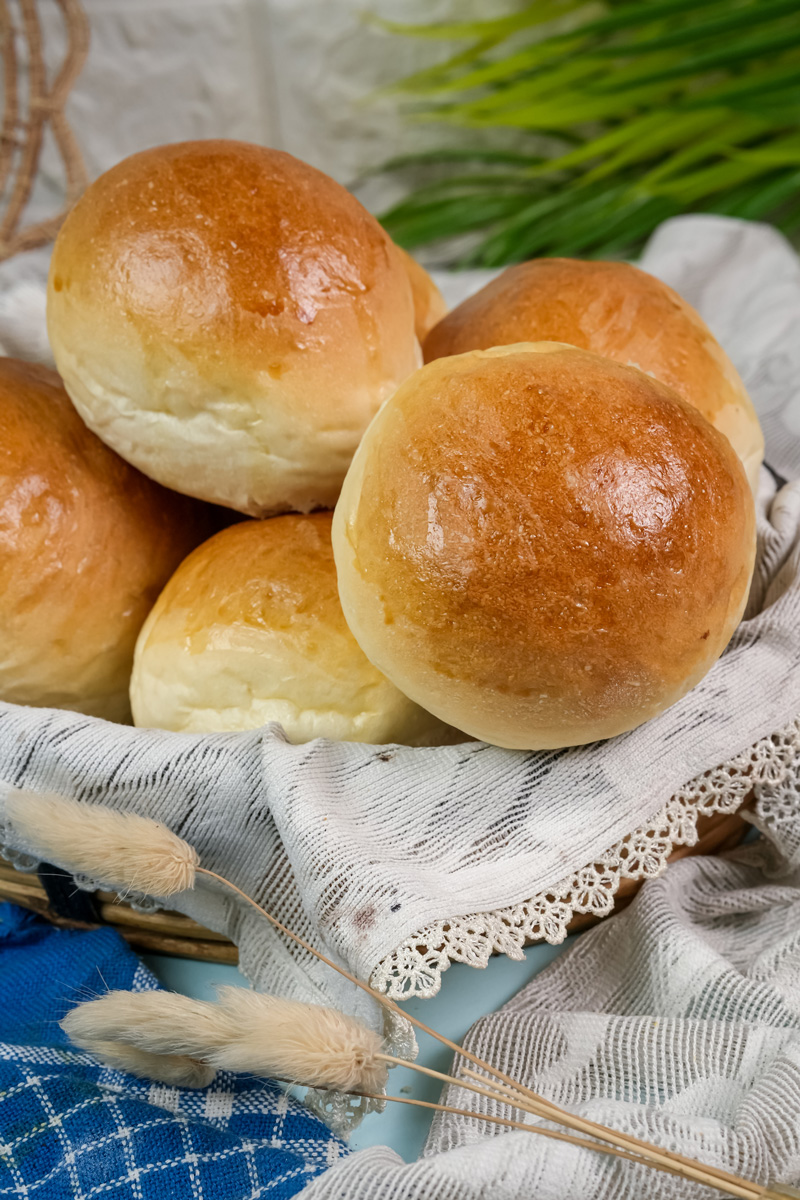
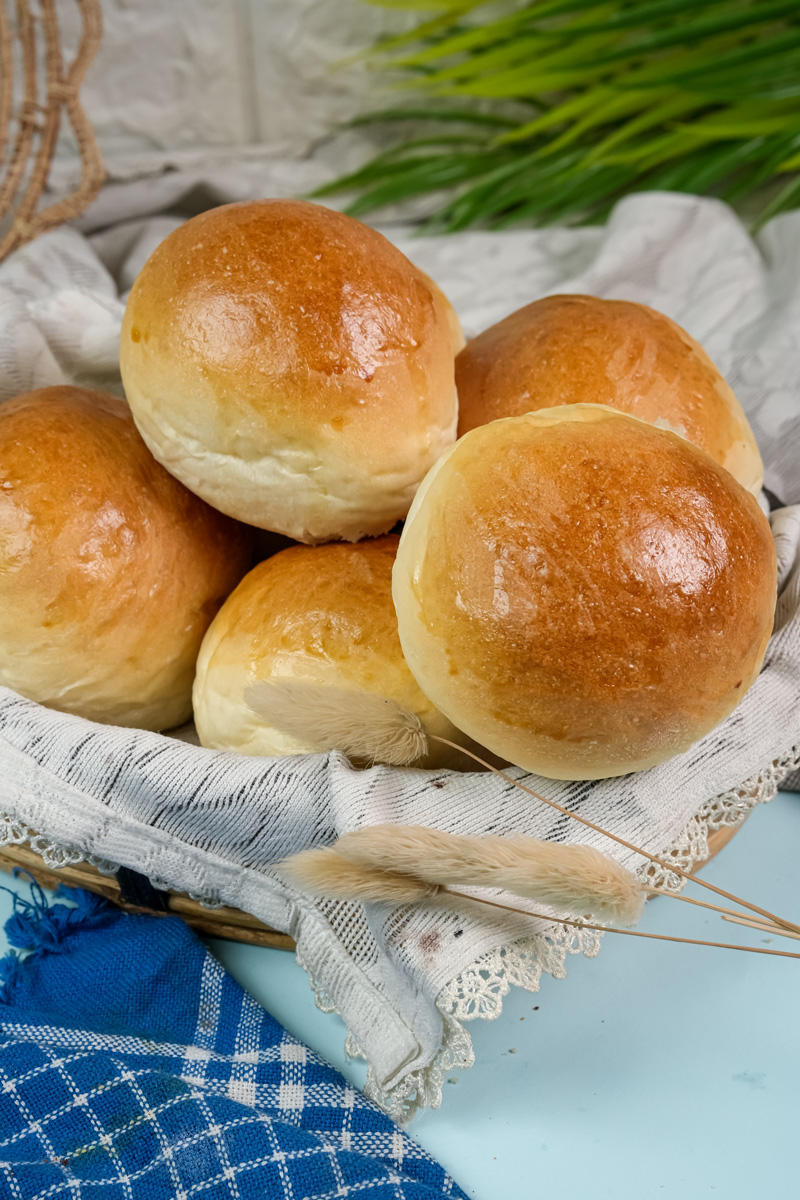
There’s something so comforting about a bread bowl. Tearing into that warm, crusty bread that’s soaked up all the flavor from a hot soup? It’s just the best. It turns a simple meal into a special occasion.
I used to think making them from scratch was way too complicated. Something only bakeries did. But let me tell you, it’s one of the most rewarding kitchen projects you can do, and it’s way easier than it looks.
Believe it or not, people have been eating out of bread for ages. Back in the Middle Ages, they used stale bread called “trenchers” as plates. They’d pile stew on top, and once they were done, they could eat the sauce-soaked bread. Smart, right?
This recipe is my take on that classic idea. It creates a bread bowl that’s tough enough to hold your heartiest chili but still soft and fluffy on the inside. So, let’s roll up our sleeves. I’ll walk you through everything, step-by-step. I promise, the smell of fresh bread baking in your oven is worth it all by itself.

What to Expect: A Quick Look
Before we get dough on our hands, here’s a quick rundown. Knowing the plan makes everything feel less stressful and more fun.
- How long will this take? Plan for about 2 hours and 15 minutes. But don’t worry, most of that is hands-off time while the dough rises. You’ve got about 20 minutes of actual work and 25 minutes of baking. It’s the perfect time to get your soup ready or just kick back with a cup of coffee.
- How many does it make? This recipe gives you 3 good-sized bread bowls. If you’re having people over, you can easily double or triple it. I made a little chart to make it easy.
| Servings | Water | Yeast (Packets) | Sugar | Flour | Salt | Olive Oil | Egg Wash (egg white + water) |
| 3 | 1 1/4 cups | 1 | 1 Tbsp | 3 cups | 1 1/2 tsp | 2 Tbsp | 1 egg white + 1 Tbsp water |
| 6 | 2 1/2 cups | 2 | 2 Tbsp | 6 cups | 3 tsp (1 Tbsp) | 4 Tbsp | 1-2 egg whites + 1-2 Tbsp water |
| 9 | 3 3/4 cups | 3 | 3 Tbsp | 9 cups | 4 1/2 tsp | 6 Tbsp | 2 egg whites + 2 Tbsp water |
- Is it hard? Nope! I’d call this one beginner-friendly. If you’ve never worked with yeast before, this is the perfect recipe to start with. The dough is not fussy at all.
- What gear do I need? Nothing fancy. You’ll need a big mixing bowl, a baking sheet, and some parchment paper. A stand mixer with a dough hook is a lifesaver for kneading, but doing it by hand is a nice little workout and works just as well. A pastry brush is also great for the egg wash, but honestly, the back of a spoon gets the job done.
What You’ll Need: The Ingredients
Good bread comes from simple stuff. Here’s the breakdown.
For three bowls, you need:
- 1 1/4 cups very warm water
- 1 packet (2 1/4 tsp) active dry yeast
- 1 Tbsp sugar
- 3 cups flour
- 1 1/2 tsp salt
- 2 Tbsp olive oil
- 1 egg white + 1 Tbsp water (for the egg wash)
Let’s talk about these for a second. The water temperature is key. You want it to be “very warm,” around 110°F (43°C). It should feel like a warm bath on your wrist. The first time I made bread, I used water that was too hot and it killed my yeast. Nothing happened. Total dud. Too cold, and the yeast won’t wake up.
The sugar is food for the yeast. It gets it all bubbly and active. For the flour, you can use regular all-purpose flour and get a great, soft bread bowl. But… if you can find bread flour, use it! It has more protein, which means a chewier bread and a stronger bowl that won’t turn to mush when you add the soup. The salt adds flavor, and the olive oil makes the inside of the bread soft and tender.

Let’s Get Baking: Step-by-Step
Okay, time for the fun part! I’ll walk you through every step.
1. Wake Up the Yeast
Pour your very warm water into a large bowl (or the bowl of your stand mixer). Sprinkle the yeast and sugar on top. Give it a little stir, then walk away for 10 minutes. When you come back, it should be foamy and smell bready. That’s how you know the yeast is alive and ready to work. If it’s still just flat water, your yeast might be old. It’s better to toss it and start again with a fresh packet.

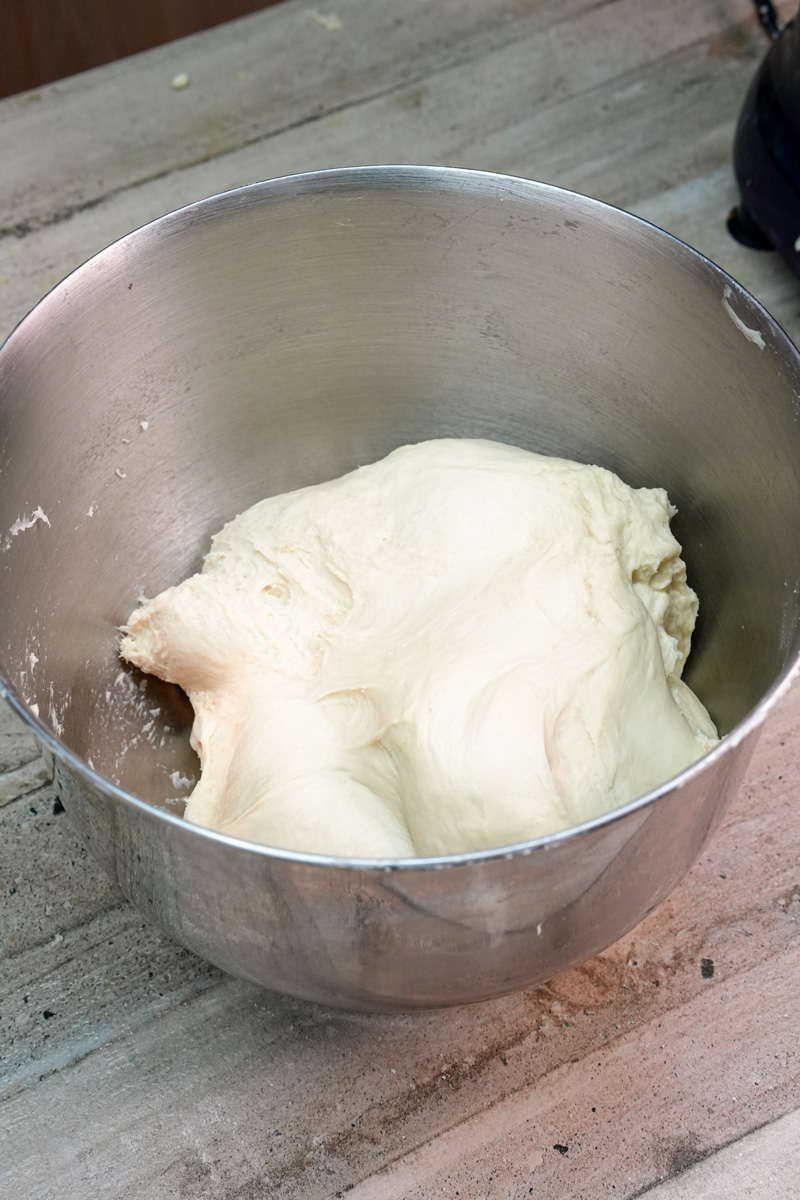
2. Make the Dough
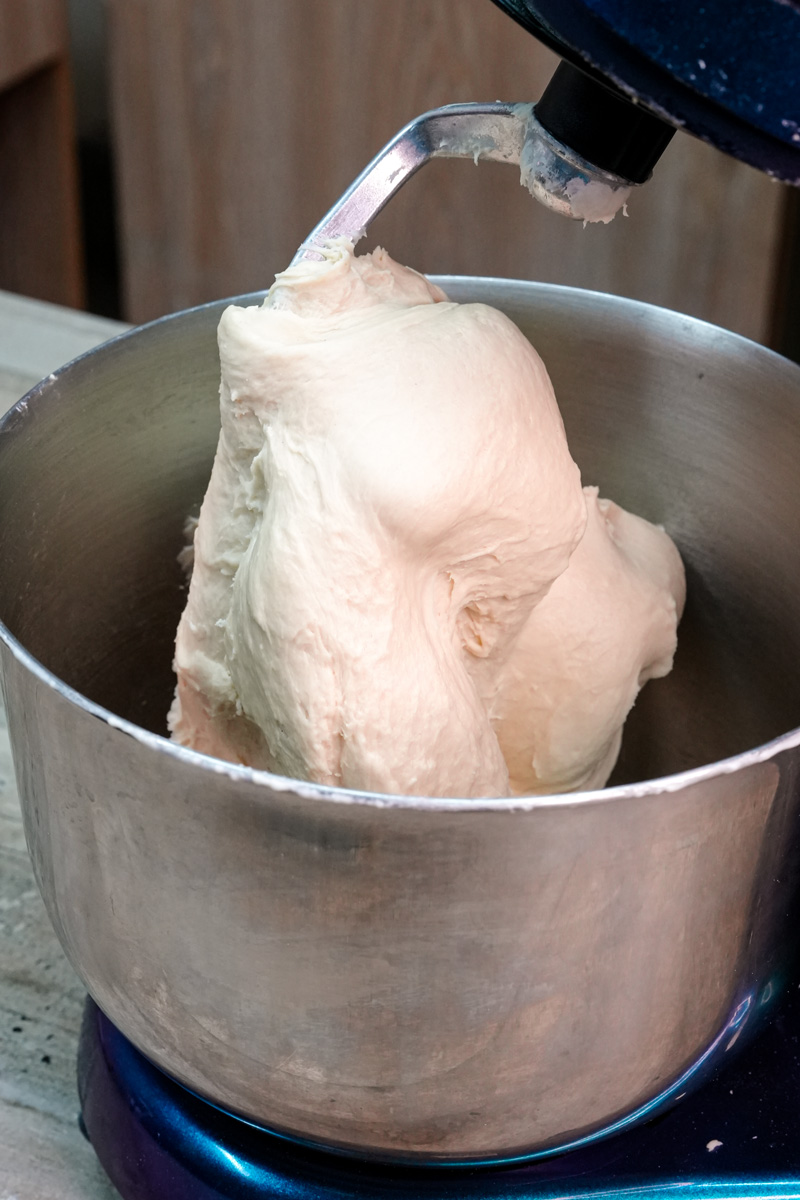
If you’re using a stand mixer, pop on the dough hook. Turn it on low and add the flour and salt. I like to add the flour one cup at a time so it doesn’t fly everywhere. Once it’s mixed in a bit, drizzle in the olive oil.
Let the mixer run for a few minutes. The dough will go from a shaggy mess to a soft ball that pulls away from the sides of the bowl. It should be a little sticky, but not a gloopy mess.
No mixer? No problem. Just mix everything with a spoon, then dump it onto a floured counter and knead by hand for about 8-10 minutes. You want it to be smooth and springy.
3. The First Rise (The Easiest Part)
Lightly oil a large bowl. Plop your dough ball in there and turn it over so it gets a light coating of oil. This keeps it from drying out. Cover the bowl with a dish towel or some plastic wrap.
Now, find a warm, cozy spot for it to rest. My trick? I turn my oven light on (with the oven off) and stick the bowl in there. It’s the perfect warm little dough-spa. Let it rise for about an hour, or until it’s doubled in size. It’s pretty cool to see.
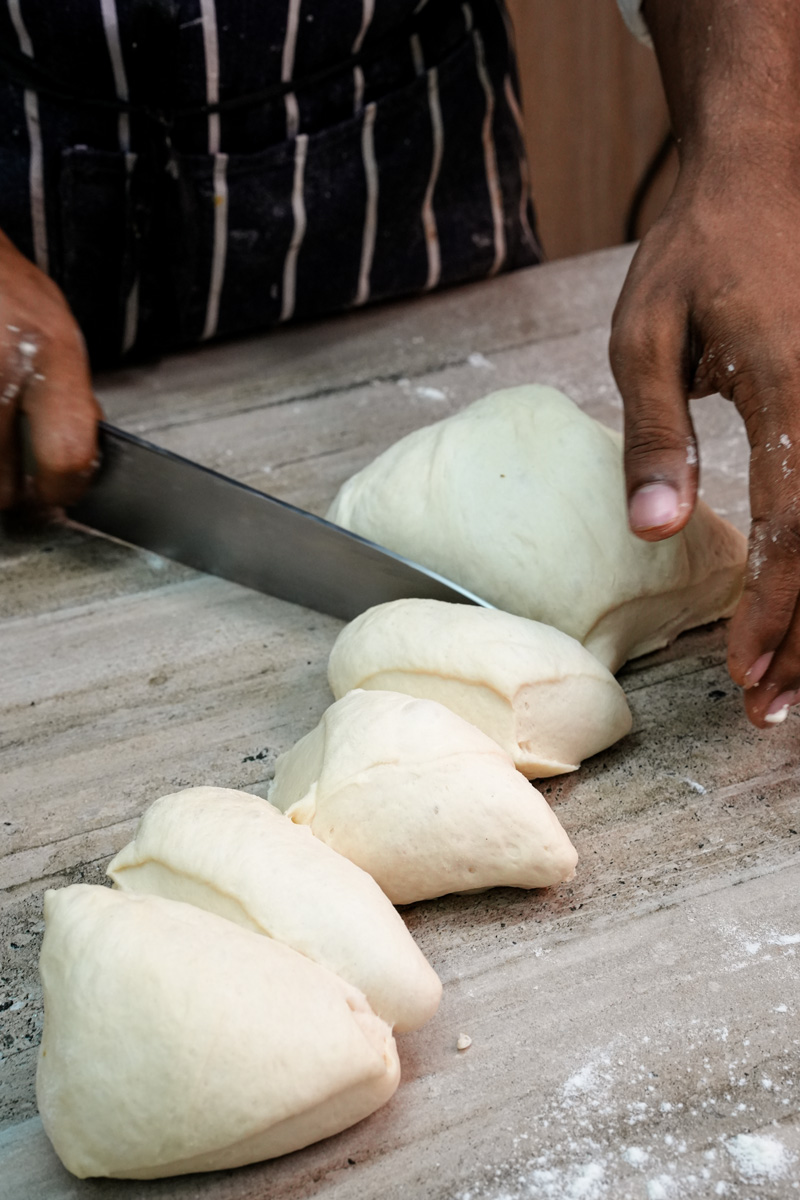
4. Shape the Bowls and Rise Again
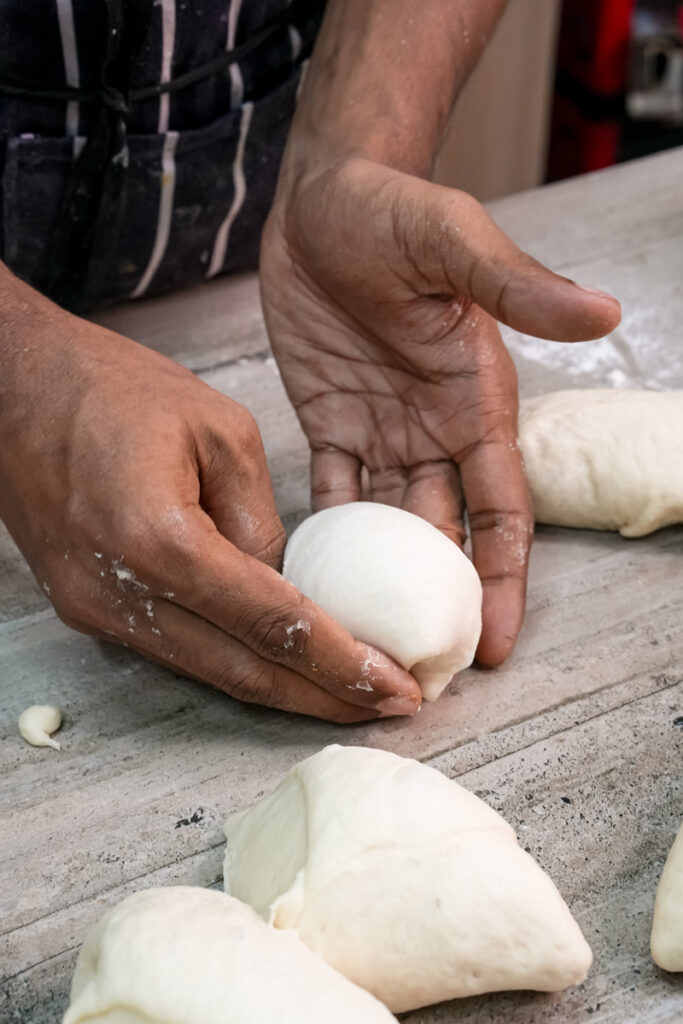
Gently punch the air out of the dough. Move it to a lightly floured counter and cut it into 3 equal pieces. To shape them, roll each piece into a ball. Then, to make sure they rise up instead of out, pull the dough from the top and tuck it underneath, pinching the seam at the bottom. This creates a nice, tight surface.
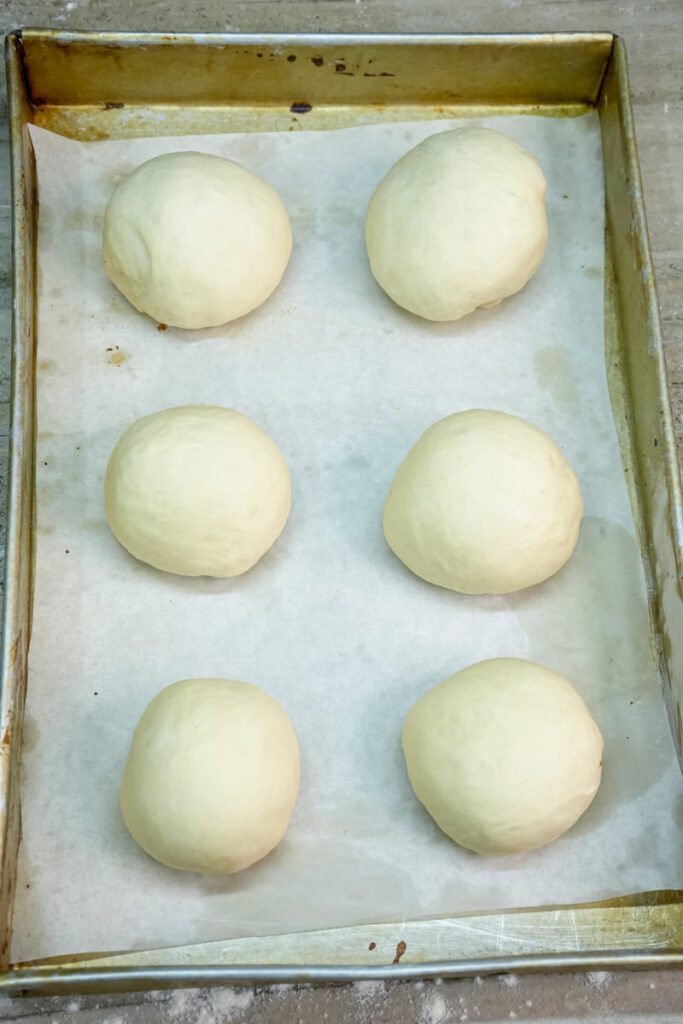
Place your dough balls on a baking sheet lined with parchment paper, making sure to leave space between them. Cover them with the towel again and let them hang out for another 30 minutes. They’ll get a little puffier.
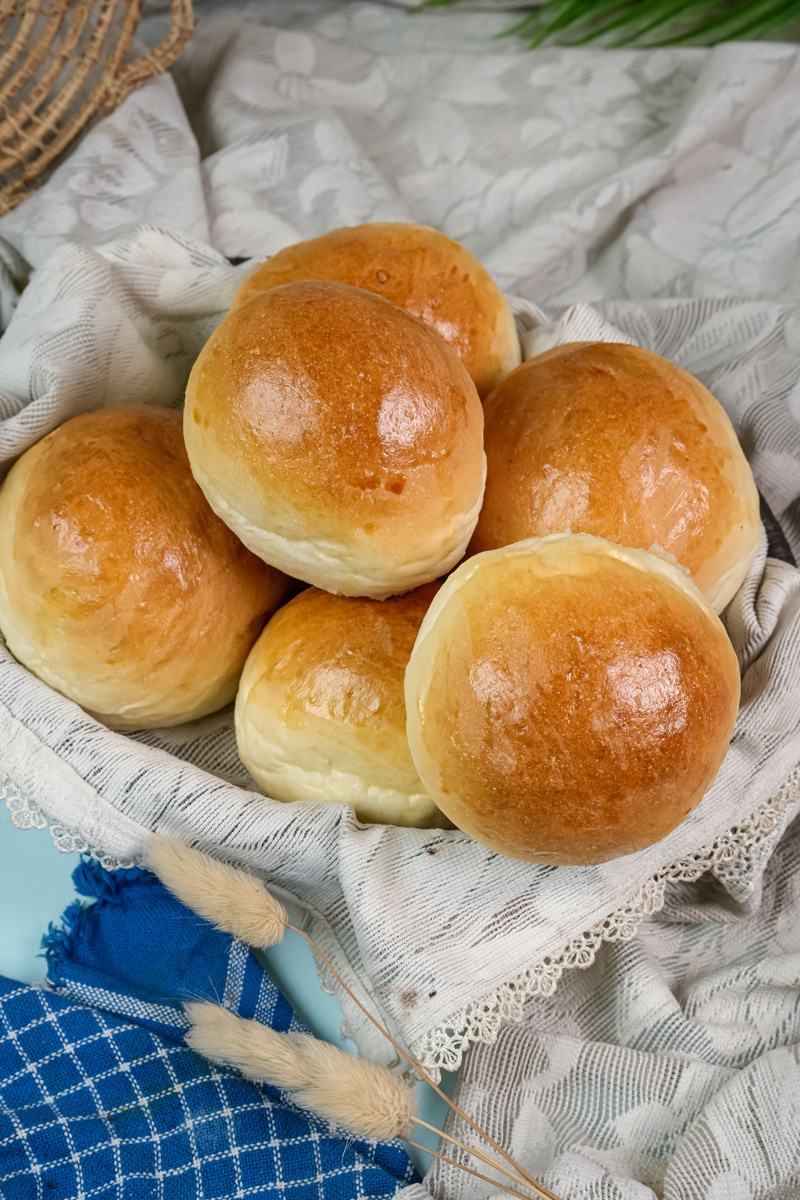
5. Bake to Golden-Brown Goodness
While the bowls are on their final rise, preheat your oven to 400°F (200°C).
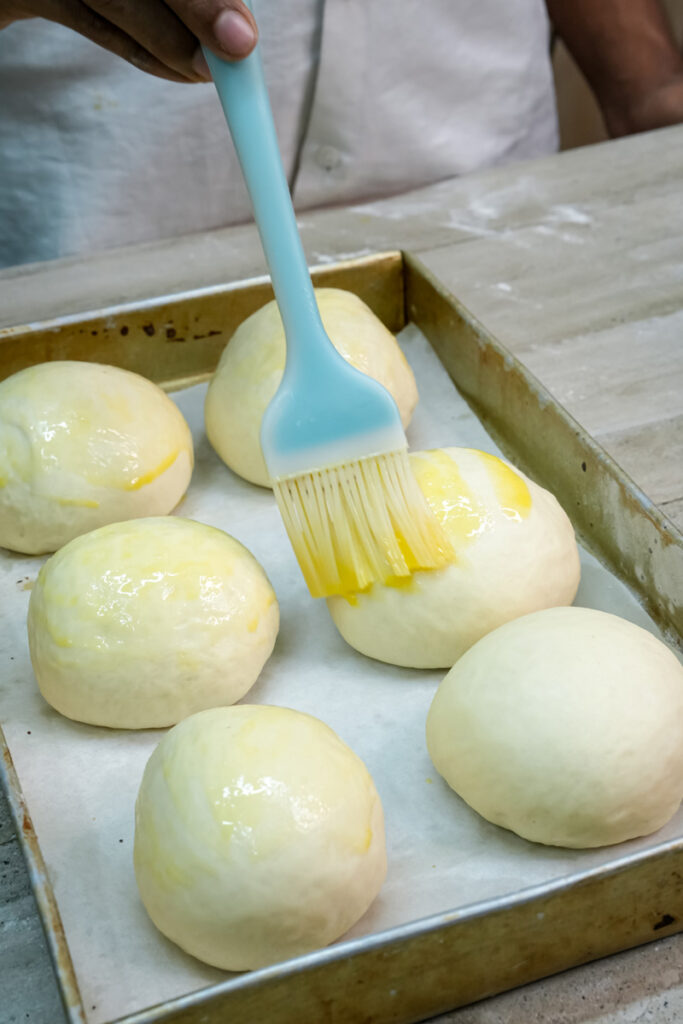
In a small bowl, whisk the egg white with 1 tablespoon of water. After the 30 minutes are up, gently brush this egg wash all over your dough balls. This is the secret to getting that beautiful, shiny, golden crust.
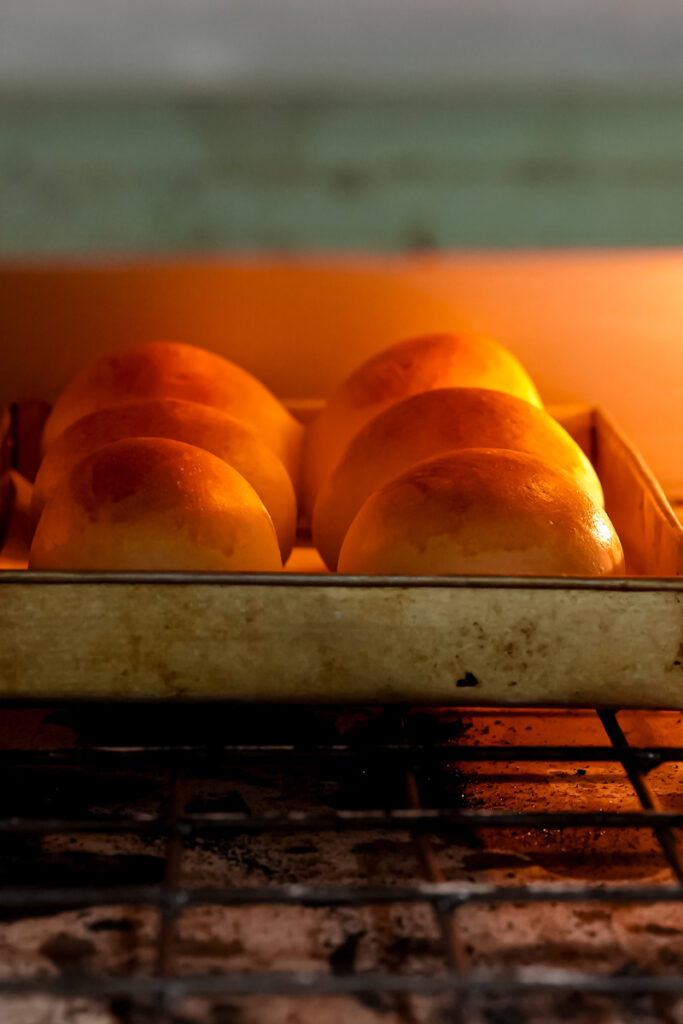
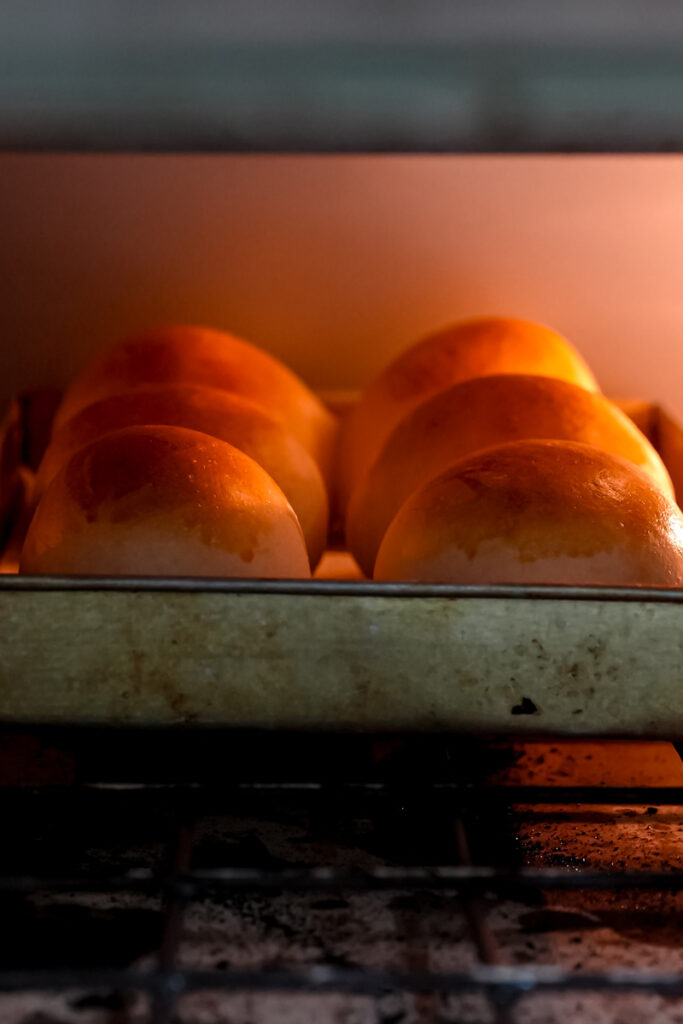
Slide them into the hot oven and bake for about 25 minutes. Ovens can be different, so peek at them around the 20-minute mark. They’re done when they’re a deep golden brown and sound hollow when you tap the bottom.

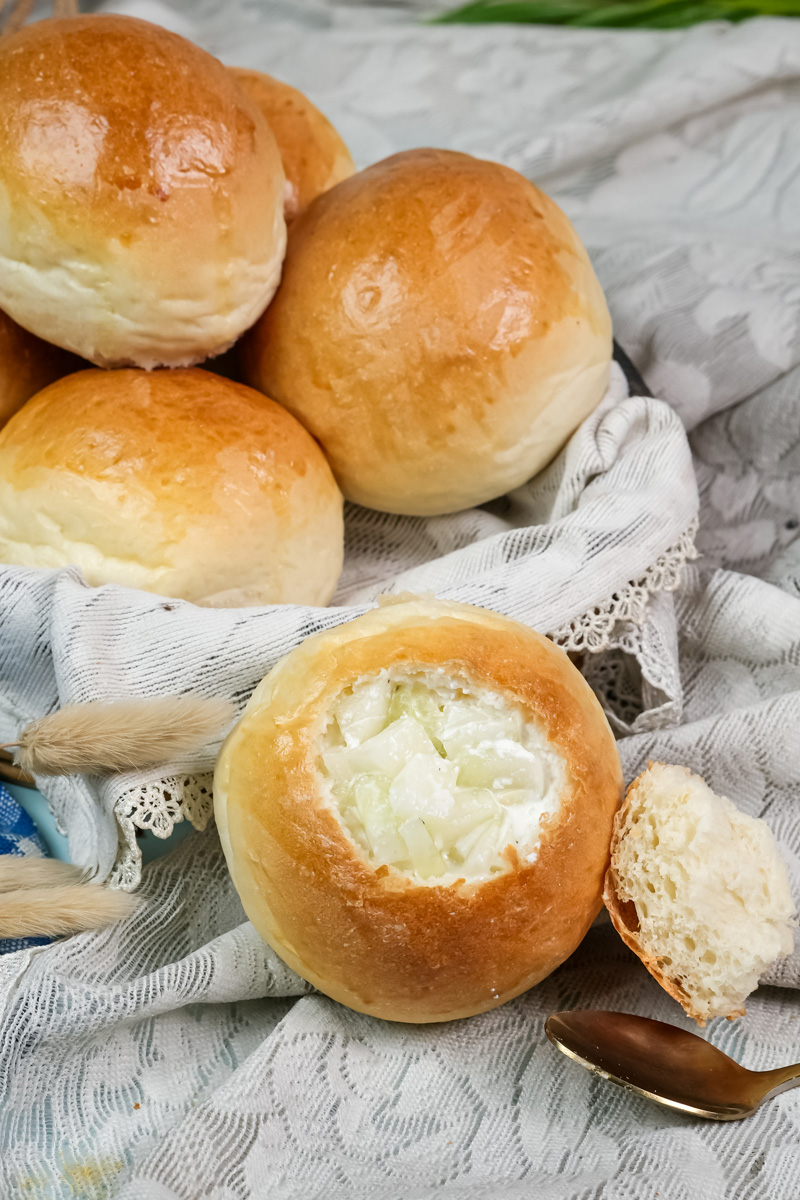
6. Make it a “Bowl”
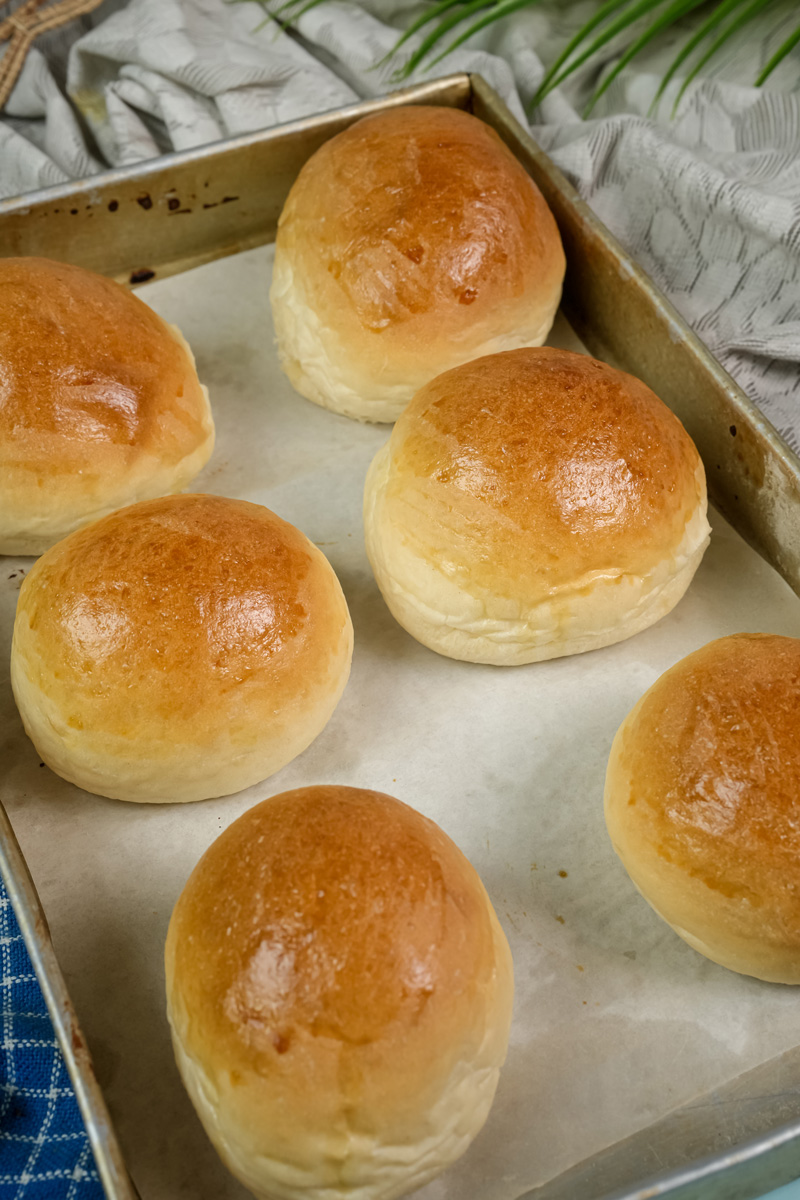
Let the bread cool on a wire rack for at least 20 minutes. It’s tempting to cut into them right away, but they need to set.
Once they’re cool enough to handle, take a serrated knife and cut a circle in the top. Angle the knife inward, like you’re carving a pumpkin. Pop the lid off, then use your fingers to pull out the soft bread from the inside. Leave about a half-inch wall all around.
And that’s it! You’ve got a perfect, edible bowl. And whatever you do, don’t throw out the bread guts! They make the best croutons or breadcrumbs.
Mix It Up: Fun Ideas
This basic recipe is a great starting point. Here are a few ways to make it your own:
- Add Flavors: Throw some herbs like dried rosemary, or some garlic powder, into the flour. For cheesy bread bowls, knead in about 3/4 cup of shredded cheddar or parmesan cheese right at the end.
- Make it Vegan: Just skip the egg wash. The crust will be more rustic and matte, but still delicious. You can brush them with a little olive oil before baking if you want a little sheen.
- Add Toppings: After brushing on the egg wash (or olive oil), sprinkle the tops with coarse sea salt, sesame seeds, or my personal favorite, everything bagel seasoning.
How to Serve and Store Your Bowls
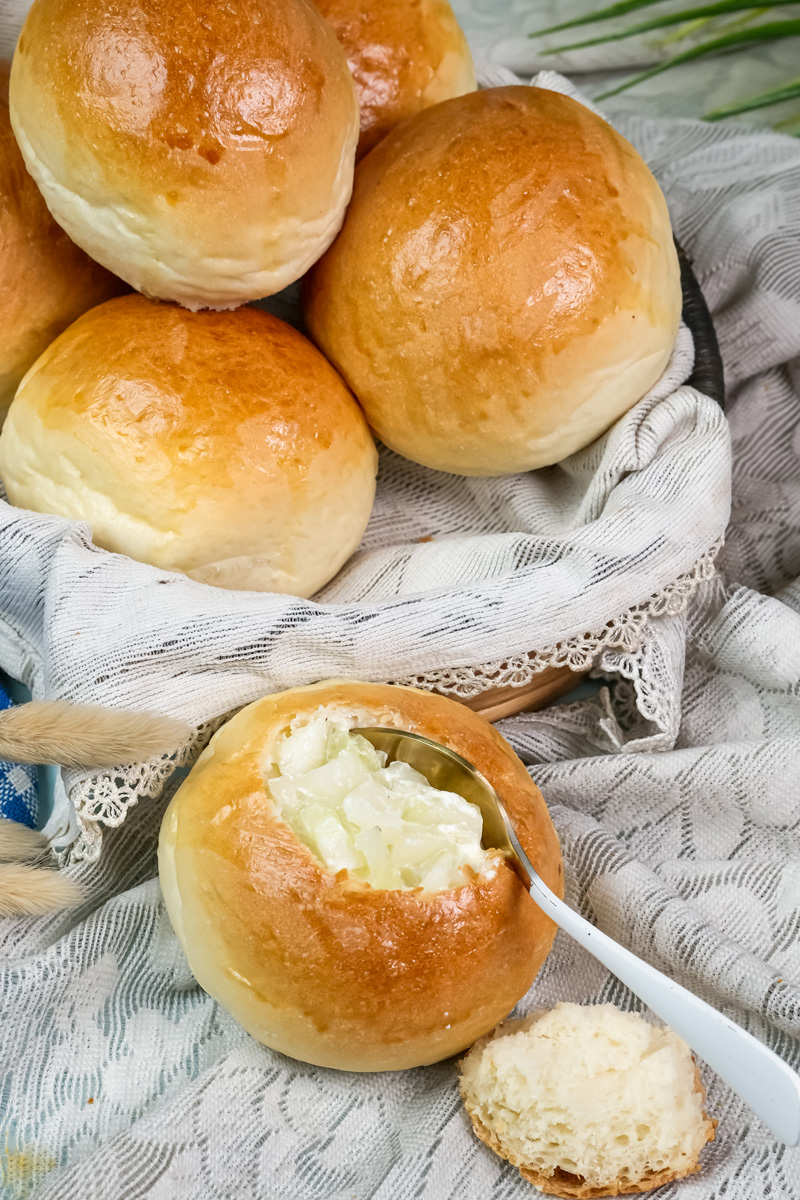
Fill your amazing new bread bowls with a thick soup, like clam chowder or broccoli cheddar. They work best with creamy soups that won’t soak through too fast.
- Storing Leftovers: If you have any unfilled bowls, keep them in a paper bag on the counter for a day or two. A plastic bag will make the crust go soft.
- Making Ahead & Freezing: These are perfect for planning ahead.
- To Freeze Baked Bowls: Let them cool completely. Wrap each one tightly in plastic wrap and then put them in a freezer bag. They’re good for about 3 months. When you want to eat one, let it thaw on the counter, then pop it in a 350°F (175°C) oven for 10-15 minutes to warm up.
- To Freeze the Dough: After the first rise, shape the dough into balls. Put them on a baking sheet and freeze them solid. Then, you can toss the frozen dough balls into a freezer bag. To bake, let them thaw and rise on a parchment-lined sheet for 2-4 hours, then bake as usual.
I really hope you have fun making—and eating—these. Happy baking!
PrintHomemade Bread Bowls
There’s nothing better than serving soup in a warm, crusty bread bowl you made yourself. This simple recipe walks you through creating sturdy, golden-brown bowls with a soft, fluffy inside. They are perfect for turning any soup night into a special occasion.
- Prep Time: 20 minutes
- Cook Time: 25 minutes
- Total Time: 2 hours 15 minutes (+Rising Time)
- Yield: 3 bowls 1x
- Category: Bread, Side Dish
- Cuisine: American/European
Ingredients
- 141 cups very warm water (about 110°F or 43°C)
- 1 packet (241 tsp) active dry yeast
- 1 Tbsp sugar
- 3 cups bread flour (all-purpose works too)
- 121 tsp salt
- 2 Tbsp olive oil
For the Shiny Crust:
- 1 egg white
- 1 Tbsp water
Instructions
- Activate the Yeast: In a large bowl, gently stir the warm water, yeast, and sugar. Let it sit for 10 minutes. It should become foamy—if not, your yeast may be old.
- Form the Dough: Add the flour, salt, and olive oil to the yeast mixture. Mix until a shaggy dough forms, then knead on a floured surface for 8-10 minutes (or with a stand mixer for 5-7 minutes) until the dough is smooth and elastic.
- First Rise: Place the dough in a lightly oiled bowl, cover it, and let it rise in a warm place for 1 hour, or until it has doubled in size.
- Shape and Second Rise: Gently deflate the dough and divide it into 3 equal pieces. Roll each piece into a ball, tucking the seams underneath to create a tight surface. Place them on a baking sheet lined with parchment paper, cover, and let them rise for another 30 minutes.
- Bake the Bowls: Preheat your oven to 400°F (200°C). In a small bowl, whisk the egg white and water together. Brush this egg wash over the tops of the dough balls. Bake for 25 minutes, until they are deep golden brown and sound hollow when tapped.
- Carve: Let the bread cool on a wire rack for at least 20 minutes. Use a serrated knife to cut a circular “lid” from the top of each. Scoop out the soft bread from the inside, leaving about a 21-inch thick wall.
Notes
- Serving Suggestion: These bowls are perfect for thick, creamy soups like broccoli cheddar, clam chowder, or a hearty chili. Fill them right before serving to keep the bowls from getting soggy.
- Tip for Success: Using bread flour will give you a chewier, sturdier bowl that holds up better to soup. Also, don’t throw away the soft bread you scoop out—toss it with olive oil and herbs to make amazing croutons!
- Storage and Reheating: Store baked, unfilled bowls in a paper bag at room temperature for up to 2 days. To freeze, wrap cooled bowls tightly in plastic wrap and store them in a freezer bag for up to 3 months. Reheat in a 350°F (175°C) oven for 10-15 minutes until warm and crusty.