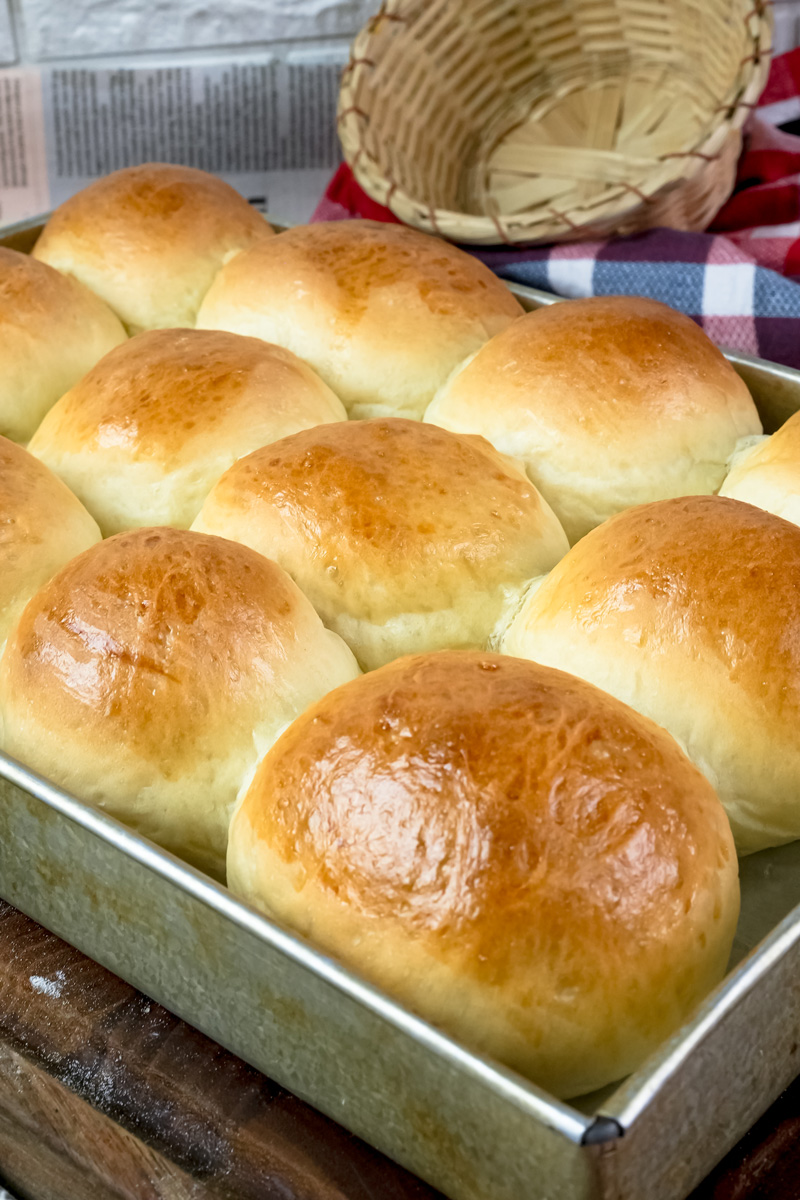
There’s nothing quite like the smell of fresh bread baking in the oven. It just makes a house feel like a home. For years, I thought making my own burger buns was something reserved for professional bakers. I’d buy those sad, plastic-wrapped buns from the store, and they’d always fall apart or taste like, well, cardboard.
Then I found this recipe. And it changed everything.
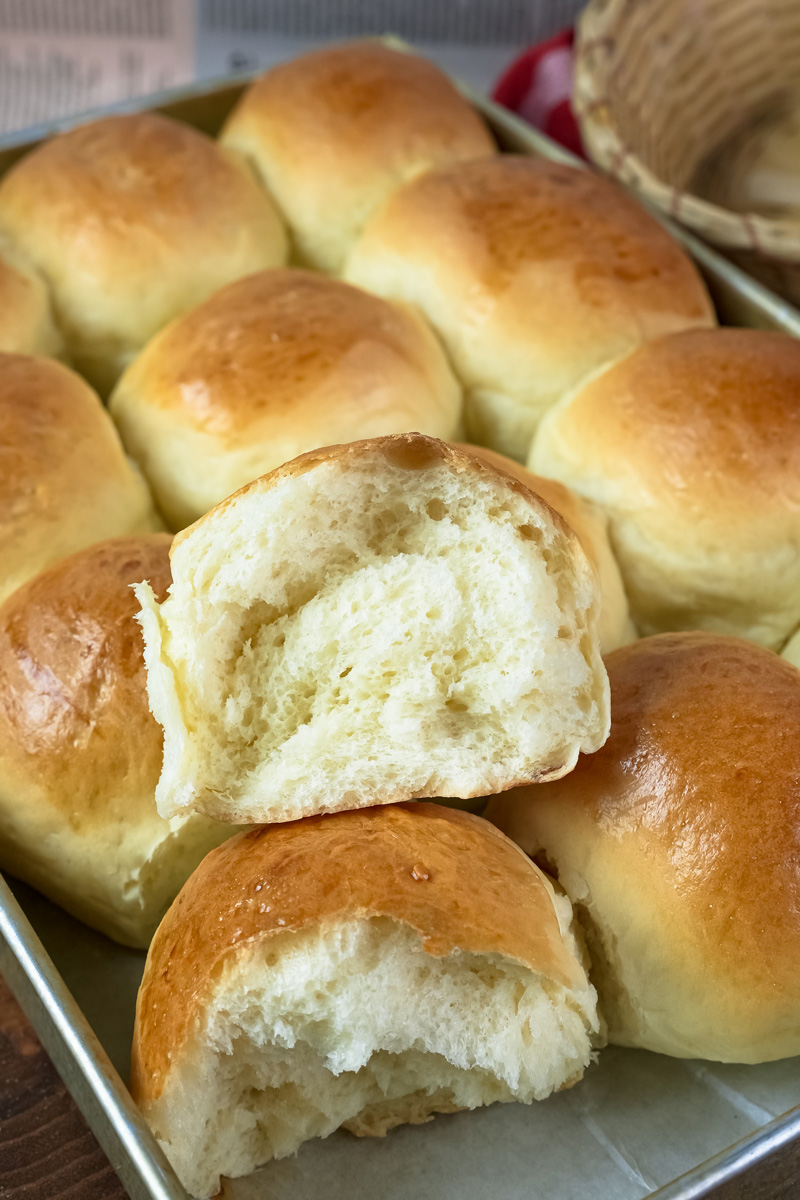
I’m here to tell you that creating soft, delicious, bakery-quality buns at home is not only doable, but it’s also incredibly rewarding. This isn’t some super-complicated, all-day affair. It’s a straightforward recipe that has become my absolute go-to. It works every single time.
So, roll up your sleeves. Let’s bake some amazing buns together. I’ll share all the little tips I’ve learned so you can nail it on your first try.
Our Game Plan
Before we start throwing flour around, let’s take a quick look at the plan. Knowing what’s ahead makes the whole process way less stressful and a lot more fun.
How Long Will This Take?
- Active Time: About 30 minutes of hands-on work.
- Rising Time: Around 2 hours (this is mostly hands-off time!).
- Baking Time: 18-22 minutes.
- Total Time: A little under 3 hours from start to finish.
How Many Buns Does This Make?
This recipe makes 12 good-sized buns. Perfect for a family BBQ or for stocking the freezer. But what if you don’t need that many? Or what if you need more? No worries. The dough is super flexible.
I made this little table to make scaling the recipe a breeze.
| Servings | Water (for yeast) | Yeast | Sugar (for yeast) | Water (for dough) | Butter | Sugar (for dough) | Salt | Flour |
| 6 Buns (Half) | 1/4 cup | 1 ½ tsp | ½ tsp | 1 cup | 1/4 cup | 2 ½ tbsp | ½ tbsp | 3 – 3.5 cups |
| 12 Buns (Full) | 1/2 cup | 1 tbsp | 1 tsp | 2 cups | 1/2 cup | 1/3 cup | 1 tbsp | 6 – 7 cups |
| 24 Buns (Double) | 1 cup | 2 tbsp | 2 tsp | 4 cups | 1 cup | 2/3 cup | 2 tbsp | 12 – 14 cups |
How Hard Is This, Really?
I’d call this a beginner-friendly recipe. Seriously. If you’re new to working with yeast, this is the perfect place to start. The steps are simple, and I’ll tell you exactly what to look and feel for. If you’re an experienced baker, this will be a reliable classic you can add to your rotation.
What Tools Do I Need?
You don’t need a fancy kitchen. But a few things will make your life easier.
- Must-Haves:
- Large Mixing Bowl
- Measuring Cups and Spoons
- Baking Sheets
- Parchment Paper
- Really Nice-to-Haves:
- Stand Mixer with a Dough Hook: I won’t lie, this is my best friend for this recipe. It does all the heavy lifting (kneading) for you.
- Kitchen Scale: If you want perfectly uniform buns, a scale is the way to go. Baking is a science, and weighing ingredients, especially flour, is the best way to get consistent results.
What if I don’t have a stand mixer? No problem! Your own two hands are the original kitchen gadget. You’ll just need to knead the dough on a floured counter for about 10-15 minutes. It’s a great little workout!
Can I Make These Ahead of Time?
Yes! And this is a lifesaver. Life gets busy, right?
The good news? This dough is patient. After the first rise, you can punch it down, cover the bowl tightly, and pop it in the fridge for up to 24 hours. When you’re ready to bake, just let the dough sit on the counter for 30 minutes to warm up a bit before you shape it.
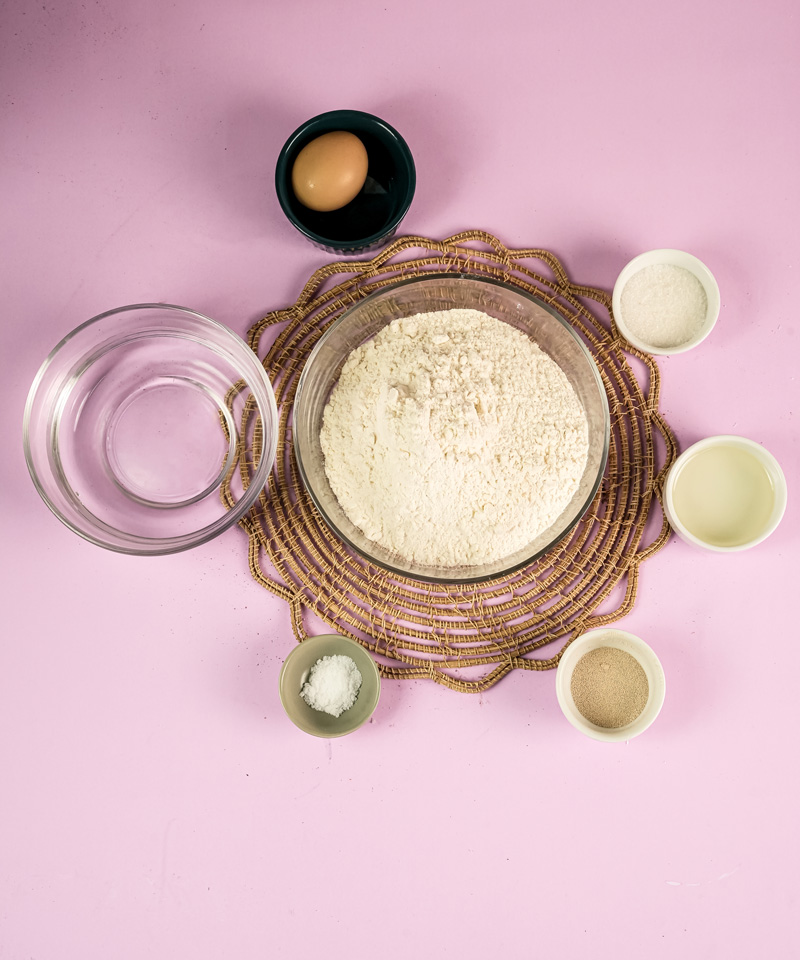
The Ingredients: Our Building Blocks
Great buns start with good ingredients. Let’s talk about what we need.
First up, the magic ingredient: 1 tablespoon of instant or active dry yeast. We’ll wake it up with 1/2 cup of warm water (it should feel like a warm bath, around 105-110°F or 40-43°C) and 1 teaspoon of granulated sugar. Think of the sugar as the yeast’s breakfast. It gets it energized and ready to work.
For the main dough, you’ll need:
- 2 cups of warm water
- 1/2 cup of melted unsalted butter
- 1/3 cup of granulated sugar
- 1 tablespoon of salt
Using unsalted butter is a pro-move because it lets you control the saltiness. The sugar adds just a hint of sweetness and helps make the buns super tender.
And the star of the show: 6 to 7 cups of all-purpose flour. AP flour gives us that classic soft, fluffy texture we’re looking for. The most important thing, which we’ll talk about in a minute, is to add the flour slowly. It’s easier to add more flour than it is to take it out.
Oh, and have a little extra melted butter ready for the end. It’s the secret to that shiny, golden top.
The Step-by-Step Guide: Let’s Do This!
Okay, aprons on. Here comes the fun part. Follow along, and I’ll point out all the little details.
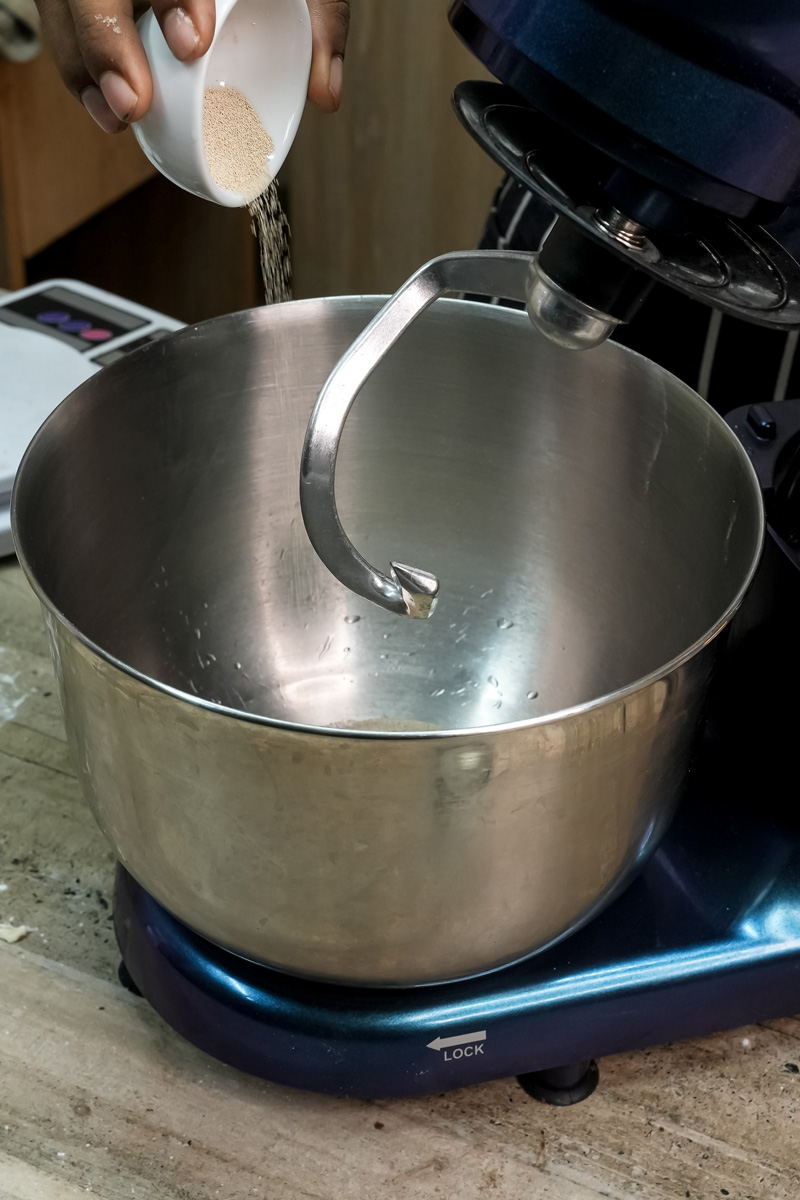
Step 1: Wake Up the Yeast
First, we need to make sure our yeast is alive and well. In a small bowl, mix the 1/2 cup warm water, 1 tablespoon yeast, and 1 teaspoon sugar. Let it sit for 5-10 minutes.
You should see it get foamy and bubbly. It will also smell a little bit like beer. That’s a good sign! If nothing happens, your yeast might be old, or the water was too hot and killed it. It’s best to toss it and start again. This simple check saves you from wasting all your other ingredients.
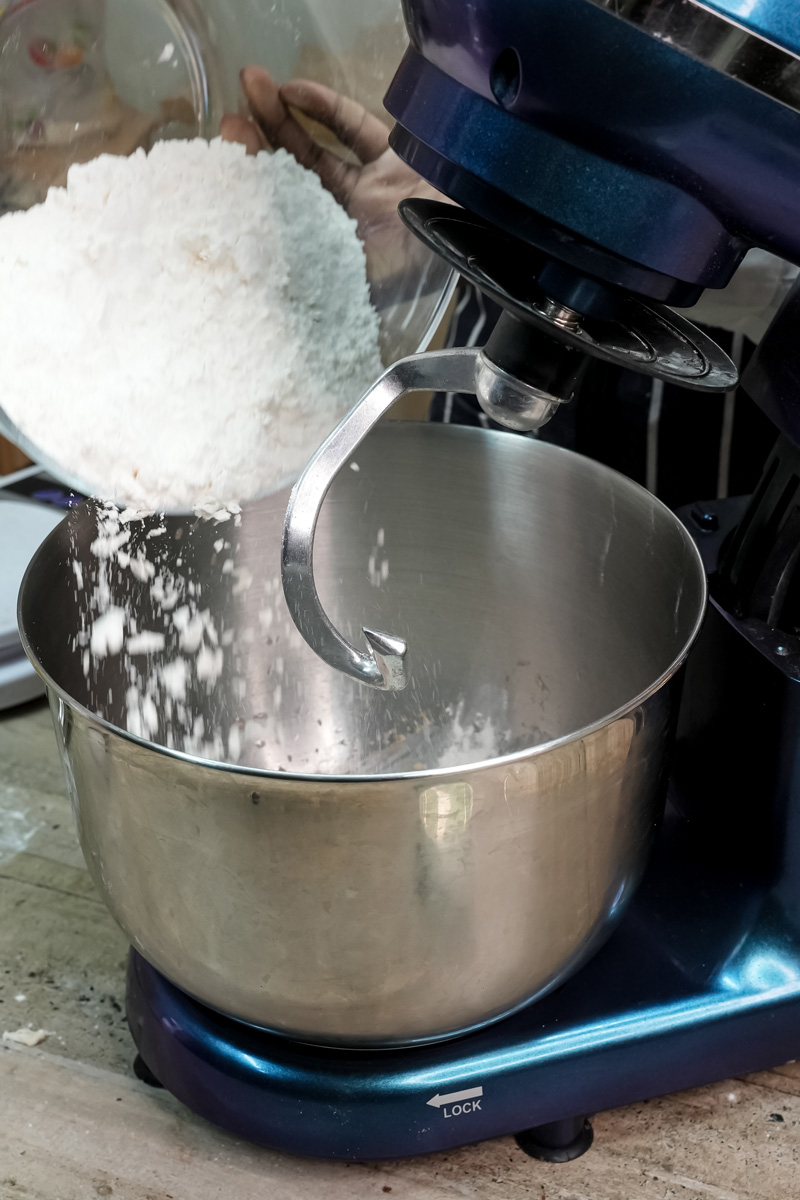
Step 2: Mix the Dough
In your stand mixer bowl (or a very large mixing bowl), whisk together the 2 cups warm water, 1/2 cup melted butter, 1/3 cup sugar, and 1 tablespoon salt. Pour in your bubbly yeast mixture and stir.
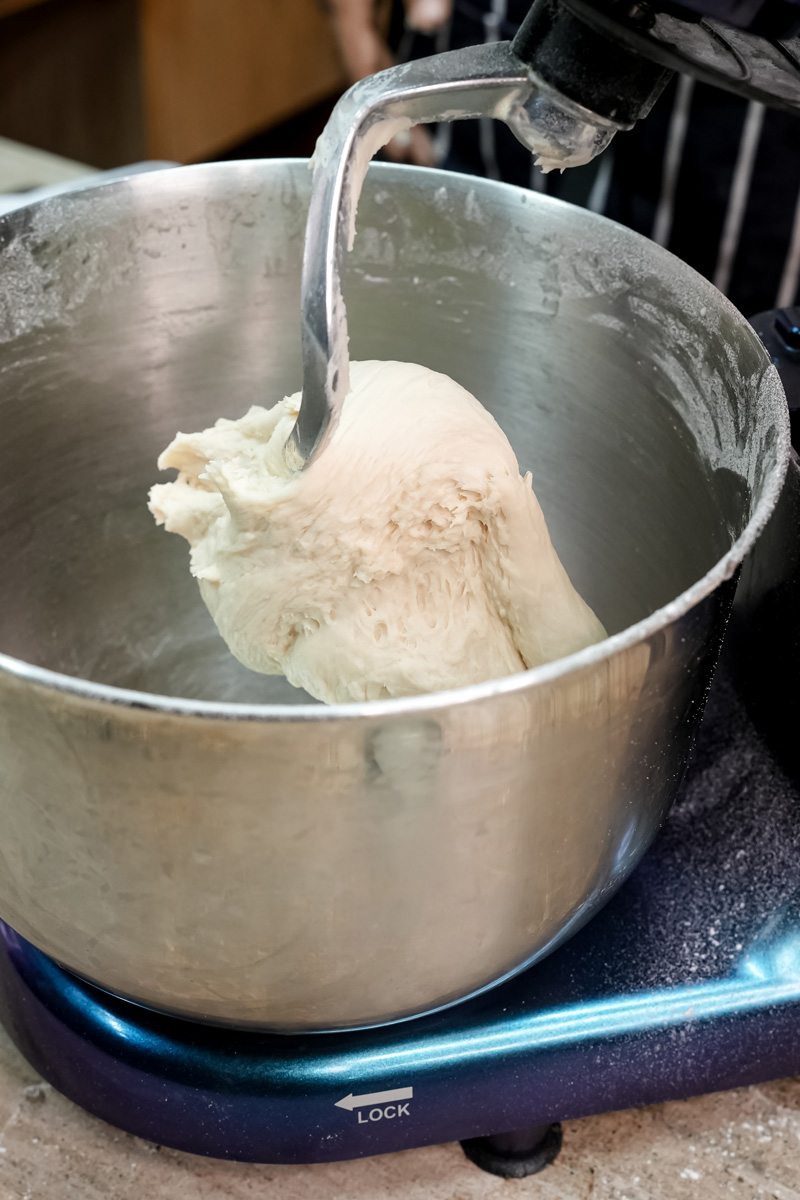
Attach your dough hook. Now, add the flour one cup at a time. Start with 4 cups, mixing on low speed until it’s just combined. Don’t dump it all in at once!
As you add more flour, you’ll see the sticky mess transform into a real dough. Now, slow down. Add the last 2-3 cups of flour just a little at a time until the dough pulls away from the sides of the bowl.
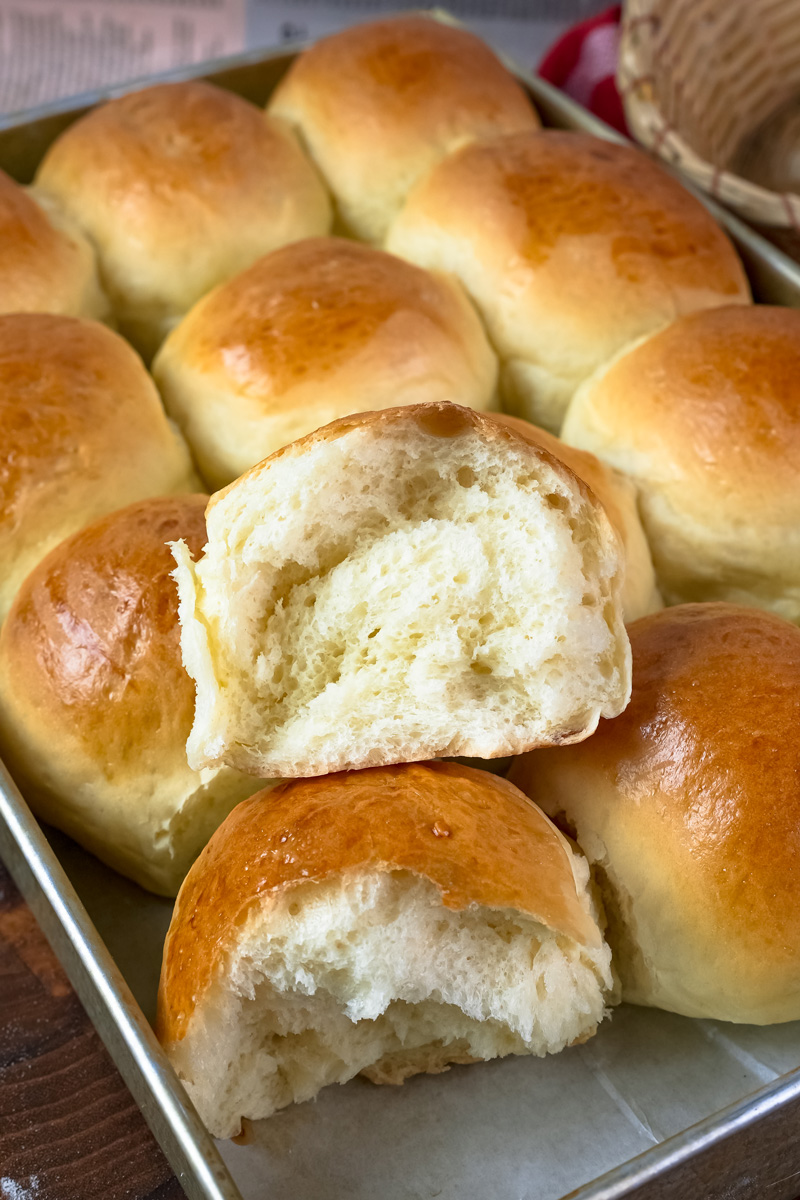
The goal is a soft, smooth dough that is still slightly tacky. If you poke it, your finger should come out mostly clean. Adding too much flour is the #1 mistake that leads to dense buns. We don’t want that! Let the mixer knead the dough for 5-7 minutes.
Step 3: The First Rise (Let it Rest)
Lightly grease a large, clean bowl with a bit of oil. Shape your dough into a ball, place it in the bowl, and flip it over once to coat it. Cover the bowl with plastic wrap or a kitchen towel.
Find a warm, draft-free spot for it to rise. My secret trick? I turn my oven on for just a minute or two, until it’s barely warm, then turn it off. It creates the perfect cozy environment for the dough. Let it rise for about 1.5 hours, or until it has doubled in size.
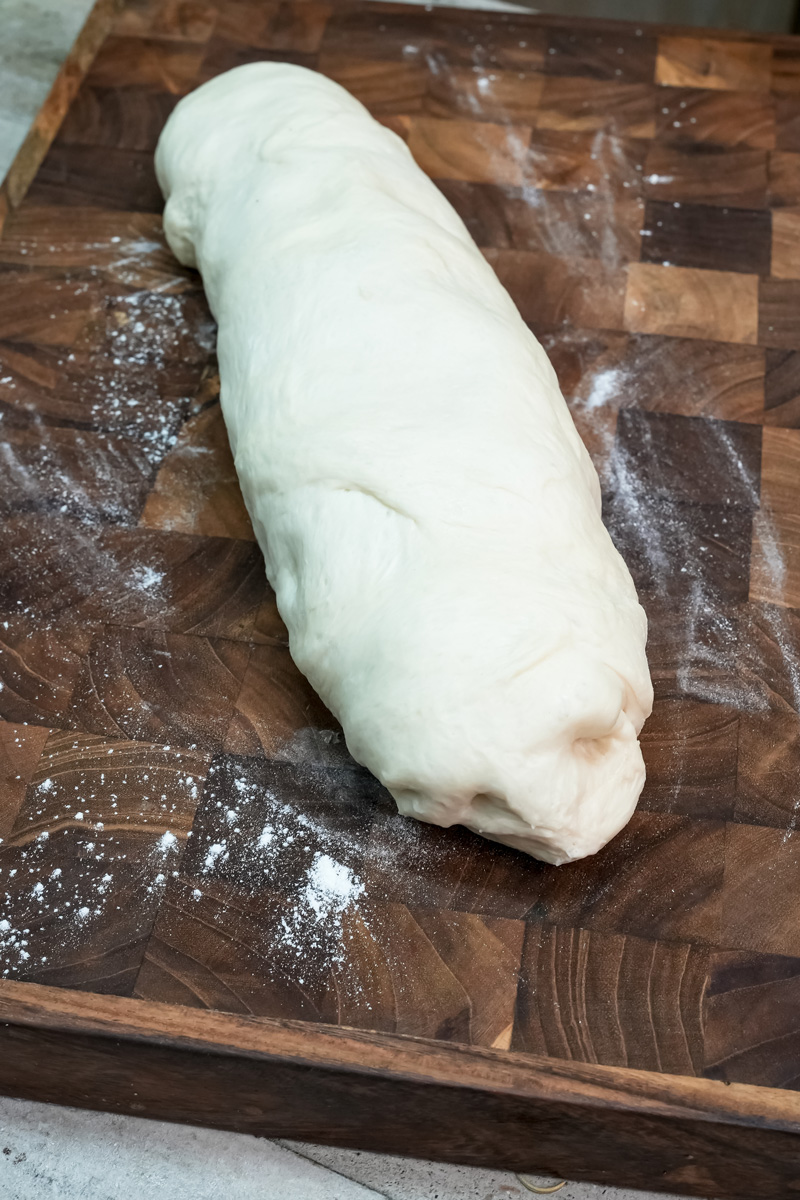
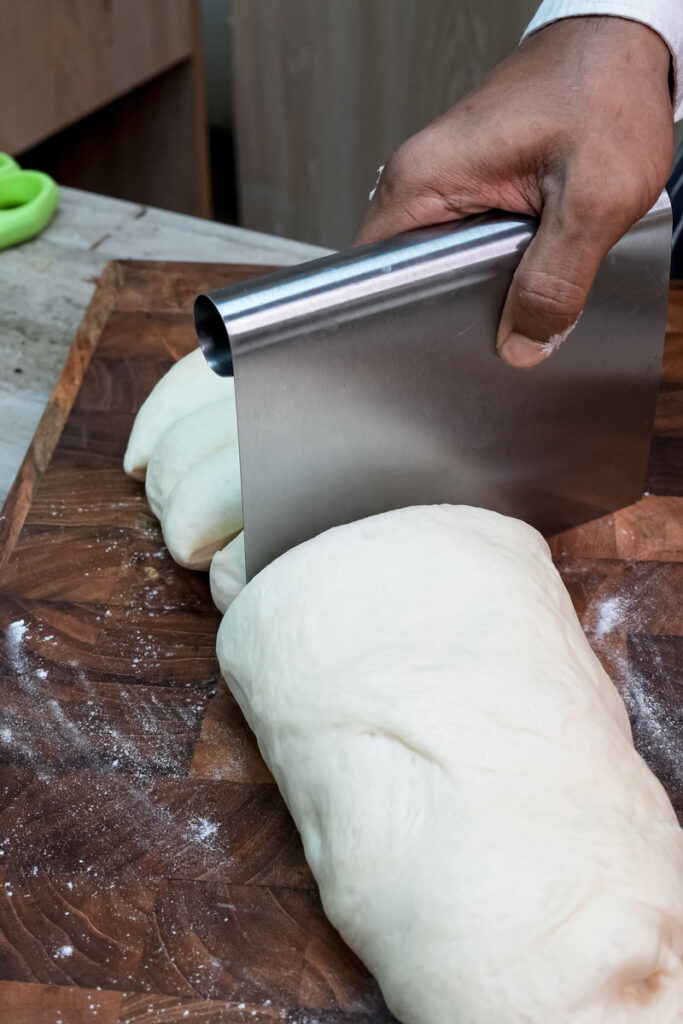
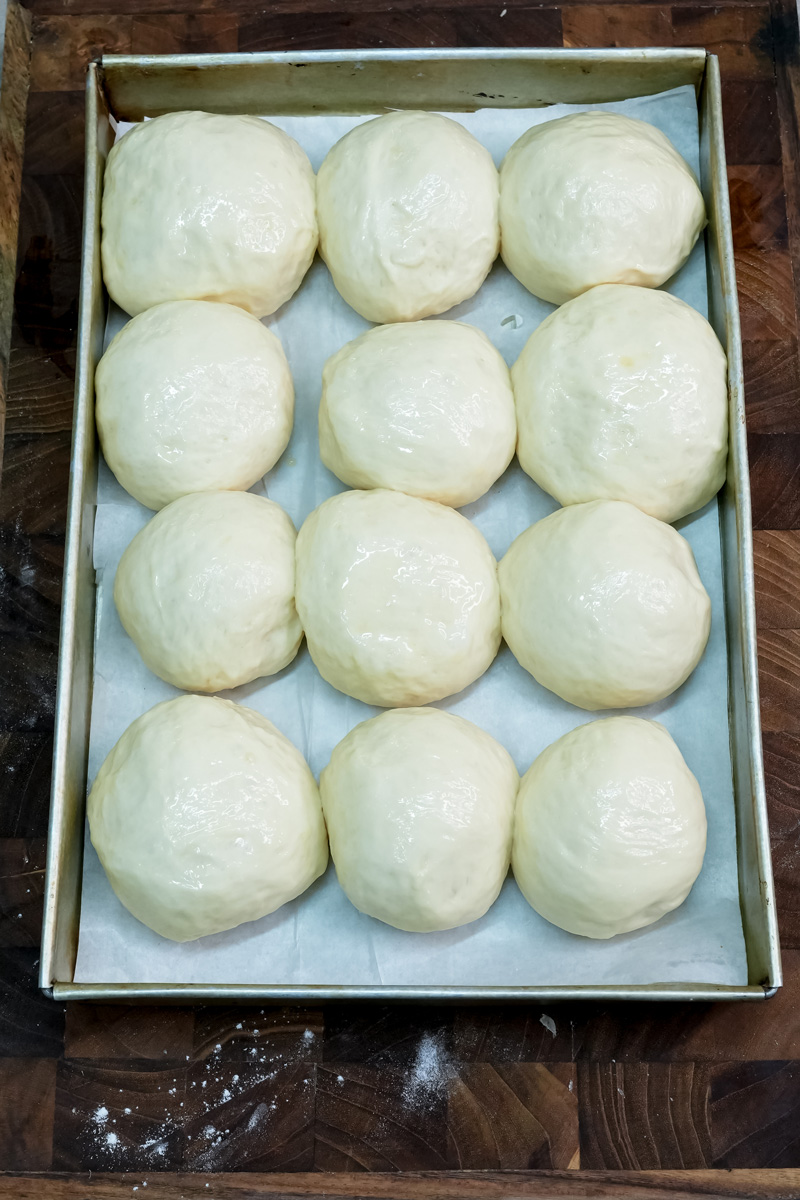
Step 4: Shape the Buns (And a Second, Shorter Rise)
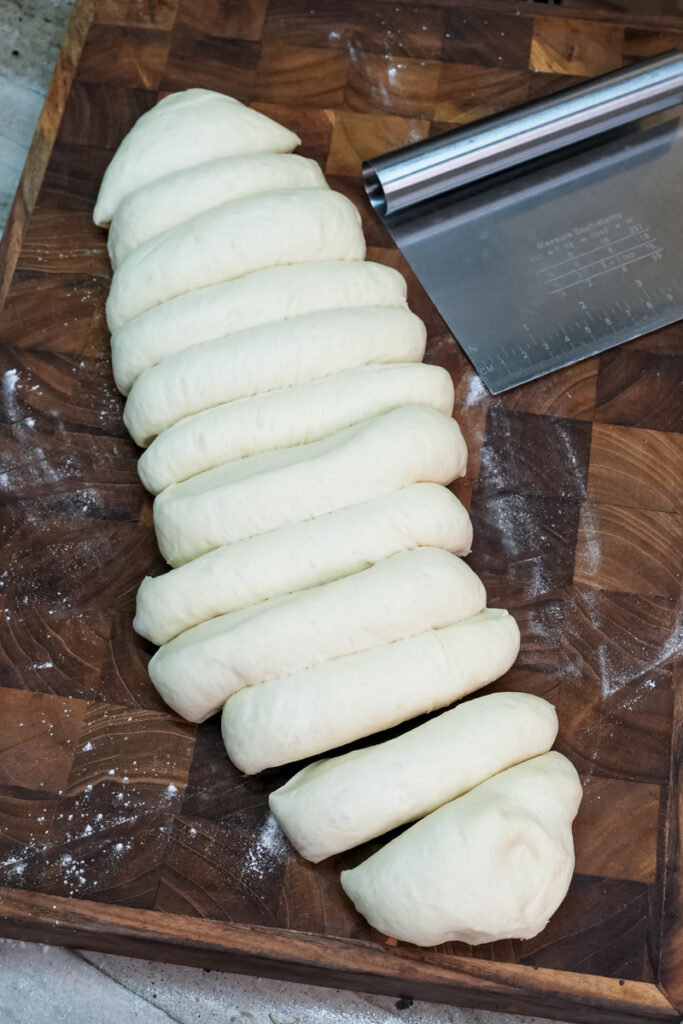
This part is so satisfying. Gently press down on the dough to deflate it. Turn it out onto a lightly floured counter. Divide it into 12 equal pieces. If you’re a perfectionist like me, use a kitchen scale to make sure they’re all the same weight.
To shape a bun, flatten a piece of dough slightly. Pull the edges up to the center and pinch them together at the bottom. Then, flip it over, cup your hand over the dough, and roll it on the counter to create a smooth, tight ball. This tension helps the buns rise up instead of spreading out.
Place your shaped buns on a baking sheet lined with parchment paper, leaving a couple of inches between them. Let them rise again, uncovered, for another 30-60 minutes. They should look puffy and noticeably bigger.
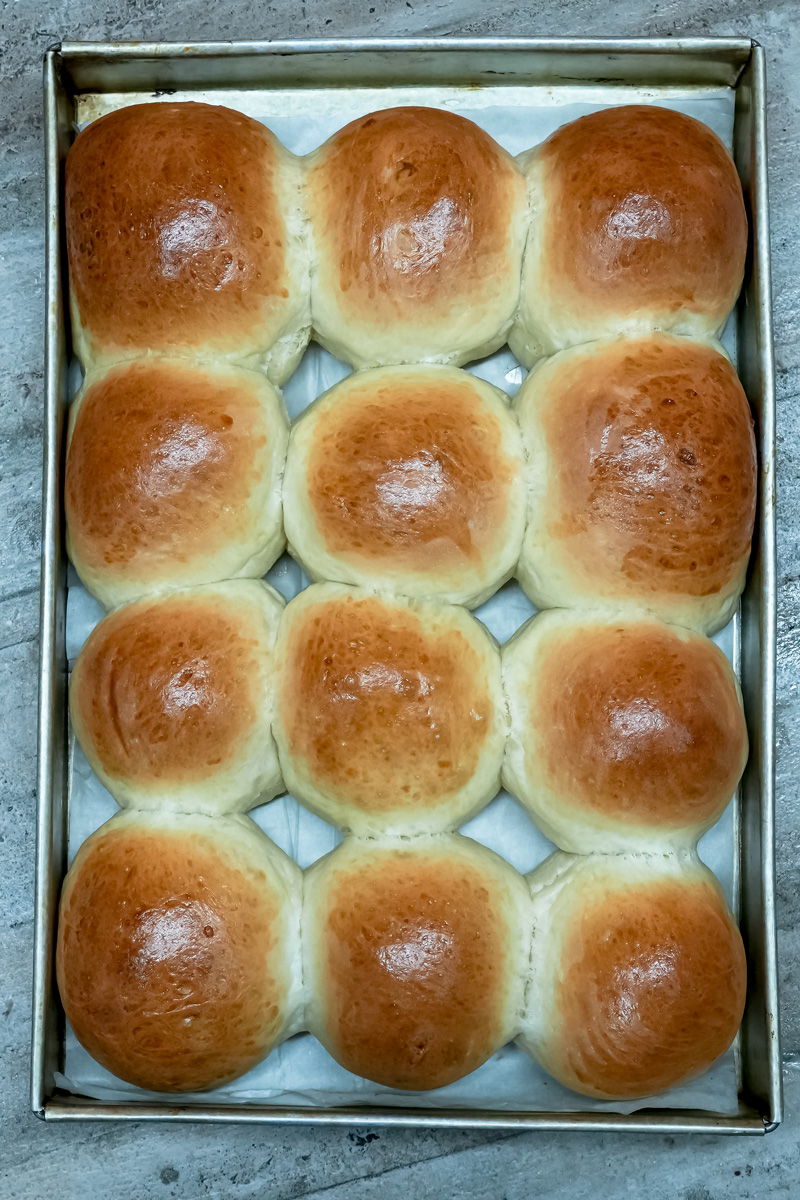
Step 5: Bake!
Preheat your oven to 350°F (175°C).
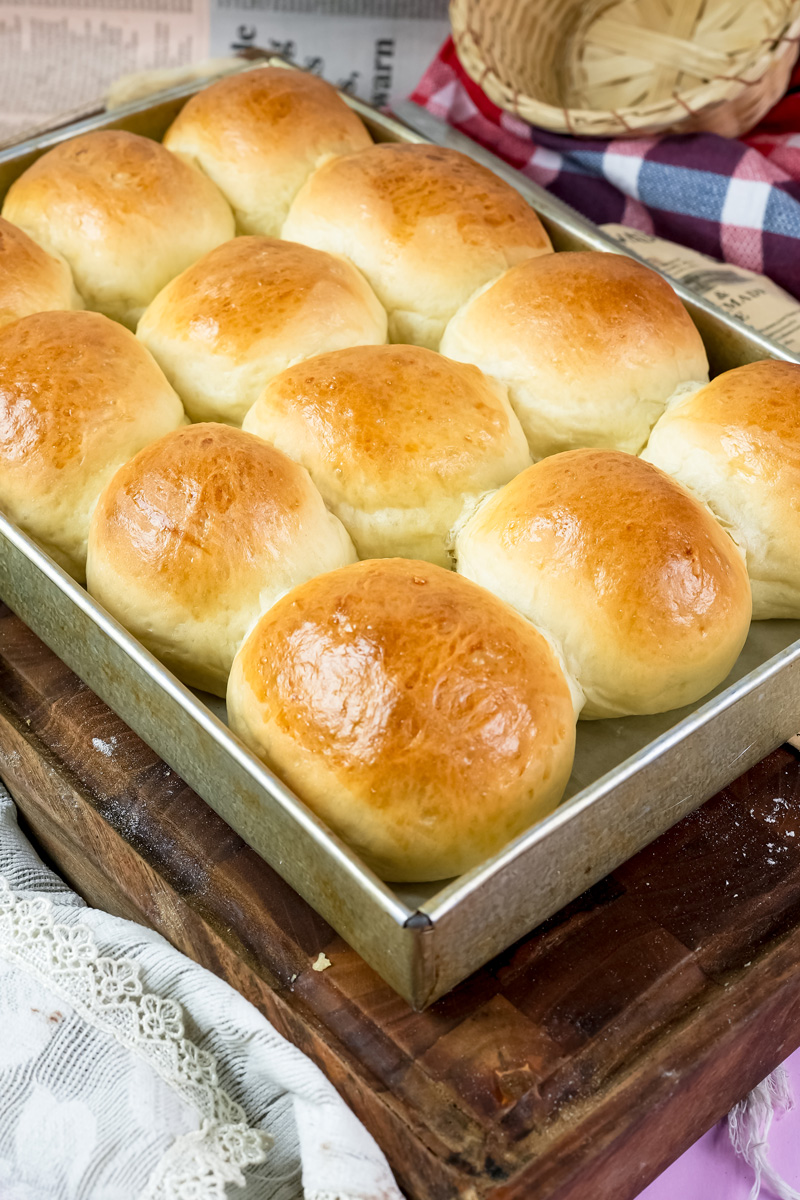
Place the baking sheet in the middle of the hot oven. Bake for 18-22 minutes. You’re looking for a beautiful, even golden-brown color on top. If you’re not sure, you can carefully lift one and tap the bottom—it should sound hollow.
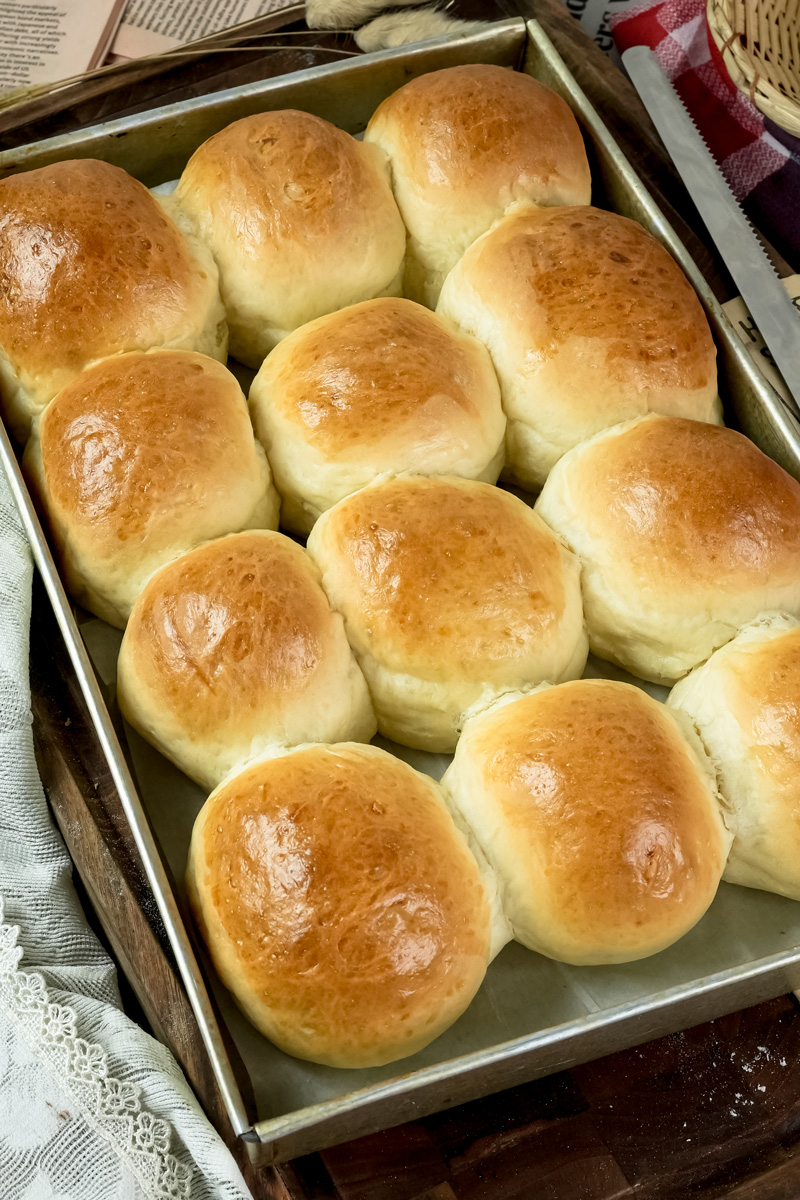
As soon as you pull them out of the oven, brush the tops with a little melted butter. This gives them that irresistible shine and keeps the crust soft. Let them cool for a few minutes on the pan before moving them to a wire rack.
Let’s Get Creative: Fun Variations
Once you’ve made the classic version, you can start playing around. This recipe is a great starting point.
A few ideas to get you started:
- Cheesy Herb: Knead in a half cup of grated sharp cheddar and a tablespoon of chopped fresh rosemary or a teaspoon of garlic powder during the last minute of mixing. So good.
- Classic Toppings: For a shinier crust, whisk an egg with a splash of milk and brush it on the buns before baking. This “egg wash” also helps toppings stick. Sprinkle on sesame seeds, poppy seeds, or everything bagel seasoning.
- Richer, Brioche-Style: For a richer bun, replace one cup of the water with whole milk and add an extra egg to the initial dough mixture.
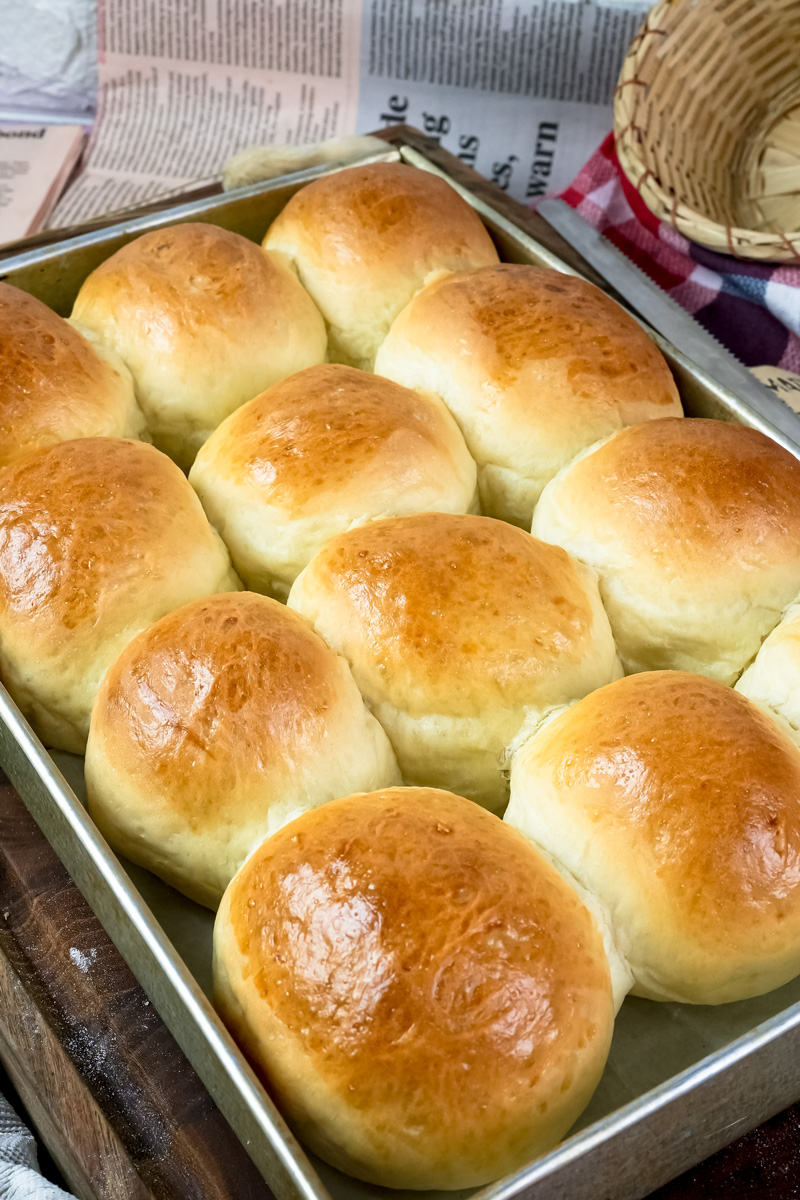
Serving and Storing Your Amazing Buns
Honestly, the best way to eat these is warm, maybe 20 minutes after they come out of the oven. Slice one open, slather it with butter, and just enjoy your hard work. They are incredible for burgers, pulled pork, or even just as a dinner roll with a big bowl of soup.
To store them, let them cool completely. Then, pop them in a zip-top bag or an airtight container. They’ll stay fresh at room temperature for about 3 days. Don’t put them in the fridge! It will make them go stale faster.

The good news? They freeze perfectly. I always slice them in half before freezing. Put them in a freezer bag, squeeze out the air, and they’ll be good for up to 3 months. You can toast the frozen halves directly or warm them in a 350°F (175°C) oven for about 5 minutes. Enjoy!
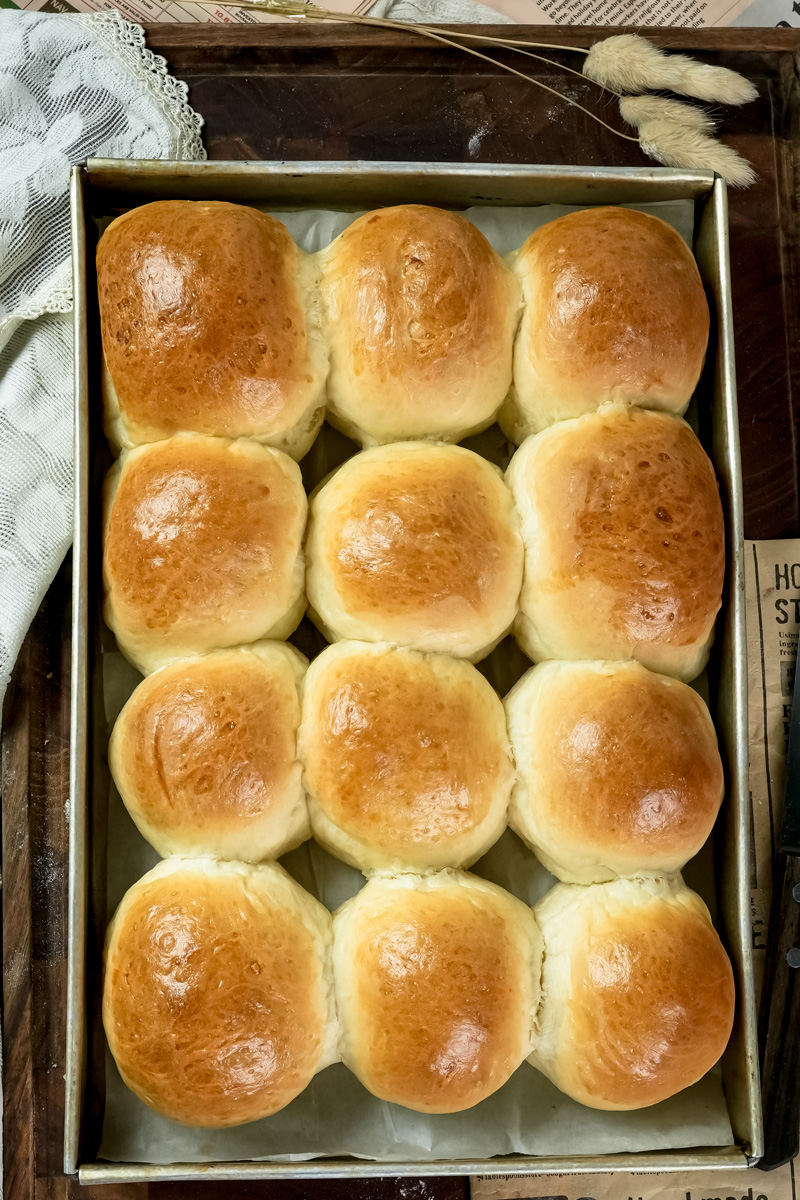
PrintHomemade Buns
Say goodbye to store-bought and hello to these incredibly soft, fluffy homemade buns. This straightforward recipe is perfect for beginners and yields bakery-quality results every time. They’re the perfect base for your favorite burgers, sandwiches, or to serve as delicious dinner rolls.
- Prep Time: 30 minutes
- Cook Time: 22 minutes
- Total Time: Approx. 2 hours 45 minutes
- Yield: 12 buns
- Category: Bread, Baking
- Cuisine: American / International
Ingredients
Yeast Activation:
- Yeast: 1 tbsp instant or active dry
- Warm Water: 1/2 cup (105-110°F or 40-43°C)
- Sugar: 1 tsp granulated
Dough:
- Warm Water: 2 cups
- Unsalted Butter: 1/2 cup, melted
- Granulated Sugar: 1/3 cup
- Salt: 1 tbsp
- All-Purpose Flour: 6 – 7 cups, plus more for dusting
- Melted Butter: 1-2 tbsp, for brushing
Instructions
- Proof the Yeast: In a small bowl, whisk together the 1/2 cup warm water, yeast, and 1 tsp sugar. Let it stand for 5-10 minutes until it becomes foamy. If it doesn’t foam, your yeast is likely inactive, and you should start over with fresh yeast.
- Mix the Dough: In a large bowl or the bowl of a stand mixer, combine the 2 cups warm water, 1/2 cup melted butter, 1/3 cup sugar, and salt. Stir in the foamy yeast mixture.
- Knead: Attach a dough hook and gradually add the flour, one cup at a time, until the dough pulls away from the sides of the bowl. The dough should be soft and slightly tacky, but not sticky. Knead with the hook for 5-7 minutes (or by hand on a floured surface for 10-15 minutes) until smooth and elastic.
- First Rise: Place the dough in a lightly greased bowl, cover it, and let it rise in a warm, draft-free spot for about 1.5 hours, or until it has doubled in size.
- Shape and Second Rise: Gently deflate the dough and divide it into 12 equal pieces. Roll each piece into a smooth ball and place it on a parchment-lined baking sheet, leaving space between them. Let them rise again, uncovered, for 30-60 minutes until they look puffy.
- Bake: Preheat your oven to 350°F (175°C). Bake the buns for 18-22 minutes, until they are an even, light golden-brown. Immediately brush the tops of the hot buns with a little melted butter for a soft crust and irresistible shine. Let them cool on a wire rack.
Notes
- Serving Suggestions: These are the ultimate burger buns! They’re also fantastic for pulled pork sandwiches, sloppy joes, or served as a side with soup and salad.
- Tips & Tricks: For perfectly even buns, use a kitchen scale to weigh your dough portions. Don’t add too much flour; a slightly tacky dough is the secret to a light and fluffy texture. For a deeper brown, shiny crust, brush the buns with an egg wash (1 egg + 1 tbsp milk) before baking.
- Storage & Reheating: Store completely cooled buns in an airtight bag at room temperature for up to 3 days. Avoid the refrigerator, as it can make them stale. For longer storage, slice the buns and freeze them in a freezer-safe bag for up to 3 months. Reheat frozen halves directly in the toaster or in a 350°F (175°C) oven for 5 minutes.