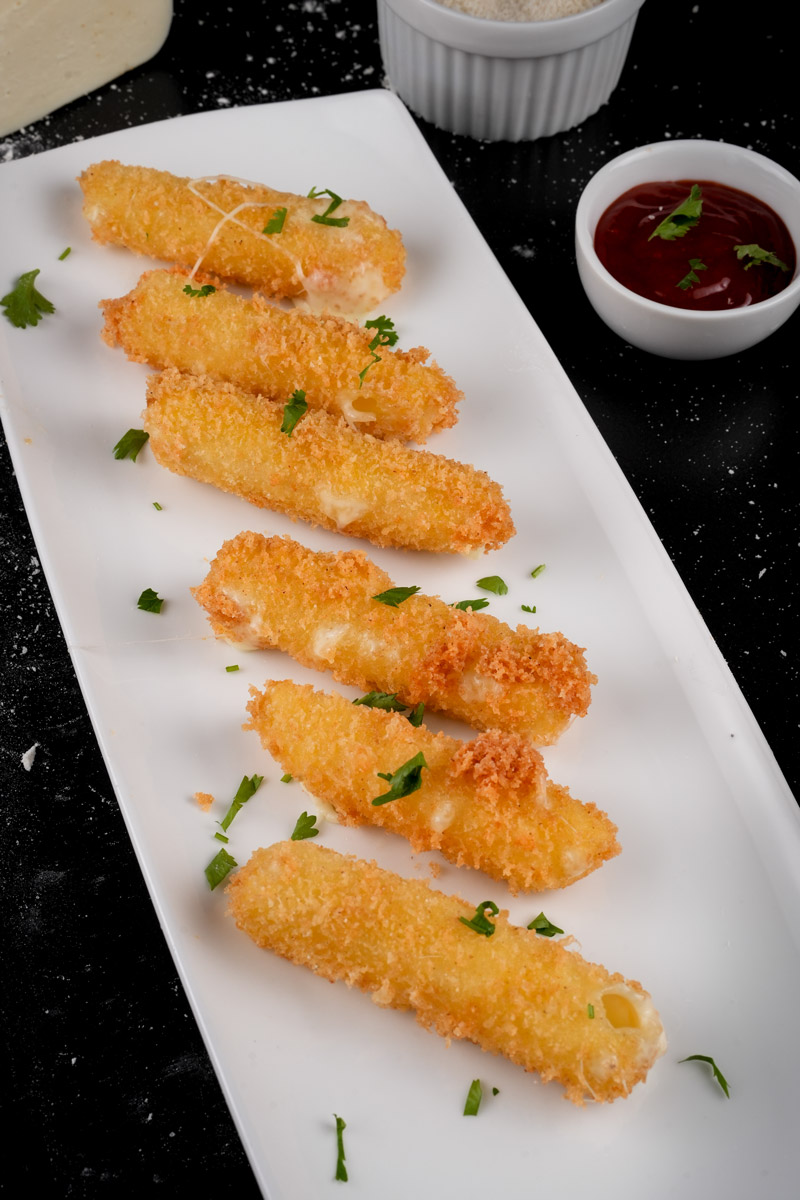
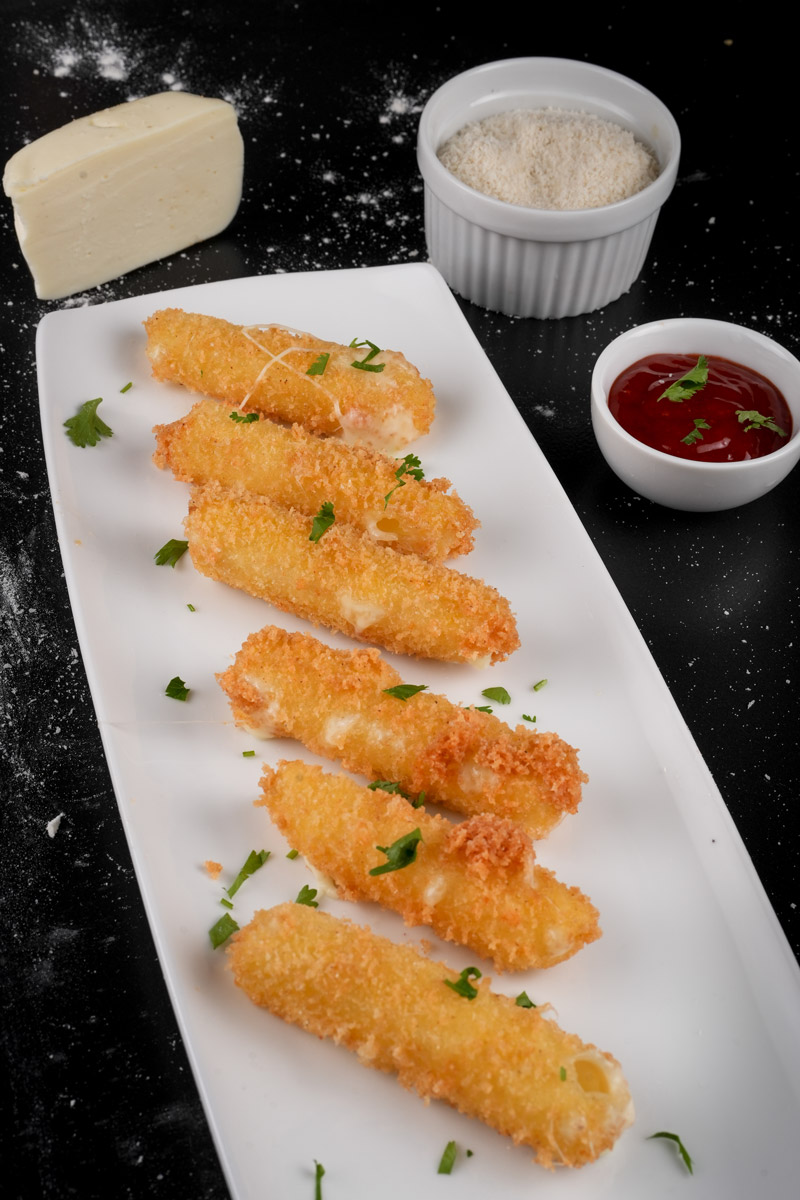
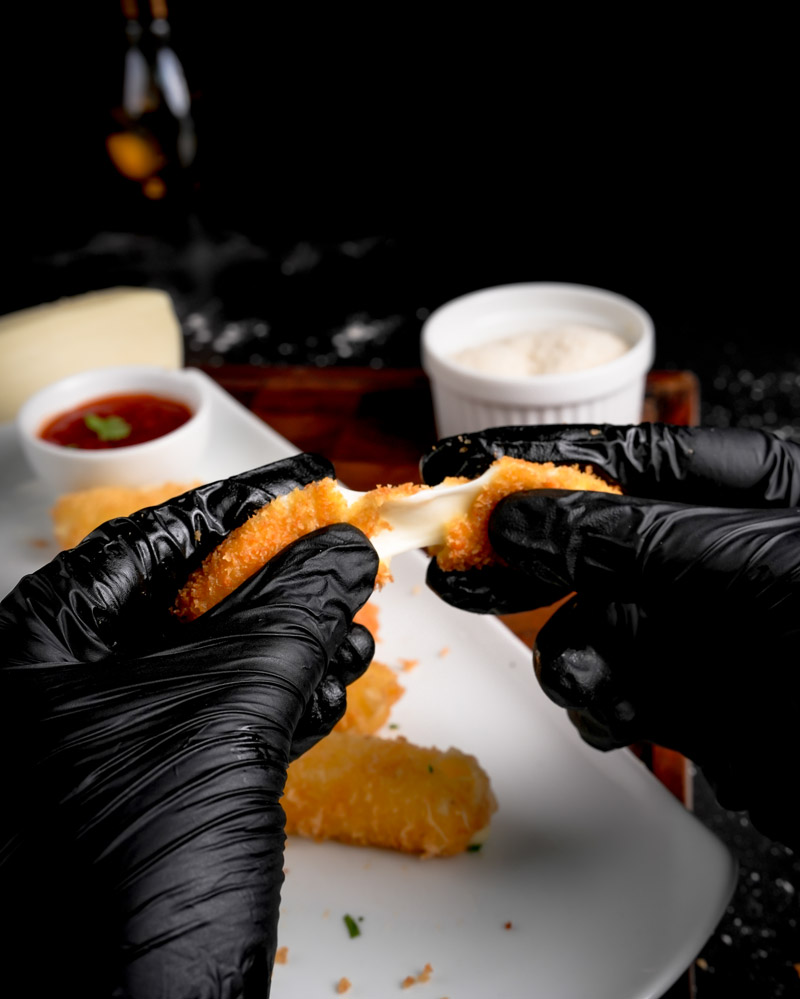
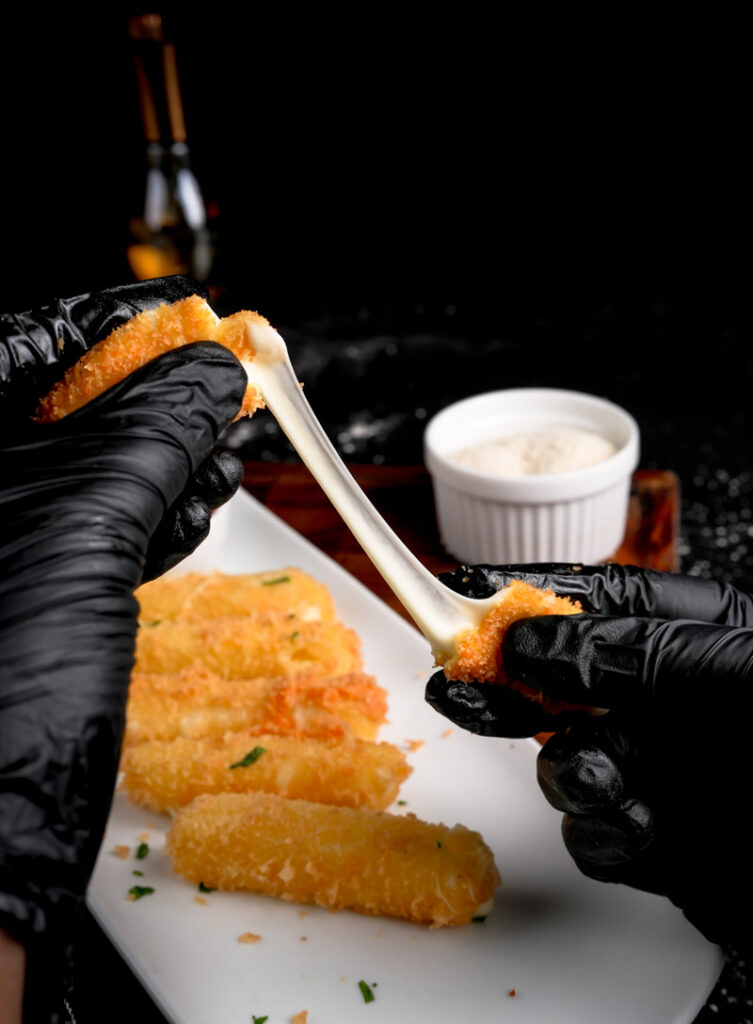
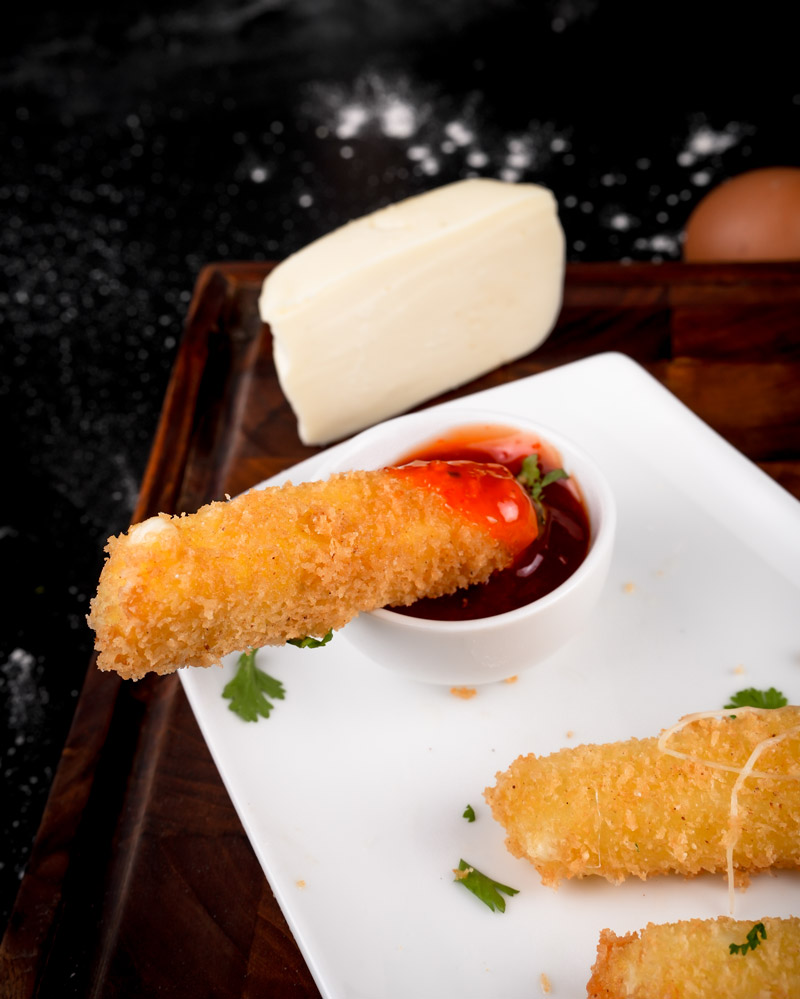
Seriously, who doesn’t love cheese sticks? That amazing crunch on the outside. That warm, super stretchy cheese pull inside. Pure magic.
Whether you call them mozzarella sticks, cheese sticks, or just plain yummy, these fried treats are everywhere – diners, pubs, parties. You name it!
Ever wonder where they came from? They probably started as a twist on an Italian thing called “mozzarella in carrozza” (basically a fried cheese sandwich!). Then, sometime maybe in the 70s or 80s, American restaurants made them famous.
The recipe we’re doing today? It’s all about getting that classic taste and texture we all crave. We’re using simple stuff you probably already have. But! There are a couple of key tricks to make them truly fantastic. It’s a Simple cheese sticks recipe, sure, but pay attention to the details!
Alright, let’s grab those aprons and make some cheese sticks!
What You’re Getting Into
Here’s the lowdown on making these cheesy bites:
- Prep Time: About 20 minutes. That’s just cutting the cheese and getting the breading ready. Quick!
- Chill/Freeze Time: Super Important! You need at least 1-2 hours in the freezer. Honestly, even longer is better. Don’t skip this!
- Cook Time: Fast! Only 2-3 minutes for each little batch.
- Total Time (With Freezing): Plan for around 1 hour 25 minutes minimum, maybe closer to 2.5 hours if you freeze longer.
- How Many? This recipe makes enough for 2 people to have a good snack.
- Need More? Easy! Just double or triple everything. Check the handy table below.
- Is it Hard? I’d say Easy to Medium. The steps themselves are simple. Cutting cheese? Easy. Breading? Easy. The only tricky part is handling the hot oil safely and making sure the cheese doesn’t leak out. That’s why the freezing step is your best friend!
- Kitchen Gear You’ll Need:
- Three shallow bowls or plates (for the breading assembly line!)
- Sharp knife & cutting board
- A good heavy pot (like a Dutch oven) or a deep fryer if you have one
- Cooking thermometer (Really helps get the oil temp right!)
- Tongs or one of those spider-web looking spoons (a slotted spoon works too)
- Wire rack sitting over a baking sheet (for draining, keeps ’em crispy!)
- Another baking sheet lined with parchment paper (for freezing)
- Don’t have a deep fryer? No worries, a solid pot is fine. No thermometer? You can test the oil heat by dropping in a breadcrumb. If it sizzles like crazy right away, you’re good to go.
Making More? Here’s a Quick Guide:
| Servings | Mozzarella | Flour (Total) | Eggs | Panko | Garlic Powder |
|---|---|---|---|---|---|
| 2 (Base) | 200g | 1 Cup | 1 | 1/2 Cup | 1/2 tsp |
| 4 | 400g | 2 Cups | 2 | 1 Cup | 1 tsp |
| 6 | 600g | 3 Cups | 3 | 1.5 Cups | 1.5 tsp |
(Just a heads-up: You’ll use the flour in two spots. And you might need an extra egg if yours are small.)
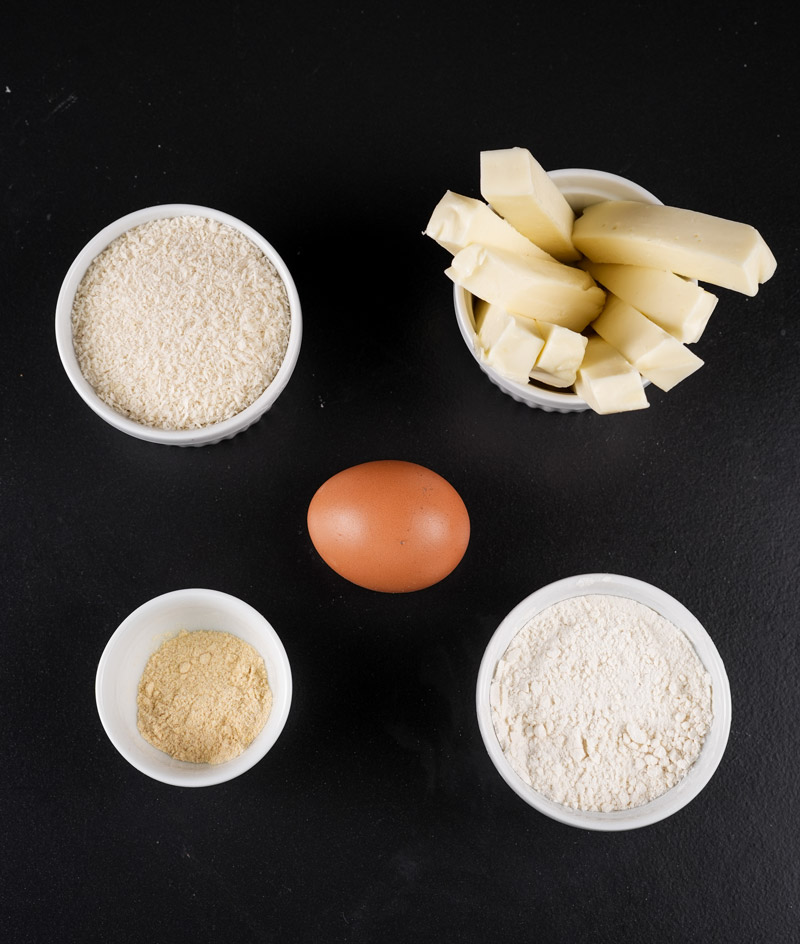
Let’s Talk Ingredients
What makes these sticks so good? Simple stuff, really:
- Mozzarella Cheese (200g): This is the star! For that perfect cheesy pull without getting watery, grab a block of low-moisture, whole-milk mozzarella. You know, the solid block kind, not the fresh stuff floating in water. That fresh stuff is too wet. Pre-shredded? Also not ideal. Can you use string cheese? Yeah, in a pinch, but the block melts way better and tastes richer. Cut ’em into sticks, about half-inch thick and 3-4 inches long. Try to make them all the same size!
- All-Purpose Flour (1 Cup Total): Just regular flour. This is the first coat. It gives the egg something to grab onto. We’ll split this up for the breading steps.
- Egg (1 large): This is the glue! It makes the breadcrumbs stick. Just whisk it up with a tiny splash of water or milk (like a tablespoon). Easy peasy.
- Panko Bread Crumbs (1/2 Cup): These are key for maximum crunch. They’re Japanese-style breadcrumbs, way lighter and crispier than the normal powdery ones. They also don’t soak up as much oil. Definitely use Panko if you can find it!
- Garlic Powder (1/2 teaspoon): Adds a nice little savoury taste. We mix this right into the flour so the flavour is baked in from the start. Like more garlic? Add a bit more! A little salt and pepper in the flour is a good idea too.
- Oil for Frying: You need enough oil to let the cheese sticks float, maybe 2-3 inches deep in your pot. Pick an oil that doesn’t smoke easily when it gets hot. Canola, vegetable, grapeseed, or peanut oil are all great choices. Definitely skip the olive oil for this – it’ll smoke and make things taste weird.
Step-by-Step: Let’s Make Some Magic!
Get the Cheese Ready: Cut ‘Em Right
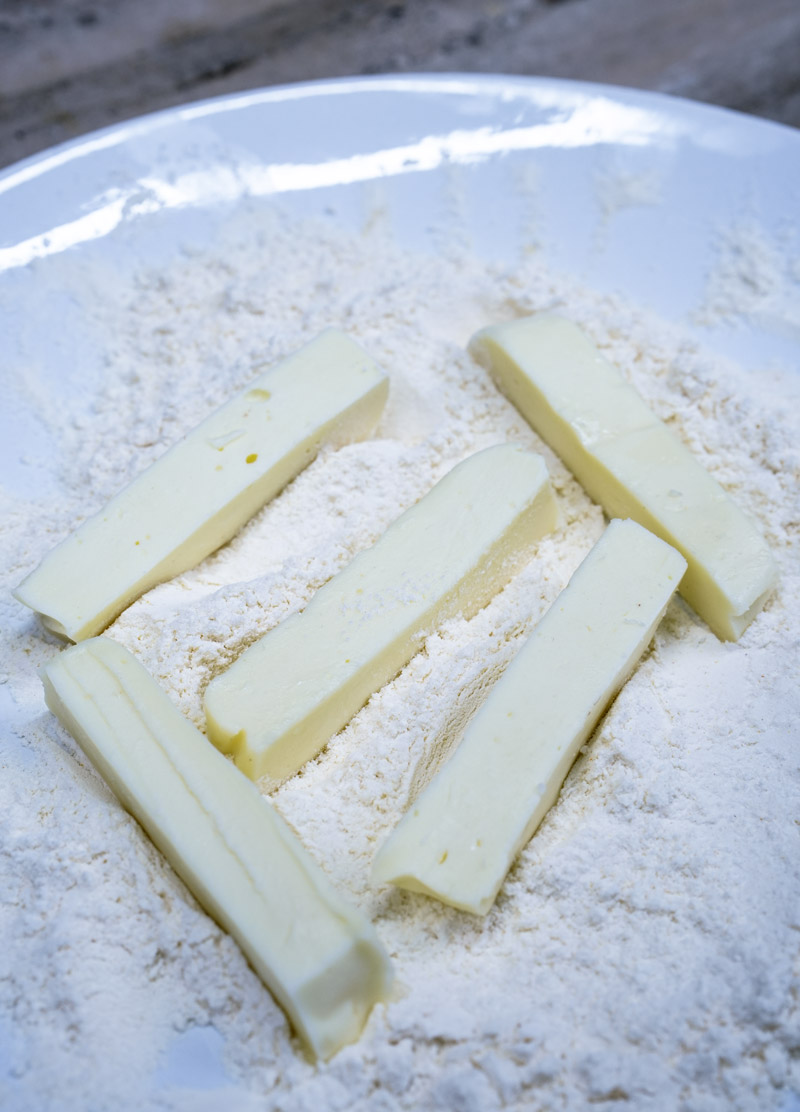
Okay, first up: the cheese! Grab that block of mozzarella. Get your sharp knife and cutting board. Slice it into sticks. Think restaurant size – about half an inch thick, maybe 3 or 4 inches long. Why make them the same size? Simple. If they’re all different, they’ll cook unevenly. Some might burn while others are still cold inside. We don’t want that! So, take a sec to make them look like brothers and sisters. Quick tip: Pat the cut sticks gently with a paper towel. Sometimes block cheese is a little damp. Getting them dry helps that first flour coat stick way better. Set your perfect cheese sticks aside. Their crunchy destiny awaits!
Set Up Your Breading Stations: Flour, Egg, Crumbs!
Now, let’s get organized. This makes breading so much easier (and less messy!). Grab three shallow bowls or pie plates.
- Bowl #1 (Flour & Flavor): Put about half your flour (1/2 cup) in here. Mix in that garlic powder (1/2 tsp). Add a pinch of salt and pepper too! Why not? Seasoning every layer makes everything taste better. Stir it up with a fork. This is step one – the primer coat!
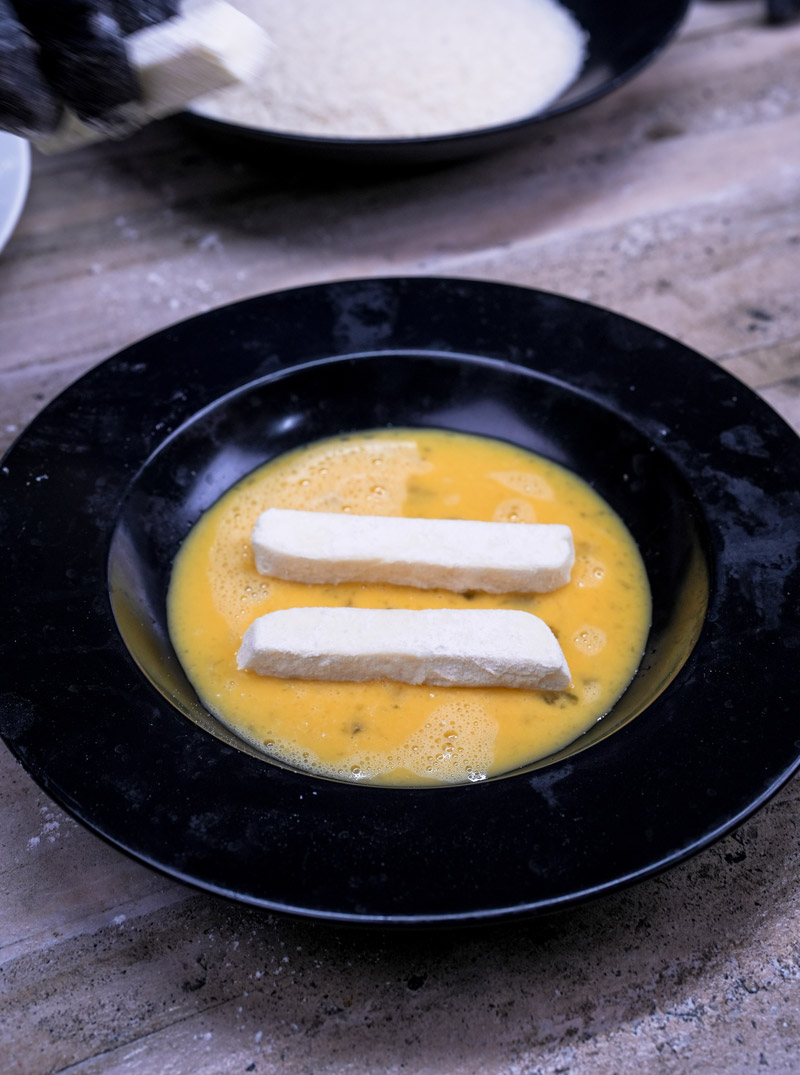
- Bowl #2 (Egg Glue): Crack your egg into the second bowl. Add a splash of water or milk (about 1 tbsp). Whisk it like crazy until it’s smooth and pale yellow. This is the sticky stuff that holds the crumbs on.
- Bowl #3 (Crunch Time – Panko!): Pour your Panko breadcrumbs (1/2 cup) into the third bowl. Spread ’em out. Want even more flavor? Toss in another tiny pinch of salt, or maybe some dried oregano. Your call! These crunchy flakes are gonna make our Breaded Mozzarella Cheese Sticks amazing.
The Breading Dance: Coat ‘Em Up (Round One)
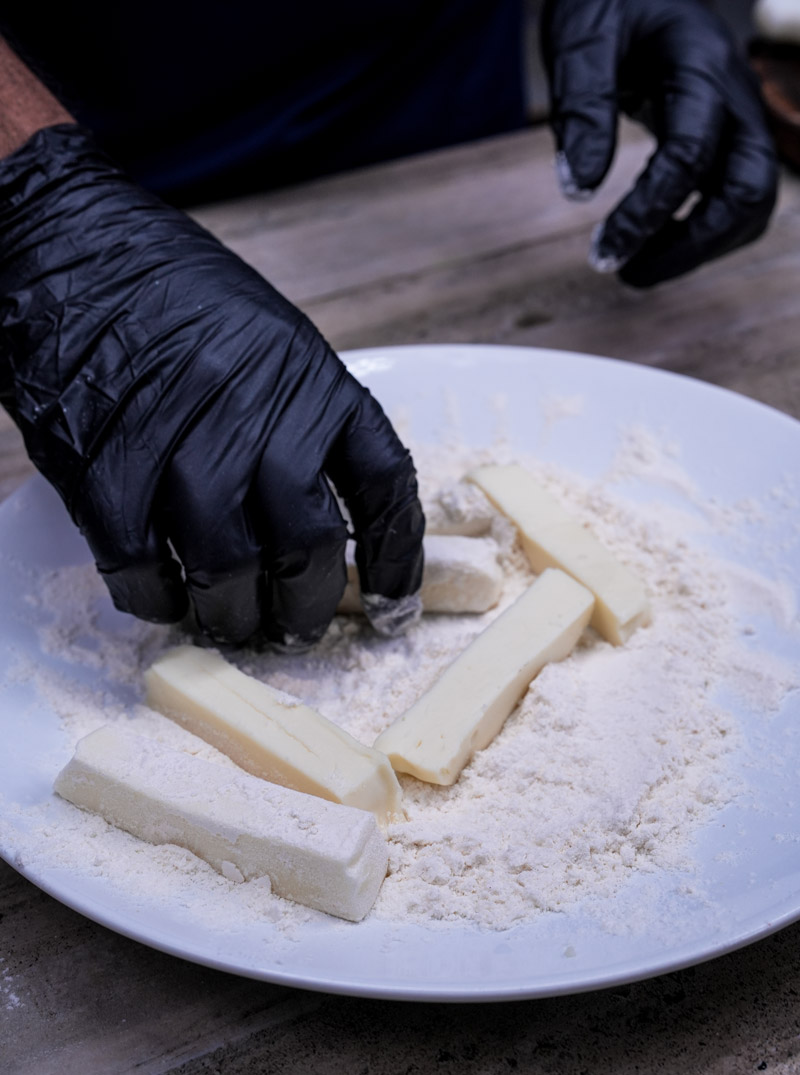
Here we go! Time to coat these cheesy guys. Pro tip: Use one hand for the dry stuff (flour, Panko) and the other hand for the wet stuff (egg). Trust me, it keeps your fingers from turning into breaded blobs!
- Pick up a cheese stick. With your “dry hand,” roll it gently in the seasoned flour (Bowl #1). Make sure you get it all covered – sides, ends, everything. Just a light coat. Tap off any extra flour.
- Now, switch to your “wet hand.” Plop the floured stick into the egg wash (Bowl #2). Roll it around so it’s completely coated. Lift it up, let the extra egg drip off for a second.
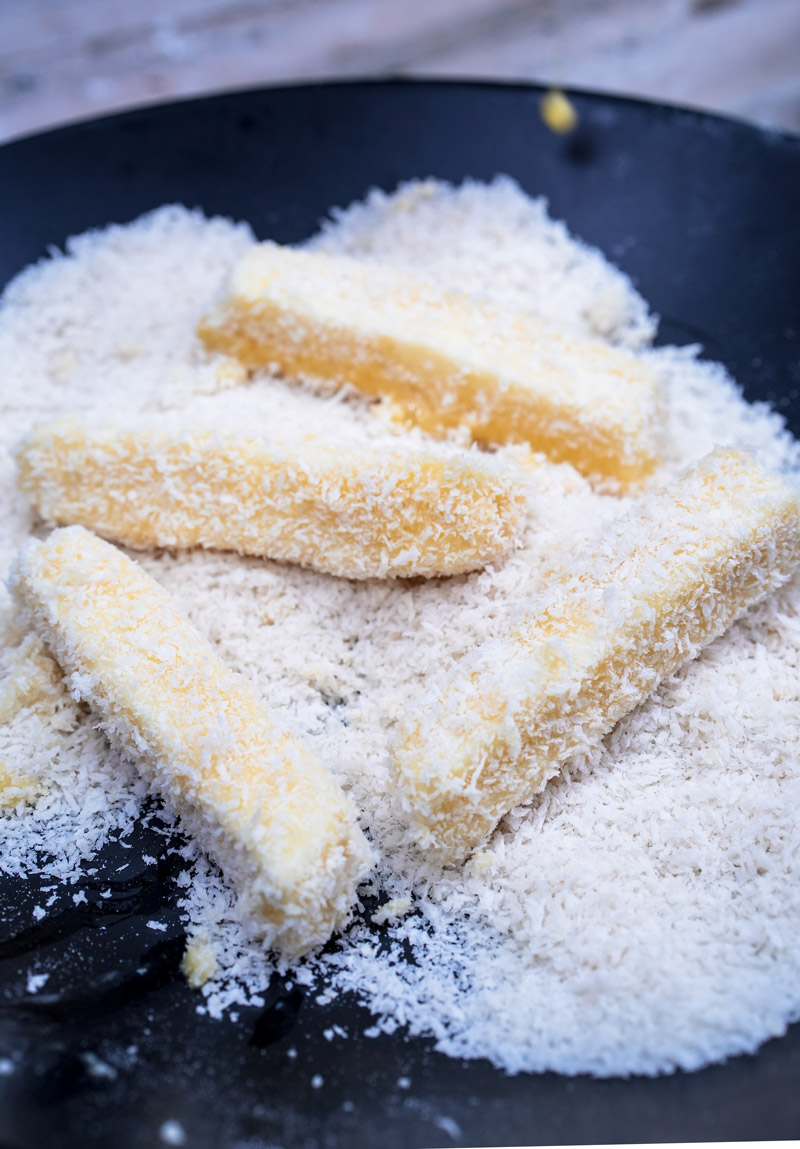
- Quick! Move it to the Panko crumbs (Bowl #3). Switch back to your “dry hand.” Roll the stick in the Panko. Press down gently but firmly. This helps the crumbs really stick. Get those ends coated well! We want to seal ’em up.
The Secret Weapon: Double Coat & Deep Freeze!
Okay, pay attention, because this is the most important step for perfect cheese sticks that don’t explode! It seems extra, but skipping this? You’re asking for a cheesy mess in your fryer. I learned that the hard way once… cheese everywhere.
- (Optional, But DO IT!) Double Coat for Extra Crunch: Want a thicker, crispier crust that really keeps the cheese inside? Do this quick step. Take a Panko-coated stick. Using your “wet hand,” dip it back into the egg wash (Bowl #2). Just a quick dip. Let excess drip off. Then, roll it one more time in the Panko (Bowl #3) with your “dry hand,” pressing gently again. This makes them extra sturdy and crunchy. Yes please!
- Freeze ‘Em Rock Solid! Okay, whether you did one coat or two, now comes the must-do part. Put that whole baking sheet of breaded cheese sticks into the freezer. Leave them there for at least 1 to 2 hours. Longer is even better! Like, overnight is fantastic if you can wait. You want them frozen completely solid. Like little cheesy ice cubes.
Heat Up the Oil: Get That Temperature Right!
Your cheese sticks are chilling (literally!) in the freezer. Time to get the oil ready. Pour your frying oil (canola, vegetable, etc.) into your heavy pot or deep fryer. You need enough for the sticks to swim a bit, at least 2-3 inches deep. Clip on your cooking thermometer if you have one. Heat the oil over medium-high heat. You’re shooting for 180°C (350°F). Getting the temperature right is key. No thermometer? Here’s the trick: Carefully drop one Panko crumb into the oil.
- Does it sizzle energetically right away and turn brown in about 30 seconds? Perfect!
- Does it just sink or bubble sadly? Oil’s too cold. Your sticks will be greasy. Turn up the heat a bit.
- Does it smoke or burn instantly? Whoa, too hot! Your sticks will burn on the outside before the cheese melts. Turn down the heat!
Fry Time! Golden Brown Goodness
Okay! Oil’s hot, cheese sticks are frozen solid. It’s go time! Using your tongs or spider strainer, carefully lower a few frozen cheese sticks into the hot oil. Don’t just toss ’em in – oil splashes can burn! Lower them gently. Big Tip: Don’t crowd the pot! Seriously. If you put too many in at once, the oil temperature will drop like a rock. You’ll get pale, oily sticks instead of crispy ones. Fry just a few at a time (maybe 3 or 4). They should start sizzling like crazy right away. Keep watching! They cook fast. Fry for about 2 to 3 minutes. Turn them gently once or twice so they get golden brown all over. You want a beautiful, deep golden-brown colour. See a tiny bit of cheese just starting to peek out? That’s your cue! Get them out before it bursts!
Drain ‘Em Quick: Keep That Crunch!
As soon as they look perfect, scoop them out! Use your slotted spoon or tongs. Let the extra oil drip back into the pot for a second. Then, put them straight onto that wire rack over the baking sheet. Why a wire rack? If you put them on paper towels, the bottoms can get steamy and soggy. Gross. The wire rack lets air get all around, keeping them crispy all over. Smart, right? Want a little extra salt? Sprinkle it on right now while they’re hot and shiny.
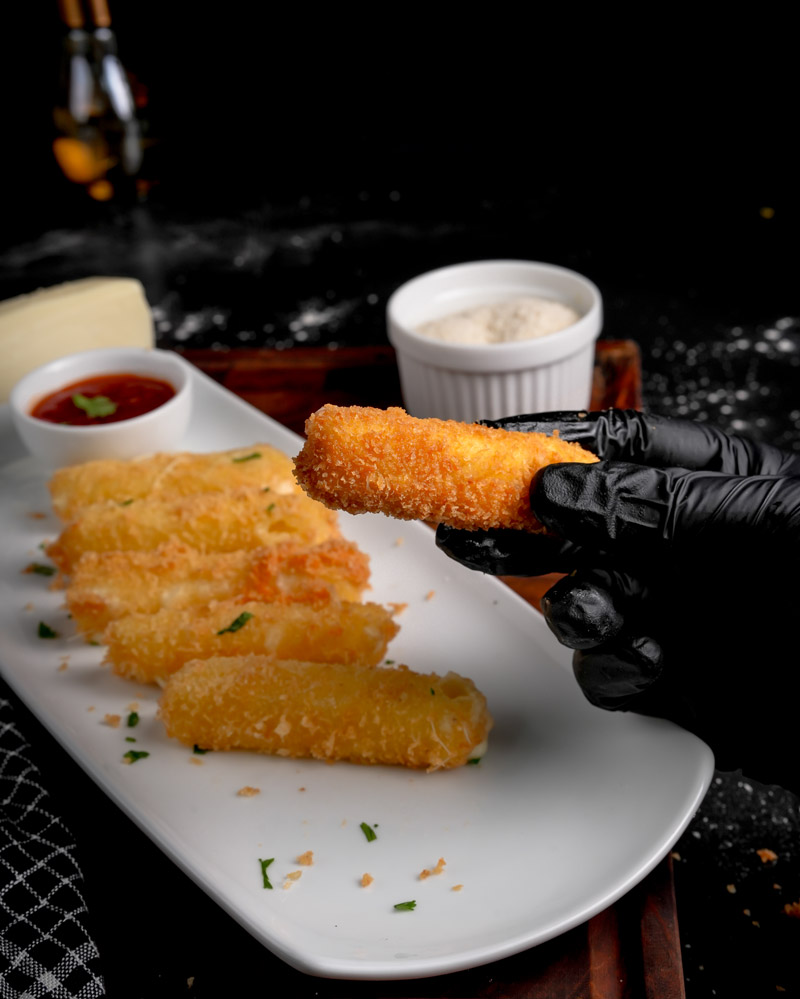
Eat! Now! Seriously!
This is it! The moment we’ve worked for! Homemade Mozzarella Sticks are best right away. Like, immediately. Grab your dipping sauces! Marinara is classic. Ranch is awesome. Garlic butter? Yes! Get them on a plate and serve ’em piping hot. That amazing crunchy outside and gooey, stretchy inside? It doesn’t last forever! Don’t wait. Dig in and enjoy that incredible bite you just made!
Want to Mix It Up? Fun Ideas!
Feel like getting creative? Try these:
- Dietary Swaps:
- Gluten-Free? Easy! Just use gluten-free flour and gluten-free Panko. They work great. Same recipe!
- Vegan? This one’s tough. You’d need vegan block cheese that melts well (some work better than others!), a vegan egg replacer (like flax egg), and vegan Panko. Might take some experimenting!
- Baked or Air Fried? Want them a bit lighter? You can bake or air fry! After freezing, spray the sticks lightly with oil. Bake at 200°C (400°F) for 8-12 mins, flipping halfway. Or air fry at 190°C (375°F) for 5-8 mins, shaking the basket once. They won’t be quite as crispy as deep-fried, but still super tasty!
- Spice ‘Em Up: Add a pinch of cayenne pepper or red pepper flakes to the flour or Panko for some heat! Serve with spicy sauce. Ooh yeah.
- Herb Power: Mix dried Italian seasoning or oregano into the Panko. Yum!
- Cheese Change-Up: Mozzarella is classic, but you could try sticks of cheddar, provolone, or pepper jack! Just make sure it’s a block cheese that melts well.
- Weeknight vs. Weekend: Keep it classic for a quick snack. Having friends over? Serve with fancy marinara, maybe sprinkle some fresh parsley on top, and offer a garlic dip too.

Serving and Saving (If You Have Leftovers!)
How to enjoy your amazing cheese sticks:
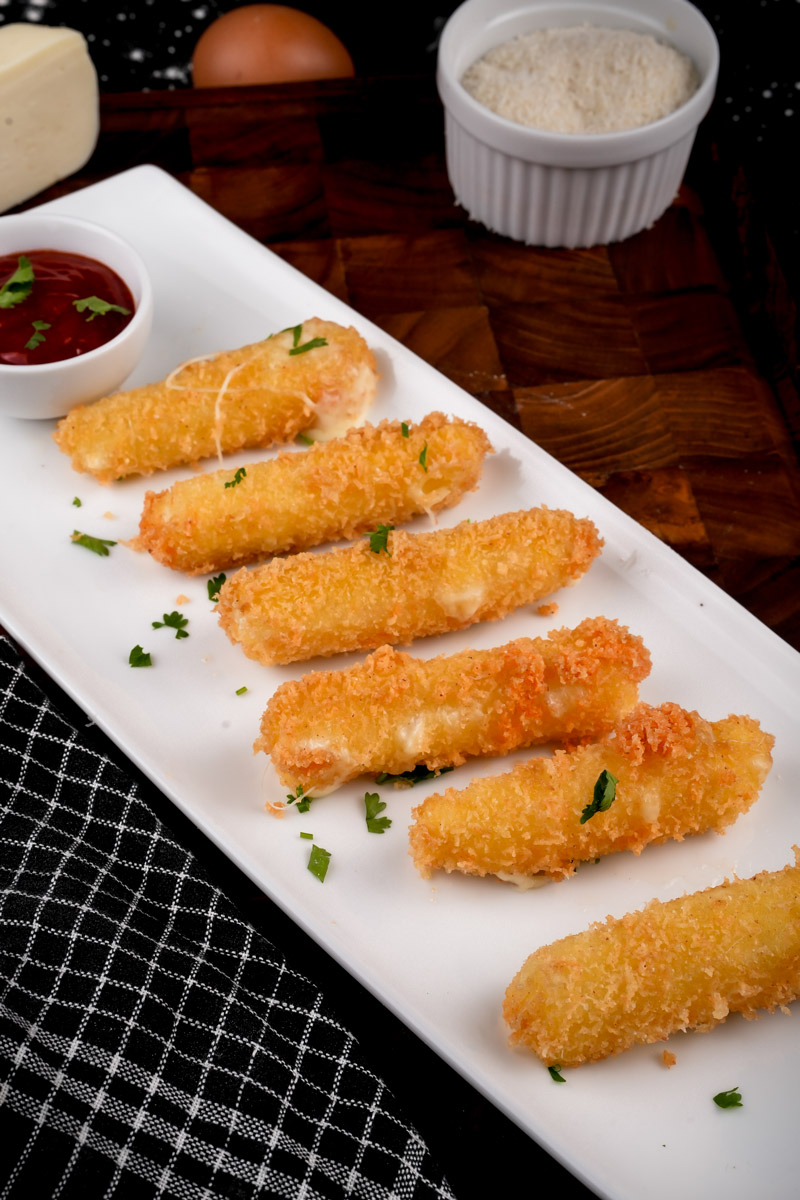
- Plating: Keep it simple! Pile them high on a plate or in a basket. Put a little bowl of sauce right next to them. Done! Maybe a little chopped parsley if you’re feeling fancy.
- Best Dips: Marinara sauce is king. But ranch, garlic butter, blue cheese dip, even spicy ketchup are all winners. Pick your favorite!
- Storing Leftovers: Let’s be real: they are best eaten fresh. Like, right out of the fryer. But if you somehow have extras, let them cool completely. Store them in an airtight container in the fridge for a day or two. The crunch will fade, fair warning.
- Reheating: Do NOT use the microwave! It makes them sad, rubbery, and soggy. Blech. The best way? Pop them back in the oven or air fryer. Heat at around 180°C (350°F) for 5-8 minutes until they’re hot and crispy again. Much better!
- Make-Ahead Superstar: Remember the freezing step? That’s your best friend for making these ahead! Once the breaded sticks are frozen solid on the tray, toss them into a freezer bag. Label it! They’ll stay good in the freezer for 2-3 months. Fry them straight from frozen whenever you want some! Just add maybe an extra minute to the cooking time. Awesome for sudden cravings!
There you go! Everything you need to make totally awesome homemade mozzarella sticks. They’ll blow the frozen store-bought ones out of the water. Have fun making them, and enjoy that first perfect, cheesy, crunchy bite! Happy cooking!
PrintCheese Sticks
Who can resist that perfect combo of crunchy outside and gooey, stretchy cheese inside? Forget the freezer aisle, making amazing fried mozzarella sticks at home is easier than you think! This recipe gets you that classic appetizer goodness.
- Prep Time: 20 mins
- Cook Time: 2-3 mins per batch
- Total Time: Approx. 1 hr 25 mins+ (including freezing)
- Yield: 2 people
- Category: Appetizer, Snack
- Cuisine: American / Italian-American
Ingredients
- Mozzarella: 200g block low-moisture, whole-milk mozzarella (not fresh or shredded!)
- Flour: 1 cup all-purpose flour
- Egg: 1 large egg
- Panko: 1/2 cup Panko breadcrumbs (for extra crunch!)
- Garlic Powder: 1/2 teaspoon
- Seasoning: Pinch of salt and black pepper
- Oil: Neutral oil for frying (like canola, vegetable, peanut – enough for 2-3 inches deep)
- Optional: 1 tbsp water or milk (for egg wash)
Instructions
- Cut Cheese: Slice mozzarella into sticks (about ½ inch thick, 3-4 inches long). Try to make them roughly the same size. Pat dry.
- Set Up Stations: Get 3 shallow bowls:
- Bowl 1: Mix flour, garlic powder, salt, and pepper.
- Bowl 2: Whisk egg well (add optional water/milk if using).
- Bowl 3: Pour in Panko crumbs.
- Bread Once: Dip each stick first in flour, then egg, then Panko. Press Panko gently to coat well, especially the ends. Place on a parchment-lined baking sheet.
- Bread Twice (Recommended!): For a sturdier crust, quickly dip each Panko-coated stick back into the egg, then roll again in Panko.
- FREEZE! Place the baking sheet in the freezer for at least 1-2 hours. They must be frozen solid. Seriously, don’t skip this – it stops cheese explosions!
- Heat Oil: Pour oil into a heavy pot. Heat to 180°C (350°F). Use a thermometer or test with a breadcrumb (it should sizzle fiercely).
- Fry ‘Em Up: Carefully lower a few frozen sticks into the hot oil (don’t overcrowd!). Fry for 2-3 minutes, turning gently, until deep golden brown.
- Drain: Lift sticks out, let excess oil drip off, then place on a wire rack (not paper towels!) to keep them crispy. Sprinkle with a tiny bit more salt if you like.
- Serve HOT! Eat immediately with your favorite dipping sauce.
Notes
- Serving Ideas: Classic marinara sauce is perfect! Ranch dip or garlic butter are also great choices.
- Tips & Tricks:
- Use block low-moisture mozzarella for the best melt and stretch.
- Panko gives the best crunch.
- The double breading really helps prevent leaks.
- Freezing solid is the most important step!
- Keep the oil temperature steady (around 180°C/350°F).
- Fry in small batches so the oil stays hot.
- Drain on a wire rack to prevent sogginess.
- Storing & Reheating: Best eaten immediately! If you have leftovers, cool completely, store airtight in the fridge (1-2 days). Reheat in an oven or air fryer at 180°C (350°F) for 5-8 mins until crisp – never microwave! You can also freeze the breaded, unfried sticks for up to 3 months and fry directly from frozen (add ~1 min cook time).