I have a confession. I’m a total sucker for “emergency” desserts. You know the feeling. You’re finally on the couch, the movie just started, and your sweet tooth starts screaming for something warm and chocolatey.
I used to think I had to bake a whole batch of brownies just to satisfy a craving. Not anymore. I recently asked myself why I was wasting so much time when I could just use a mug.
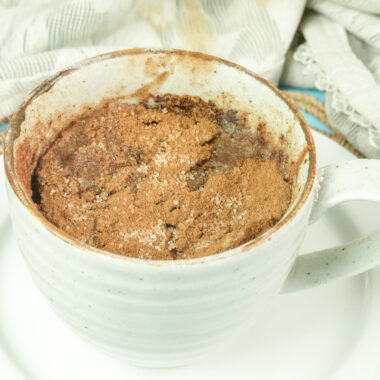
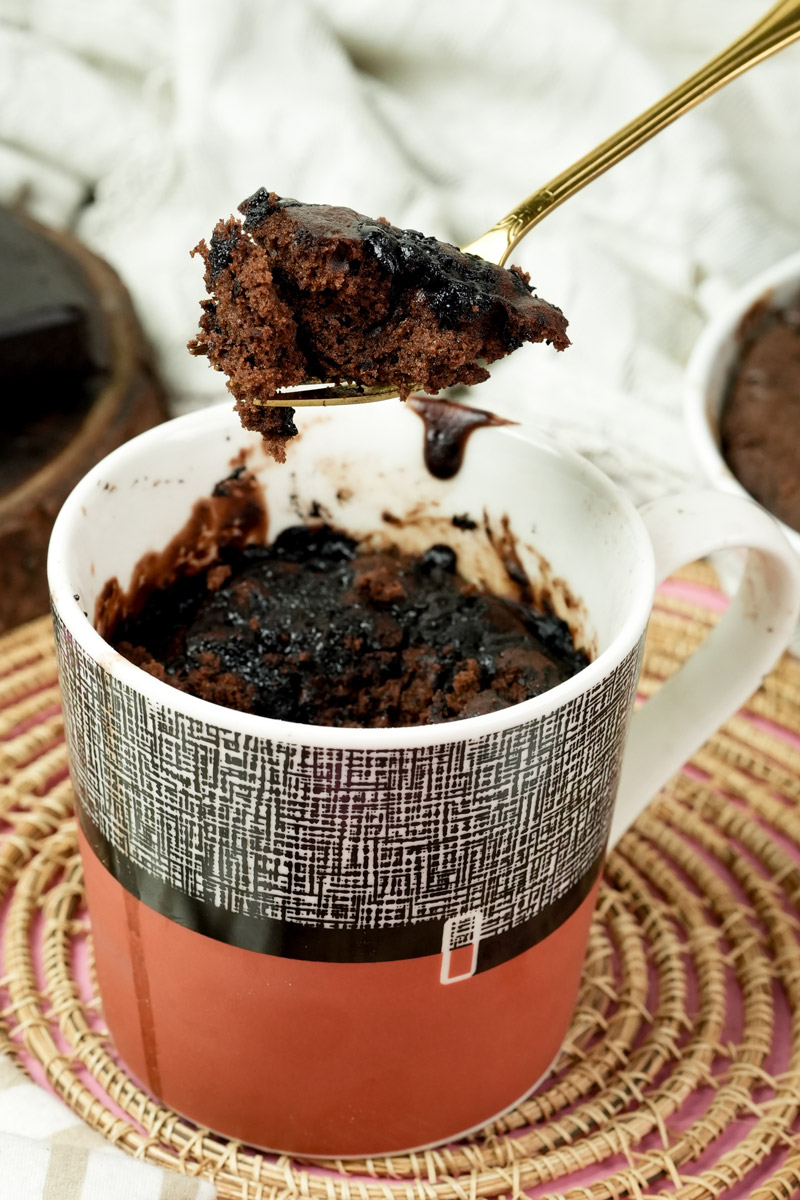
That’s where the Chocolate Mug Cake comes in. It’s basically a food science miracle. You use a tiny bit of baking powder and the steam from your microwave to create a real cake in seconds.
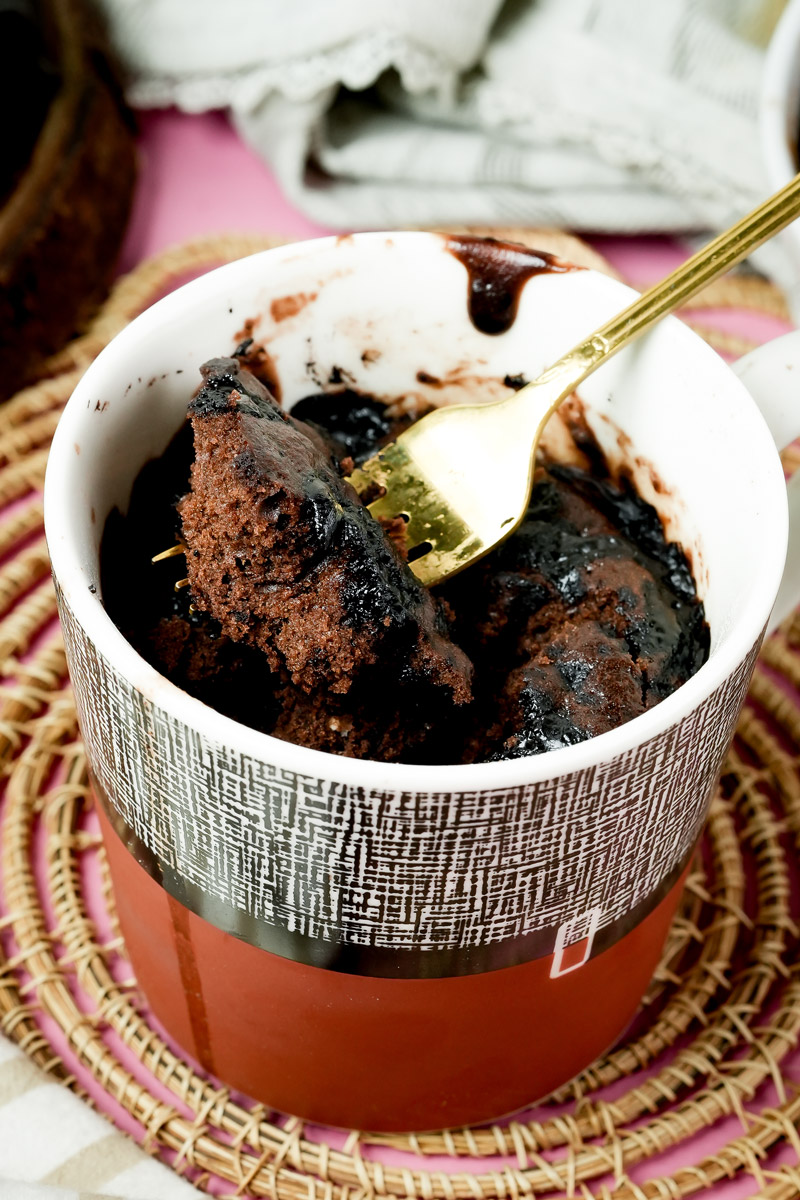
I love this specific version because it’s a mix between a fluffy sponge cake and a fudgy brownie. It reminds me of those “Wacky Cakes” from a long time ago that used simple pantry staples. No fancy tools. No big mess.
Recipe Overview
Before we start, let’s look at the “flight plan.” This really is a 5-minute process from start to finish. I’d call the difficulty level “Beginner.” Honestly, if you can stir a spoon, you’re an expert.
- Prep Time: 4 minutes (mostly just measuring stuff).
- Cook Time: 1 to 1.5 minutes (microwaves vary, so stay close!).
- Total Time: 5 minutes.
- Servings: 1 very happy person.
- Equipment: A microwave-safe mug (use a big one, at least 12 oz, so it doesn’t explode over the sides) and a fork.
The good news? You can mix the dry ingredients in a little baggie ahead of time. When you need a treat, just add the wet stuff and zap it.
Scaling the Magic
If you’re making this for a friend, make two separate mugs. Don’t try to double the recipe in one giant bowl. Microwaves cook from the outside in. If you double up, you’ll end up with a gummy center and burnt edges. Nobody wants that.
| Servings | Flour | Sugar | Cocoa | Milk |
| 1 Mug | 3 Tbsp | 2 Tbsp | 1 Tbsp | 3 Tbsp |
| 2 Mugs | 6 Tbsp (split) | 4 Tbsp (split) | 2 Tbsp (split) | 6 Tbsp (split) |
The Ingredient Gallery
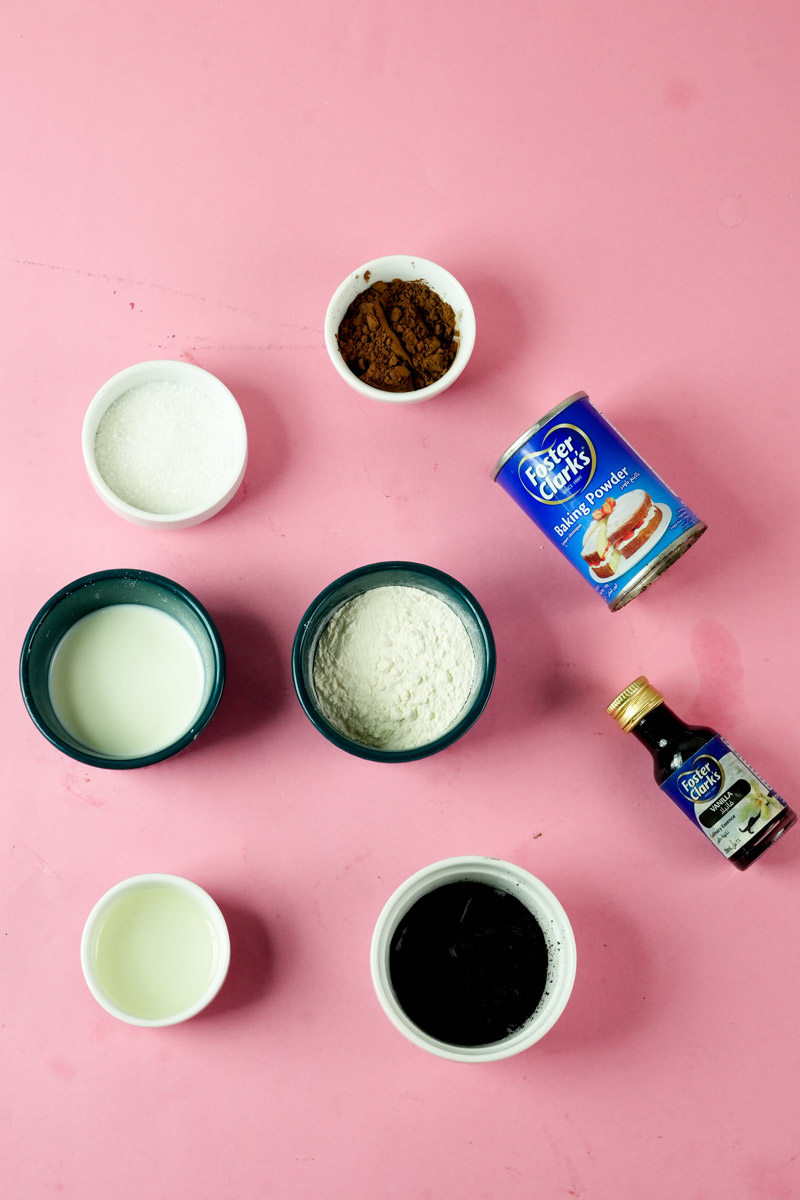
The best part about this is that you probably have everything in your cupboard right now.
- 3 Tbsp All-purpose flour: This is your base.
- 2 Tbsp Sugar: For sweetness and moisture.
- 1 Tbsp Cocoa powder: This is the soul of the cake. Use the good stuff if you have it.
- 1/4 tsp Baking powder: This makes it rise.
- Pinch of salt: Never skip this! It makes the chocolate taste better.
- 3 Tbsp Milk: This gives it structure. Any kind of milk works.
- 1 Tbsp Canola oil: This is the secret. Oil stays liquid, so your cake stays soft instead of turning into a hockey puck.
- 1/8 tsp Vanilla: To make it fancy.
- 1 tsp Chocolate chips: This takes it from “good” to amazing.
Quick Swaps:
- The Fat: You can use melted butter, but the cake will be a bit heavier.
- The Sweetener: Try brown sugar for a caramel flavor.
- The Milk: You can use water if you’re desperate, but it won’t be as creamy.
Step-by-Step Method: Let’s Bake!
First, pick a mug that makes you happy. Give the bottom a quick spray with cooking oil. It’s not a must, but it makes cleaning up way easier.
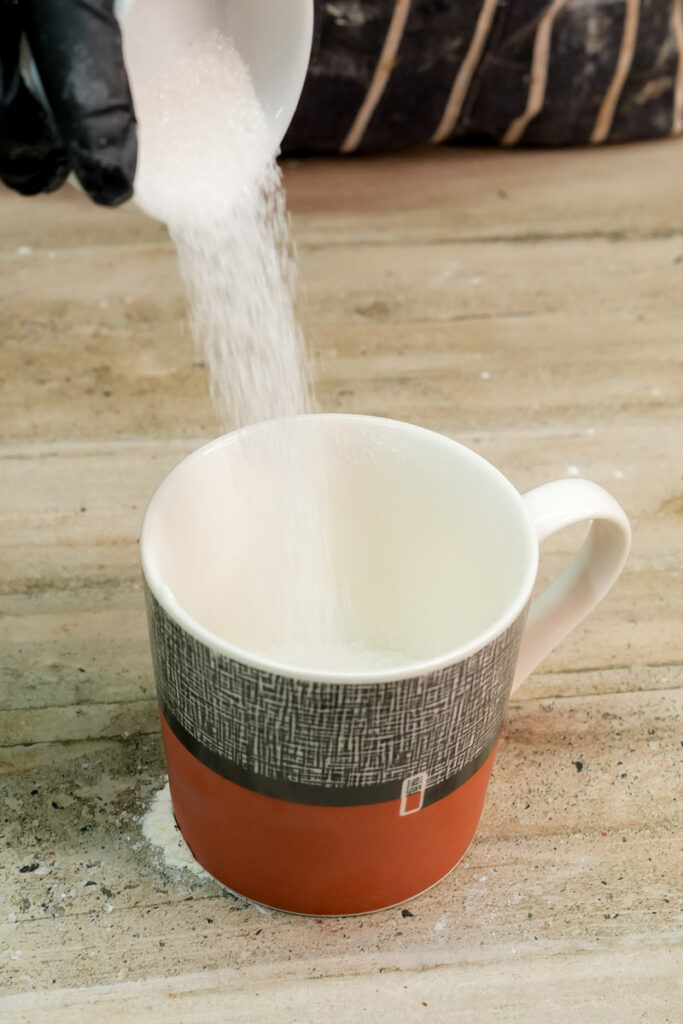
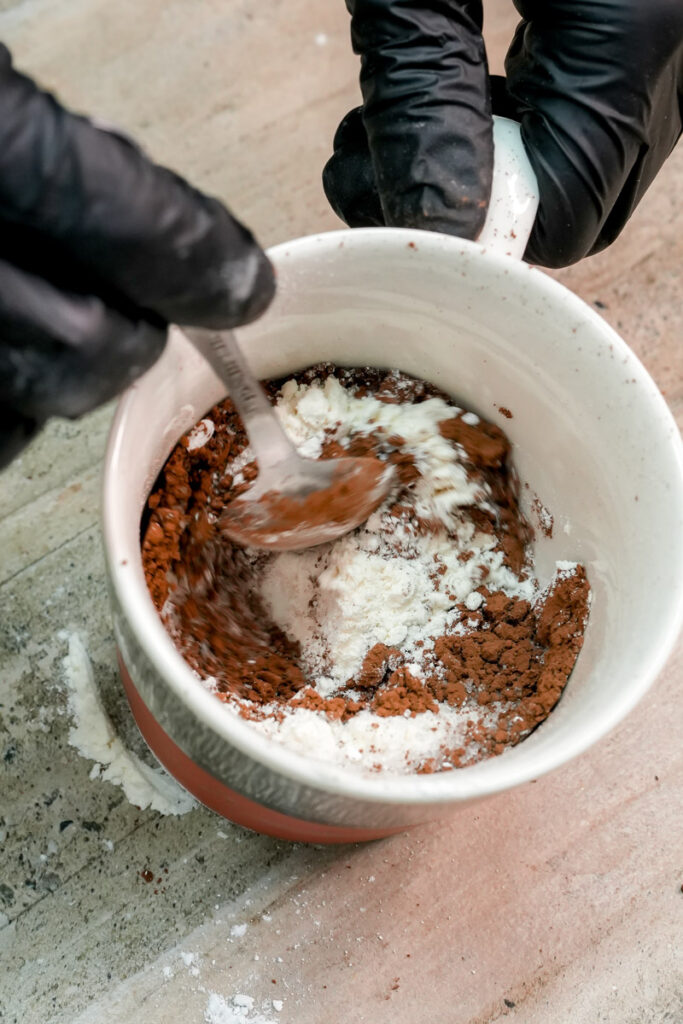
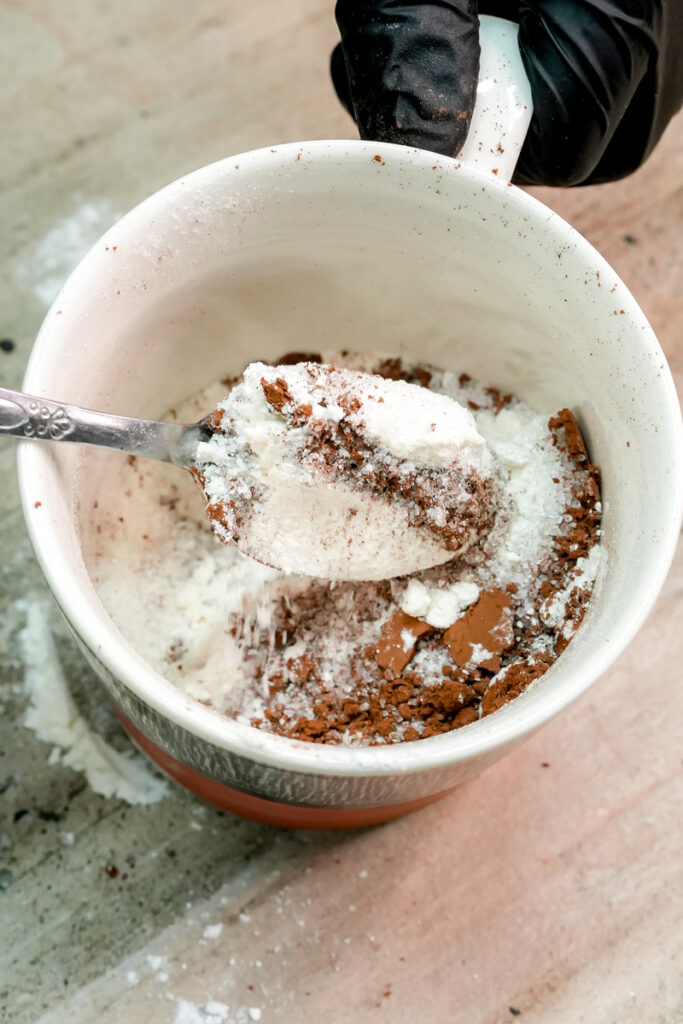
Step 1: The Dry Phase
Toss your flour, sugar, cocoa, baking powder, and salt into the mug. Grab your fork and whisk it until it’s a light brown color. Make sure you hit the corners. You don’t want to find a clump of dry flour at the bottom when you’re eating.
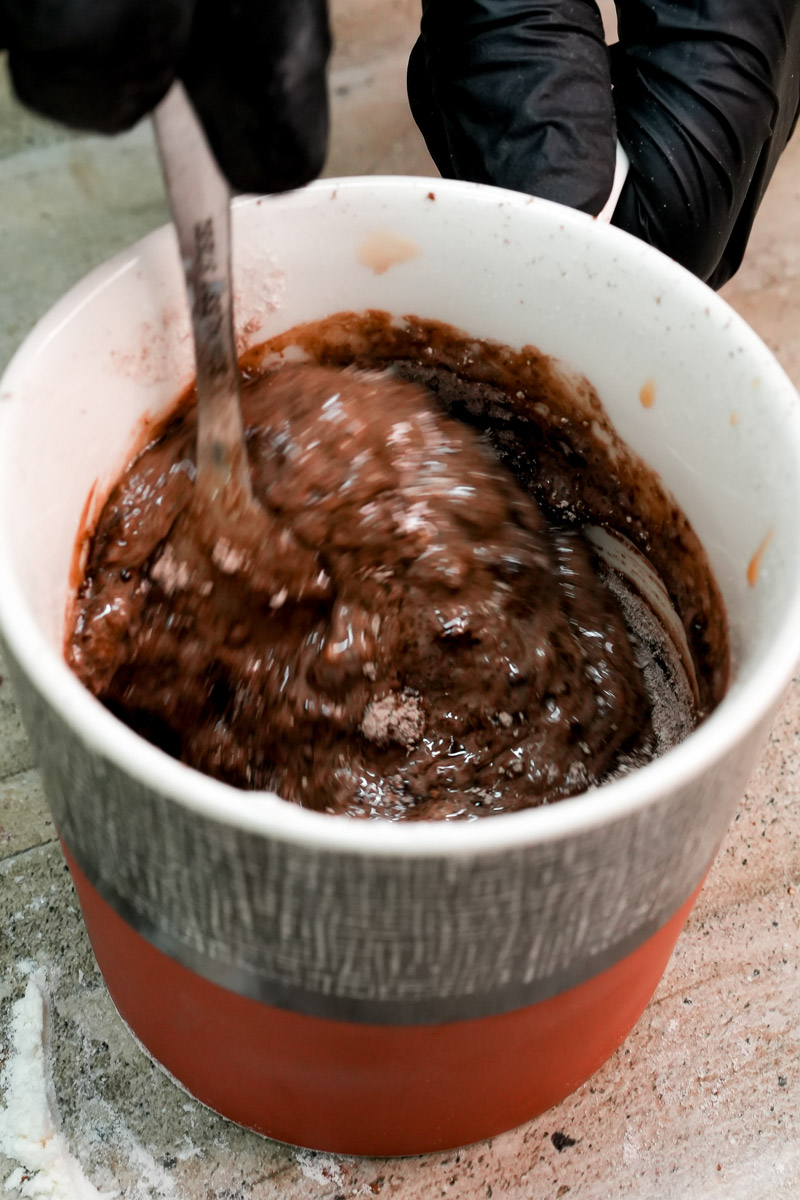
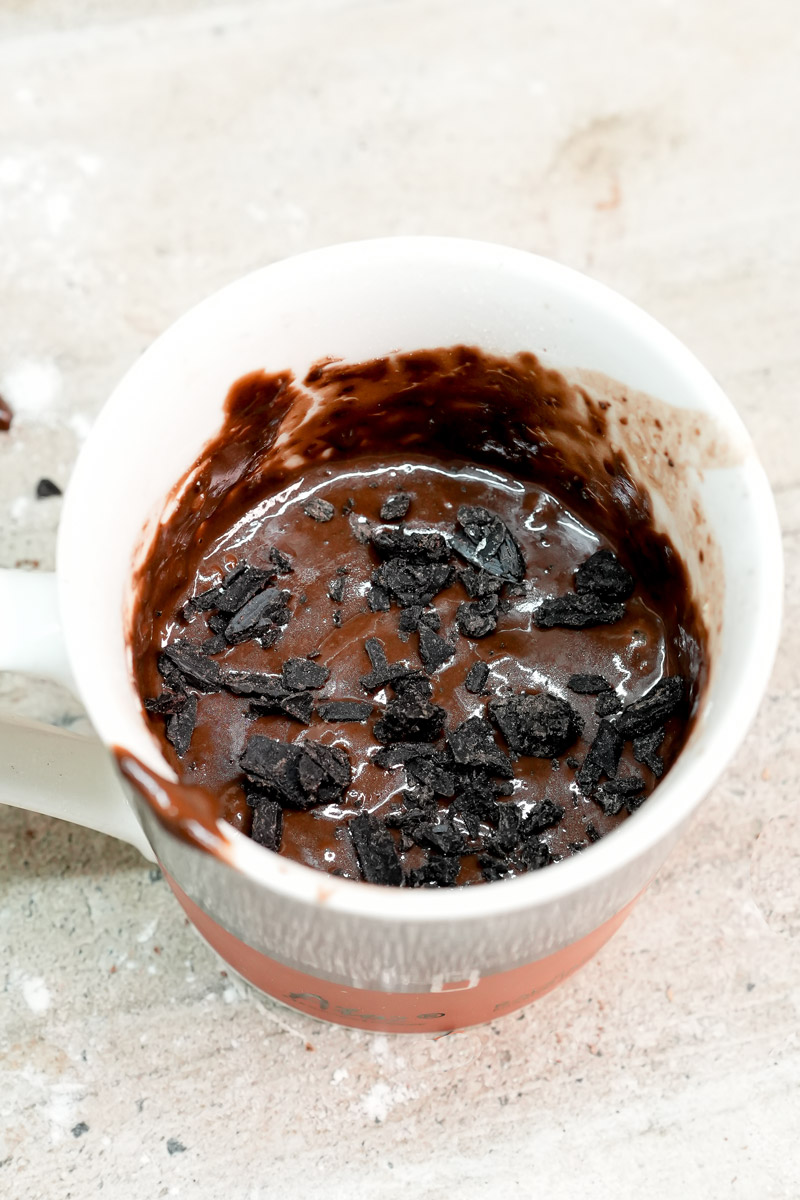
Step 2: The Wet Phase
Add your milk, oil, and vanilla. Stir slowly at first so the cocoa powder doesn’t fly everywhere. Then, stir faster until it looks smooth and glossy. It should look like thick pancake batter. Finally, fold in those chocolate chips.


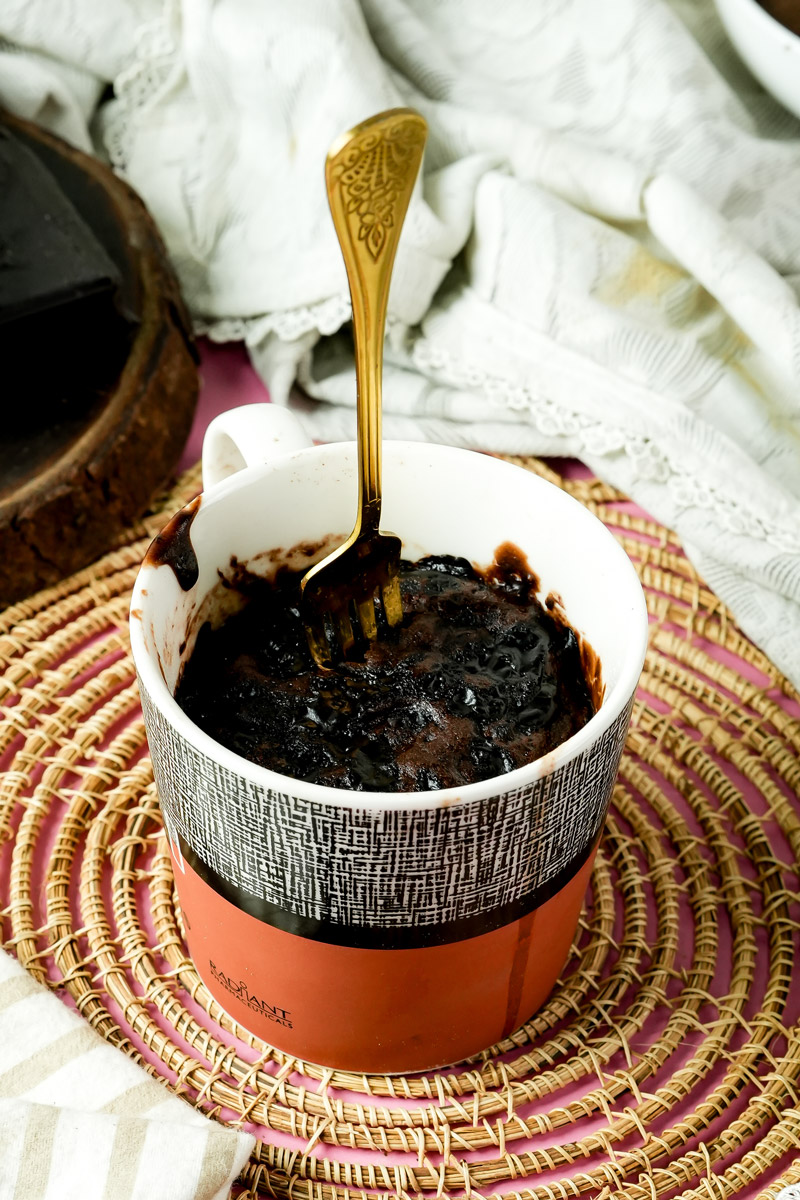
Step 3: The Heat Phase
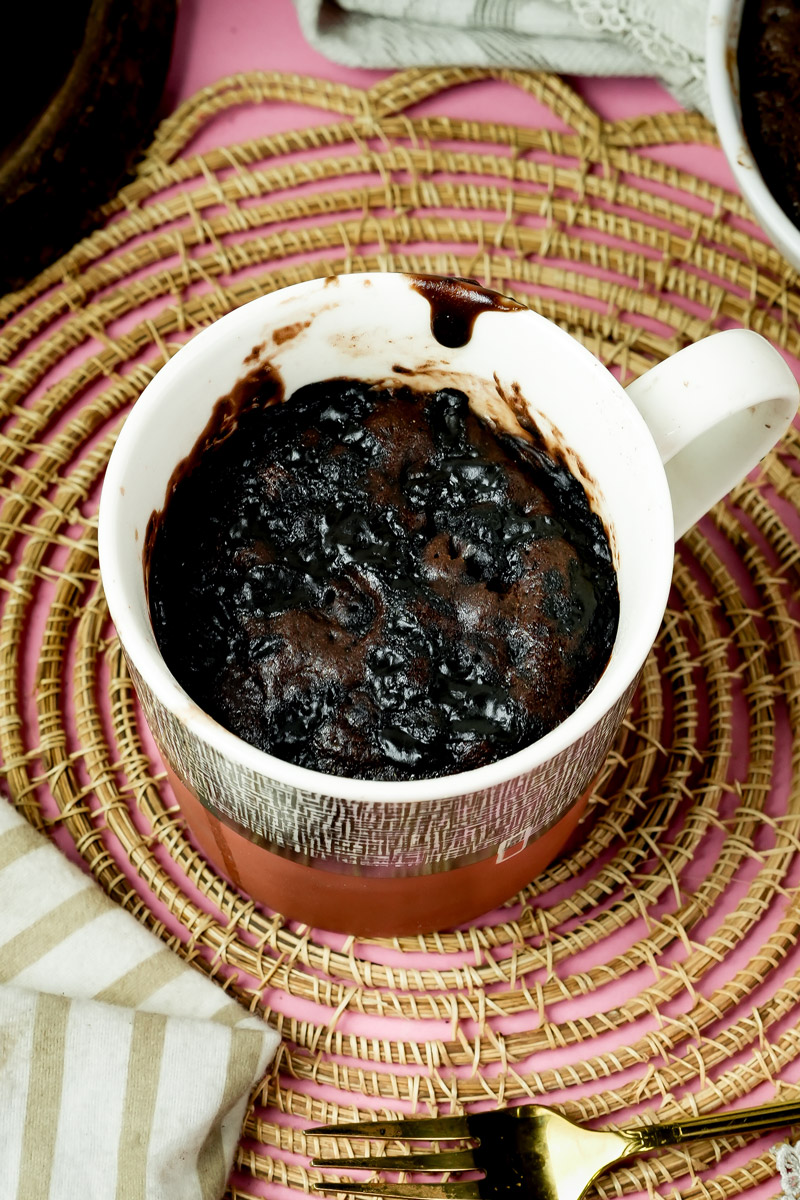
Put it in the microwave on high. Most mugs take 70 to 80 seconds. At the one-minute mark, take a look. It should have puffed up. It needs to feel firm but still look a little damp on top. If it looks dry, it’s overcooked!
Pro Tip: Let the cake sit in the microwave for a full minute after it’s done. This is “carry-over cooking.” It lets the steam settle so the cake stays soft and not rubbery.
Make it Your Own
This recipe is like a blank canvas.
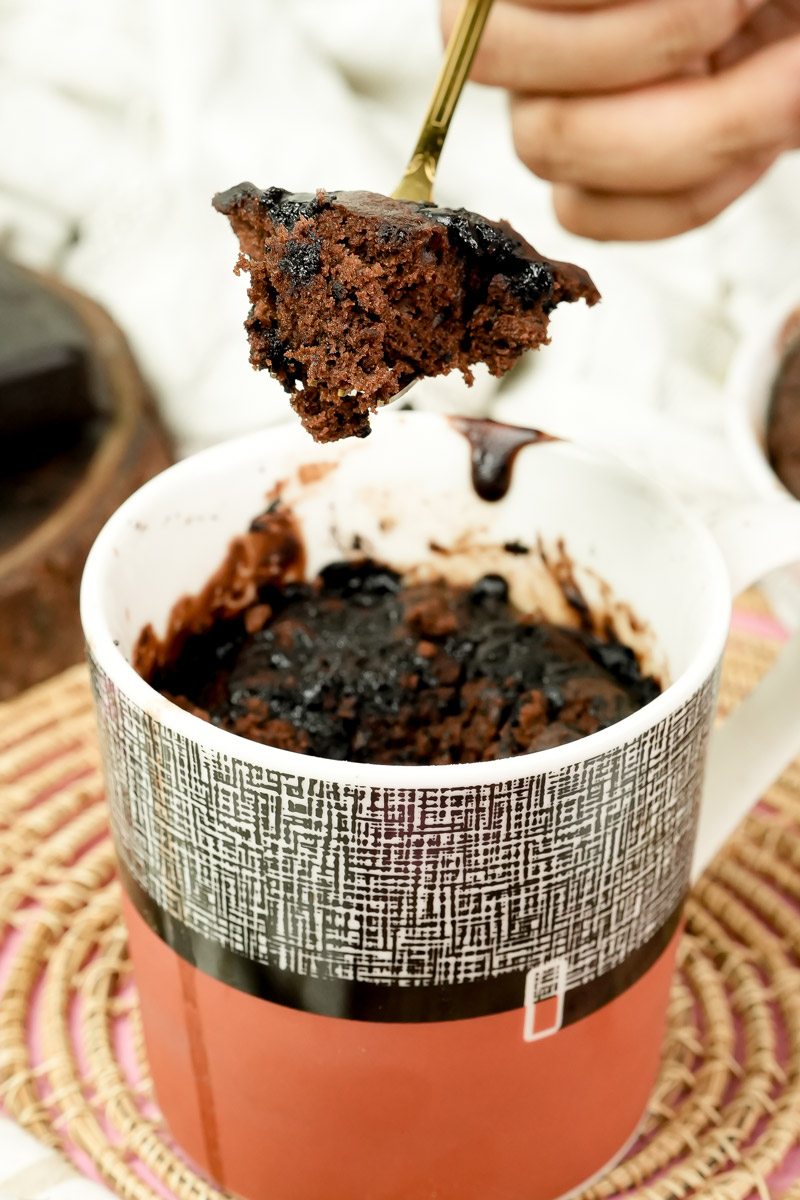
- Want a “Lava” cake? Push a big hunk of dark chocolate or a spoon of Nutella into the center before cooking.
- Feeling spicy? Add cinnamon and a tiny bit of cayenne for a Mexican hot chocolate vibe.
- Dietary needs? Use oat milk and dairy-free chips to make it Vegan. Use a 1:1 gluten-free flour blend for my Gluten-Free friends.
Serving & Storage
You can totally eat this standing up in your pajamas. I’ve been there. But if you want to be fancy, add a scoop of vanilla ice cream. The hot cake melting the cold cream is the best part of the whole experience.
Leftovers? If you actually have any, cover the mug with plastic wrap. It stays good at room temperature for a day. To reheat, add a tiny splash of water on top and microwave for 10 seconds to soften it up again.
PrintChocolate Mug Cake
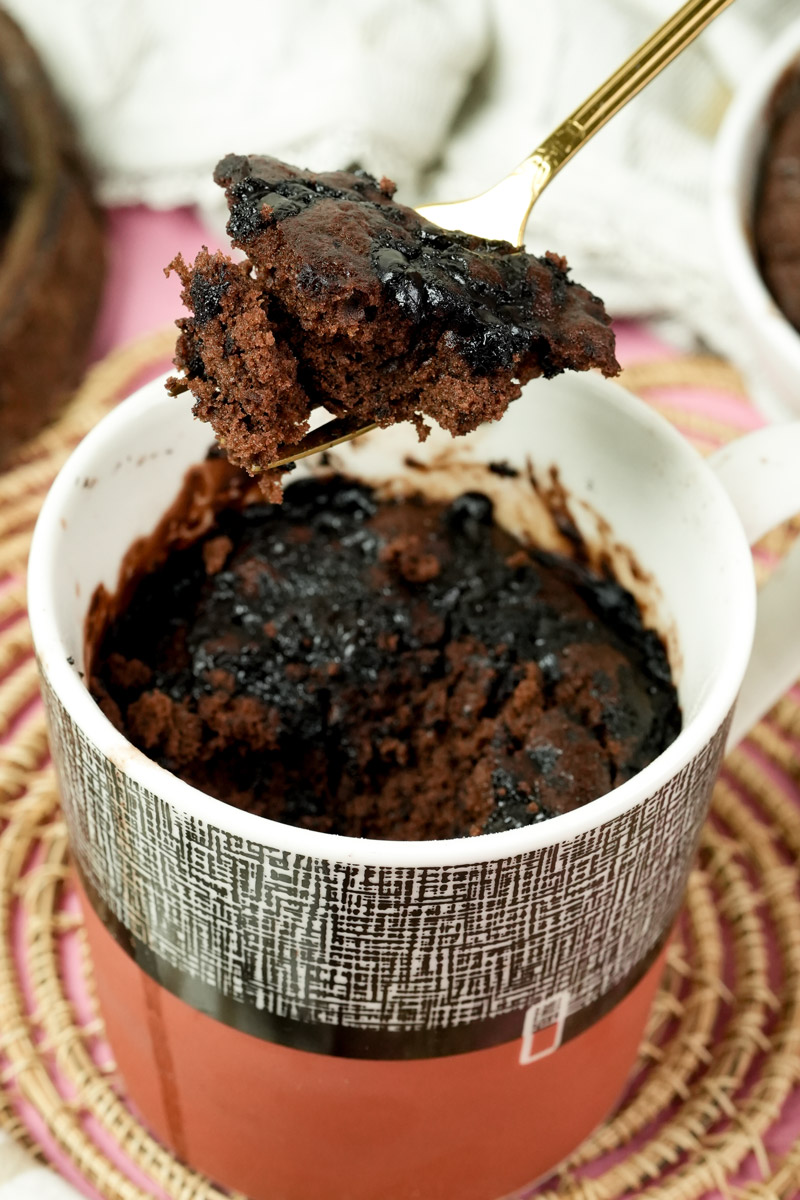
This is my go-to “emergency” dessert for when those late-night cravings hit hard. It’s a single-serve miracle that’s part fluffy sponge, part fudgy brownie. You don’t need a kitchen full of tools—just a mug, a fork, and five minutes to spare.
- Prep Time: 4 minutes
- Cook Time: 1 minute
- Total Time: 5 minutes
- Yield: 1 1x
- Category: Dessert
- Cuisine: American
Ingredients
The Dry Stuff:
- 3 Tbsp All-purpose flour
- 2 Tbsp Granulated sugar
- 1 Tbsp Unsweetened cocoa powder (Dutch-process is best if you have it!)
- 1/4 tsp Baking powder
- 1 Dash Salt (to make that chocolate pop)
The Wet Stuff:
- 3 Tbsp Milk (any kind works)
- 1 Tbsp Canola oil (keeps it soft)
- 1/8 tsp Vanilla extract
- 1 tsp Chocolate chips (plus a few extra for the top)
Instructions
- Prep your mug: Grab a microwave-safe mug (12 oz or larger). Give the bottom a tiny spray of cooking oil so it doesn’t stick.
- Mix the dry base: Toss the flour, sugar, cocoa, baking powder, and salt into the mug. Whisk with a fork until the color is even and there are no clumps.
- Add the liquids: Pour in the milk, oil, and vanilla. Stir gently until the batter looks smooth and glossy. Scrape the bottom edges with your fork to catch any hidden dry spots!
- The finishing touch: Fold in your chocolate chips.
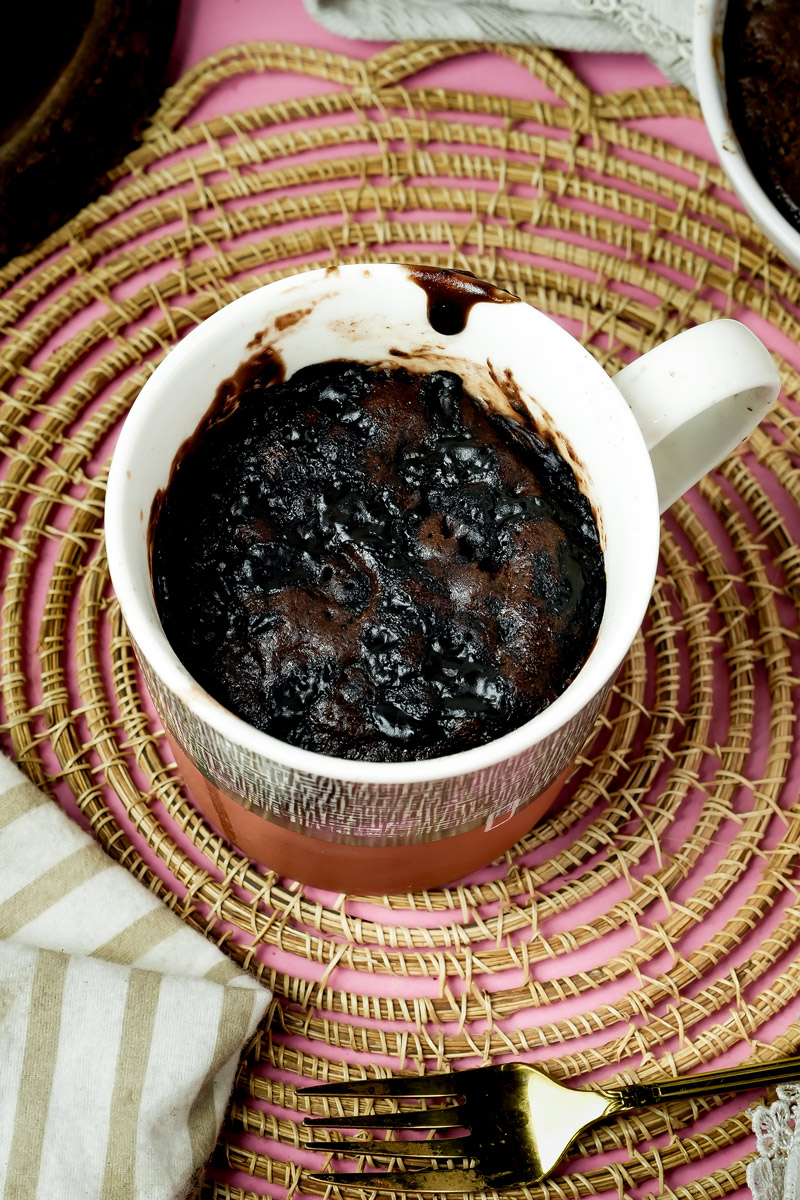
- Nuke it: Microwave on high for 70 to 80 seconds. It’s done when the top looks “set” but still a little damp or shiny. Do not overcook!
- The “Rest” Rule: Let it sit in the microwave for 1 full minute. This lets the steam finish the cooking so the cake stays soft instead of rubbery.
Notes
Serving Suggestions:
- Top with a cold scoop of vanilla ice cream or a dollop of whipped cream.
- Add fresh raspberries or strawberries to cut through the richness.
Tips & Tricks:
- The Big Mug Rule: Always use a larger mug than you think you need to avoid a “cake-cano” in your microwave.
- Carry-over Cooking: If the top looks a tiny bit wet, that’s perfect. It will firm up as it rests.
Storage & Reheating:
- Storage: Best eaten fresh, but you can cover it and keep it at room temp for 24 hours.
- Reheating: If it gets dry, sprinkle a teaspoon of water on top and microwave for 10 seconds.