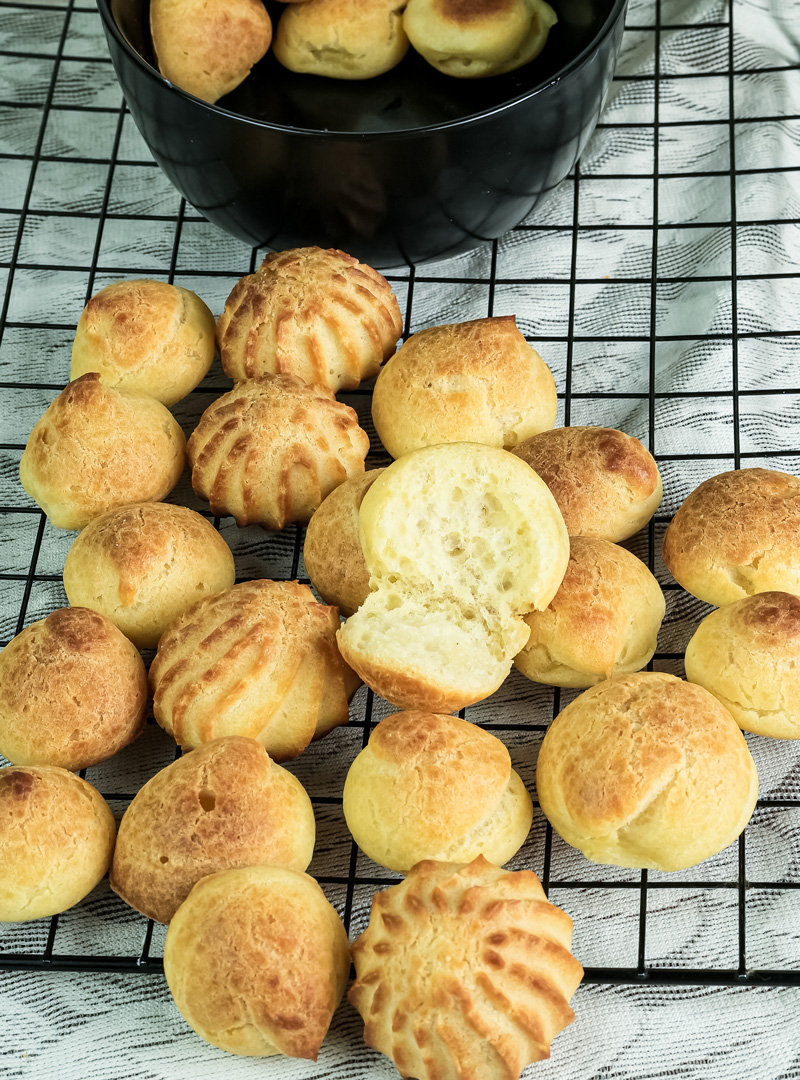
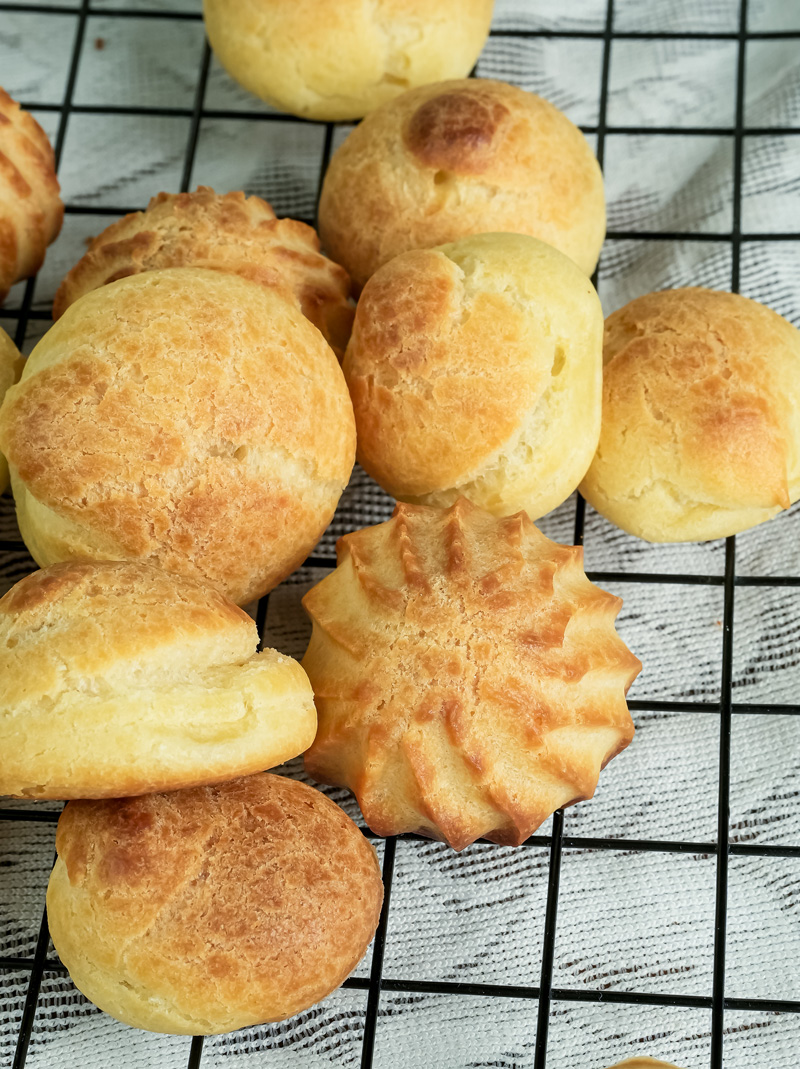
Hey there! Let’s talk about one of my favorite things to bake: choux pastry.
I know, I know. It sounds super fancy and complicated. Pâte à Choux. For years, I was too intimidated to even try it. I pictured French chefs in tall hats and assumed it was some kind of kitchen magic reserved for professionals.
The good news? It’s not magic. It’s actually pretty simple.
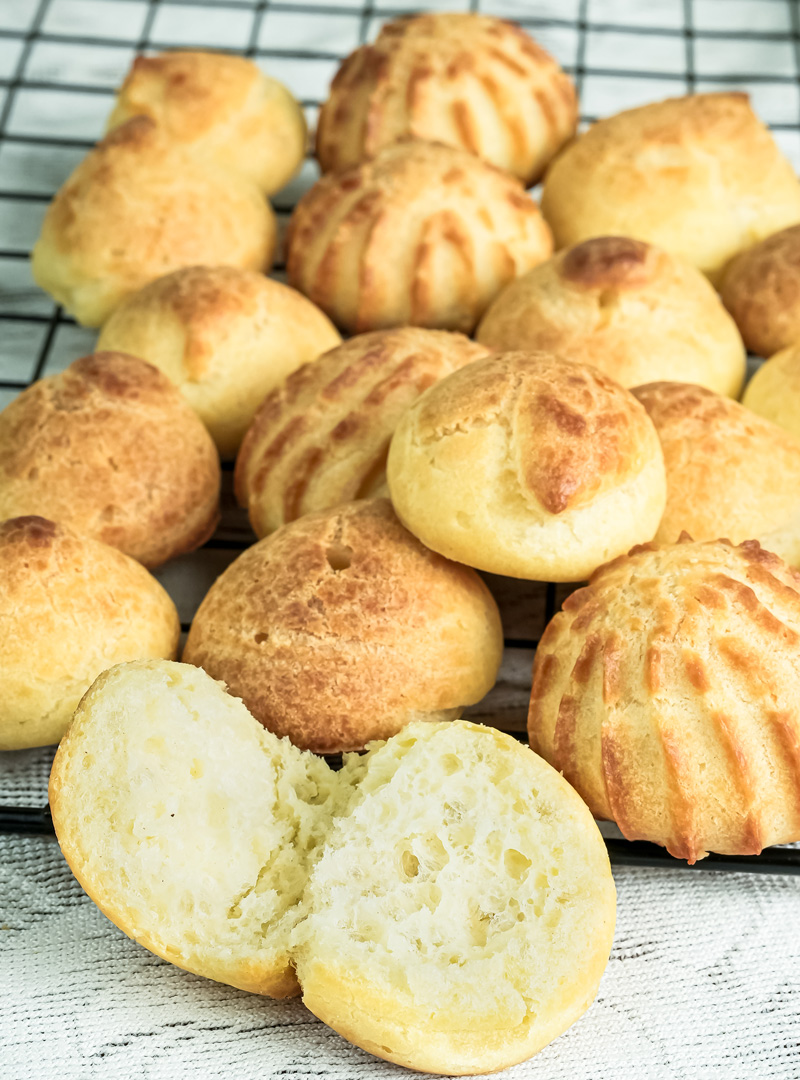
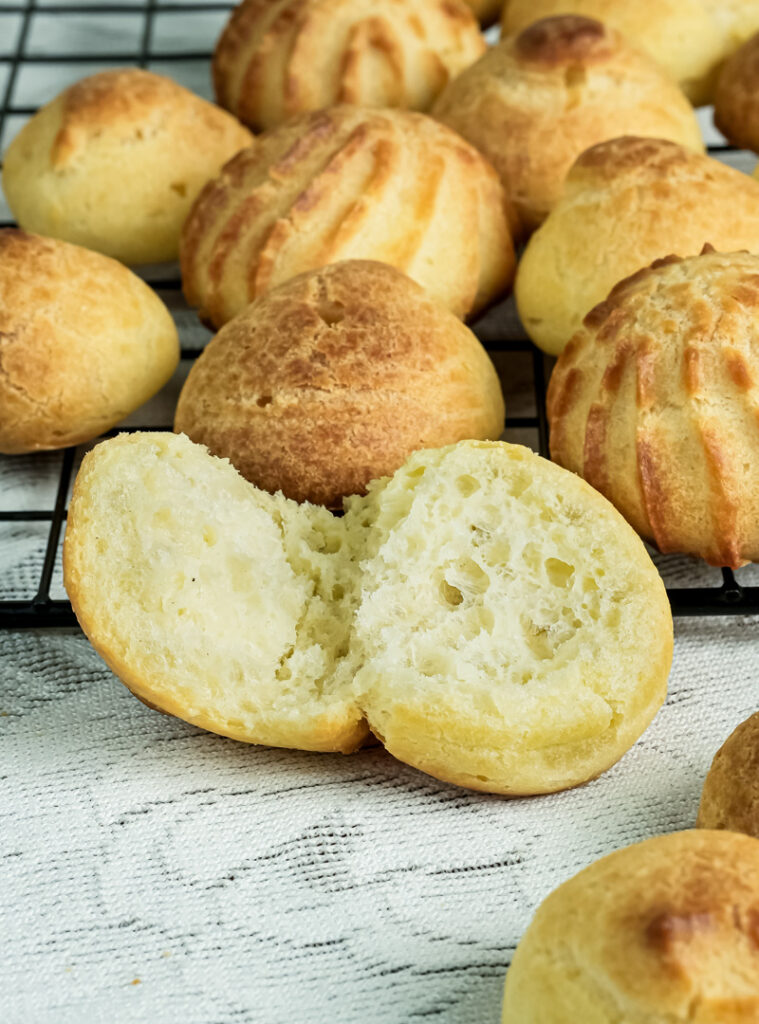
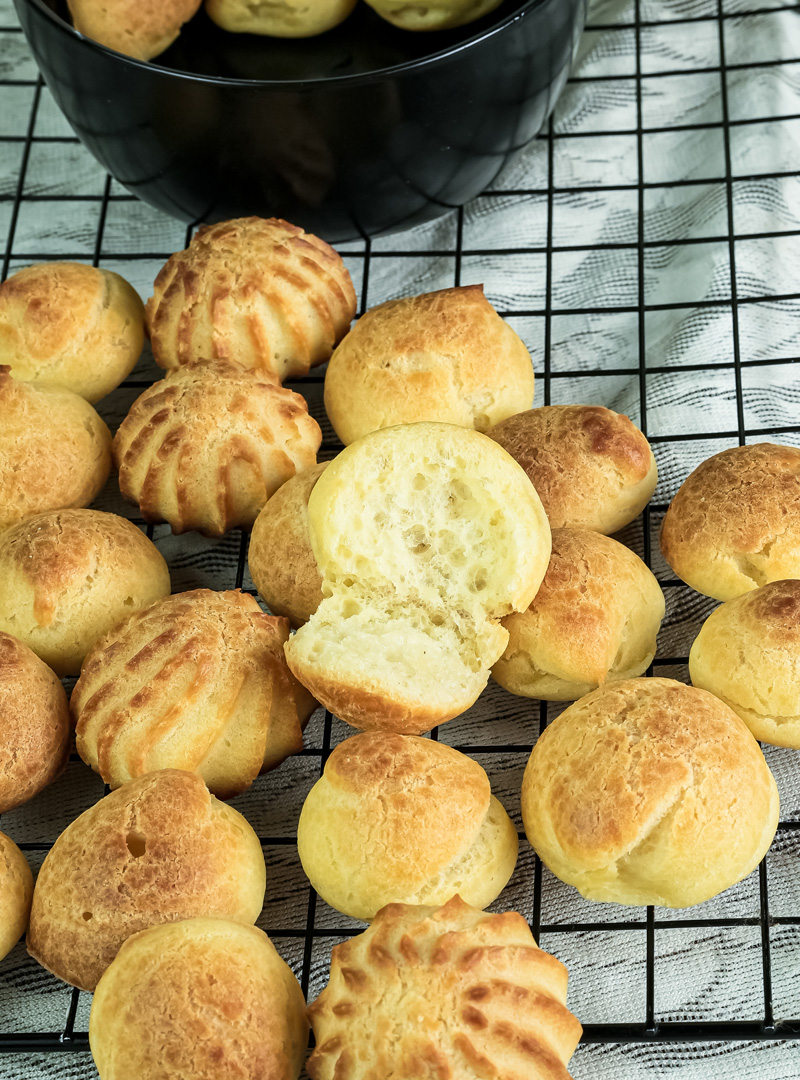
This pastry has been around for a long time, like, since the 1500s in France.1 But what makes it so special isn’t some secret ingredient. Unlike other pastries that use yeast or baking powder to get fluffy, choux pastry gets its lift from plain old steam. Seriously. The dough has a lot of water in it, which creates a ton of steam in a hot oven.2 That steam forces the pastry to puff up, creating that classic hollow center just begging to be filled.
This is the recipe I always come back to. It’s reliable, uses basic ingredients you probably already have, and it’s the perfect starting point for anything from cream puffs to eclairs or even savory cheese puffs.
So, let’s get to it. I promise, you can do this.
What to Expect
- Prep Time: About 20 minutes
- Cook Time: About 30-35 minutes
- Difficulty: I’d call it intermediate, but only because you need to pay attention to a few key moments. The steps themselves are easy!
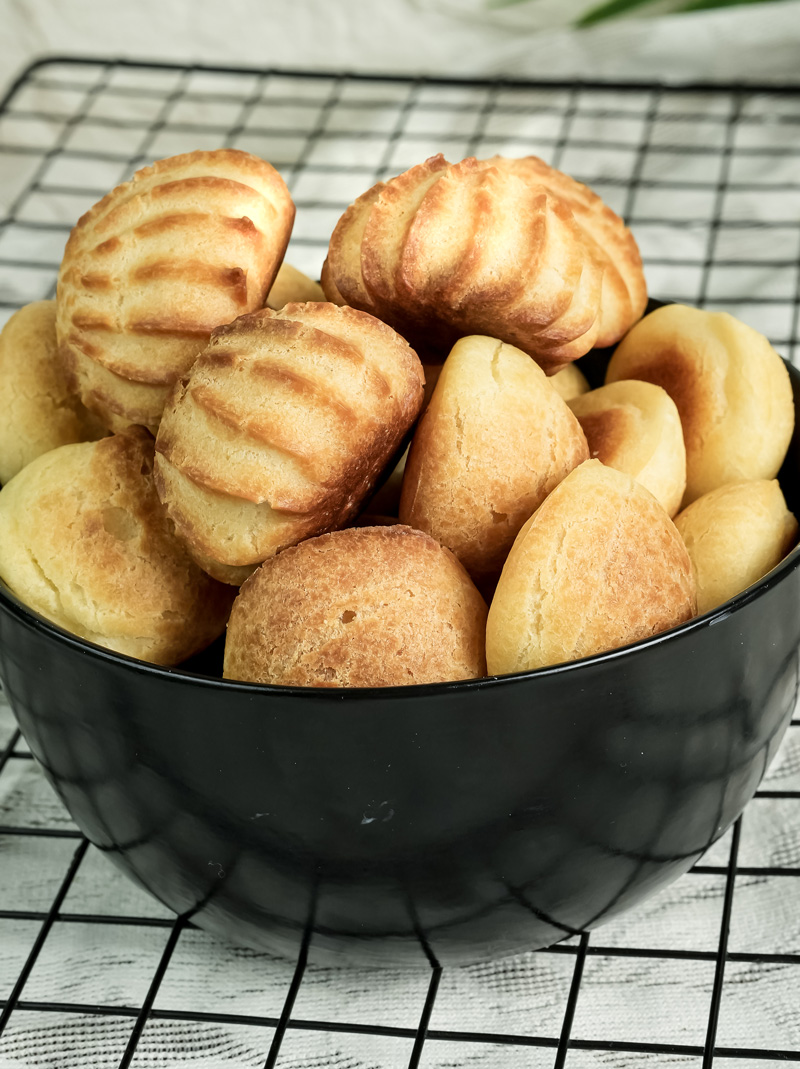
This recipe makes about 10 large pastries, great for a get-together. Need to make more or less? No problem. It’s super easy to adjust.
Here’s a quick guide:
| Servings | Water | Butter | Salt | Flour | Eggs |
| 5 | ½ cup (118 ml) | ¼ cup (57 g) | ⅛ tsp | ½ cup (63 g) | 2 |
| 10 | 1 cup (236 ml) | ½ cup (113 g) | ¼ tsp | 1 cup (125 g) | 4 |
| 20 | 2 cups (472 ml) | 1 cup (226 g) | ½ tsp | 2 cups (250 g) | 8 |
What You’ll Need
You don’t need a ton of fancy gear for this. Just the basics:
- A baking sheet (lined with parchment paper!)
- A medium-sized, heavy-bottomed saucepan
- A spatula or wooden spoon
- A piping bag (or a big Ziploc bag with the corner snipped off works just fine)
The Ingredients
The beauty of this recipe is its simplicity. You just need four main things.
You’ll need 1 cup of water and ½ cup of unsalted butter. I like to cut the butter into about 8 little pieces—it just helps it melt faster and more evenly. You also need ¼ teaspoon of salt to bring out the flavor. Then comes 1 cup of all-purpose flour. And finally, the star of the show: 4 large eggs. It really helps if your eggs are at room temperature. They’ll mix into the dough much more smoothly.
A quick note: If you only have salted butter, that’s fine. Just skip the extra ¼ teaspoon of salt.

How to Make It: Step-by-Step
Alright, let’s get our hands doughy. Just follow along.
Step 1: Get Ready
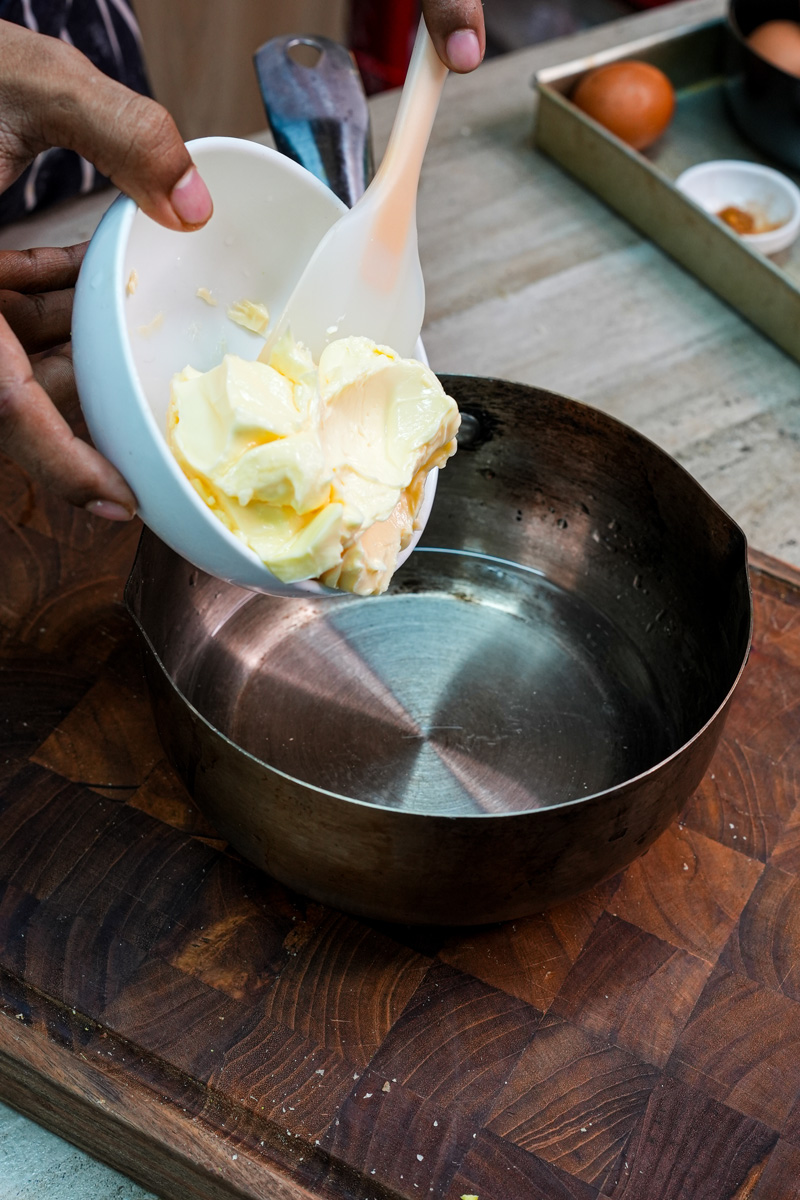
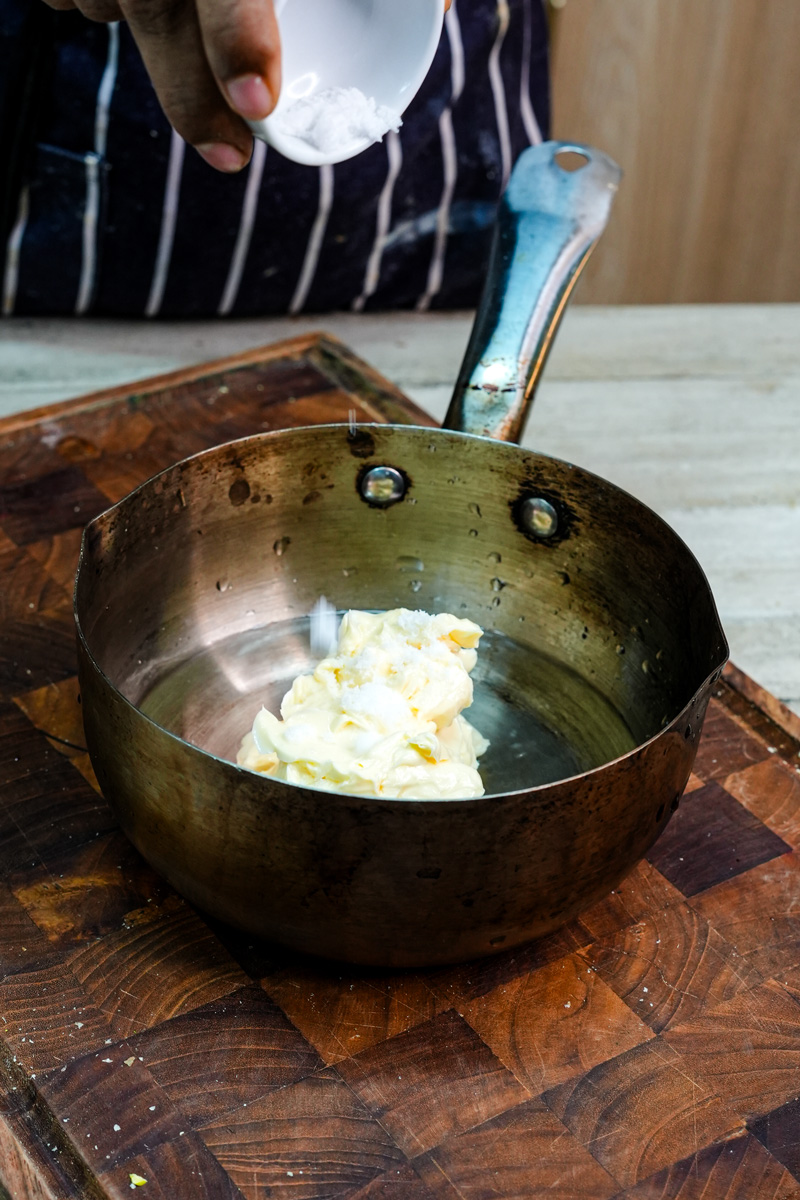
First, preheat your oven to 400°F (200°C) and line a baking sheet with parchment paper. In your saucepan, toss in the water, butter, and salt. Crank the heat to medium-high and bring it all to a rolling boil. You want the butter to be totally melted when it starts boiling.
Step 2: Cook the Dough
As soon as it’s boiling, turn the heat down to medium-low and dump in all the flour at once. I know it sounds dramatic, but trust me. Start stirring like crazy with your spatula. Almost immediately, the mixture will pull away from the sides of the pot and form a big ball of dough. That’s exactly what you want to see.
Step 3: Add the Eggs (The Important Part!)
Take the pot off the heat. Keep stirring the dough ball for another minute or two just to cool it down slightly so you don’t cook the eggs.
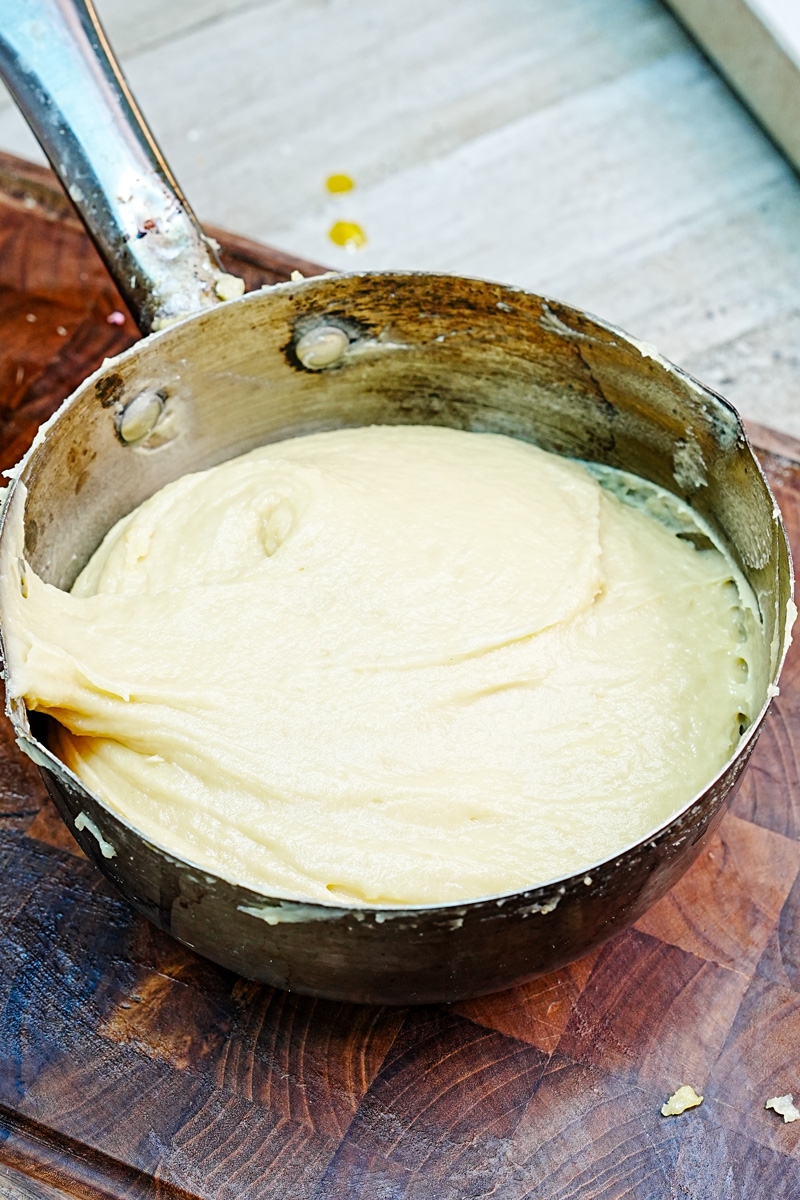
Now, add the eggs, but do it one at a time. This is the most important part of the whole recipe. You have to mix each egg in completely before you add the next one. At first, the dough will look like a separated, gloopy mess. Don’t panic! This is totally normal. It might look like you ruined it, but just keep mixing. I promise it will come back together into a smooth, shiny, perfect dough.
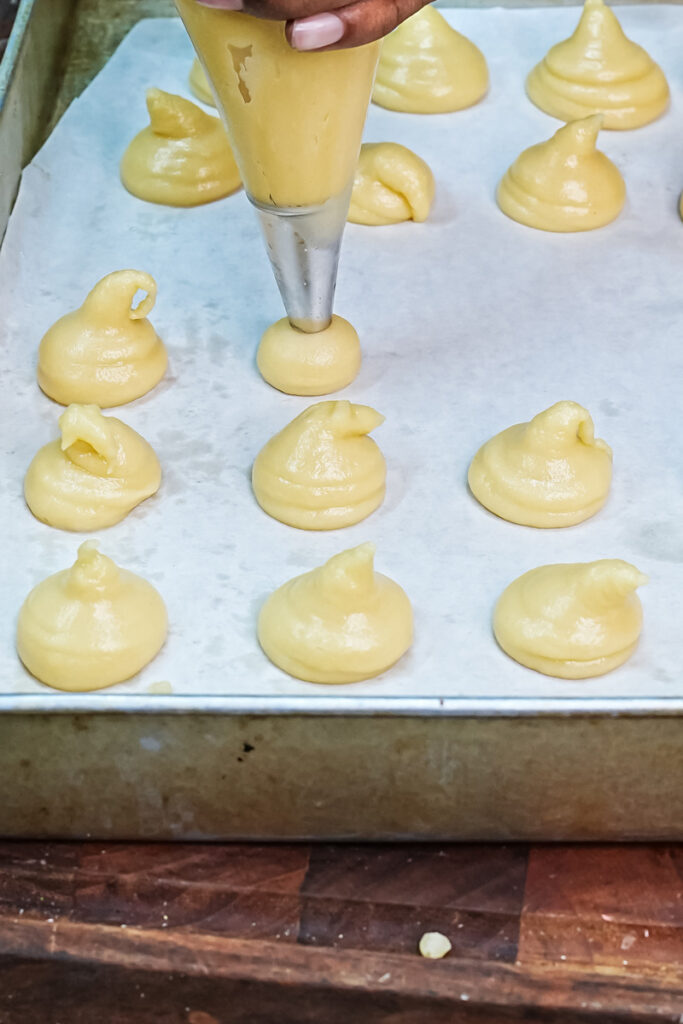
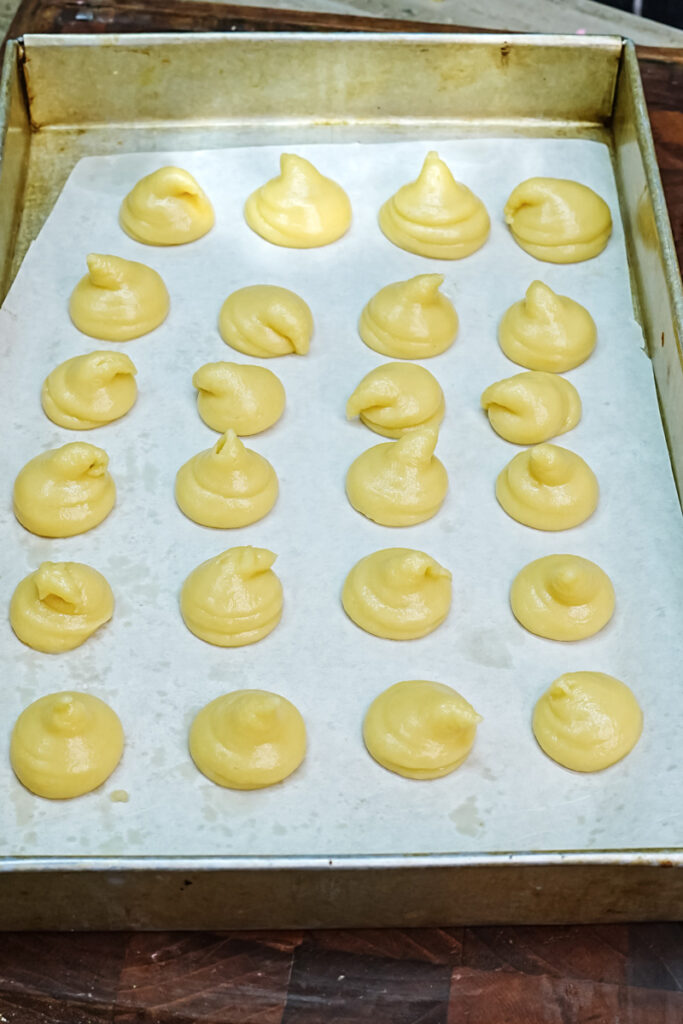
Step 4: Pipe the Pastries
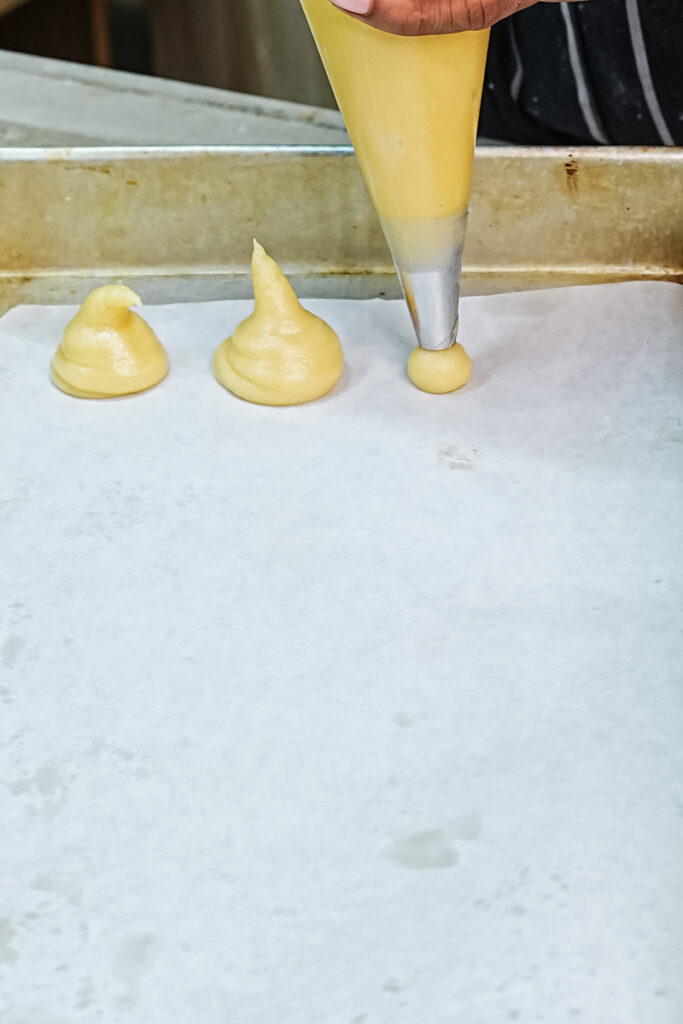
Scoop your beautiful dough into a piping bag. Pipe mounds onto your baking sheet that are about 2.5 inches wide and 1 inch tall. A little trick I learned: pipe straight down, don’t swirl it like you’re frosting a cupcake. Make sure to leave about 1 ½ inches of space between them because they’re going to puff up a lot.
See any little peaks on top of your mounds? Dip your finger in a little water and gently tap them down. This stops them from burning.
Step 5: Bake!
Pop the baking sheet into the oven and bake for 30-35 minutes.
Now for the number one rule of choux pastry: DO NOT open the oven door for at least the first 25 minutes. I’m serious. If you peek too early, all that wonderful steam will escape and your pastries will collapse into sad, flat disks.
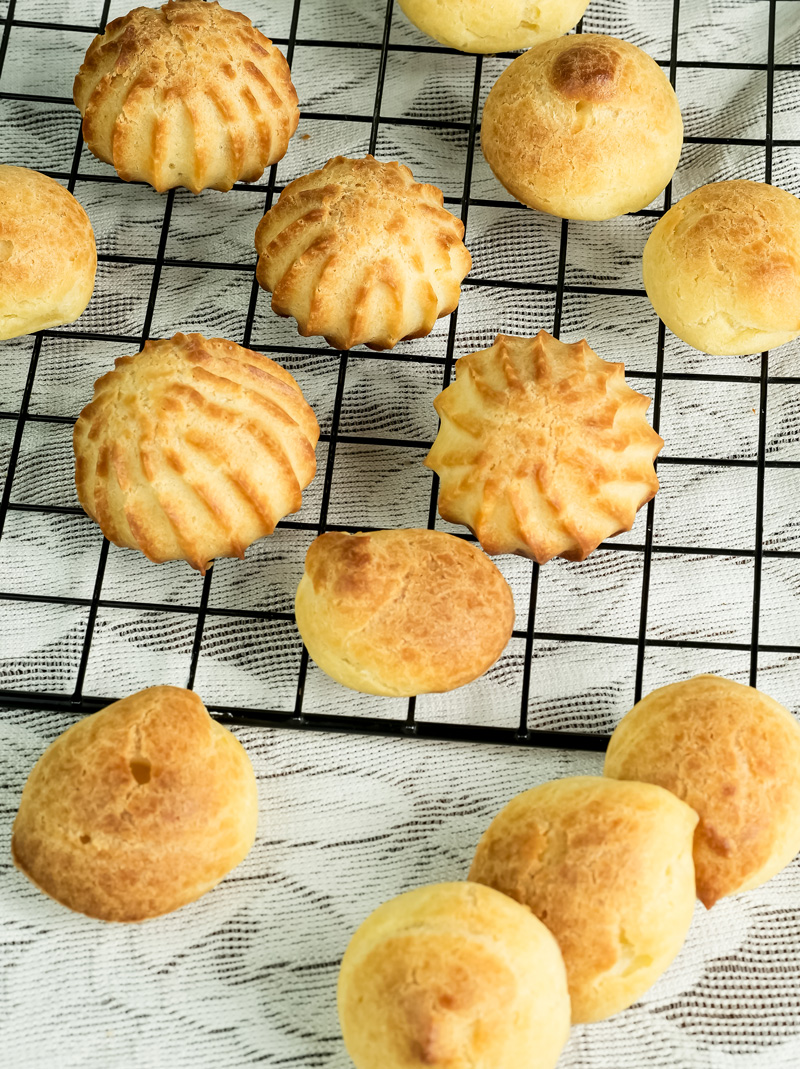
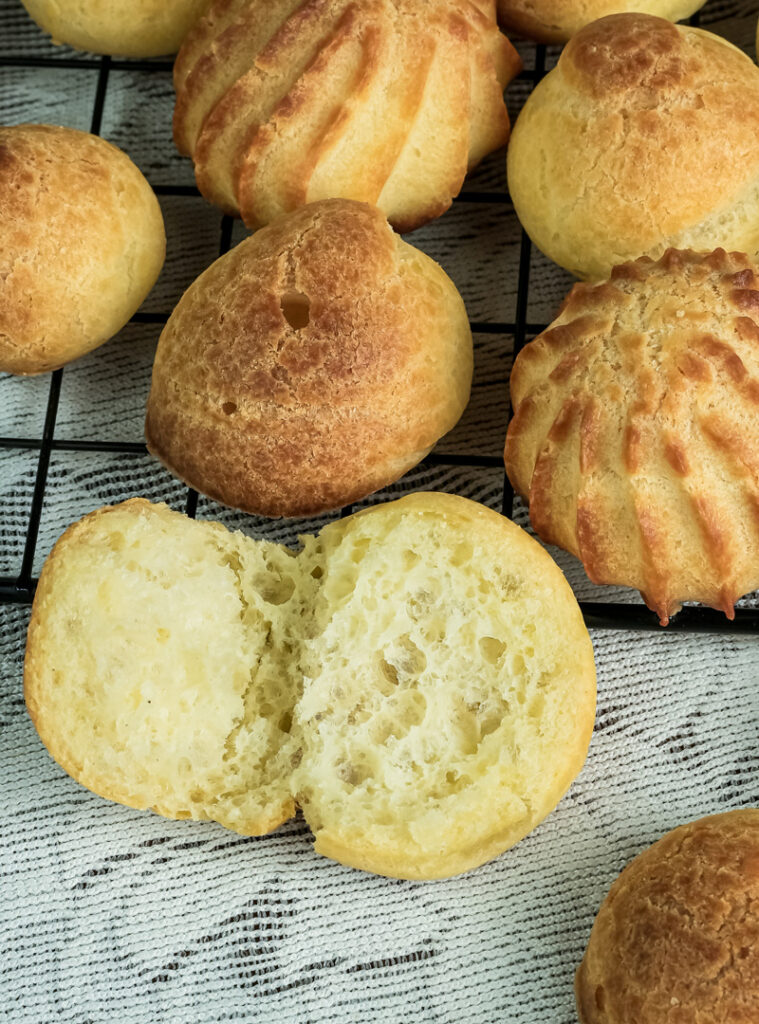
They’re done when they look dry and are a beautiful golden brown. Take them out, and use a small knife to poke a little hole in the side of each one. This lets any leftover steam out and keeps them crispy. Then, turn the oven off, crack the door open, and let them sit in there for another 10 minutes to dry out completely.
Fun Ways to Change It Up
Once you have this basic recipe down, you can do all sorts of things with it.
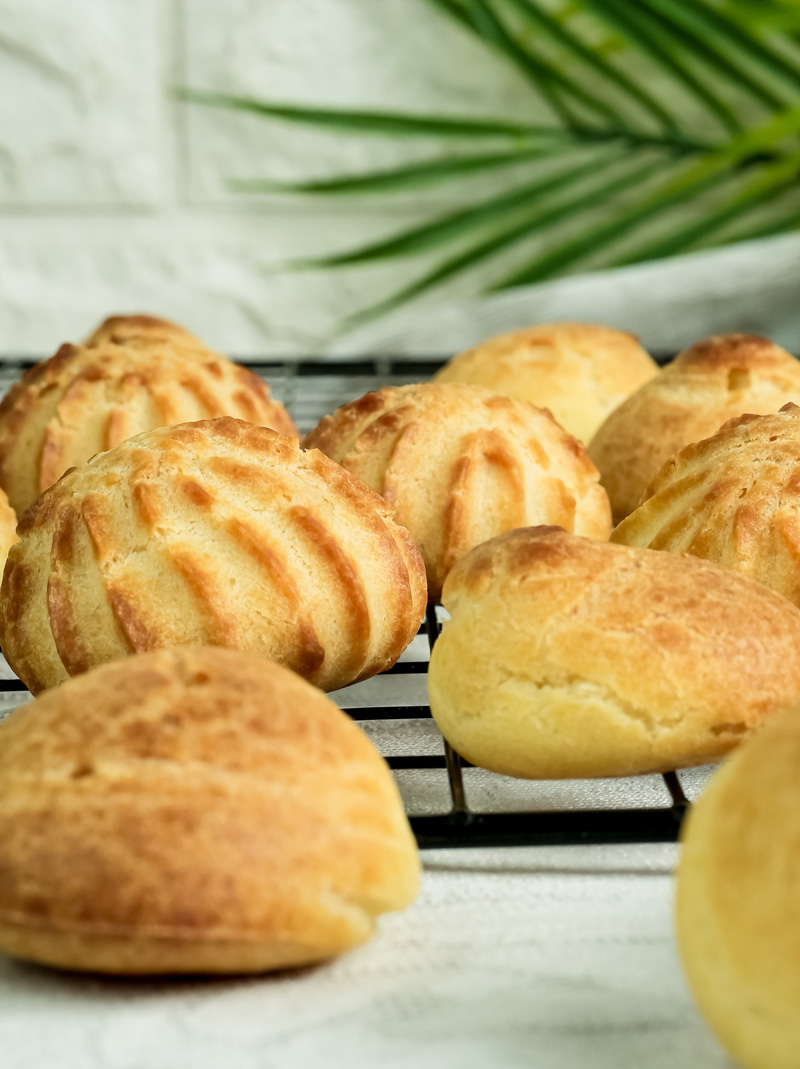
- Go Savory: My favorite variation is to make
gougères, which are just cheesy choux puffs.3 When you’re adding the eggs, also mix in about a half cup of grated cheese (Gruyère is amazing, but Parmesan works too), some black pepper, and fresh chives. They make the best appetizer. - Seasonal Flavors: In the fall, add a teaspoon of pumpkin pie spice to the dough. For summer, fill them with fresh strawberries and whipped cream.
- Dietary Tweaks: For a gluten-free version, a good 1-to-1 gluten-free flour blend with xanthan gum usually works well.4 A vegan version is tougher since the eggs are so important, but there are recipes out there that use plant-based butters and egg replacers.
Storing Your Creations
Your gorgeous pastries are done! Now what?
- Serving: If you made sweet puffs, a simple dusting of powdered sugar is perfect. Or get fancy and drizzle them with melted chocolate. Serve savory
gougèreswarm. - Storing: Unfilled shells will stay good in an airtight container at room temperature for about 2 days. Once you fill them, they need to be kept in the fridge and are best eaten the same day.
- Reheating: If your unfilled shells get a little soft, you can pop them in a 300°F (150°C) oven for 5 minutes to crisp them back up.5
The best part? You can totally make these ahead of time.
Want a freezer stash for later? You have two options:
- Freeze the unbaked dough: Pipe the mounds onto a parchment-lined sheet and freeze them solid. Then, you can toss the frozen dough balls into a freezer bag. Bake them straight from the freezer—just add 5-10 extra minutes to the baking time.
- Freeze the baked shells: Let the baked, unfilled shells cool completely. Store them in a freezer bag for up to 3 months. Just thaw them at room temp when you’re ready to fill and serve.
I really hope this makes you feel ready to tackle choux pastry. Happy baking!
PrintChoux Pastry

Don’t let the fancy French name scare you! These light, airy pastry puffs are surprisingly simple to make at home. The magic is all in the technique, creating hollow shells that are perfect for filling with sweet cream or savory cheese. This is your go-to recipe for perfect puffs, every single time.
- Prep Time: 20 minutes
- Cook Time: 35 minutes
- Total Time: 55 minutes
- Yield: 10 large pastries 1x
- Category: Dessert, Pastry
- Cuisine: French
Ingredients
- 1 cup (236 ml) water
- ½ cup (113 g) unsalted butter, cut into small pieces
- ¼ tsp salt
- 1 cup (125 g) all-purpose flour
- 4 large eggs, room temperature
Instructions
- Prep: Preheat your oven to 400°F (200°C). Line a large baking sheet with parchment paper.
- Boil: In a medium saucepan over medium-high heat, bring the water, butter, and salt to a rolling boil. Make sure the butter is fully melted.
- Make the Dough: Reduce heat to low and add all the flour at once. Stir vigorously with a wooden spoon until the dough forms a ball and pulls away from the sides of the pan (about 1-2 minutes).
- Add Eggs: Remove the pan from the heat. Let it cool for 2 minutes. Add the eggs one at a time, mixing thoroughly after each addition. The dough might look separated at first—don’t worry! Just keep beating until it becomes a smooth, thick, and glossy paste.
- Pipe: Transfer the dough to a piping bag. Pipe 2.5-inch mounds onto your prepared baking sheet, leaving at least 1.5 inches of space between each one.
- Bake: Bake for 30-35 minutes until puffed and a deep golden brown. Crucial Tip: Do not open the oven door for the first 25 minutes, or your pastries will collapse!
- Dry: Once baked, poke a small hole in the side of each pastry to release steam. Turn the oven off and return the pastries to the oven with the door cracked open for 10 minutes to dry out. Cool completely on a wire rack.
Notes
- Serving Suggestions:
- Sweet: Fill with whipped cream, pastry cream, or ice cream. Dust with powdered sugar or drizzle with melted chocolate.
- Savory (
Gougères): Before adding the eggs, mix ½ cup of grated Gruyère or Parmesan cheese into the warm dough for a delicious appetizer.
- Tips & Tricks:
- Tap down any pointy tips on your piped mounds with a wet finger to prevent them from burning.
- Using room temperature eggs helps them incorporate into the dough much more easily.
- Storage & Reheating:
- Store unfilled, cooled shells in an airtight container at room temperature for up to 2 days.
- Reheat soft shells in a 300°F (150°C) oven for 5 minutes to restore their crispness.
- Freeze baked, unfilled shells for up to 3 months. Thaw at room temperature before filling.