Hello, friend! I am so excited you’re here. Today, we’re going to tackle what might be the most satisfying thing you can ever bake in your own kitchen: homemade croissants.
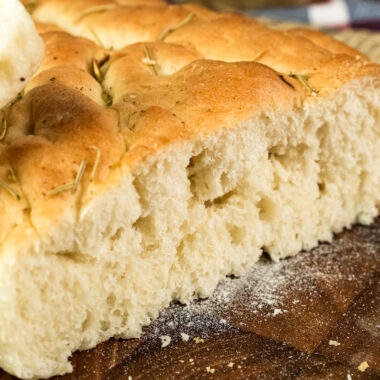
Honestly, is there anything better? That first crackle of the golden crust, revealing all those airy, buttery layers inside. Just the smell of them baking is enough to make all the effort totally worth it. I still remember the first time I pulled a batch of these from my own oven—I felt like a magician.
And here’s a fun fact: croissants didn’t even start in France! Their story begins with a crescent-shaped bread called a kipferl from Vienna, Austria, way back in the 1600s.1 It wasn’t until the 1830s that they made their way to Paris, where French bakers worked their magic with puff pastry and turned them into the icon we love today.
This recipe takes all that fancy French technique and breaks it down for a regular home kitchen. Your kitchen. It’s definitely a project, but think of it as a relaxing weekend activity.
The goal? To bake the most incredible pastry you’ve ever tasted. Ready to make some magic? Let’s do this.

What to Expect
Okay, let’s be real. This is a two-day project. But don’t let that scare you! Spreading it out is actually what makes it manageable and helps develop an amazing flavor. I’ll be with you every step of the way.
Prep, Chill & Cook Time
- Active Time: About 5 and a half hours, split across two days.
- Chilling & Resting Time: 8+ hours (this is mostly hands-off time!)
- Baking Time: 20 minutes
Here’s a sample schedule I use to plan my weekend bake:
| Day 1 (Afternoon/Evening) | Activity | Duration |
| 2:00 PM | Make the croissant dough & let it rest | 40 mins |
| 2:10 PM | Make the butter square & chill | 30 mins |
| 2:40 PM | Encase the butter & chill | 60 mins |
| 3:40 PM | First “Turn” (Roll & Fold) & chill | 70 mins |
| 4:50 PM | Second “Turn” & chill | 70 mins |
| 6:00 PM | Third “Turn” & chill overnight | 8+ hours |
| Day 2 (Morning) | Activity | Duration |
| 9:00 AM | Shape the croissants | 30 mins |
| 9:30 AM | Final proof | 60-90 mins |
| 11:00 AM | Bake! | 20 mins |

How Many Does This Make?
This recipe makes 10 glorious croissants. Want to make a smaller batch for yourself or double it for a crowd? I’ve got you covered. Just know that a double batch is a real arm workout!
| Yield | Yeast | Water | Flour | Sugar | Salt | Milk | Butter (for square) |
| 5 Croissants | 1 ⅛ tsp | ¼ cup | 1 ¾ cups | 2 ½ tbsp | 1 tsp | ½ cup | ¾ cup (1.5 sticks) |
| 10 Croissants | 2 ¼ tsp | ½ cup | 3 ½ cups | ⅓ cup | 2 tsp | 1 cup | 1 ½ cups (3 sticks) |
| 20 Croissants | 4 ½ tsp | 1 cup | 7 cups | ⅔ cup | 4 tsp | 2 cups | 3 cups (6 sticks) |
How Hard Is This, Really?
I won’t sugarcoat it—this is a technical bake. But the difficulty isn’t about fancy chef skills. It’s all about patience and process. The main trick is just keeping everything cold. By following the steps, even if you’re a beginner, you can totally do this. Think of it like leveling up your baking game!

Your Baking Toolkit
Having the right tools will make this whole process feel a lot smoother.
- Stand Mixer with Dough Hook: This makes kneading a total breeze. Don’t have one? No problem! You can absolutely knead by hand. Just get ready for a 15-20 minute arm workout until the dough is smooth.
- Baking Sheets (2): You’ll need these for chilling the dough and, of course, for baking. Make sure to line them with parchment paper.
- Plastic Wrap: You’ll be using a lot of this to keep the dough from drying out.
- Rolling Pin: This is your most important tool! A heavy, straight one is great, but honestly, use what you’ve got.
- Pizza Cutter or Sharp Knife: Helps get those super clean cuts for perfect triangles.
- Pastry Brush: For brushing off extra flour and for that final, glossy egg wash.
- Ruler or Measuring Tape: I know, it feels a bit extra. But it really helps get the dimensions right, which makes the folding part much easier.
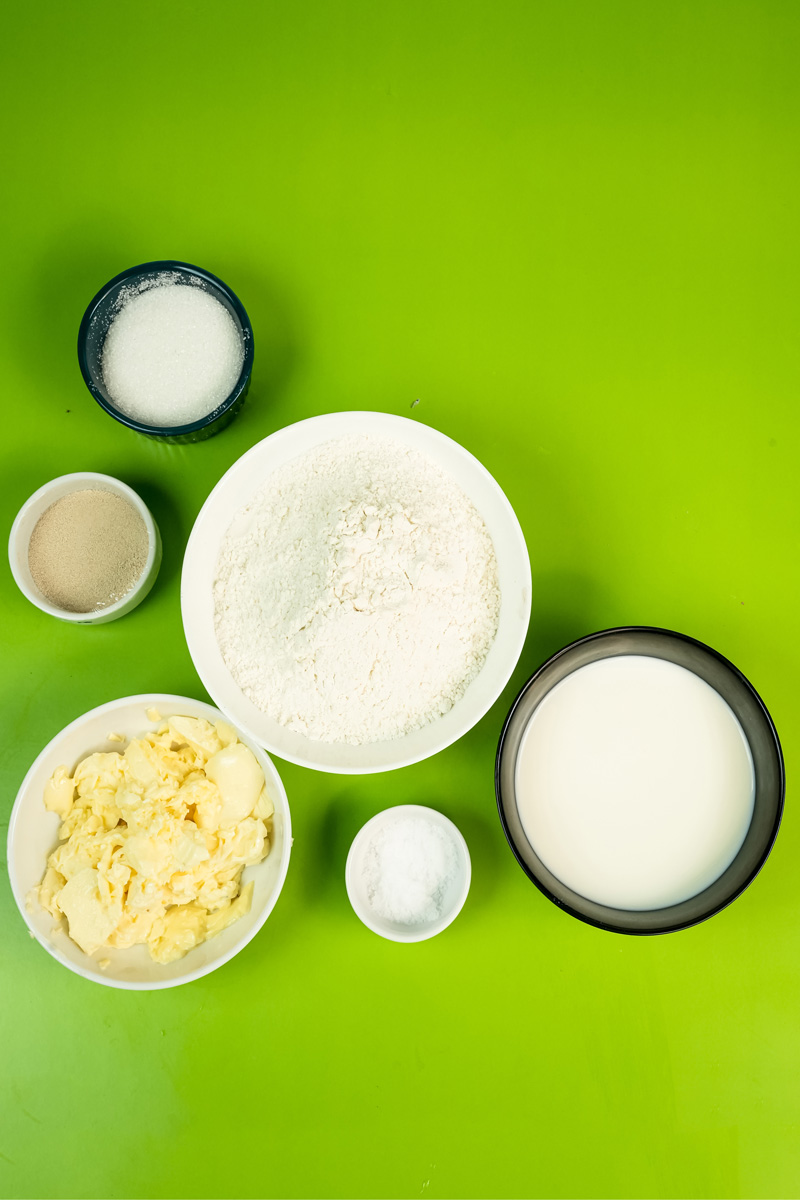
What You’ll Need: The Ingredients
The secret to amazing croissants is simple: good ingredients. There’s nowhere for a bad ingredient to hide in this recipe.
First up, the dough itself, which bakers call the détrempe. We’ll need 3 ½ cups of all-purpose flour. It gives the perfect balance of chewy and tender. For our rising agent, we’ll use 2 ¼ teaspoons of instant yeast (that’s one standard packet). If you only have active dry yeast, that’s fine too—we’ll just wake it up first. For flavor, we’ll add ⅓ cup of granulated sugar and 2 teaspoons of fine sea salt. To bring it all together, you’ll need ½ cup of room temperature water and 1 cup of whole milk. I really prefer whole milk for the richest taste.
Now, for the absolute star of the show: the butter. This is not the time to be shy. You’ll need 1 ½ cups (3 sticks!) of unsalted butter. If you can, splurge on a good European-style butter. It has more fat and less water, which is the key to creating those distinct, flaky layers that don’t feel greasy. It’s like casting an Oscar-winning actor in a movie—it just makes everything better. We’ll also mix it with 2 tablespoons of all-purpose flour to help keep it from leaking out during baking.
Before you start, make sure your milk is at room temperature, but your butter is cool—not rock-hard, but still firm. Finally, grab one large egg for the shiny egg wash at the end.
How to Make Croissants: Step-by-Step
Take a deep breath. We’re going to go through this one stage at a time. Trust the process, and remember the golden rule: keep it cold!
Stage 1: Make the Dough (The Détrempe)
First things first, let’s make the dough. In the bowl of your stand mixer, add the 3 ½ cups of flour. Put the ⅓ cup of sugar and 2 teaspoons of salt on one side of the bowl. Salt can be a bully to yeast, so we add the 2 ¼ teaspoons of instant yeast to the other side of the bowl and give each side a quick mix into the flour.
Good to know: If you’re using active dry yeast, dissolve it in the warm water first and let it get foamy (about 5 minutes) before adding it.
Attach the dough hook. Turn the mixer on low and pour in the ½ cup of water and 1 cup of whole milk. Mix on medium-high for 8 to 10 minutes. You’ll see it go from a shaggy mess to a smooth, elastic ball that cleans the sides of the bowl. It should be perfect. Form it into a ball, place it in a lightly greased bowl, cover with plastic wrap, and let it rest for 30 minutes. It’s not going to double in size; it’s just relaxing.
Stage 2: Make the Magic Butter Square
While the dough is having a little nap, let’s prep our butter. In your mixer bowl (no need to deep clean it), use the paddle attachment to beat the 1 ½ cups of cool, cubed butter and 2 tablespoons of flour on low. Mix just until it’s smooth and creamy. Don’t overdo it!
Scrape the butter onto a big piece of plastic wrap. Fold the plastic over and use your hands or a bench scraper to squish it into a 6×6-inch square. Using the plastic wrap keeps your warm hands from melting everything. Wrap it up tight and pop it in the fridge.
Stage 3: Lamination (a.k.a. Where the Flakes Come From)
Okay, this is the most important part. “Lamination” is just a fancy word for folding butter into dough. Over and over. When these get into the hot oven, the water in the butter creates steam, which pushes all those little layers of dough apart. That’s what creates the flakes!
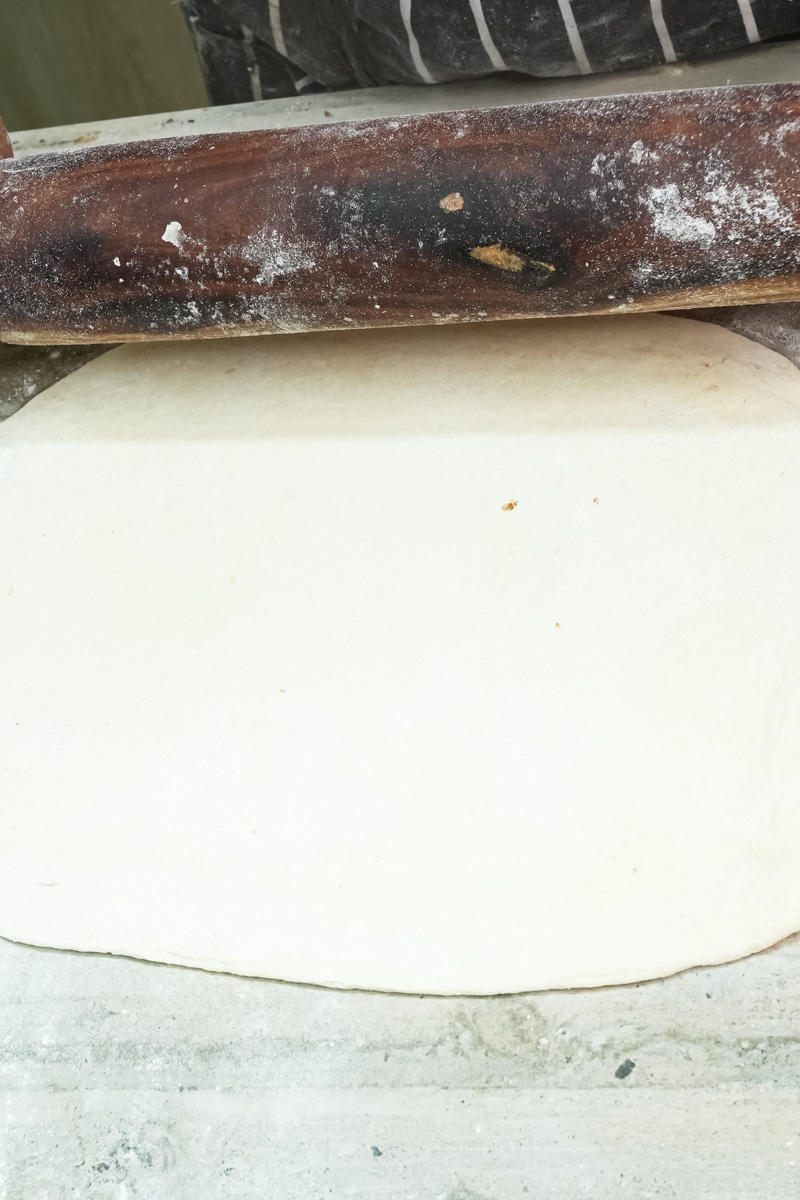
- The Encasement: On a floured surface, roll your rested dough into a 10×10-inch square. Brush off any extra flour. Place your chilled butter square in the middle, like a diamond. Fold the corners of the dough over the butter, like you’re tucking it into bed. Pinch the seams to seal it in completely. Place this packet on a baking sheet, cover it, and pop it in the fridge for 60 minutes.
- The First “Turn”: Put the chilled packet on a floured surface, seam-side up. Roll it into a long rectangle, about 16×8 inches. Always try to roll lengthwise. Brush off all the excess flour. Now, fold it like a business letter: bring the right third over the middle, then the left third over that. You’ve just completed your first turn! See? Not so bad. Put it back on the baking sheet, cover, and chill for another 60 minutes.
- Two More Turns: You’re going to do that exact same thing two more times. Roll, brush, fold, and chill for 60 minutes. Each time you start, place the dough with the folded “spine” on your left, like you’re opening a book. After the third and final turn, wrap the dough tightly and let it rest in the fridge overnight (at least 8 hours). This long rest is super important for getting perfect layers.

Stage 4: Cut, Shape, and Proof
Good morning! It’s shaping day.
Line two baking sheets with parchment. Cut your beautiful block of dough in half. Put one half back in the fridge so it stays cold.
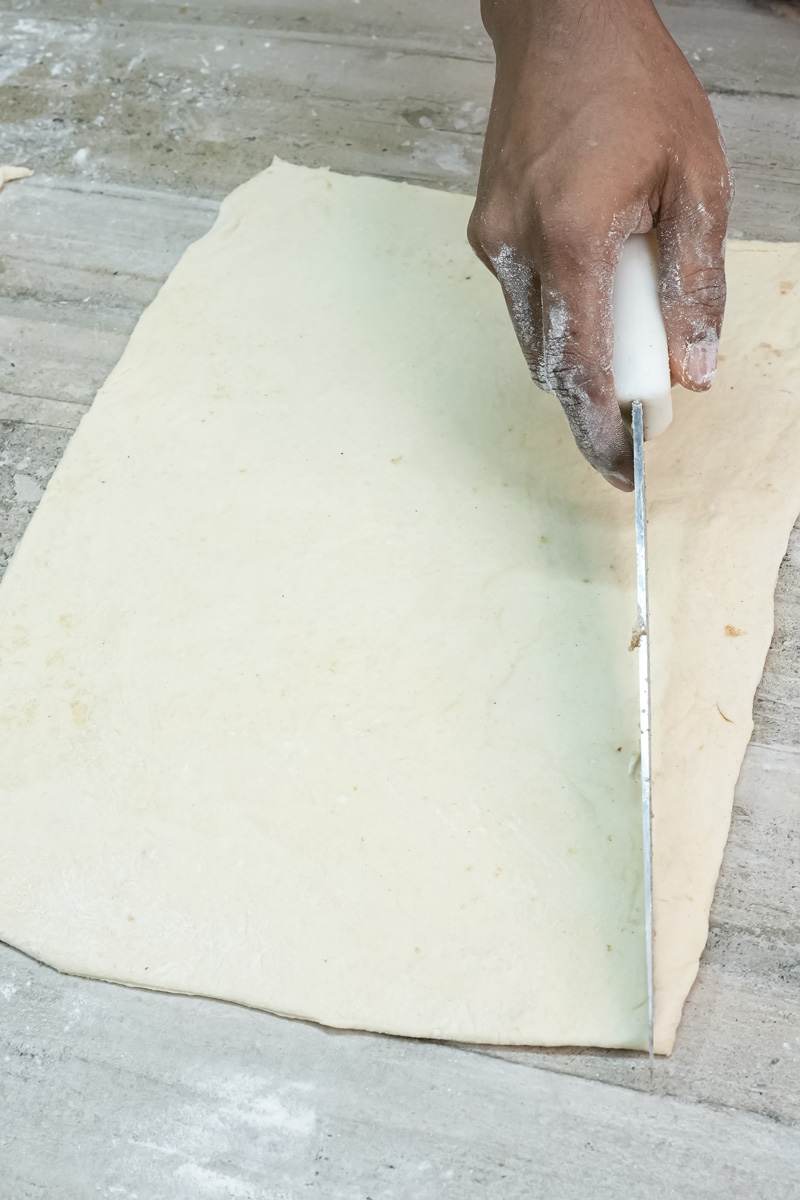
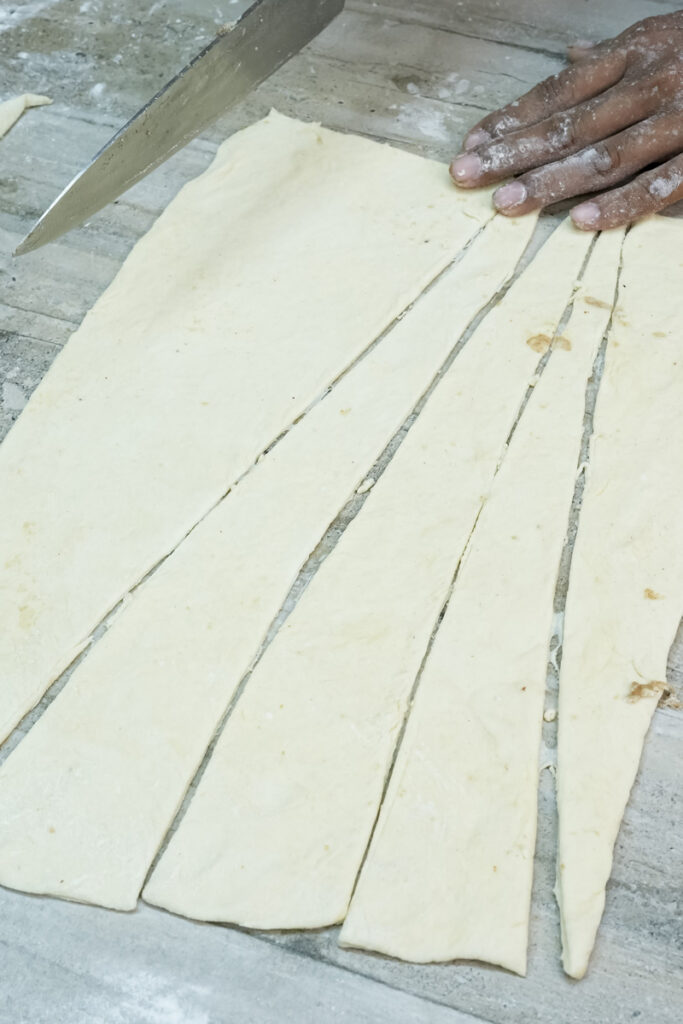
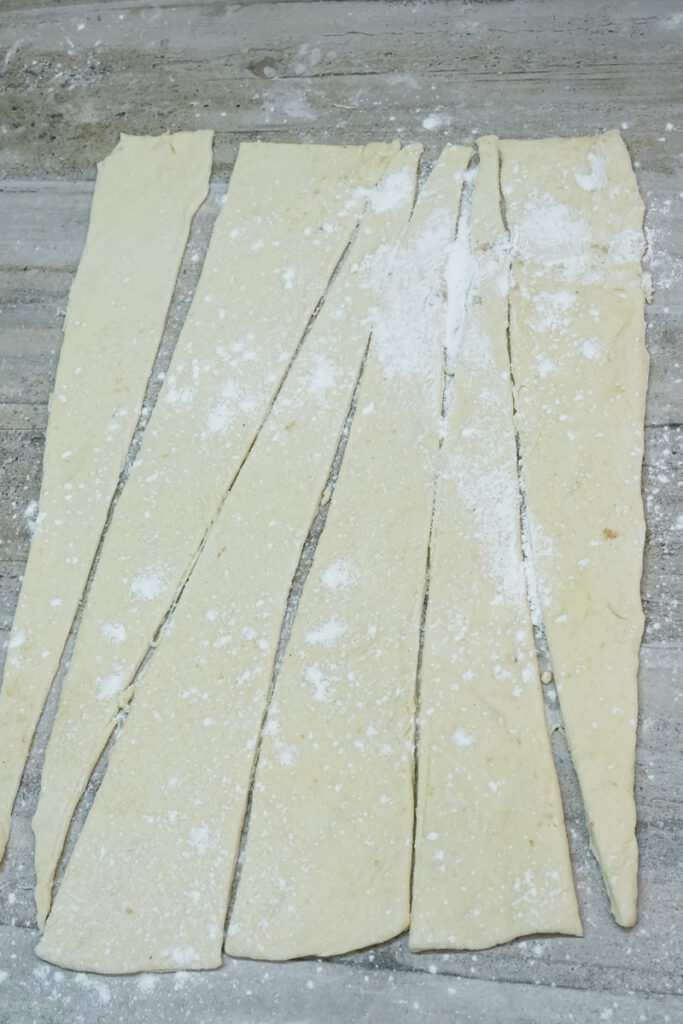
Roll the other half into a rectangle about 13 inches wide and 10 inches tall. Trim the edges to get them nice and straight. Now, to cut the triangles, make little marks every 4 inches along the bottom edge. On the top edge, make your first mark 2 inches in, then every 4 inches after that. You’re basically creating a zigzag pattern. Cut diagonally from notch to notch to make your triangles.

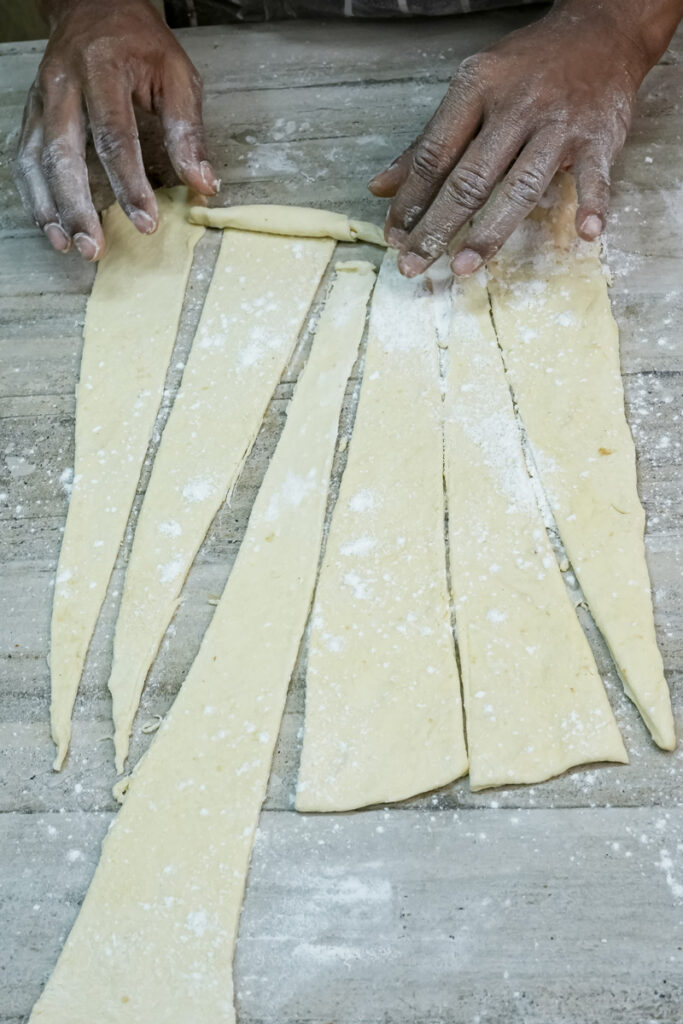
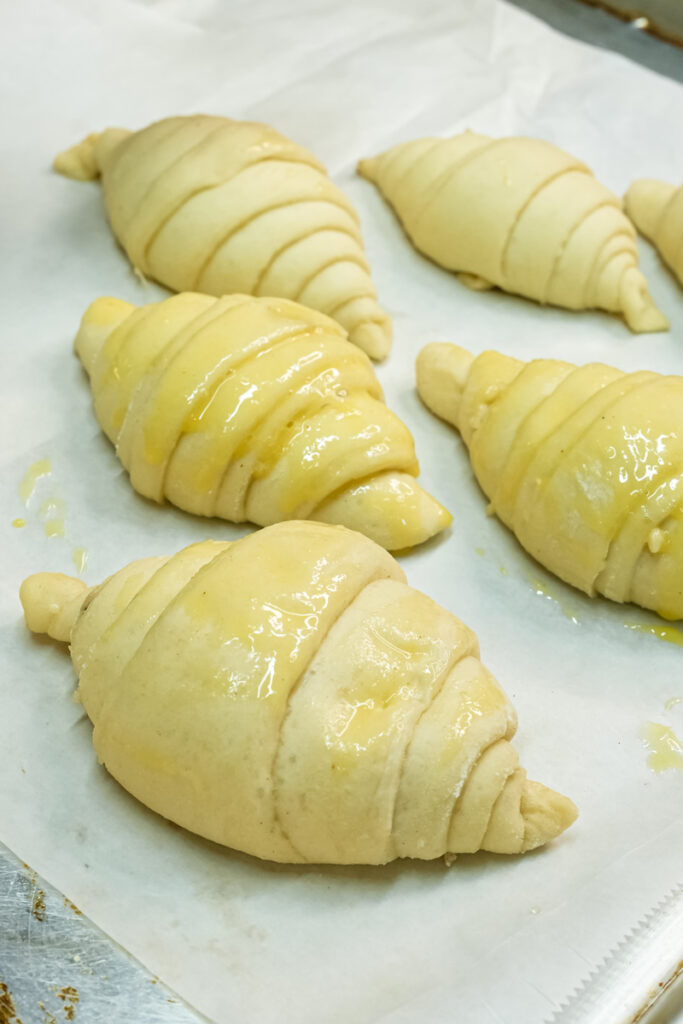
To shape one, take a triangle and gently roll it up from the wide end to the point. Gently! Don’t roll it too tight or you’ll squish the layers. Place the croissant on your baking sheet with the little tip tucked underneath. Repeat until you have 5 croissants on each sheet.
Now, we let them proof. This is where the yeast does its final job. Loosely cover the baking sheets and let them sit in a warm spot for 60 to 90 minutes. You’ll know they’re ready when they look puffy, soft, and jiggle like Jell-O when you shake the pan.
Stage 5: Bake to Golden Brown Perfection
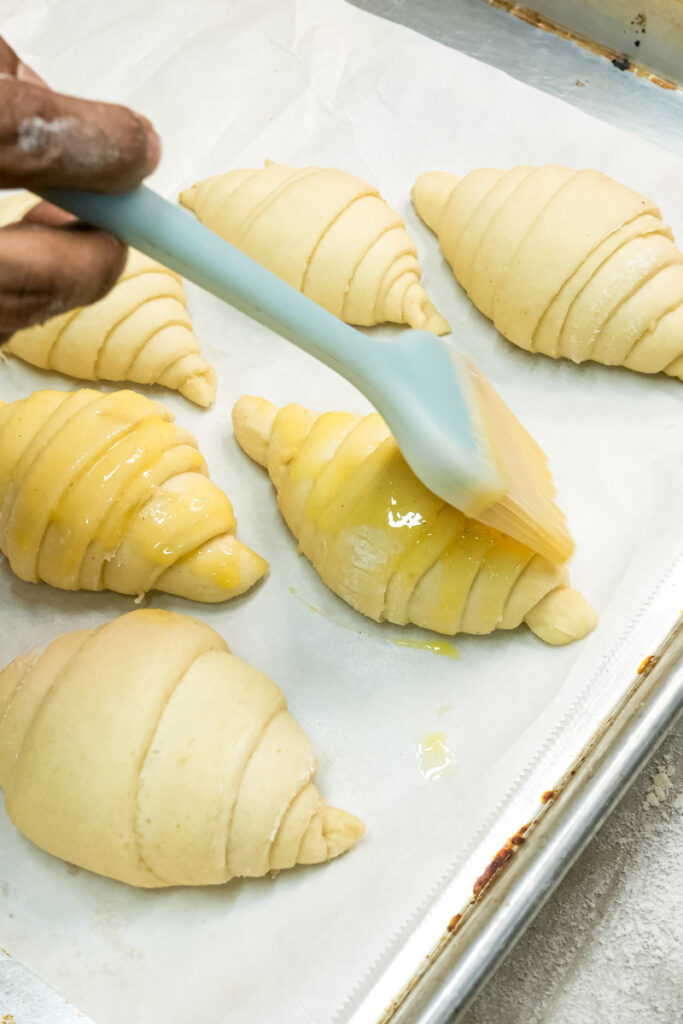
The final stretch! Your kitchen is about to smell incredible. Preheat your oven to 375°F (190°C). Beat the large egg to make an egg wash and gently brush it over each croissant.
Bake one sheet at a time for about 20 minutes, turning the pan halfway through. They’re done when they’re a deep, gorgeous golden brown. Move them to a wire rack to cool immediately. This is key! It lets the steam escape so they don’t get a soggy bottom. And nobody wants a soggy bottom.


Mix It Up: Fun Variations
Once you get this recipe down, you can start having fun with it!
- Pain au Chocolat: Before rolling, place a stick of dark chocolate at the wide end of the triangle.
- Almond Croissants: Fill a day-old baked croissant with almond cream (frangipane), top with more cream and sliced almonds, and bake it again until golden. So good.
- Savory Croissants: Tuck a slice of good ham and Gruyère cheese inside before the final proof.


How to Serve & Store Them
Let’s be honest, croissants are at their absolute peak within an hour of coming out of the oven. Serve them with good butter and jam for a perfect breakfast.
If you have leftovers, keep them in a paper bag at room temperature for up to two days. To bring back that amazing crunch, just pop them in a 350°F (175°C) oven for 3-5 minutes.


Want to feel like a baking superhero? You can freeze the unbaked, shaped croissants. Freeze them solid on a baking sheet, then toss them in a freezer bag. When you want one, just let it thaw and proof at room temp for a few hours until puffy, then egg wash and bake. Fresh croissants on a random Tuesday? Yes, please.
Enjoy the process, and pat yourself on the back. You just made croissants. You’ve totally earned every single buttery, flaky bite!
PrintHomemade Croissants

Ready for the most rewarding baking project? Making these buttery, flaky homemade croissants is easier than you think. That first bite of a warm, golden-brown pastry that you made from scratch is pure magic. This step-by-step recipe breaks it all down for you. Let’s bake!
- Prep Time: 5 hrs 30 mins (Active)
- Cook Time: 20 mins
- Total Time: 2 Days (includes overnight chilling)
- Yield: 10 Croissants 1x
- Category: Breakfast, Pastry
- Cuisine: French
Ingredients
For the Dough (Détrempe):
- 3½ cups All-Purpose Flour
- ⅓ cup Granulated Sugar
- 2 tsp Fine Sea Salt
- 2¼ tsp Instant Yeast (one packet)
- ½ cup Water, room temperature
- 1 cup Whole Milk, room temperature
For the Butter Block (Beurrage):
- 1½ cups (3 sticks) Unsalted Butter, cool and cubed
- 2 tbsp All-Purpose Flour
For the Finishing Touch:
- 1 Large Egg, for egg wash
Instructions
Day 1: Dough & Lamination
- Make the Dough: In a stand mixer, combine flour, sugar, salt, and yeast. Add the water and milk and knead with a dough hook for 8-10 minutes until smooth and elastic. Place in a greased bowl, cover, and let rest for 30 minutes.
- Prep the Butter: While the dough rests, beat the cool butter cubes and 2 tbsp of flour with a paddle attachment until smooth. Scrape onto plastic wrap and shape into a 6×6-inch square. Chill in the fridge.
- Encase & First Turn: Roll the rested dough into a 10×10-inch square. Place the chilled butter block in the center and fold the dough corners over to completely seal it in. Chill for 60 minutes. On a floured surface, roll the packet into a 16×8-inch rectangle, fold it like a business letter, and chill for another 60 minutes.
- Two More Turns: Repeat the process—roll, fold, and chill for 60 minutes—two more times. After the third and final turn, wrap the dough tightly in plastic wrap and let it rest in the fridge overnight (at least 8 hours).
Day 2: Shaping & Baking
- Cut & Shape: Cut the dough in half (keep one half chilled). Roll the dough into a 13×10-inch rectangle (about ¼-inch thick). Trim the edges and cut into 4-inch wide triangles. Gently roll each triangle up, starting from the wide base.
- Proof: Place the shaped croissants on parchment-lined baking sheets, with the tip tucked underneath. Cover loosely and let them proof in a warm spot for 60-90 minutes, or until puffy and jiggly.
- Bake: Preheat your oven to 375°F(190°C). Gently brush the tops of the croissants with a beaten egg. Bake for about 20 minutes, rotating the pan halfway through, until deep golden brown. Transfer immediately to a wire rack to cool.
Notes
- Serving: These are heavenly when still slightly warm from the oven. Serve with good butter and jam for a classic treat or use them to build an incredible breakfast sandwich.
- Tips & Tricks: Don’t skip the chilling times! Keeping the dough and butter cold is the secret to getting all those beautiful, flaky layers. Using a high-quality, European-style butter will also give you the best flavor and texture.
- Storage & Reheating: Store leftovers in a paper bag at room temperature for up to 2 days. To bring back that amazing crunch, pop them in a 350°F(175°C) oven for 3-5 minutes. You can also freeze the unbaked, shaped croissants for fresh pastry any time!