Hey friend! Let’s talk about one of my favorite things to bake, ever: the cruffin.
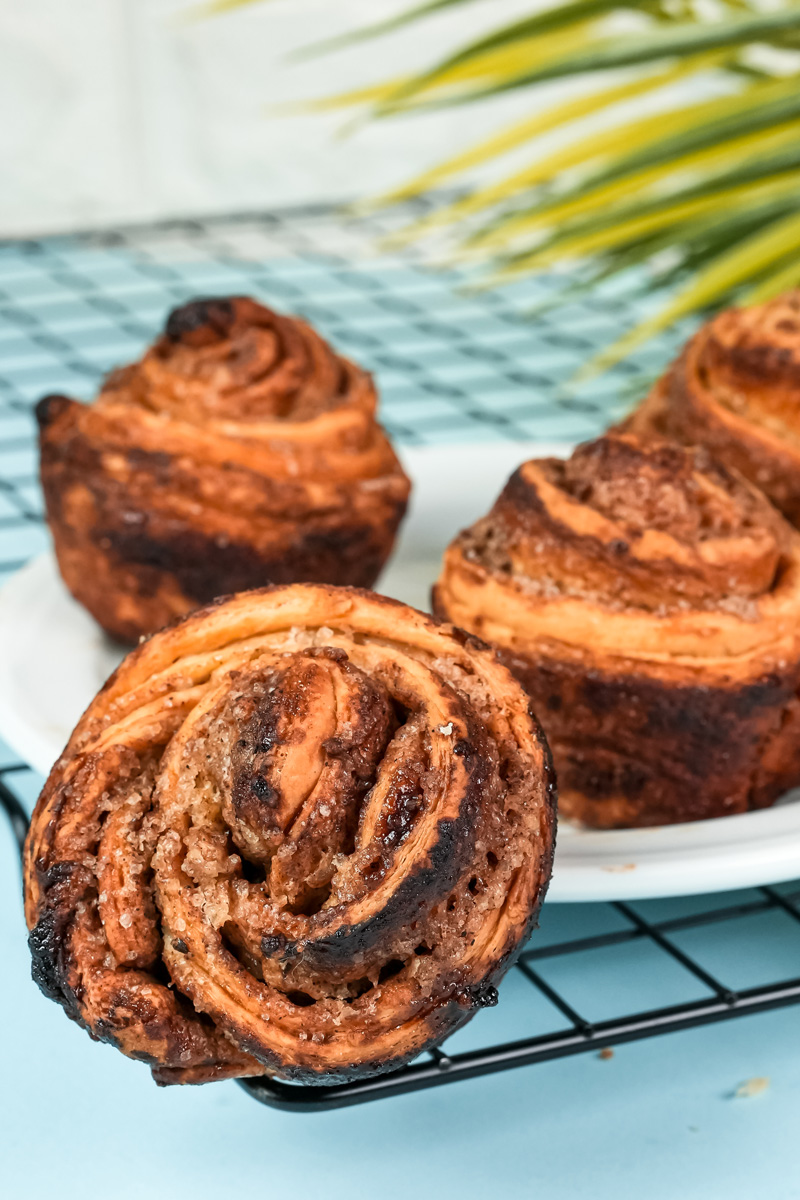
I’ll never forget the first time I tried one. I couldn’t figure it out. Was it a croissant? Was it a muffin? The answer was yes. It had all the flaky, buttery, pull-apart layers of a perfect croissant. But it was baked in the convenient, satisfying shape of a muffin. My mind was blown.
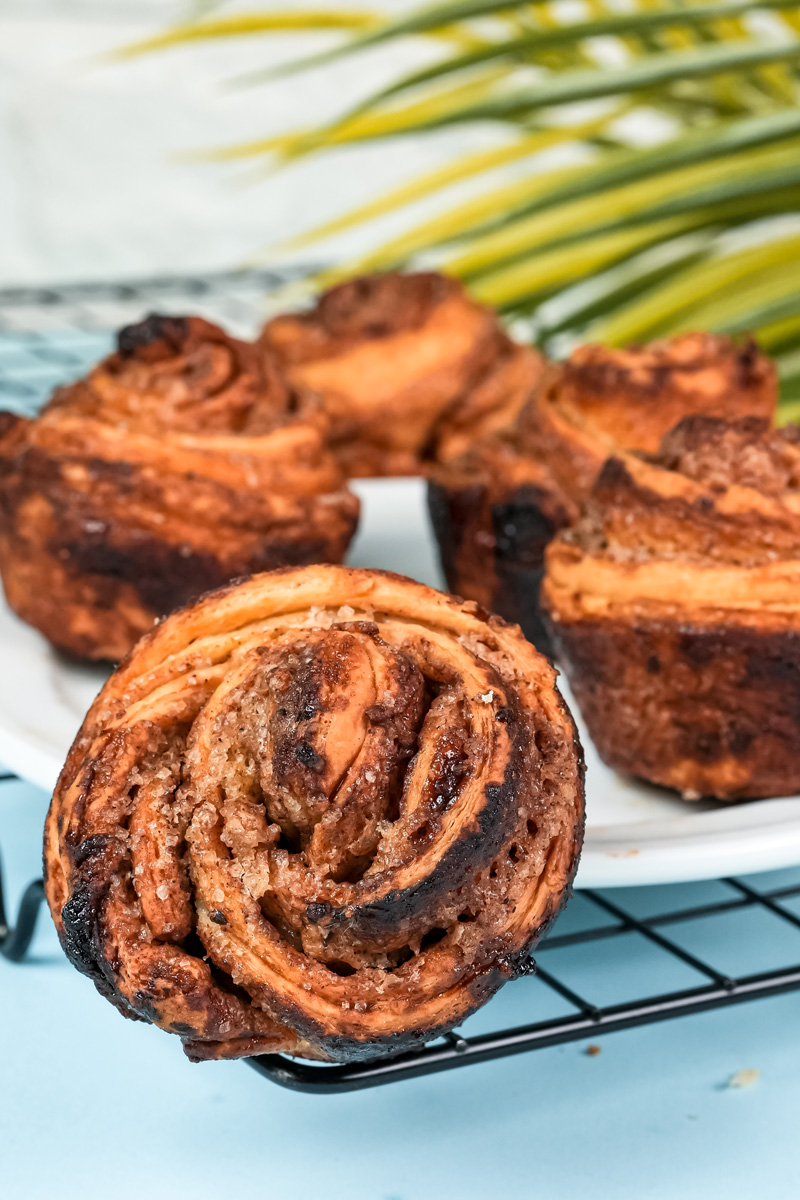
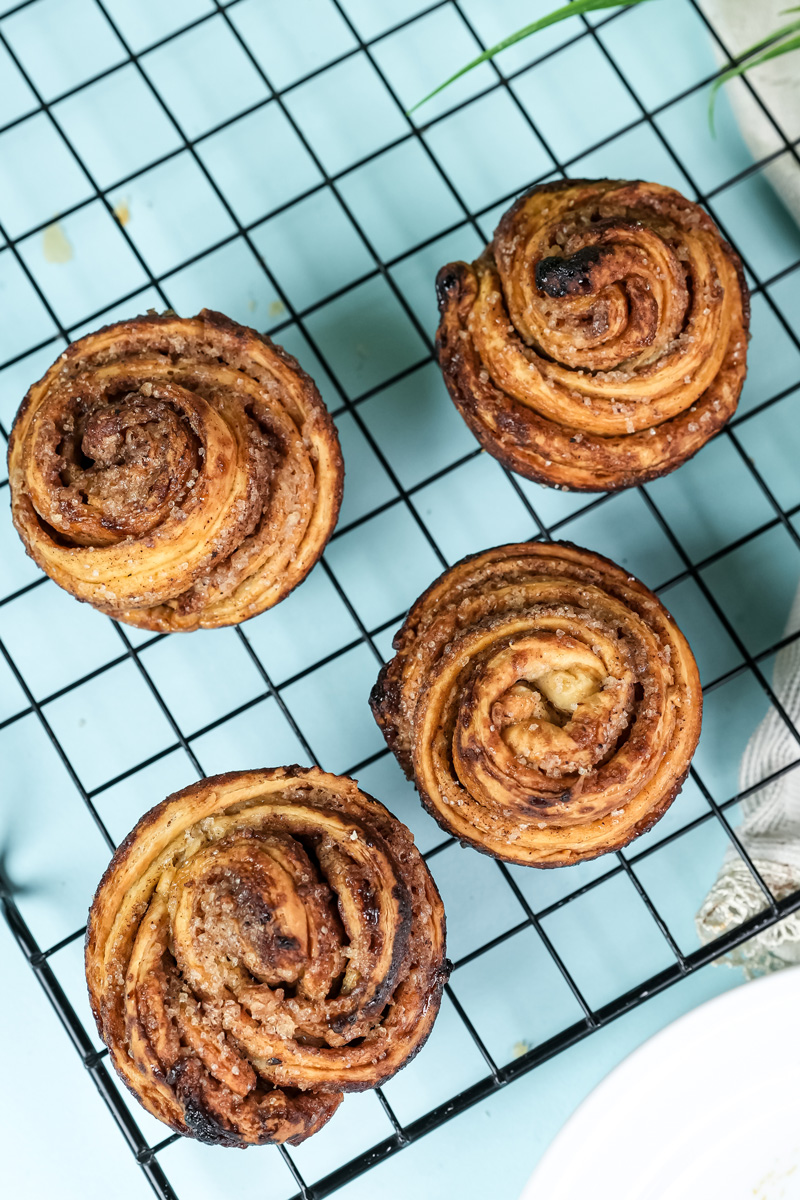
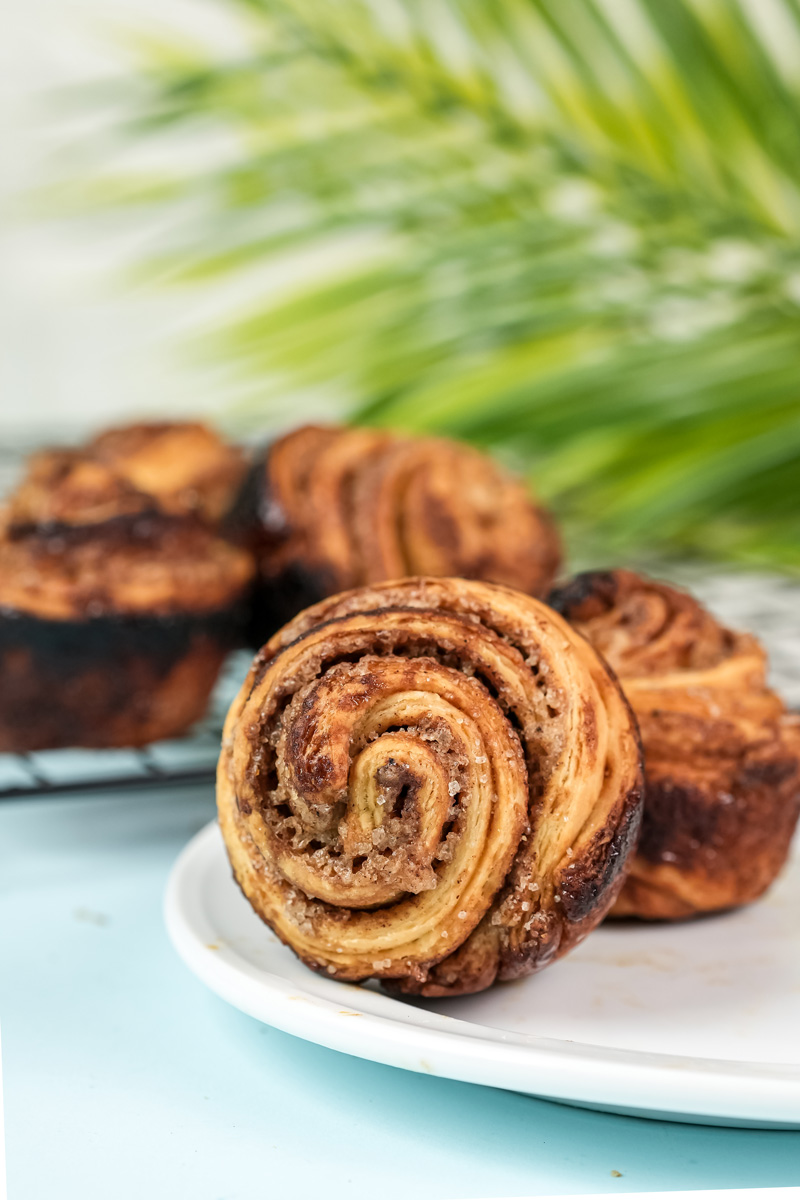
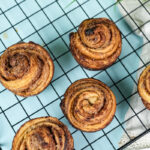
This magical pastry mashup was dreamed up in Melbourne, Australia, by the amazing baker Kate Reid. She took the heart and soul of a croissant—that beautiful, butter-layered dough—and baked it in a muffin tin. The result? A tall, gorgeous pastry with a crispy outside and a soft, spiraled inside.
Now, I know what you might be thinking. “Croissant dough? That sounds really hard.”
And listen, it does take some patience. I won’t lie to you. But this recipe breaks the whole thing down into small, totally manageable steps. There are no shortcuts on the lamination (that’s the butter-layering part), because that’s where the magic is.
The good news? I’ll be right here with you for every fold, chill, and roll. Think of me as your baking buddy in the kitchen. Let’s turn some simple flour and butter into something you’ll be proud of.

A Quick Look at Our Baking Day
Before we get our hands dusty with flour, let’s look at the game plan. This helps you know what to expect.
How Much Time Will This Take?
- Active Time: About 1 hour, 15 minutes (this is you, actually working)
- Inactive Time: About 4 hours, 20 minutes (this is the dough, chilling and rising)
- Baking Time: 25-28 minutes
- Total Time: Around 5 hours, 45 minutes
Don’t let that total time scare you! Seriously. Most of it is just you waiting around while the dough and the fridge do all the hard work. Your actual “hands-on” time is split into short, focused bursts. Perfect for fitting in between other things.
How Many Cruffins Does This Make?
This recipe makes 12 standard-sized cruffins. Baking for a smaller group? Or maybe a huge party? Here’s a little table to help you out. My best advice? Use a kitchen scale, especially for the flour. It makes a huge difference.
| Ingredient | Half Batch (6 Cruffins) | Full Batch (12 Cruffins) | Double Batch (24 Cruffins) |
| Milk | 1/2 cup (120ml) | 1 cup (240ml) | 2 cups (480ml) |
| Yeast | 1 1/8 tsp (3.5g) | 2 1/4 tsp (7g) | 4 1/2 tsp (14g) |
| Butter (for dough) | 1.5 Tbsp (21g) | 3 Tbsp (43g) | 6 Tbsp (86g) |
| Flour (for dough) | 1.5 cups (188g) | 3 cups (375g) | 6 cups (750g) |
| Butter (for layers) | 1/2 cup (113g) | 1 cup (226g) | 2 cups (452g) |
| Cinnamon-Sugar | About 6 Tbsp | 3/4 cup | 1.5 cups |
How Hard Is It, Really?
I’d call this an intermediate recipe. It’s perfect for someone who enjoys a good baking project and wants to learn a new skill. The process of lamination (folding butter into dough) takes focus. But I’ve packed this guide with so many tips that even a really determined beginner can nail it. You got this.
What Tools Do I Need?
Having the right gear makes everything smoother. Here’s what I use:
- Stand Mixer with a Dough Hook: This is a lifesaver for the initial sticky dough. If you don’t have one, no worries! You can absolutely knead by hand on a floured counter. It’s a great arm workout.
- Rolling Pin: Any basic wooden or marble one will do the job.
- Standard 12-Cup Muffin Pan: This is key for getting that classic cruffin shape.
- Silicone Baking Mat: I really, really recommend one of these. The dough won’t stick, and cleanup is a breeze. Parchment paper is a good backup.
- Kitchen Scale: For getting your measurements spot-on. Baking is a science!
- Bench Scraper: This little tool is amazing for dividing the dough cleanly. A long, sharp knife works too.
- Piping Bag & Tip (optional): You only need this if you plan on filling your cruffins with something delicious.
The Ingredients: What We’re Working With
Great baking starts with great ingredients. Here’s a breakdown of what you’ll need.
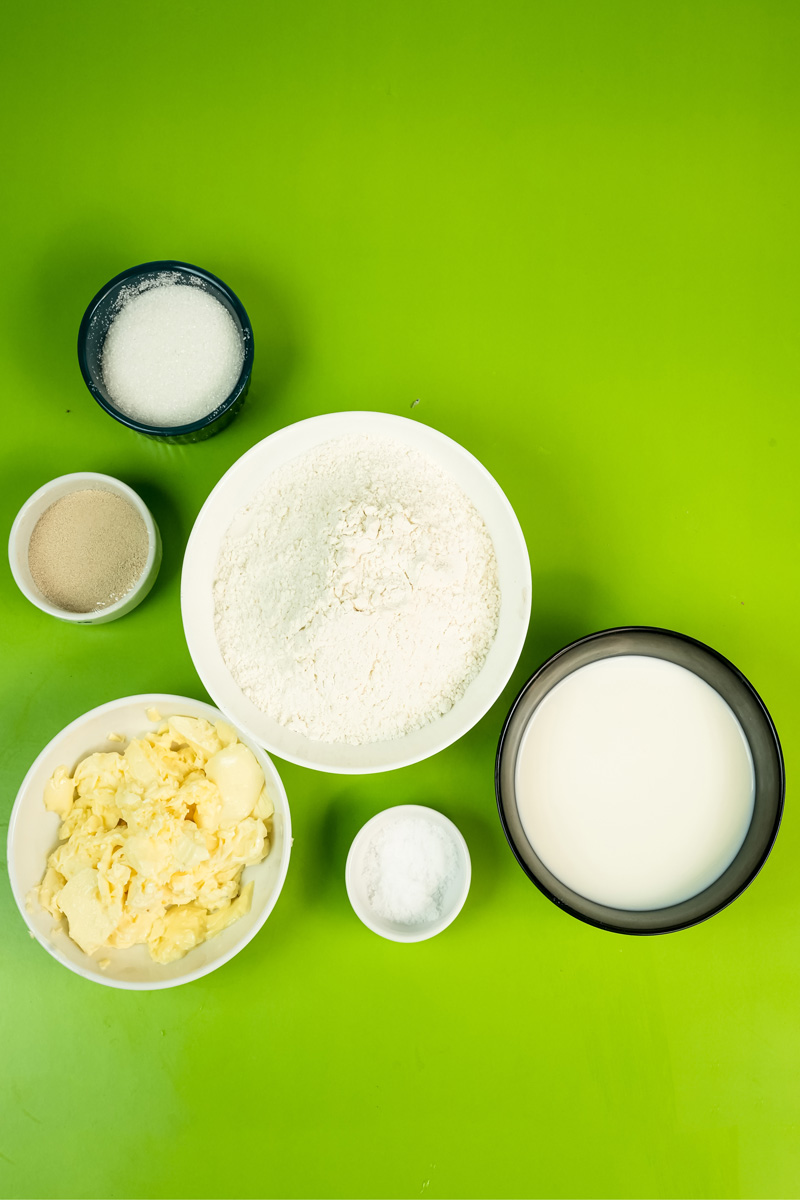
First up, the dough. This is our foundation. You’ll need 1 cup of whole milk, warmed up to about 110°F. Think “pleasantly warm,” not hot. This wakes up the 2 and 1/4 teaspoons of yeast. We’ll add 3 tablespoons of sugar for a touch of sweetness and to feed the yeast, plus 3 tablespoons of soft, unsalted butter to make the dough rich and tender. The backbone is 3 cups of all-purpose flour and 1 and 1/4 teaspoons of salt, which controls the yeast and makes everything taste better.
Next, the star of the show: the butter for the layers. This is what creates those incredible, flaky layers. We’re using 1 cup (that’s two whole sticks!) of salted butter. I actually prefer salted butter here—it adds a little something that balances the sweetness. The trick is to have this butter cool but still soft enough to spread, like the texture of cold clay. We’ll mix in 1 tablespoon of flour with this butter; it’s a pro tip to keep it from leaking out during baking.
And finally, for that irresistible finish, you’ll mix 3/4 cup of sugar and 1 tablespoon of ground cinnamon. If you want to get fancy, you can also grab about 6 tablespoons of your favorite filling. I love using Nutella, a zippy lemon curd, or a classic pastry cream.
The Step-by-Step Method: Let’s Bake!
Alright, time to roll up our sleeves. Follow these steps, and you’ll be pulling bakery-worthy cruffins out of your oven.
Step 1: Make and Knead the Dough
In the bowl of your stand mixer, give the warm milk, yeast, and sugar a quick whisk. Cover it and walk away for 5 minutes. When you come back, it should look foamy. That’s how you know your yeast is alive and kicking.
Attach the dough hook. Add the soft butter, 2 cups of the flour, and the salt. Mix on medium for about 2 minutes until it looks kind of shaggy. Scrape down the bowl, add that last cup of flour, and mix on low until a soft dough forms. It’ll start pulling away from the sides. It should be soft, but not a sticky mess. If it feels super sticky, add flour one tablespoon at a time.
Now, let the mixer do the work. Knead on medium speed for 5 solid minutes. The dough will become smooth and stretchy. To check it, poke it with your finger. If the dent bounces back slowly, you’re golden.
Step 2: The First Rise (aka Your Coffee Break)
Grease a large bowl with a little oil. Plop your dough in and turn it over to coat it. Cover the bowl tightly and put it in a warm, cozy spot for about 2 hours. You want it to get puffy and almost double in size.
Step 3: The Lamination Dance
This is where the magic happens. Gently punch down the dough to release the air. On a silicone mat or a piece of parchment paper, flatten it into a 10×14-inch rectangle. Cover it and slide it into the fridge for a crucial 20-minute chill. This makes the dough much easier to handle.
While it’s chilling, beat your cool lamination butter with that 1 tablespoon of flour.
Okay, grab your chilled dough. Imagine it’s a business letter. Spread the butter mixture over the middle third. Fold one of the empty sides over the butter. Then fold the other side over top of that. Pinch the ends to seal the butter in. You’ve just completed your first “turn”!
Here’s the rhythm for the next part. You’re going to do this a total of three times:
- Rotate the dough 90 degrees.
- Roll it out into a 9×12-inch rectangle.
- Fold it like a letter again.
- Cover and chill for exactly 20 minutes.
Work quickly and try to be confident! If the dough tears a bit and butter peeks out, just sprinkle it with flour. If it starts fighting you and won’t roll, let it rest for 5 minutes. Don’t chill it for longer than 20 minutes at a time, or it will start rising too much in the fridge.
Step 4: Shaping the Cruffins
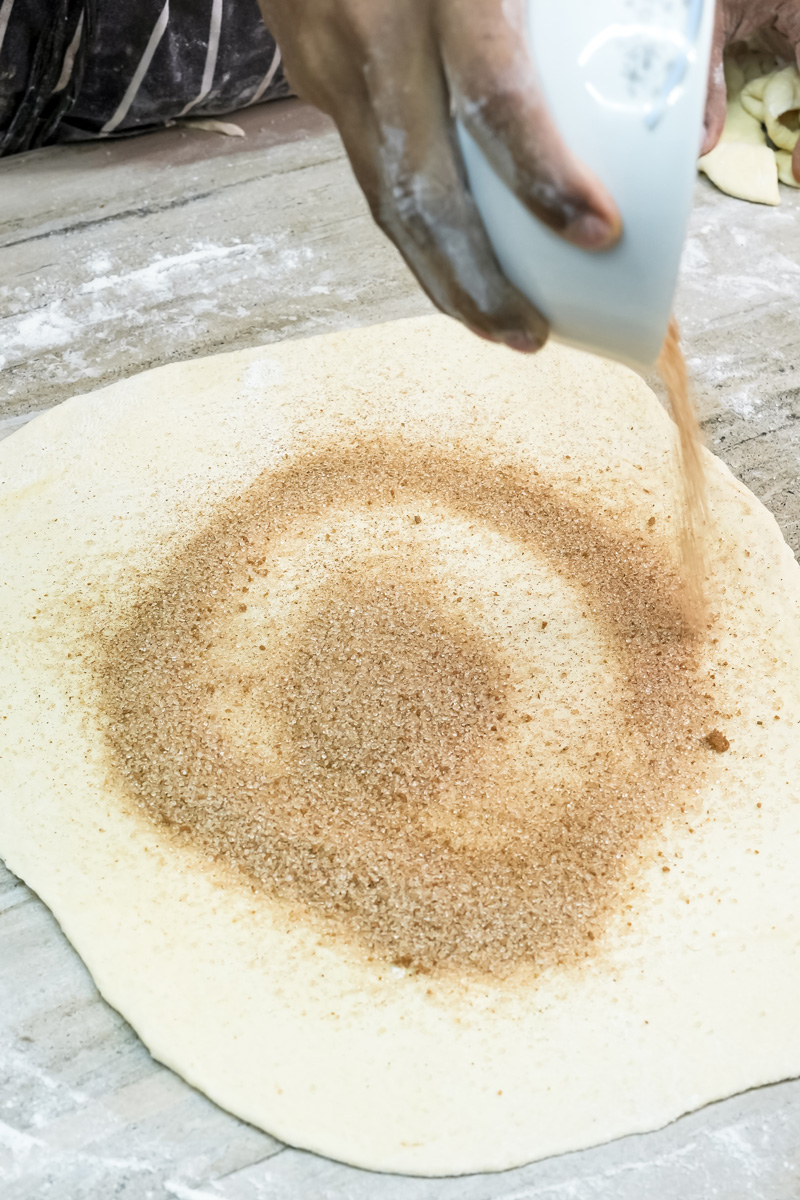
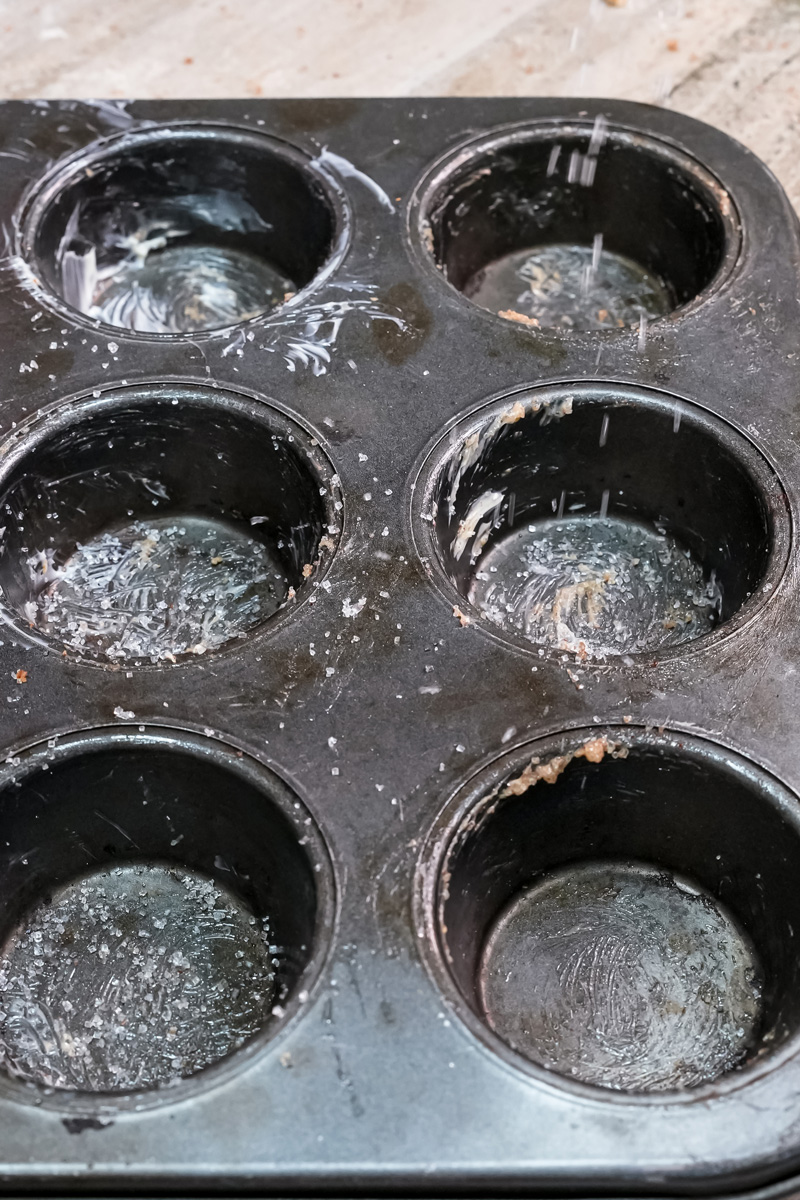
After that final chill, it’s time for the fun part! Grease your muffin pan well. Mix your cinnamon and sugar together in a shallow dish.
Cut your beautiful block of dough into three equal pieces.
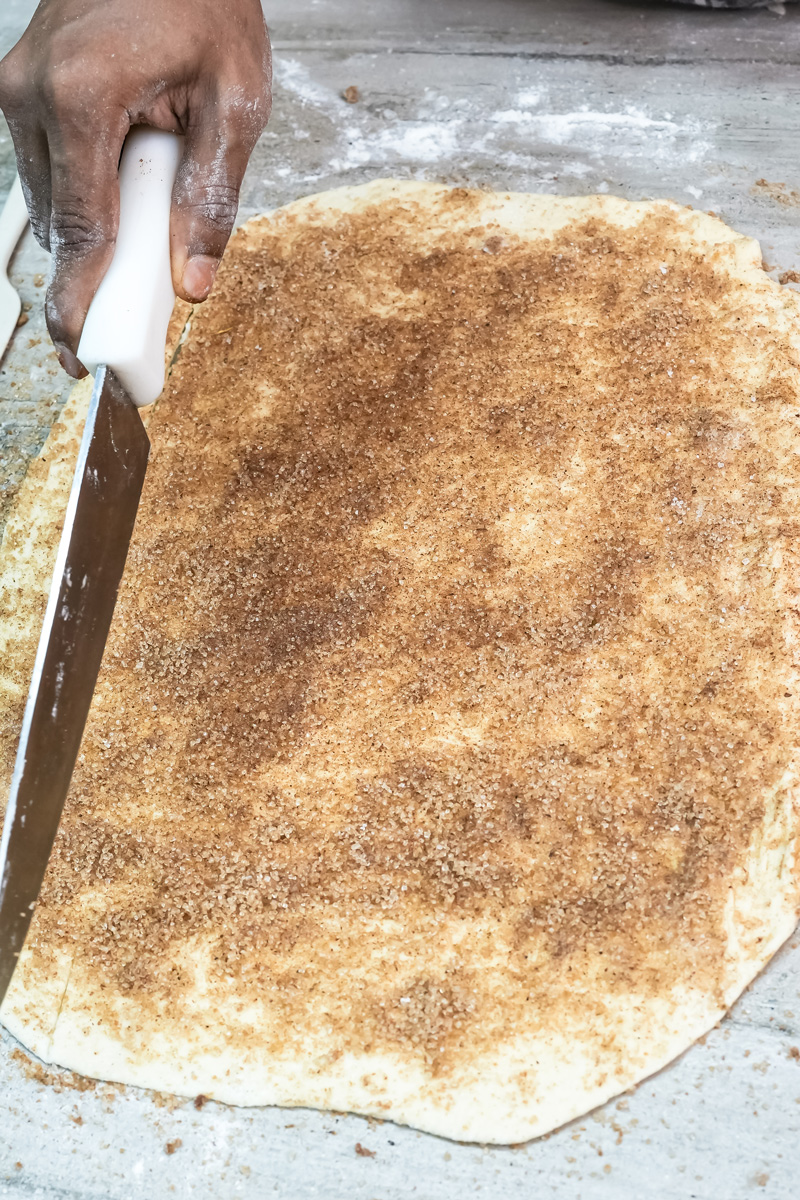
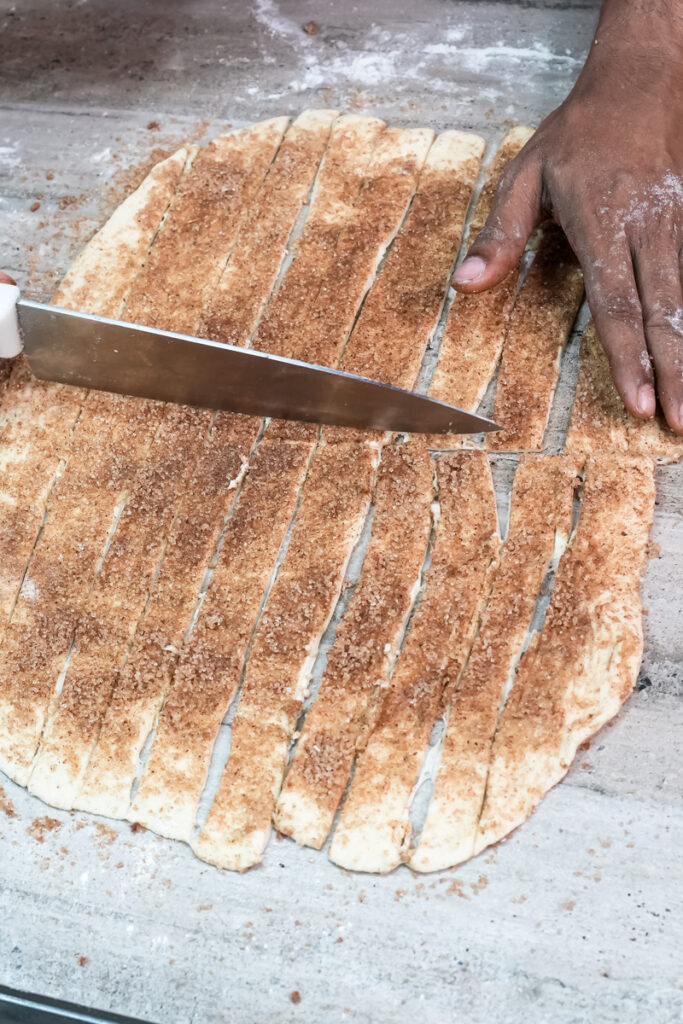
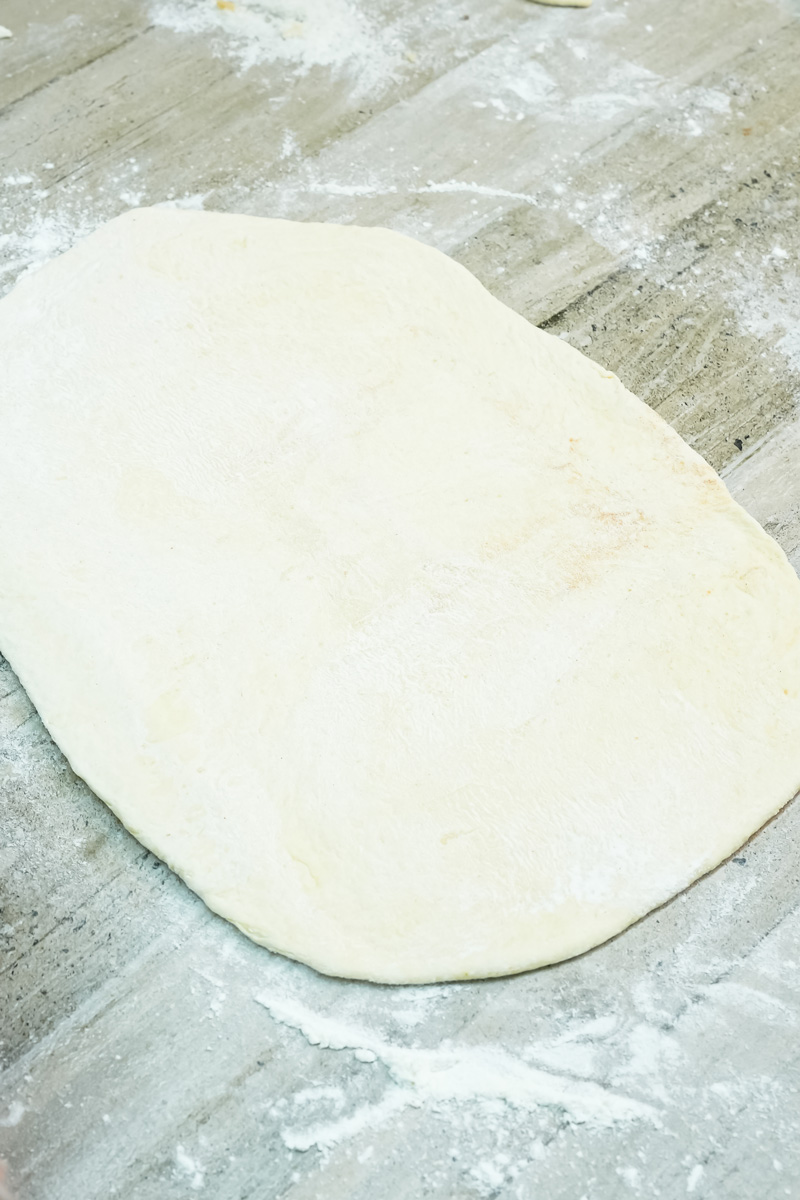
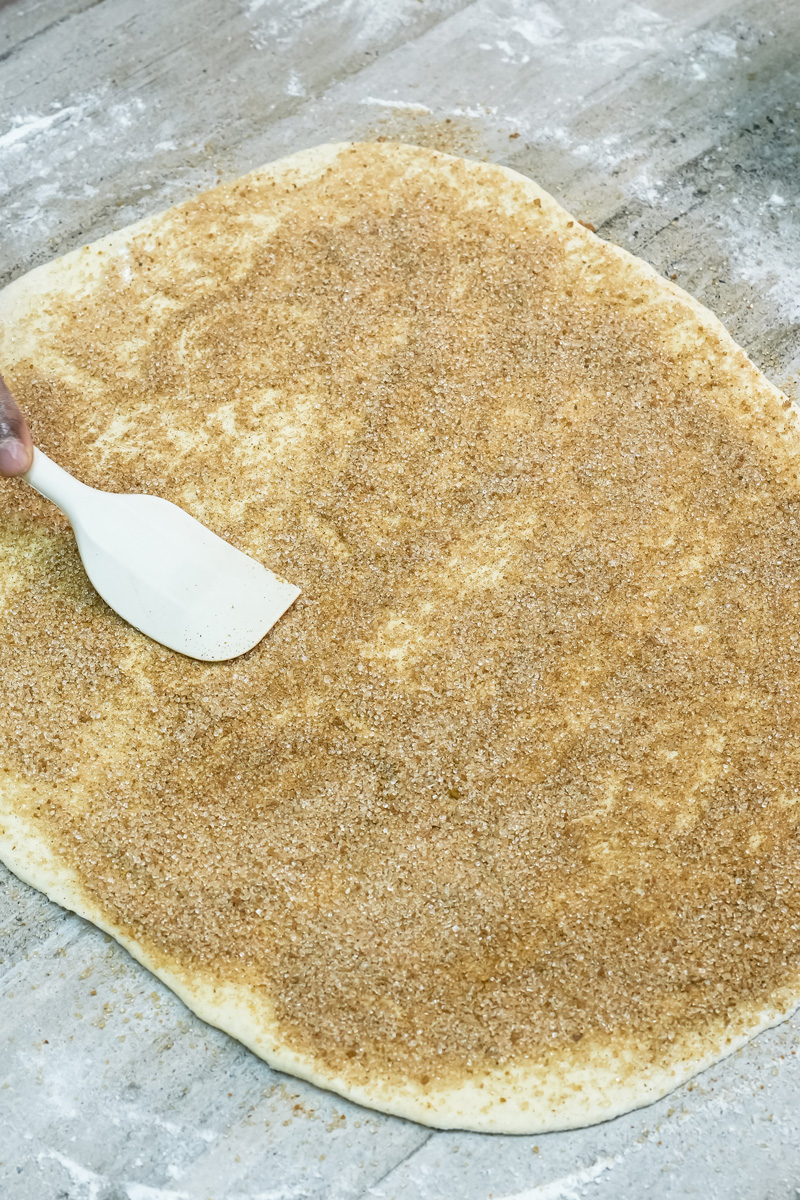
Working with one piece at a time, roll it into an 8×12-inch rectangle. Sprinkle it with 2 tablespoons of the cinnamon-sugar, pressing it in gently. Now, use a pizza cutter or a sharp knife to cut the rectangle into twelve skinny, 1-inch-wide strips.
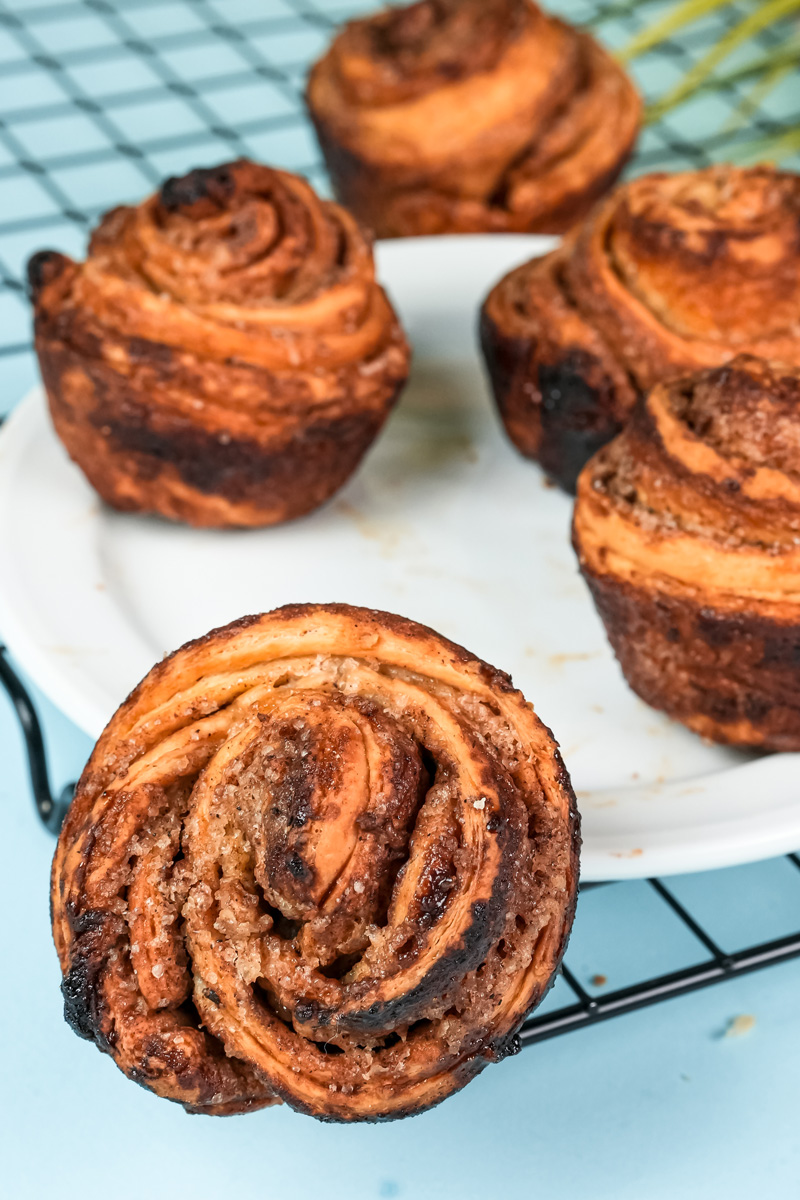
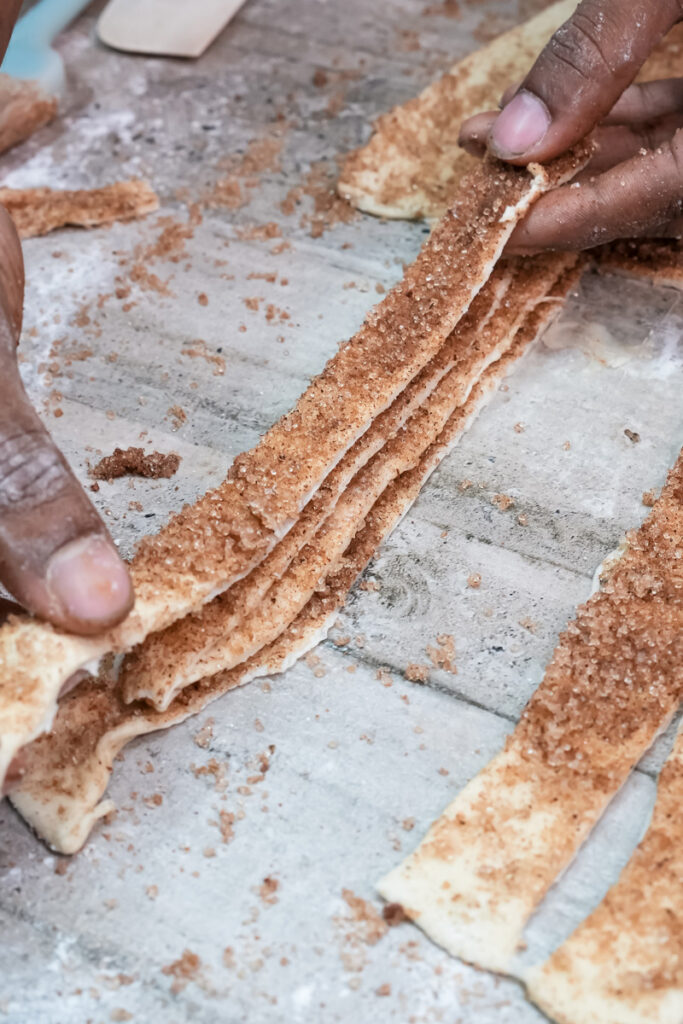
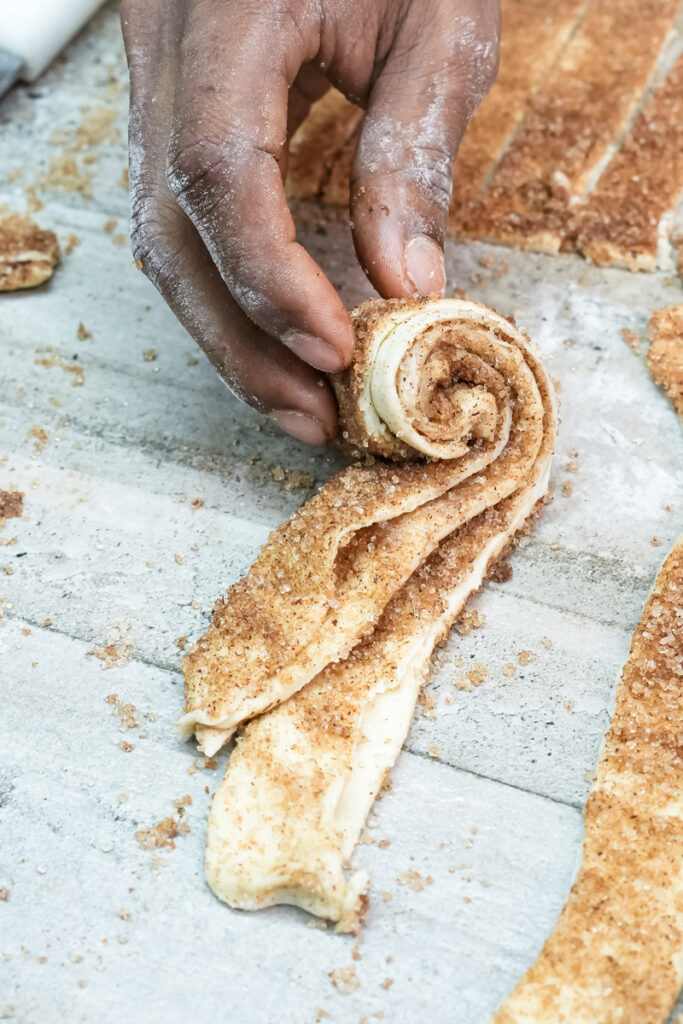
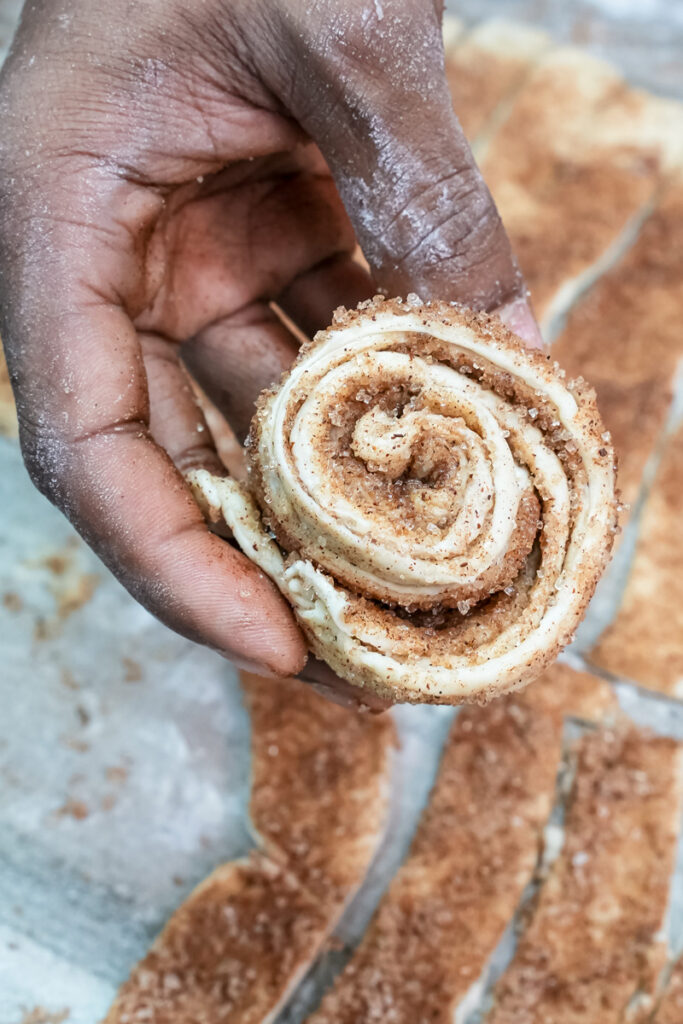
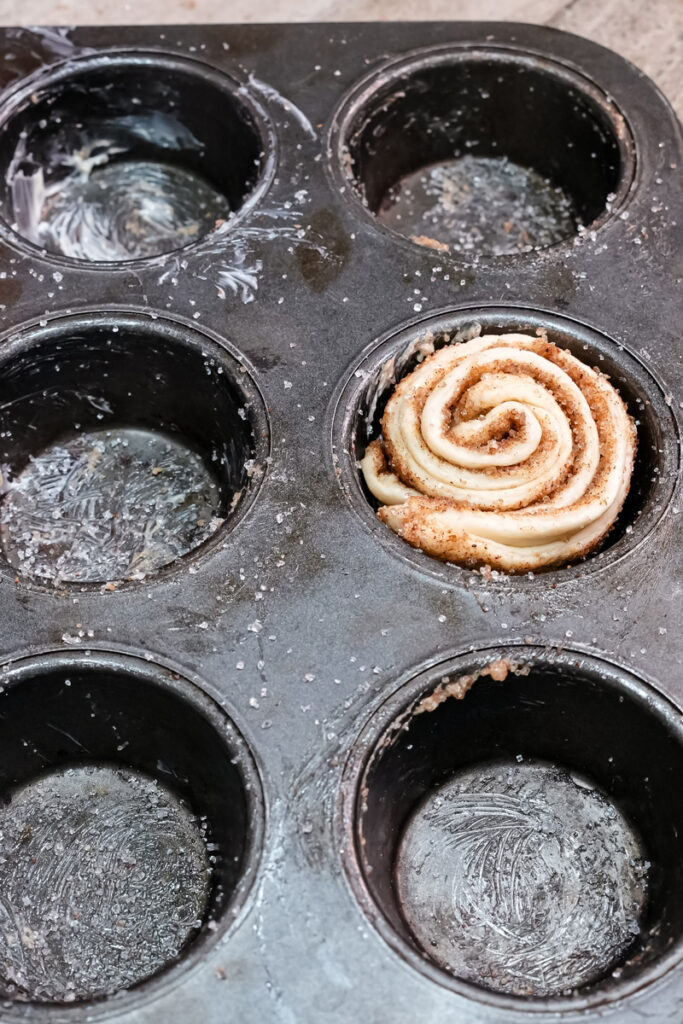
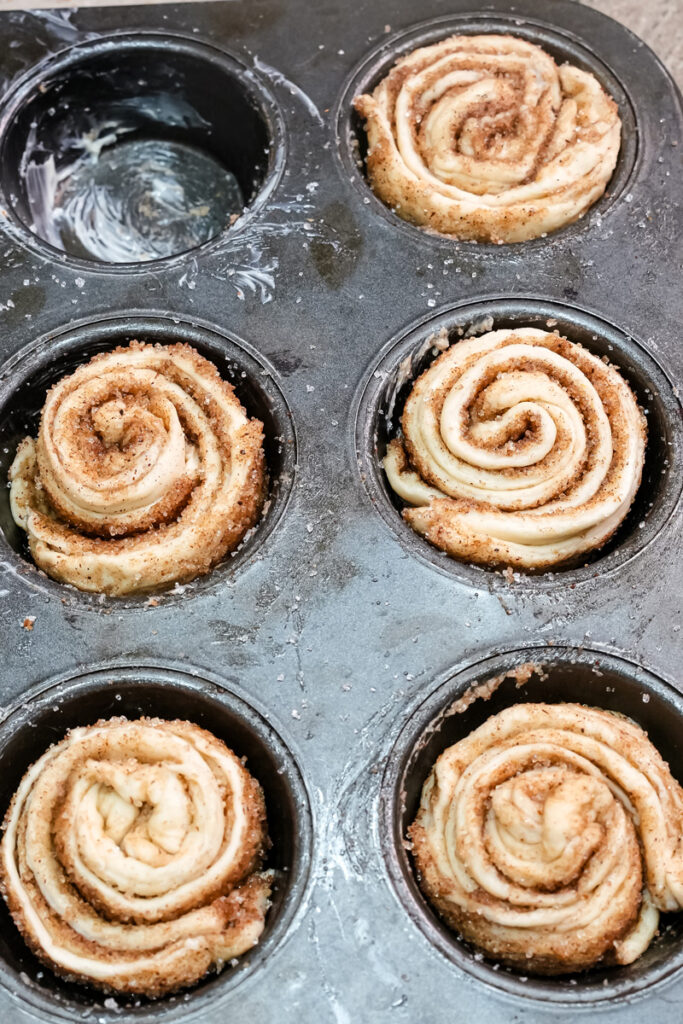
Take three of those strips and stack them right on top of each other. Carefully roll this little stack up into a tight spiral. Tuck the end of the strip underneath and place your little cruffin-to-be into a muffin cup. Repeat, repeat, repeat! You’ll have 12 beautiful, swirly cruffins ready to go.
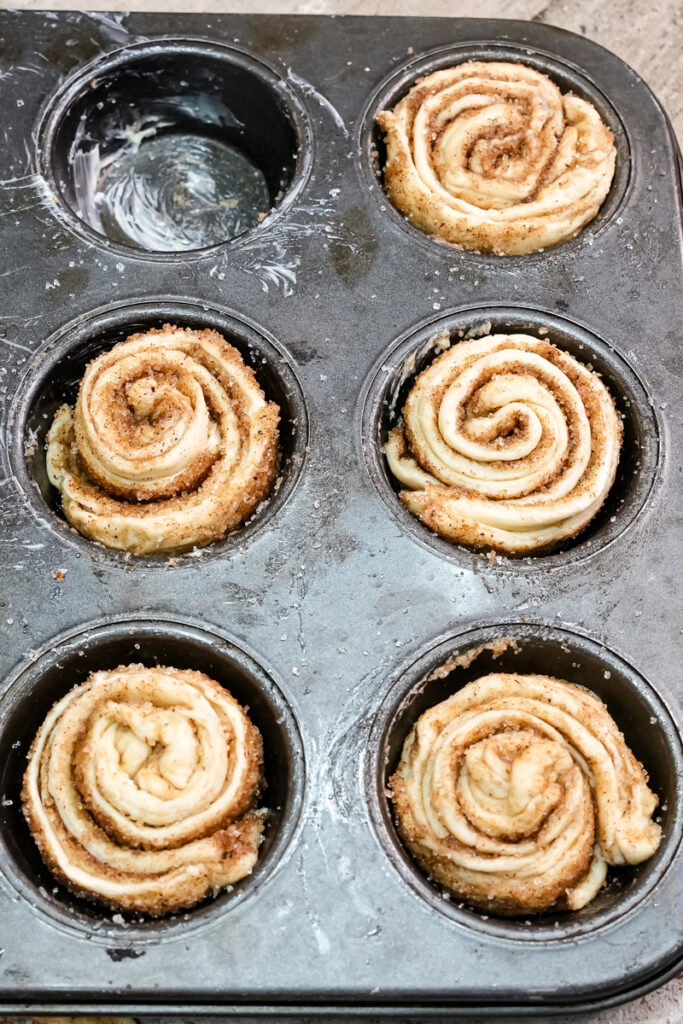
Step 5: The Final Rise and Bake
Cover the pan lightly and let the cruffins rise for one last hour. They’ll get noticeably puffier. While they’re rising, preheat your oven to 350°F (177°C).
Bake for 25-28 minutes. The tops should be a lovely deep golden brown. If you have an instant-read thermometer, the inside should be 200°F (93°C). Let them cool in the pan for just a few minutes before moving on.
Step 6: The Finishing Touches
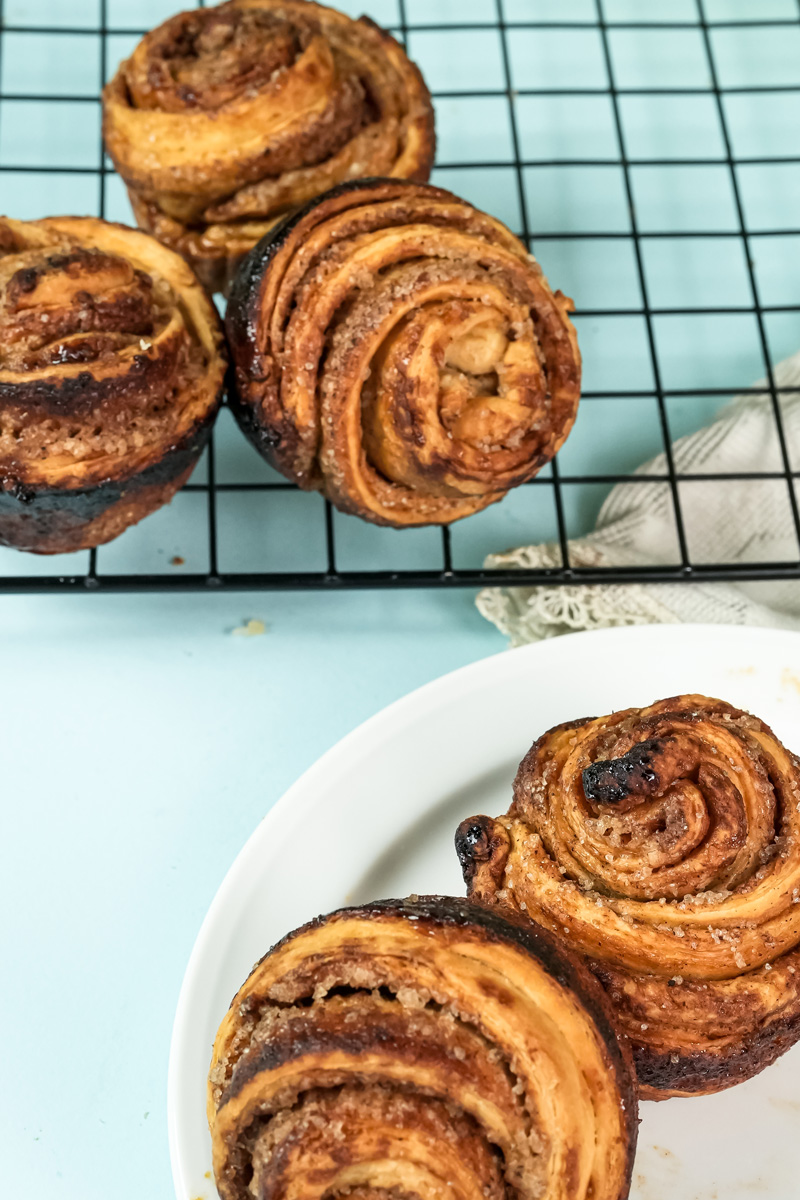
While they’re still warm, roll each cruffin in the rest of your cinnamon-sugar. If you’re eating them plain, this is perfection.
Want to fill them? Let them cool down a bit more first. Poke a small hole in the side or top with your piping tip and squeeze in about a tablespoon of filling. Chef’s kiss.
Let’s Get Creative: Variations
Once you get the hang of this, you can start playing around.
- Savory Twist: Ditch the cinnamon-sugar. Instead, fill the layers with finely grated Parmesan, black pepper, and chopped rosemary. So good.
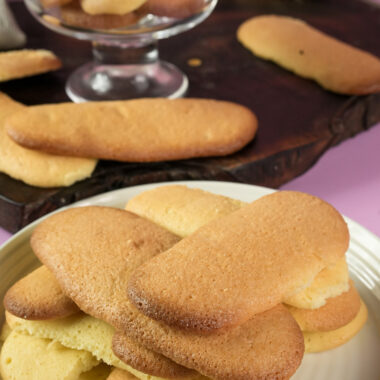
- Quick & Dirty Version: In a real hurry? You can use store-bought puff pastry. It won’t be quite the same, but you’ll still get a tasty, flaky treat by following the shaping and baking steps.
- Dietary Needs: Making a flaky gluten-free or vegan cruffin from scratch is a real challenge. For a vegan version, you could experiment with a high-quality vegan butter block and plant-based milk, but the texture will be different.
How to Serve and Store Your Cruffins
Let’s be honest: these are best enjoyed the day they’re made. Preferably still a little warm. With a hot cup of coffee. It’s pure joy.
If you somehow have leftovers, store them in an airtight container at room temperature for up to 3 days. The fridge is not their friend—it will make them stale. To bring them back to life, just pop them in a 300°F (150°C) oven for 5-7 minutes. They’ll get crispy and delicious all over again.
Can I freeze them? Yes! They freeze beautifully.
- To Freeze Unbaked: After shaping them, put the whole muffin tin in the freezer for an hour. Then, pop the frozen cruffins into a freezer bag. You can bake them right from frozen; just add about 10-15 minutes to the baking time.
- To Freeze Baked: Let them cool completely. Wrap each one individually and put them in a freezer bag for up to 2 months. Thaw at room temperature and then reheat in the oven.
Enjoy every single bite. Happy baking!
PrintHomemade Cruffins
Ever wished a croissant and a muffin could have a baby? Well, here it is! These cruffins are a baker’s dream—impossibly flaky, rich with butter, and swirled with sweet cinnamon sugar. This is a fun weekend project that is absolutely worth the effort.
- Prep Time: 4 hrs 20 mins
- Cook Time: 28 mins
- Total Time: 5 hrs 45 mins
- Yield: 12 cruffins 1x
- Category: Breakfast, Pastry, Brunch
- Cuisine: Australian, French-inspired
Ingredients
For the Dough:
- 1 cup (240ml) Whole Milk, warmed to 110°F (43°C)
- 2 1/4 tsp (7g) Instant or Active Dry Yeast
- 3 Tbsp (43g) Granulated Sugar
- 3 Tbsp (43g) Unsalted Butter, softened
- 3 cups (375g) All-Purpose Flour
- 1 1/4 tsp Salt
For the Butter Layers (Lamination):
- 1 cup (226g) Salted Butter, cool but pliable (around 60°F)
- 1 Tbsp All-Purpose Flour
For the Coating:
- 3/4 cup Granulated Sugar
- 1 Tbsp Ground Cinnamon
Instructions
- Activate the Yeast: In a stand mixer bowl, whisk the warm milk, sugar, and yeast. Let it stand for 5 minutes until foamy.
- Mix the Dough: Add the softened butter, 2 cups of flour, and salt. Using the dough hook, mix for 2 minutes. Add the final cup of flour and mix on low until a soft dough forms.
- Knead: Increase speed to medium and knead for 5 minutes until the dough is smooth and elastic.
- First Rise: Place the dough in a lightly oiled bowl, cover, and let it rise in a warm spot for 2 hours, or until nearly doubled.
- Laminate – Part 1: Punch down the dough and roll it into a 10×14-inch rectangle. Chill for 20 minutes. While it’s chilling, beat the lamination butter with 1 Tbsp of flour. Spread the butter mixture over the middle third of the chilled dough. Fold it like a letter (one side over the middle, then the other side over that).
- Laminate – Part 2 (The Turns): You will perform this step three times:
- Rotate the dough 90 degrees.
- Roll into a 9×12-inch rectangle.
- Fold into thirds like a letter again.
- Cover and chill for exactly 20 minutes between each turn.
- Shape the Cruffins: After the final chill, cut the dough into three portions. Working with one portion at a time, roll it into an 8×12-inch rectangle. Sprinkle with 2 Tbsp of the cinnamon-sugar mixture. Cut into twelve 1-inch-wide strips. Stack three strips on top of each other and roll them into a tight spiral. Place in a greased muffin tin cup. Repeat for all 12 cruffins.
- Final Rise: Cover the muffin pan and let the cruffins rise for 1 hour until puffy. Preheat your oven to 350°F (177°C).
- Bake: Bake for 25-28 minutes, until deep golden brown.
- Finish: Let the cruffins cool for a few minutes in the pan, then roll them in the remaining cinnamon-sugar while still warm.
Notes
- Serving Suggestions: These are heavenly when served warm with a cup of coffee. For an extra treat, you can fill them with Nutella, lemon curd, or pastry cream once they have cooled slightly.
- Tips & Tricks: A kitchen scale is your best friend for accurate baking! If your dough resists being rolled out during lamination, let it rest on the counter for 5 minutes before trying again. Don’t let the dough chill for longer than 20 minutes between folds.
- Storage & Reheating: Store leftovers in an airtight container at room temperature for up to 3 days (do not refrigerate). To bring back that fresh-baked crunch, reheat them in a 300°F (150°C) oven for 5-7 minutes.