Ever bite into a Crumbl cookie and wonder, “how do they do that?”
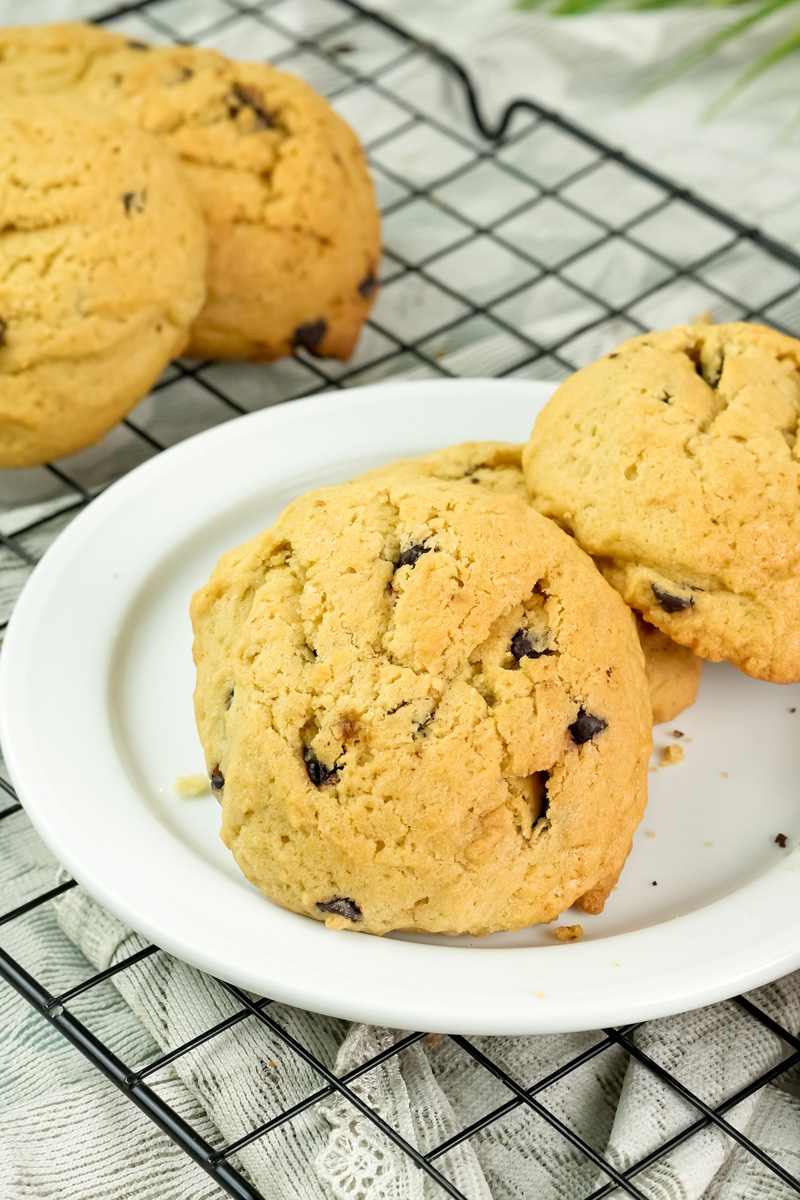
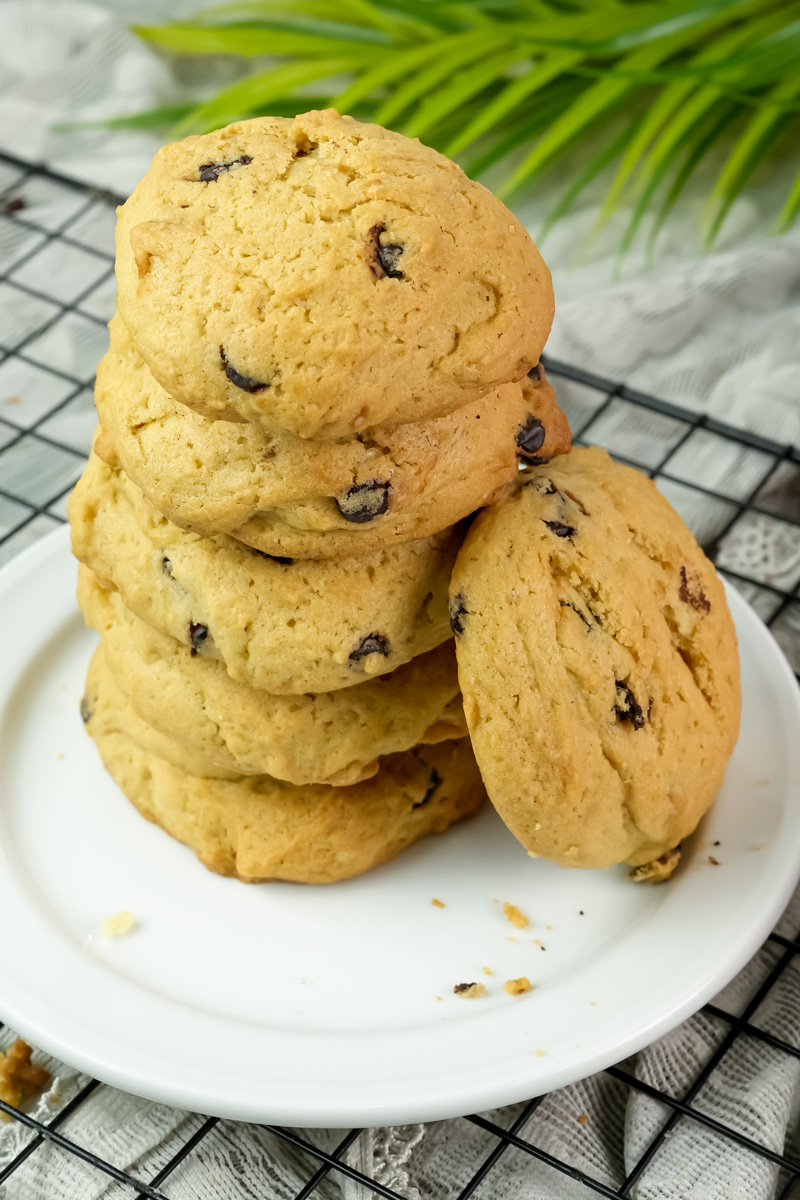
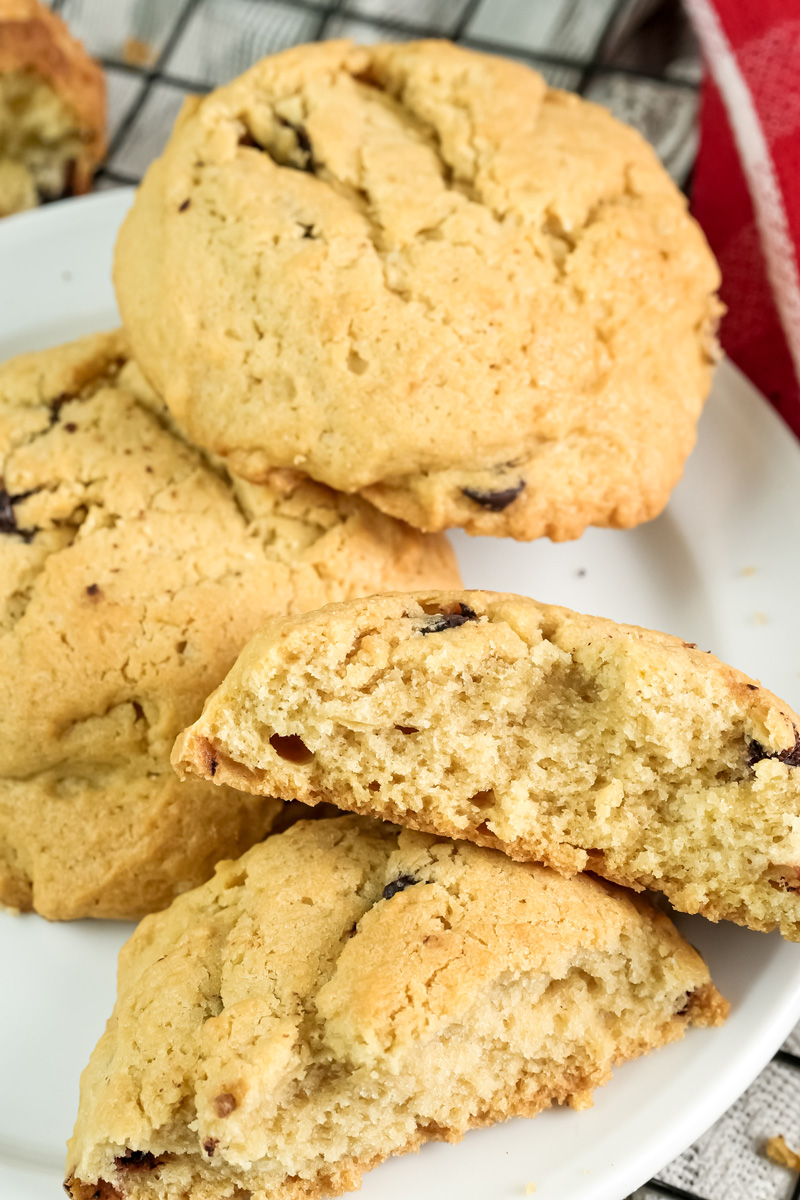
I’ve asked myself the same question. The oversized, impossibly soft, and perfectly chunky cookie is a masterpiece. It’s so big it comes in its own box and feels like a warm hug in dessert form.
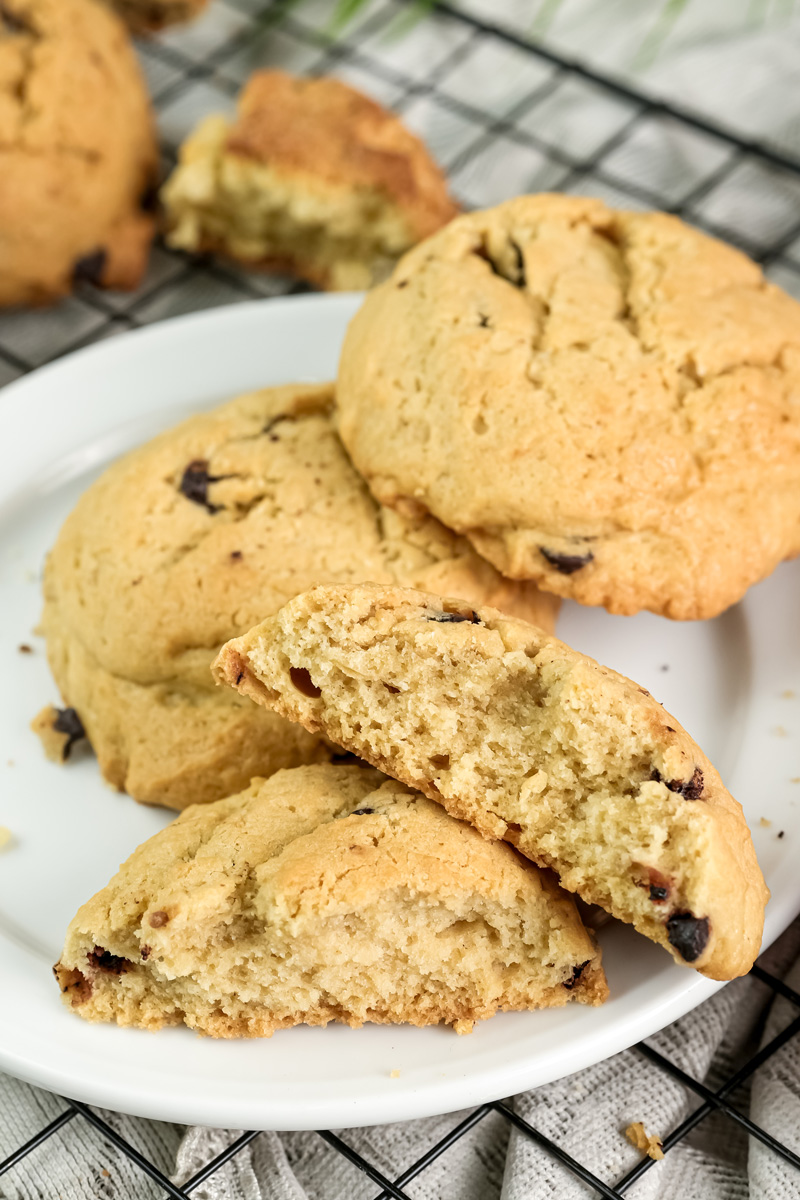
Well, I’m thrilled to tell you that you don’t need to drive to the nearest store to get your fix. We’re going to create the ultimate Crumbl Chocolate Chip Cookie right in your own kitchen. This isn’t just about replicating a cookie; it’s about capturing the magic—the thick center, the craggy top, and the melty pockets of chocolate.
This recipe is proof that the best things in life are the ones you make with your own hands.
So, tie on that apron, and let’s get baking!
What’s the Game Plan?
Let’s get our plan in order. This recipe is designed to be straightforward, but with a few key techniques that turn a simple cookie into a masterpiece. We’re talking about a quick prep, a fast bake, and a result that will make you feel like a pro baker, even if it’s your first time.
The good news? The total time is just 20 minutes!
- Prep Time: 10 minutes
- Bake Time: 10-11 minutes
- Total Time: 20 minutes
- Servings: 12 cookies (easily doubled!)
- Difficulty: I’d call this a beginner-to-intermediate recipe. While the steps are simple, a few professional tips (like the “craggy top” technique) will make all the difference. Don’t worry, I’ll walk you through every one of them.
Gear You’ll Need
The main piece of equipment you’ll need is a stand mixer with a paddle attachment. This is a crucial tool for properly creaming the butter and sugar, which gives the cookies their signature fluffy texture. Don’t have a stand mixer? A hand mixer will also work, but be prepared to mix for a bit longer to get that light, creamy consistency.
For the bake, you’ll need a large baking sheet and some parchment paper to prevent sticking.1
Prep Like a Pro
This recipe is a fantastic choice for making ahead. You can make the dough ahead of time and store it in the fridge for up to 3 days, or even freeze the individual dough balls for up to 3 months. This means you can have warm, freshly baked cookies anytime a craving strikes.
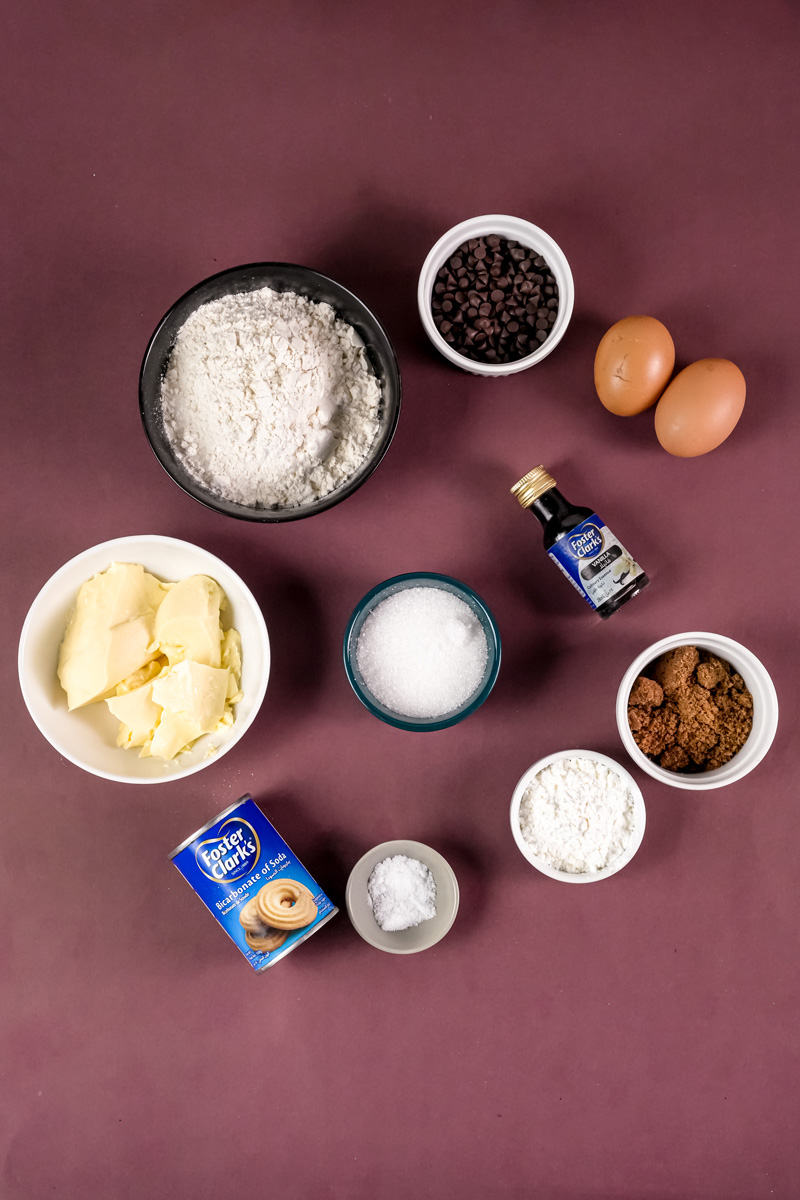
Let’s Talk Ingredients
The ingredients for these cookies are simple and classic. But, how we handle them is what makes all the difference. We’ll be using standard pantry staples, but I’ll share some tips to help you get the best results.
Here’s a breakdown of the star players and why they’re so important.
| Ingredient | Amount | Role in the Cookie | Pro Tip |
| Unsalted Butter | 1 cup | Creates air pockets for a light, fluffy cookie. | Must be at room temperature! You should be able to press a small indent into it. |
| Light Brown Sugar | 1 1/4 cups | Adds a chewy texture and deep molasses flavor. | Essential for that classic, gooey center. |
| Granulated Sugar | 1/2 cup | Gives the cookies a subtle crispness. | Balances the brown sugar and helps with spread. |
| Eggs | 2 large | Binds the ingredients and adds richness. | Make sure they are at room temperature to emulsify better. |
| Vanilla Extract | 2 teaspoons | Provides a rich, aromatic flavor. | Don’t skimp on the vanilla! Use a good quality pure extract. |
| Baking Soda | 1 teaspoon | Helps the cookies rise and spread. | Works with cornstarch to control the spread. |
| Cornstarch | 1 tablespoon | Acts as a tenderizer and prevents the cookies from spreading too much. | The secret ingredient for a thick, chewy cookie. |
| Kosher Salt | 1 teaspoon | Enhances flavor and balances the sweetness. | A little bit of salt makes the chocolate taste even better. |
| All-Purpose Flour | 3 cups | The foundation of the dough. | Don’t overmix! Overworking the gluten will make the cookies tough. |
| Milk Chocolate Chips | 2 1/4 cups | Melts beautifully and adds a creamy sweetness. | We’re going for a true Crumbl copycat, so use lots of milk chocolate! |
Baking to Perfection: Step-by-Step
Let’s get our hands dirty and make some dough! I’ll guide you through each stage, sharing what to look, feel, and listen for along the way.
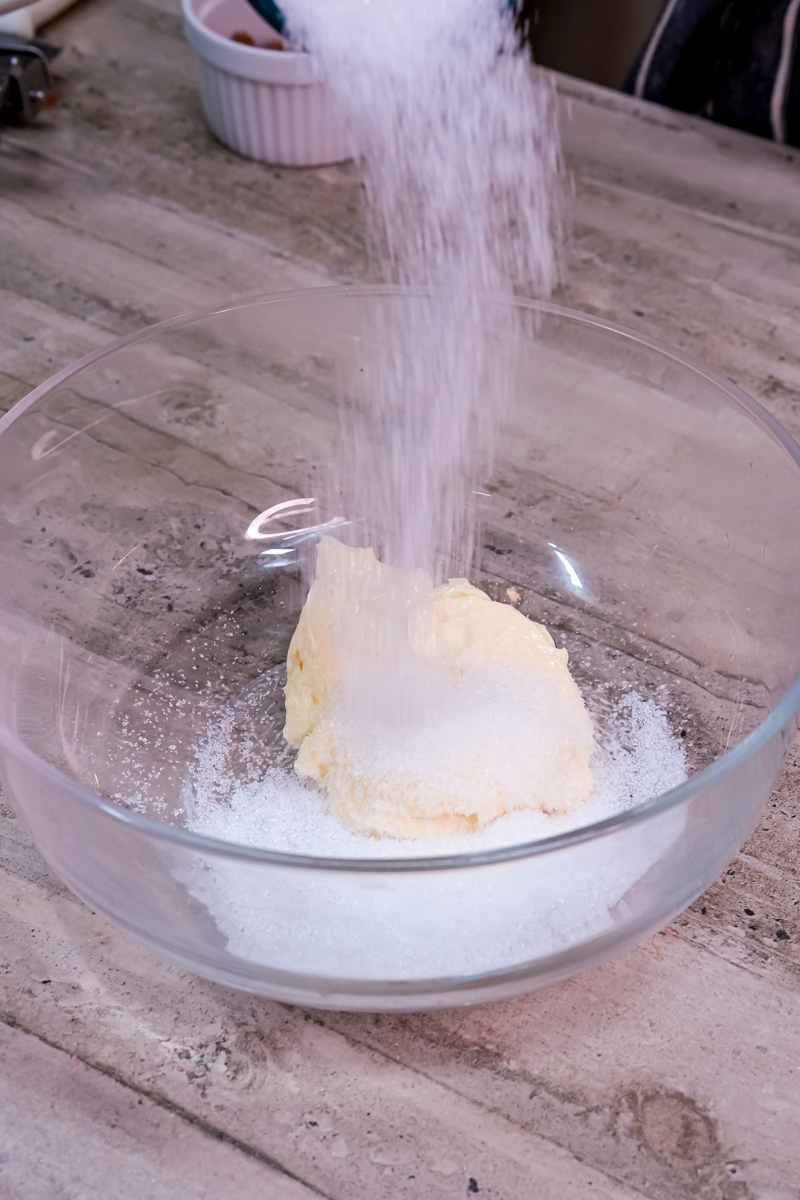
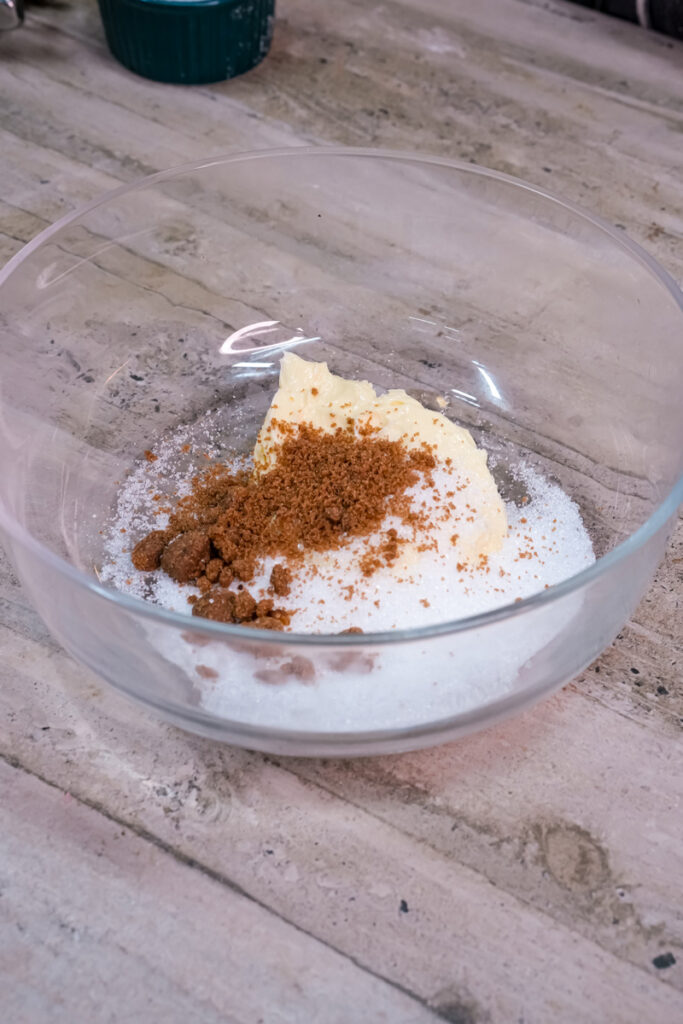
Step 1: The Creaming Stage
First, preheat your oven to 375°F (190°C) and get your baking sheet ready with some parchment paper. This cookie is all about the details, so let’s start with the most important one: creaming the butter and sugar.
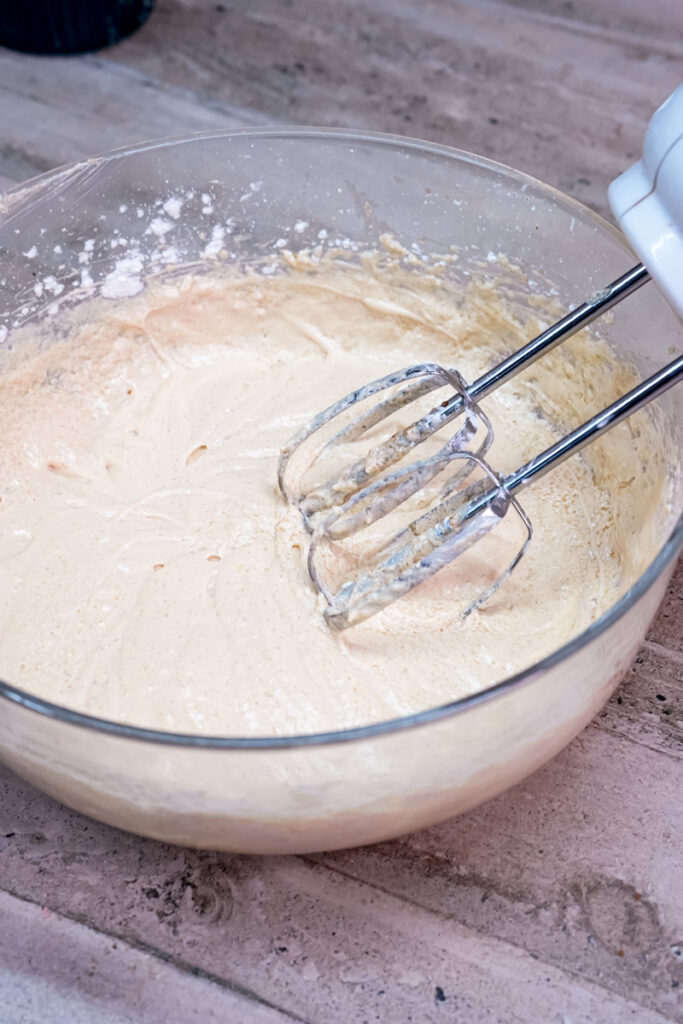
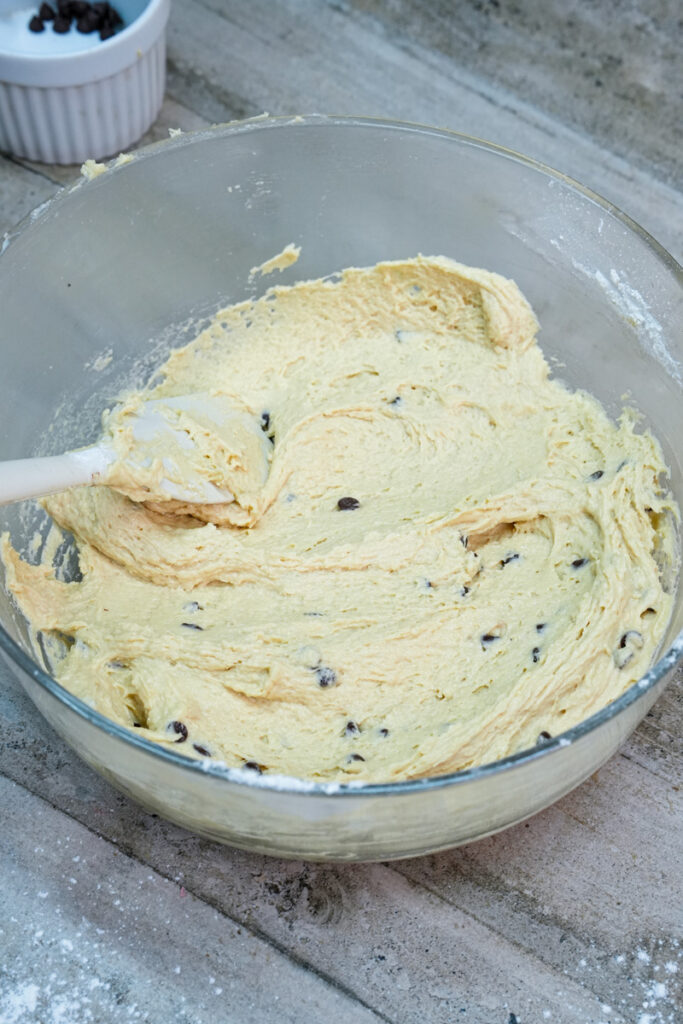
In the bowl of your stand mixer, add your softened butter, light brown sugar, and granulated sugar. Turn your mixer on to medium speed and let it go for a full 3 minutes. I know it seems like a long time, but this is where we build the foundation of our cookie. You’ll see the mixture transform from a clumpy mess into a light, fluffy, and pale-yellow cloud. This is the visual cue you’re looking for—it should look almost like a creamy frosting.
This air we’re whipping in will give our cookies their signature puffy, cake-like texture.
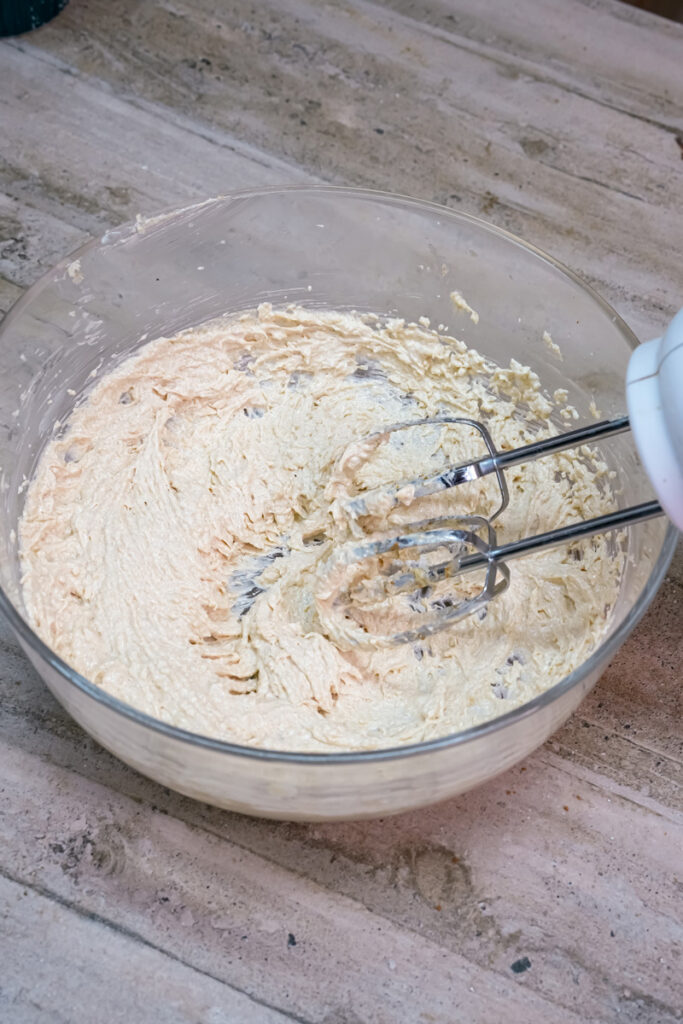
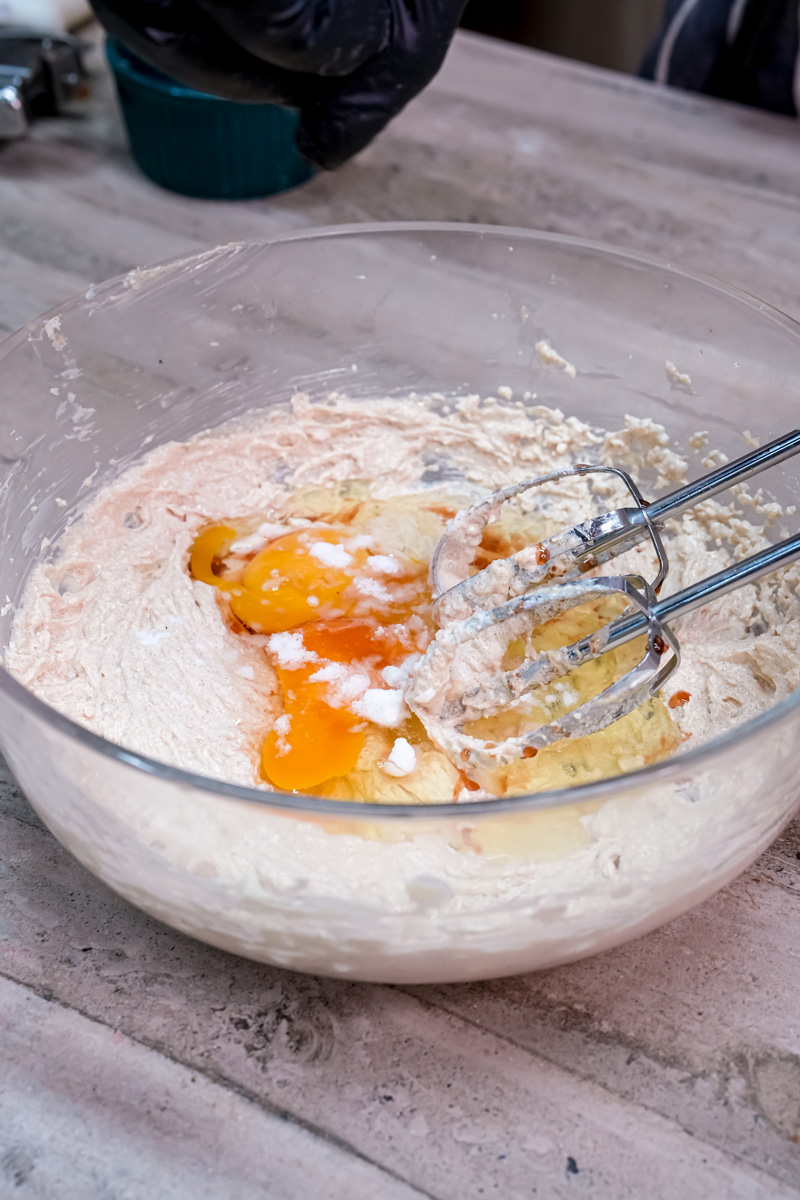
Step 2: Adding the Wet Ingredients
Once your butter and sugar mixture is perfectly fluffy, it’s time to add the rest of the wet ingredients. With the mixer still running, crack in your two room-temperature eggs, one at a time, followed by the vanilla extract. Let the mixer go for about 1 minute. During this time, make sure to use a spatula to scrape down the sides and the bottom of the bowl. This ensures everything is fully incorporated. You’re looking for a smooth, even mixture with a rich, sweet aroma.
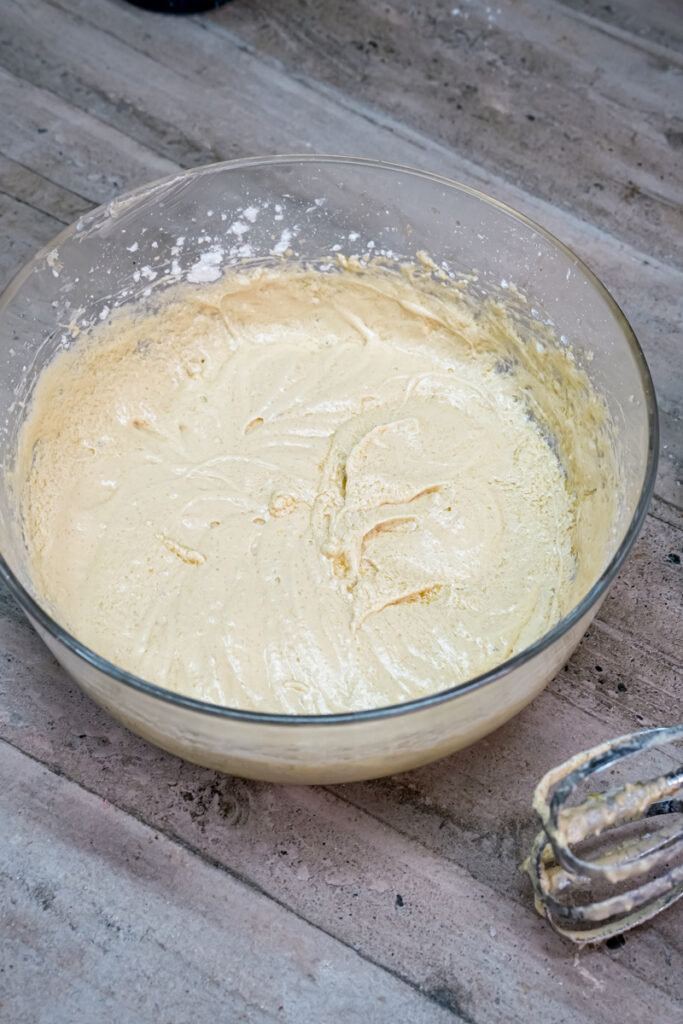
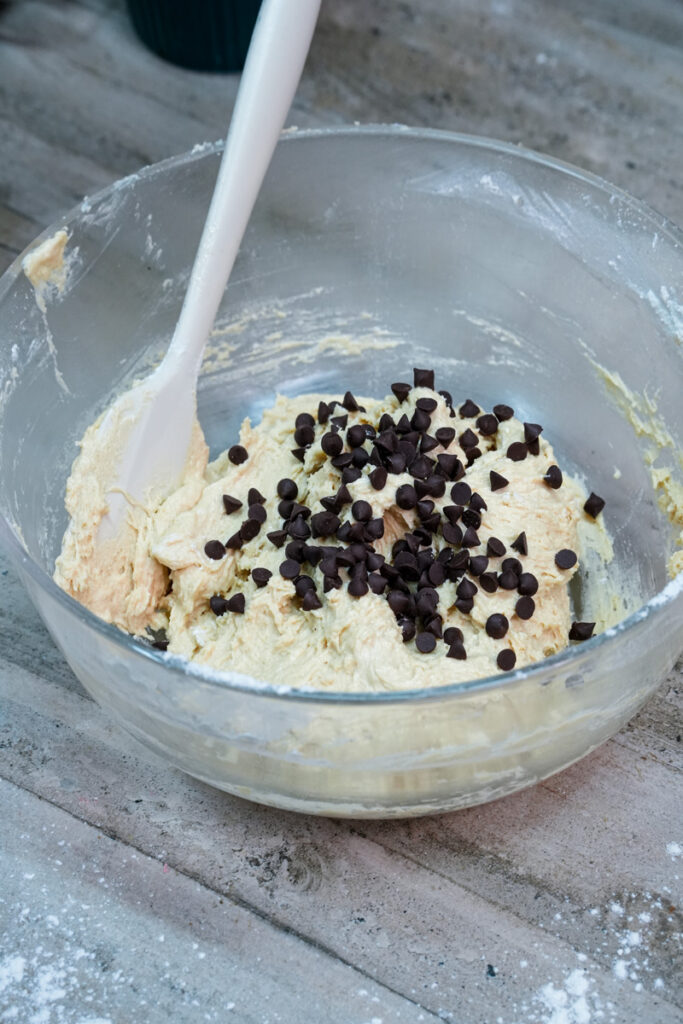
Step 3: The Flour and Chocolate Chips
Now, for the last mixing stage. Turn your mixer to its lowest speed and add in the flour, baking soda, salt, and cornstarch. Mix just until the flour disappears and the dough comes together. The key here is to avoid over-mixing. We don’t want to overwork the gluten, as this will result in a tough, dense cookie. The dough should look and feel sturdy, not sticky or wet. Finally, with the mixer off, use a spatula to fold in your generous portion of milk chocolate chips. Make sure they are evenly distributed, so every bite is packed with chocolatey goodness!
Step 4: The Signature Shape
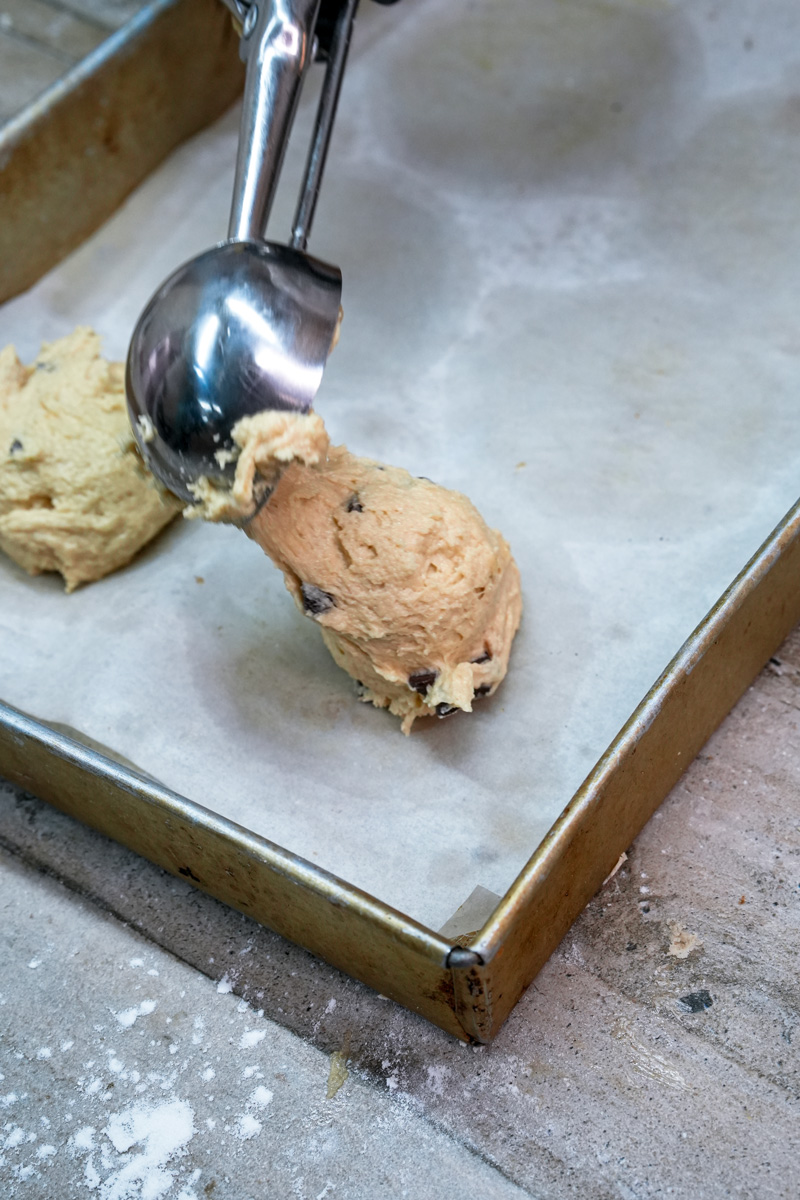
This is where we go from a homemade cookie to a true Crumbl copycat. Portion out a rounded 1/3 cup of dough for each cookie—about 4.2 ounces. Roll the dough into a ball. Now, for the magic trick: break the dough ball in half. It feels wrong, I know, but trust me! Turn the dough so the jagged, broken edge is facing up, and then gently press the two halves back together. This creates that beautiful, craggy top that is so characteristic of Crumbl cookies. It helps them bake up thick and prevents them from spreading into a flat pancake.
Step 5: Baking to Perfection
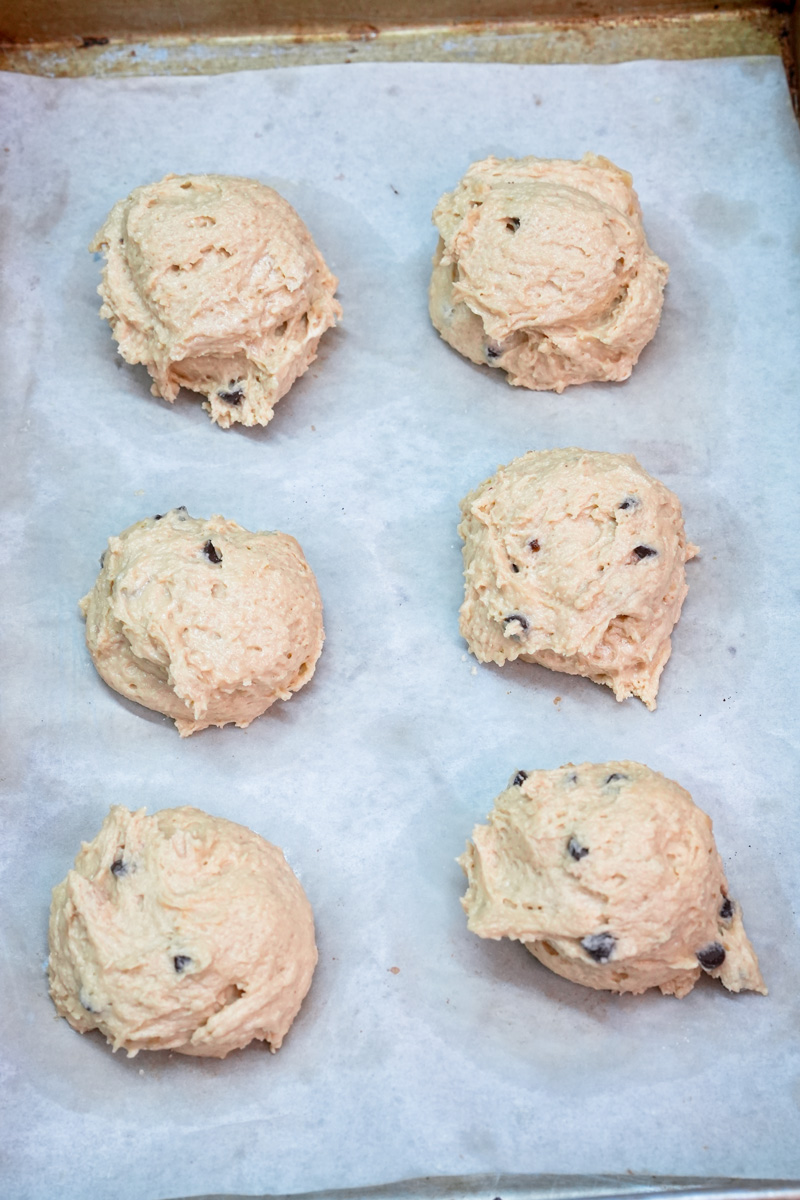
Place your dough balls on the prepared baking sheet, leaving about 3 inches of space between each one. I find that baking 5 cookies at a time is the perfect number to give them room to expand without touching. Pop them into your preheated oven and bake for 10-11 minutes.
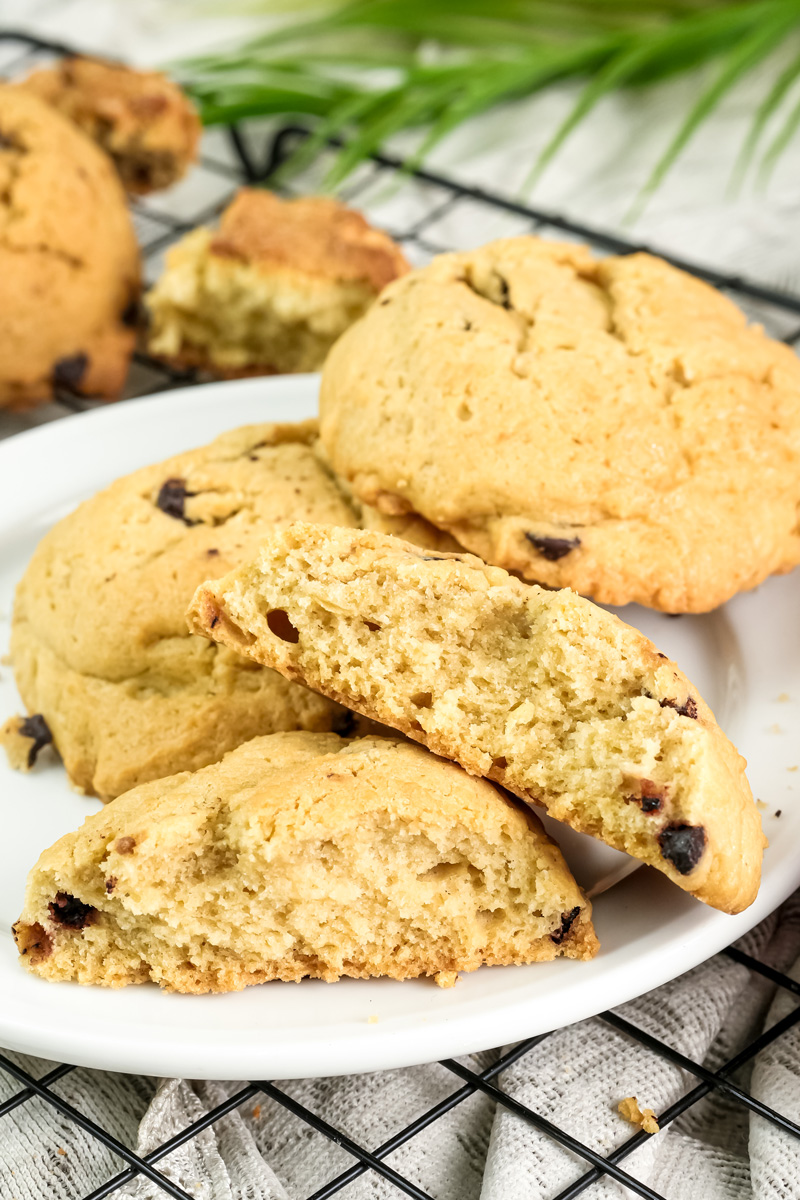
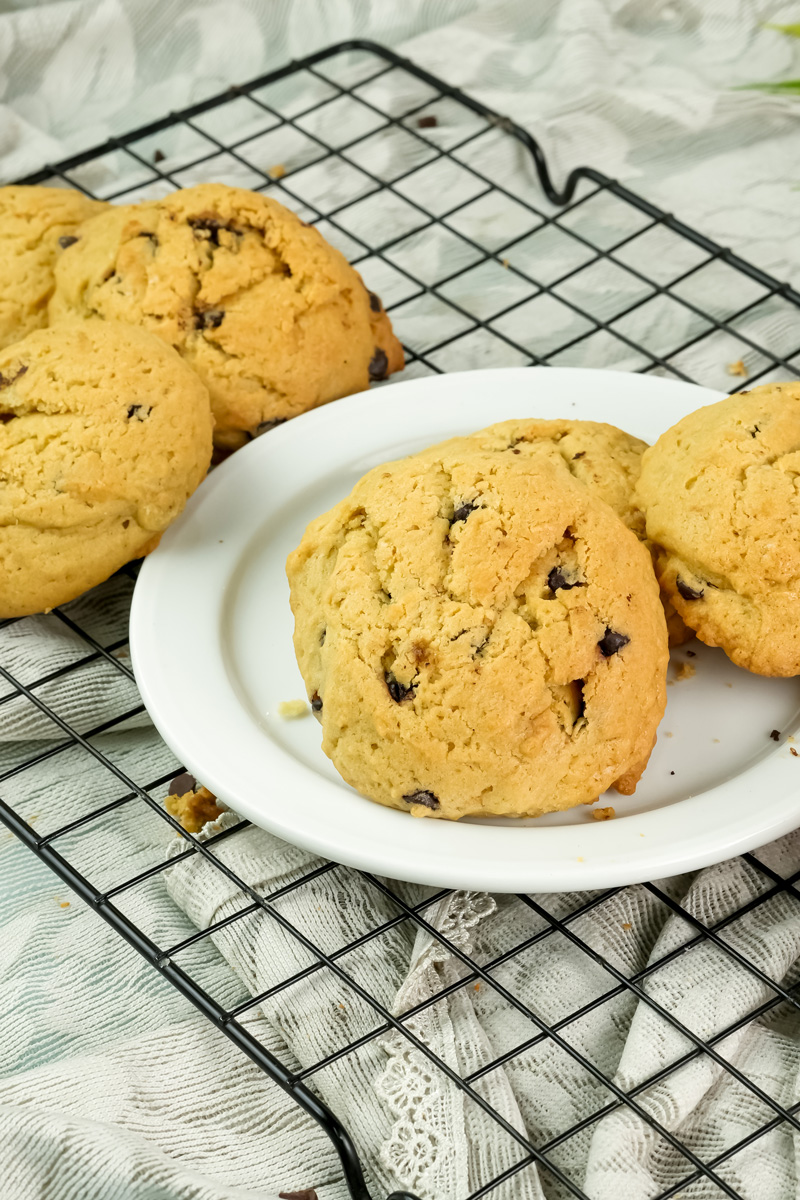
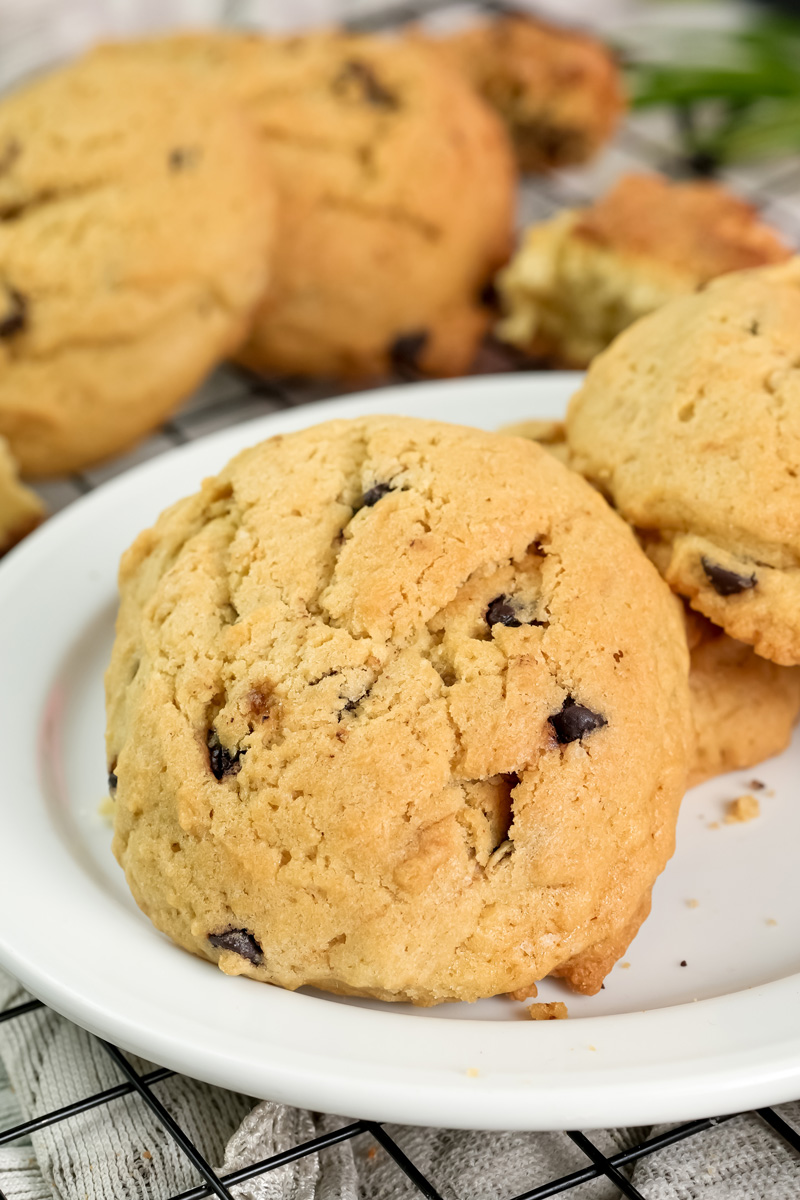
Keep a close eye on them. The cookies are done when the edges are slightly golden and the top is just set. The center should still look a little underbaked and gooey—that’s exactly what we want!
Once they come out of the oven, immediately press a few extra chocolate chips into the top of each cookie. This is a pro-tip for that perfect, fresh-from-the-bakery look. Let them cool on the baking sheet for 5 minutes. This is a crucial step that allows them to continue cooking from the residual heat, helping them set up properly. After 5 minutes, you can carefully transfer them to a wire rack to cool completely.
Make it Your Own!
One of the best things about this recipe is its versatility. Once you’ve mastered the classic chocolate chip, you can let your creativity run wild!
Dietary Modifications
- Gluten-Free: Substitute the all-purpose flour with a 1:1 gluten-free baking flour blend. Make sure your blend contains xanthan gum to help with the cookie’s structure.
- Vegan: Replace the butter with a high-quality vegan butter stick and the eggs with a flax egg (1 tbsp flax meal + 3 tbsp water per egg) or your favorite egg substitute.
Flavor Variations
- Oatmeal: Add 1 cup of old-fashioned oats to the dough for a chewy, hearty texture.
- Nutty Twist: Fold in 1 cup of toasted pecans or walnuts along with the chocolate chips.
- Spiced: Add a teaspoon of ground cinnamon and a pinch of nutmeg to the dry ingredients for a warm, cozy flavor.
- Fancy vs. Everyday: For an extra decadent touch, use high-quality chocolate bars (like Ghirardelli or Lindt) and chop them into large chunks instead of using chips. For an everyday version, feel free to use your favorite store-brand chocolate chips.
Serve & Store
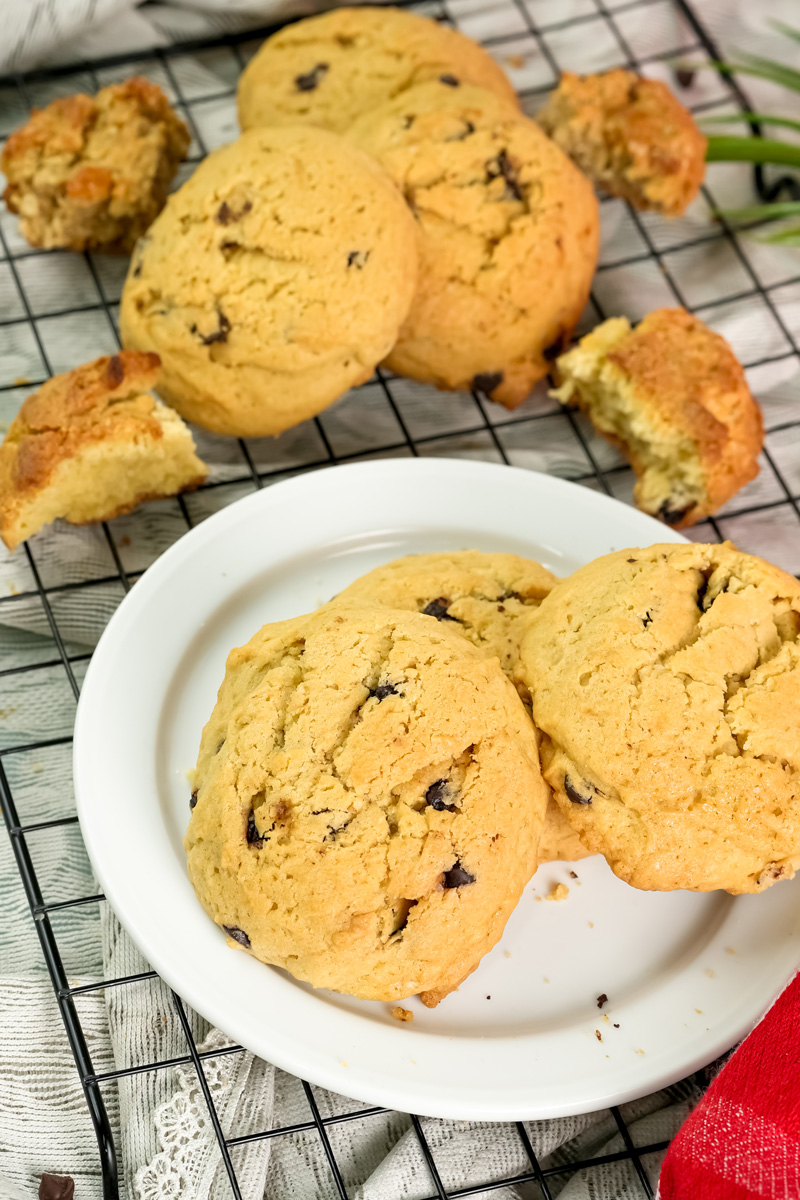
These cookies are best enjoyed warm, with the chocolate still gooey and the center impossibly soft.
- Plating: The most authentic way to serve these is in their own box! But for a more elegant presentation, place them on a clean, simple plate. For a little something extra, consider drizzling them with a touch of sea salt or a bit of melted chocolate.
- Storage: Store any leftovers in an airtight container at room temperature for up to 3 days. They will remain soft and delicious.
- Reheating: To get that “fresh from the oven” experience, pop a cookie in the microwave for 10-15 seconds. The chocolate will melt and the cookie will soften, tasting as good as the first bite.
Make-Ahead and Freezing
- Dough: Prepare the dough as directed, form the balls, and then place them on a baking sheet to freeze for 1 hour until solid. Transfer the frozen dough balls to a freezer-safe zip-top bag and store for up to 3 months. When you’re ready to bake, place the frozen dough balls on a baking sheet and bake for 12-14 minutes, or until the edges are golden.
- Baked Cookies: Store baked cookies in a freezer-safe container for up to 2 months. Thaw on the counter for an hour or reheat in the microwave as described above.
I hope you have the best time baking these Crumbl cookies. Enjoy every single warm, chocolatey, and glorious bite! Happy baking!
PrintCrumbl Cookies (Copycat Chocolate Chip Cookie)
Craving that famous oversized, super-soft Crumbl cookie? This is the ultimate copycat recipe that captures all the magic of the original—thick, chewy, and packed with melty chocolate. No need to drive to the store; you can make this bakery-worthy treat right at home.
- Prep Time: 10 minutes
- Cook Time: 10-11 minutes
- Total Time: 20-21 minutes
- Yield: 12 cookies 1x
- Category: Dessert
- Cuisine: American
Ingredients
- 1 cup (226g) unsalted butter, softened
- 1 1/4 cups (250g) light brown sugar
- 1/2 cup (100g) granulated sugar
- 2 large eggs, at room temperature
- 2 tsp vanilla extract
- 1 tsp baking soda
- 1 tbsp cornstarch
- 1 tsp kosher salt
- 3 cups (360g) all-purpose flour
- 2 1/4 cups (380g) milk chocolate chips, plus more for topping
Instructions
- Prep: Preheat your oven to 375°F (190°C) and line a baking sheet with parchment paper.
- Cream Butter & Sugars: In a stand mixer, beat the softened butter, brown sugar, and granulated sugar on medium speed for a full 3 minutes. The mixture should become light, fluffy, and pale in color. This step is key for a pillowy cookie.
- Add Wet Ingredients: With the mixer still running on medium, add the eggs one at a time, then the vanilla extract. Mix for about 1 minute, scraping down the sides of the bowl to make sure everything is combined.
- Mix in Dry Ingredients: Turn the mixer to the lowest speed. Add the flour, baking soda, salt, and cornstarch. Mix just until the flour disappears. Do not overmix. Use a spatula to fold in the chocolate chips until they are evenly distributed.
- Shape & Bake: Scoop 1/3 cup of dough for each cookie. Roll into a ball, then tear it in half and press the two halves back together with the jagged side facing up. This creates that signature craggy top. Place cookies on the prepared baking sheet, leaving about 3 inches between them. Bake for 10-11 minutes. The edges should be golden, and the centers should look slightly underbaked.
- Cool: Immediately press a few extra chocolate chips onto the tops of the hot cookies. Let them cool on the baking sheet for 5 minutes before moving them to a wire rack to finish cooling.
Notes
- Serving Suggestions: These cookies are best enjoyed warm with a glass of milk. For an extra touch, sprinkle with a pinch of sea salt.
- Pro Tip: The “break and re-attach” method for shaping the dough is the secret to a thick, bakery-style cookie. It prevents them from spreading too much.
- Storage & Reheating: Store in an airtight container at room temperature for up to 3 days. To enjoy them warm again, microwave a cookie for 10-15 seconds.
- Make-Ahead Dough: You can store the prepared dough balls in the fridge for up to 3 days or freeze them for up to 3 months. To bake from frozen, add a few extra minutes to the baking time.