Hello there! Let’s talk about one of the most satisfying things you can ever bake in your own kitchen: homemade Danish pastry.
I know what you might be thinking. Danish pastry? From scratch? That sounds… hard. And you’re not wrong, it takes some patience. But I promise you, it’s totally doable. There is nothing like pulling a tray of these golden, puffy pastries from your oven.
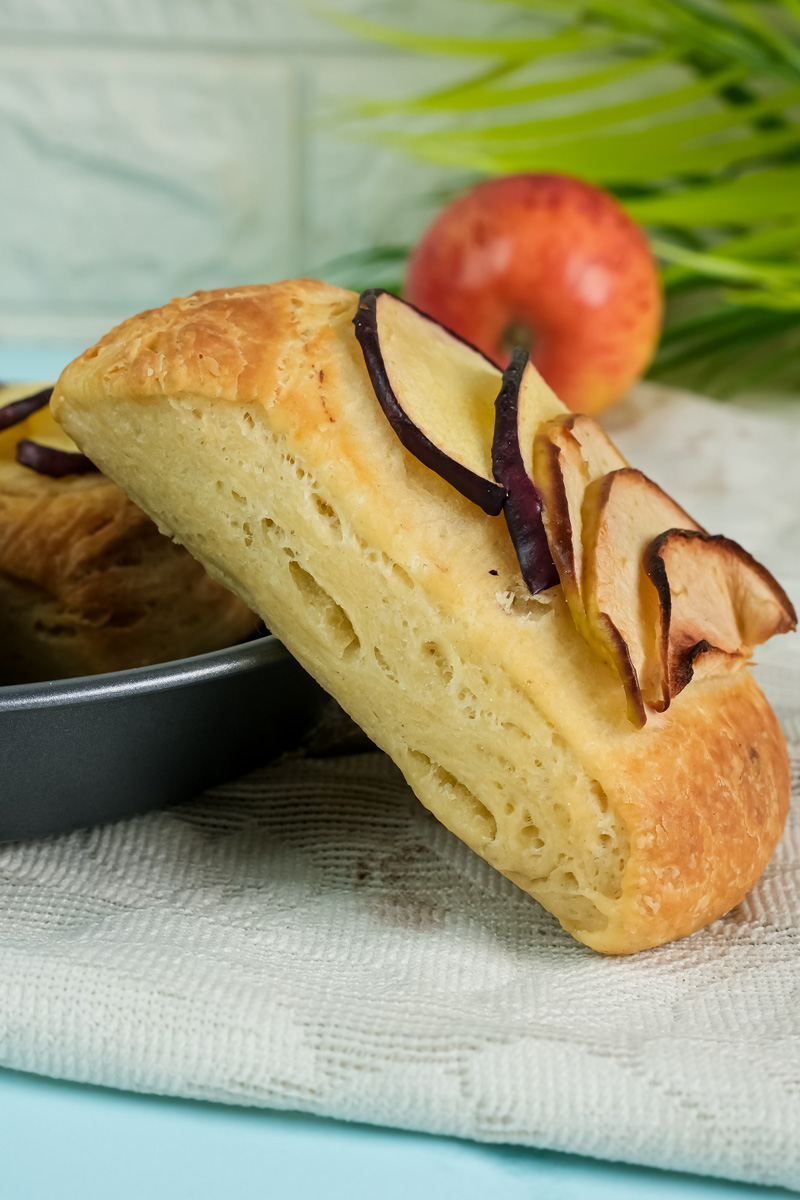
You’ll get that amazing, crackly crunch when you take a bite. Then you hit those hundreds of buttery, paper-thin layers. It’s a texture that just feels special.
And here’s a fun little secret. We call it “Danish,” but the pastry we know and love actually has roots in Austria! Back in the 1840s, Danish bakers went on strike. So, bakery owners hired bakers from Vienna to fill in. These new bakers brought their methods for making layered, buttery doughs, which the Danes absolutely loved. They tweaked the recipes, added more butter and eggs, and created the pastry that’s famous today.
This recipe breaks down the whole process, especially the part that sounds scariest—lamination, which is just a fancy word for creating all those butter layers. I’ll walk you through it step-by-step.
So, roll up your sleeves. Trust the process. Let’s make something amazing.

Your Game Plan: What to Expect
Making Danish pastry is a marathon, not a sprint. The secret ingredient? Patience. Knowing the timeline and having the right tools makes it a really enjoyable process.
Time:
You’ll be actively working for about 55 minutes (15 minutes of prep and 40 minutes of baking). The real work happens while you’re not working at all. The dough needs a total of 4 hours to chill and rest. This is not a step you can skip! This rest time lets the gluten relax and keeps the butter nice and firm, which is how you get those perfect layers.
Servings:
This recipe makes 12 pastries. I’d really recommend sticking to this amount for your first try just to get the hang of it. If you want to make more later, you can double everything, but just know you’ll need a bigger counter space and a little more arm power for rolling!
Difficulty:
I’d call this an intermediate recipe. The steps themselves aren’t complicated, but you do need to pay close attention to temperature and be patient. It’s a great project if you’re looking to learn a new skill. Just follow along closely, and you’ll be fine.
Your Kitchen Tools:
You don’t need a pro setup, but these tools will make things much easier.
- Stand Mixer: A mixer with a dough hook does the initial kneading for you. But you can absolutely do it by hand if you’re up for a little workout.
- Rolling Pin: This is your most important tool. A heavy, straight rolling pin helps you apply even pressure, which is key.
- Parchment Paper: You’ll need this for making the butter block and for baking. Don’t skip it.
- Ruler or Tape Measure: Being precise really matters here. Measuring your dough helps make sure the layers come out right.
- Plastic Wrap: To keep your dough from drying out in the fridge.
Want to Plan Ahead?
This dough is perfect for making ahead of time. You can make the dough and do all the folding, then wrap the final block tightly. It will keep in the fridge for up to 2 days or in the freezer for up to a month. This lets you split the work over two days, which feels much less overwhelming.
Scaling Your Recipe
Ready to bake for a party? Here’s a quick chart for scaling the main ingredients.
| Servings | Bread Flour | Butter (for Block) | Sugar | Milk |
| 6 | 125 g | 68 g | 18 g | 58 ml |
| 12 (Standard) | 250 g | 135 g | 35 g | 115 ml |
| 24 | 500 g | 270 g | 70 g | 230 ml |
The Ingredients: What You’ll Need
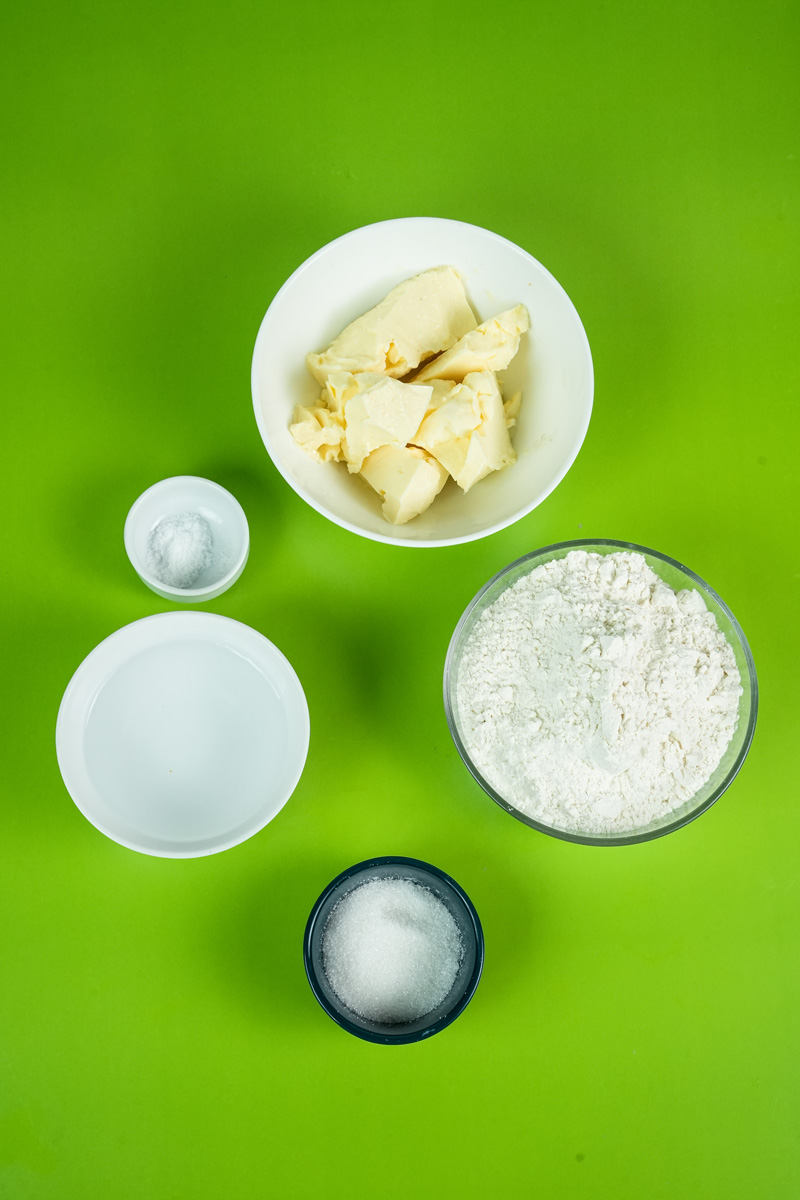
Great pastry starts with good ingredients. Here’s a look at what goes into this recipe and why it’s there.
For the Dough Itself:
This is the foundation. You’ll need 250g of bread flour. I like bread flour because it has more protein, which gives the dough the strength it needs to hold all that butter in. You’ll also need 4g of instant yeast for lift, 35g of granulated sugar for a hint of sweetness, and 5g of salt to balance the flavor. For richness, we’re using 115ml of lukewarm whole milk, one large egg (at room temp), and 15g of unsalted butter, melted down. Using lukewarm and room temperature ingredients helps wake up the yeast.
For the All-Important Butter Block:
This is the star of the show. The butter block is what creates hundreds of flaky layers. You’ll need 135g of high-quality, unsalted butter. If you’re going to splurge on one ingredient, this is it! Look for a European-style butter with a high fat content (at least 82%). Why? It has less water, which means less steam during baking. Less steam = crispier layers and a richer flavor. You want the butter to be cold but still bendable, kind of like cool modeling clay.
The Step-by-Step Guide to Making Danish Pastry
Okay, let’s do this together. Take a deep breath. We’re about to make some magic.
Stage 1: Making the Dough
First up, the dough. In your stand mixer bowl, whisk together the bread flour, instant yeast, sugar, and salt. Then, add the lukewarm milk, egg, and melted butter. Using the dough hook, knead on medium speed for about 4 minutes until the dough forms a slightly tacky ball that pulls away from the sides.
No mixer? No problem. Just mix everything in a big bowl with a spoon until it gets shaggy, then knead it on a floured counter for 6-8 minutes until it’s smooth.
Shape it into a ball, pop it in a bowl, cover it tightly, and let it rest at room temperature for 1-2 hours. After that, gently press the air out and roll it into a 5” x 10” rectangle. Wrap it in plastic and put it in the freezer for 20 minutes. This quick chill gets the dough ready to meet the butter.
Stage 2: Prepping the Butter Block
While the dough is chilling, let’s get the butter ready. On a piece of parchment paper, draw a 4 ½” x 4 ½” square. This is your guide.
Cut your cold butter into slices and arrange them inside the square. Fold the parchment paper over the butter to make a neat little package. Now, give the butter a few gentle whacks with your rolling pin to soften it just enough to stick together. Then, roll it out firmly inside the parchment, pushing it into the corners to make a perfect square. Put this in the fridge for about 15 minutes. You want it cold, but not so cold that it cracks when you bend it.
Stage 3: Lamination (a.k.a. Making the Layers)
This is it. The moment where the magic happens.
Lightly flour your counter and place your chilled dough rectangle on it. Put the butter block right in the center. Fold the top and bottom flaps of dough over the butter so they meet in the middle. Pinch the seam shut. Pinch the sides, too. The butter should be completely sealed inside.
Now, turn the dough 90 degrees. Roll it out gently into a long rectangle, about 7” x 14”. Be firm but gentle. You’re trying to roll the dough and butter together, not squeeze the butter out.
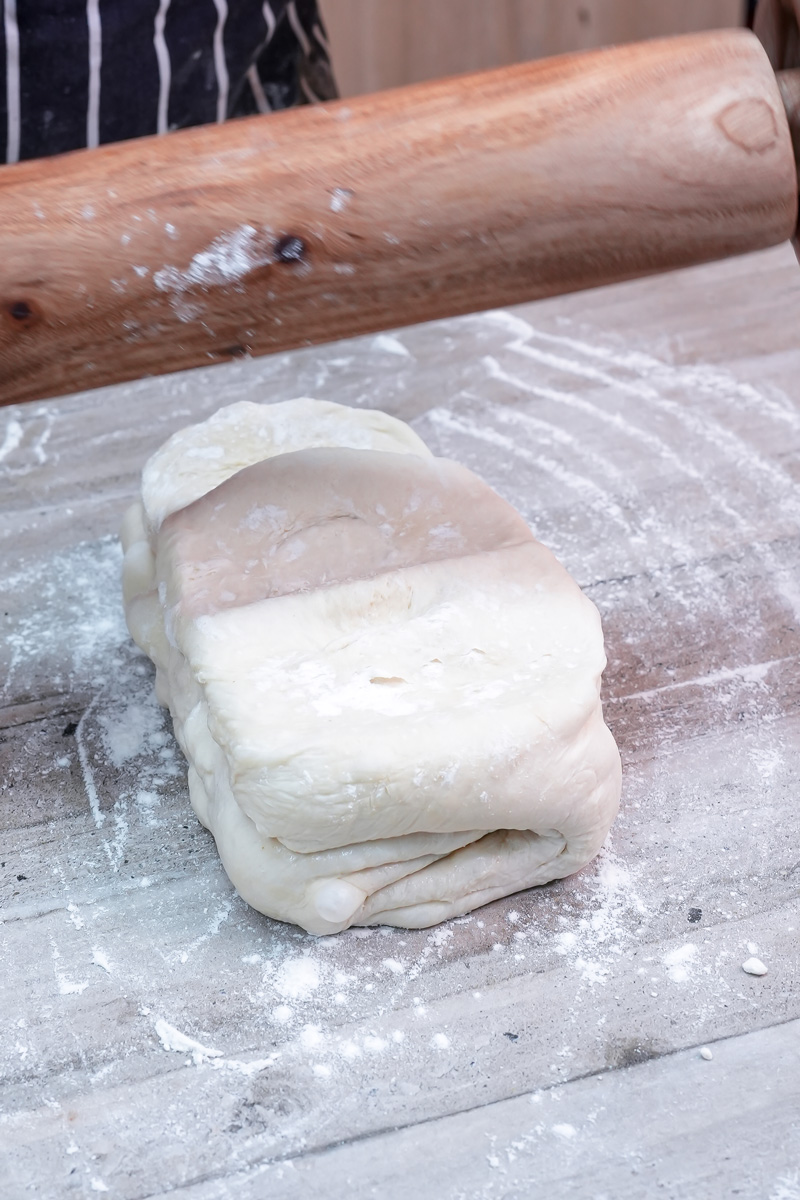
The First Fold (The “Book Fold”):
Brush off any extra flour. Imagine a line down the middle of the dough. Fold the top edge to that center line. Then fold the bottom edge up to the center line. They should almost touch. Now, fold the whole thing in half, like you’re closing a book. That’s it! You just did a “four-fold.” Wrap it in plastic and put it in the fridge for 1 hour. This rest is super important.
The Second & Third Folds (The “Letter Folds”):
After an hour, take the dough out. Put it on your floured counter and turn it 90 degrees (so the folded “spine” is on your left). Roll it out again to that 7” x 14” rectangle.
This time, we’ll do a “three-fold.” It’s just like folding a business letter. Fold the bottom third up over the middle. Then fold the top third down over that. Wrap it up and chill for another hour.
Repeat this one more time: turn, roll, and do one final letter fold. After this last fold, wrap it and chill it for at least one more hour, or even overnight.
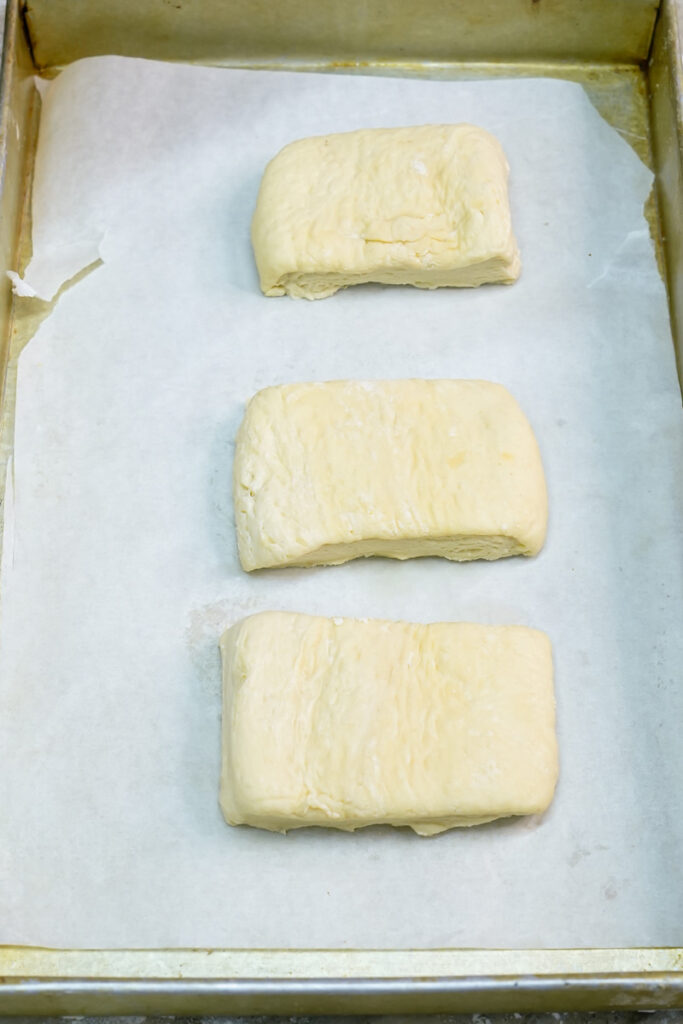
You’ve just created hundreds of layers of dough and butter! Your dough is now ready to be shaped, filled, and baked at 375°F (190°C).

Making It Your Own: Variations and Fun Ideas
Once you have this beautiful dough, you can do almost anything with it!
- Classic Cream Cheese: Beat cream cheese with some sugar, an egg yolk, and a bit of vanilla or lemon zest.
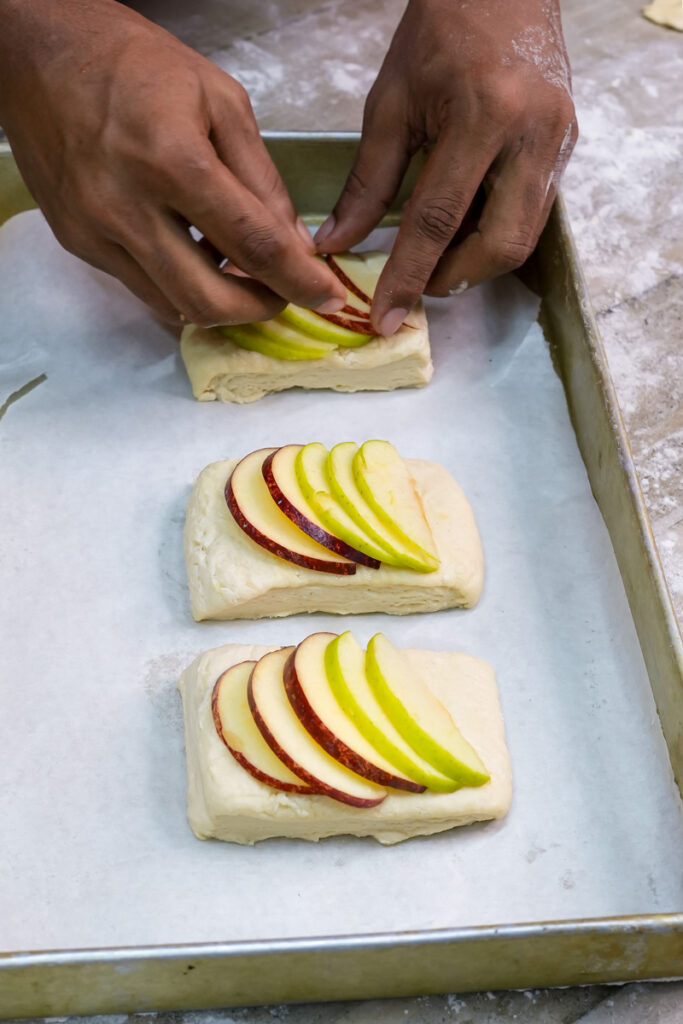
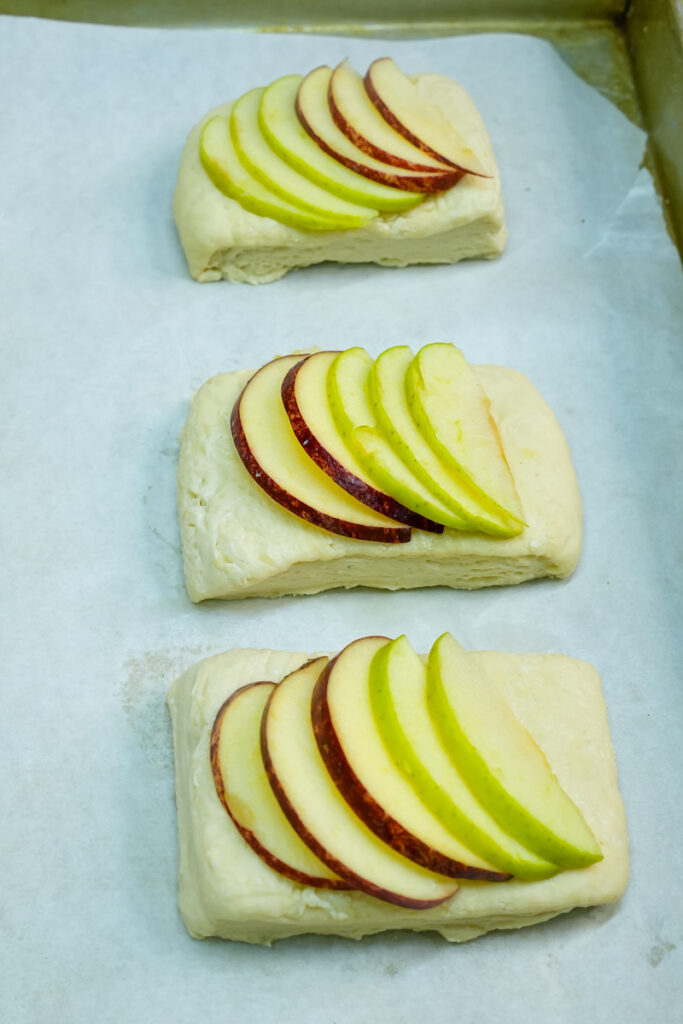
- Simple Fruit: A spoonful of thick raspberry jam in the middle is always a winner.
- Nutty Fillings: Almond paste fillings (frangipane or remonce) are traditional and taste incredible.
- Go Savory! Don’t be afraid to try something different. A filling of spinach and feta or mushrooms and cheese would make an amazing brunch dish.
A Note on Dietary Swaps: Making this recipe gluten-free or vegan is a big challenge because the gluten and butter work in very specific ways. It would require a totally different recipe. This particular recipe isn’t suited for those changes, but there are many great blogs out there with tested GF and vegan versions!
Serving and Storing Your Masterpiece
You did it! Your kitchen probably smells amazing right now.
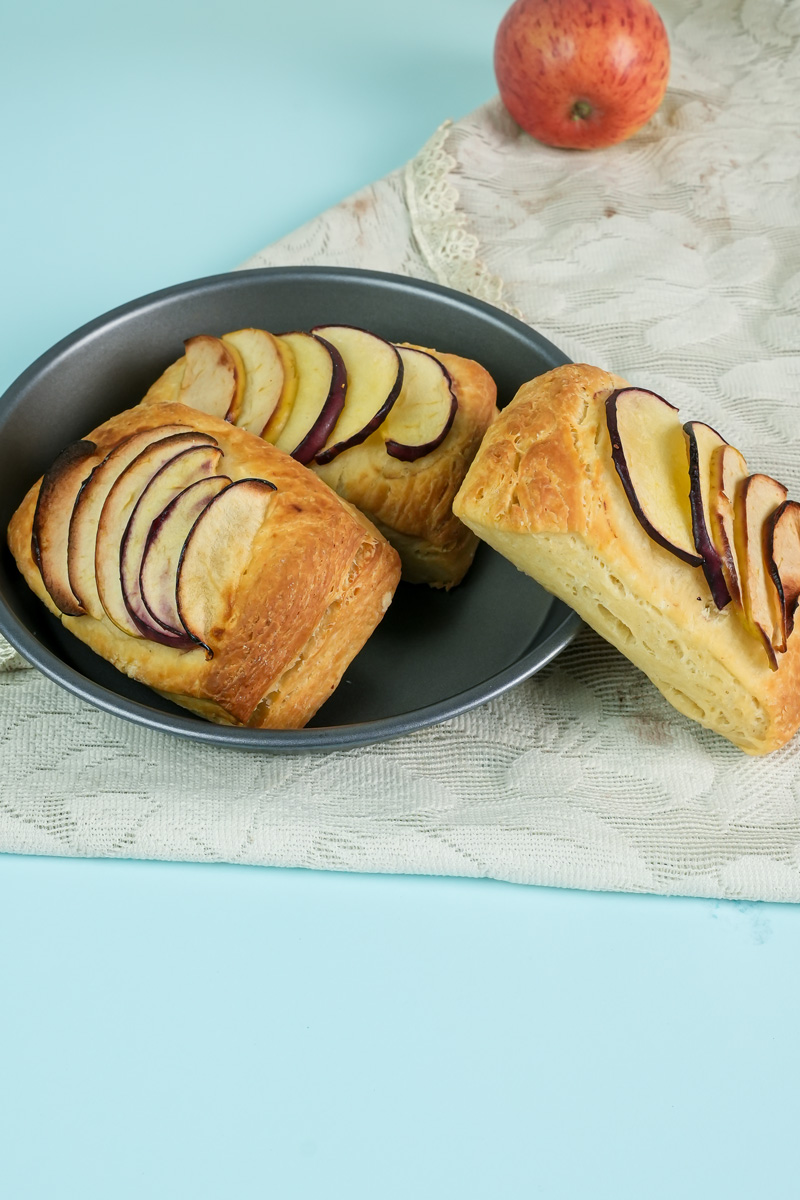
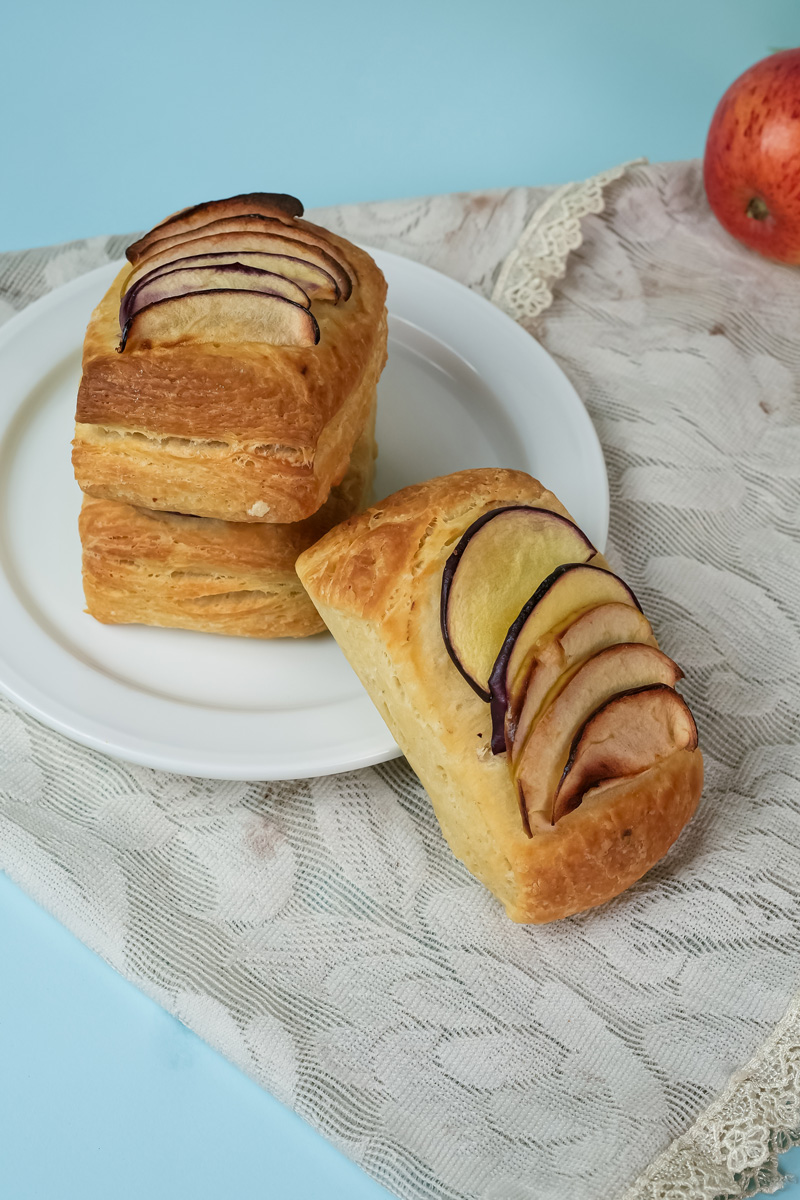
How to Serve:
These are best when served warm, maybe with a simple powdered sugar icing or just a dusting of sugar. Perfect with a hot cup of coffee.

How to Store:
- Room Temp: Store leftovers in an airtight container for up to 2 days. They’ll soften a bit but will still be tasty.
- Reheating: To get that crispiness back, pop them in a 350°F (175°C) oven for 5-7 minutes.
Freezing for Later:
You can freeze these pastries either baked or unbaked.
- Unbaked: Shape and fill the pastries, then freeze them solid on a baking sheet before moving them to a freezer bag. When you want to bake them, let them proof at room temperature until puffy (this can take a few hours), then bake as usual.
- Baked: Let the pastries cool completely, then wrap them well and freeze. Reheat them straight from the freezer in a 350°F (175°C) oven for 10-12 minutes.
I really hope this guide makes you feel excited to give this a try. Happy baking!
PrintDanish pastry
Ready to tackle the flakiest, most buttery pastry of your life? This guide breaks down the classic Danish, making those incredible, professional-looking layers totally achievable at home. It takes some patience, but the delicious reward is so worth it!
- Prep Time: 15 minutes
- Cook Time: 40 minutes
- Total Time: Approx. 5 hours (+Chilling & Resting Time)
- Yield: 12 pastries 1x
- Category: Breakfast, Pastry, Brunch
- Cuisine: Danish, European
Ingredients
For the Dough:
- 250g Bread Flour
- 4g Instant Yeast
- 35g Granulated Sugar
- 5g Salt
- 115ml Whole Milk, lukewarm
- 1 large Egg, room temperature
- 15g Unsalted Butter, melted
For the Butter Block:
- 135g High-Quality Unsalted Butter, cold
Instructions
- Make the Dough: In a mixer bowl, whisk together the flour, yeast, sugar, and salt. Add the lukewarm milk, egg, and melted butter. Knead with a dough hook for 4 minutes until a soft ball forms. (Or knead by hand for 6-8 minutes).
- First Rest: Place the dough in a bowl, cover, and let it rest at room temperature for 1-2 hours.
- Chill the Dough: Gently deflate the dough and roll it into a 5” x 10” rectangle. Wrap it and freeze for 20 minutes.
- Prep the Butter Block: While the dough chills, shape the cold butter into a 4.5” x 4.5” square inside a folded piece of parchment paper. Chill it in the fridge for 15 minutes. It should be firm but slightly bendable.
- Lock in the Butter: Place the butter block in the center of your chilled dough. Fold the top and bottom flaps of dough over the butter to completely seal it inside.
- First Fold (Book Fold): Roll the dough out to a 7” x 14” rectangle. Fold the top and bottom edges to meet at the center, then fold the entire slab in half like a book. Wrap and chill for 1 hour.
- Second Fold (Letter Fold): Turn the dough 90 degrees. Roll it out again to 7” x 14”. Fold it into thirds, like a business letter. Wrap and chill for 1 hour.
- Third Fold & Final Chill: Repeat the letter fold one more time. Wrap and chill for at least 1 more hour or overnight.
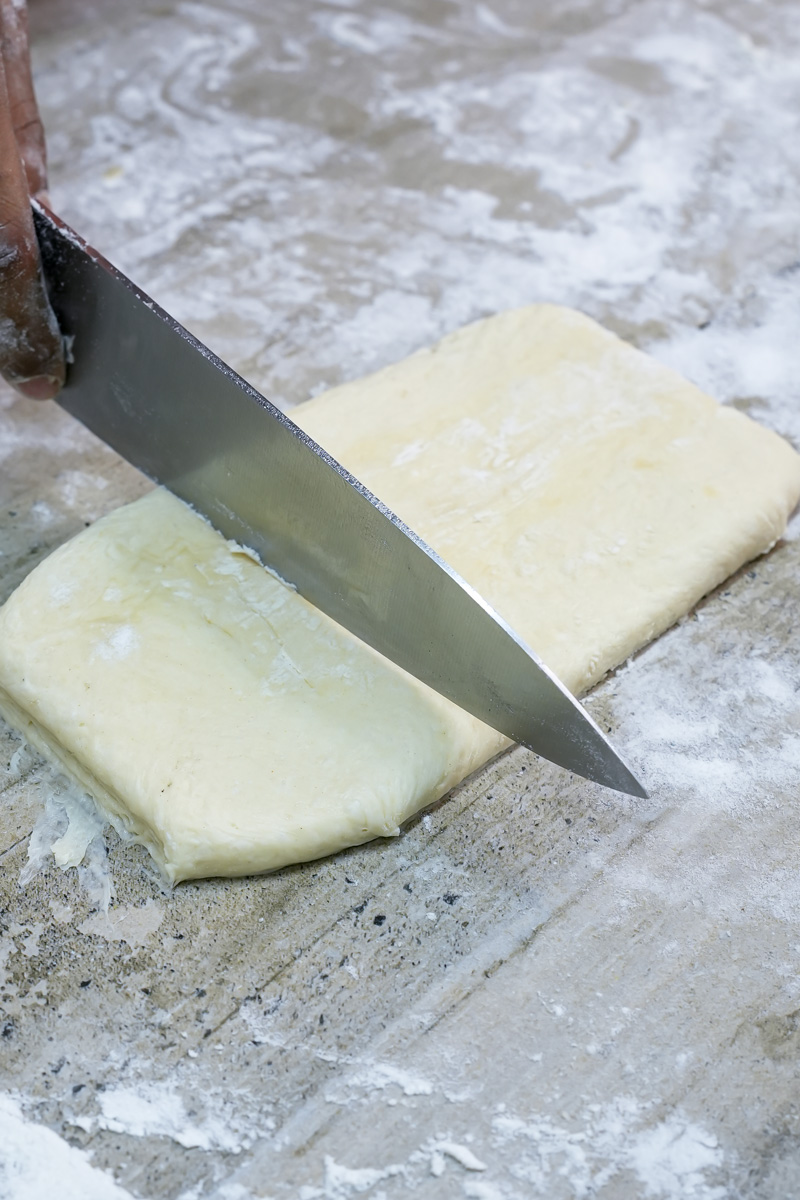
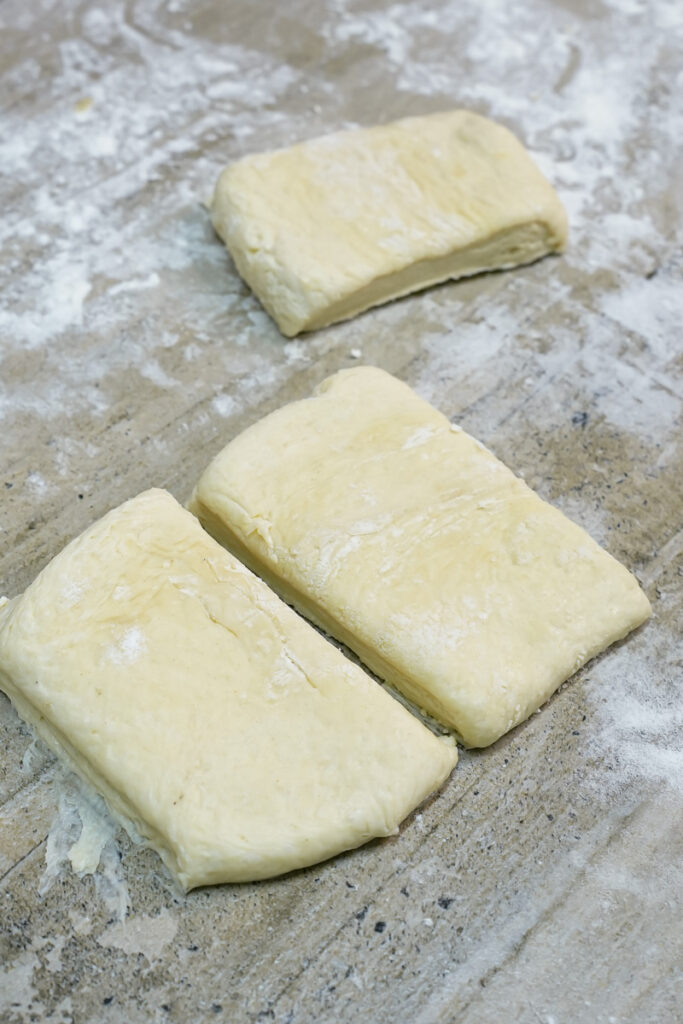
- Shape & Bake: Your dough is ready! Cut and shape as desired, add your favorite filling, let it proof until puffy, and bake at 375°F (190°C) for about 40 minutes, or until deeply golden and crisp.
Notes
- Tips for Success:
- Keep It Cold! Cold dough and cold (but not brittle) butter are the secret to creating separate, flaky layers. Do not rush the chilling times.
- Better Butter, Better Pastry: Using a European-style butter with a high fat content (>82%) will give you the best flavor and the crispiest texture.
- Patience is Key: This recipe is a journey. Trust the process, and you’ll be rewarded!
- Serving Suggestions:These pastries are heavenly when served warm. Drizzle with a simple powdered sugar icing or enjoy with a fresh cup of coffee.
- Storage & Reheating:
- Store: Keep leftovers in an airtight container at room temperature for up to 2 days.
- Reheat: To bring back that amazing crunch, bake at 350°F (175°C) for 5-7 minutes.
- Freeze: You can freeze shaped, unbaked pastries and bake them later (just let them proof first). You can also freeze fully baked pastries and reheat them directly from the freezer.