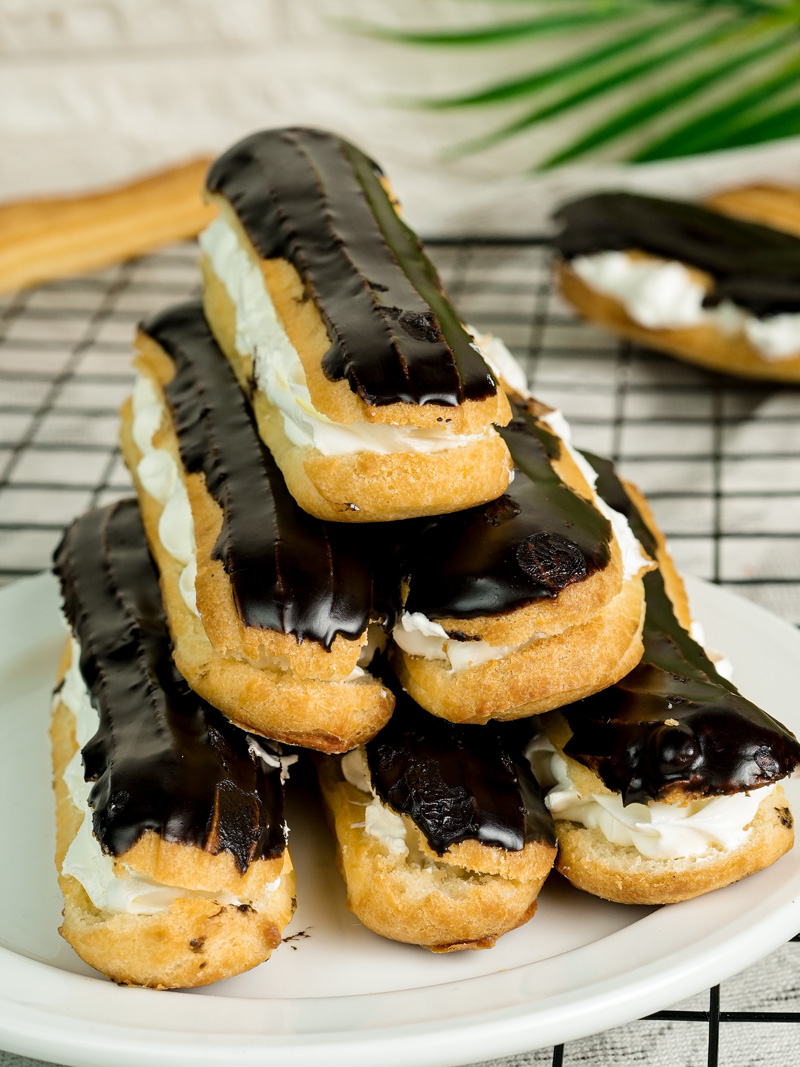
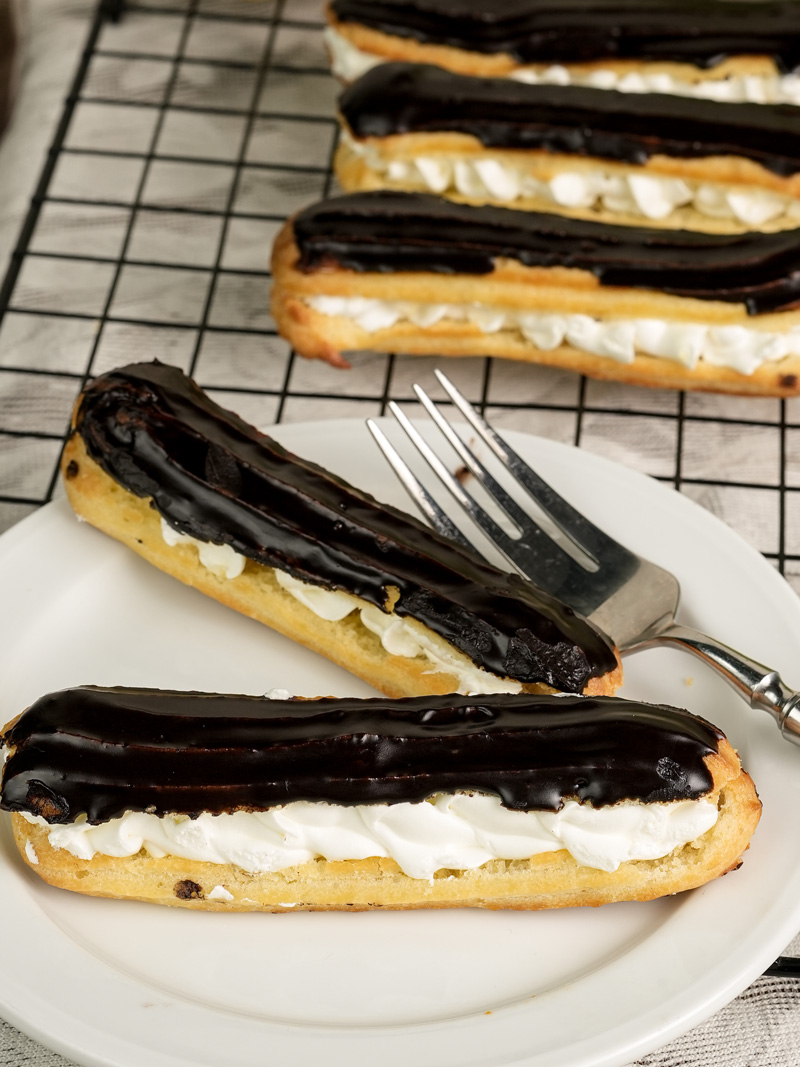
Hey there! Let’s talk about one of the most impressive desserts out there: the classic eclair.
There’s nothing quite like it. You bite through that snappy, dark chocolate top. Then you hit the crisp-yet-airy pastry shell. And finally, you find a huge cloud of cool, sweet cream. It’s a perfect combination, and today, I’m going to show you how to make them in your own kitchen.
I know, I know. French pastry sounds intimidating. My first attempt at eclairs was a total disaster—they came out of the oven as flat as pancakes! But over the years, I’ve developed this recipe that’s pretty much foolproof. We’re going to walk through the special dough, called Pâte à Choux, and I’ll share my trick for a stabilized whipped cream that won’t get all watery on you.
So grab your apron. Let’s make something amazing.
Before You Start: Here’s the Game Plan
Let’s quickly go over what to expect. This isn’t a 30-minute recipe, but every single step is simple. Trust me.
- Total Time: Plan for about 3.5 hours. This gives you 45 minutes for prep, a couple of hours for baking and cooling the shells, and another 45 minutes for the glaze and putting it all together. Think of it as a relaxing weekend project. The payoff is huge!
- How Many Eclairs? This recipe makes about 20 eclairs, which is perfect for a get-together. Need more or less? No problem.
| Servings | Butter | Water | Flour | Eggs |
| 10 Eclairs | 50g / 3.5 tbsp | ½ cup | ½ cup | 2 large |
| 20 Eclairs (This Recipe) | 100g / 7 tbsp | 1 cup | 1 cup | 4 large |
| 40 Eclairs | 200g / 14 tbsp | 2 cups | 2 cups | 8 large |
- Difficulty: I’d call it intermediate. Not because any one part is hard, but because you need to pay attention to a few key details. Don’t worry, I’ll point them all out.
The Tools You’ll Need
You don’t need a ton of fancy equipment, but a few things make the job much easier.
- A saucepan: Just a regular medium-sized one for making the dough.
- A wooden spoon: The best tool for mixing the dough. It’s sturdy and gets the job done.
- Piping bag and tips: You’ll want a large piping bag with a big star tip (about 15 mm or ⅝ inch). The ridges from the star tip are a secret weapon—they help the eclairs rise straight up instead of cracking. If you don’t have one, a round tip is okay. In a pinch? A big Ziploc bag with the corner snipped off will work!
- Baking trays: Two or three will do the trick.
- Electric beater: For whipping the cream filling. You’ll thank yourself for not doing this by hand.
Want to Make These Ahead?
Absolutely! You can break this up to fit your schedule.
- The Shells: You can bake the eclair shells a day ahead. Just keep them in an airtight container on the counter. If they feel a little soft the next day, just pop them in a 150°C (300°F) oven for 5-8 minutes to crisp them right back up.
- The Glaze: The chocolate glaze can also be made a day in advance. Store it in the fridge and warm it up gently until it’s a good dipping consistency.
Let’s Talk Ingredients
Good ingredients are the foundation of good baking. Here’s what we need and why.
For the Eclair Shells (Pâte à Choux)
This dough is pretty magical. It uses steam to puff up in the oven, creating that perfect hollow center for our cream.
- The basics: We’ll need 100g of unsalted butter (cubed), 1 cup of water, a pinch of salt, and 1 cup of all-purpose flour.
- The real stars: 4 large eggs.1 This is important: they must be at room temperature. Seriously, take them out of the fridge a half-hour before you start. Cold eggs can make the dough lumpy and prevent it from coming together smoothly.
For the Shiny Chocolate Glaze
We want a glaze that’s rich and glossy, not dull and waxy.
- The chocolate: Use 100g of good dark chocolate (around 70% cocoa). A chopped-up block melts way better than chips.
- The texture: We’ll mix it with ⅔ cup of heavy cream (at least 35% fat).
- The secret to the shine: 3 ½ teaspoons of corn syrup (or liquid glucose). This is what gives the glaze that professional, mirror-like finish and keeps it from getting grainy.

For the Stabilized Cream Filling
Regular whipped cream can get sad and weepy after a few hours. This version holds up beautifully.
- The cream: 3 cups of very cold heavy cream. For whipped cream, cold is key!
- The stabilizer: 1 cup of full-fat mascarpone cheese. This is my secret weapon. It adds richness and makes the cream super stable without any weird gelatin taste.
- The sweetness and flavor: 1 ⅔ cups of sifted powdered sugar and 2 teaspoons of vanilla bean paste. The paste gives an amazing, deep vanilla flavor. If you don’t have it, a good quality vanilla extract works just fine.
The Step-by-Step Guide to Making Eclairs
Alright, time for the fun part. Just follow along, and pay attention to how things should look and feel.
Part 1: Making the Eclair Dough
First things first, get your oven and pans ready. Preheat your oven to 180°C / 350°F (160°C for a fan oven). Place the racks in the top and bottom thirds of the oven. Lightly spray three baking trays with oil and line them with parchment paper.
In a medium saucepan, melt the butter cubes over medium heat. As soon as it’s almost melted, pour in the water and bring it all to a rolling simmer.
The second you see those bubbles, take the pan off the heat and dump in all the flour and the salt at once. Start stirring like crazy with your wooden spoon. For a few seconds, it’s going to look like a lumpy, ugly mess. Don’t panic! Keep stirring, and it will suddenly come together into a smooth ball of dough that pulls away from the sides of the pan.
Now, let the dough cool in the pan for exactly 10 minutes. You want it to be warm, not hot, so it doesn’t cook the eggs we’re about to add.
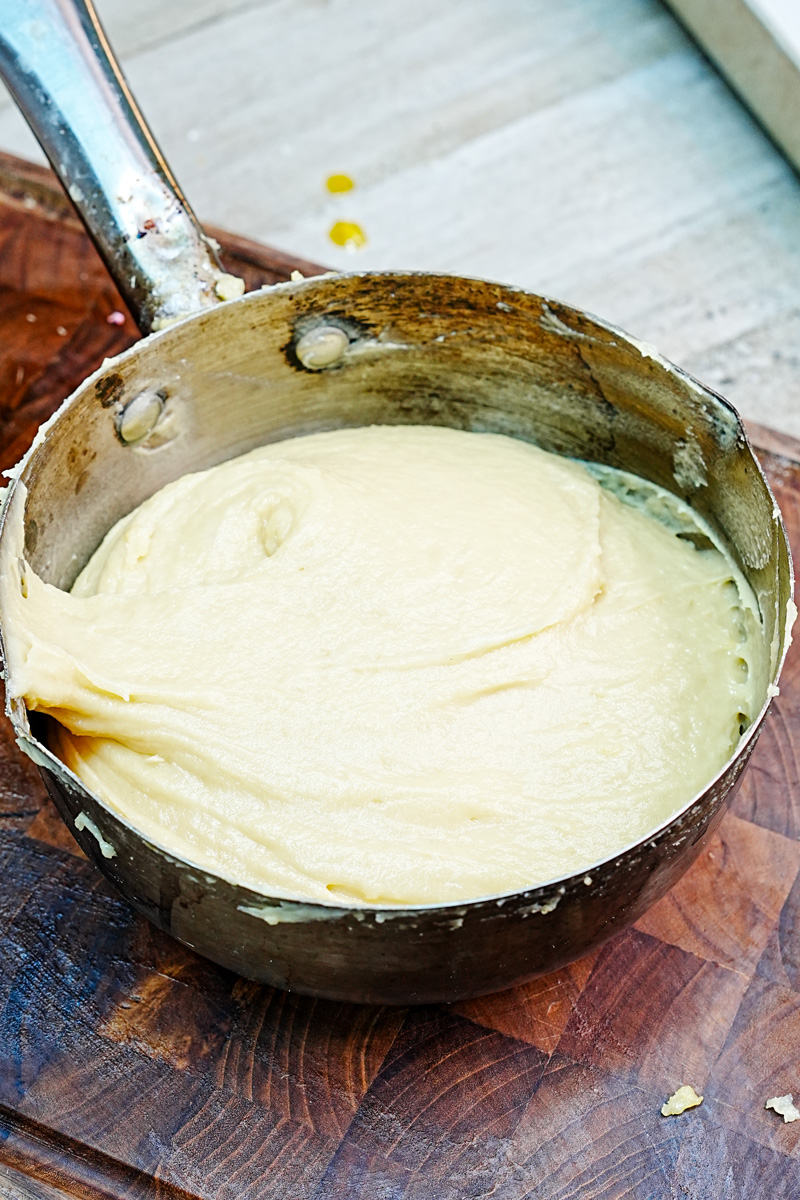
Time for the eggs. Add them one at a time, and mix really well after each one. The dough will look slimy and separated at first. Again, this is totally normal! Just keep stirring, and it will come back together into a smooth, glossy paste.
Here’s the test for the perfect consistency: lift your spoon. The dough should slowly fall off in a thick ribbon that forms a “V” shape. If it’s too runny, the eclairs will spread out flat. If it’s too stiff, they won’t puff up.
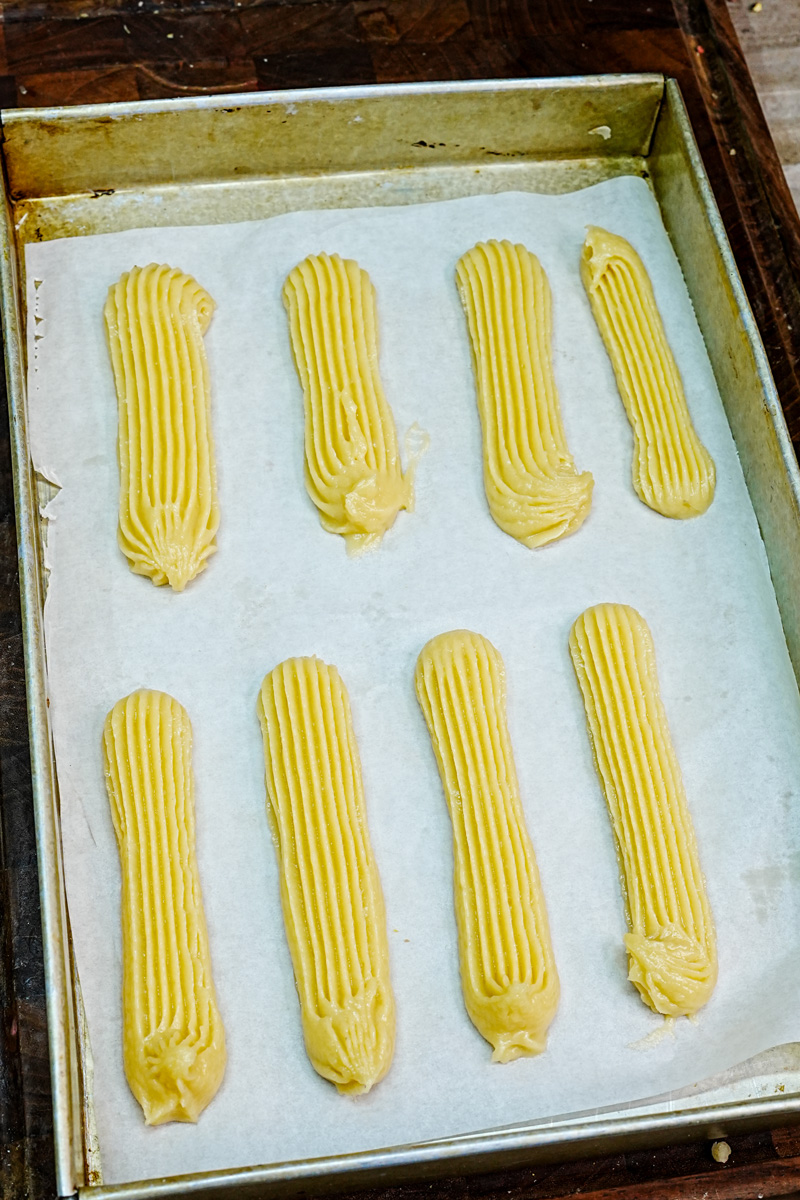
Part 2: Piping and Baking
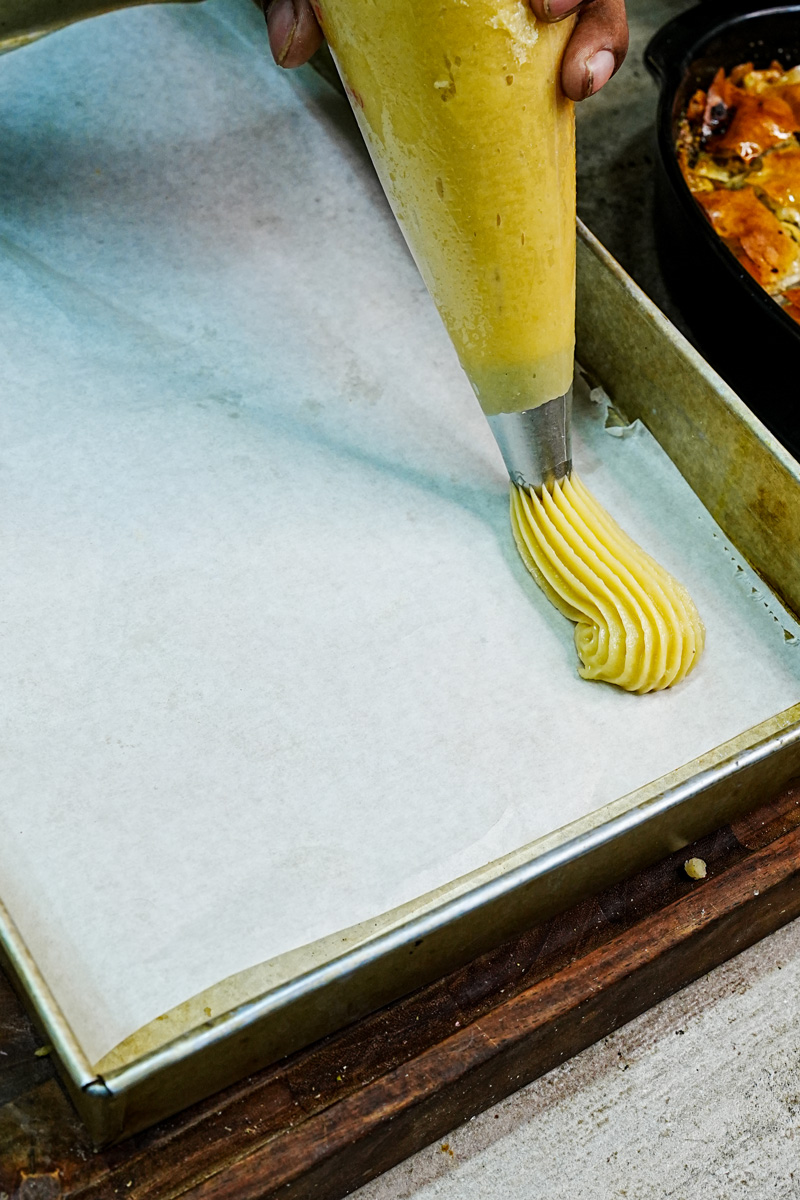
Spoon your beautiful dough into a piping bag with that 15 mm star tip. Pipe logs onto your prepared trays, about 12-14 cm (5 inches) long. The ridges from the tip help them bake evenly, so embrace them! Leave about 5 cm (2 inches) of space between each one so they have room to puff up and get crispy.
Place two trays in the oven and bake for 45 minutes.
Now for a very important tip: To get extra-crispy shells, you need to let the steam out. At the 30-minute mark, quickly open the oven door for just 2 seconds, then close it. Do it again at 35 minutes and 40 minutes. Do not open the oven any earlier, or they will collapse! You’ll know they’re done when they are a deep golden brown and feel super light. Let them cool completely on the trays.
Part 3: Filling and Glazing
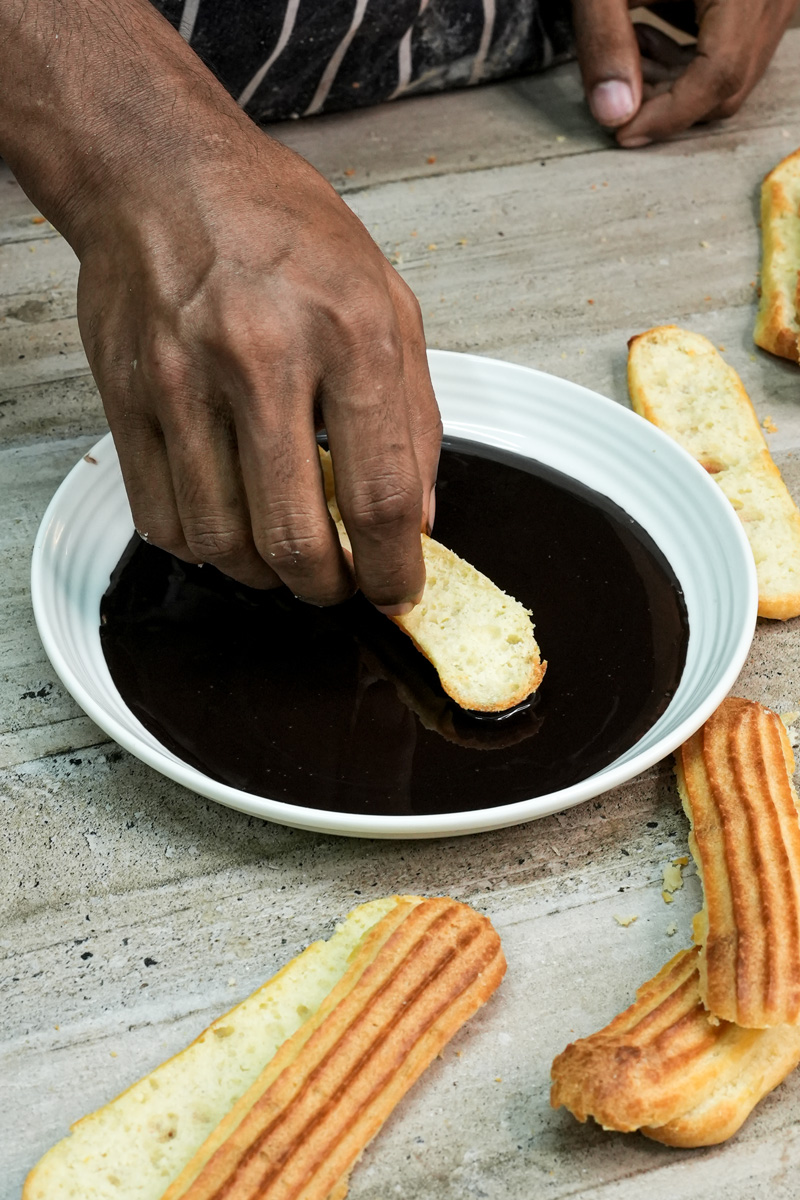
Once the shells are totally cool, use a serrated knife to carefully slice them in half lengthwise.
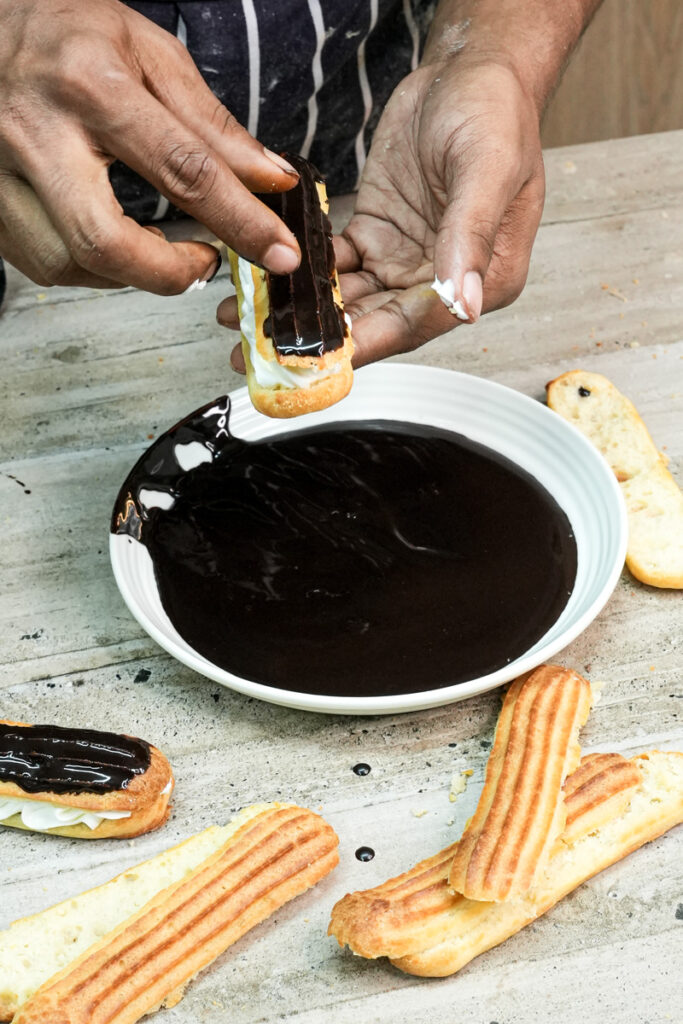
Now, for the glaze. Put your chopped chocolate in a heatproof bowl. In a small pot, gently heat the cream and corn syrup until it’s just simmering. Pour the hot cream over the chocolate. Let it sit for one minute without stirring. Then, slowly stir from the center outwards with a spatula until you have a smooth, shiny ganache. Pour it into a shallow bowl to make dipping easier.
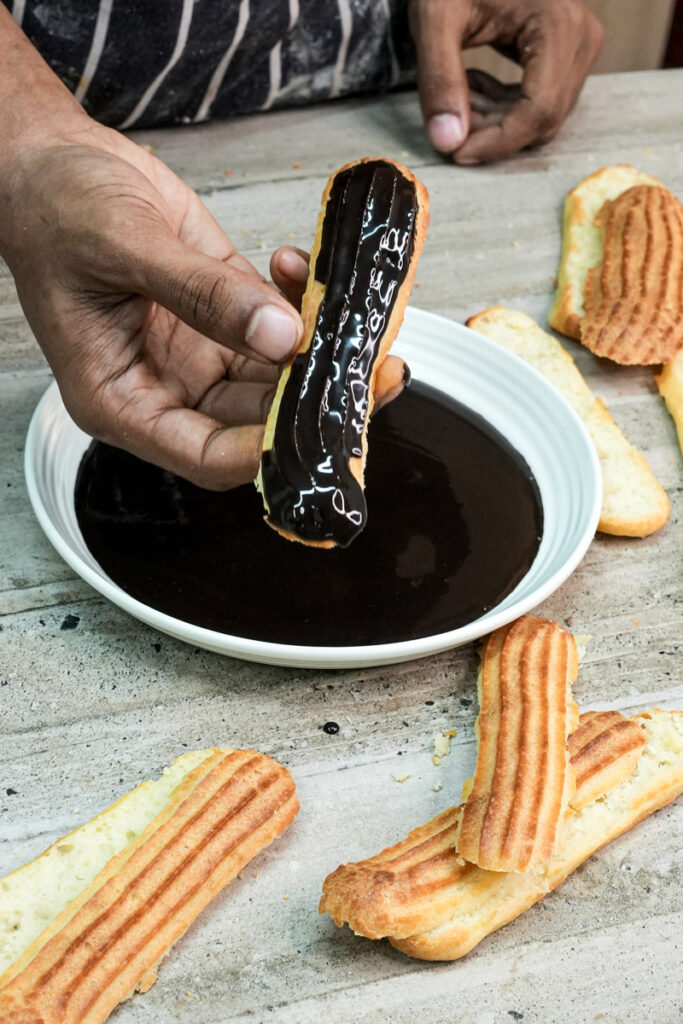
Dip the top half of each eclair into the chocolate, let the extra drip off, and place them on a tray. Pop them in the fridge for about 30 minutes for the chocolate to set.
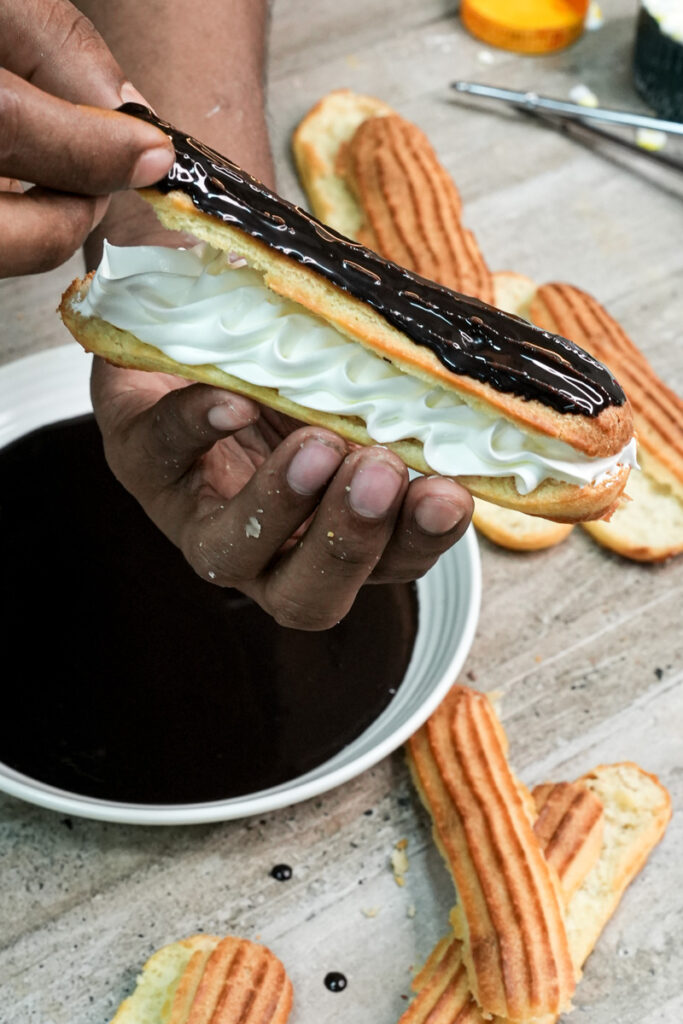
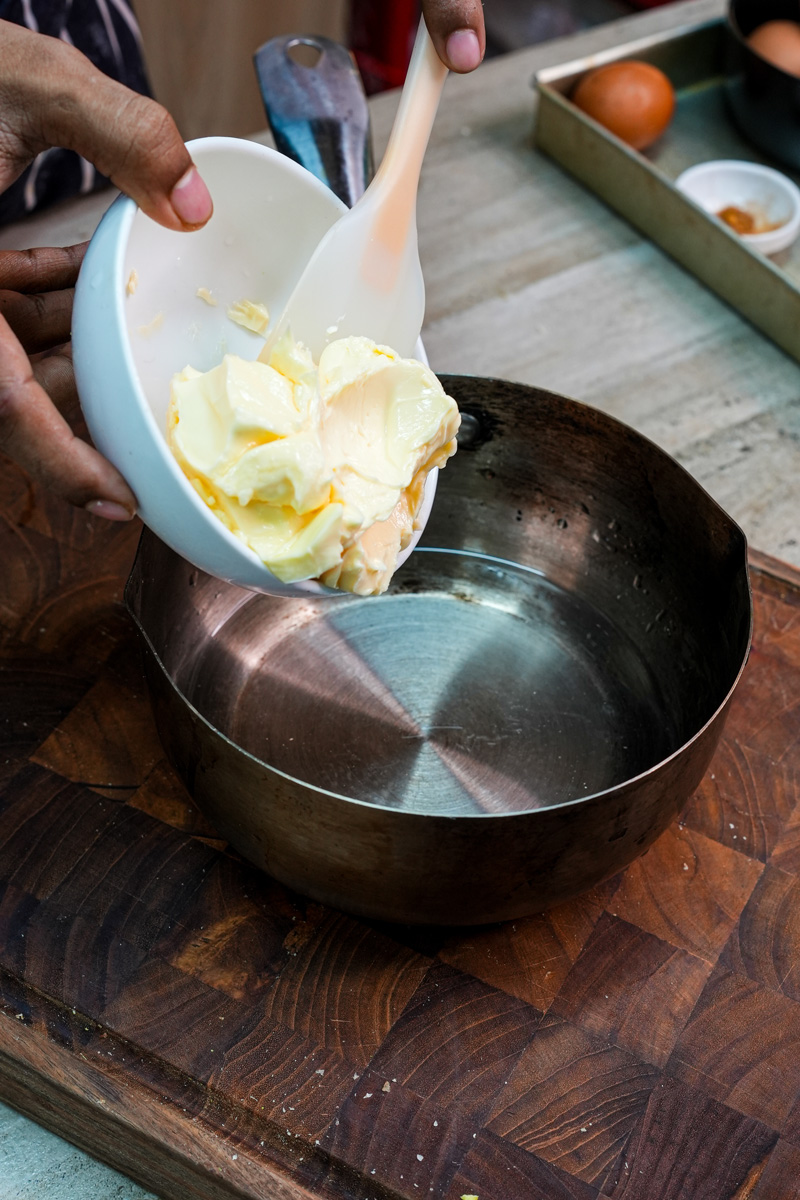
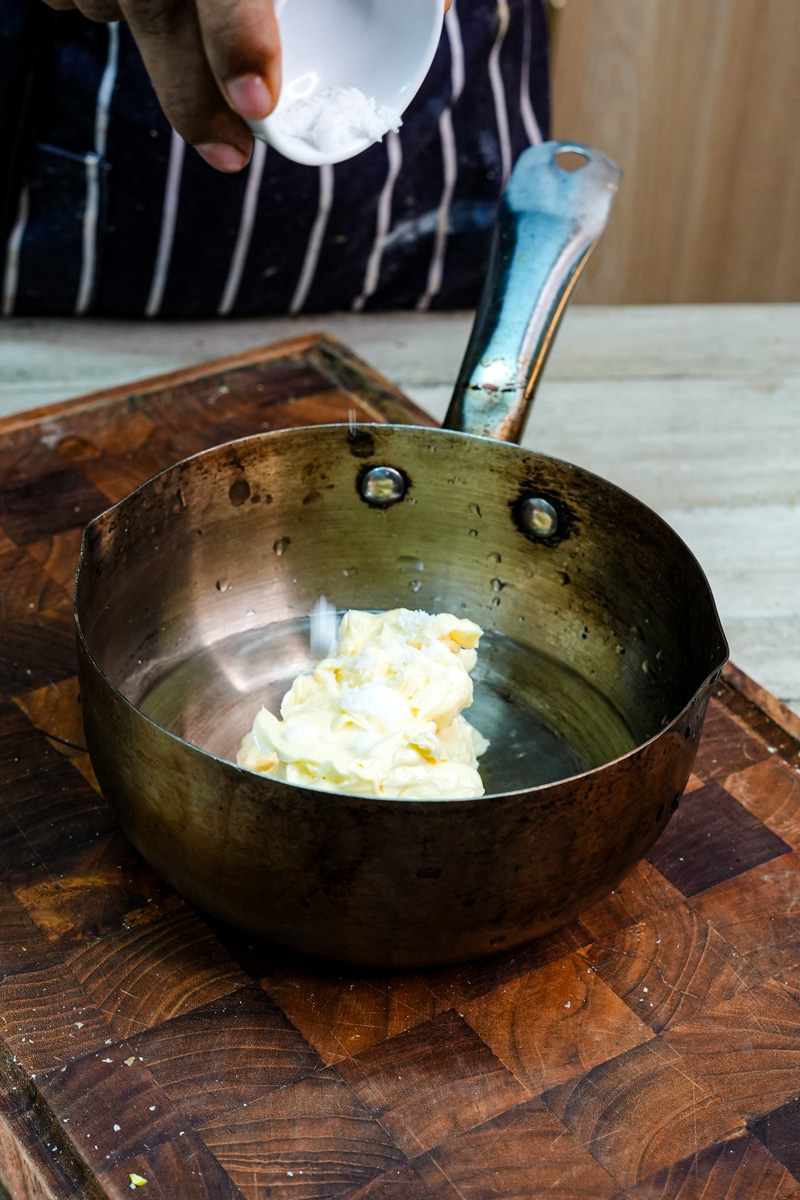
While the tops are chilling, make the cream. Put the cold cream, mascarpone, sifted powdered sugar, and vanilla in a large bowl. Whip with an electric beater on medium-high speed for about 3 minutes, or until you have stiff, beautiful peaks. Be careful not to overwhip it into butter! Transfer this amazing cream into a clean piping bag.
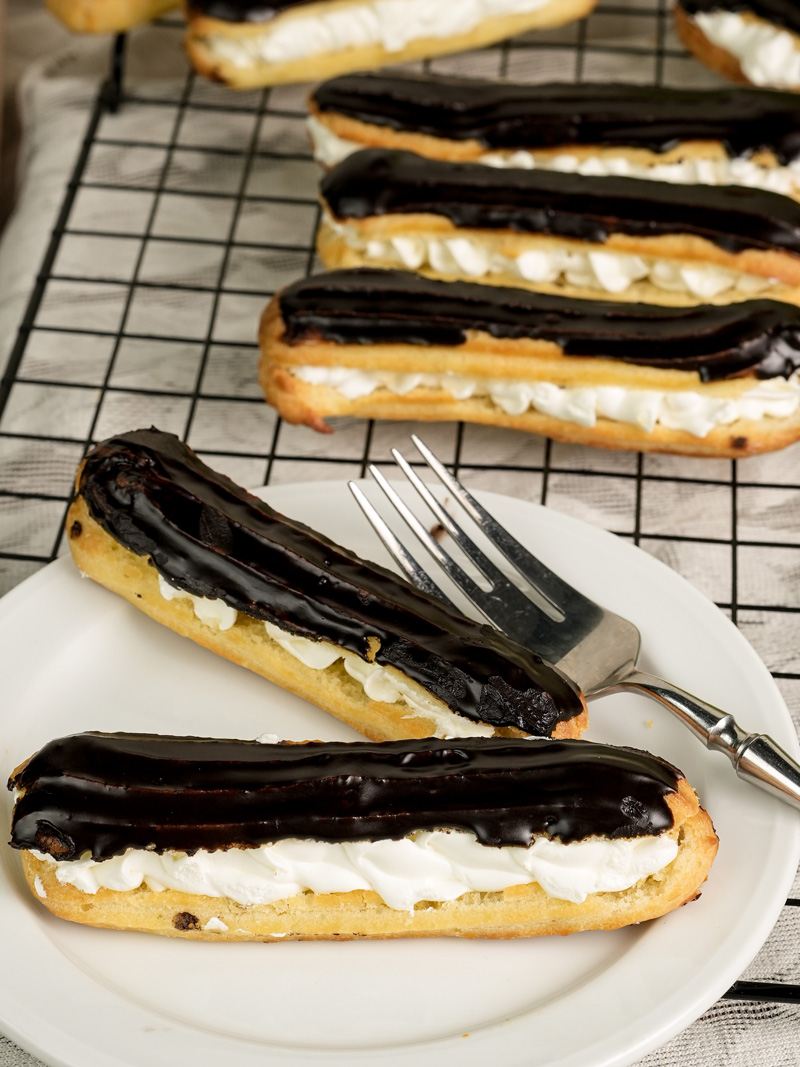
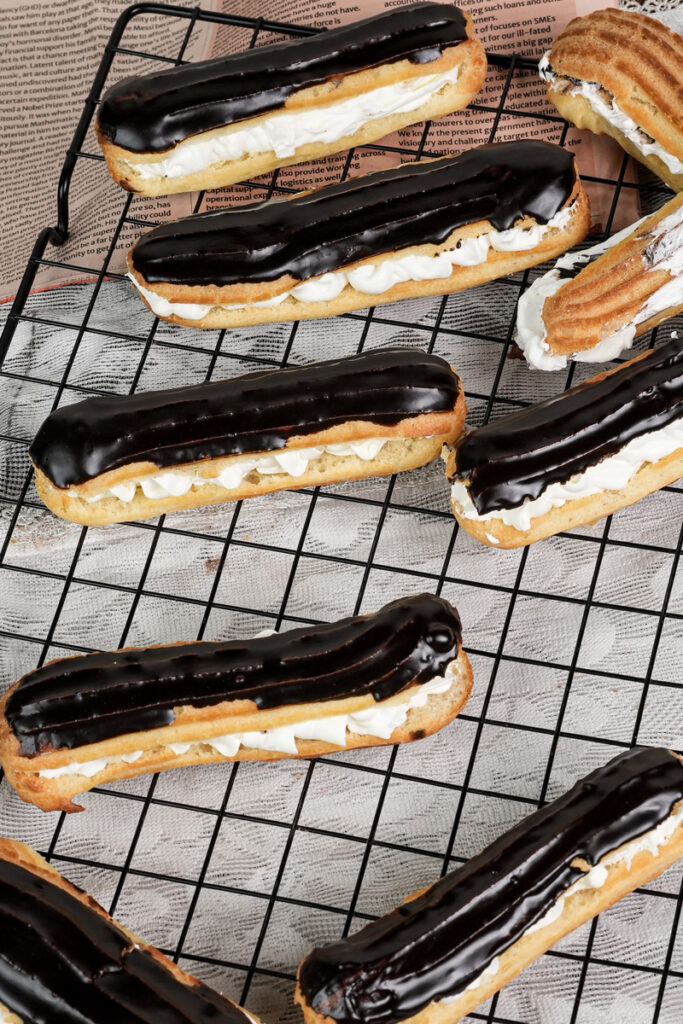
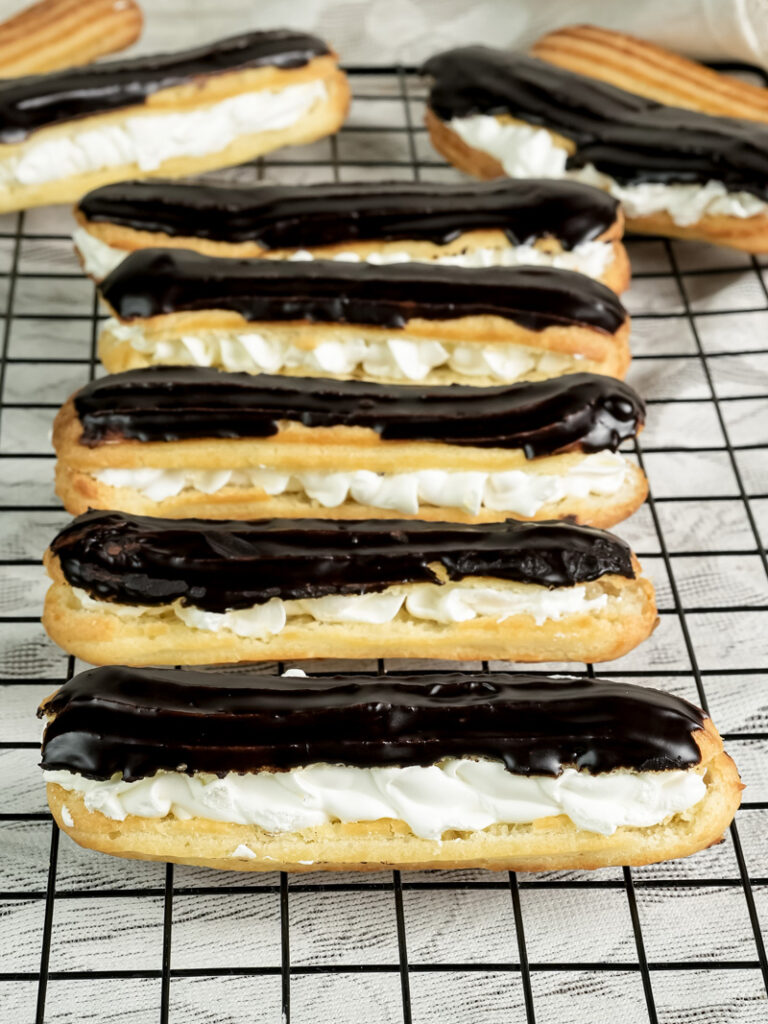
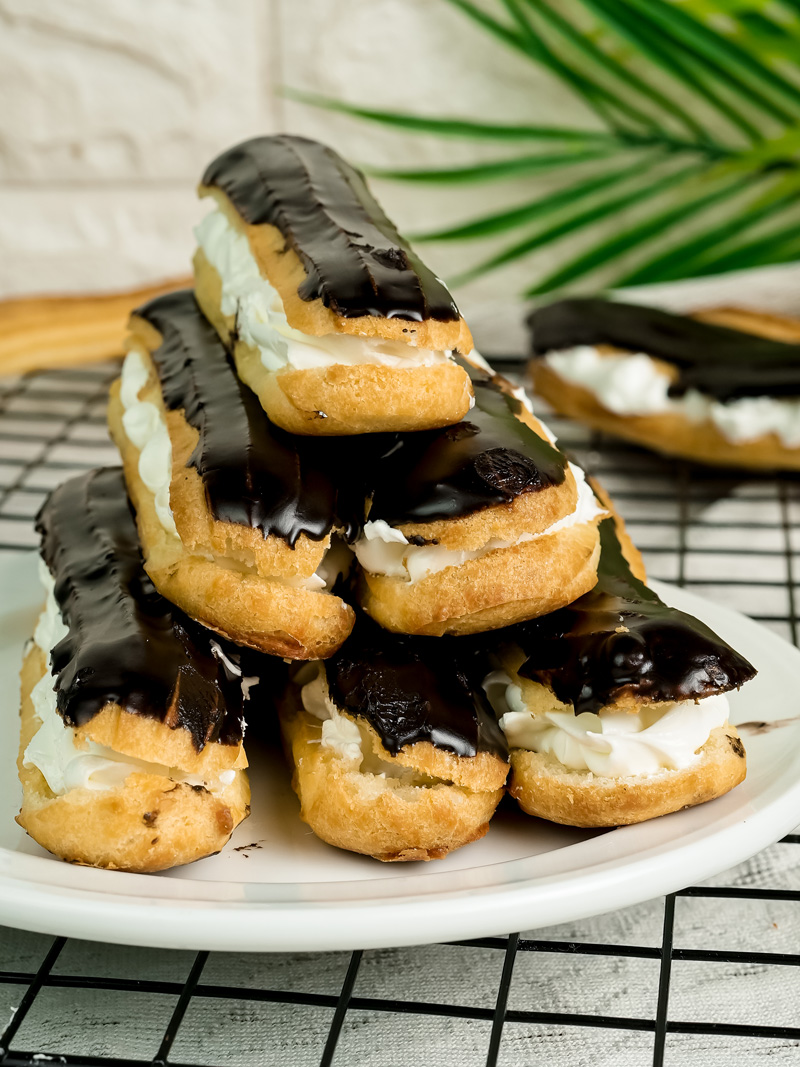
Finally, the grand finale! Grab the bottom halves of the eclairs and pipe a generous amount of cream onto them. Don’t be stingy! Place the chocolate-glazed lid on top. And that’s it. You just made a perfect, homemade eclair.
Fun Twists and Ideas
This classic version is incredible, but it’s also fun to play with!
- Coffee Eclairs: Add 2 teaspoons of instant espresso powder to the cream filling for a mocha vibe.
- Salted Caramel: Drizzle some salted caramel sauce right over the chocolate glaze before it sets.
- A Bit of Zest: Add the zest of one lemon or orange to the cream filling for a fresh, bright flavor.
- Seasonal Flavors: In the fall, try a pumpkin-spice cream. In the summer, fill them with lemon curd and cream and top with fresh berries instead of chocolate.

Storing Your Masterpieces
Eclairs are best the day you make them when the shell is still super crisp.
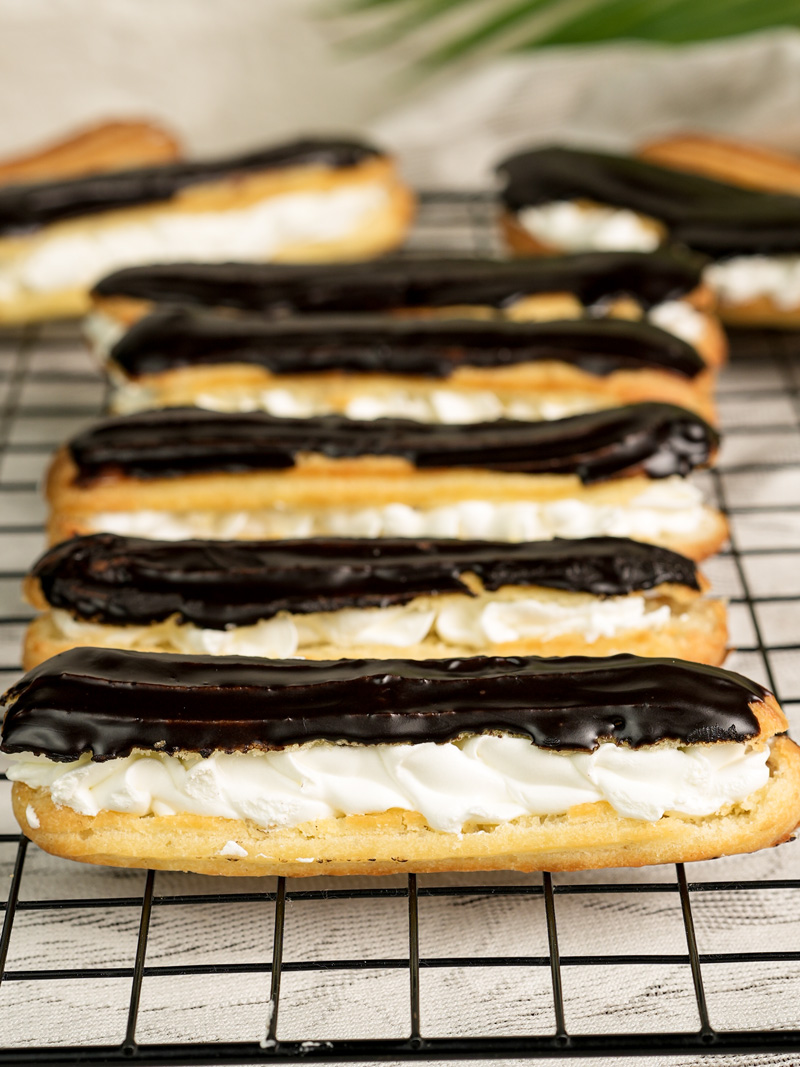
- Serving: Line them up on a long platter for a party, or just enjoy one with a good cup of coffee.
- Leftovers: If you have any left (which is unlikely!), store them in an airtight container in the fridge for up to 2 days. The shell will soften a bit, but they’ll still be delicious.
- Freezing: You can freeze the baked, unfilled shells for up to a month. Let them cool completely, then pop them in a freezer bag. When you’re ready to use them, bake the frozen shells in a 150°C (300°F) oven for 8-10 minutes to thaw and re-crisp them. Let them cool, then fill and glaze.
I hope you have a blast making—and eating—these. Happy baking!
PrintEclairs
Master the art of this classic French pastry right in your own kitchen! This recipe breaks down how to create light, airy eclair shells from scratch, fill them with a rich and stable vanilla cream, and finish them with a beautiful, glossy chocolate glaze. An impressive treat that’s worth every moment.
- Prep Time: 45 minutes
- Cook Time: 45 minutes
- Total Time: 3 hours 30 minutes (includes cooling and assembly)
- Yield: 20 eclairs 1x
- Category: Dessert
- Cuisine: French
Ingredients
For the Eclair Shells (Pâte à Choux):
- 1 cup (240ml) water
- 100g (7 tbsp) unsalted butter, cubed
- 1 cup (125g) all-purpose flour
- ¼ tsp salt
- 4 large eggs, at room temperature
For the Stabilized Cream Filling:
- 3 cups (720ml) heavy cream, very cold
- 1 cup (225g) full-fat mascarpone cheese
- 1 ⅔ cups (200g) powdered sugar, sifted
- 2 tsp vanilla bean paste (or high-quality vanilla extract)
For the Shiny Chocolate Glaze:
- 100g (3.5 oz) 70% dark chocolate, finely chopped
- ⅔ cup (160ml) heavy cream
- 3 ½ tsp corn syrup or liquid glucose
Instructions
- Prep Oven & Dough Base: Preheat oven to 180°C (350°F). Line 2-3 baking sheets with parchment. In a medium saucepan over medium heat, bring water and butter to a rolling simmer. Remove from heat, add all the flour and salt at once, and stir vigorously with a wooden spoon until a smooth ball of dough forms that pulls away from the pan sides. Let it cool in the pan for 10 minutes.
- Finish the Dough: Transfer the warm dough to a bowl. Add the eggs one at a time, beating well after each addition until fully incorporated. The dough will look slimy at first, but will come together. The final dough should be thick, glossy, and fall from a spoon in a slow “V” shape.
- Pipe & Bake: Transfer dough to a piping bag fitted with a 15mm (⅝ inch) star tip. Pipe 12cm (5-inch) logs onto the prepared sheets, leaving 5cm (2 inches) of space between each. Bake for 45 minutes, quickly opening the oven door for 2 seconds at the 30, 35, and 40-minute marks to release steam. Do not open the oven before the 30-minute mark.
- Make the Glaze: While shells cool completely, place chopped chocolate in a heatproof bowl. Heat the cream and corn syrup until just simmering, then pour over the chocolate. Let stand for 1 minute, then stir from the center out until smooth and glossy.
- Whip the Filling: In a large bowl, use an electric beater to whip the cold heavy cream, mascarpone, powdered sugar, and vanilla on medium-high speed until stiff peaks form (about 3 minutes).
- Assemble the Eclairs: Once the shells are cool, slice them in half horizontally. Dip the top half of each shell into the chocolate glaze and set aside (pop in the fridge for 30 mins to set faster). Pipe the cream filling generously onto the bottom halves. Place the chocolate-glazed tops on the cream, and serve.
Notes
- Tips & Tricks: For the best results, make sure your eggs are at room temperature and your cream is very cold. The star piping tip helps the eclairs rise evenly and prevents cracking. To re-crisp shells that have softened, bake them at 150°C (300°F) for 5-8 minutes.
- Serving Suggestions: Eclairs are best enjoyed on the day they are made to appreciate the contrast between the crisp shell and soft cream. They pair perfectly with a fresh cup of coffee or espresso.
- Storage: Store leftover eclairs in an airtight container in the refrigerator for up to 2 days (the shells will soften over time). Unfilled, baked shells can be frozen in an airtight bag for up to one month. Thaw and re-crisp in the oven before filling.