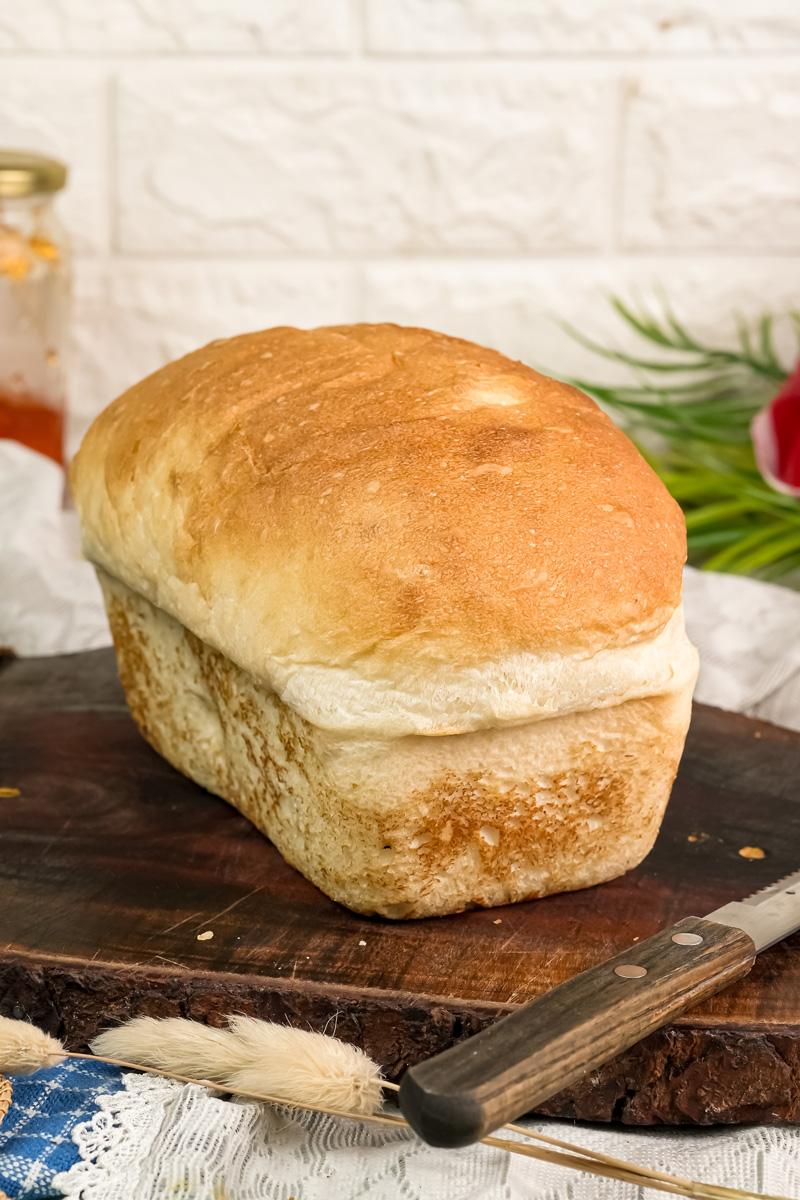
Hey friends! Let’s bake some bread.
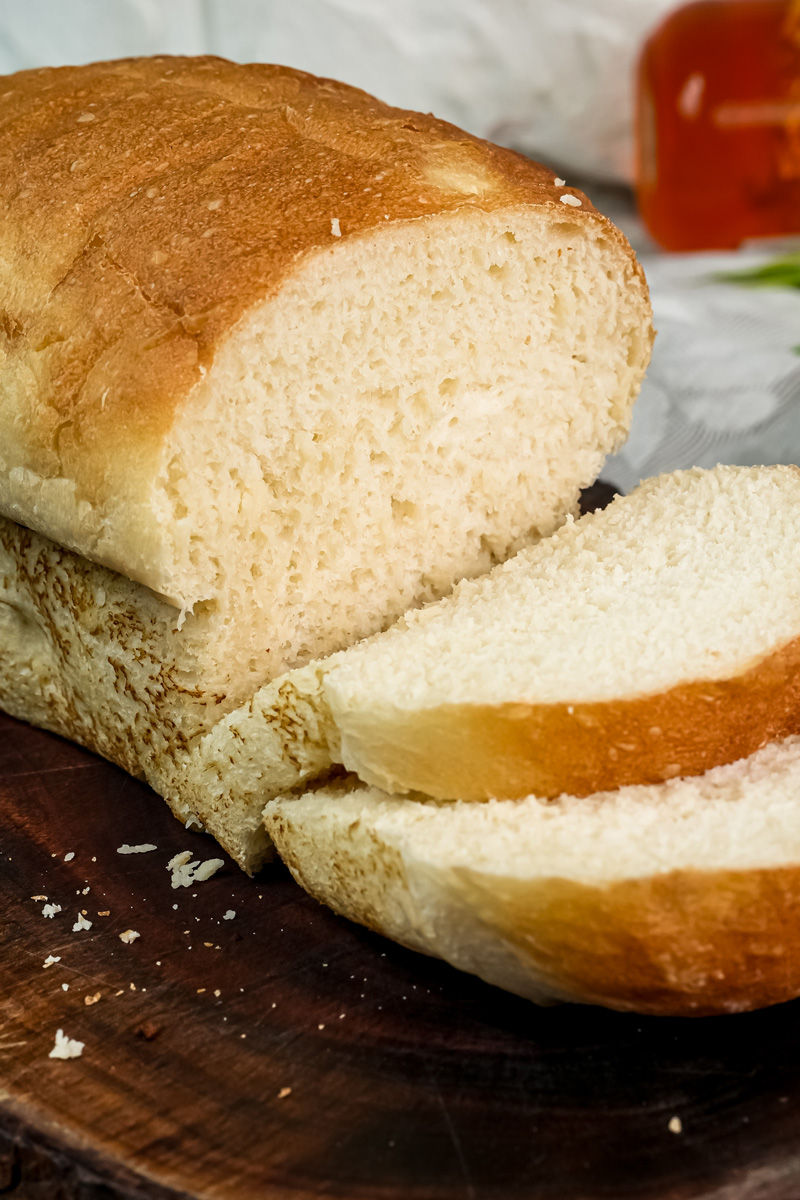
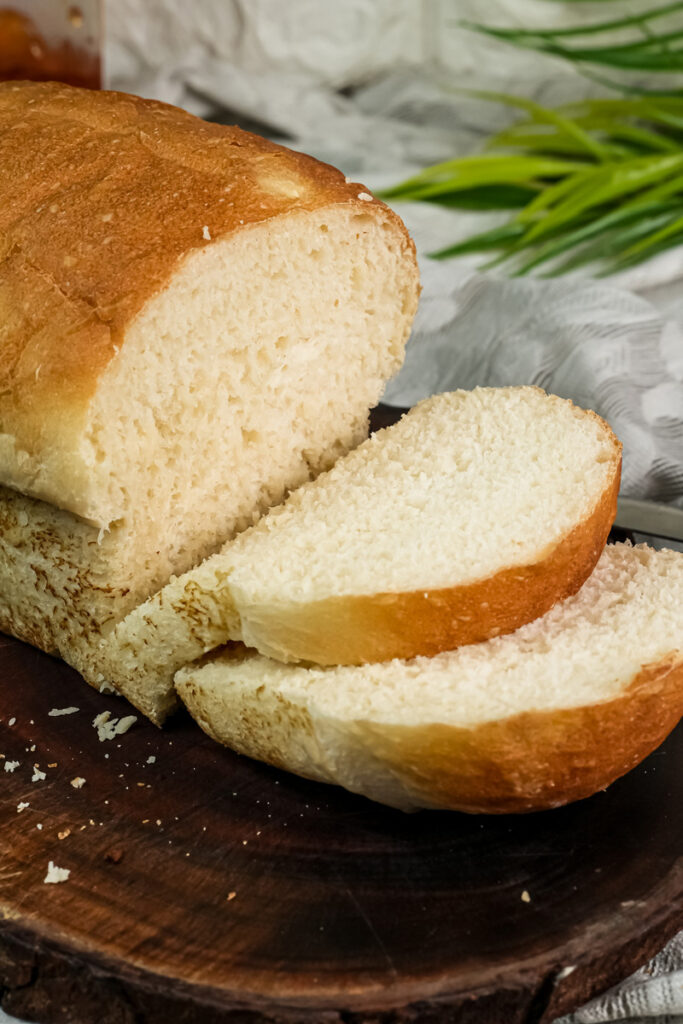
I’m so excited to share this recipe with you. Honestly, it’s one of the most satisfying and easiest bread recipes I’ve ever made. If you love a classic English muffin, you know the magic I’m talking about. All those little nooks and crannies, perfectly designed to hold a giant pool of melted butter. My mouth is watering just thinking about it.
Well, this recipe gives you that exact same experience. But it comes in a simple, sliceable loaf. No kidding.
Here’s a fun fact for you. You’d think “English Muffins” come from, well, England, right? Nope. They were actually invented in New York City way back in the late 1800s by an English immigrant.1 Go figure! This loaf is a modern take on that classic, and it’s perfect for those of us who want amazing bread without all the fuss.
Why is this my go-to recipe? Because it’s a “no-knead” bread. You don’t have to work the dough for ages. It’s wet, it’s sticky, and it uses time to build that amazing flavor and texture.
The best part? It proves that great baking doesn’t have to be hard work. Let’s get started.
Your Game Plan
Before we jump in, let’s get a quick look at the road ahead.
- Total Time: About 3 hours and 15 minutes. Don’t let that number scare you! Most of that is just waiting for the dough to rise. Your actual hands-on time is super short.
- Active Prep: 15 minutes.
- Bake Time: Around 28 minutes.
- Rising Time: 2 hours 30 minutes. (This is your time to relax, grab a coffee, and let the yeast do its thing.)
This recipe makes two 8 ½ x 4 ½-inch loaves. That’s about 20-24 slices total. Perfect for eating one now and freezing the other for later!
Need to make more or less? Here’s a quick guide:
| Loaves | Warm Water | Yeast | Sugar | Salt | All-Purpose Flour |
| 1 | 1 ½ cups | 1 ½ tsp | 1 ½ tsp | 1 ½ tsp | approx. 2 ¾ cups |
| 2 | 3 cups | 1 tbsp | 1 tbsp | 1 tbsp | approx. 5 ¾ cups |
| 4 | 6 cups | 2 tbsp | 2 tbsp | 2 tbsp | approx. 11 ½ cups |
Difficulty Level: I mean this sincerely. Beginner. If bread has ever felt intimidating, this is your starting point. The dough is so forgiving. No complicated kneading. No perfect shaping.
Equipment You’ll Need:
You probably have all this already.
- A big mixing bowl
- A spoon or a tough spatula
- Two 8 ½ x 4 ½-inch loaf pans (9×5-inch pans work too, the loaves will just be a bit shorter)
- A kitchen towel
- A wire rack for cooling
The Simple Ingredients
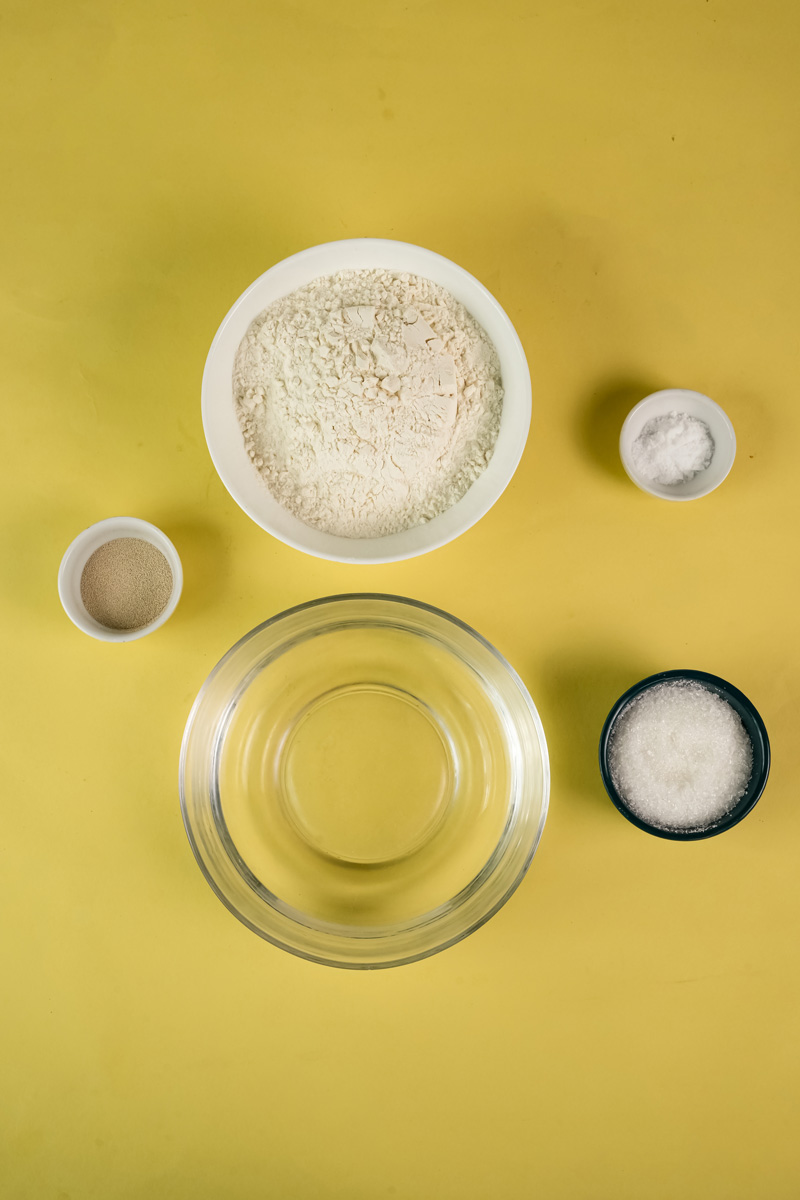
Great bread comes from simple stuff. For this recipe, you only need five things. That’s it!
Let’s meet our cast of characters: warm water, yeast, sugar, salt, and all-purpose flour. The real magic is in how they work together.
The water needs to be warm, like a baby’s bath. Around 100-110°F is the sweet spot. Too cold and the yeast stays asleep; too hot and you’ll kill it. Think of the sugar as breakfast for the yeast. It’s what gets it bubbling and happy. The salt isn’t just for taste; it also helps control the yeast and makes the dough strong. And for the flour? Regular all-purpose flour is perfect. It gives us a loaf that’s soft and tender but still has a nice, satisfying chew.
Let’s Bake: Step-by-Step
Alright, time to get our hands a little messy. I’ll walk you through everything.
Step 1: Wake Up the Yeast
Pour 3 cups of warm water into your big bowl. Sprinkle the tablespoon of yeast and the tablespoon of sugar on top. Give it a little swirl, then leave it alone for 2-3 minutes.
You’re looking for the yeast to “bloom.” It will get all foamy and bubbly, and it’ll smell a little sweet and earthy. That’s how you know it’s alive and ready to go! If nothing happens after 5 minutes, your yeast might be old. Time to start over with a fresh packet.
Step 2: Mix the Sticky Dough
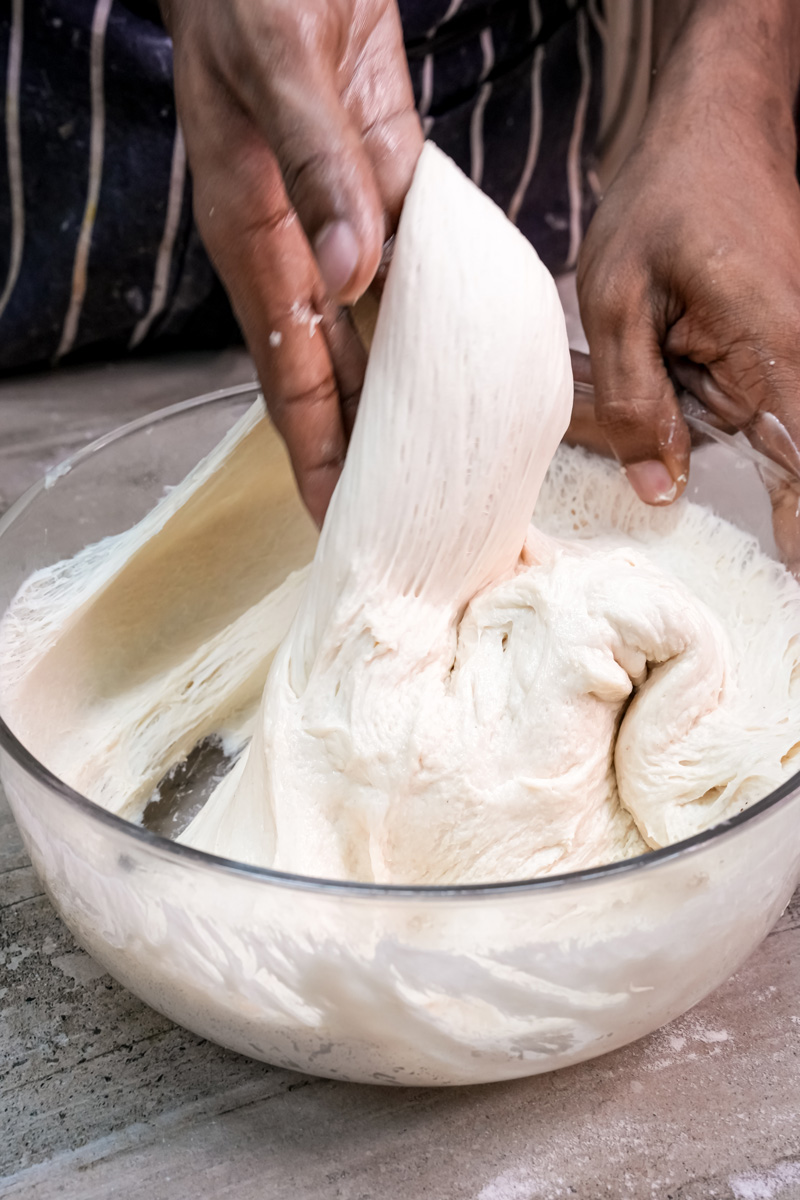
Once your yeast is bubbling, add the tablespoon of salt and about two cups of flour. Mix with a spoon until it’s a soupy mess. Then, add the rest of the flour and keep mixing. The dough will pull away from the sides and form a rough, sticky, shaggy ball.
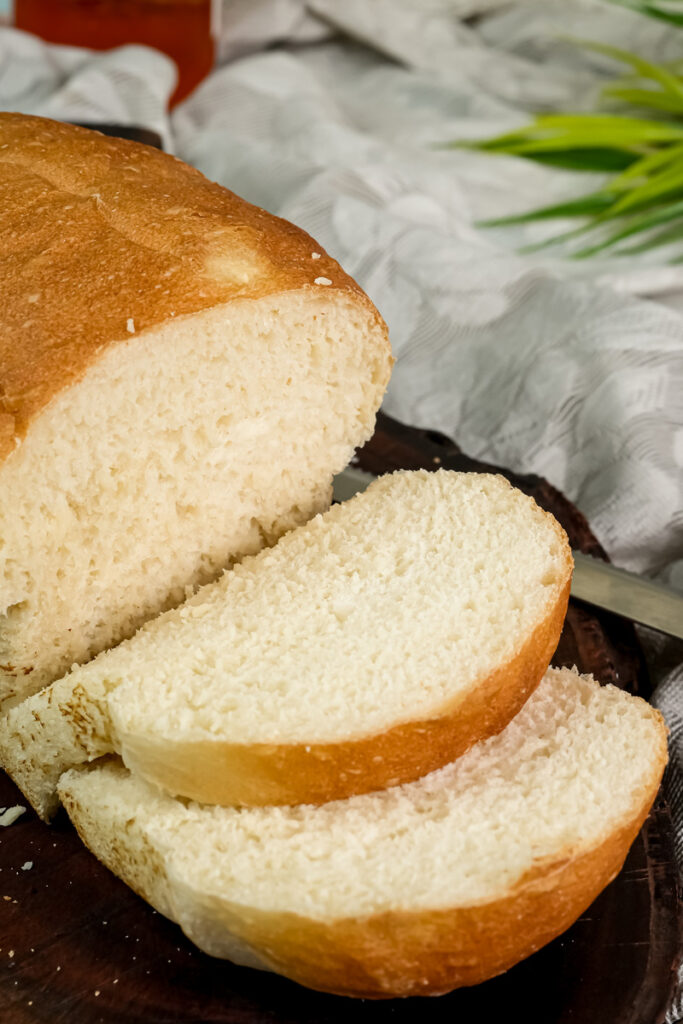
My personal tip? Ditch the spoon for the last 30 seconds. Grease your hands with a little oil and get in there. This helps get all the dry flour mixed in. The dough will be very sticky. I promise this is right! That high moisture is the secret to getting those amazing nooks and crannies. Whatever you do, do not add more flour.
Step 3: The First Rise
Cover the bowl with a kitchen towel and put it somewhere warm and draft-free. On top of the fridge is a classic spot. Or in an oven that is turned OFF.
Now… you wait. Let it rise for about 1.5 to 2 hours. You want it to double in size. It will look like a giant, puffy marshmallow cloud when it’s ready.
Step 4: Shape the Loaves (The Easy Way)
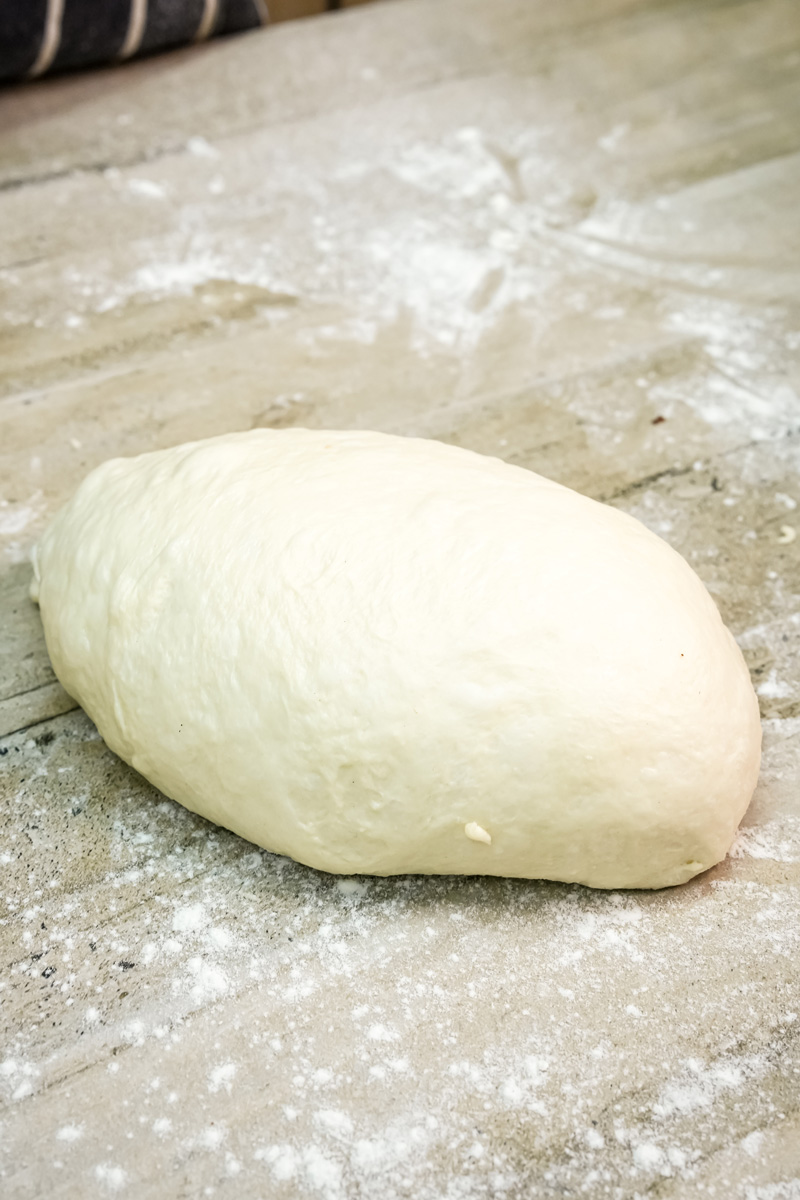
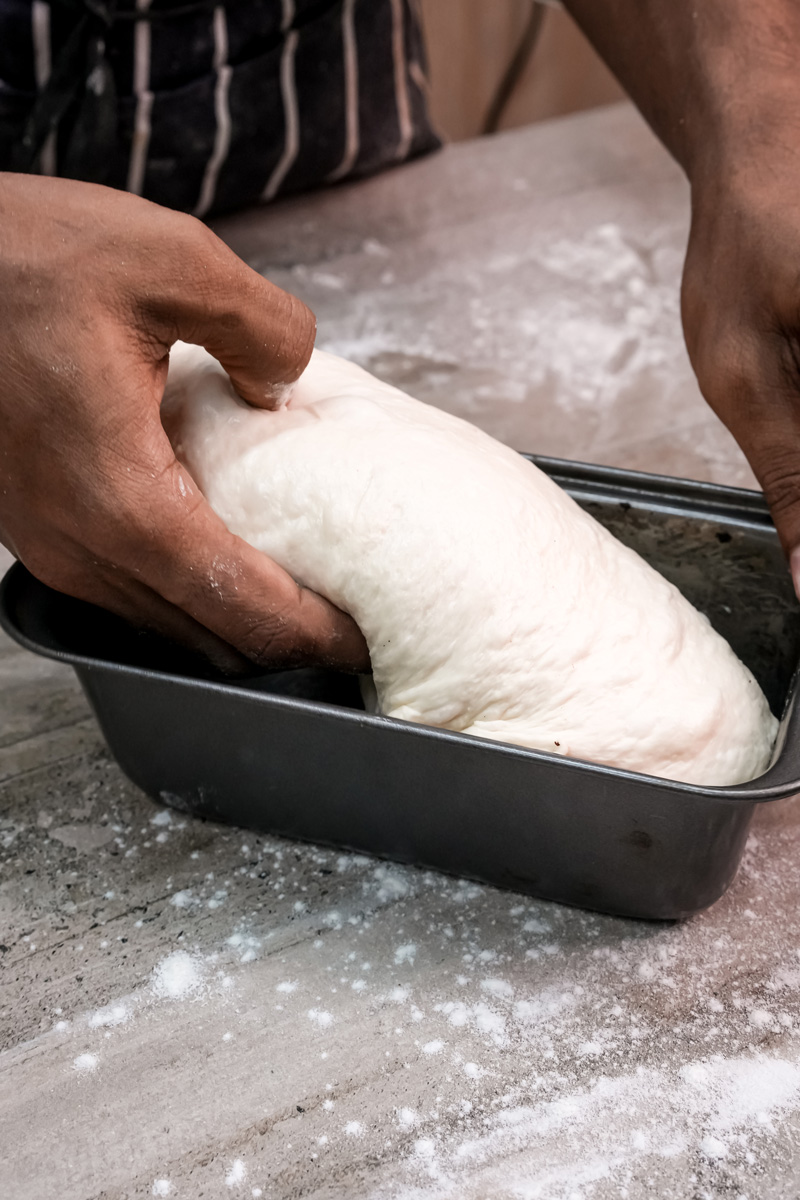
Grease your two loaf pans really well. Then, grease your hands again. This is your secret weapon against the sticky dough. Gently punch the dough down to release some air.
Scoop out half of the dough. Don’t worry about making it perfect. Just use your hands to roughly form it into a log shape and plop it into one of the pans. Do the same with the other half. The beauty of this bread is its rustic look. So embrace the lumps and bumps!
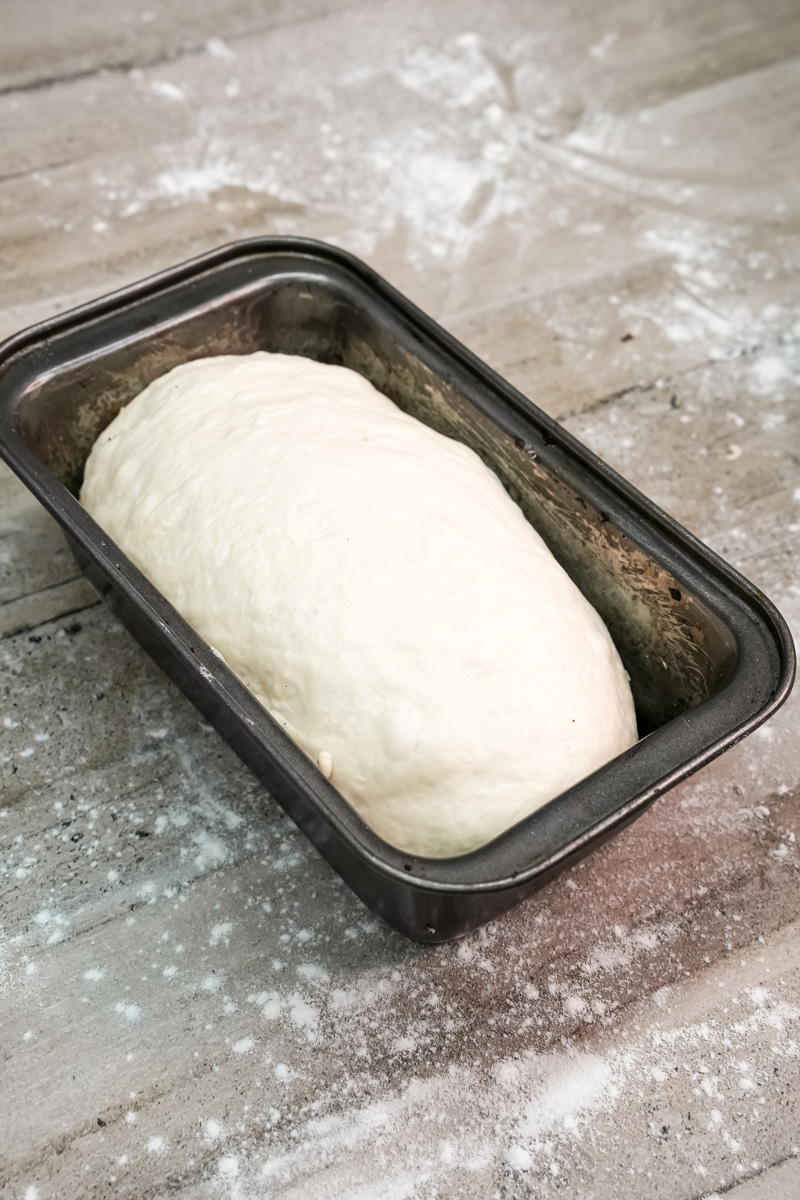
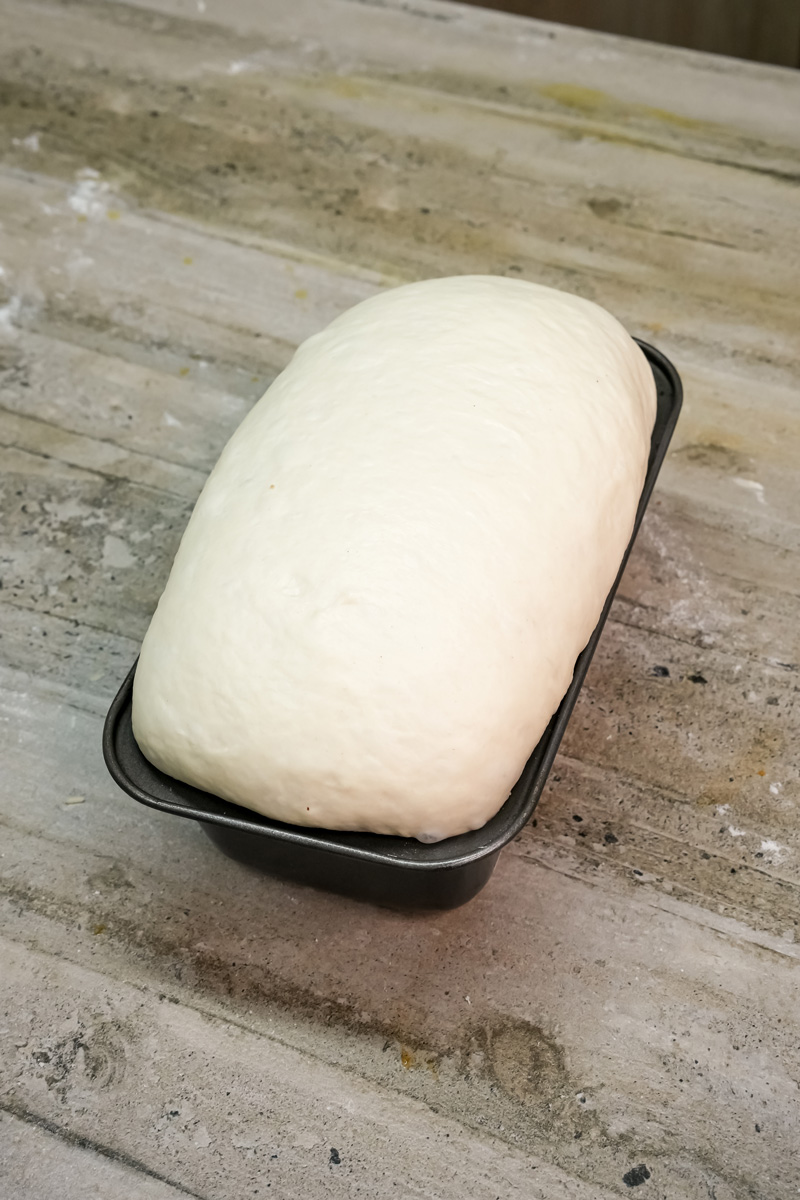
Step 5: The Second Rise
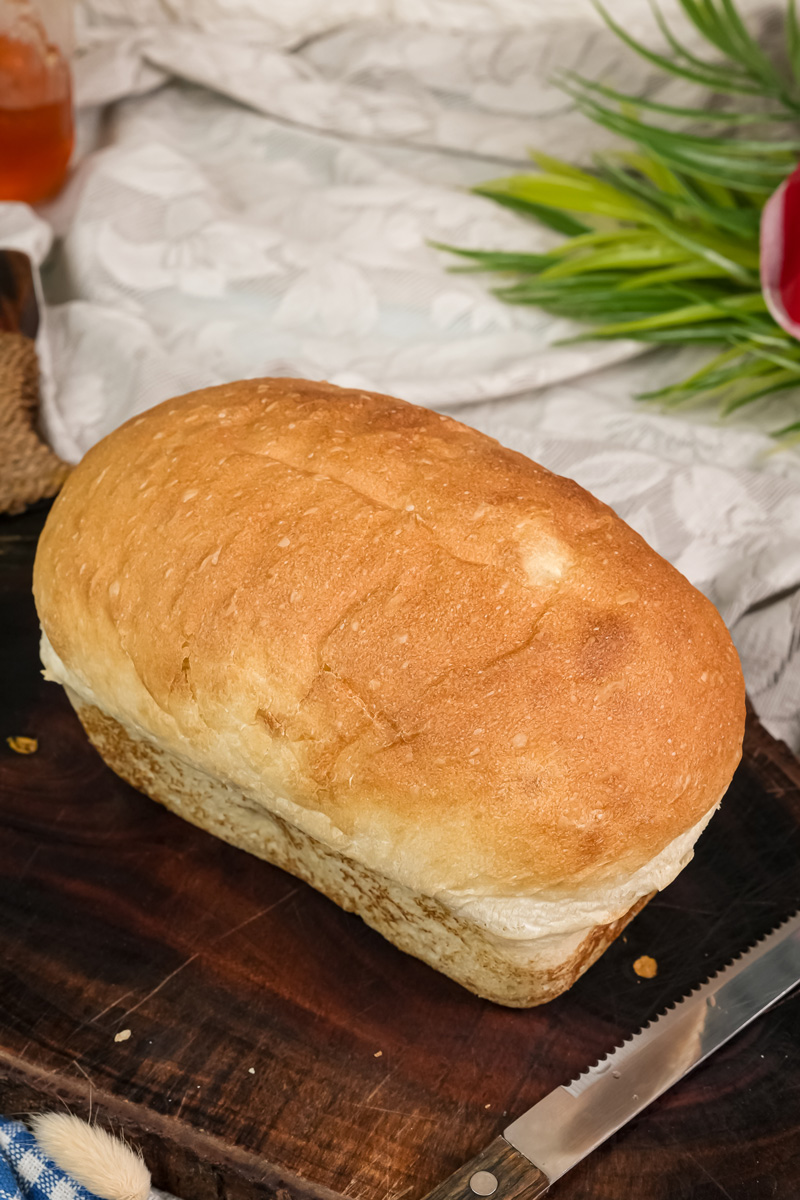
Cover the pans and let them sit for another 30-60 minutes. The dough should rise until it’s peeking about an inch over the rim of the pan. This final rise gives the bread that nice domed top. Towards the end of this rise, go ahead and preheat your oven to 350°F.
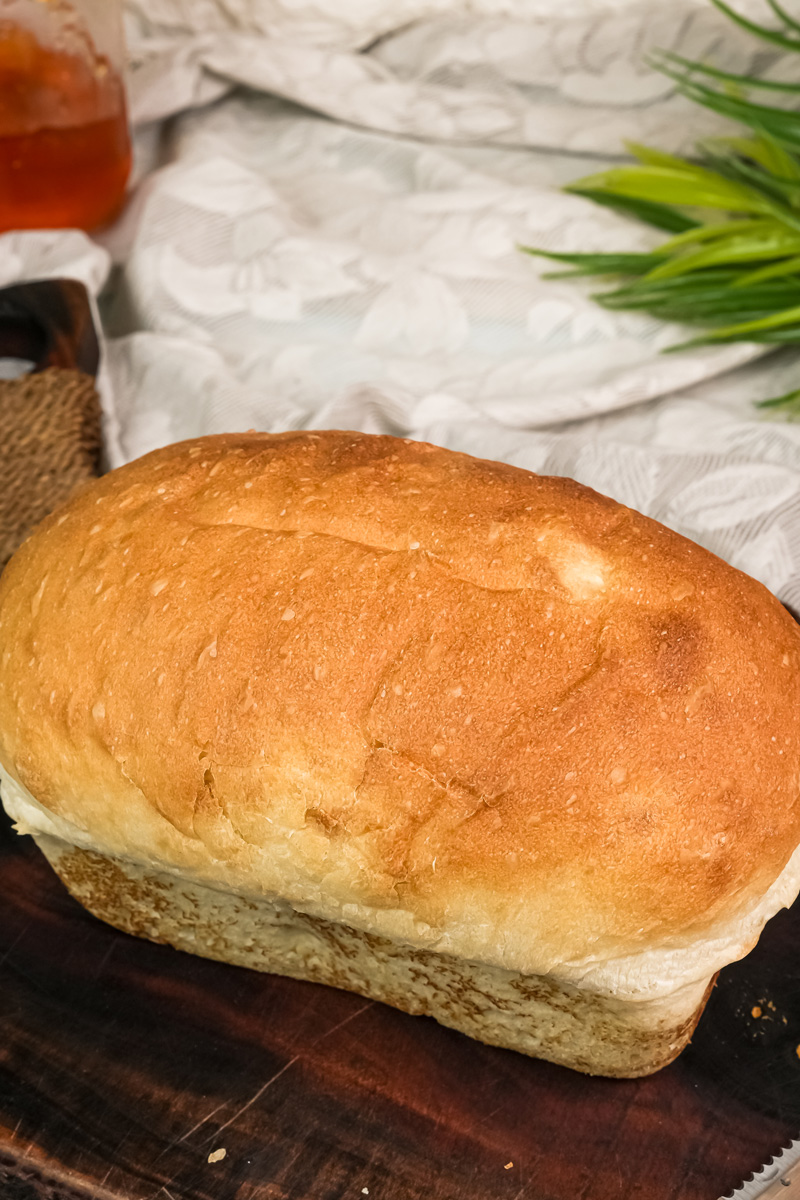
Step 6: Bake!
Place the loaves in the hot oven. Bake for 25 to 30 minutes. The tops will turn a beautiful golden brown, and your whole house will smell incredible.
To check if it’s done, carefully take a loaf out of the pan and give the bottom a firm thump. It should sound hollow. Immediately turn the loaves out onto a wire rack to cool completely. I know it’s tempting, but this part is so important. The bread is still setting on the inside. I once cut into a loaf too early and it was a gummy disaster inside. Don’t be like me. Let it cool!
Make It Your Own
Once you get this basic recipe down, you can start having fun with it. Think of the loaf as your canvas.
- Cheesy & Spicy: Fold in a cup of sharp cheddar and a diced jalapeño.
- Herby Goodness: Add a tablespoon of dried rosemary and a teaspoon of garlic powder. Perfect for dipping in soup!
- Sweet Treat: Mix in a tablespoon of cinnamon and a cup of raisins.
- A Little Healthier: Swap half of the all-purpose flour with white whole wheat flour.
How to Serve and Store Your Bread
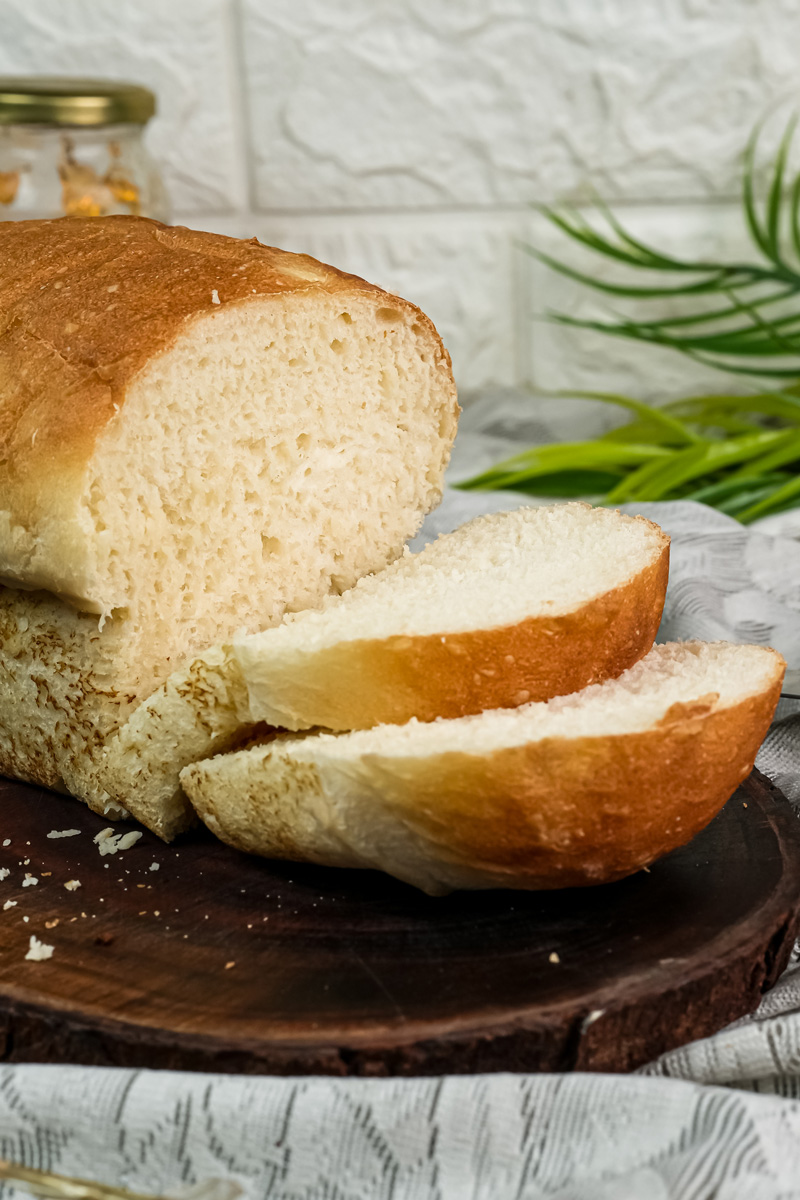
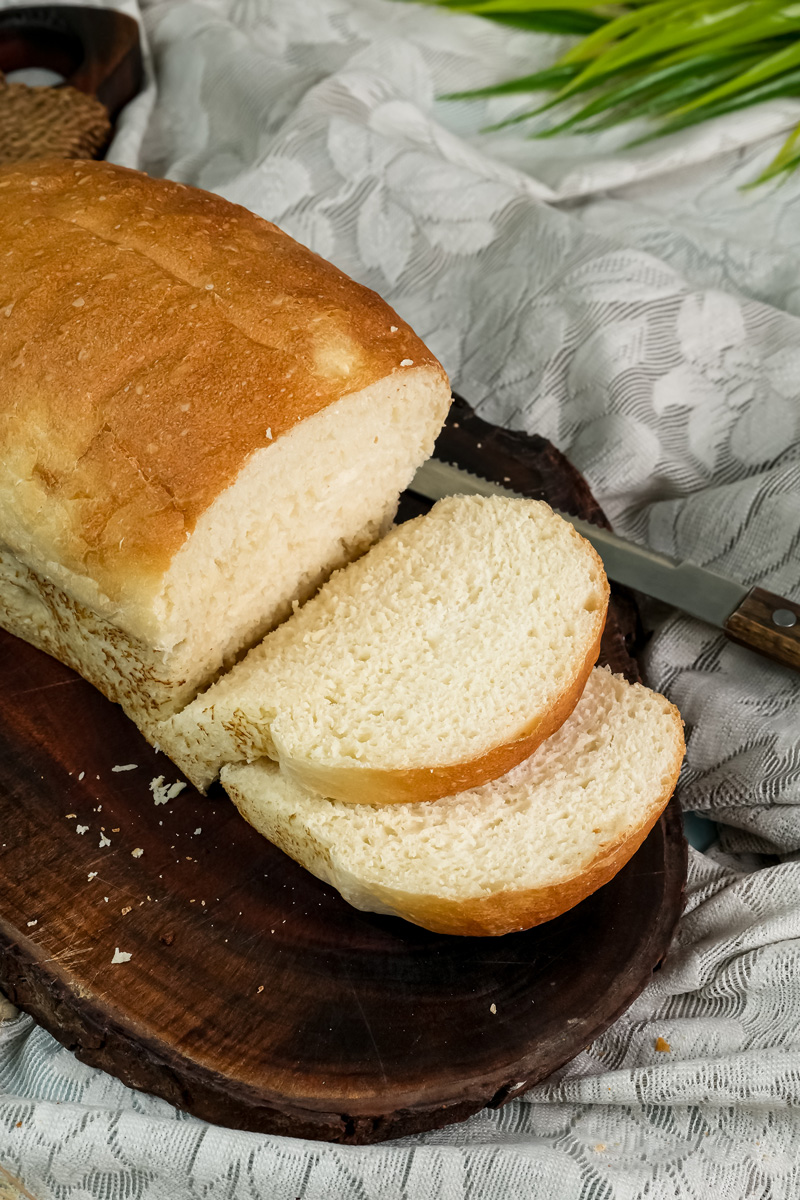
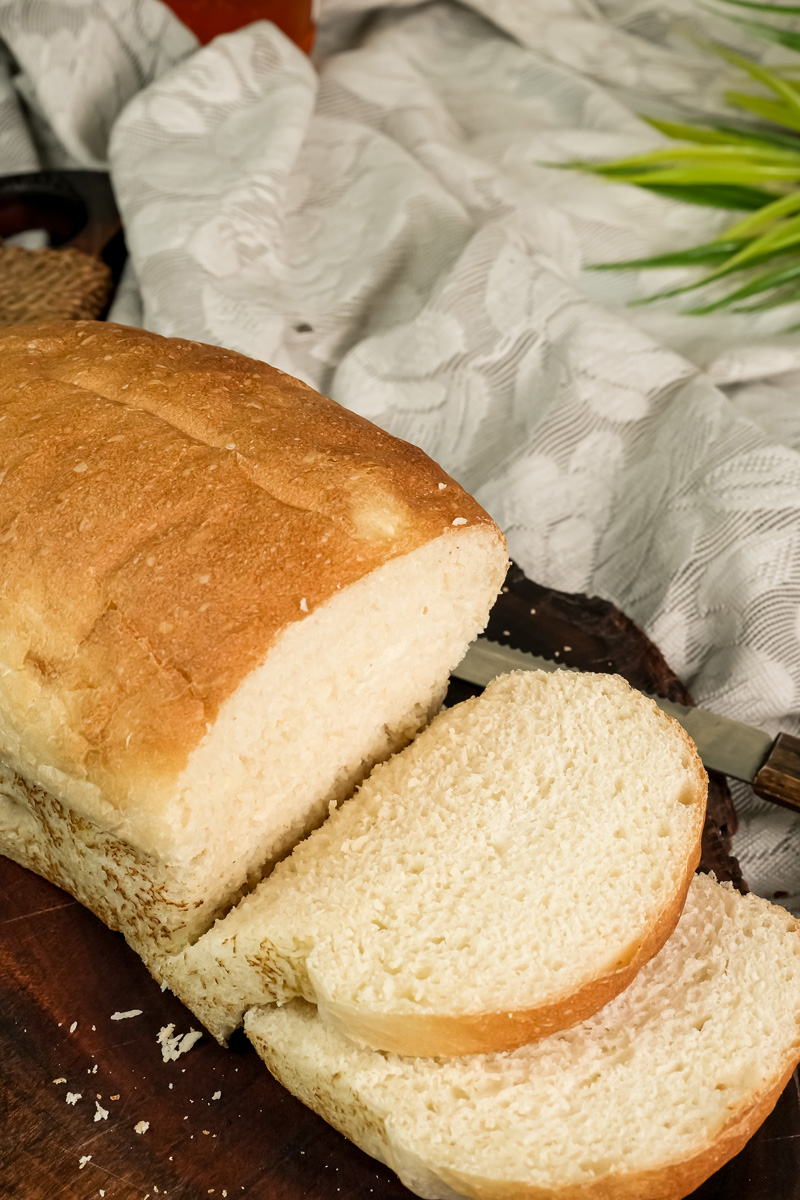
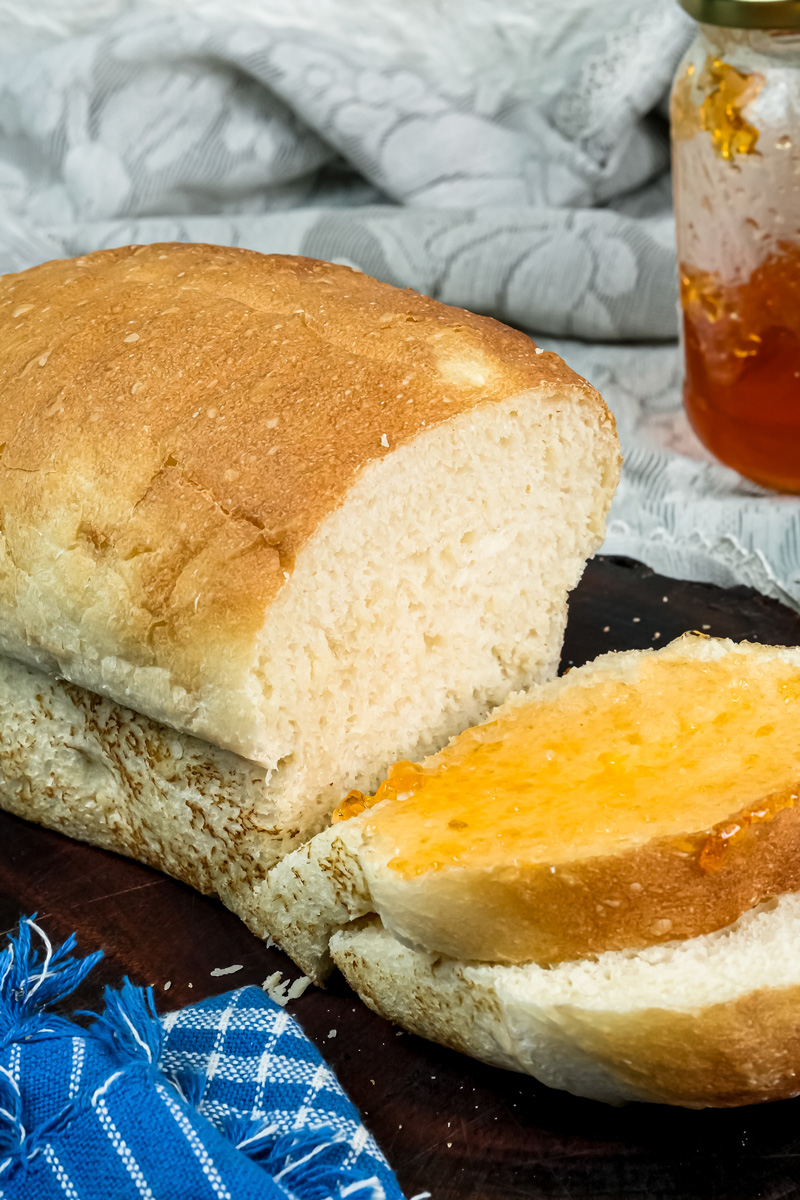
The absolute best way to eat this bread? Sliced thick. Toasted ’til the edges are crisp. Slathered with good butter and maybe some jam. The way the butter melts into every single pocket is just heavenly.
But it’s also amazing for avocado toast, sandwiches, or even a killer French toast.
Storing Your Loaf:
Keep the cooled bread in an airtight bag at room temperature. It’ll stay fresh for 3-4 days.
Freezing for Later:
This bread freezes like a dream. My advice? Slice the whole loaf before you freeze it. That way, you can just grab a slice or two and pop them right into the toaster whenever you want. It will keep in a freezer-safe bag for up to 3 months.
There you have it! Everything you need to make the most amazing English Muffin Bread. I hope you love it as much as I do. Happy baking!
PrintEnglish Muffin Bread
Get all the craggy, butter-soaking goodness of an English muffin, but in an incredibly simple, sliceable loaf. This no-knead recipe delivers that classic “nooks and crannies” texture with minimal effort. It’s the perfect forgiving recipe for first-time bread bakers!
- Prep Time: 15 minutes
- Cook Time: 28 minutes
- Total Time: Approx. 3 hours 15 minutes (includes rising time)
- Yield: 2 loaves (20-24 slices) 1x
- Category: Bread
- Cuisine: American
Ingredients
- 3 cups warm water (100-110°F, like a baby’s bath)
- 1 tbsp active dry yeast
- 1 tbsp granulated sugar
- 1 tbsp table salt
- 5 ¾ cups all-purpose flour (817g)
- Oil or cooking spray, for greasing hands and pans
Instructions
- Activate Yeast: In a large bowl, stir the warm water, yeast, and sugar together. Let it stand for 2-3 minutes until it becomes foamy. If it doesn’t foam, your yeast may be old.
- Mix Dough: Add the salt and about half the flour to the yeast mixture. Stir until it forms a soupy batter. Add the remaining flour and mix until a very sticky, shaggy dough forms. Trust the process—the stickiness is key!
- First Rise: Cover the bowl with a towel and let it rise in a warm place for 1.5 to 2 hours, or until it has doubled in size.
- Shape Loaves: Generously grease two 8 ½ x 4 ½-inch loaf pans. Grease your hands well. Gently punch down the dough, divide it in half, and plop each half into a prepared pan. Don’t worry about making them look perfect!
- Second Rise: Cover the pans and let them rise for another 30-60 minutes, until the dough peeks about an inch over the rim. While they rise, preheat your oven to 350°F (175°C).
- Bake: Bake for 25-30 minutes, until the tops are golden brown. The loaf should sound hollow when you thump the bottom.
- Cool Completely: Immediately turn the loaves out onto a wire rack. Let them cool completely before slicing to avoid a gummy texture. This step is crucial!
Notes
- Serving Suggestion: The best way to enjoy this bread is sliced thick, toasted until crisp, and slathered with butter and jam. It also makes fantastic sandwiches and French toast.
- Tips & Tricks: The dough is supposed to be very sticky. Grease your hands with oil to handle it easily. Do not add more flour!
- Storage: Store the completely cooled bread in an airtight bag at room temperature for up to 4 days.
- Freezing: This bread freezes beautifully. For best results, slice the entire loaf before freezing. That way, you can grab a slice and pop it directly into the toaster anytime. It keeps in a freezer-safe bag for up to 3 months.