Hello, friend! Let’s talk about bread.
Specifically, let’s talk about that incredible smell that hits you when you walk past a real Italian bakery. That warm, herby, yeasty scent that makes you want to buy one of everything.
Good news. We’re going to bottle up that exact feeling and bake it right in your own kitchen.
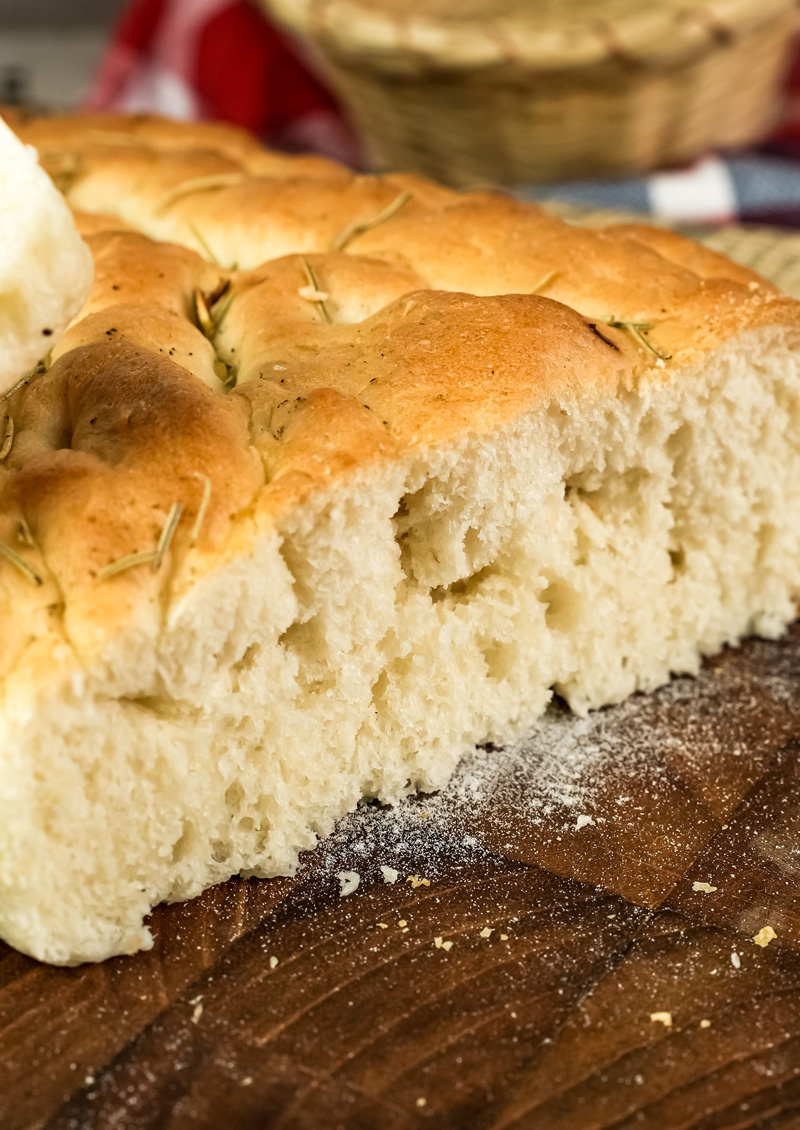
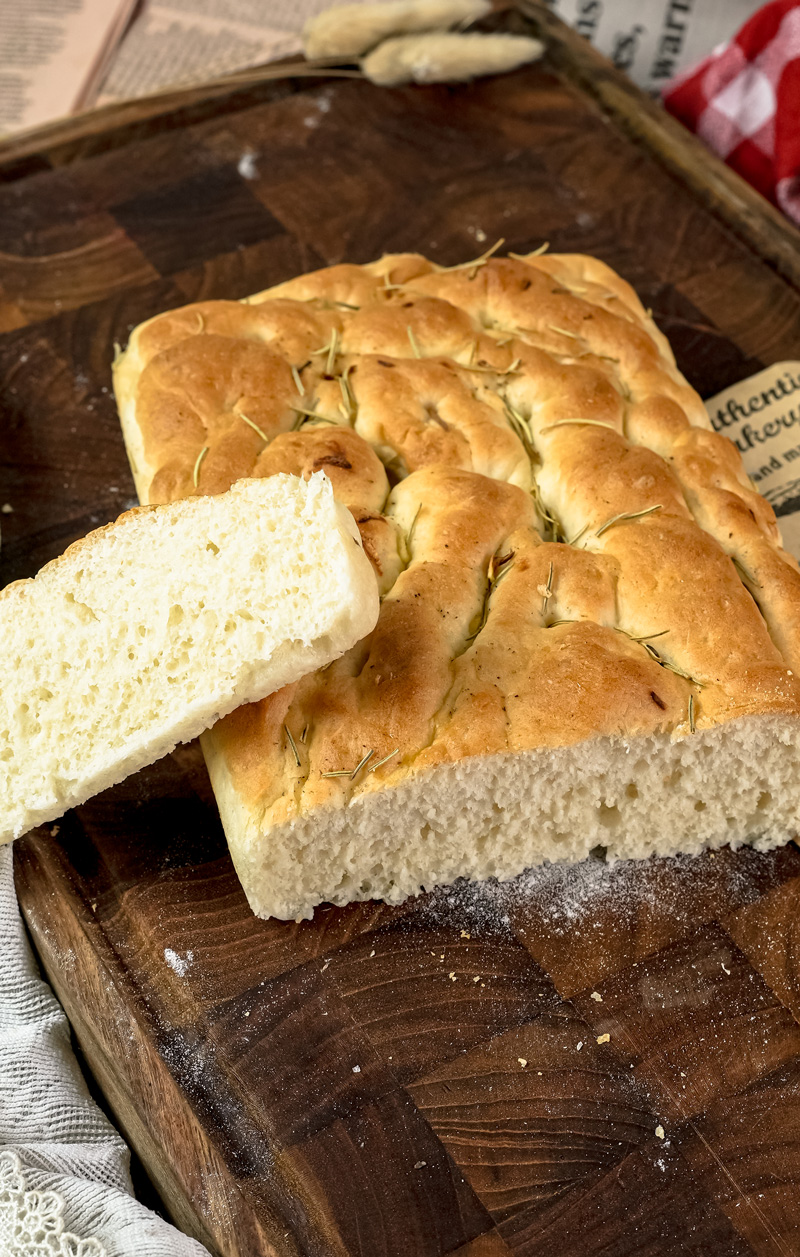
I used to be so intimidated by bread making. All the kneading, the precise timing… it felt like a science project I was doomed to fail. But then I found focaccia. This recipe, in particular, changed everything for me. It’s a rustic, chewy, dimpled flatbread that’s pretty much impossible to mess up.
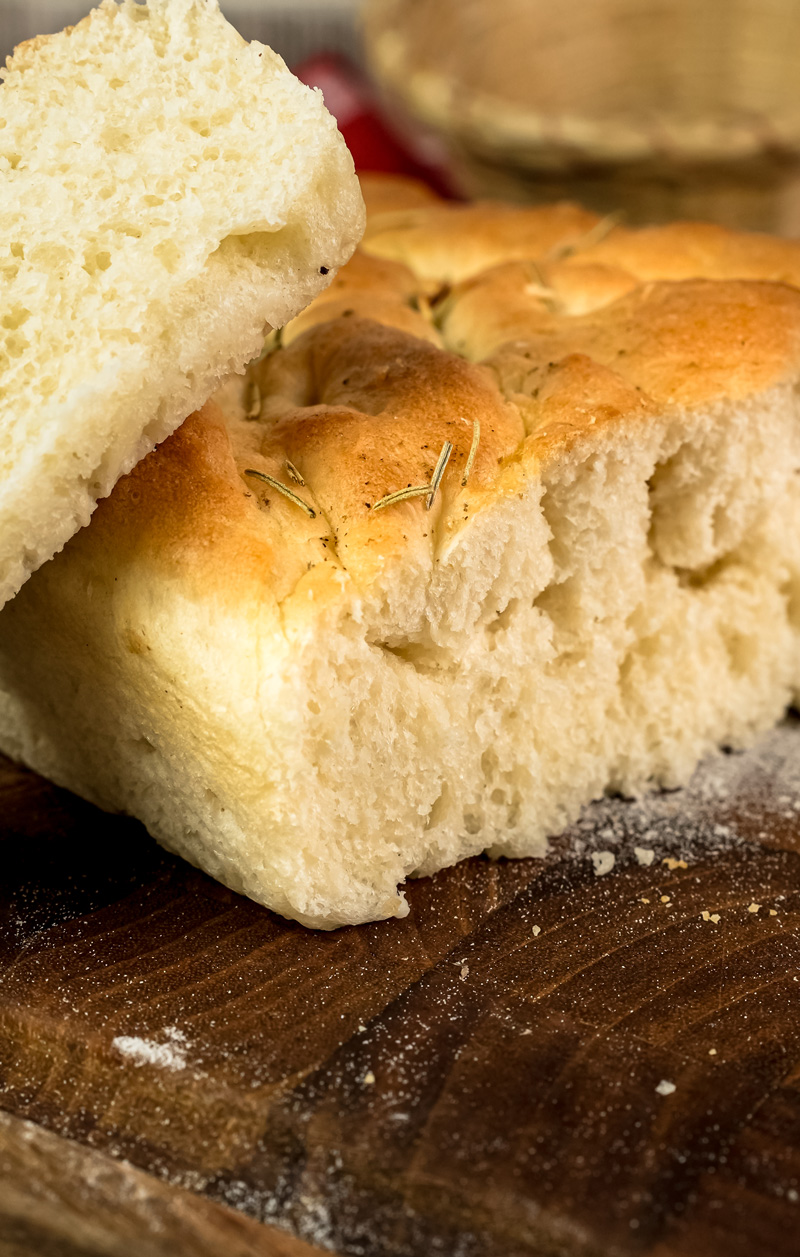
What makes this recipe my go-to is how simple it is. We let a stand mixer do all the hard work. It creates a very wet, sticky dough that bakes into a bread with a light, airy inside and a crispy, golden outside.
It’s less about skill and more about just letting time do its thing. Ready? Let’s bake together!
So, What’s the Plan?
Before we dive in, let’s get a quick look at what we’re getting into. This is the perfect thing to make on a lazy weekend.
- Total Time: About 3 hours from start to finish. But don’t worry, most of that is just waiting for the dough to rise. You’ll only be actively doing stuff for about 40 minutes.
- Bake Time: A quick 20 to 30 minutes in the oven.
- How much does it make? This recipe makes one 9×13-inch focaccia. That’s enough to serve 8 to 12 people, depending on how big you cut the slices.
Want to make a smaller batch? Or use a different pan? No problem. Here’s a simple guide to cutting the recipe in half.
| Pan Size | Flour | Water | Yeast | Salt | Olive Oil |
| Full Recipe (9×13″) | 500g (4 cups) | 1¾ cups | 2¼ tsp | 2 tsp | 6 Tbsp |
| Half Recipe (9″ round/sq) | 250g (2 cups) | ⅞ cup | 1⅛ tsp | 1 tsp | 3 Tbsp |
- Is it hard? Not at all. I’d call this one beginner-friendly. The dough is very sticky, which might feel weird if you’re used to regular bread dough. But that stickiness is our secret to a fluffy focaccia. Just trust the process!
The Gear You’ll Need
You don’t need a bunch of fancy equipment. The main things are a stand mixer with a dough hook, a couple of mixing bowls, and a 9×13-inch baking dish.
What if I don’t have a stand mixer? You can still do this! It just takes a little more muscle. You’ll need to use the “stretch and fold” method. It’s a technique where you, well, stretch and fold the dough every 30 minutes or so during the first rise instead of kneading. It works great, just requires more hands-on time.
Want to Prep Ahead?
You totally can! In fact, making the dough ahead of time makes it taste even better.
After you mix the dough, pop it in the oiled, covered bowl and stick it in the fridge. You can leave it in there for at least 12 hours and up to 3 days. This slow, cold rise gives the bread a deeper, tangier flavor.
When you’re ready to bake, just take it out and let it do its second rise in the pan at room temperature for about 3-4 hours before baking.
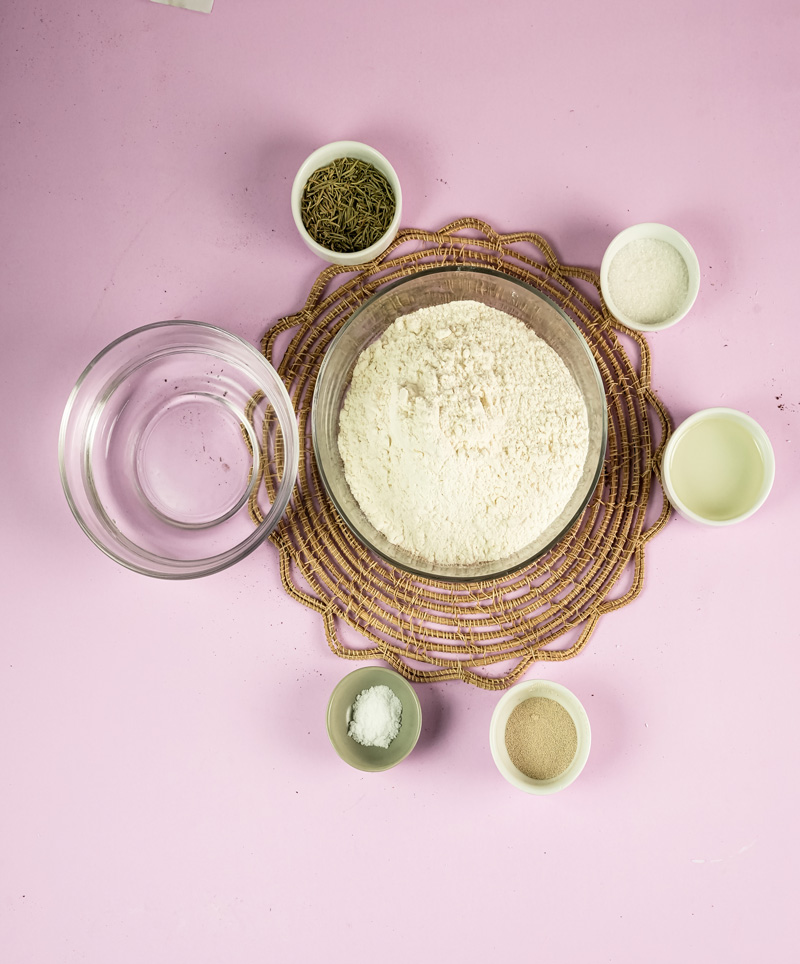
The Ingredients: Simple Stuff, Big Flavor
Great bread doesn’t need a long list of fancy ingredients. The magic is in the quality of the simple things you use.
The foundation is 500 grams (about 4 cups) of all-purpose flour.1 I really recommend using a kitchen scale to measure in grams—it’s way more accurate and a baker’s best friend. But if you only have measuring cups, that’s fine too! You could also use bread flour if you want an even chewier texture.
To get things going, we need 1 (¼-ounce) package of active dry yeast (that’s about 2¼ teaspoons). We’ll wake it up with 1¾ cups of warm water (think baby’s bathwater, not hot tub—around 105-115°F) and 2 teaspoons of cane sugar for the yeast to snack on. For flavor, you’ll need 2 teaspoons of fine sea salt.
And now for the star of the show: olive oil. We’ll use a total of 6 tablespoons of extra-virgin olive oil. Since the oil is a huge part of the flavor, use a good one! You know, the nice bottle you save for salads and dipping. You’ll use it in the dough, to grease the bowl, and for that final glorious drizzle.
To finish, grab some flaky sea salt (like Maldon) and a little fresh rosemary. The combo of rosemary, salt, and oil baked into bread is just… chef’s kiss.
Step-by-Step: Let’s Make Some Magic
Ready? Let’s do this. I’ll walk you through every step.
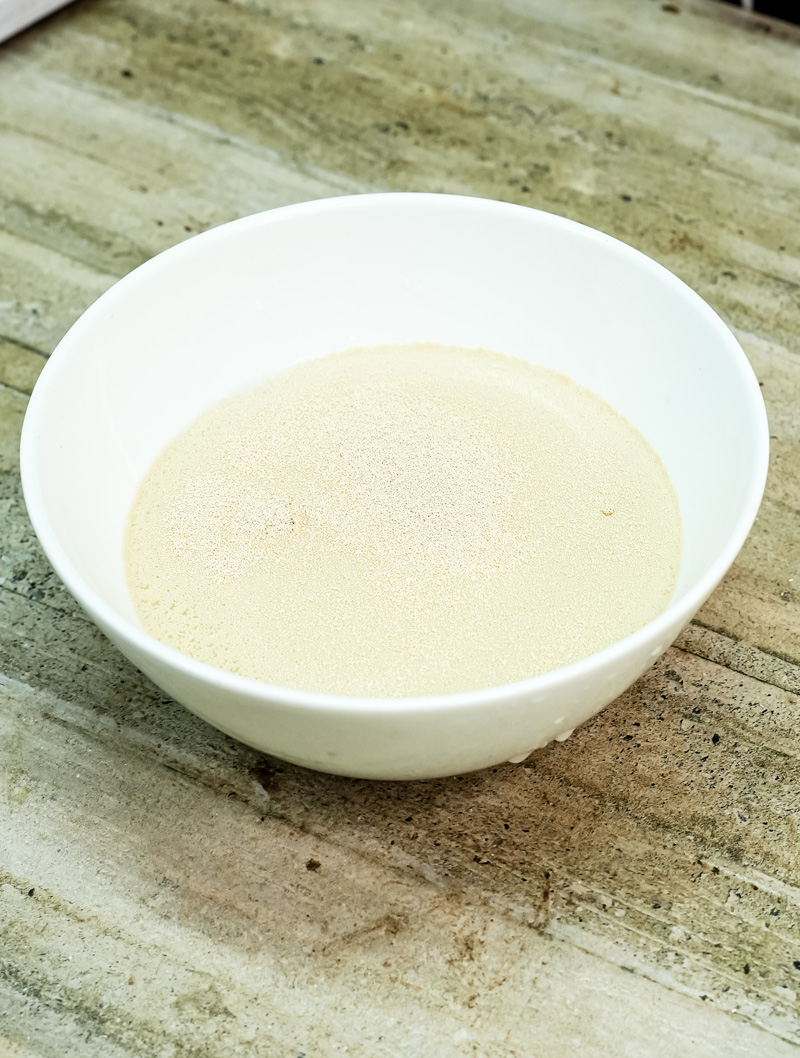
1. Wake Up the Yeast
First, let’s make sure our yeast is ready to work. In the bowl of your stand mixer, mix the warm water and sugar. Sprinkle the yeast on top. Give it a little stir, then leave it alone for 5 minutes.
When you come back, it should look creamy and foamy. Like a little science experiment. If you don’t see foam, your yeast might be old or your water was the wrong temperature. It’s better to toss it and start again. A good rise depends on happy yeast!
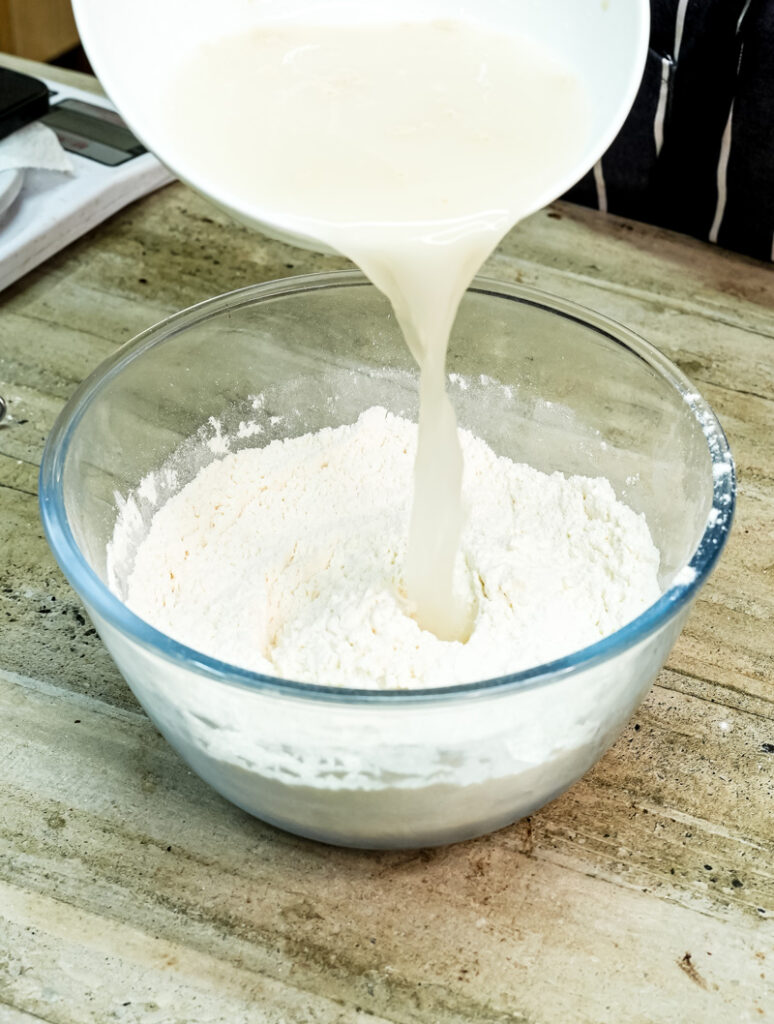
2. Mix the Dough
Attach the dough hook to your mixer. Add all your flour and the fine sea salt to the foamy yeast mix. Turn the mixer on low speed until it all comes together into a shaggy blob.
Then, turn the speed up to medium and let it run for 5 minutes.
Heads up: this dough is going to look incredibly wet and sticky. You’ll probably think, “This can’t be right.” It is! That’s exactly what we want. As it mixes, you’ll see it change from a lumpy mess to a smooth, stretchy dough that pulls away from the bowl’s sides.

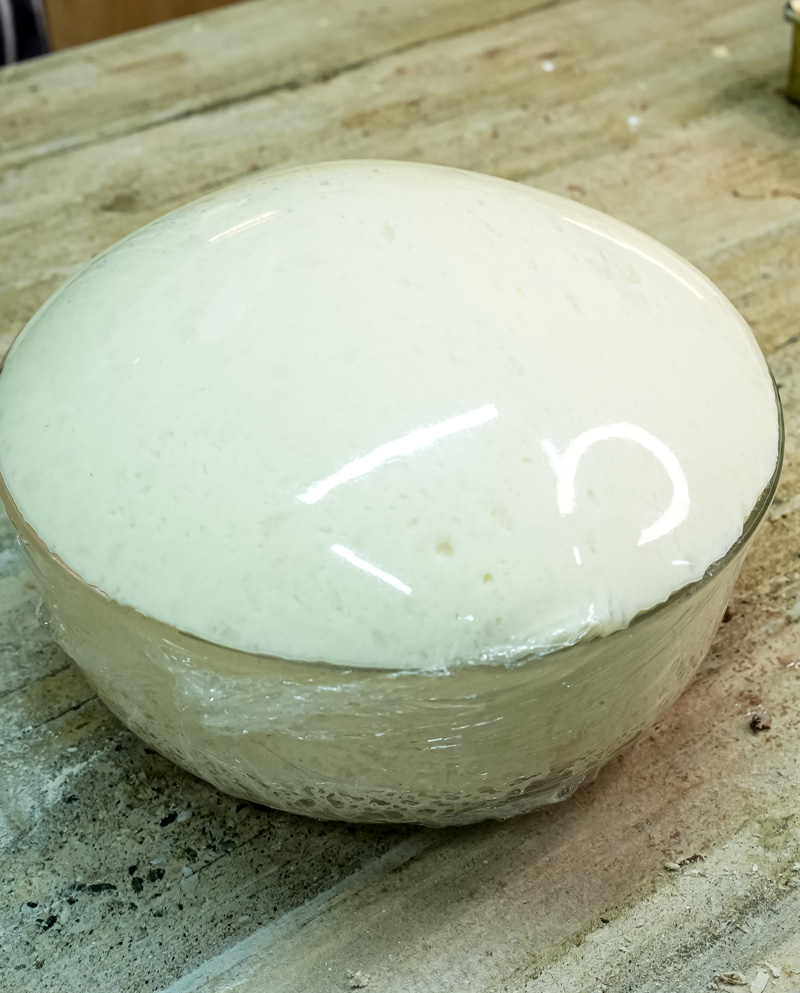
3. The First Rise
Use a pastry brush to coat a large, clean bowl with 2 tablespoons of olive oil. Scrape the sticky dough into the oily bowl. It will feel loose and weird, and that’s okay. Use your fingers to spread a little of the oil from the bowl over the top of the dough.
Cover the bowl with plastic wrap or a damp towel. Find a warm, cozy spot for it to rest for 1 to 1½ hours. You’ll know it’s ready when the dough has doubled in size and looks like a big, soft, airy pillow.
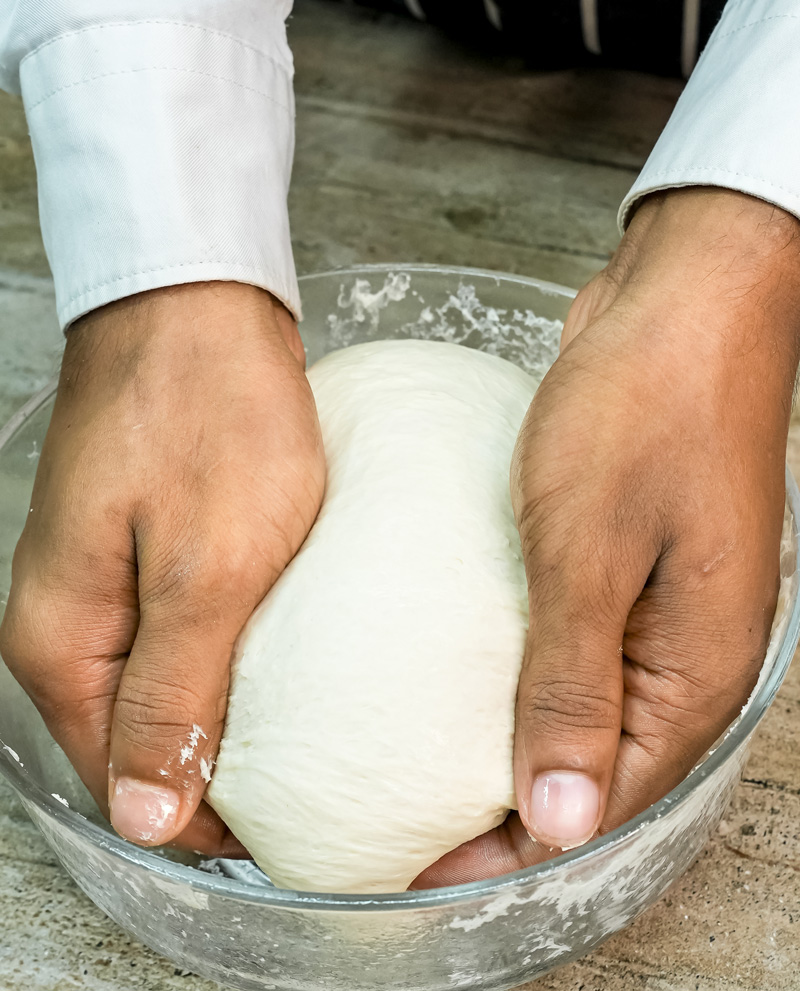
4. Shape It (Kinda) and Let It Rise Again
Time to move our dough to its final destination. Brush your 9×13-inch baking dish with another 2 tablespoons of olive oil.
Now for my favorite trick: rub a little olive oil on your hands. This makes the sticky dough completely manageable. Uncover the dough, slide your oiled hand under one side, and fold it over itself. Turn the bowl a bit and repeat. Do this a few times to form a loose ball.
Plop the dough into your oiled pan and flip it over once to get it coated in oil. Gently press the dough out toward the edges. It’ll probably spring back. Just let it sit for a few minutes, then try pressing it out again. Cover it up and let it rise for one last time, about 45 minutes, until it’s puffy again.
About 30 minutes into this final rise, go ahead and preheat your oven to 425°F (220°C).
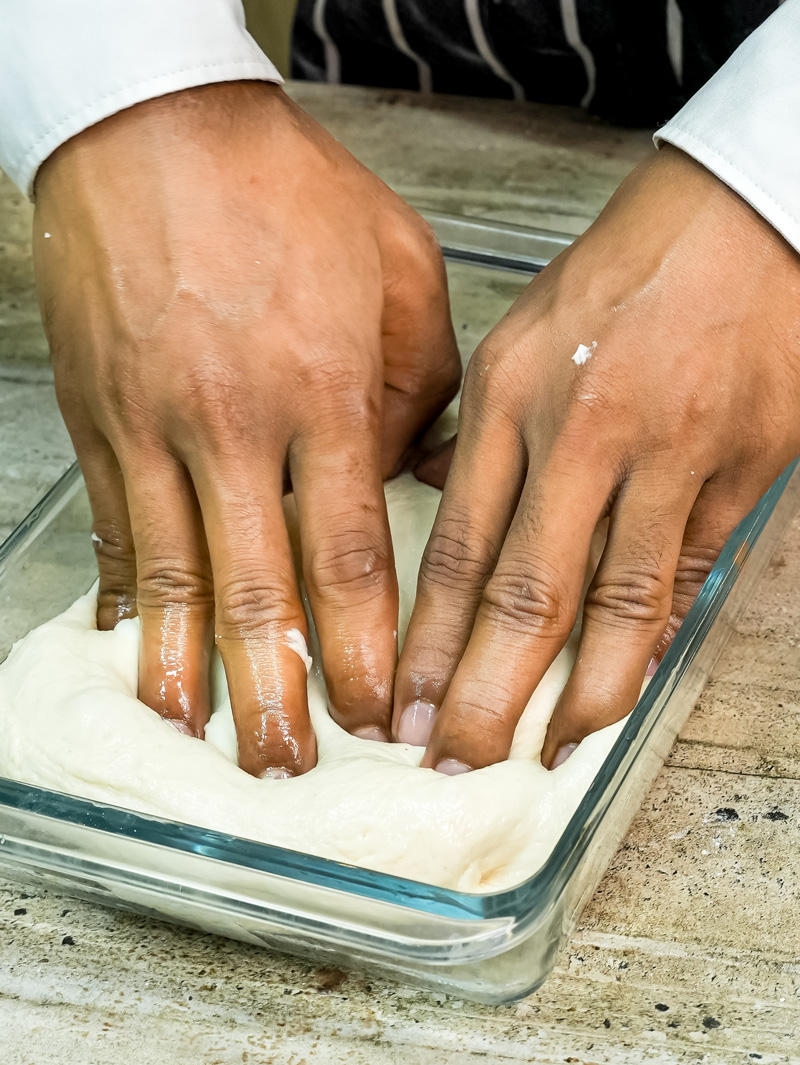
5. The Fun Part: Dimples and Baking!
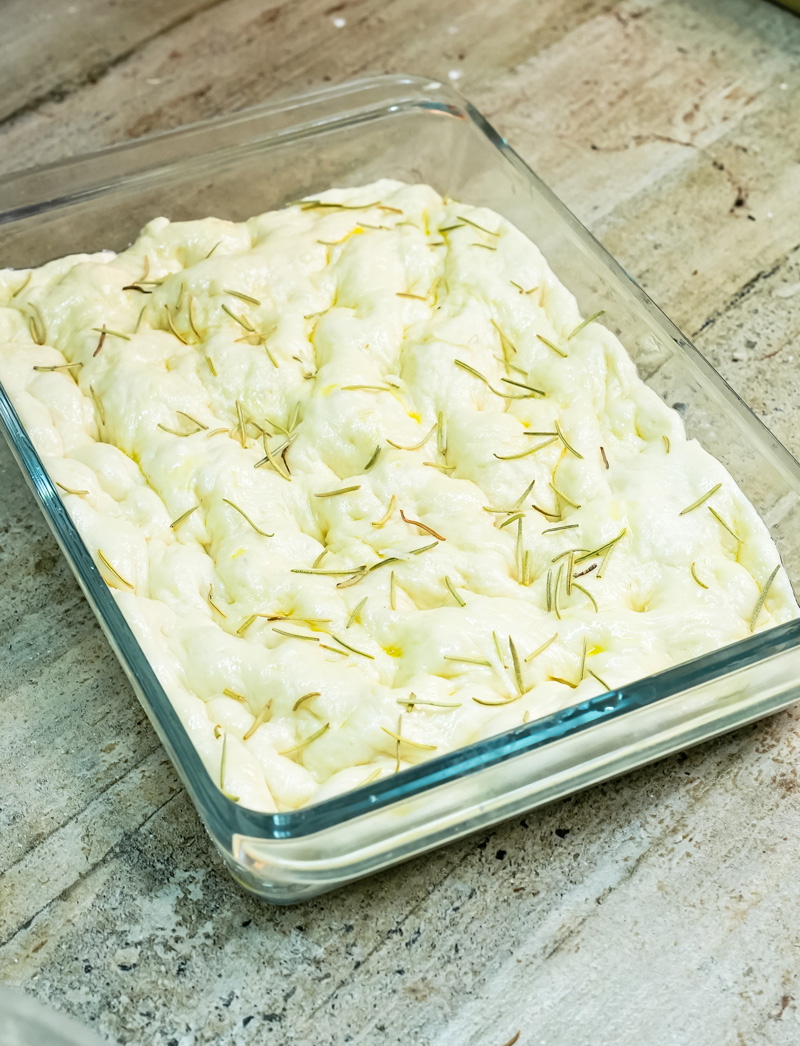
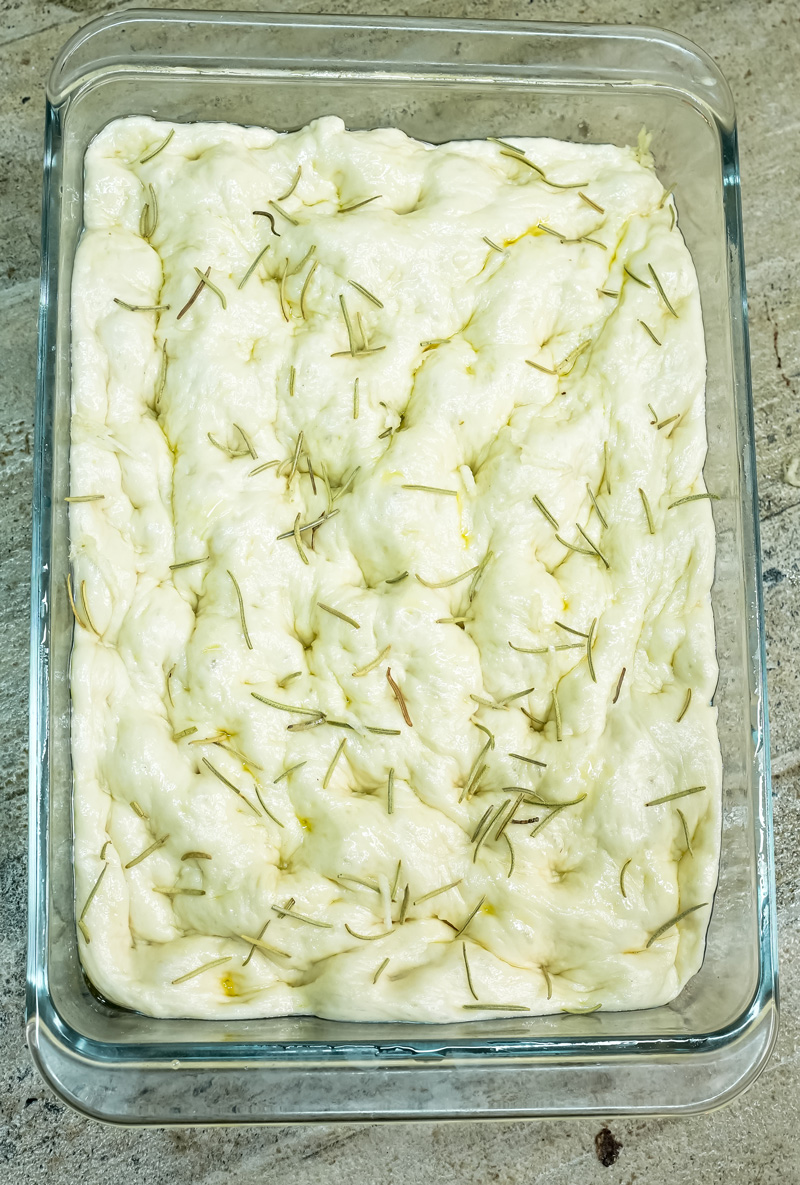
This is the most satisfying step, I promise. Uncover your beautiful, puffy dough. Drizzle the last 2 tablespoons of olive oil all over the top.
Oil your hands again. Now, using your fingertips, press down firmly all over the dough. Create deep dimples. Don’t be shy! Press all the way down until you feel the pan. These little pockets will hold the olive oil and give the focaccia its classic look.
Sprinkle generously with flaky sea salt and the chopped rosemary.
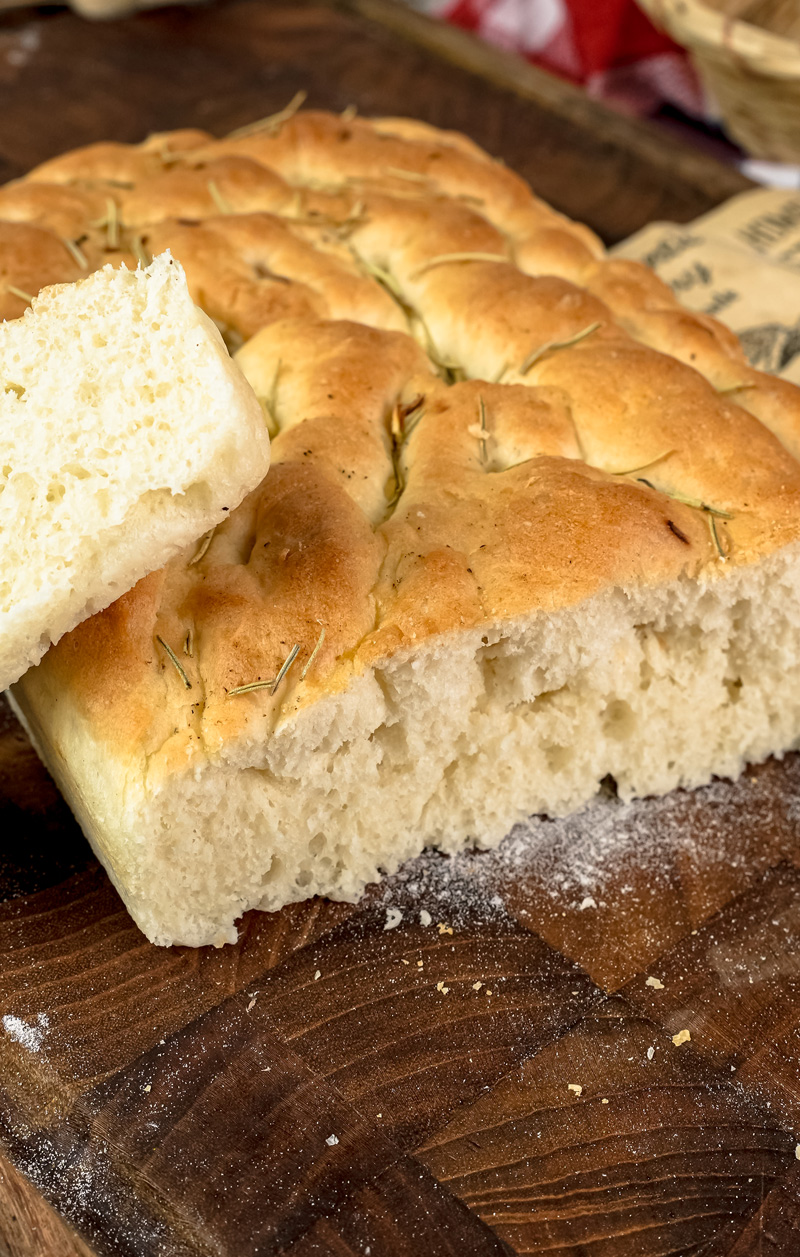
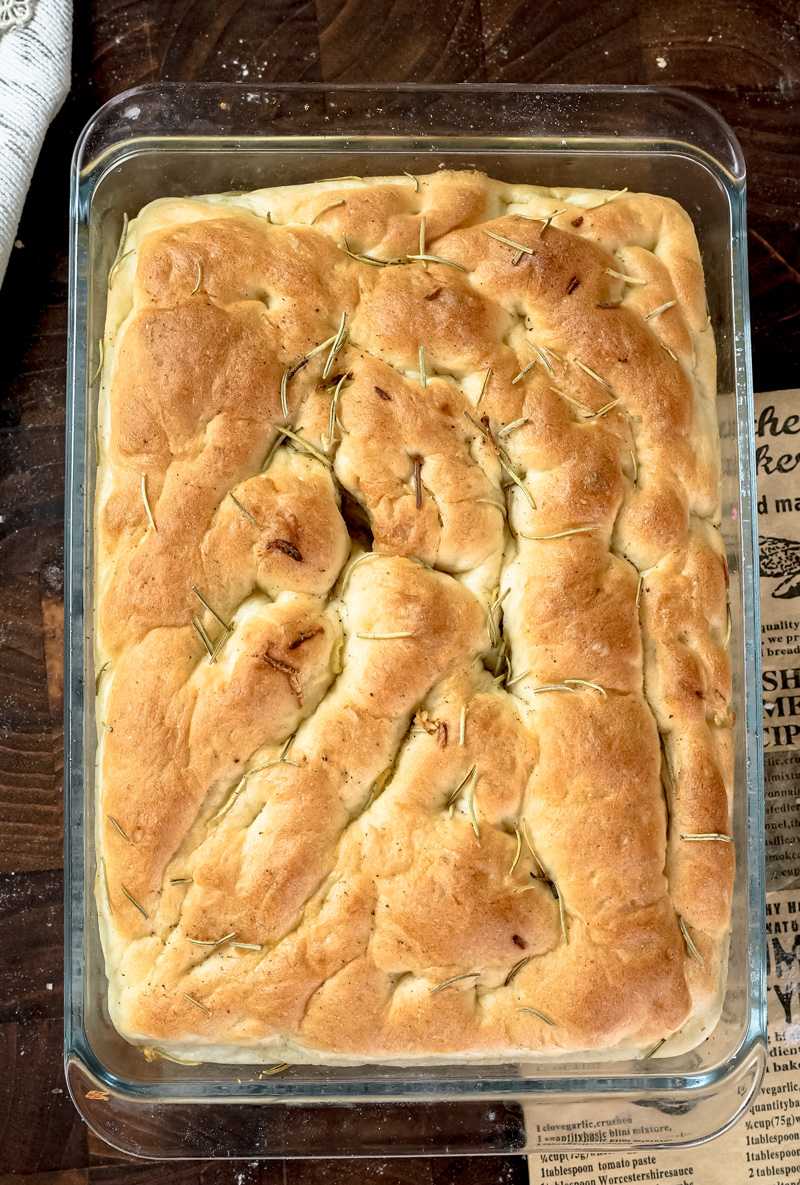
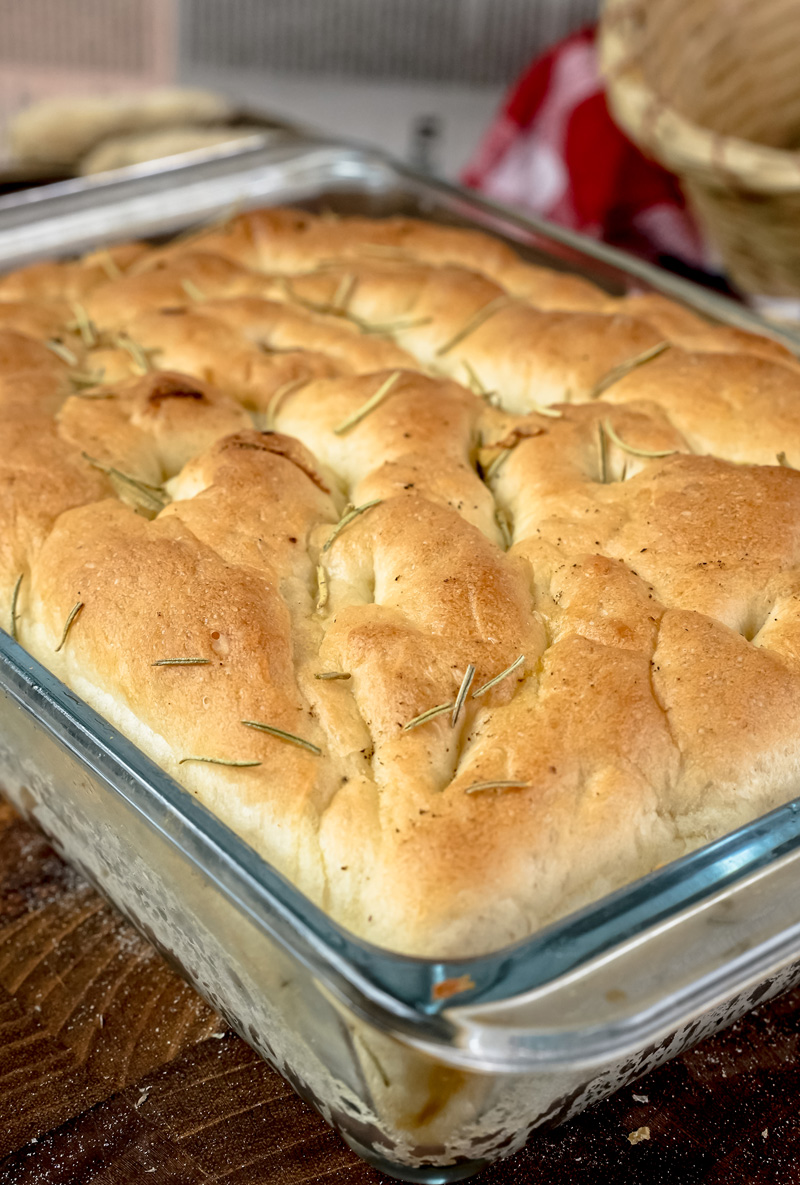
Bake for 20 to 30 minutes. You’re looking for a deep, rich golden-brown color on top. Your kitchen is about to smell amazing. Let it cool in the pan for just a few minutes before you slice and serve it warm.
Make It Your Own
This recipe is a perfect starting point. Once you have the basic bread down, you can get creative.
- Toss on Some Toppings: Try adding thinly sliced garlic, Kalamata olives, sun-dried tomatoes, or sweet caramelized onions before you bake it.
- Make it Cheesy: Who doesn’t love cheese? Sprinkle some grated Parmesan or Asiago over the top during the last 10 minutes of baking.
- Get Seasonal: Think about what’s fresh!
- Spring: Asparagus and lemon zest.
- Summer: Cherry tomatoes and fresh basil.
- Fall: Roasted butternut squash and sage.
- Winter: Caramelized onion and thyme.
How to Serve and Store Your Masterpiece
You did it! You baked a gorgeous loaf of focaccia. The first time I made this for friends, they thought I bought it from a fancy bakery.
My favorite way to eat it? Just tear off a warm piece and eat it plain. It’s also perfect for dipping in soups and stews. And it makes the best sandwiches. Try it with some pesto, fresh mozzarella, and prosciutto. Unbelievable.
Storing Leftovers: If you somehow have any left, keep it in an airtight container at room temperature for up to 2 days. The crust will get a little soft.
Reheating: To get that crispy crust back, just pop slices in a 375°F (190°C) oven for 5-7 minutes. A toaster oven works great, too.
Freezing: Focaccia freezes perfectly. Once it’s totally cool, slice it up, wrap the slices in plastic wrap, and put them in a freezer bag. They’ll be good for up to 3 months. You can reheat them straight from the freezer!
PrintFocaccia Bread
Whip up the best homemade focaccia bread you’ve ever had! This surprisingly simple recipe gives you a perfectly soft, airy crumb and a super crispy, golden crust, all with minimal effort. It’s the perfect side for any meal and makes your kitchen smell like an authentic Italian bakery.
- Prep Time: 40 minutes
- Cook Time: 25 minutes
- Total Time: 3 hours
- Yield: 12 servings 1x
- Category: Bread, Appetizer
- Cuisine: Italian
Ingredients
For the Dough:
- 1¾ cups warm water (105−115°F/40−46°C)
- 2 tsp cane sugar
- 1 package (2¼ tsp) active dry yeast
- 500g (4 cups) all-purpose flour
- 2 tsp fine sea salt
For Assembly & Topping:
- 6 Tbsp extra-virgin olive oil, divided
- Flaky sea salt, for sprinkling
- 1 Tbsp fresh rosemary, finely chopped
Instructions
- Activate the Yeast: In a stand mixer bowl, stir the warm water and sugar. Sprinkle the yeast on top, stir gently, and let it sit for 5 minutes. It should become foamy.
- Mix the Dough: Add the flour and fine sea salt to the bowl. Using the dough hook, mix on low until a shaggy dough forms, then increase to medium speed for 5 minutes. The dough will be very sticky and elastic—this is normal!
- First Rise: Coat a large bowl with 2 Tbsp of olive oil. Scrape the dough into the oiled bowl, cover it, and let it rise in a warm spot for 1 to 1.5 hours, or until it has doubled in size.
- Second Rise: Coat a 9×13-inch baking pan with 2 Tbsp of olive oil. Gently place the risen dough into the pan, turn it over to coat in oil, and gently press it toward the edges. Cover and let it rise again for 45 minutes. Meanwhile, preheat your oven to 425°F(220°C).
- Dimple and Bake: Drizzle the dough with the remaining 2 Tbsp of olive oil. Using oiled fingers, press deep dimples all over the surface. Don’t be gentle! Sprinkle generously with flaky sea salt and rosemary. Bake for 20-30 minutes, until the top is a deep golden brown. Let it cool for a few minutes in the pan before slicing and serving.
Notes
- Serving Suggestions: This bread is amazing dipped in olive oil and balsamic vinegar, served alongside a hearty soup, or used as the base for an incredible sandwich.
- Tips & Tricks: The dough is supposed to be very wet. That stickiness is the secret to a light, airy crumb, so trust the process! Use a good-quality, flavorful olive oil, as it’s a star ingredient here.
- Storage & Reheating: Store leftovers in an airtight container at room temperature for up to 2 days. To bring back that crispy crust, reheat slices in a 375°F(190°C) oven for 5-7 minutes. Focaccia also freezes beautifully for up to 3 months.