We’ve all been there. It’s late, you’re craving something sweet, and the thought of preheating an oven feels like running a marathon. For those of us living the gluten-free life, it’s even harder. You can’t just grab a doughnut on the way home. You usually have to deal with five different flours and a chemistry degree just to make a cookie.
I remember when I first went gluten-free. I spent a fortune on bags of mystery powders only to end up with a cake that tasted like a literal sponge. It was depressing. That’s why I love this mug cake. It’s my “emergency” dessert. It’s the hero of movie nights and the cure for bad days. The best part? It actually feels like real cake. No rubbery textures here. Just moist, chocolatey goodness that you can whip up faster than a commercial break.
The Game Plan: Quick Stats
Think of this as your baking “flight plan.” It makes one big serving. You could share it with someone you really like, but I won’t judge if you eat the whole thing yourself.
| Stat | Detail |
| Prep Time | 5 Minutes |
| Cook Time | 1 to 2 Minutes |
| Total Time | About 8 Minutes |
| Difficulty | Easy (Beginner-friendly) |
| Yield | 1 Large Mug |

Tools of the Trade
You can mix this in the mug, but let me give you a pro tip: Use a small bowl instead. I’ve learned the hard way that mixing in the mug usually leaves a gross pocket of dry flour at the bottom. Nobody wants a mouthful of dust.
- Medium Bowl: To get everything smooth.
- Whisk: To get the lumps out (a fork works too).
- 8-12 oz Mug: Make sure it’s microwave-safe!
- Toothpick: To check if it’s done.
Quick Tip: If you want to be a meal-prep hero, mix the dry ingredients in a little jar. Then, when the craving hits, just add the wet stuff and zap it. It’s like having your own DIY “instant” cake mix.
What You’ll Need
The quality of your stuff matters here because we aren’t cooking it for very long.
- GF All-Purpose Flour (1/4 cup): Make sure your blend has xanthan gum. Without it, your cake will basically crumble into a pile of sand.
- Neutral Oil (2 tbsp): I use avocado oil. Don’t use fancy olive oil unless you want your chocolate cake to taste like a salad.
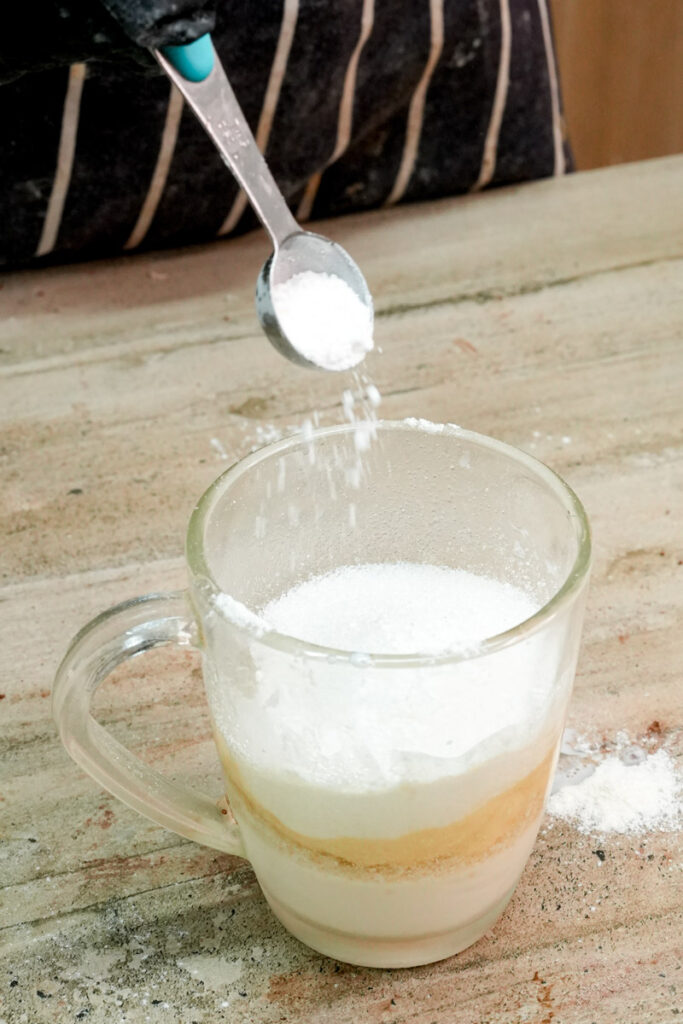
- Sugar (2 tbsp): Regular white sugar is fine, but brown sugar makes it extra fudgy.
- Cocoa Powder (3 tbsp): Use the unsweetened stuff.
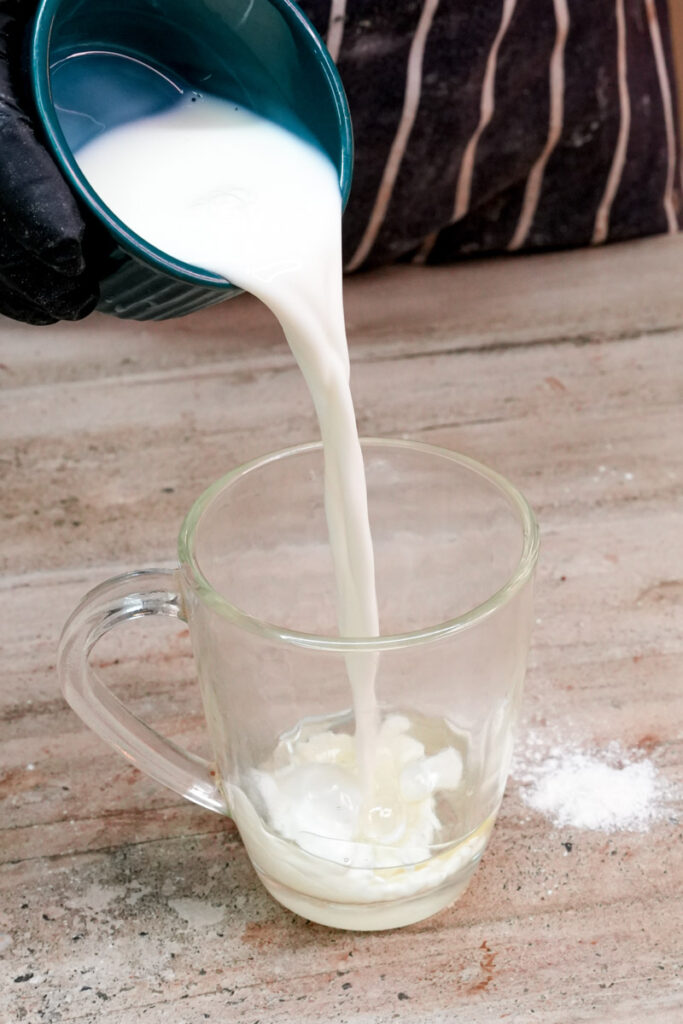
- Milk (5 tbsp): Any milk works! I usually grab whatever is in the fridge, like almond or oat milk.
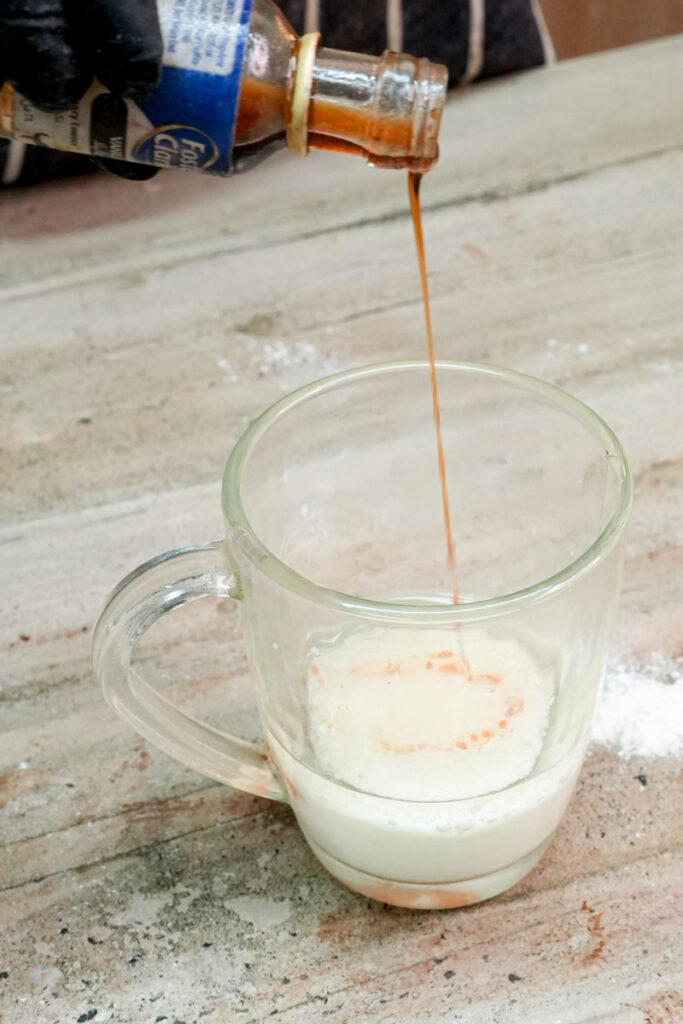
- Vanilla Extract (1 tsp): This makes it smell like a real bakery.
- Baking Soda (1/8 tsp) & a pinch of salt: The salt actually makes the chocolate taste “more” chocolatey.
Easy Swaps
| Instead of… | Use… | Why? |
| Avocado Oil | Melted Butter | Butter tastes great, but oil keeps it softer. |
| Whole Milk | Coconut Milk | Keeps it dairy-free and creamy. |
| White Sugar | Brown Sugar | Makes it way more moist and rich. |
| Baking Soda | Baking Powder | Use 1/4 tsp of powder if you’re out of soda. |
Let’s Make It!
1. Mix the Wet Stuff
Whisk the oil, milk, and vanilla in your bowl first. They won’t perfectly merge, but just get them well-distributed.
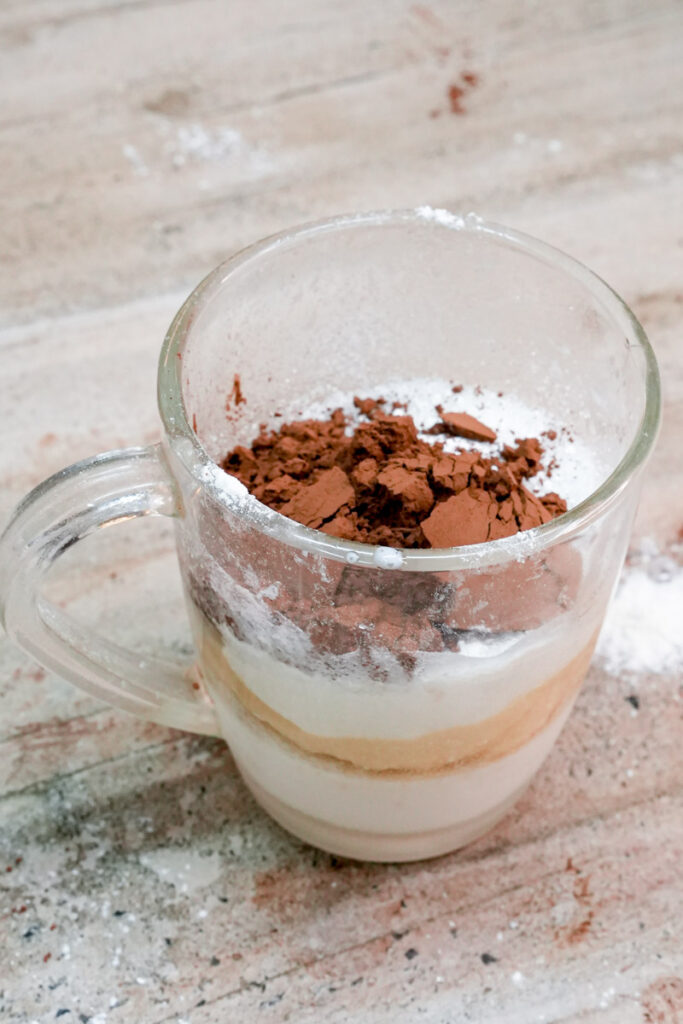
2. Add the Dry Stuff
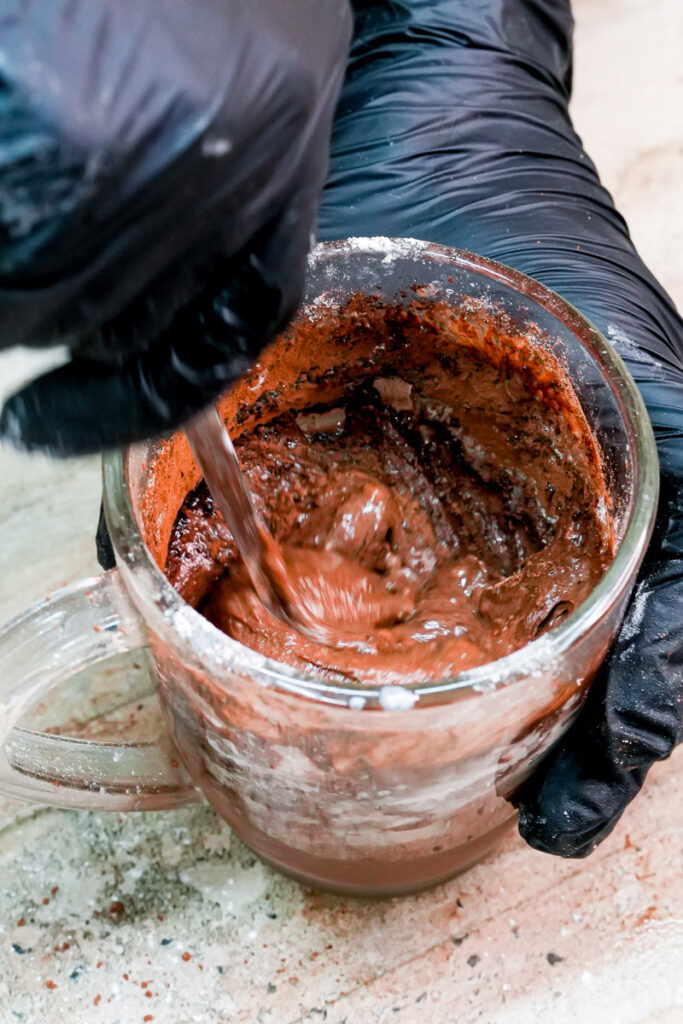
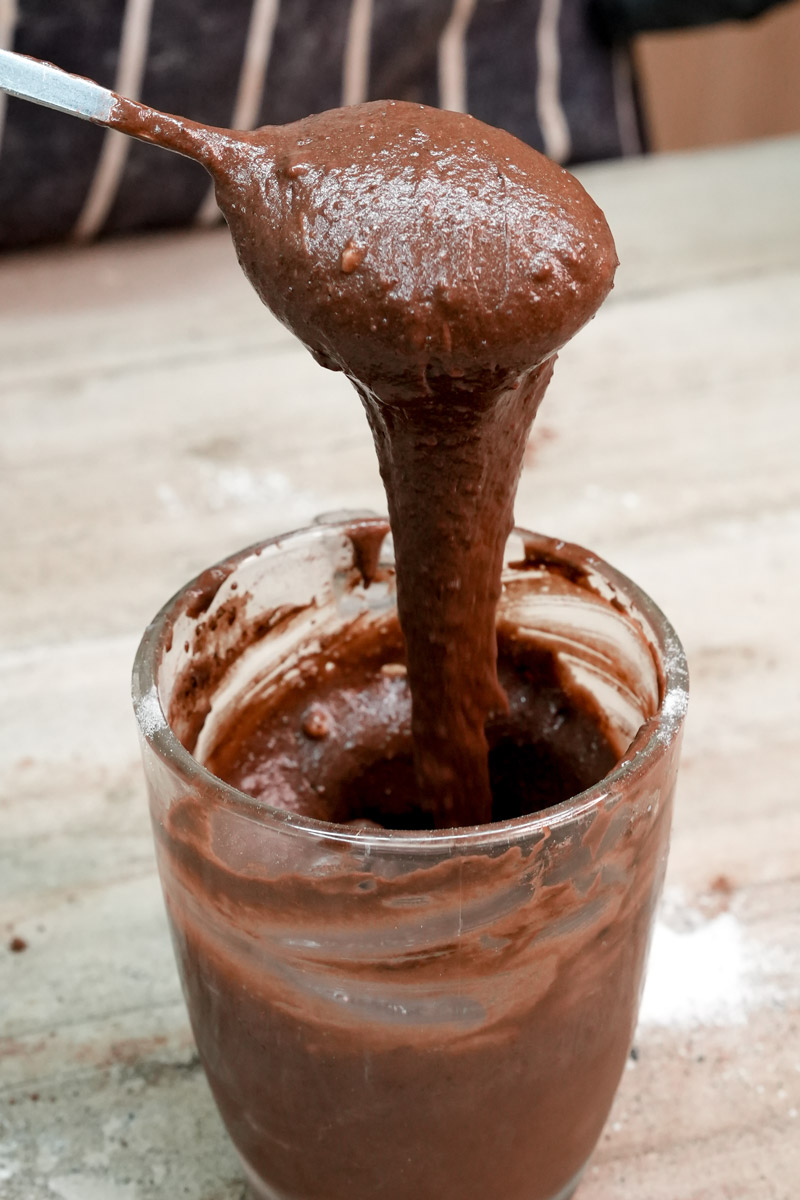
Sift in your flour and cocoa. Don’t skip the sifting! Cocoa powder loves to hide in little lumps that don’t melt in the microwave. Whisk it until it looks like a thick, glossy ribbon.

3. The Mug Transfer
Pour the batter into your mug. Now, the best part: drop in 2 tablespoons of chocolate chips. Don’t fill the mug more than 2/3 full. If you do, you’ll have a chocolate “volcano” to clean up later. Trust me.
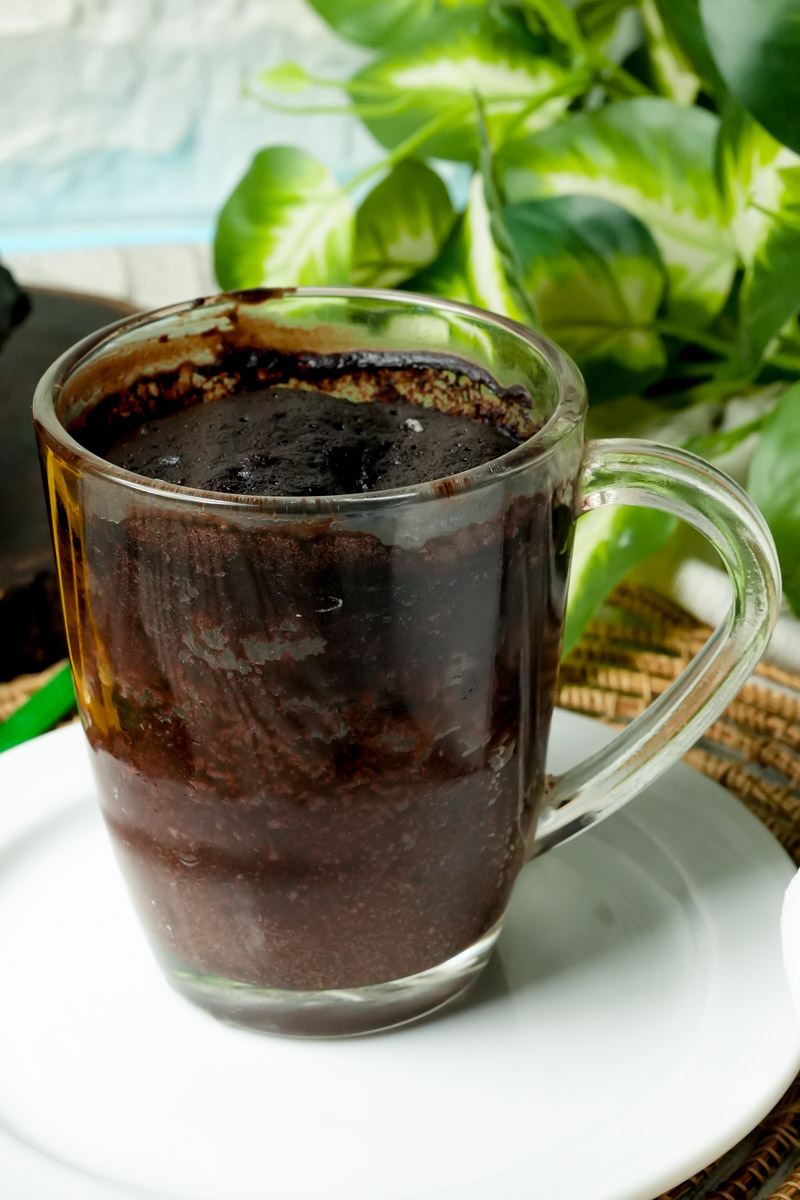
4. The Zap
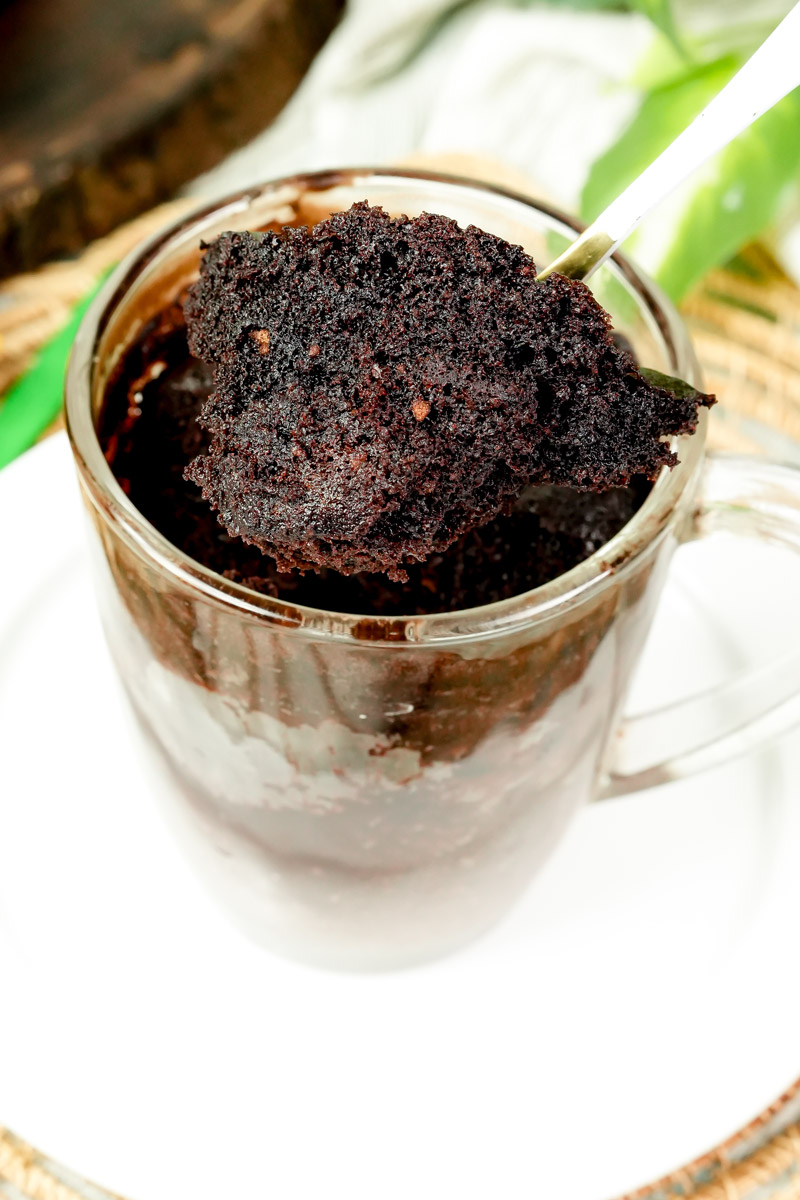
Put it in the microwave for 60 seconds. Watch it through the glass—it’s fun to see it puff up! Stick a toothpick in. If it comes out with a few crumbs, you’re golden. If it’s still liquid, give it 15 more seconds.
Important: Don’t overcook it! The cake keeps cooking for a minute after it comes out. If it looks dry in the microwave, it’ll be a brick by the time you eat it.
Make It Your Own
- Go Vegan: Since there are no eggs, just use plant milk and dairy-free chips.1 Easy.
- Add Coffee: A tiny bit of instant espresso powder makes the chocolate taste incredible.
- Holiday Style: Add a pinch of cinnamon or swap vanilla for peppermint.
- Not a Chocolate Fan? Leave out the cocoa, add extra flour, and toss in some lemon zest for a bright citrus cake.
Serving and Leftovers
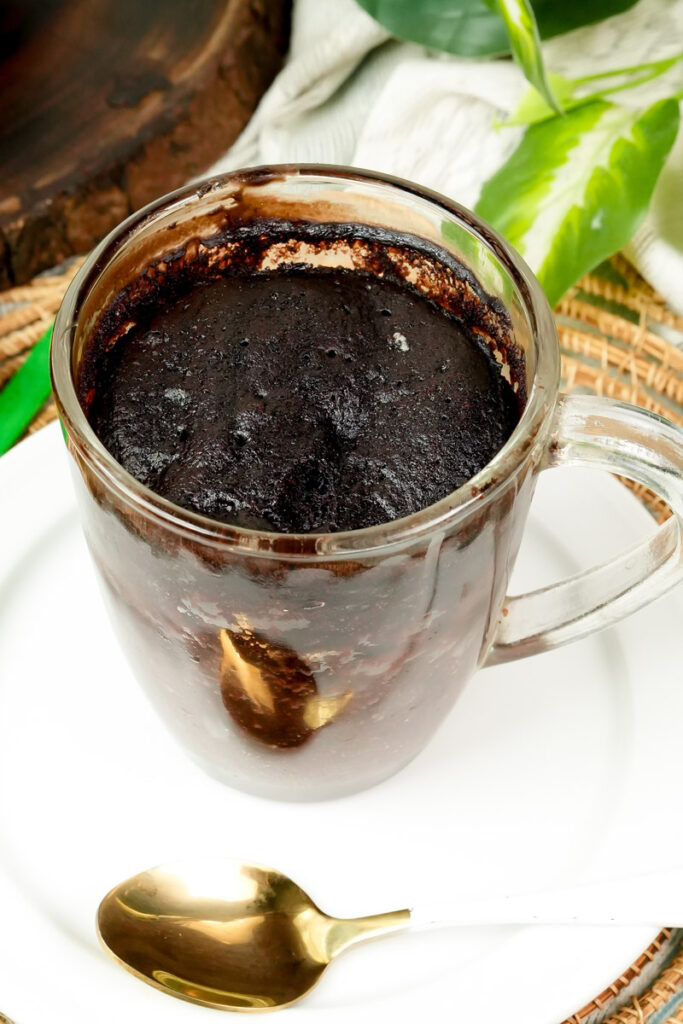
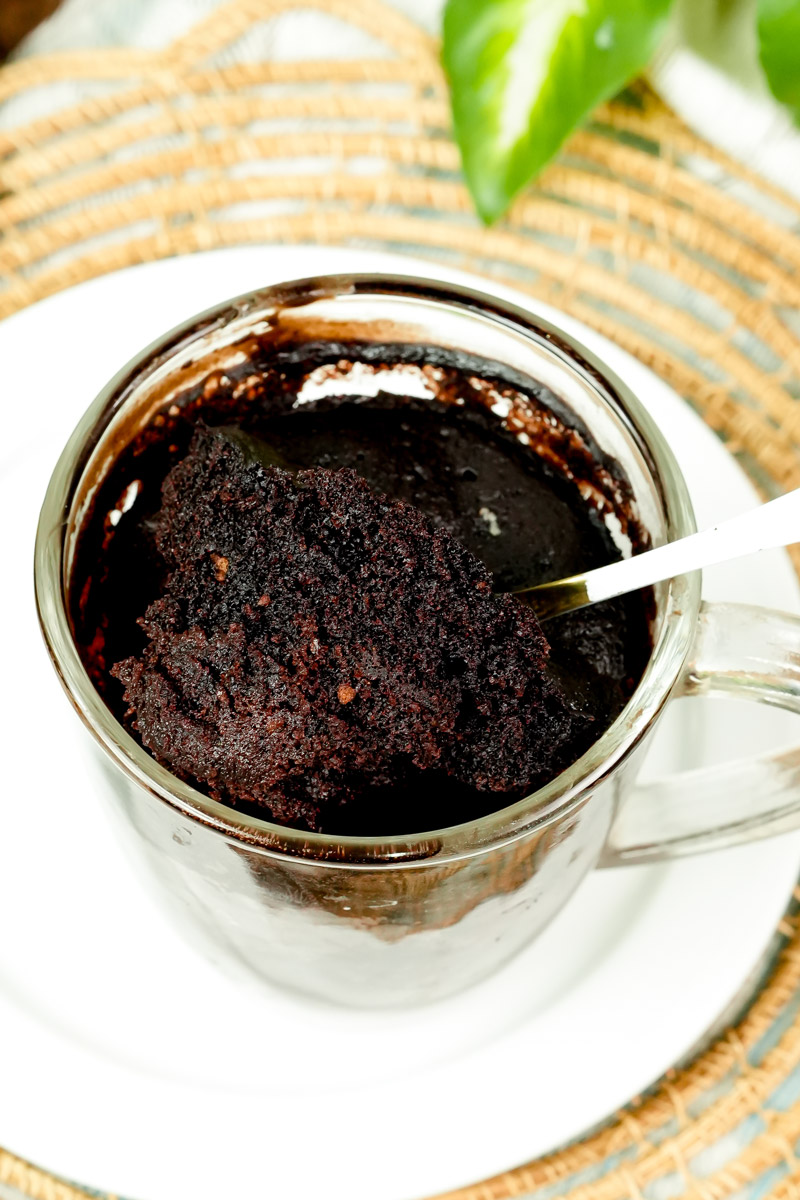
I usually eat mine straight out of the mug while watching TV. But if you’re feeling fancy, tip it onto a plate and add a scoop of vanilla ice cream.
Mug cakes are like a summer romance—they don’t last long. Eat it within 15 minutes. If you absolutely have to save some, wrap it tight and reheat it with a damp paper towel to keep it from getting tough.
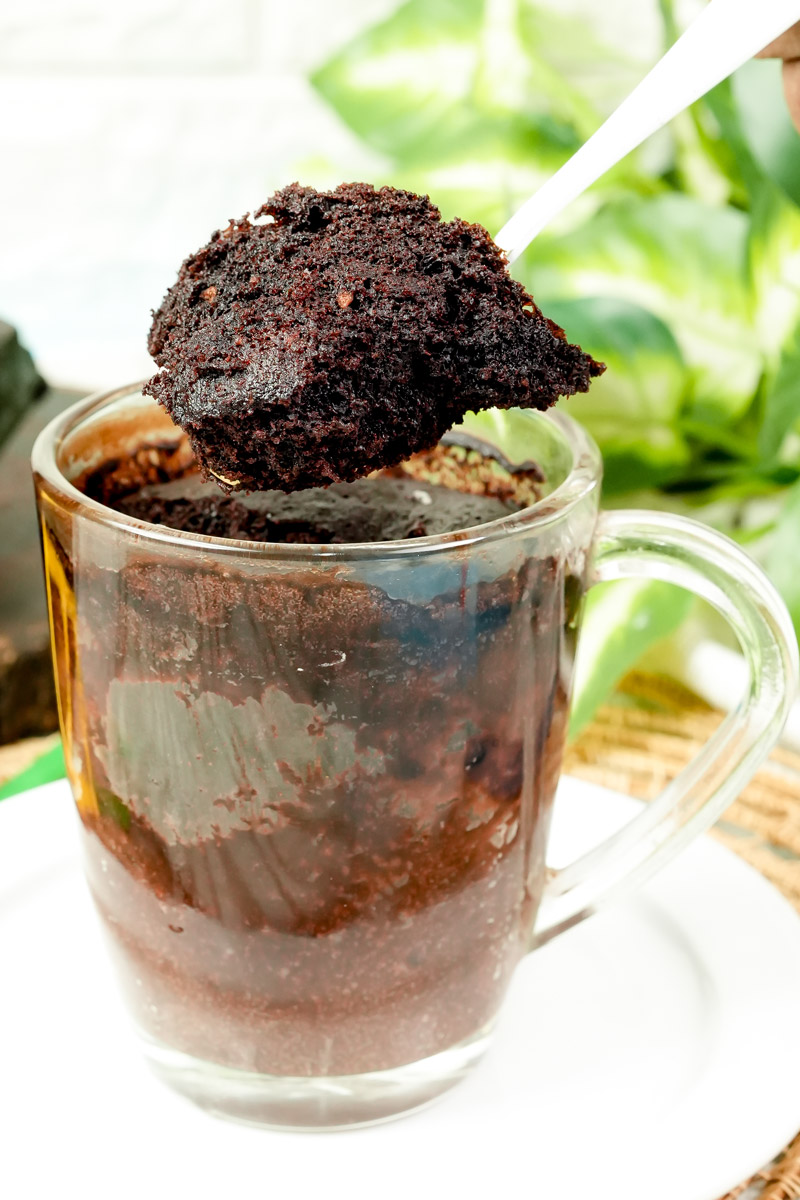
PrintGluten-Free Mug Cake
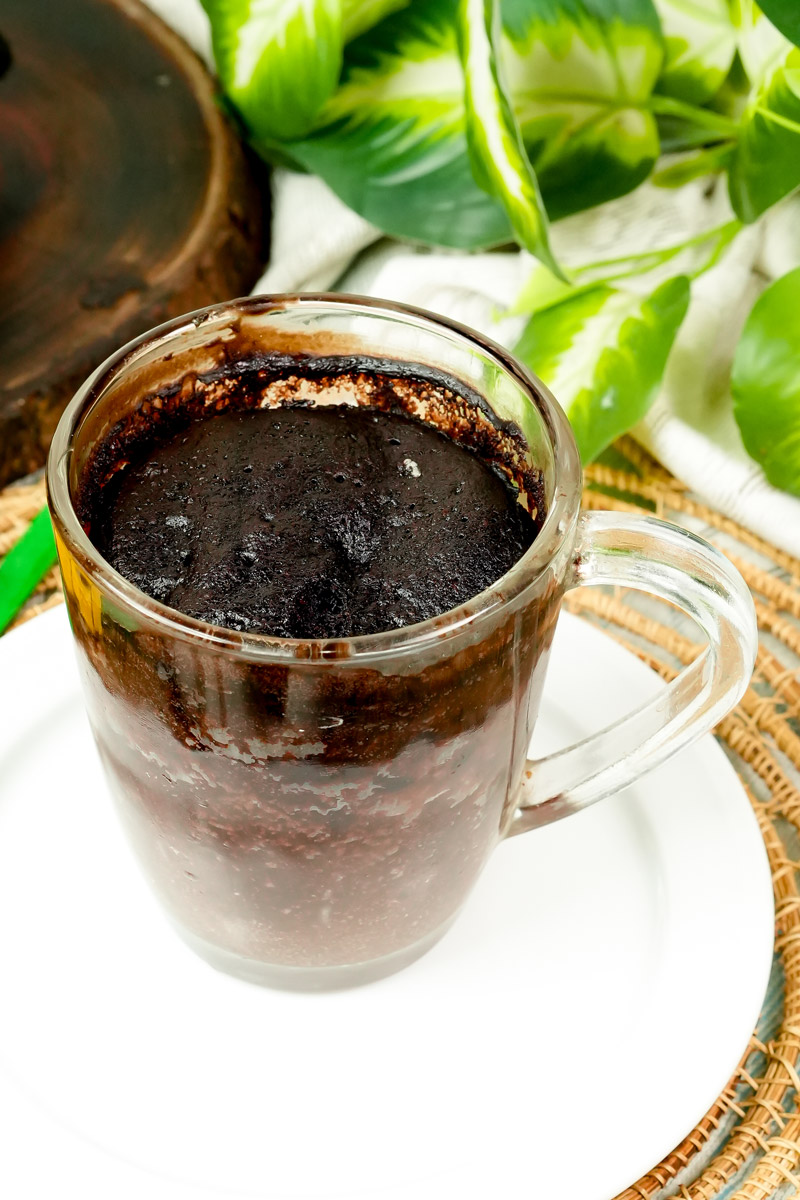
We’ve all been there—it’s late, you’re in your pajamas, and you need chocolate right now. This isn’t just another rubbery microwave experiment. It’s a rich, fudgy, single-serve lifesaver for anyone who needs a gluten-free treat without the hassle of baking a whole tray. It’s light, intensely cocoa-forward, and honestly, a bit of a miracle.
- Prep Time: 5 Minutes
- Cook Time: 1-2 Minutes
- Total Time: 7 Minutes
- Yield: 1 Large Mug
- Category: Dessert
- Cuisine: American
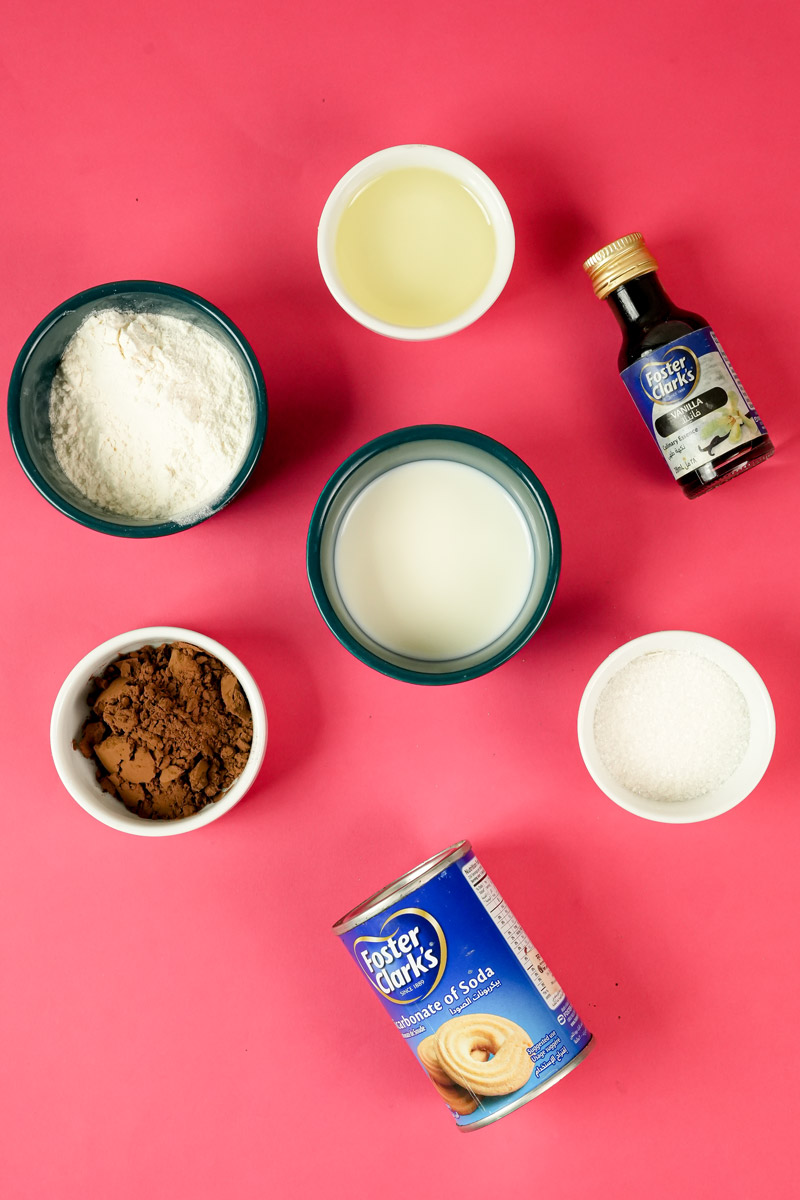
Ingredients
- Gluten-Free All-Purpose Flour: 1/4 level cup (Make sure it has xanthan gum!)
- Unsweetened Cocoa Powder: 3 tbsp (Dutch-processed gives that dark, rich color)
- Granulated Sugar: 2 tbsp
- Neutral Oil: 2 tbsp (Avocado or refined coconut oil work best)
- Milk of Choice: 5 tbsp (Dairy, almond, or oat milk all work perfectly)
- Vanilla Extract: 1 tsp
- Baking Soda: 1/8 tsp
- Salt: A tiny pinch to make the chocolate pop
- Chocolate Chips: 2 tbsp (Optional, but let’s be real—they’re mandatory)
Instructions
- Whisk the Wet Base: Grab a small bowl and mix the oil, milk, and vanilla. You want them well-distributed before the dry stuff hits.
- Sift in the Dry Goods: Sift the flour, cocoa, sugar, baking soda, and salt into the bowl. Pro tip: Sifting is key because cocoa loves to form stubborn little lumps.
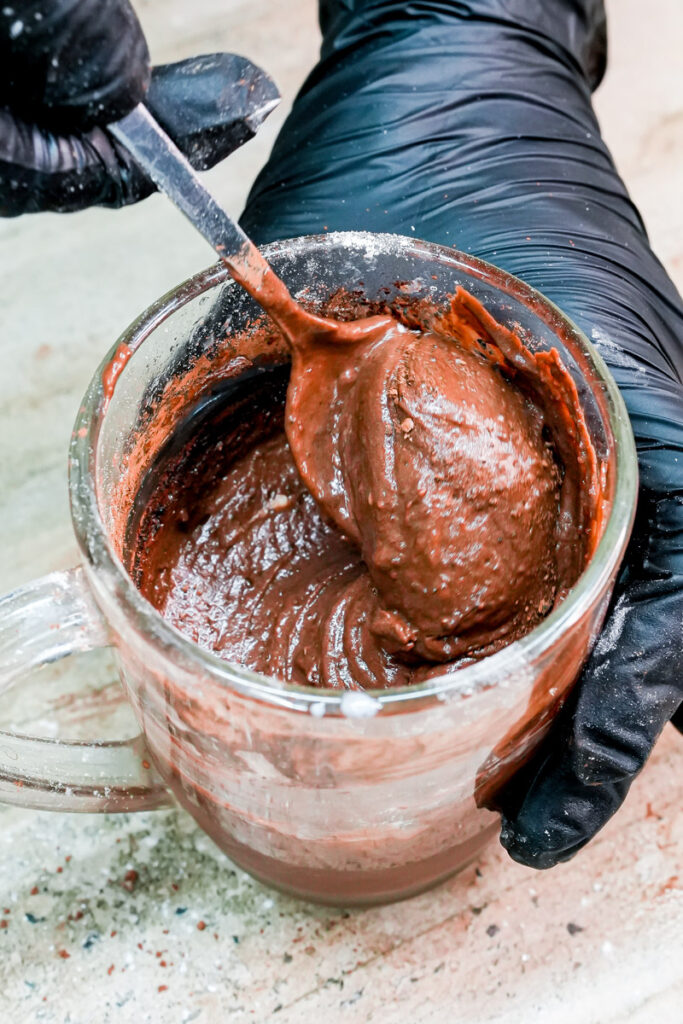
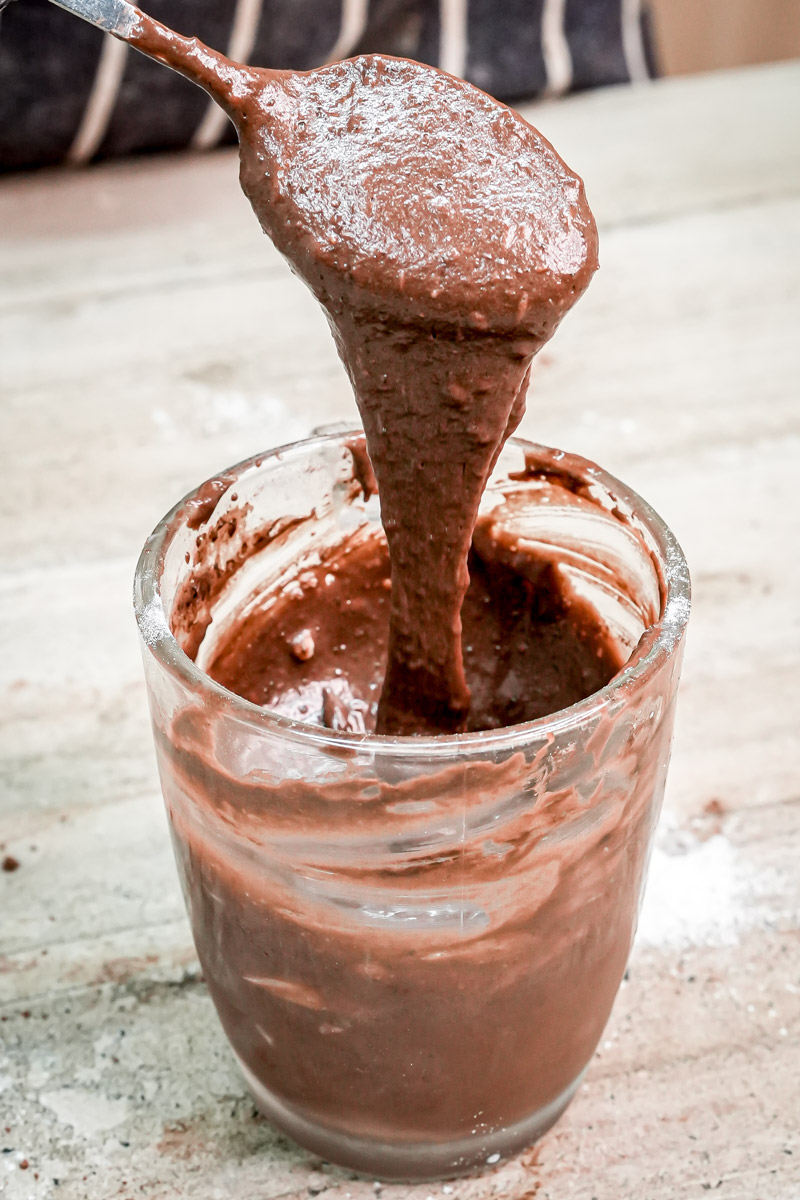
- Mix Until Smooth: Whisk it up until it looks glossy and thick. If it feels like cookie dough, add a tiny splash of milk.
- The Mug Swap: Pour that beautiful batter into an 8-12 oz microwave-safe mug. Sprinkle your chocolate chips on top—they’ll sink just enough.
- Zap It: Microwave on high for 60 seconds. Every microwave is different, so if it still looks liquidy, give it another 10-15 seconds.
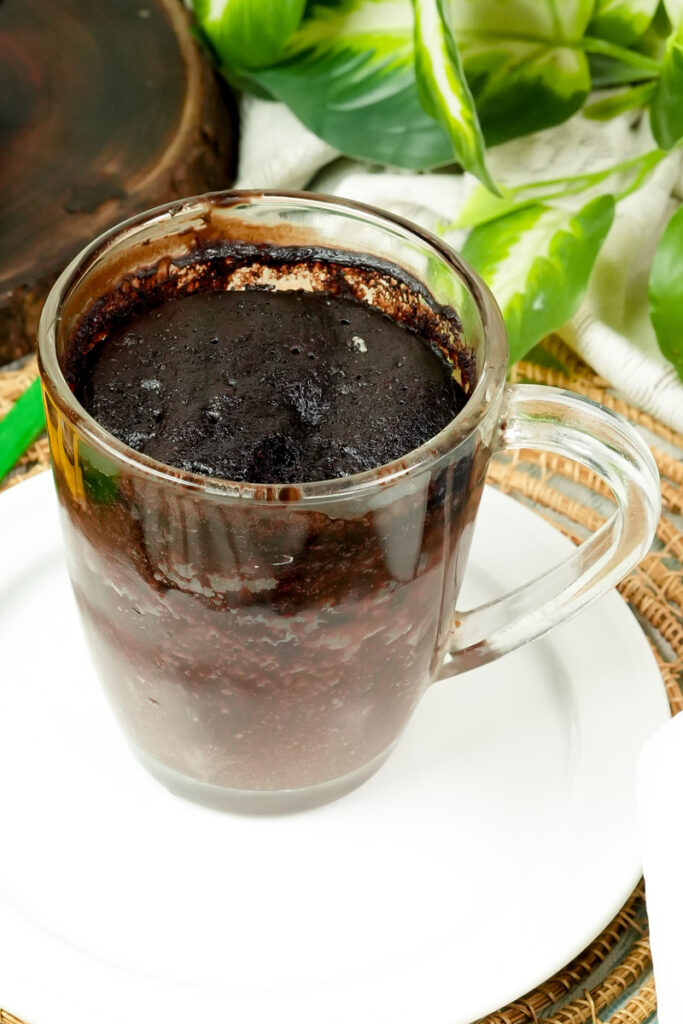
- The Rest Period: Let it sit for about a minute. It’s hard to wait, but the steam finishes the “bake” and perfects the texture.
Notes
Serving Suggestions
This is amazing straight out of the mug, but you can dress it up! Try a scoop of vanilla bean ice cream, a dollop of whipped cream, or a few fresh raspberries for a tart contrast.
Tips for Success
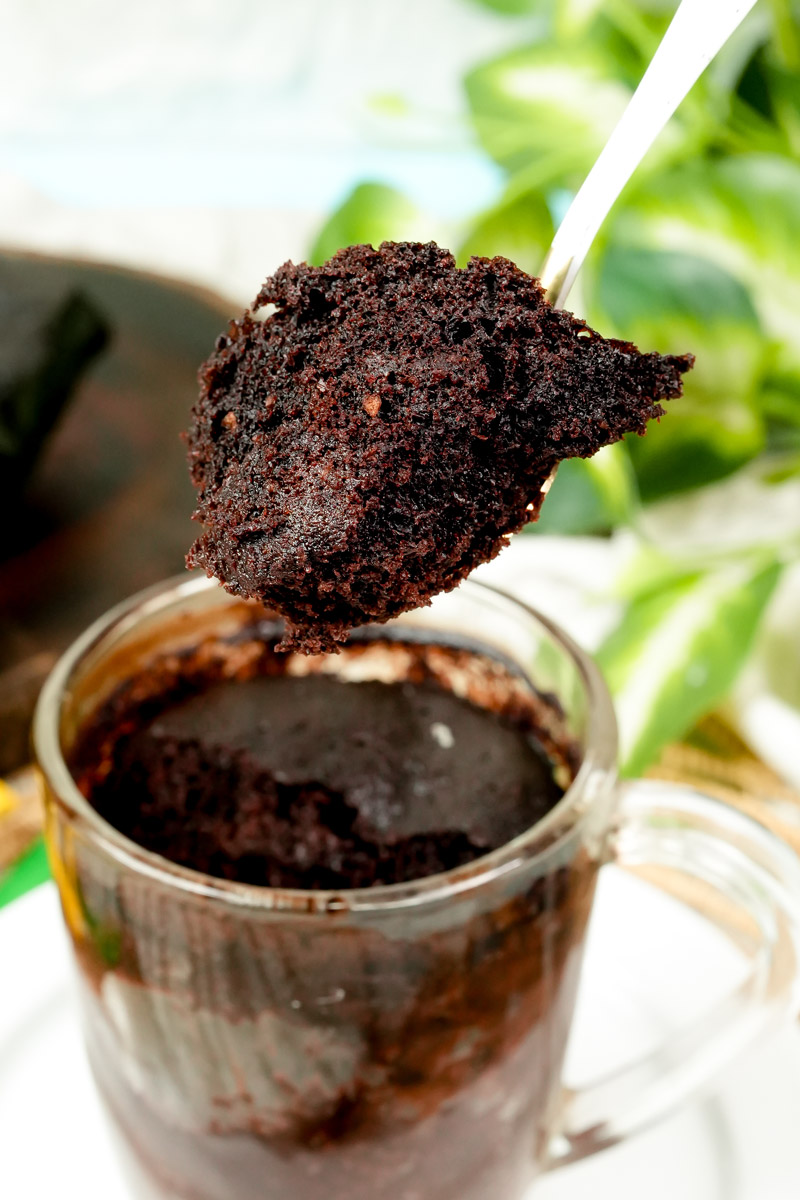
- Don’t overbake: If the cake looks dry in the microwave, it’s already overdone. It should look slightly moist on top when you pull it out.
- The Bowl Secret: Always mix in a separate bowl first. If you mix in the mug, you’ll almost always find a pocket of dry flour at the very bottom.
- Check the Gum: If your flour blend doesn’t have xanthan gum, your cake might be a bit crumbly.
Storage & Reheating
Mug cakes are meant to be eaten fresh. They don’t have the same fats as oven-baked cakes, so they can get tough if they sit overnight. If you have to save it, cover the mug tightly. To reheat, zap it for 10 seconds with a damp paper towel on top to bring back that moisture.