Hey there! I’m so glad you’re here.
Today, we’re going to bake something that feels like a vacation. Forget packing bags. We’re about to fill your kitchen with the smell of sweet bananas, toasty coconut, and juicy pineapple.
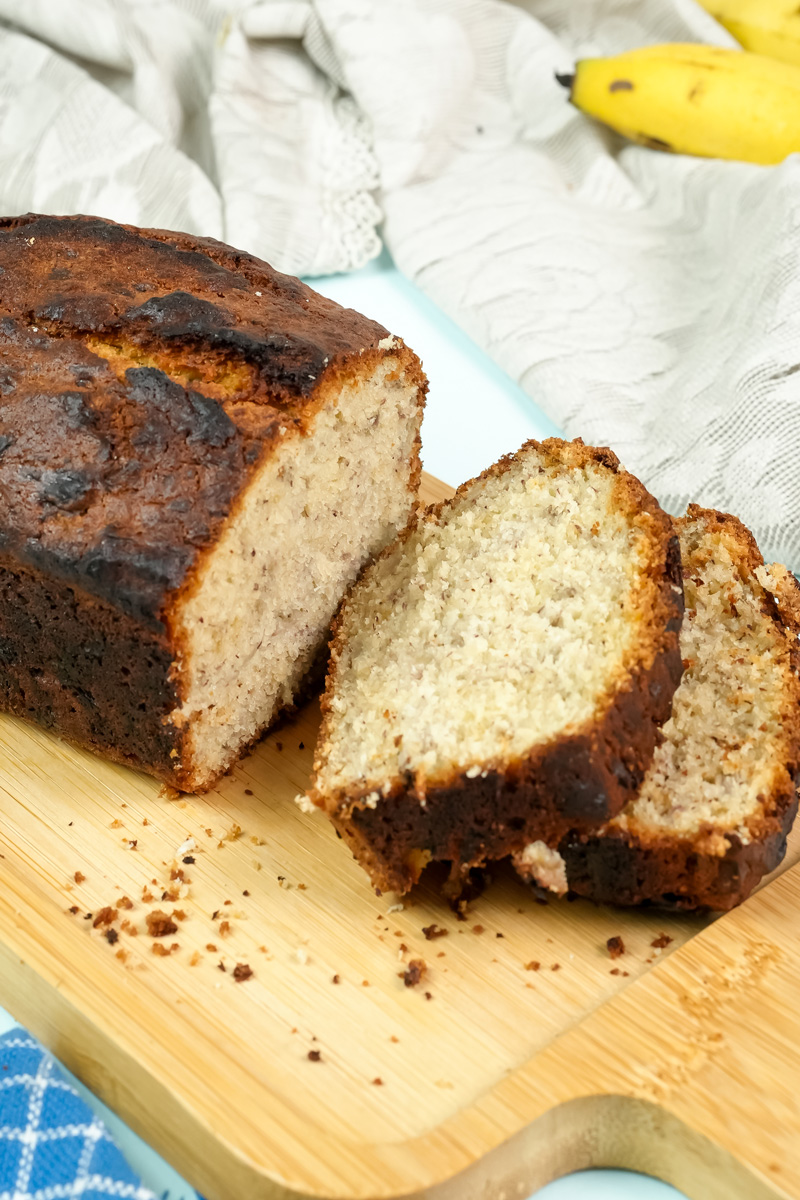
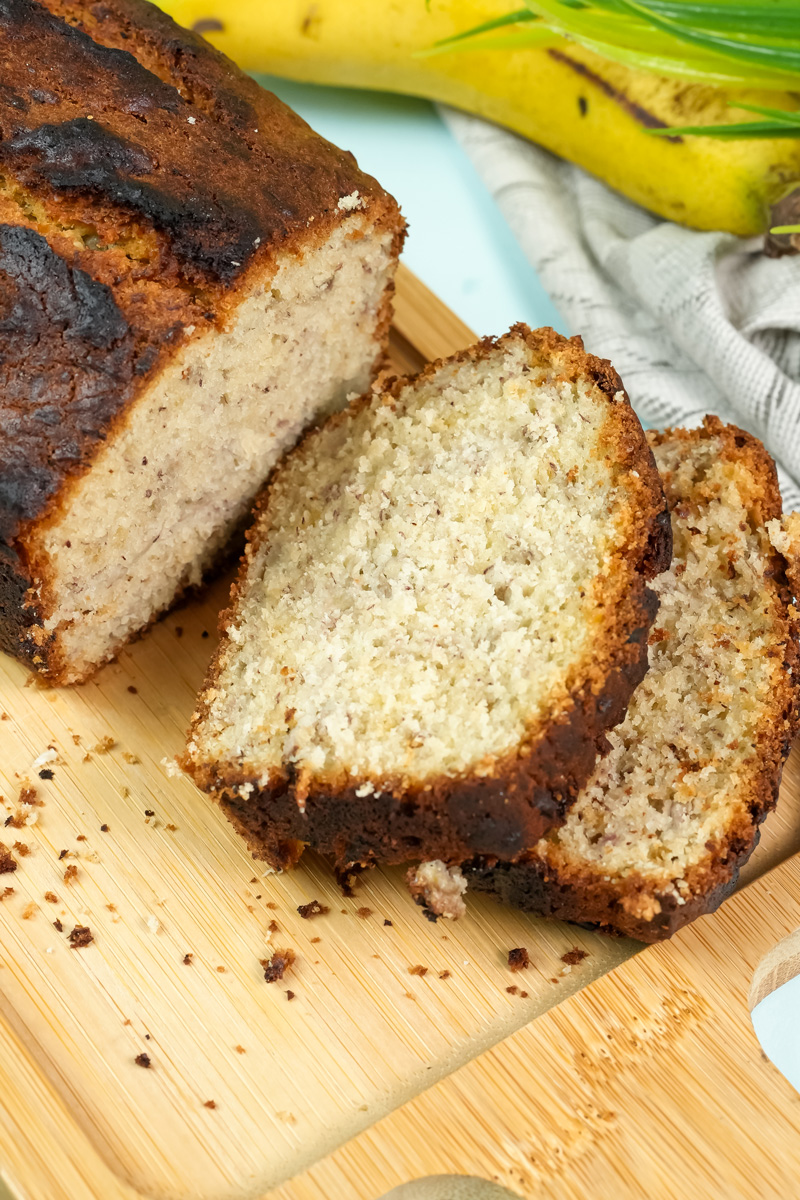
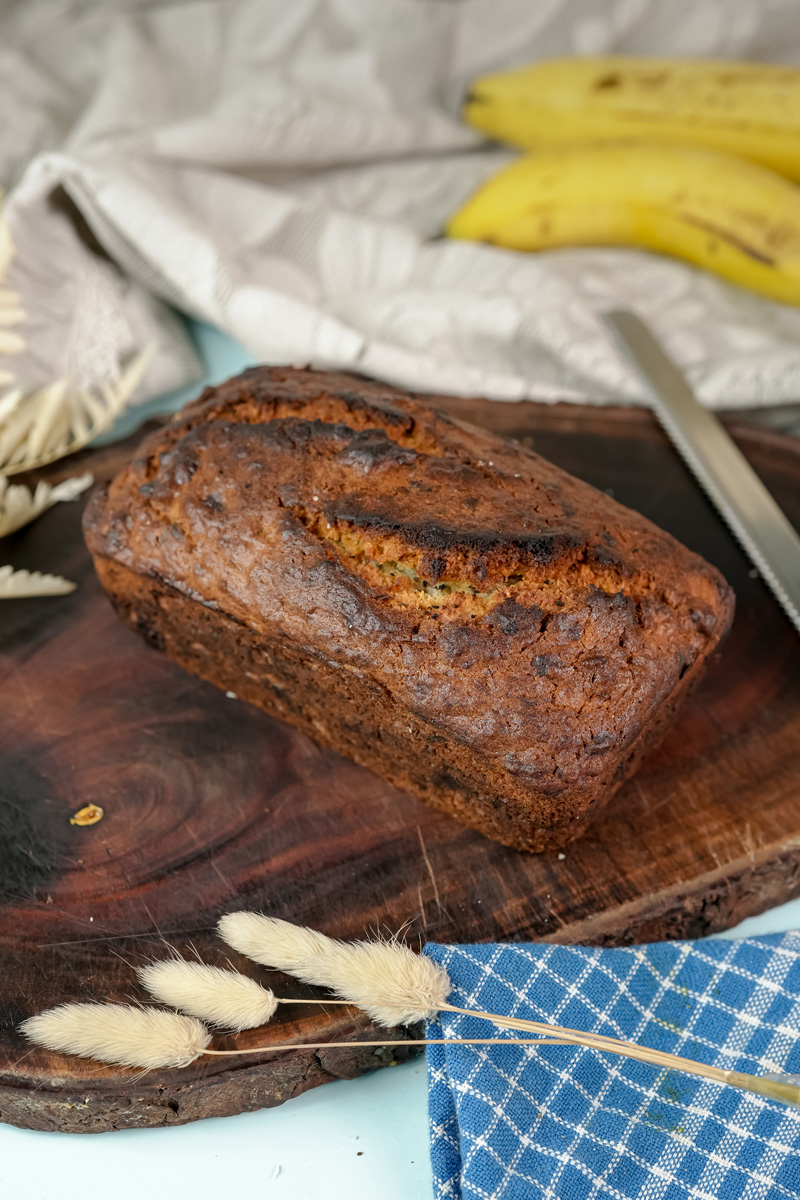
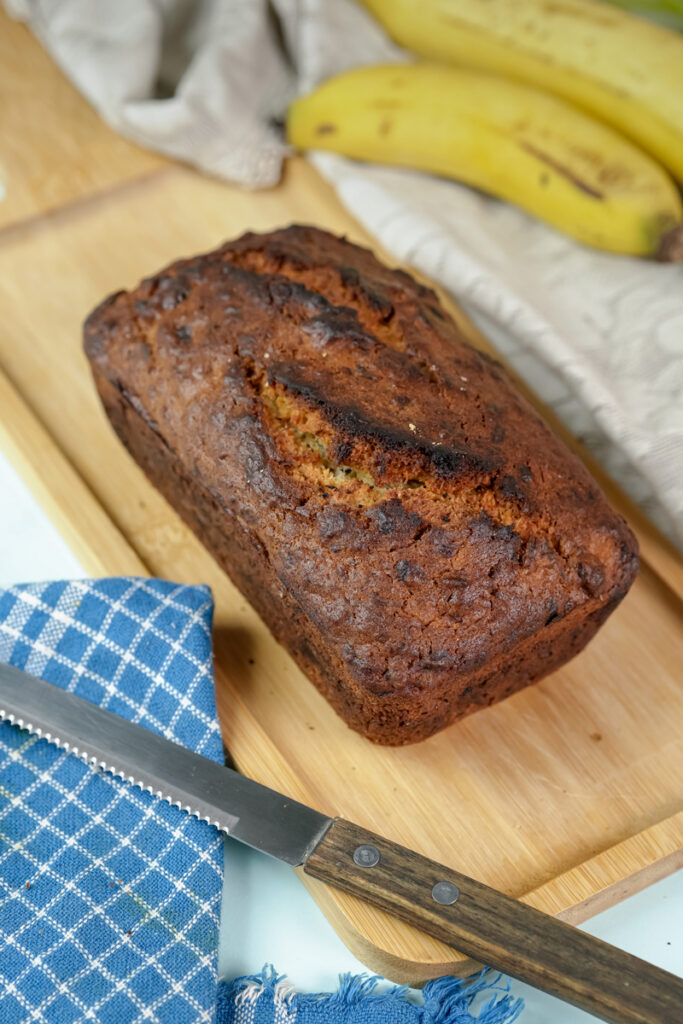
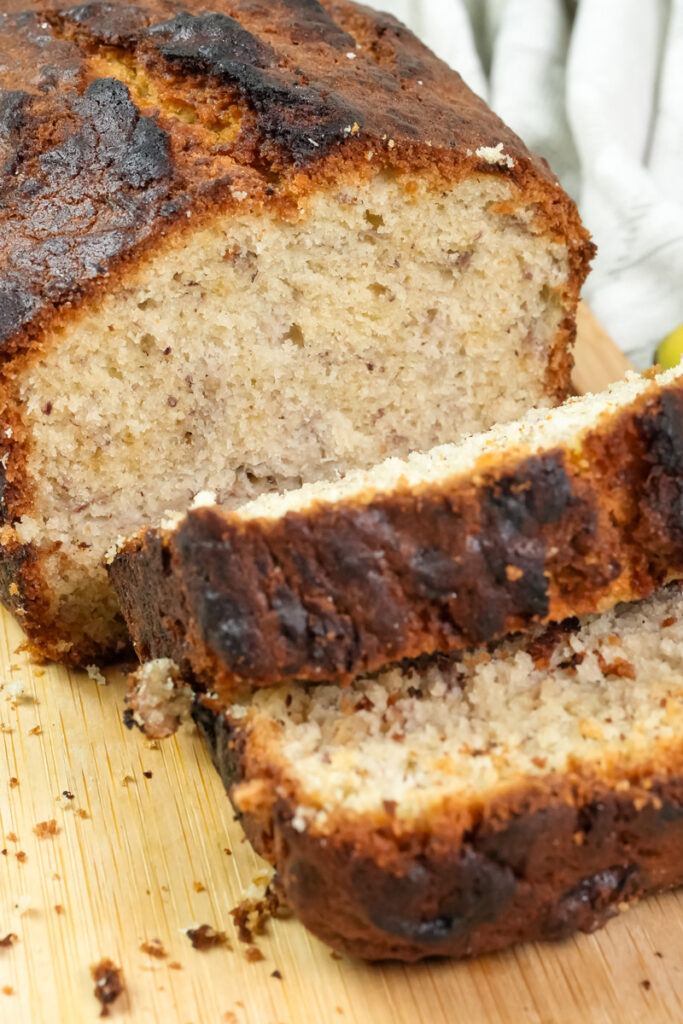
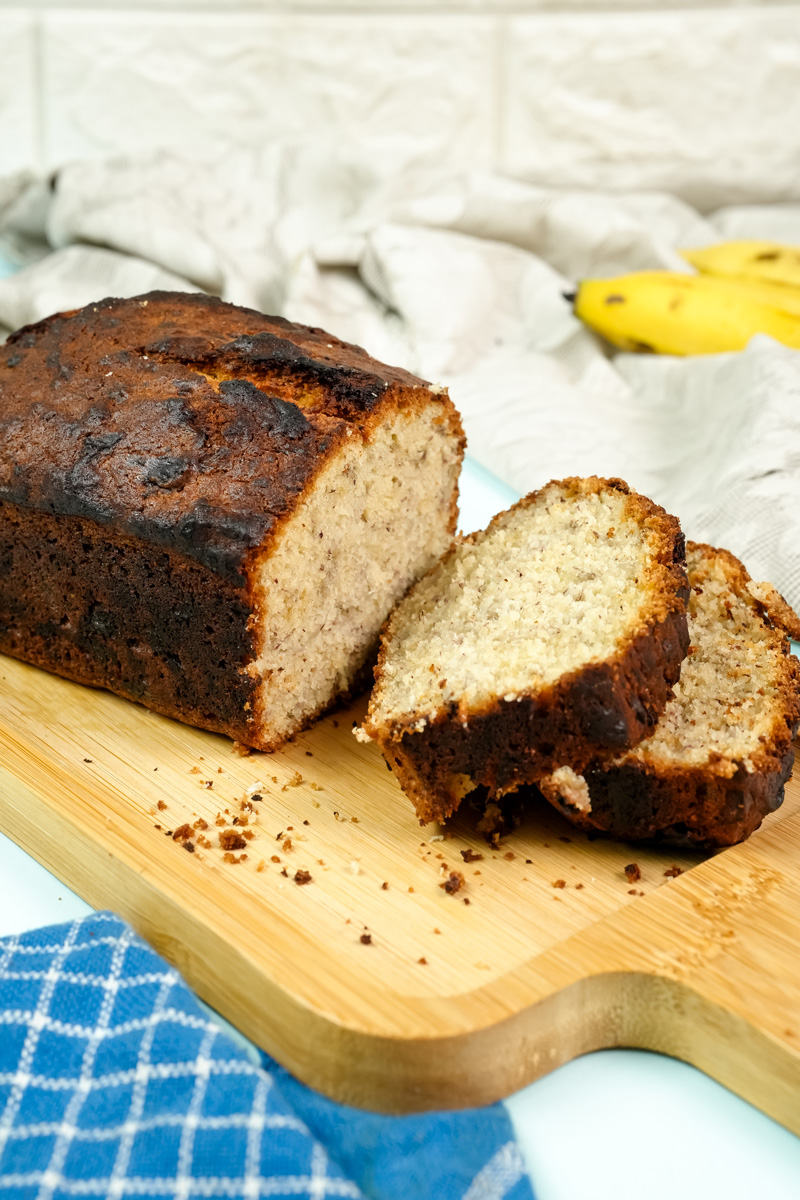
We’re making my go-to Hawaiian Banana Bread. It’s so moist and packed with flavor, it’s basically sunshine in a loaf pan.
In Hawaii, banana bread is more than just a snack. It’s a big, warm hug. It’s that “aloha spirit” you hear about. Most families have a recipe passed down from their “Tutu” (that’s Grandma), each with its own little secret.
My version is inspired by those classic island recipes. The big secret? A whole can of crushed pineapple. And I mean the whole can. Juice and all. This is the key that guarantees your bread will be incredibly moist and stay fresh for days.
So, let’s get started. Put on some good music, roll up your sleeves, and bake a loaf of pure happiness with me.
Your Baking Game Plan
Before we jump in, let’s look at the plan. This recipe is super simple. Seriously, if you can stir things in a bowl, you can make this. But the results will make you look like a pro baker.
- Time Commitment: You’ll need about 15 minutes to mix everything up and about 1 hour for it to bake. The hardest part? Letting it cool for 30-40 minutes afterward. I know, the waiting is tough, but it’s so worth it.
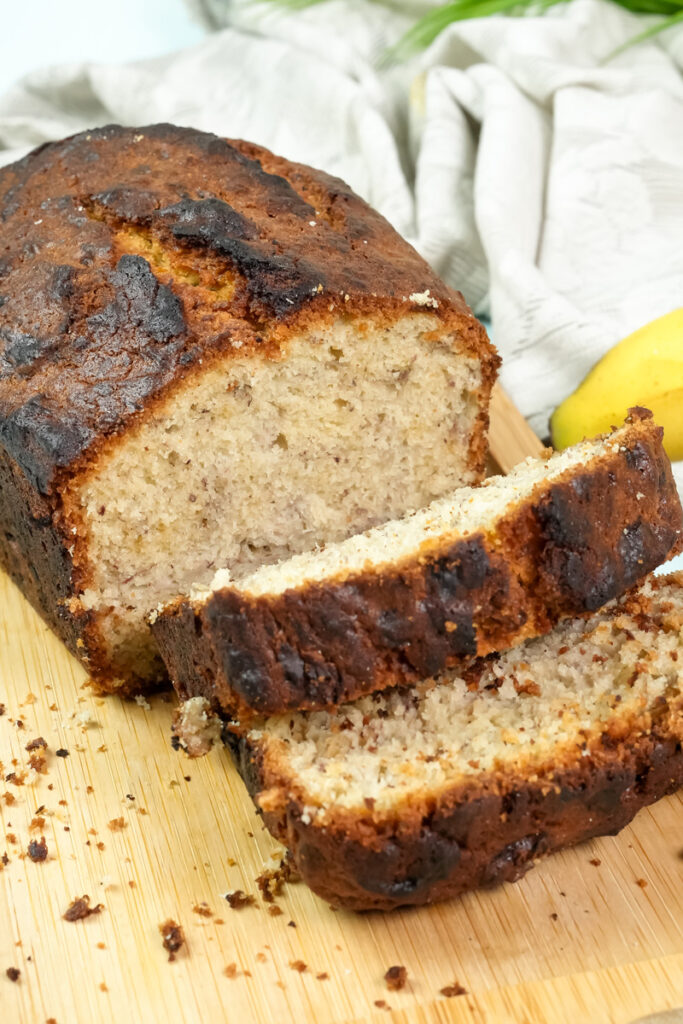
- How Much It Makes: This recipe gives you one beautiful loaf, which is about 8-10 thick, generous slices. If you want to make more to share or freeze, this recipe is easy to double.

| To Make | Pan Type | Baking Time (Approx.) |
| 1 Loaf (This Recipe) | 1 (9×5-inch) Loaf Pan | 60 minutes |
| 2 Loaves (Double Recipe) | 2 (9×5-inch) Loaf Pans | 60-65 minutes |
| ~24 Muffins (Double Recipe) | 2 (12-cup) Muffin Pans | 20-25 minutes |
- Difficulty: Total beginner stuff. The only real skill you need is patience while it bakes and cools!
What You’ll Need
You don’t need a bunch of fancy gadgets for this. Just the basics.
- 2 Mixing Bowls: A big one for the wet stuff, and a medium one for the dry stuff.
- An Electric Mixer: A hand mixer or stand mixer makes things easier. But if you don’t have one? No worries. A good old wooden spoon and some muscle will work just fine. You got this.
- A Loaf Pan: A standard 9×5-inch pan is perfect.
- Parchment Paper or Spray: This is to keep the bread from sticking. I love using parchment paper to make a little “sling.” It lets you lift the whole loaf right out of the pan. It’s like magic.
The Ingredients: A Taste of the Islands
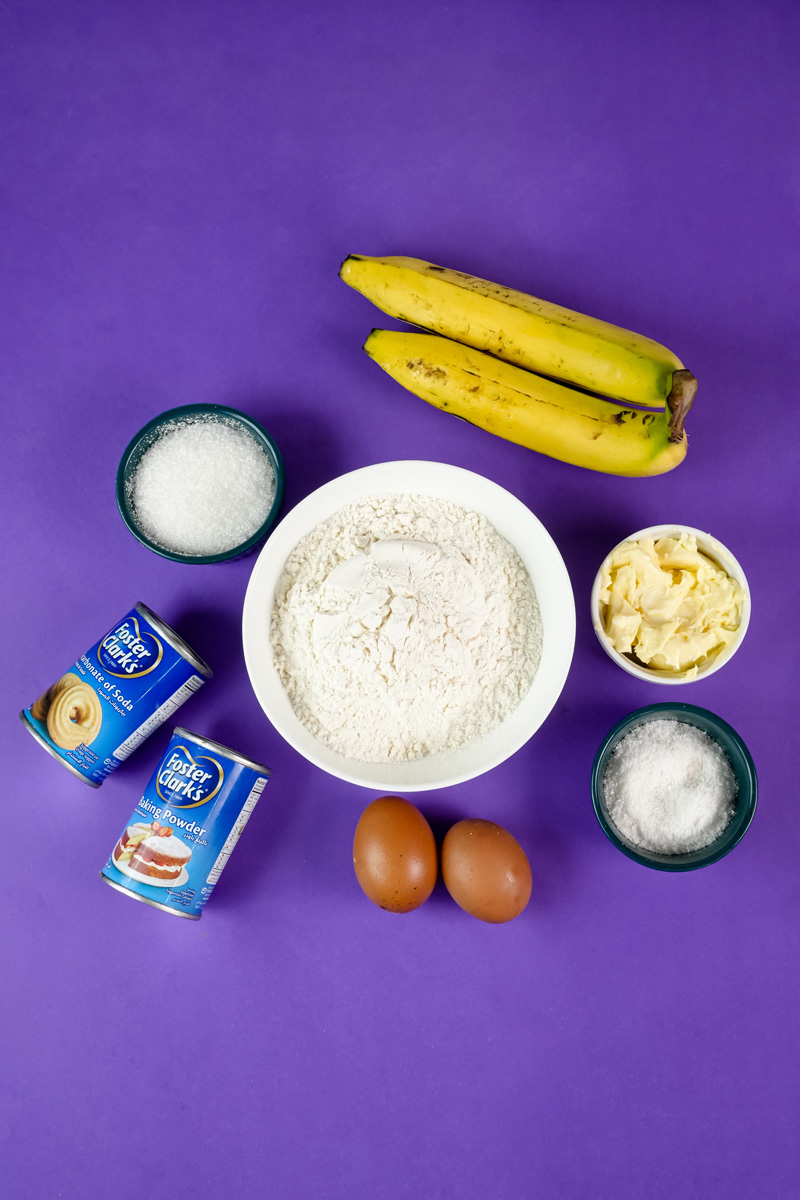
Great bread starts with great ingredients. Here’s what we’re using and why it all works so well together.
First, the dry ingredients: 2 cups of all-purpose flour, 1 teaspoon of baking powder, ½ teaspoon of baking soda, and ¼ teaspoon of salt. Mixing these together first is a little pro-tip. It makes sure everything is spread out evenly, so you don’t get a surprise mouthful of baking soda.
Next, the rich stuff: ½ cup of softened butter and 1 cup of granulated sugar. It’s really important that your butter is soft, but not melted. Soft butter can hold onto air. When you beat it with sugar, it gets light and fluffy, and that’s what makes the bread so tender. We’ll also add 2 large eggs. Try to have them at room temperature, too—they’ll mix in much better.
And now, for the stars of the show!
- 1 Very Ripe Banana: You want the one with lots of brown and black spots. It might look a little sad, but that’s when a banana is at its sweetest and most flavorful.
- A 20-ounce can of Crushed Pineapple: Here’s that secret weapon again. Do not drain the juice! I can’t say this enough. That juice is pure gold. It’s packed with flavor and moisture and is the reason this bread is so amazing.
- ¼ cup of Sweetened Shredded Coconut: This adds a wonderful, chewy texture and a sweet, nutty flavor that pulls everything together.
The Method: Let’s Bake!
Alright, time to make the magic happen. Follow these steps, and you’ll have a perfect loaf every time.
Step 1: Get Things Ready
First, get your oven preheating to 350°F (175°C). Prep your loaf pan by greasing it and lining it with parchment paper. Remember to leave some paper hanging over the sides to use as handles later.
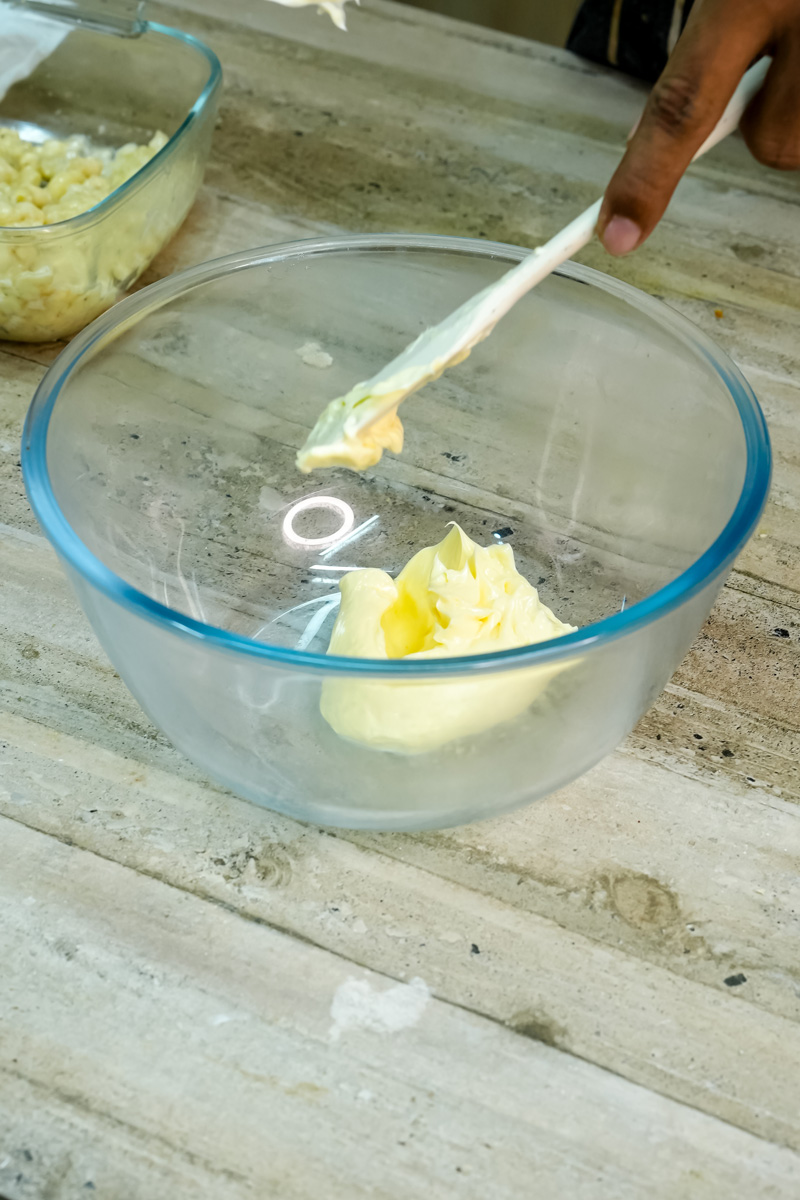
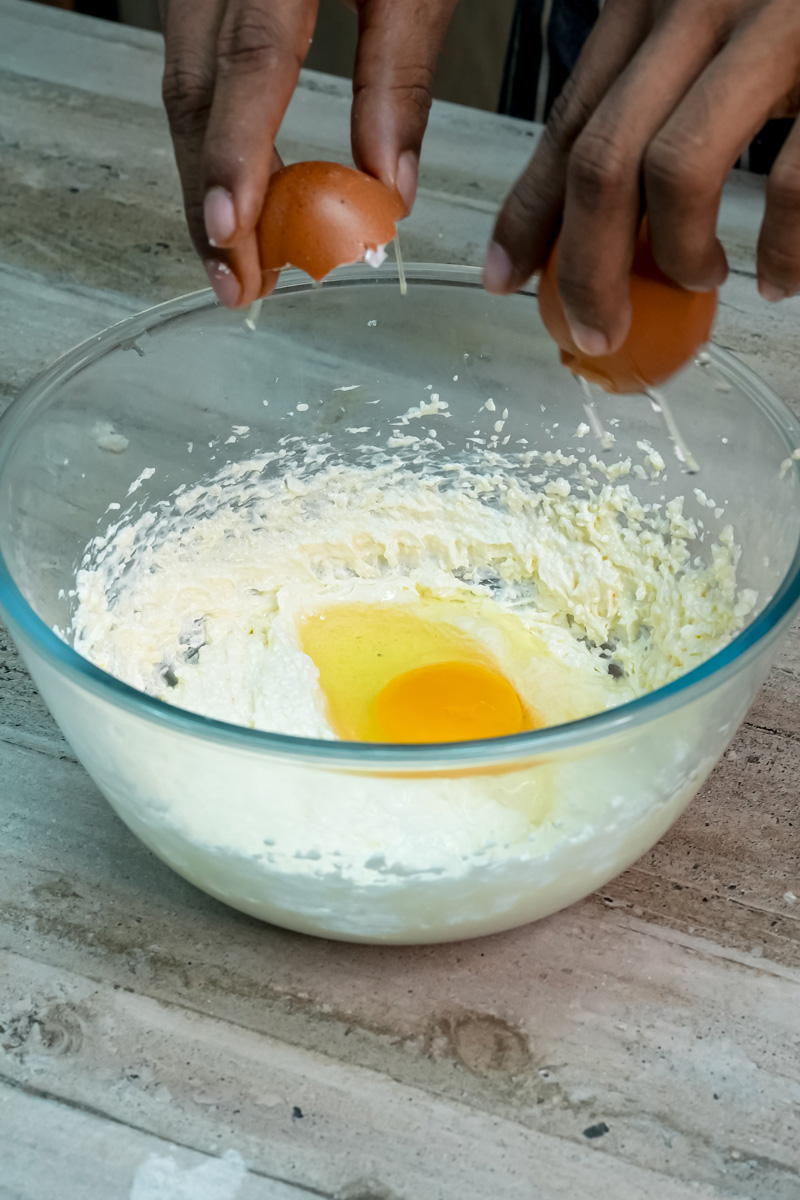
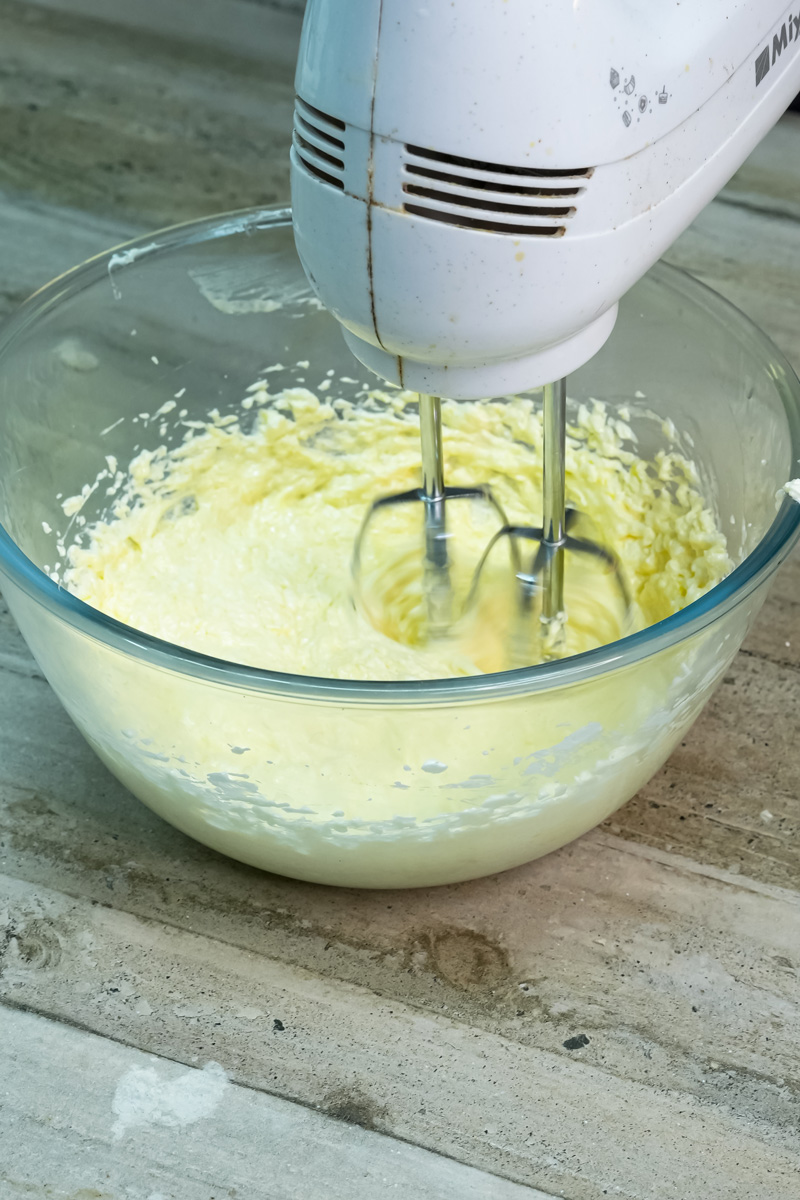
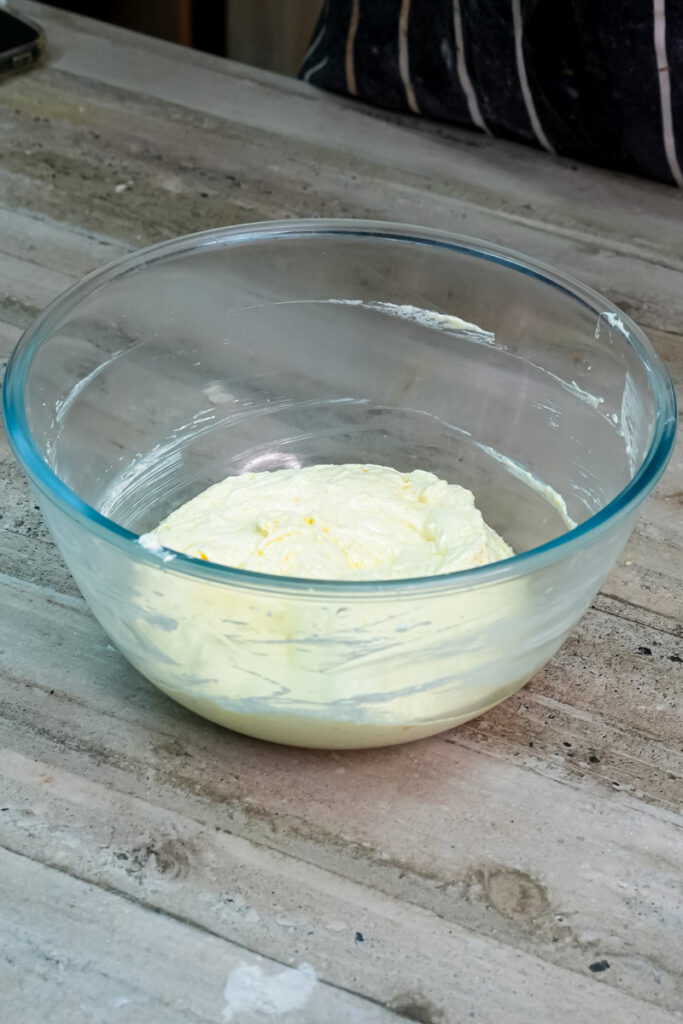
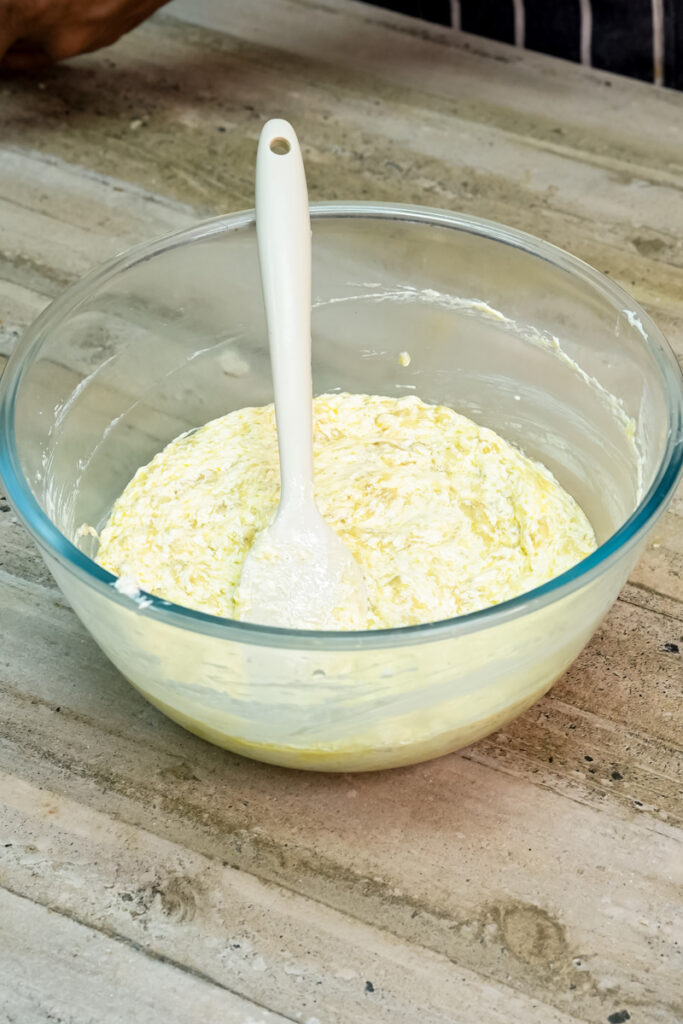
In your big bowl, put the softened butter and sugar. Start mixing on low speed with your electric mixer. It’ll look kind of sandy at first. Just keep mixing. After a minute or two, you’ll see it get lighter in color and much fluffier. That’s what you want! Now add the eggs, one at a time, mixing just enough to combine after each one. Don’t go crazy here; overmixing can make the bread tough.
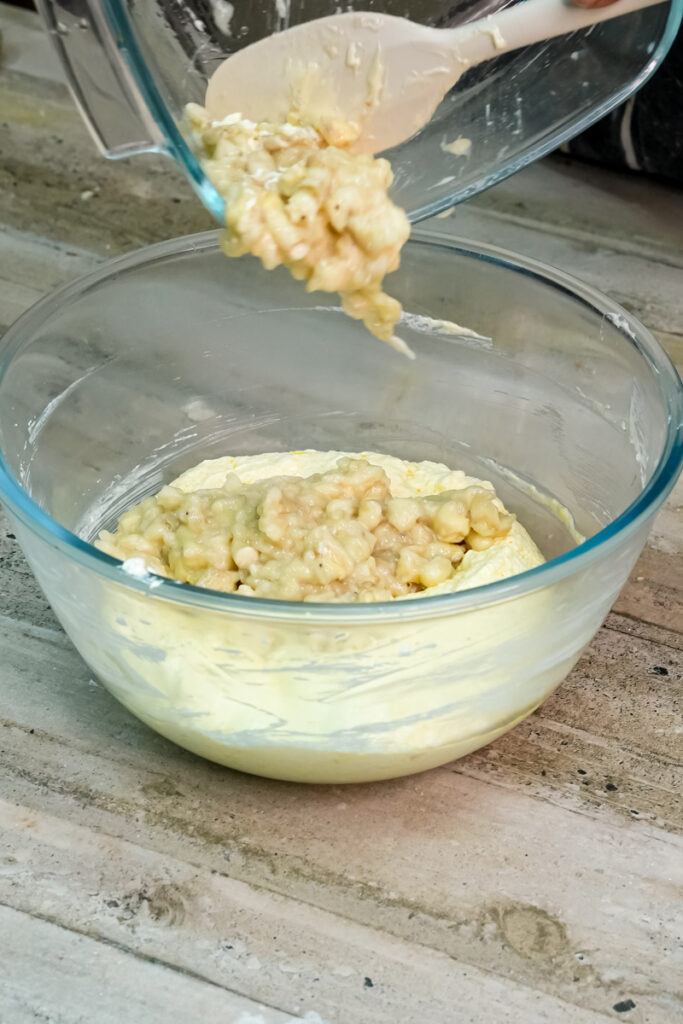
Step 2: Add the Tropical Flavors
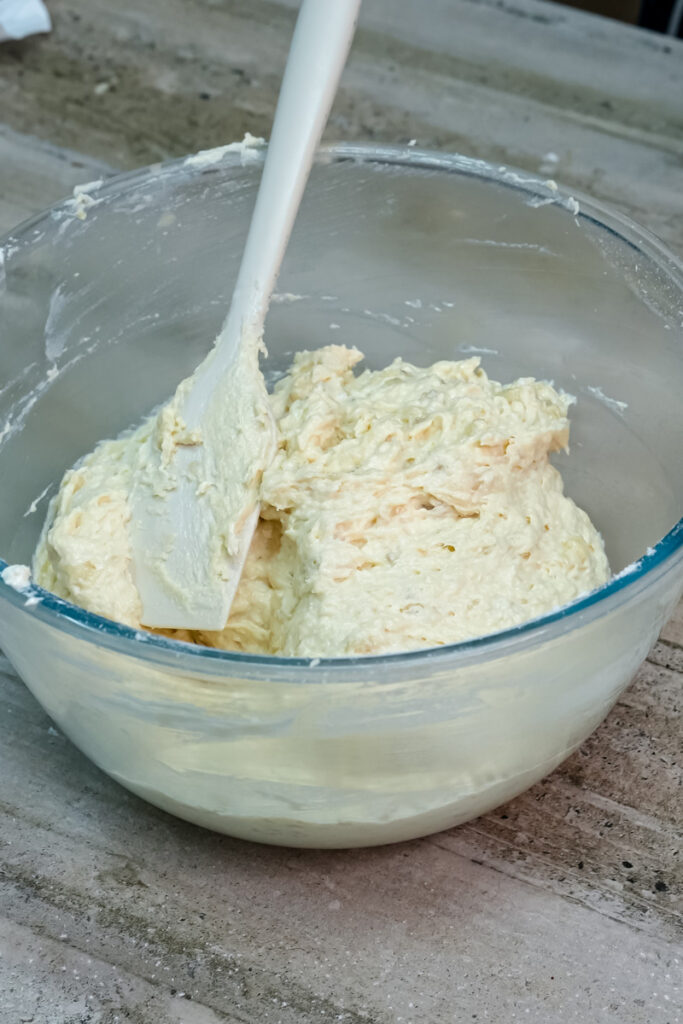
Turn the mixer down to its lowest setting. Time for the good stuff. Gently mix in your mashed banana and the entire can of crushed pineapple with all its juice. The batter will look pretty wet and a little lumpy. Don’t panic! That is exactly what it should look like. Those fruit lumps will turn into amazing little pockets of moisture.
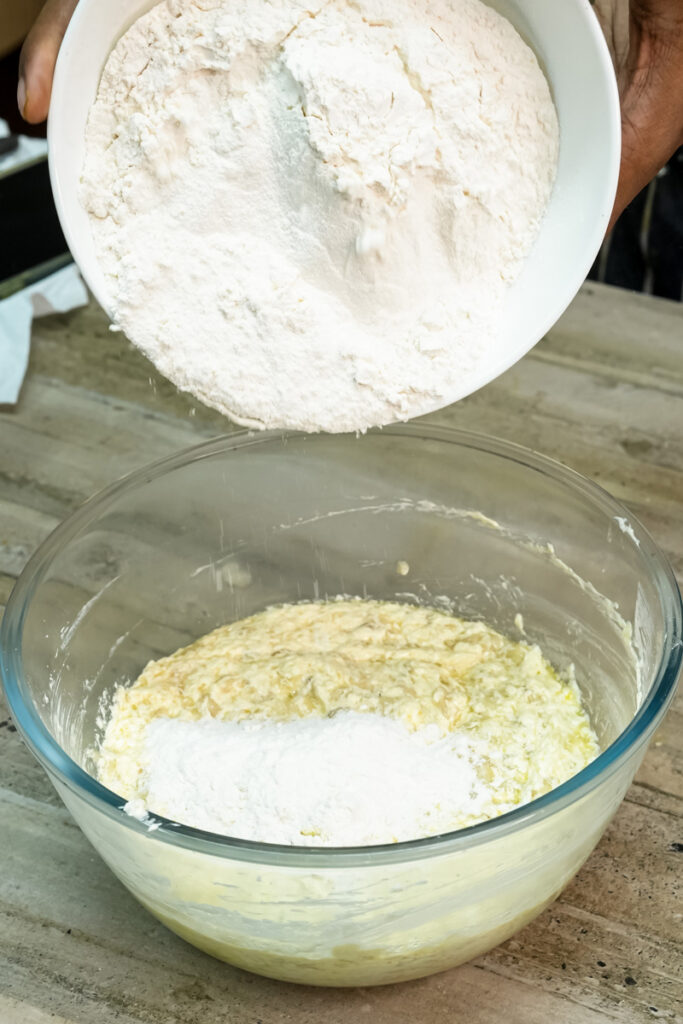
Step 3: Combine Wet and Dry
In your other bowl, whisk the flour, baking powder, baking soda, and salt together. This quick step makes sure the bread rises perfectly.
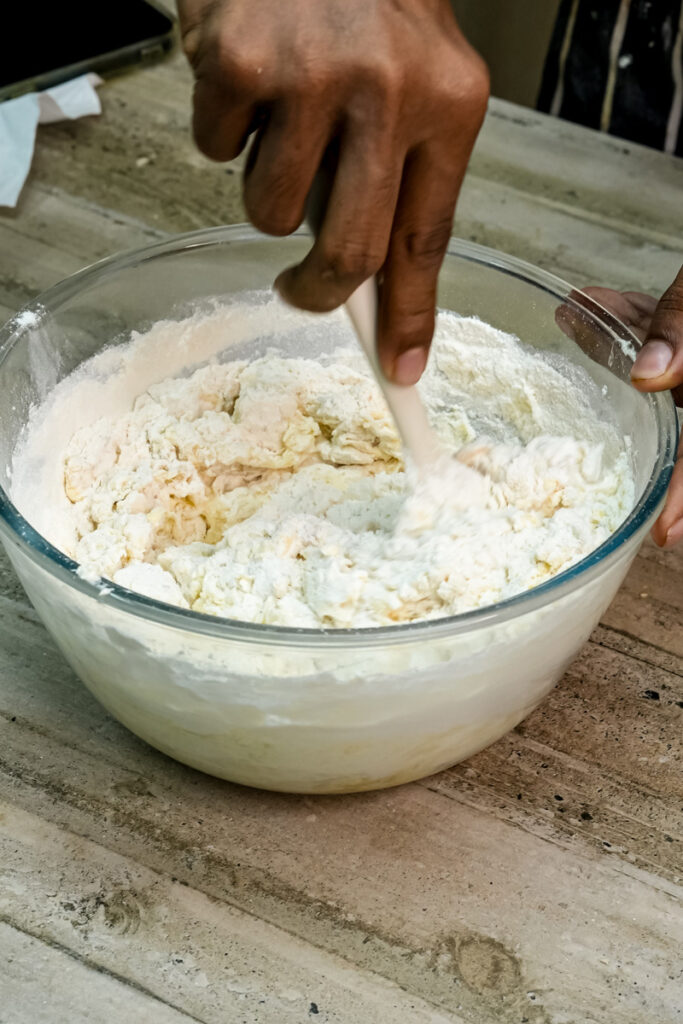
Now, add this dry mix to your wet ingredients. Stop using the electric mixer for this part! Switch to a spatula or a wooden spoon. Gently fold the flour mixture in until you don’t see any more white streaks. A few lumps are totally fine. Overmixing right now is the number one enemy of soft, tender bread. It makes it tough and chewy, and nobody wants that.
Step 4: Final Mix and Bake
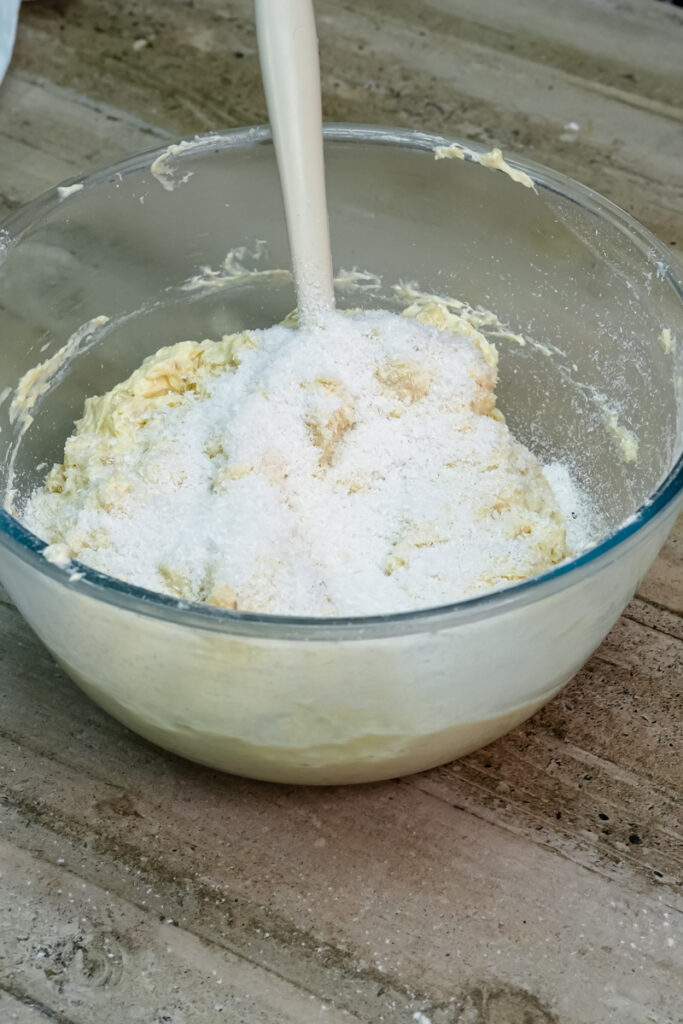
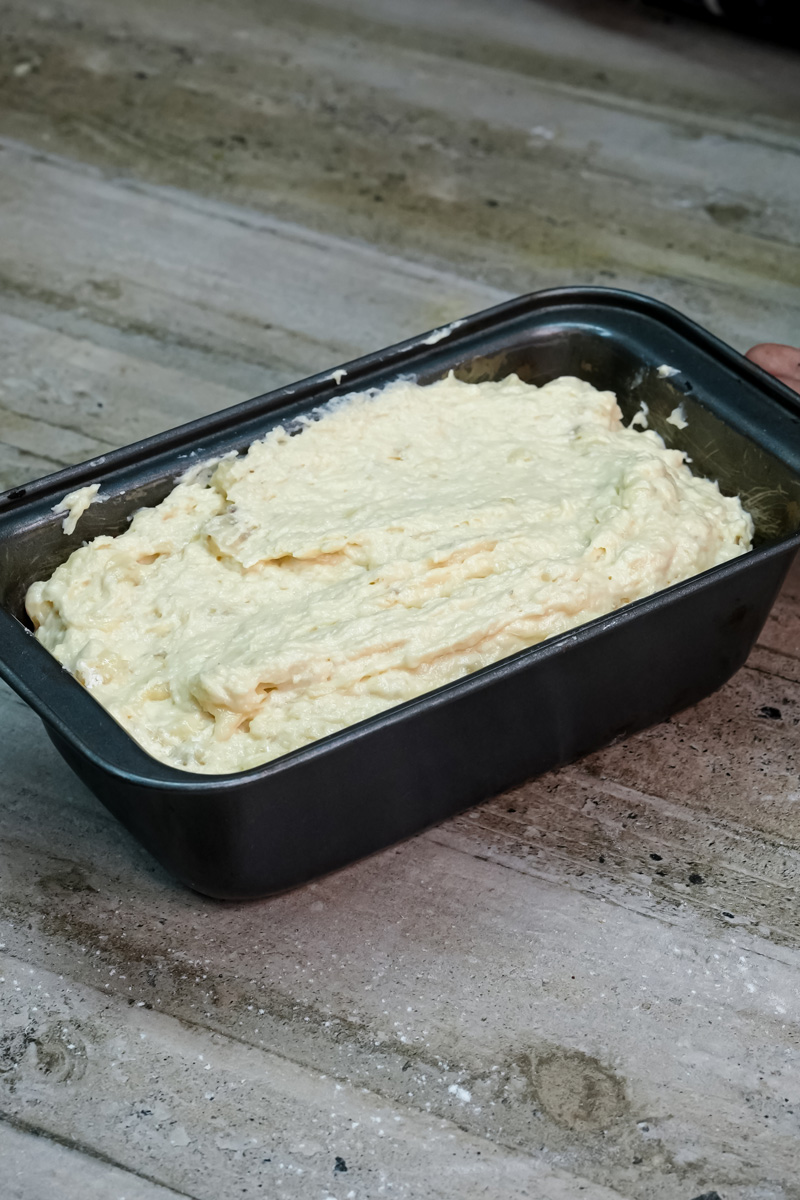
Gently stir in the shredded coconut. It should smell absolutely incredible at this point! Pour the batter into your loaf pan and spread it out evenly.
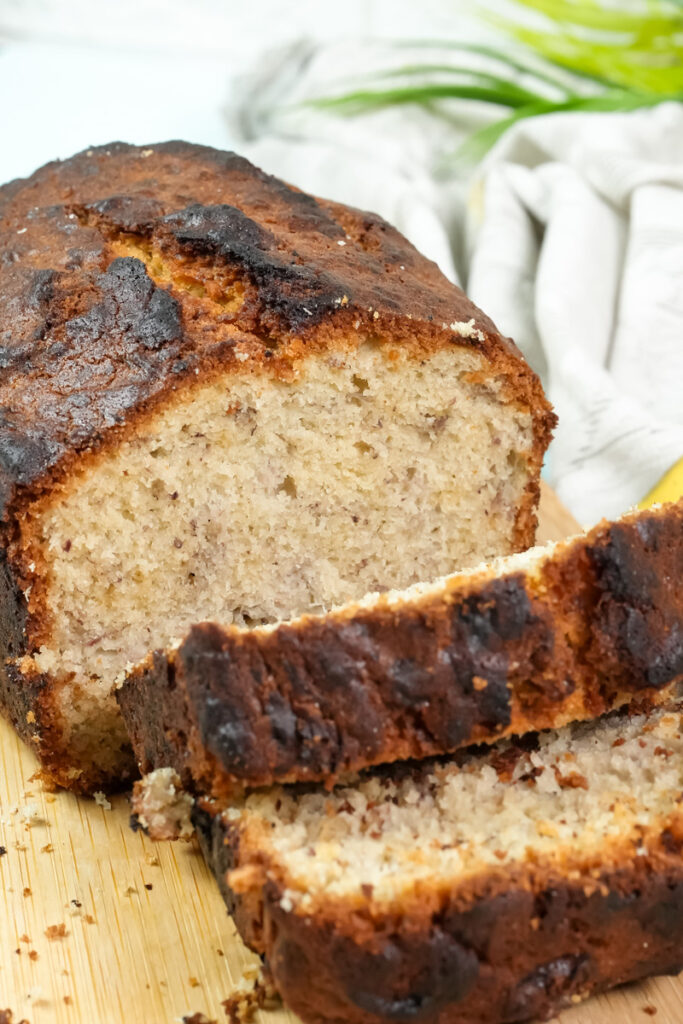
Pop it onto the center rack in your hot oven and bake for 1 hour. About 45 minutes in, your whole house is going to smell like a tropical bakery. When the top is a deep golden brown, check if it’s done. Stick a toothpick into the center of the loaf. If it comes out clean, it’s ready!
Step 5: The Cool Down (The Hardest Part!)
I know you want to slice into it right away, but please wait! Let the bread cool in the pan for at least 15-20 minutes. This helps it firm up. Then, use your parchment paper handles to lift it out and let it cool the rest of the way on a wire rack. If you cut it while it’s hot, it can be gummy and fall apart. Your patience will be rewarded, I promise.
Make It Your Own
The best part about this recipe is that you can play with it. Think of it as a starting point.
- Go Nuts: Love a good crunch? Fold in ½ cup of chopped macadamia nuts or walnuts when you add the coconut.
- Spice It Up: Add 1 teaspoon of cinnamon and ¼ teaspoon of nutmeg to the flour mixture. It gives the bread a warm, cozy feeling, perfect for cooler days.
- For a Gluten-Free Loaf: Just swap the all-purpose flour with your favorite 1-to-1 gluten-free baking flour.
- For a Vegan Loaf: Use plant-based butter and swap the eggs for two “flax eggs.” (To make one, mix 1 tablespoon of ground flaxseed with 3 tablespoons of water and let it sit for a few minutes to thicken).
- Add a Drizzle: Want to get fancy? Whisk together some powdered sugar with a tiny splash of milk or pineapple juice and a drop of vanilla. Drizzle it over the cooled loaf and sprinkle with more toasted coconut. Gorgeous!
How to Serve and Store Your Bread
You did it! Now for the best part: eating it.
This bread is fantastic all by itself. But a warm slice with a little bit of salted butter? Heaven. For a dessert that will wow everyone, top a slice with a scoop of vanilla ice cream and a drizzle of caramel.
To store it, wrap it up tight in plastic wrap or put it in an airtight container. It’ll stay fresh and moist on the counter for up to 4 days. If you want to warm it up, just pop a slice in the microwave for 15 seconds.
It also freezes beautifully. You can freeze the whole loaf or slice it up first for quick breakfasts. Just wrap it well in plastic and foil. It’ll be good for up to 3 months.
Enjoy every last crumb! Happy baking!
PrintHawaiian Banana Bread
Escape to the tropics with a slice of this incredibly moist Hawaiian Banana Bread! Packed with sweet pineapple and chewy coconut, this easy recipe creates a tender, flavorful loaf that’s like sunshine in your kitchen. Perfect for breakfast, a snack, or dessert.
- Prep Time: 15 minutes
- Cook Time: 1 hour
- Total Time: 1 hour 15 minutes (+ cooling time)
- Yield: 8–10 slices 1x
- Category: Quick Bread, Dessert, Snack
- Cuisine: American, Hawaiian-Inspired
Ingredients
Dry Ingredients:
- 2 cups all-purpose flour
- 1 cup granulated sugar
- 1 tsp baking powder
- ½ tsp baking soda
- ¼ tsp salt
- ¼ cup sweetened shredded coconut
Wet Ingredients:
- ½ cup (1 stick) unsalted butter, softened to room temperature
- 2 large eggs, room temperature
- 1 very ripe banana, mashed
- 1 (20-ounce) can crushed pineapple, with juice
Instructions
- Prep: Preheat your oven to 350°F (175°C). Grease and line a 9×5-inch loaf pan with parchment paper, leaving some overhang to use as handles.
- Cream: In a large bowl, use an electric mixer to beat the softened butter and sugar together until light and fluffy, about 2-3 minutes. Beat in the eggs one at a time until just combined.
- Mix Wet Ingredients: On low speed, mix in the mashed banana and the entire can of crushed pineapple (with its juice). The batter will look lumpy and wet—this is perfect!
- Combine: In a separate bowl, whisk together the flour, baking powder, baking soda, and salt. Add the dry ingredients to the wet ingredients and use a spatula to gently fold until just combined. Do not overmix!
- Bake: Gently stir in the shredded coconut. Pour the batter into your prepared loaf pan. Bake for 1 hour, or until a toothpick inserted into the center comes out clean.
- Cool: Let the bread cool in the pan for 15 minutes before using the parchment handles to lift it out. Let it cool completely on a wire rack before slicing. Patience is key!
Notes
- Tips & Tricks:
- Don’t Drain the Pineapple! The juice is the secret to an ultra-moist loaf.
- Use Very Ripe Bananas: The more brown spots, the sweeter and more flavorful your bread will be.
- Don’t Overmix: Gently folding the flour in keeps the bread tender, not tough. A few lumps in the batter are okay!
- Serving Suggestions:
- Delicious on its own, or serve a warm slice with a smear of salted butter.
- For a decadent dessert, top with a scoop of vanilla or coconut ice cream.
- Storage & Reheating:
- Store in an airtight container at room temperature for up to 4 days.
- To reheat, microwave a slice for 15-20 seconds.
- This bread freezes perfectly! Wrap the whole loaf or individual slices tightly and freeze for up to 3 months. Thaw at room temperature.