Hey, fellow bakers!
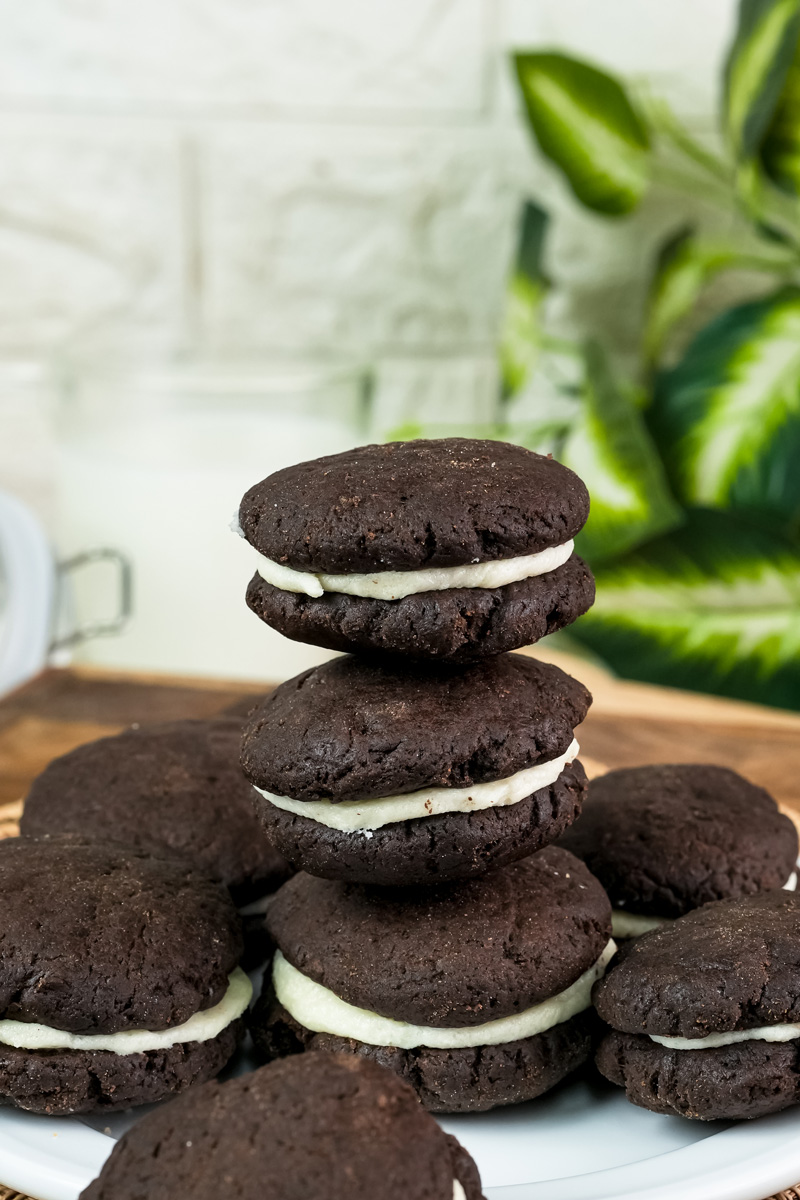
Let me tell you about one of my favorite memories: sitting at the kitchen table, dunking an Oreo into a cold glass of milk. It’s a simple pleasure, right? The crisp, dark cookie, the sweet, creamy filling… I wanted to make that same treat at home. But not just any version—one that tastes even better.
My homemade Oreo cookies recipe isn’t a carbon copy. It’s a fresh take, using good ingredients to get that familiar flavor you love, but with a richer, more satisfying bite. And the best part? It’s so easy. Seriously.
Ready to make some magic?
Recipe at a Glance
Let’s quickly break down the plan. This recipe is super simple, whether you’ve baked a hundred times or never baked before. You’ll make the cookies, whip up the filling, and then assemble your masterpieces.
The total time? About 50 minutes. That includes 30 minutes to prep the dough and filling, 10 minutes to chill the dough (this is a must), and 10 minutes to bake. Trust me, that chilling step is the secret to a perfect cookie.
This recipe makes about 15 sandwich cookies. Perfect for a small get-together or just to have on hand for when a craving hits. Need more? You can easily double or triple the recipe. I even put together a handy table to help you with the measurements.
| Yield (cookies) | All-purpose flour | Dutch-process cocoa powder | Unsalted butter | Granulated sugar | Powdered sugar | Vanilla extract |
| 15 | 1 cup | 1/2 cup | 1 stick + 1 stick | 1/2 cup | 1 1/2 cups | 1 tsp + 1 tsp |
| 30 | 2 cups | 1 cup | 2 sticks + 2 sticks | 1 cup | 3 cups | 2 tsp + 2 tsp |
| 45 | 3 cups | 1 1/2 cups | 3 sticks + 3 sticks | 1 1/2 cups | 4 1/2 cups | 3 tsp + 3 tsp |
The difficulty level? Easy. There are a few things to get right, but I’ll walk you through everything so you can’t fail.
What You’ll Need
You don’t need a bunch of fancy tools. A stand mixer or food processor makes things a little easier, especially for the filling, but a regular spatula works too. Besides that, you’ll need:
- A small cookie scoop
- Two baking sheets
- Parchment paper
- A pastry bag or spatula for the filling
The good news? This recipe is great for making ahead. You can bake the cookies and store them for up to two days before filling them. This makes it easy to have a fresh treat whenever you want.
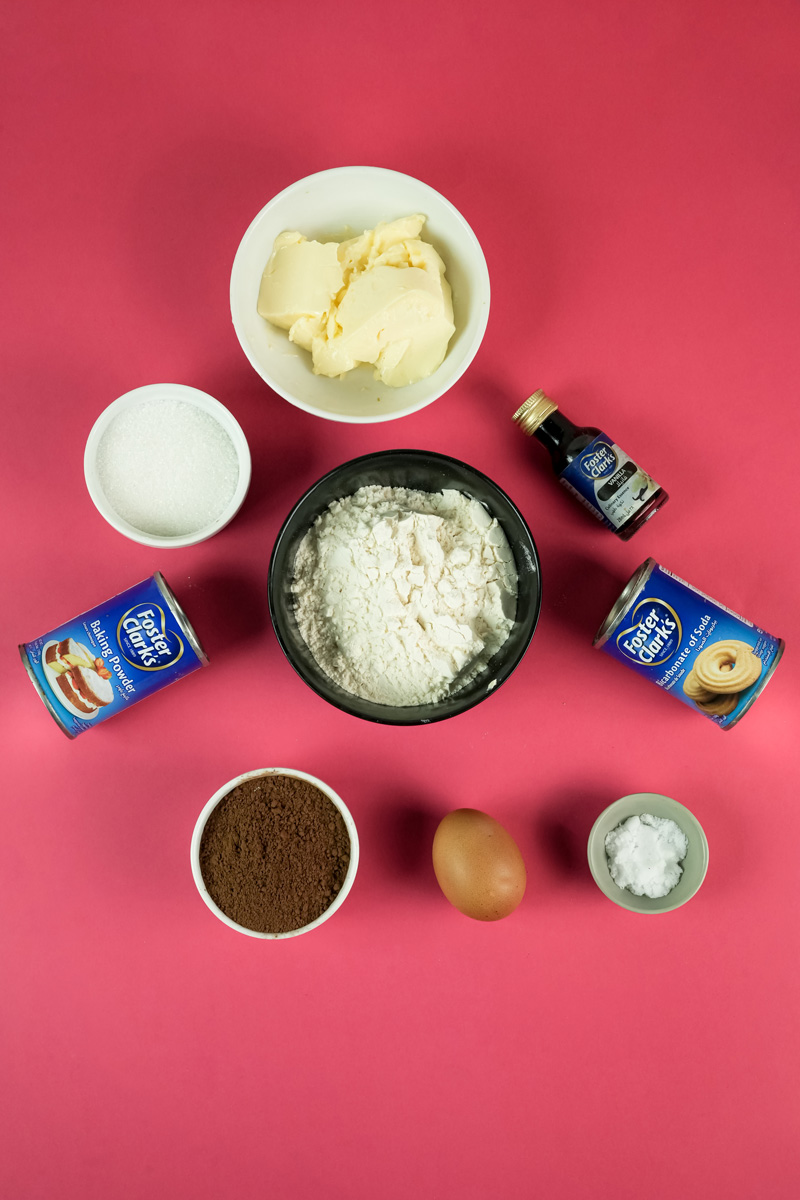
Ingredients: The Secret Sauce
The magic of these cookies is all about the ingredients. Let’s talk about what you need and a few pro tips.
For the cookies, you’ll use all-purpose flour, Dutch-process or black cocoa powder, baking soda, baking powder, and a little bit of salt.
A quick note on the cocoa powder: This is key. Dutch-process or black cocoa powder is what gives Oreos their super dark color and a less bitter flavor. It’s a game-changer. You might have to grab it from a specialty store or online, but it’s worth it.
You’ll also need granulated sugar, unsalted butter that’s slightly soft (but still cool!), and one large egg. The cool butter is important—it keeps the cookies from spreading all over the pan.
For the filling, it’s a simple list but requires a little bit of technique.
You’ll need another stick of unsalted butter, again, at a cool room temperature. This is how you get that whipped, fluffy filling without it getting greasy.
Use pure vanilla extract, not the fake stuff. It makes a huge difference in the flavor.
And finally, powdered sugar and a pinch of salt. Pro tip: Sift the sugar! It takes an extra minute but guarantees a perfectly smooth, lump-free filling.
Step-by-Step Method: Let’s Do This!
Ready? Let’s make some delicious cookies together.
Making the Cookies
Prep your space. Preheat your oven to 375°F. Line two baking sheets with parchment paper. This makes cleanup a breeze.
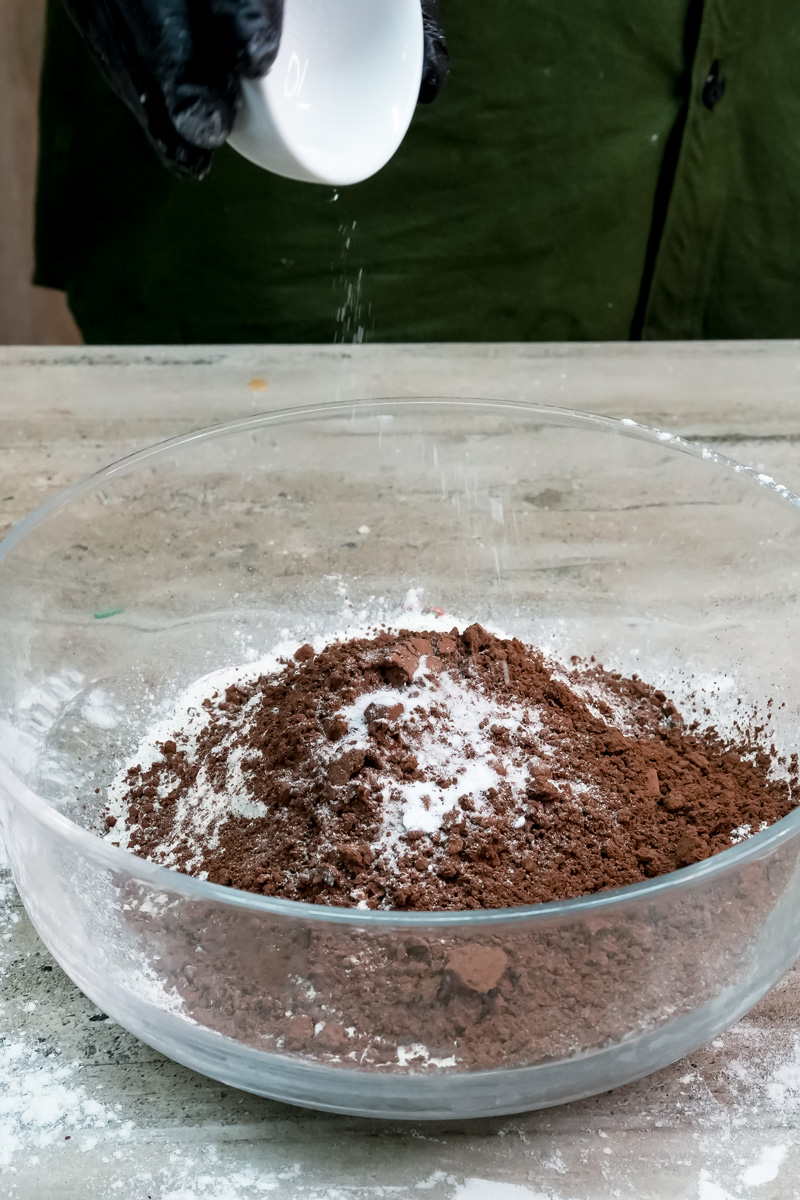
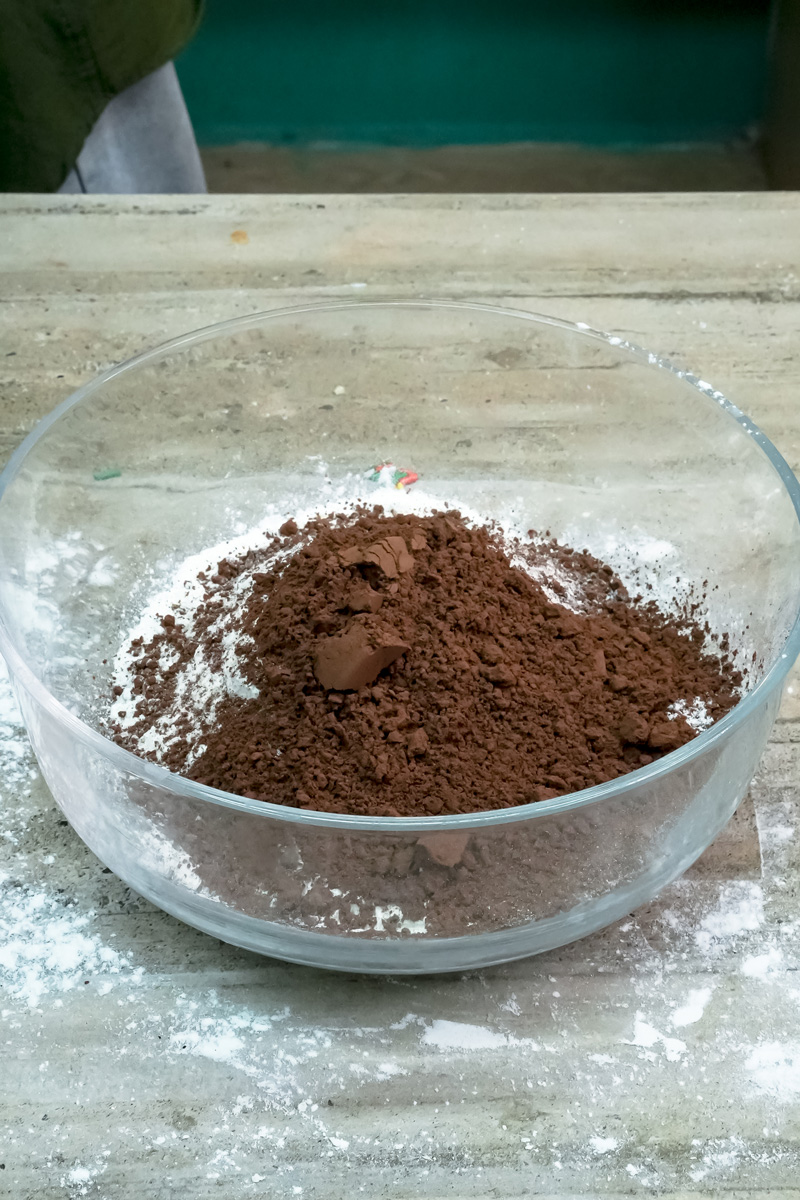
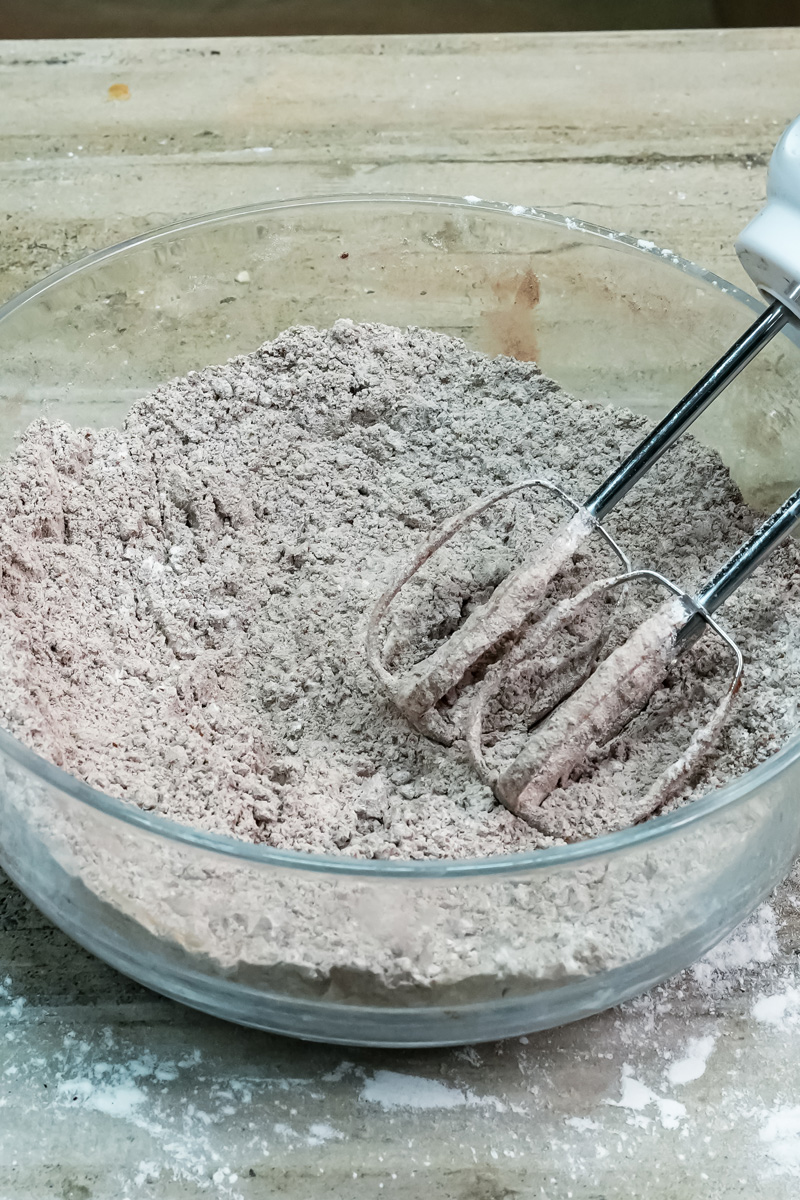
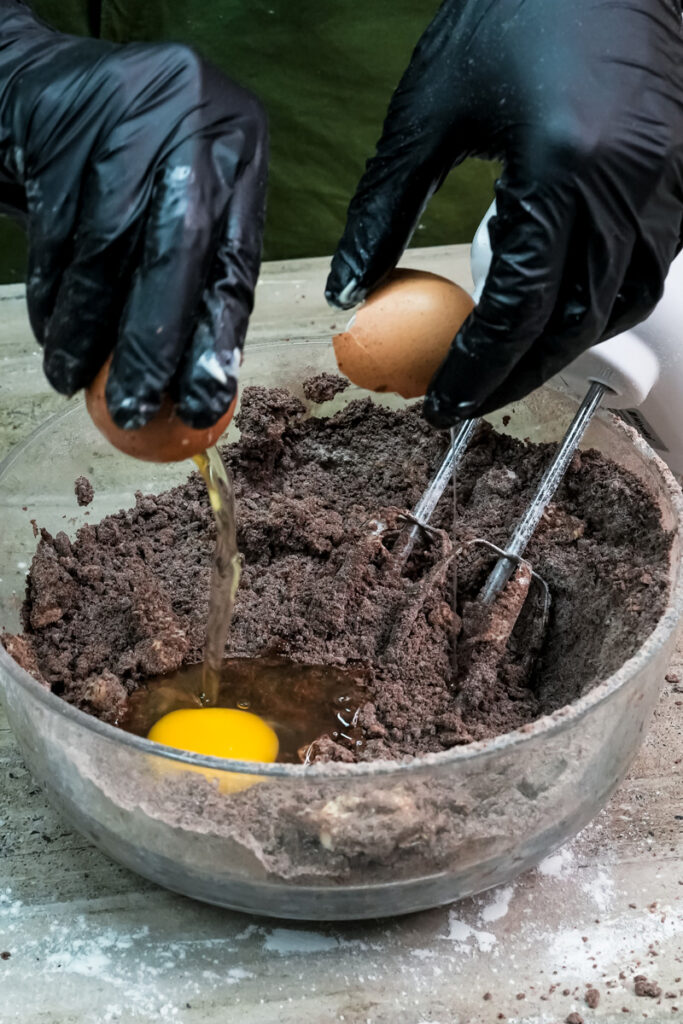
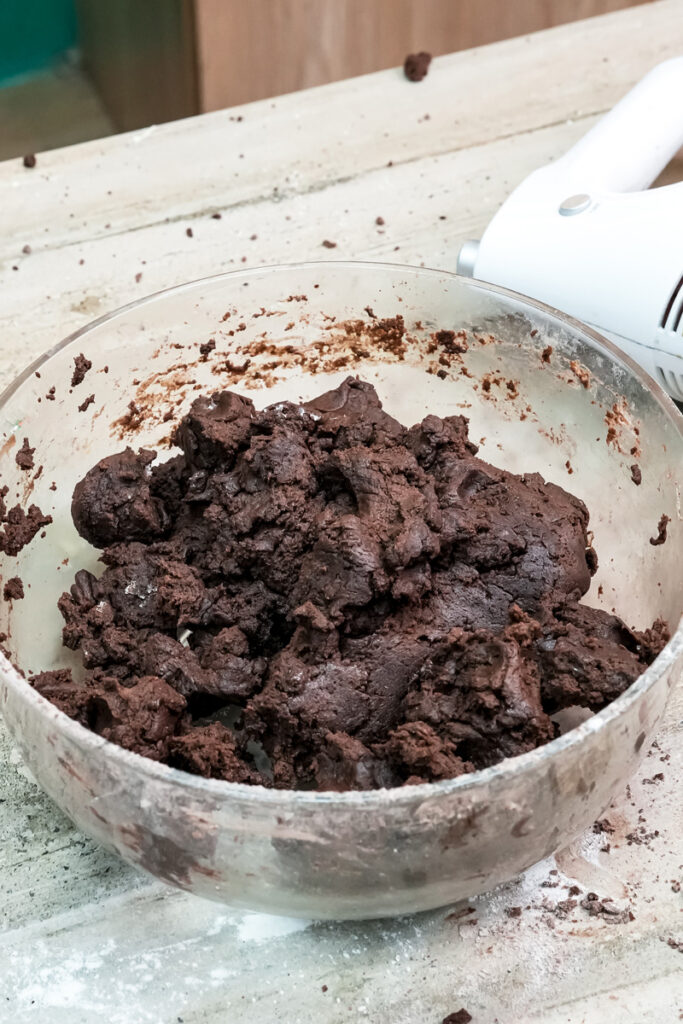
Mix the dough. In a food processor or a stand mixer, combine all the dry cookie ingredients: flour, cocoa powder, baking soda, baking powder, salt, and granulated sugar. Give it a quick mix. Now, add the cold butter in chunks while the mixer is on low. The mix will start to look like wet sand. Once the butter is mixed in, add the egg and keep mixing for about a minute. The dough will come together into a nice, smooth ball.
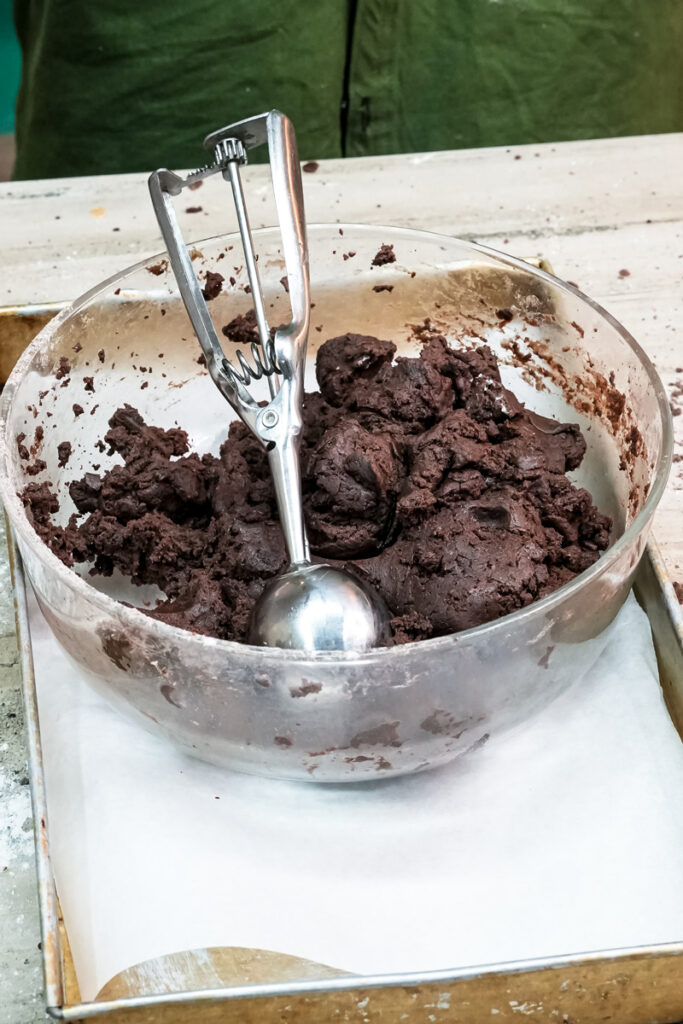
Shape and flatten. Use a 1-Tablespoon scoop to get uniform balls of dough. Place them on the baking sheets, leaving about 2 inches between them. Now for another pro tip: dampen your hand with a little water and gently press each ball down to about 1/8-inch thick. You want a thin, even circle.
Chill out! Put your cookie trays in the fridge for at least 10 minutes. This step is super important. It sets the butter so your cookies hold their shape and don’t turn into flat puddles in the oven.
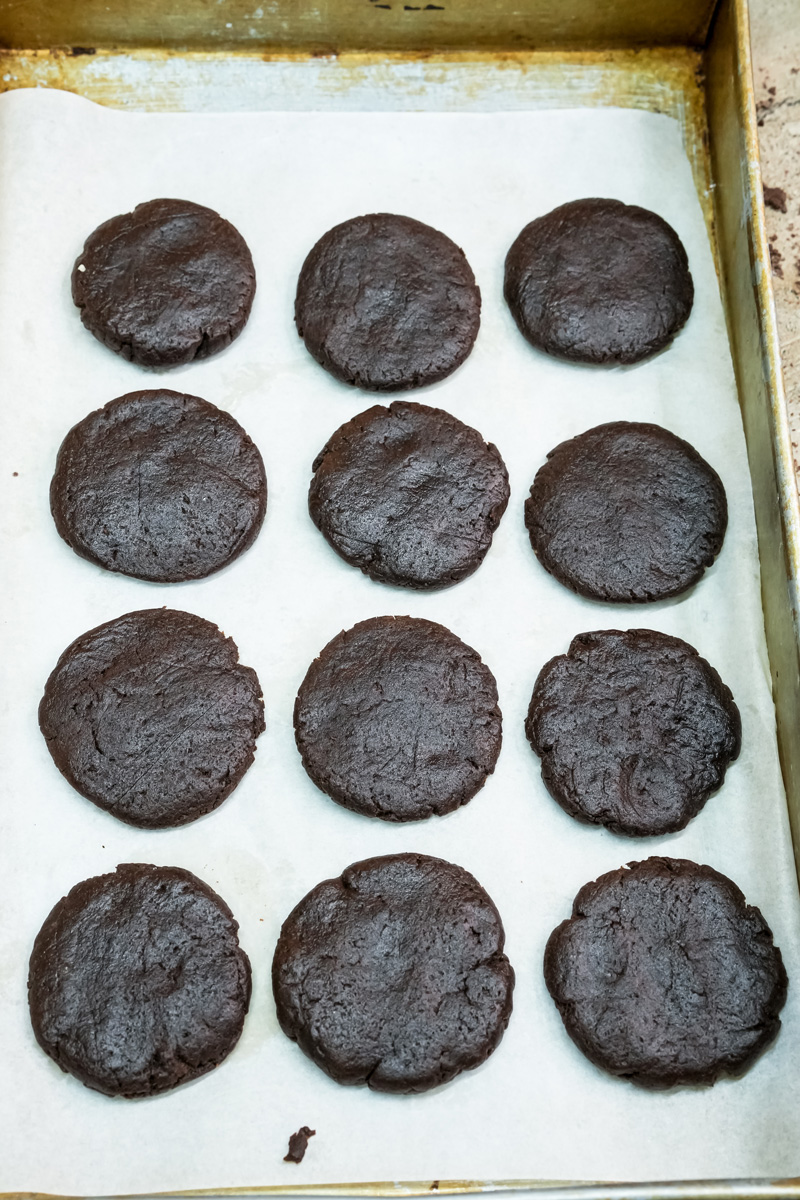
Bake time. Pop the trays in the oven. Bake for 9-10 minutes. Halfway through (at the 5-minute mark), rotate the trays for even baking. You’ll know they’re ready when they smell amazing and are completely set. Since they’re so dark, you won’t see them brown. Trust your nose! Let them cool on the trays for a few minutes before moving them to a wire rack to cool completely. They’ll be a little fragile at first, so be gentle.
Making the Filling
Whip it good. In your stand mixer, beat the cool room-temperature butter and vanilla extract together. You want them to be creamy and well combined. Scrape down the sides of the bowl to make sure everything gets mixed in.
Add the sugar and salt. Gradually add the sifted powdered sugar and salt. Start on low speed so you don’t get a powdered sugar explosion! Once most of the sugar is mixed in, turn the mixer to high and beat for 2-3 minutes. It will get light, airy, and fluffy, just like a cloud. That’s the texture you’re looking for.
Assembling the Cookies
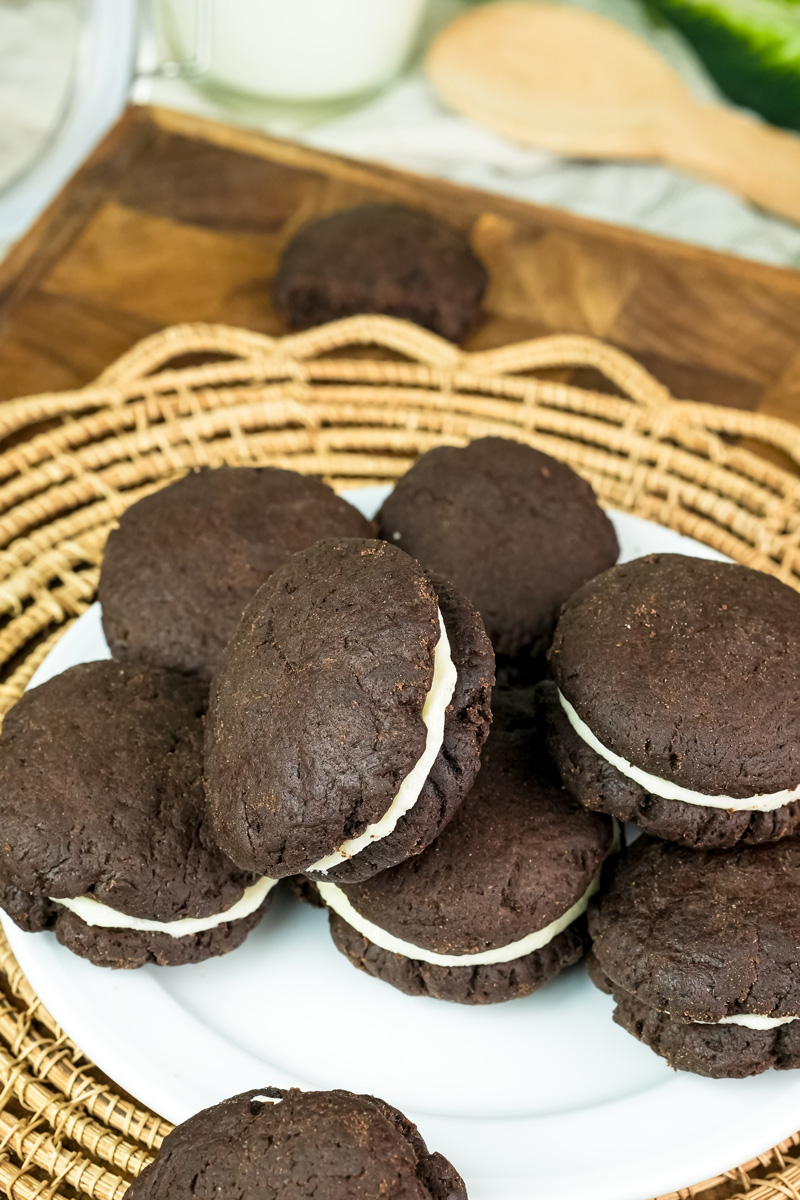
Fill ‘em up. Once the cookies are totally cool, it’s time for the best part: assembly! Use a pastry bag or a small spatula to put about a teaspoon of filling right in the center of one cookie.
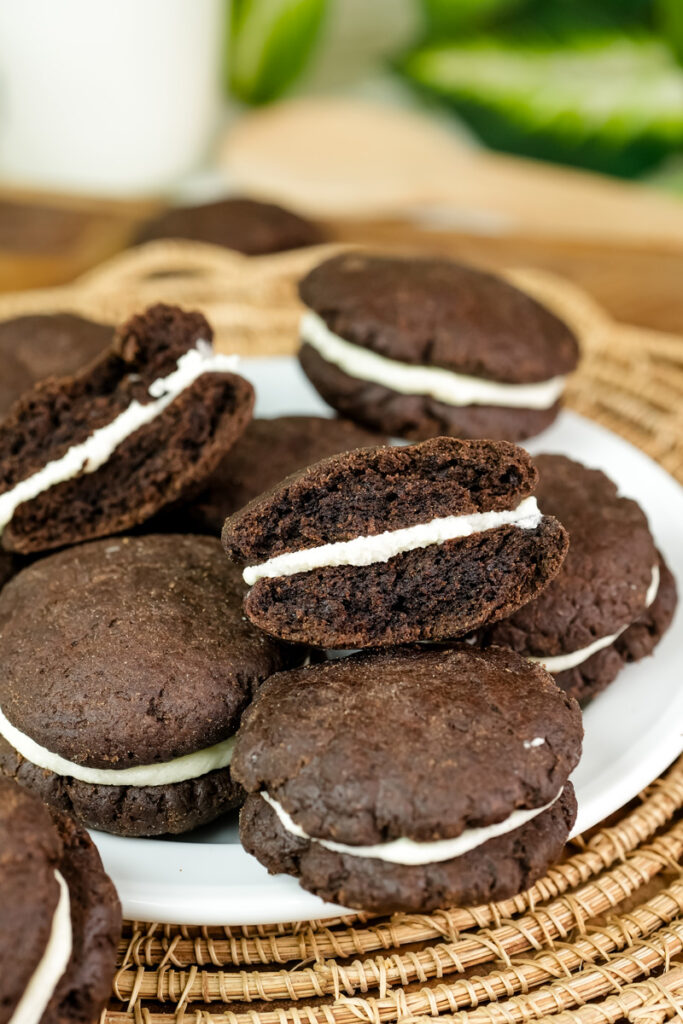
Make the sandwich. Gently place another cookie on top. Press down lightly and evenly until the filling spreads out to the edges. You should see a perfect little line of cream. Repeat with the rest of your cookies!
Enjoy! For the best texture, eat them the same day you make them.
Mix It Up!
This recipe is a great starting point. Want to get creative? Here are some ideas:
For dietary needs: Use your favorite gluten-free flour blend for a gluten-free version. Or, use a plant-based butter for a vegan option.
Flavor experiments: Add a little mint extract to the filling for a mint-flavored Oreo. Or maybe some almond extract? Lemon zest in the filling would be delicious and refreshing.
For a fancy look: Add some sprinkles or a few drops of food coloring to the filling. You could even dip half the cookie in melted white chocolate for a bakery-style finish.
Serving & Storing
You’ve made them. Now what?
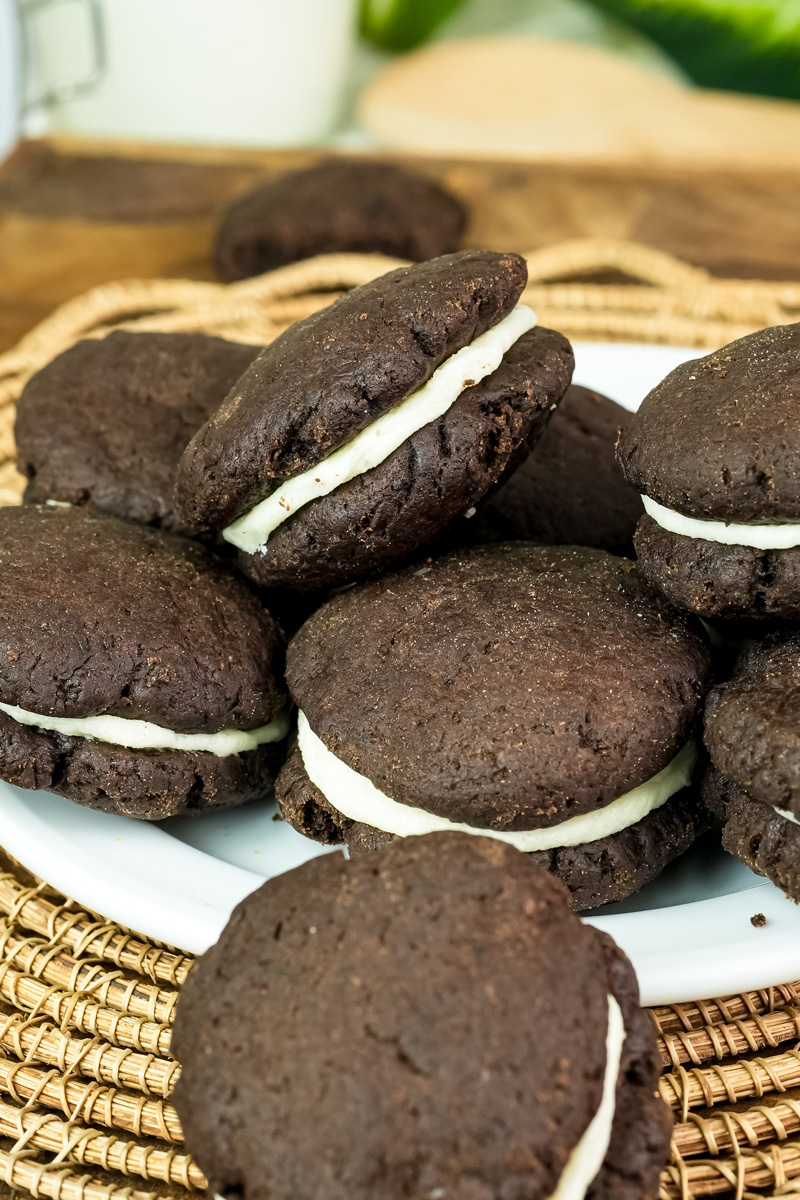
- Presentation: Stack them on a simple plate with a glass of milk on the side. Or serve them with a scoop of vanilla ice cream. Pure decadence.
- Storage: The baked cookies (before filling) can be stored in an airtight container at room temperature for up to two days. Once assembled, they’re best eaten the same day, but you can store them for a couple of days in an airtight container. The texture won’t be quite as good, but they’ll still be delicious!
My favorite trick? You can make the cookie dough ahead of time and store it in the fridge for a day or even freeze it for a month. The filling can also be made ahead and kept in the fridge for a week. Just let it come to room temperature and give it a quick whip before you use it. So easy!
PrintHomemade Oreo Cookies

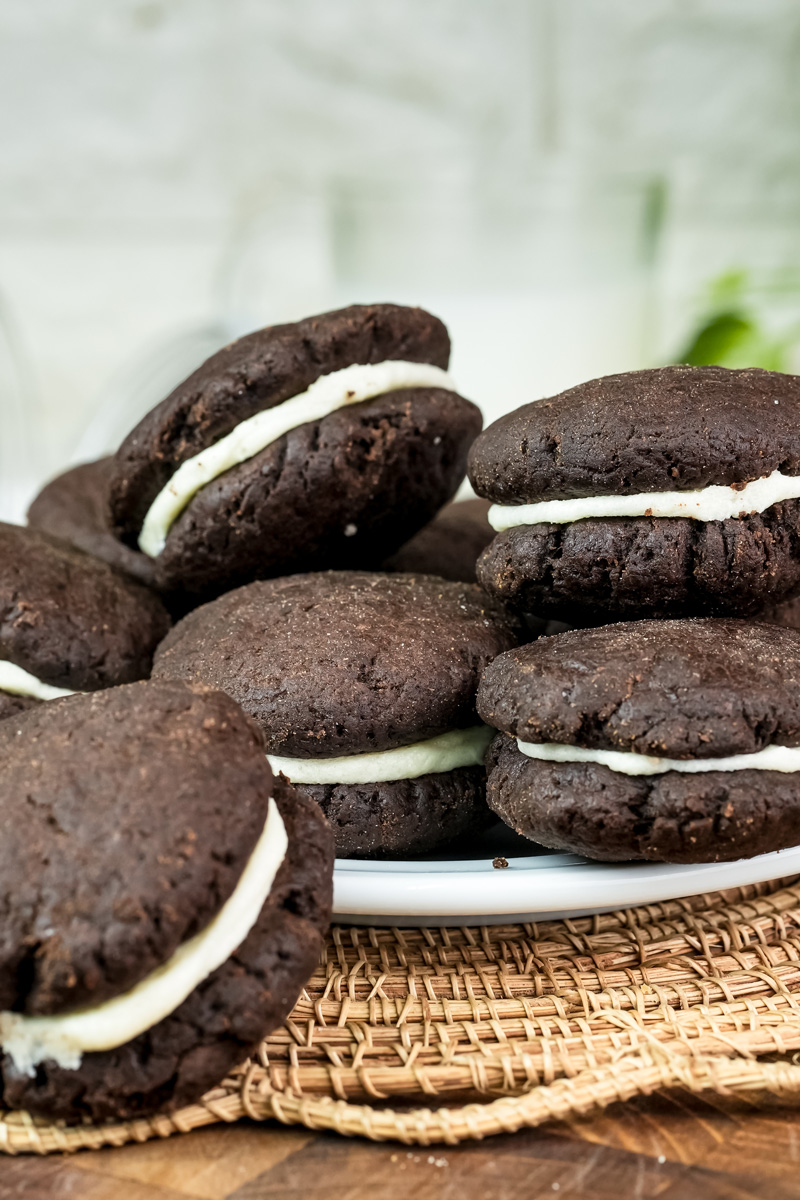
Forget the store-bought box! This recipe gives you that classic Oreo flavor and crunch with a homemade twist. We’re talking rich, dark chocolate wafers and a sweet, fluffy vanilla cream filling. It’s a simple, rewarding recipe that tastes even better than you remember.
- Prep Time: 30 minutes
- Cook Time: 10 minutes
- Total Time: 50 minutes (Included Chill Time)
- Yield: 15 sandwich cookies 1x
- Category: Dessert
- Cuisine: American
Ingredients
For the Cookies:
- 1 cup all-purpose flour
- ½ cup Dutch-process or black cocoa powder
- ½ teaspoon baking soda
- ½ teaspoon baking powder
- ¼ teaspoon fine sea salt
- ½ cup granulated sugar
- 1 stick (½ cup) unsalted butter, softened but still cool
- 1 large egg, room temperature
For the Filling:
- 1 stick (½ cup) unsalted butter, softened but still cool
- 1½ cups powdered sugar, sifted
- 1 teaspoon pure vanilla extract
- Pinch of fine sea salt
Instructions
- Prep: Preheat your oven to 375°F. Line two baking sheets with parchment paper.
- Make the cookie dough: In a food processor or stand mixer, combine all the dry cookie ingredients: flour, cocoa, baking soda, baking powder, salt, and granulated sugar. Give it a quick mix. Add the butter in chunks, then pulse or mix until the mixture looks like wet sand. Add the egg and continue to mix until the dough comes together.
- Shape & Chill: Scoop 1-Tablespoon sized balls of dough. Place them on the baking sheets about 2 inches apart. Gently press each ball down with a slightly dampened hand to a thickness of about 1/8 inch. Chill the trays in the fridge for at least 10 minutes—this is key!
- Bake: Bake for 9-10 minutes. Rotate the trays halfway through for even baking. The cookies will be done when they’re set and fragrant. Let them cool on the sheets for a few minutes before moving them to a wire rack to cool completely.
- Make the filling: In your mixer, beat the cool butter and vanilla extract until creamy. Gradually add the sifted powdered sugar and salt. Mix on low to avoid a cloud of sugar, then increase to high speed and beat for 2-3 minutes until the filling is light and fluffy.
- Assemble: Once the cookies are completely cool, place a teaspoon-sized dollop of filling on the flat side of one cookie. Gently place another cookie on top and press down until the filling spreads to the edges. Repeat until all cookies are filled.
Notes
- Serving: These cookies are amazing with a cold glass of milk. You can also serve them with a scoop of vanilla ice cream for a classic dessert.
- Tips & Tricks: The chilling step is a non-negotiable pro tip. It keeps the cookies from spreading too much in the oven. For the best, smoothest filling, make sure your butter is cool to the touch but still soft, and always sift your powdered sugar.
- Storage: Store the assembled cookies in an airtight container at room temperature for up to 2 days. The cookies themselves (unfilled) can be stored in an airtight container for a few days, or frozen for up to a month.