Hey there, baking friend!
Today, we’re going to tackle something that seems super fancy but is actually totally doable at home: puff pastry.
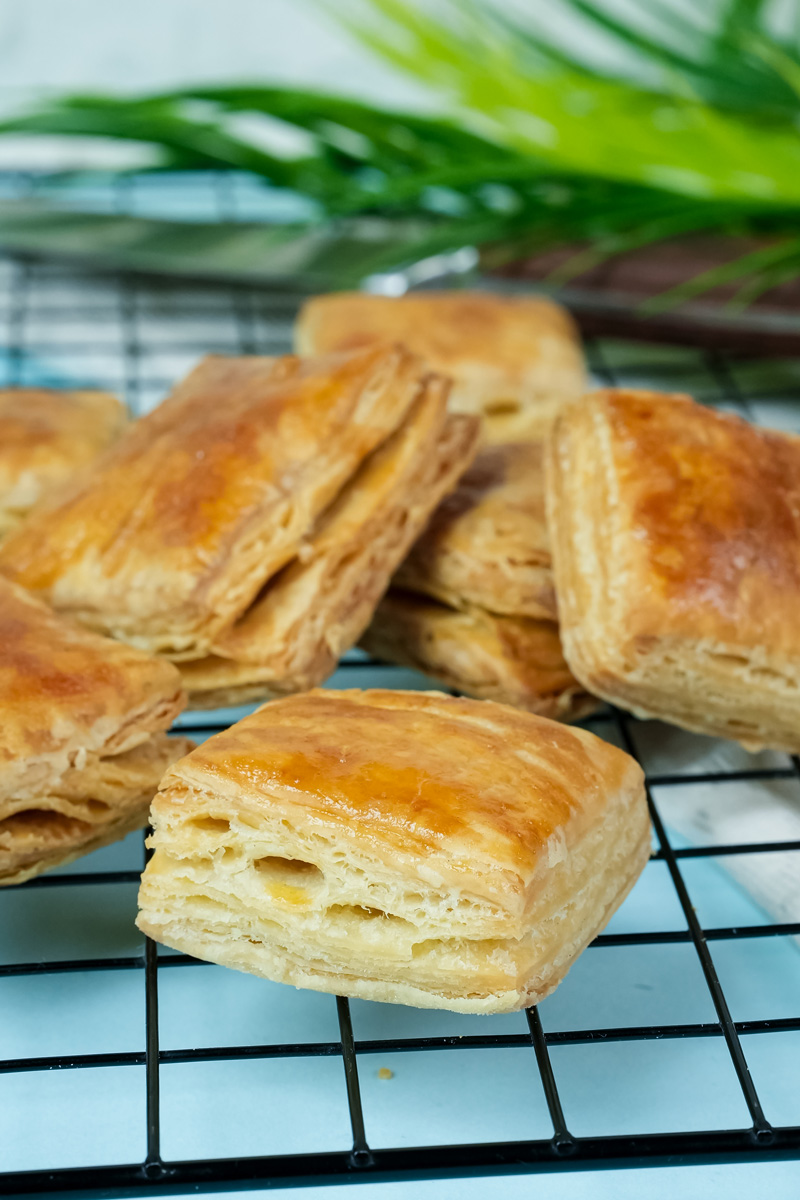
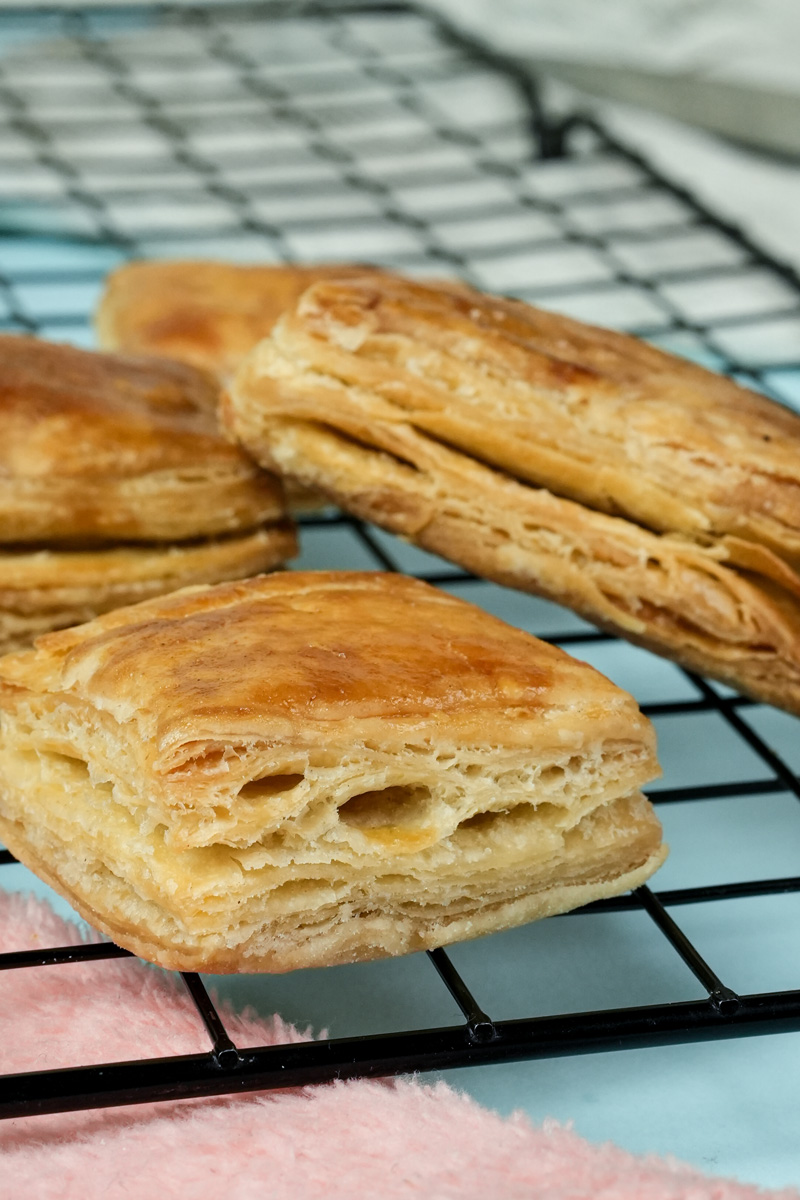
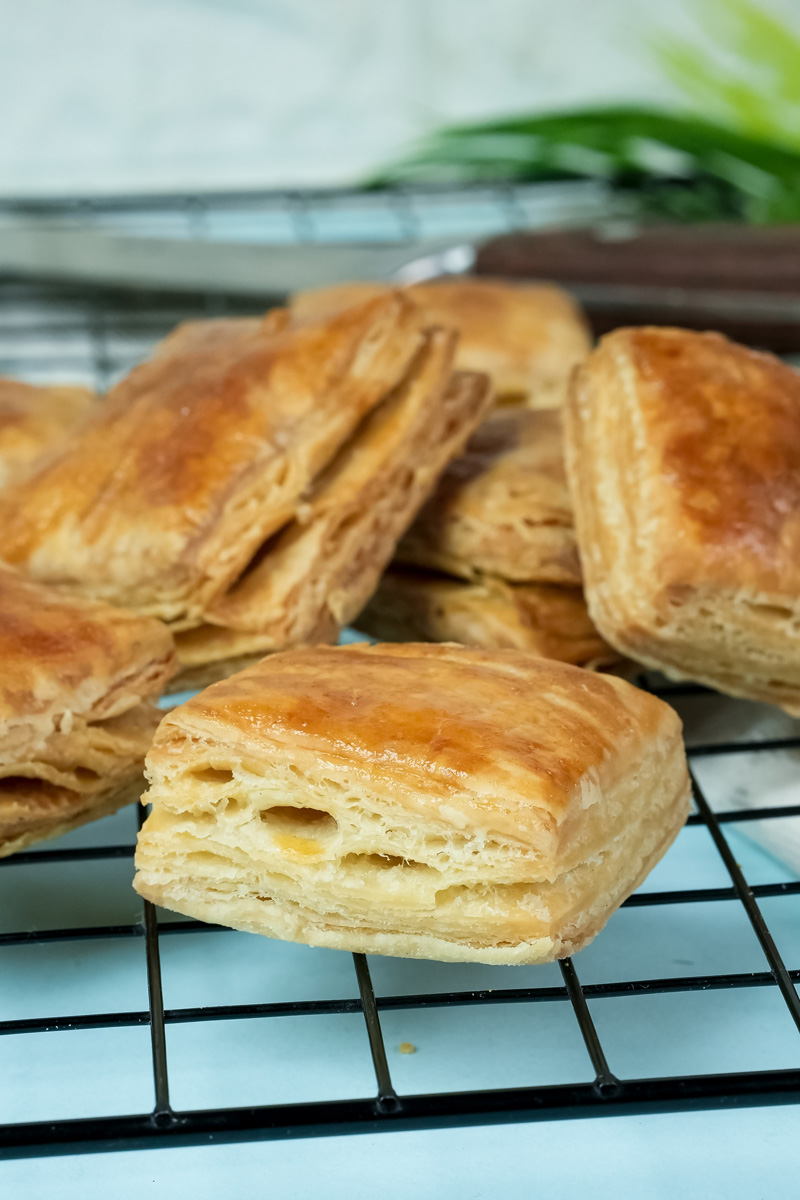
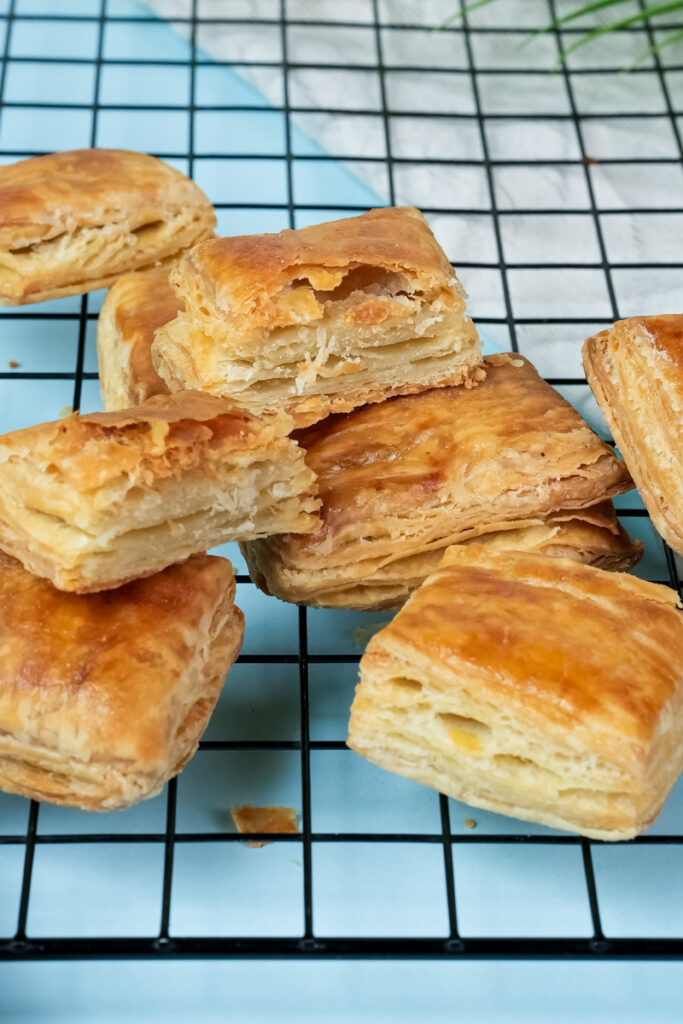
If you’ve ever bitten into a croissant or a turnover and heard that satisfying shatter, you know what I’m talking about. Those light, buttery, flaky layers feel like pure magic. For a long time, I thought it was something only professional bakers in French bakeries could pull off. But I’m here to show you a clever way to get that same incredible result in your own kitchen. And honestly? It’s easier than you think.
Puff pastry, or pâte feuilletée if you want to be fancy, is all about layers. The old-school way involves wrapping a giant slab of butter inside some dough and then folding it over and over again, with lots of chilling time in between. It’s a whole process.
The magic happens in the oven. The butter melts, the water in it turns to steam, and poof! That steam pushes the dough layers apart. That’s how you get that incredible, airy texture. It’s a beautiful thing.
But we’re not doing all that today. We’re using a shortcut. A “rough puff” or “blitz” method that is so much faster.
The secret? We’re going to grate frozen butter right into the flour.
This simple trick gives us those perfect little pockets of butter without all the complicated folding and fuss. This is the perfect recipe to try if you’re new to pastry. It’ll show you that you can absolutely make amazing puff pastry that’s even better than the stuff from a box.
So, grab your apron. Let’s make something delicious.

A Quick Look at Our Plan
Before we start mixing, let’s get a quick overview of what we’re doing.
- Time Commitment: This recipe is a great lesson in patience. You’ll spend about 40 minutes actively working with the dough. The rest of the time—a minimum of 3 hours—is just chill time. Your fridge is doing most of the work for you! So, the total time is just under 4 hours, but most of it is hands-off.
- How Much It Makes: This recipe gives you one 11-inch square sheet of puff pastry. It weighs about a pound (450g), which is the same as most store-bought packages. It’s the perfect amount for a tart, a dozen turnovers, or a batch of flaky pastries.
- Need More? Or Less?: No problem! This recipe is easy to scale up or down.
| Batch Size | Butter | All-Purpose Flour | Sugar | Salt | Ice Cold Water |
| Half Batch | ½ cup (113g) | 1 cup (120g) | ½ tbsp (6g) | ¼ tsp (1g) | 4-5 tbsp (60-75 mL) |
| Full Batch | 1 cup (227g) | 2 cups (240g) | 1 tbsp (12g) | ½ tsp (2g) | 8-10 tbsp (120-150 mL) |
| Double Batch | 2 cups (454g) | 4 cups (480g) | 2 tbsp (24g) | 1 tsp (4g) | 16-20 tbsp (240-300 mL) |
- Difficulty Level: I’d call this one “adventurous beginner.” The steps are simple, but the key is to keep everything cold. If you can do that, you’re golden. It’s a fun way to step up your baking skills!
- What You’ll Need: Just the basics. A rolling pin, a whisk, and a box grater are the main tools. You’ll also want some plastic wrap. My little secret? Sometimes I use a food processor with the grating attachment to make the butter part even faster.
- Make it Ahead: This dough is perfect for prepping in advance. You can make it and keep it in the fridge for up to 2 days. Or you can freeze it for up to 2 months. Imagine having homemade puff pastry ready to go whenever you need it!
The Simple Ingredients
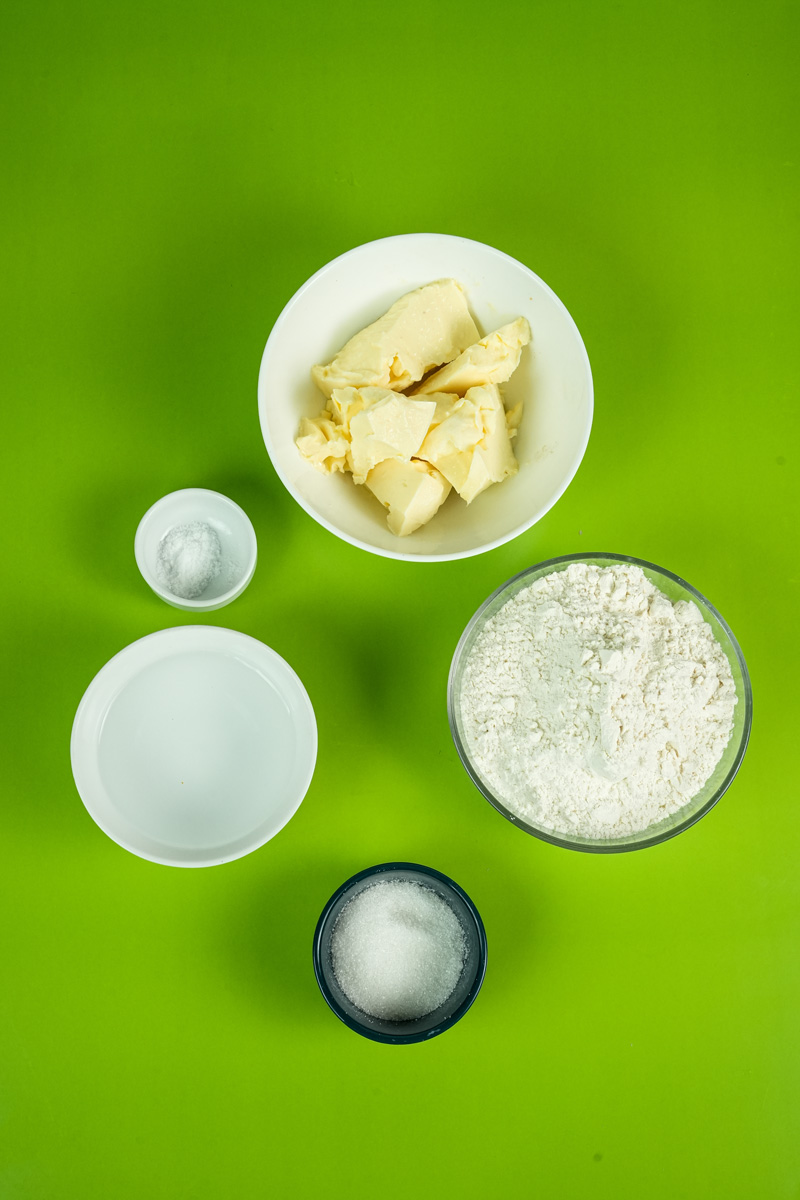
The best part about this recipe is that it only uses five basic ingredients. That means the quality of what you use really shines through.
First up, 1 cup (227g) of cold, unsalted butter. The butter is the absolute star of the show. If you can find a European-style butter, grab it! It has a higher fat content, which means even more flavor and flakier layers. We use unsalted so we can control the saltiness ourselves. And the temperature is everything. It must be cold. We’re even going to stick it in the freezer for a bit to make sure it’s rock solid.
Next is 2 cups (240g) of all-purpose flour. AP flour is perfect here. It has enough protein to give the pastry structure, but not so much that it gets tough. Just give it a good whisk with 1 tablespoon (12g) of sugar and ½ teaspoon (2g) of kosher salt. The sugar helps the pastry get that beautiful golden-brown color, and the salt just makes everything taste better.
Finally, you’ll need 8 to 10 tablespoons (120-150 mL) of cold water. And I mean ice-cold. I fill a cup with water and ice cubes and let it sit for a few minutes before I even start. Cold water is key for two reasons: it keeps the butter from melting, and it stops the gluten from getting too tough.
Step-by-Step: Let’s Make Some Layers!
Alright, time to get our hands a little messy. Just work quickly, be gentle with the dough, and trust the process.
Step 1: Grate the Butter
Pop your stick of butter in the freezer for about 10 minutes. While that’s happening, whisk your flour, sugar, and salt together in a big bowl.
Now for the fun part. Take your frozen butter and, using the big holes on a box grater, grate it right into the flour. When you get to the little nub at the end that’s hard to hold, just chop it up into small pieces. Use your hands to gently toss the butter shreds in the flour until every piece is coated. It should look like a shaggy pile of coarse crumbs. This is our shortcut to instant layers!

Step 2: Bring the Dough Together
Drizzle about 6 tablespoons of your ice water over the flour mixture. Use a spatula or your hands to start folding it all together. Don’t stir or knead it. You’re just gently convincing it to become a dough.
It will look really crumbly and dry. The first time I made this, I was sure I’d done something wrong. But have faith! Keep adding water, just a tablespoon at a time, until the dough starts to clump. You’ll know it’s ready when you can squeeze a handful and it holds its shape.
Gently press it all into one ball right in the bowl. Shape it into a 1-inch thick square, wrap it tightly in plastic wrap, and let it rest in the fridge for 1 hour. This chill time is so important—it lets the butter get cold again and lets the gluten relax.
Step 3: The Folding Game (Lamination)
This is where we build those amazing flaky layers.
Lightly flour your counter and your rolling pin. Unwrap your chilled dough and roll it out into a rectangle, about ½-inch thick.
Now, we’re going to fold it like a business letter. Imagine the rectangle in thirds. Fold the bottom third up to the middle. Then fold the top third down over it. That’s your first “turn”!
Rotate the dough a quarter turn (90 degrees). Roll it out again into a rectangle and do another letter fold. That’s two turns. We’re going to do this two more times, for a total of four turns.
Important tip: If the dough ever feels soft or sticky, or if you see butter starting to smear out, stop! That’s the dough telling you it needs to chill. Just wrap it up and put it in the fridge for 15-20 minutes before you continue.
Step 4: The Final Rest
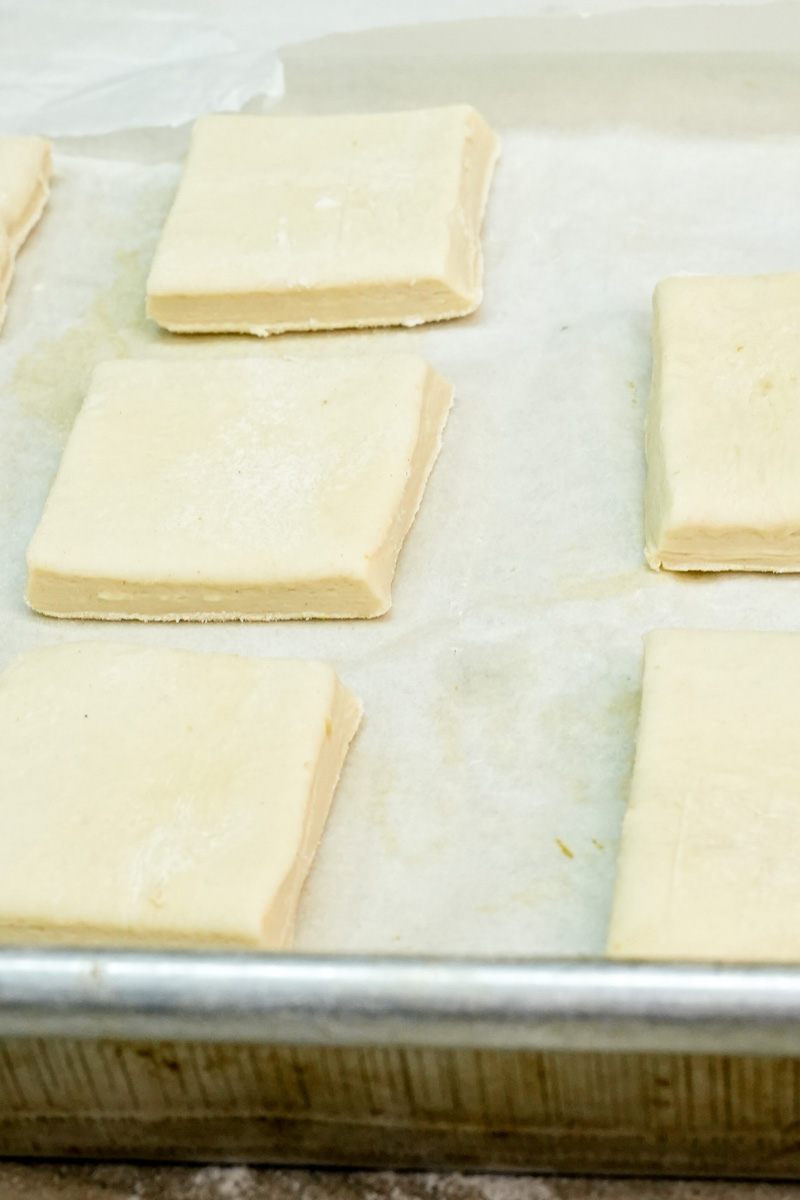
After your fourth and final fold, wrap the dough up tightly in plastic wrap. Now it needs one last long rest in the fridge. Give it at least 2 hours, but you can leave it for up to 2 days. This long nap is what prevents your pastry from shrinking in the oven.
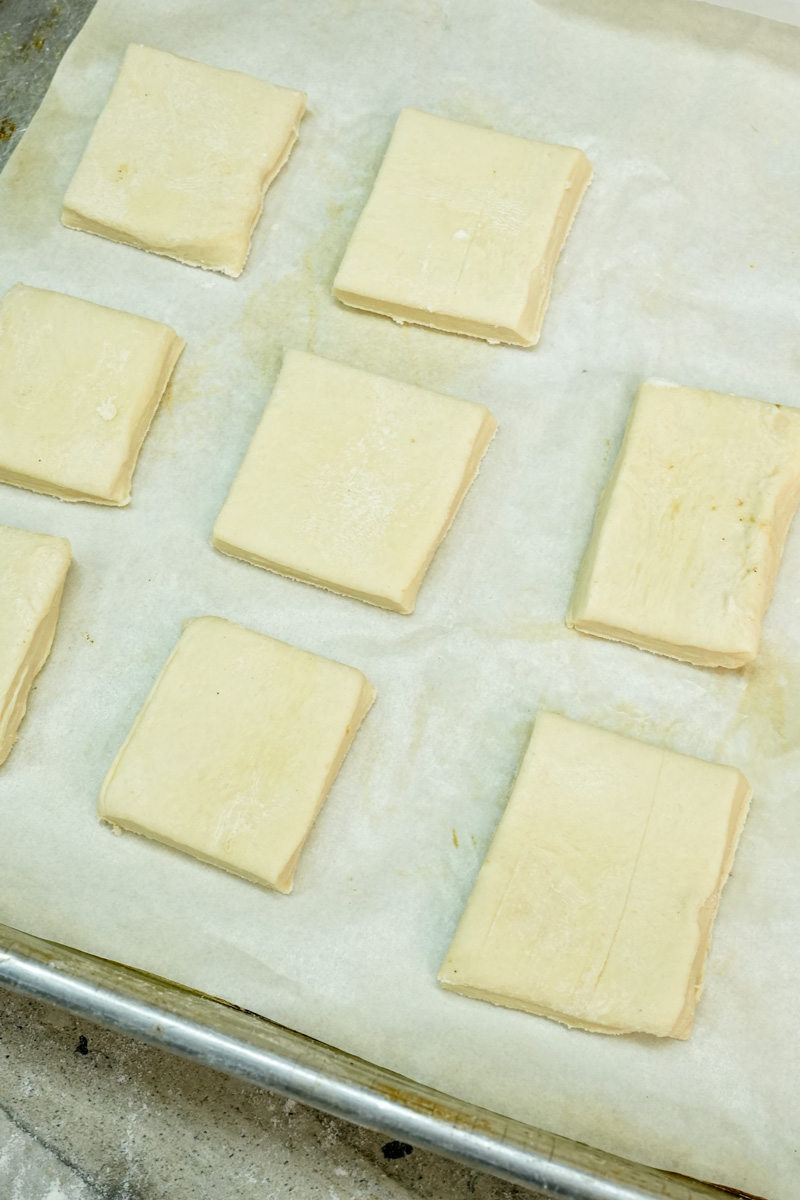
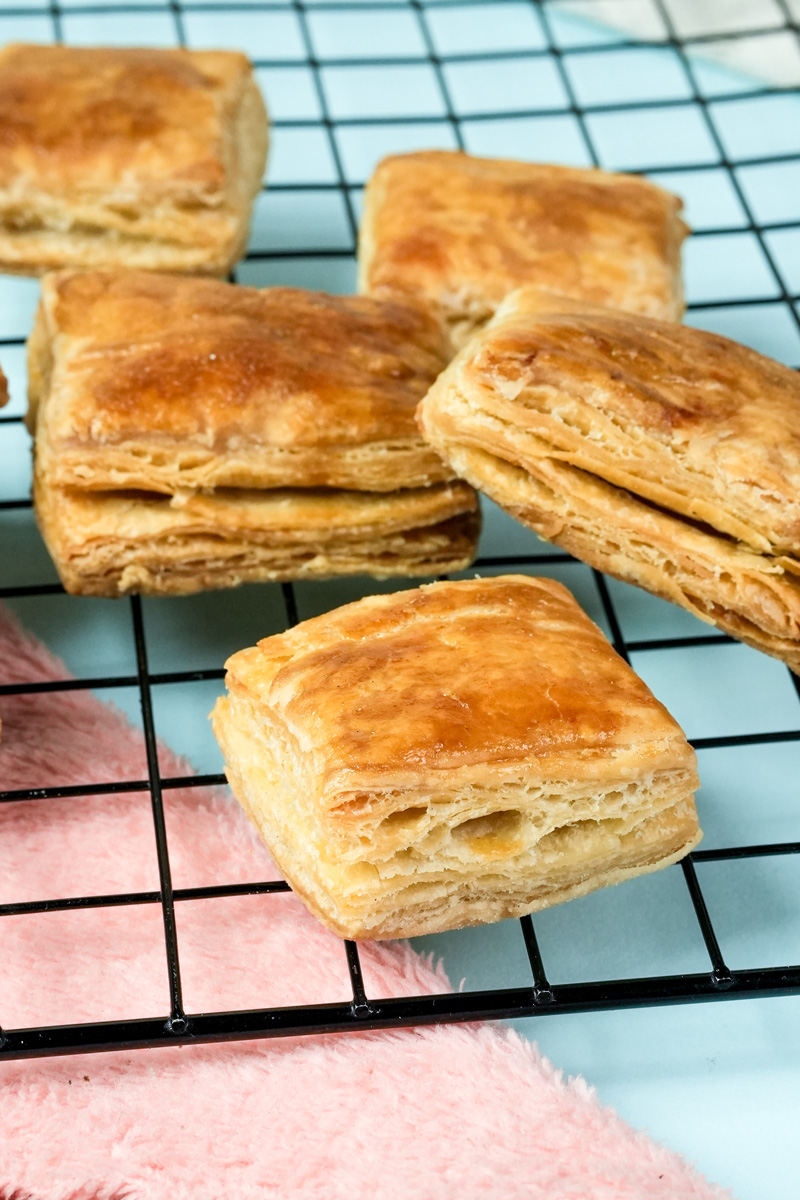
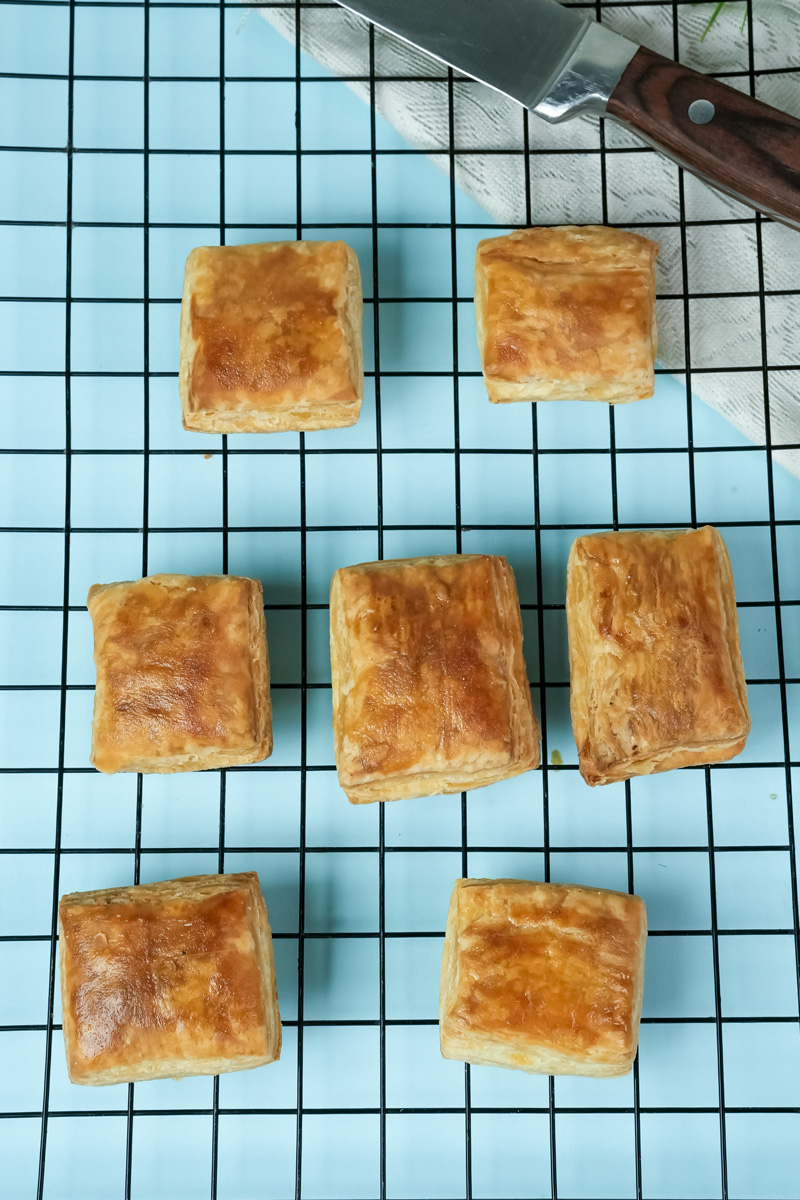
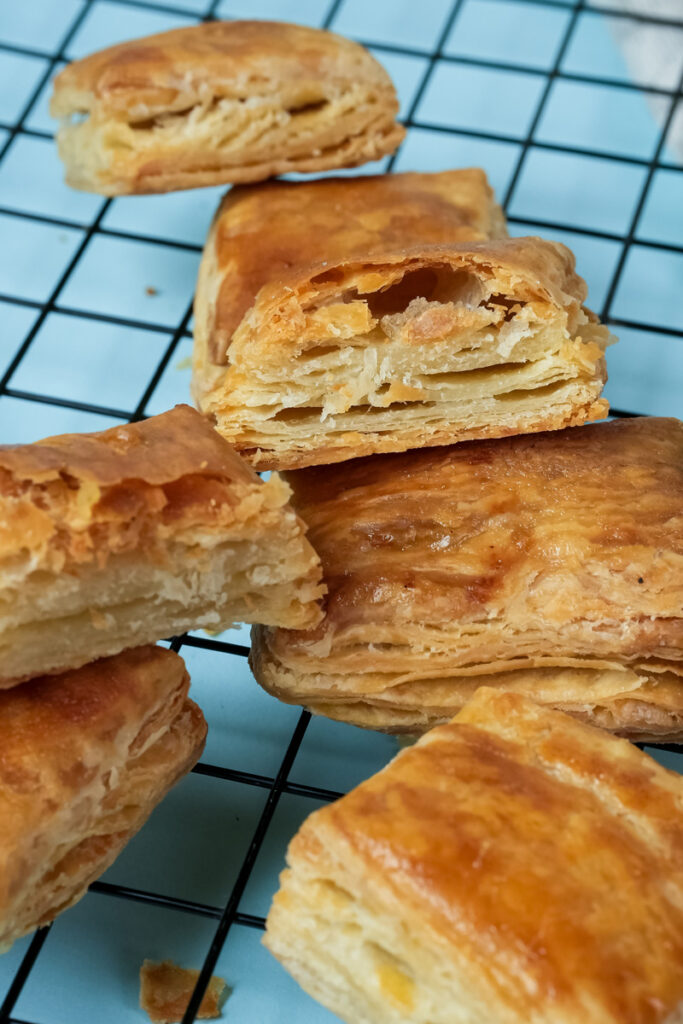
When you’re ready to bake, preheat your oven to 400°F (200°C). Roll your beautiful dough out, cut it into whatever shapes you want, and bake for 20-25 minutes, or until it’s puffed up, golden brown, and looks amazing. For an extra glossy finish, you can brush it with a little egg wash before it goes in the oven.
Make It Your Own
Now that you know the basic method, you can have fun with it! Think of this dough as your blank canvas.
- Going Vegan? You can totally use a high-quality, firm vegan butter block. Just stay away from the soft tub margarine—it has too much water and won’t give you good layers.
- Gluten-Free? This is trickier, but possible! Use a good 1-to-1 gluten-free flour blend that already has xanthan gum in it. The dough will be delicate, so be gentle and don’t skip the chilling.
- Flavor Twists! Want to add a little something extra?
- For a savory pastry, try adding a tablespoon of finely chopped rosemary or thyme to the flour.
- For something sweet, a teaspoon of cinnamon and a pinch of cardamom in the flour is delicious.
- You could even fold in some finely grated Parmesan cheese during the last two folds for cheesy, flaky goodness.
Storing and Serving Your Pastry
Puff pastry is always best fresh from the oven when it’s at its peak crispiness. Use it to make sweet palmiers, savory cheese straws, a beautiful fruit tart, or even a flaky topping for a pot pie.
If you have leftovers, store any baked goods in an airtight container for up to 2 days. Whatever you do, don’t use the microwave to reheat it! It will turn into a soggy mess. Instead, pop it in a 350°F (175°C) oven for a few minutes to bring back that amazing crispness.
Like I mentioned, you can make the unbaked dough ahead of time. Wrap it tightly and keep it in the fridge for up to 2 days, or in the freezer for 2 months. To use it from frozen, just let it thaw in the fridge overnight. Never thaw it on the counter, or the butter will melt and you’ll lose all your hard work!
There you go! You are now officially a puff pastry maker. Enjoy the process, and be proud of every single flaky layer you create.
Happy baking!
PrintHomemade Puff Pastry

Ever dreamed of making your own incredibly flaky, buttery puff pastry? This simple shortcut recipe, using grated frozen butter, makes it surprisingly easy. Say goodbye to store-bought and hello to impressive homemade tarts, turnovers, and more. You’ve got this!
- Prep Time: 40 minutes
- Cook Time: 20-25 minutes
- Total Time: Approx. 4 hours (Added Chill Time)
- Yield: 1 lb dough (one 11-inch sheet) 1x
- Category: Baking, Pastry
- Cuisine: French-inspired
Ingredients
- 1 cup (227g) unsalted butter, frozen for 15 minutes
- 2 cups (240g) all-purpose flour
- 1 tbsp (12g) granulated sugar
- ½ tsp (2g) kosher salt
- 8 to 10 tbsp (120-150 mL) ice water
Instructions
- Prep: In a large bowl, whisk together the flour, sugar, and salt.
- Add Butter: Using the large holes of a box grater, grate the frozen butter directly into the flour mixture. Gently toss with your hands until every shred of butter is coated in flour.
- Form Dough: Drizzle 6 tablespoons of ice water over the mixture. Use a spatula to fold everything together until it gets shaggy. Add more water, 1 tablespoon at a time, just until the dough holds together when you squeeze a piece. Be careful not to overmix!
- First Chill: Gently press the dough into a 1-inch thick square, wrap it tightly in plastic wrap, and chill in the fridge for 1 hour.
- Fold & Turn: On a lightly floured surface, roll the chilled dough into a rectangle (about 12×8 inches). Perform a “letter fold”: fold the bottom third up to the middle, then fold the top third down over it.
- Rotate & Repeat: Rotate the dough 90 degrees. Repeat the process of rolling and folding. Do this a total of 4 times. If the dough gets soft, chill it for 20 minutes.
- Final Chill: After the last fold, wrap the dough tightly and chill for at least 2 hours, or up to 2 days.
- Bake: When ready, preheat your oven to 400°F (200°C). Roll the dough to your desired thickness, shape as needed, and bake for 20-25 minutes until deeply golden and puffed.
Notes
- Serving Suggestions: Use this dough for anything! It’s fantastic for sweet palmiers, savory cheese straws, fruit galettes, or as a flaky topping for a chicken pot pie.
- The Golden Rule: The secret to flaky layers is to keep everything cold. If you see butter smearing or the dough feels sticky while you’re folding, stop and chill it immediately.
- Storage:
- Unbaked Dough: Wrap tightly and store in the fridge for up to 2 days or in the freezer for up to 2 months. Thaw overnight in the refrigerator before using.
- Baked Pastry: To restore crispness, reheat baked goods in a 350°F (175°C) oven for a few minutes. Avoid the microwave!