Hello fellow bakers!
I want to share something that completely changed my bread-baking life. It’s a recipe for the softest, most cloud-like bread I have ever made. Seriously. This is my go-to recipe for Japanese Milk Bread, also known as Shokupan.
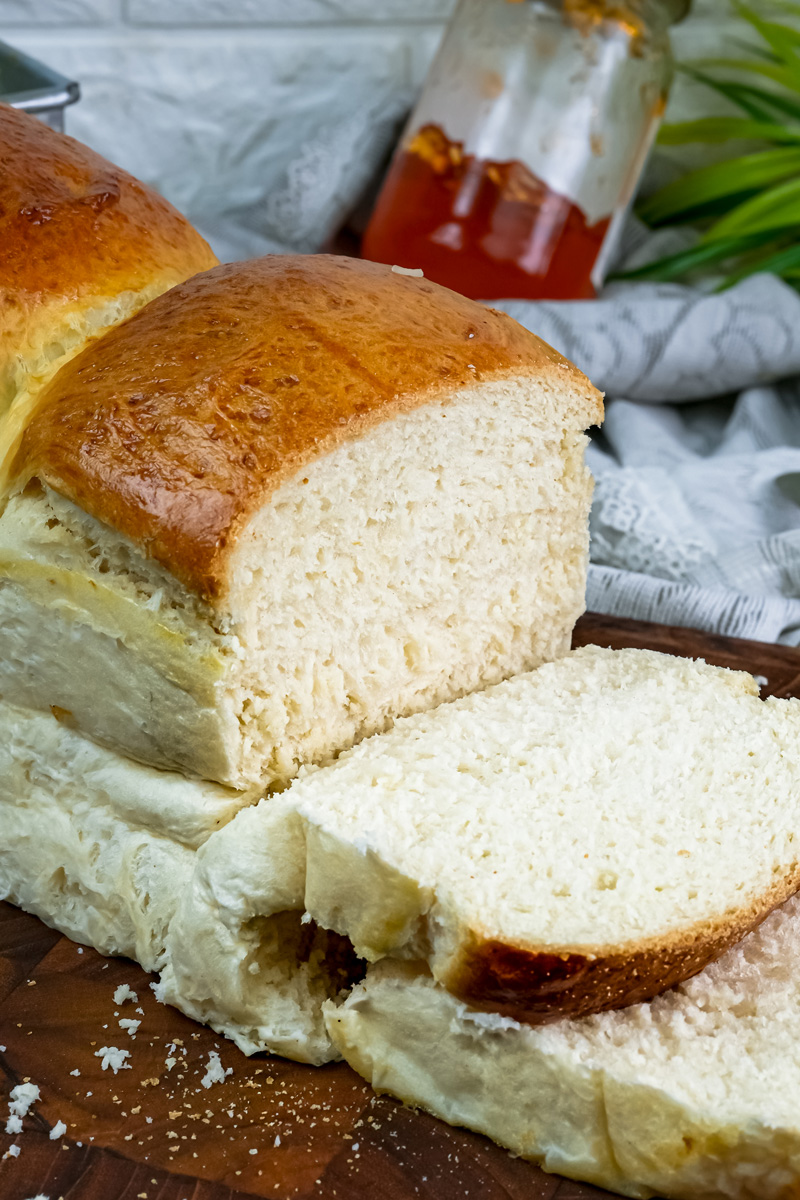
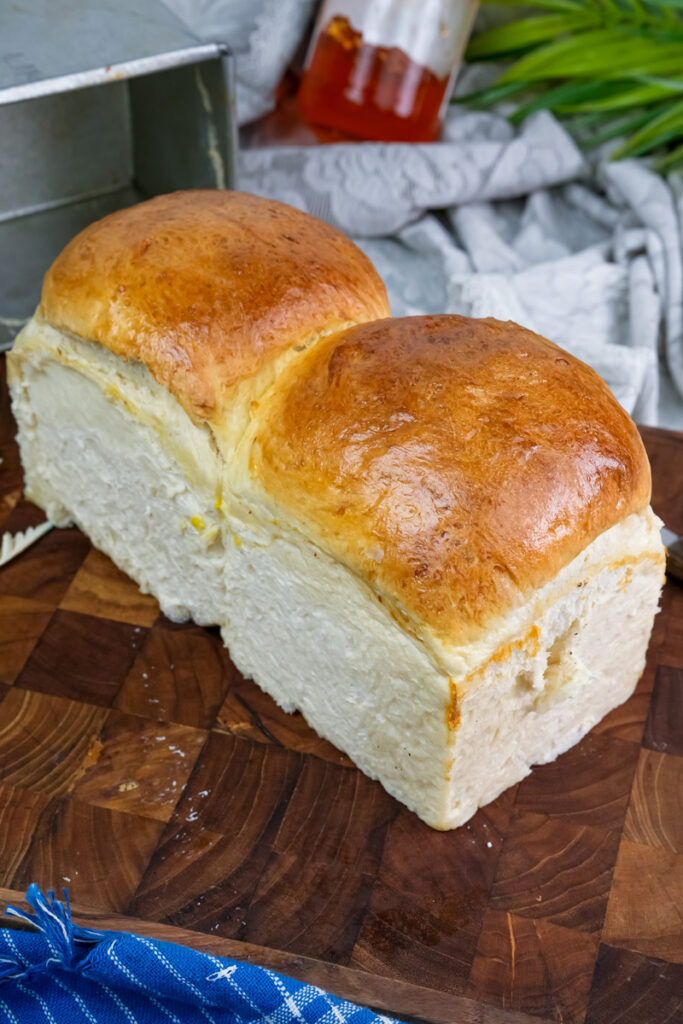
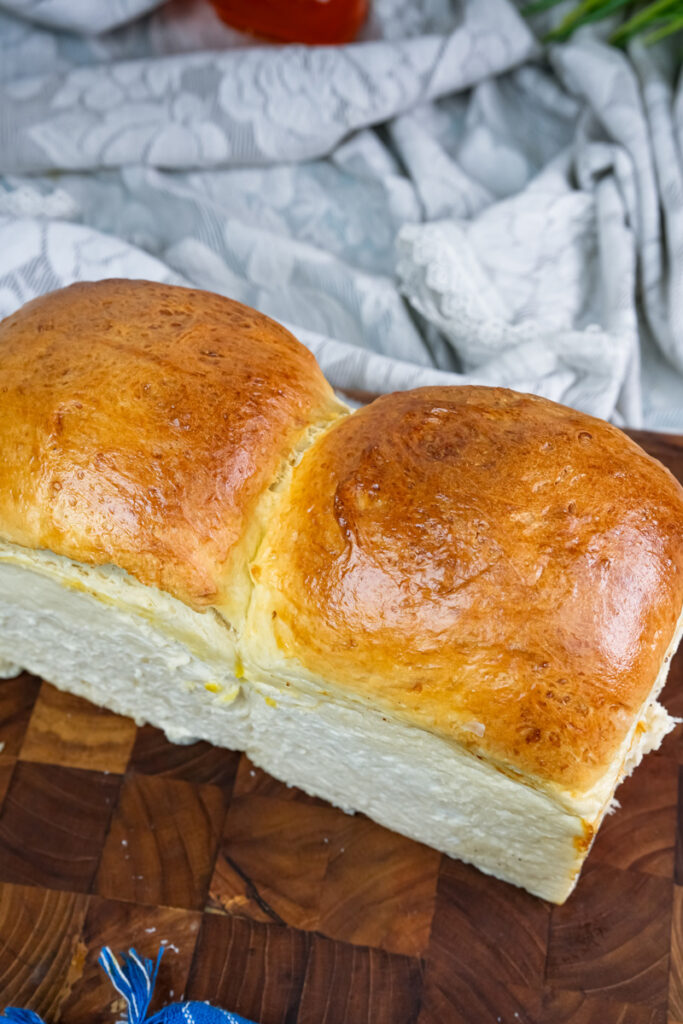
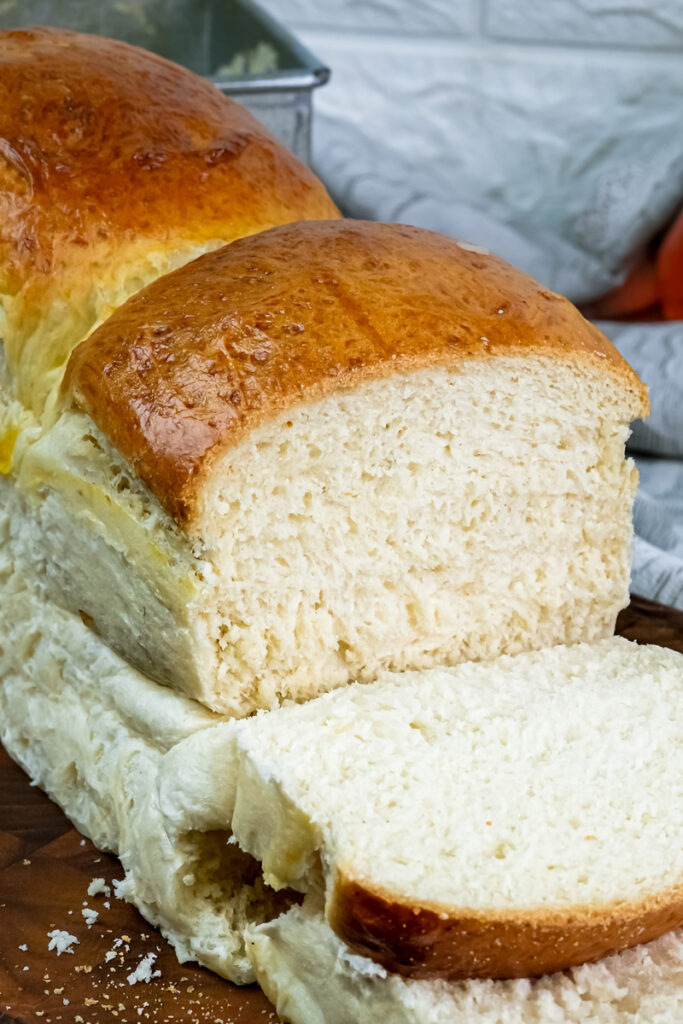
If you’ve ever walked into a Japanese bakery, you know exactly what I’m talking about. It’s that perfectly square, brilliantly white loaf with a texture that’s almost unreal. It’s springy, pillowy, and just a little bit sweet. Each bite is pure joy.
So, what makes it so different from other breads? The secret is a simple but brilliant trick called Yudane.
Think of it as our magic weapon. It’s just a simple paste made from flour and boiling water. But this little step does something amazing. It pre-cooks the flour starches, which lets the dough hold onto way more water. The result? A bread that’s not only super soft when it comes out of the oven but stays that way for days longer than your average loaf. It’s incredible.
I’ve tried a lot of recipes, and this is the one I’ve landed on as my absolute favorite. It takes the mystery out of the process and makes that bakery-quality loaf totally doable right in your own kitchen.
So, grab your apron. Let’s walk through this together and make something amazing.
A Quick Look at Our Baking Journey
Before we start mixing, let’s get a quick overview. This bread isn’t hard to make, but it does ask for a bit of patience. And trust me, the payoff is so worth it.
- Active Time: About 2 hours and 30 minutes. This is the time you’ll be actively mixing, kneading, and shaping.
- Inactive Time: Around 9 hours and 50 minutes. Don’t let that number scare you! Most of this is the Yudane resting overnight in the fridge (8 hours) and the dough rising.
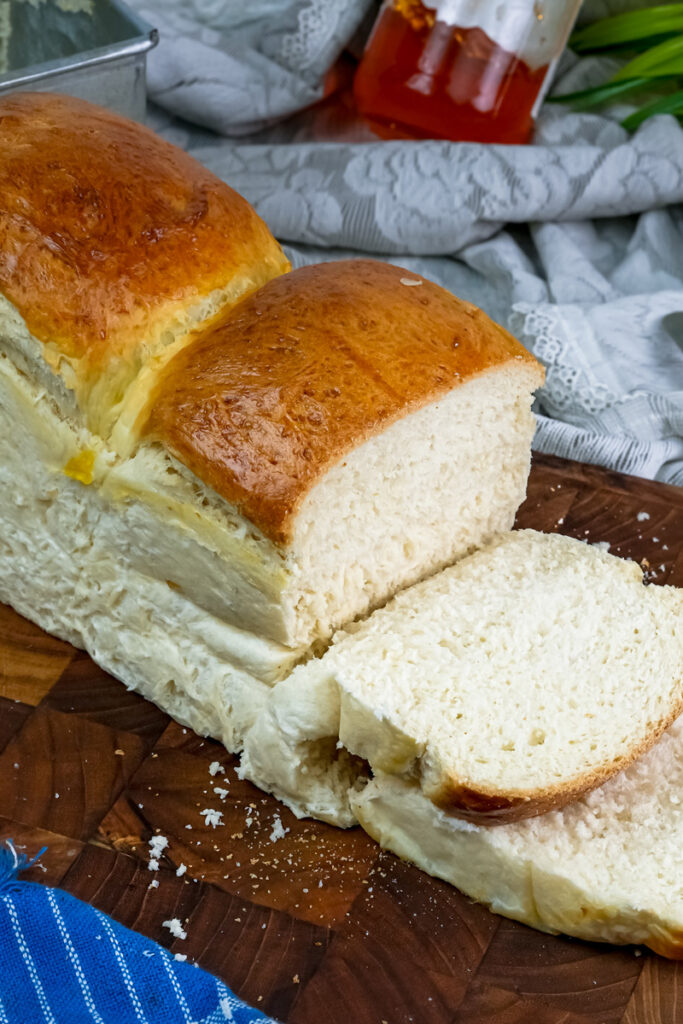
- What You’ll Get: This makes one standard 9×5 inch loaf, which gives you about 8-10 heavenly slices. Want two loaves? Just double everything. The times will stay about the same.
- How Hard Is It?: I’d call it perfect for an ambitious beginner or intermediate baker. If you have a stand mixer and can follow directions, you can do this. The key isn’t complicated technique; it’s being precise and patient.
- Can I Prep Ahead?: Yes! In fact, you have to. The Yudane paste needs to be made the night before, which is great because it breaks the process into two manageable chunks.
The Tools You’ll Need
Having the right equipment on hand makes everything go so much smoother. Here’s what I recommend pulling out before you start.
| Equipment | Why It’s Important & My Tips |
| Stand Mixer with Dough Hook | Highly Recommended. This dough needs a lot of kneading (a full 20 minutes!) to get that special texture. I tried it by hand once. Once. It took me nearly 30 minutes, and my arms were sore for days. The mixer is your best friend here. |
| Digital Kitchen Scale | Essential. Please, please, please use a scale for this. Baking is all about science and ratios. Getting the flour and water amounts exactly right for the Yudane is critical. This is not the time for guessing with measuring cups! |
| Mixing Bowls | You’ll need one small one for the Yudane and a larger, greased bowl for the dough’s first big rise. |
| Loaf Pan (9×5 inch) | A simple metal loaf pan is perfect. If you want those iconic, perfectly square slices, you can buy a Pullman loaf pan, which has a lid to keep the bread from rounding on top. |
| Dough Scraper | A cheap plastic or metal one is a lifesaver for dividing the dough cleanly and scraping down your work surface. |
| Rolling Pin | Any basic rolling pin will do the job for shaping the logs. |
| Plastic Wrap or Wet Cloth | To cover the dough while it rises. This keeps it from drying out and forming a “skin.” |
| Wire Cooling Rack | Crucial! You have to get the loaf out of the hot pan and onto a rack right away. This lets air circulate all around it and prevents the bottom from getting soggy. |
The Ingredients: What Makes the Magic Happen
For a bread this special, good ingredients make a difference. Let’s talk about what you’ll need.
For the Yudane (Our Secret Weapon):
- 50g Bread Flour
- 40ml Boiling Water
It’s just two ingredients, but they’re powerful. You need the water to be at a true, rolling boil. That intense heat is what creates the paste that will trap all that wonderful moisture in our final loaf. Bread flour is best here because its high protein content gives the bread a strong structure and a satisfying chew.
For the Main Dough:
- 200g Bread Flour
- 5g Salt
- 150ml Whole Milk (at room temperature)
- 15g Sugar
- 3g Instant Dry Yeast
- 10g Unsalted Butter (softened, at room temperature)
- The chilled Yudane paste you made earlier!
A quick tip from my own kitchen mishaps: don’t forget to let your milk and butter come to room temperature! Cold ingredients can slow down the yeast, and cold butter is a pain to mix in. I just pull them out of the fridge about 30 minutes before I start.
Can I make substitutions?
- Flour: Bread flour really is best. But if you only have all-purpose flour, it will still work. Your loaf might just be a little less chewy, but it will still be delicious.
- Yeast: I use instant yeast because you can just toss it in with the other ingredients. If you only have active dry yeast, you should wake it up first. Just dissolve it in the warm milk with a little pinch of the sugar and let it sit for 5-10 minutes until it gets foamy.

The Step-by-Step Method: Let’s Get Baking!
Alright, here’s where the fun begins. Follow these steps, and pay attention to how the dough feels and looks. You’ll be a pro in no time.
Stage 1: The Yudane Secret (The Night Before)
Let’s make our magic paste. Put your 50g of bread flour in a small bowl. Bring the 40ml of water to a hard boil on the stove, and immediately pour it over the flour.
Use a spatula to mix it like crazy until it forms a thick, sticky, kind of translucent paste. It’ll have the consistency of a very thick pudding. Cover the bowl with plastic wrap, and press the wrap right down onto the surface of the paste so it doesn’t form a skin. Stick it in the fridge overnight, or for at least 8 hours.
Stage 2: Putting It All Together
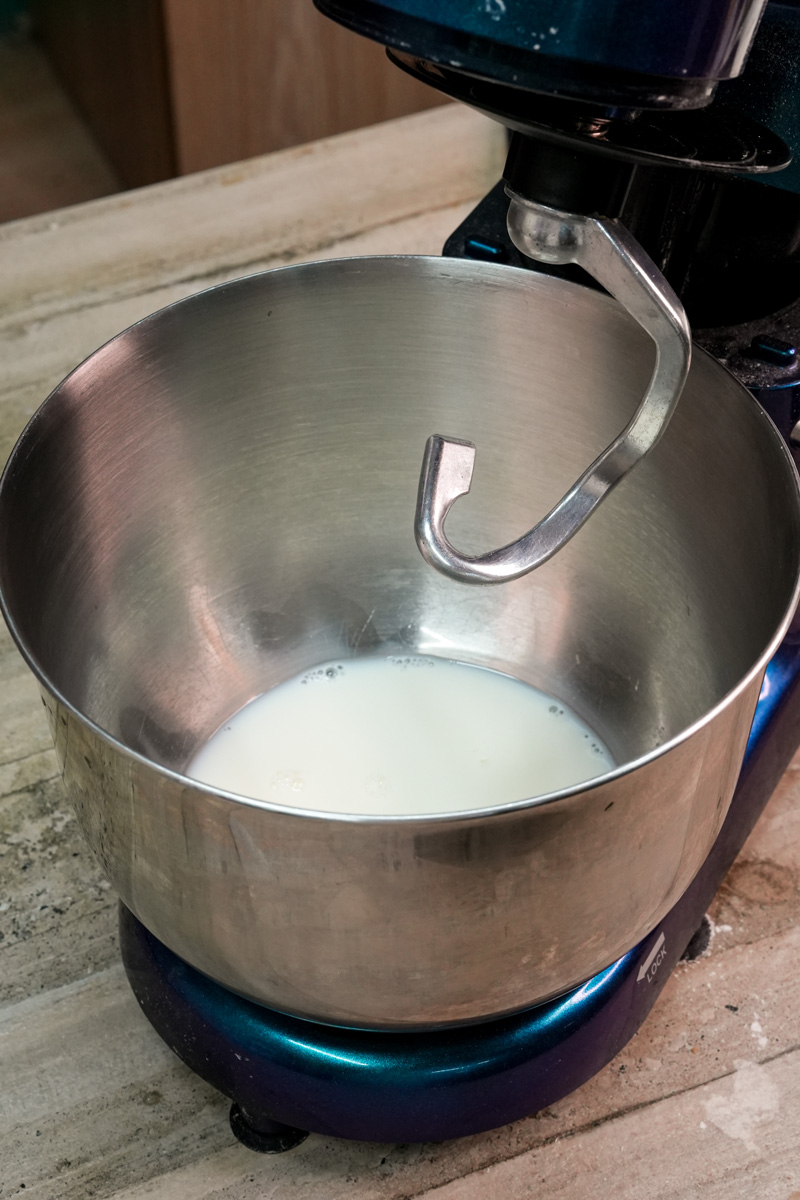
The next day, it’s dough time! In the bowl of your stand mixer, add the room-temperature milk, sugar, softened butter, and instant yeast.
Now, grab your chilled Yudane from the fridge. Use your fingers to tear it into small, marble-sized pieces and drop them into the bowl. Tearing it up helps it mix in much more easily. Finally, add the 200g of bread flour and the 5g of salt on top of everything.
Stage 3: The Kneading Magic
Attach your dough hook. Start the mixer on its lowest speed for a minute or two, just until all the flour is mixed in and you have a shaggy dough.
Now, crank the speed up to medium-high (I use speed 5 or 6 on my KitchenAid) and set a timer for 20 minutes.
The dough will look like a sticky, sloppy mess for the first 5-10 minutes. You might think you’ve done something wrong. You haven’t! Have faith. As the mixer works, the gluten will develop, and the dough will transform. By the end, it will pull away from the sides of the bowl completely and look smooth, shiny, and super elastic.
- The Windowpane Test: To be sure it’s ready, stop the mixer and pull off a small piece of dough. Gently stretch it between your fingers. Can you stretch it thin enough to see light through it without it tearing? That’s the “windowpane.” If it tears, just knead it for another 2-3 minutes and check again.
Stage 4: The First Rise
Turn the finished dough out onto your counter and gently shape it into a smooth ball. Place it in a large, lightly greased bowl. Cover it with plastic wrap and put it somewhere warm and draft-free. I like to use my oven with just the light on—it creates the perfect cozy spot.
Let it rise for 45-60 minutes, or until it has clearly doubled in size.
- The Poke Test: Gently poke the dough with a floured finger. If the little dent stays and doesn’t spring back, you’re ready to move on!
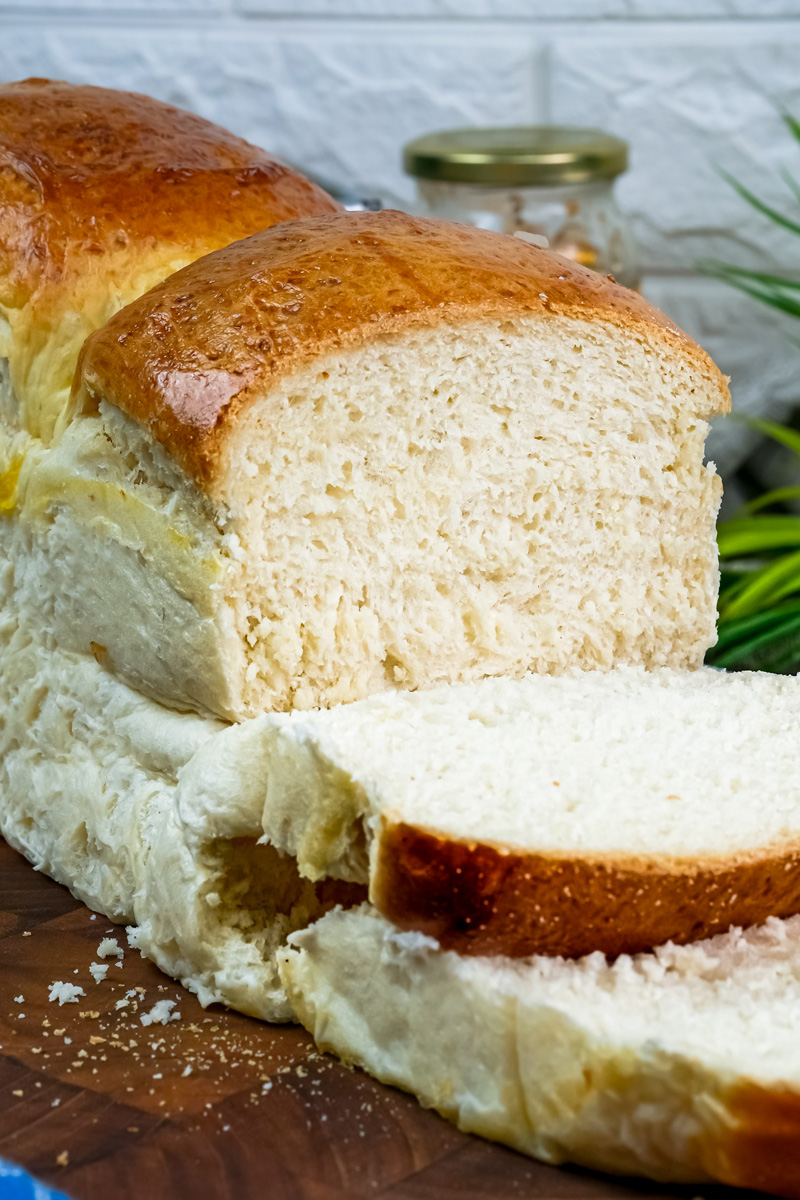
Stage 5: Shaping for That Perfect Crumb
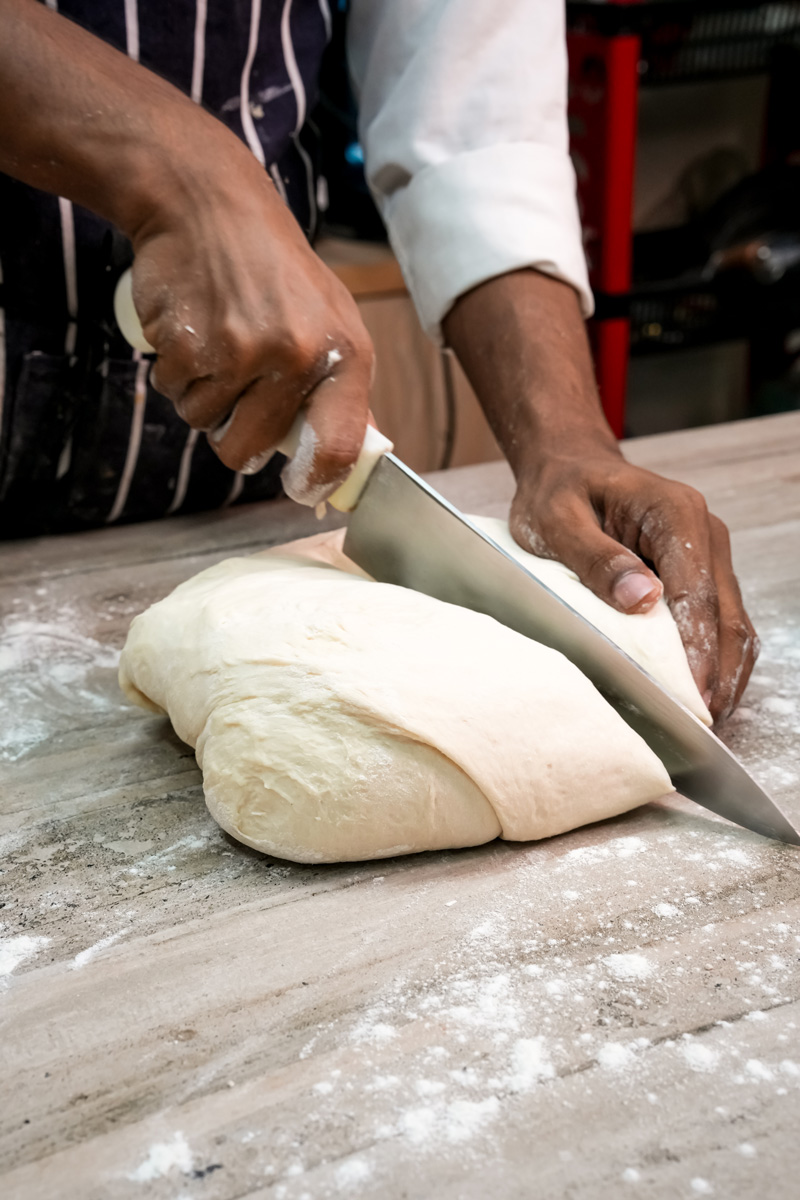
Gently punch down the dough to release the air. Divide it into two equal pieces and roll each one into a little ball. Cover them with a damp cloth and let them rest on the counter for 20 minutes. This “bench rest” lets the gluten relax, making the dough much easier to roll out.
Now for the shaping, which creates that beautiful layered inside.
- Take one piece and roll it into a rectangle, about 6×8 inches.
- Fold the left third over to the center, like you’re folding a letter.
- Fold the right third over top of that.
- Turn the dough 90 degrees and roll it up from the short end into a tight little log. Make sure it’s snug!
- Repeat with the second piece of dough.
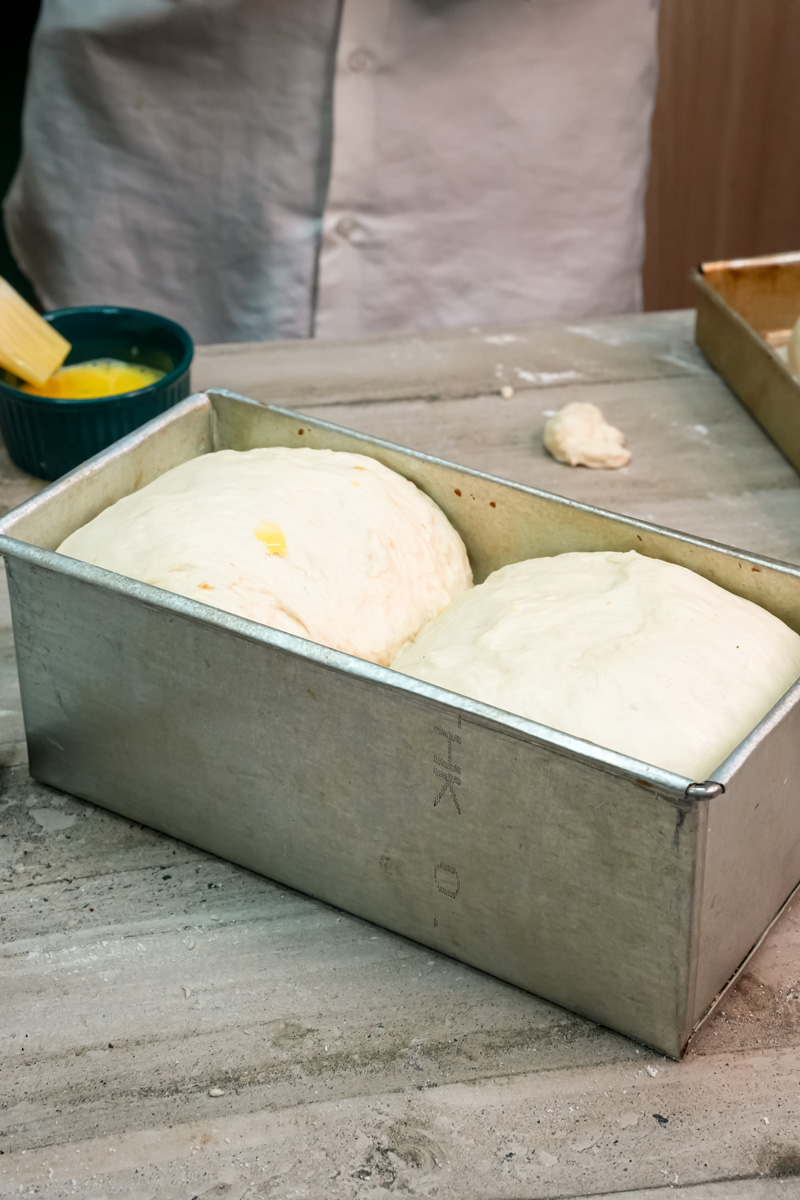
Stage 6: The Second Rise (The Final Proof)
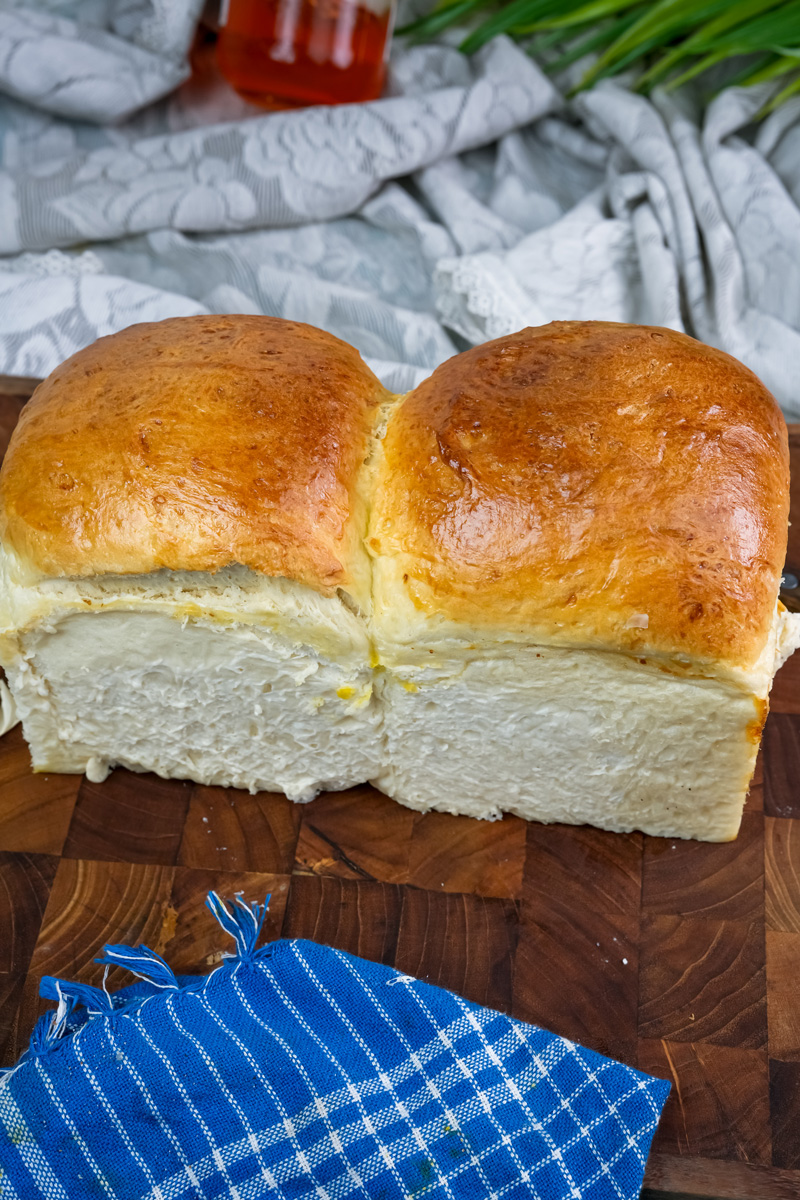
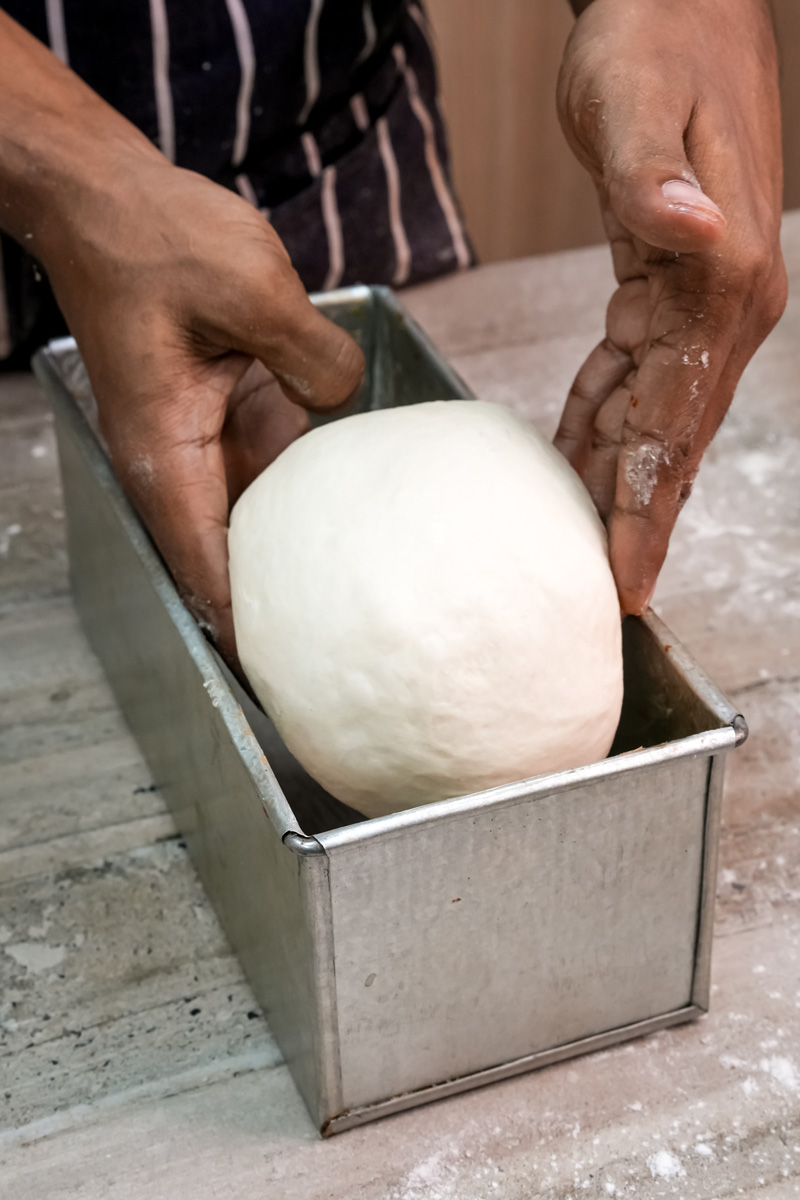
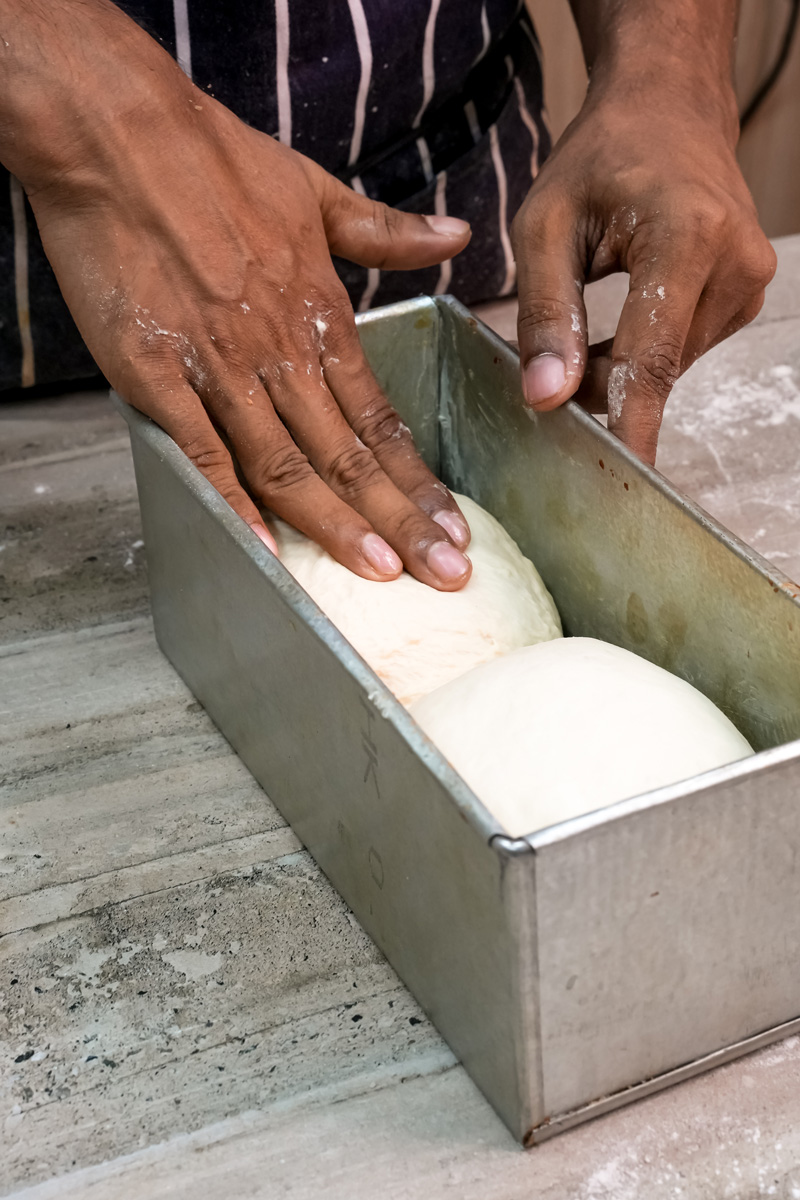
Lightly grease your loaf pan. Place your two dough logs side-by-side in the pan. Cover them again with a damp cloth and let them rise in a warm spot for about 30-45 minutes. You’re looking for the dough to rise right up to the rim of the pan. While it’s rising, go ahead and preheat your oven to 365°F (185°C).
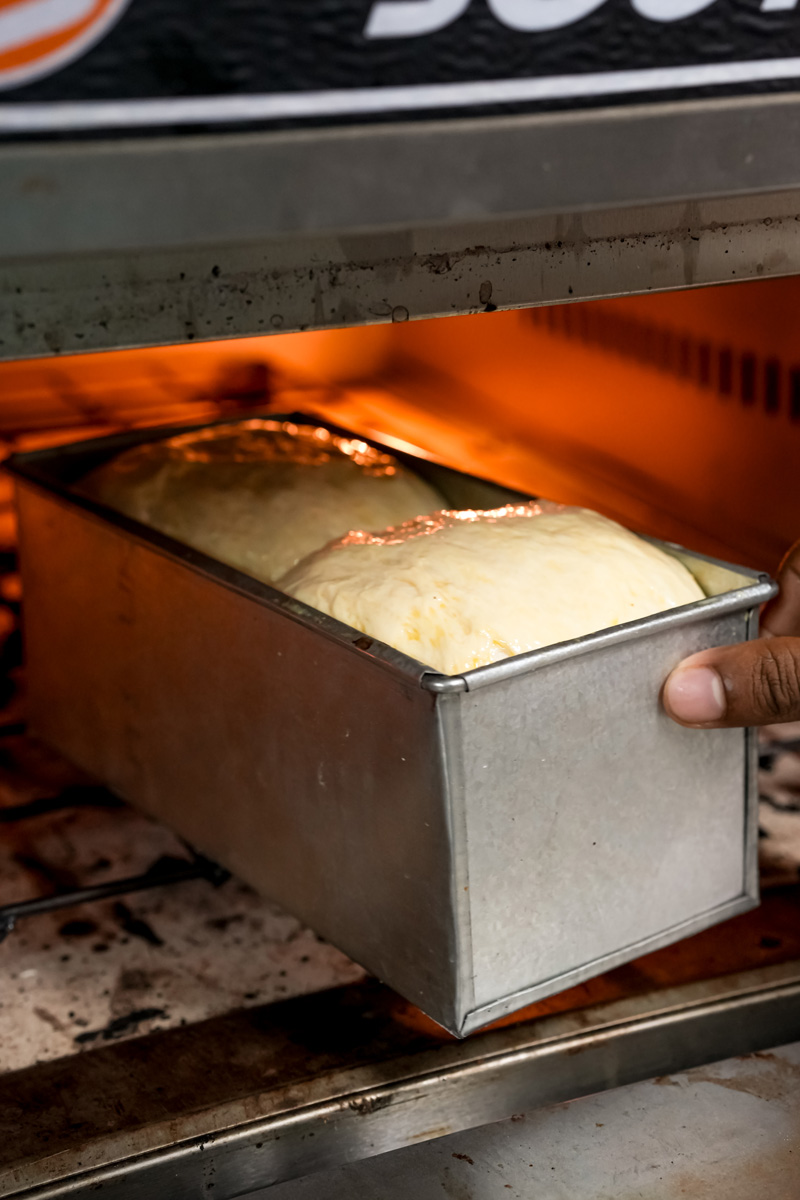
Stage 7: Baking to Golden Brown Perfection
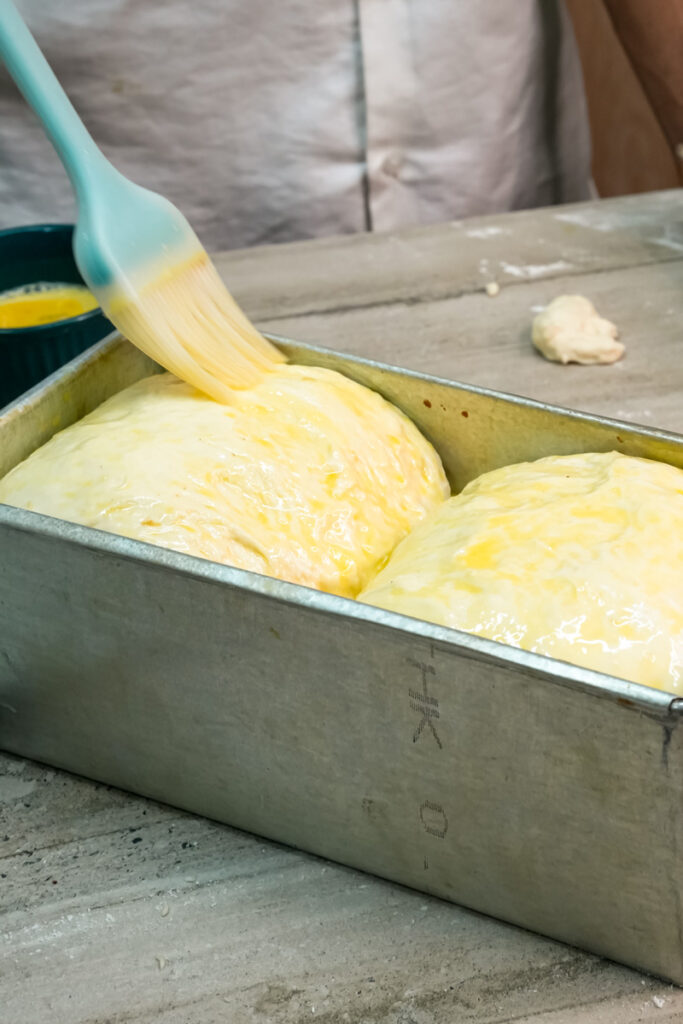
Once the dough has risen, it’s go time! If you want a super shiny, golden-brown top, you can gently brush it with an egg wash (one egg beaten with a splash of milk). This is totally optional.
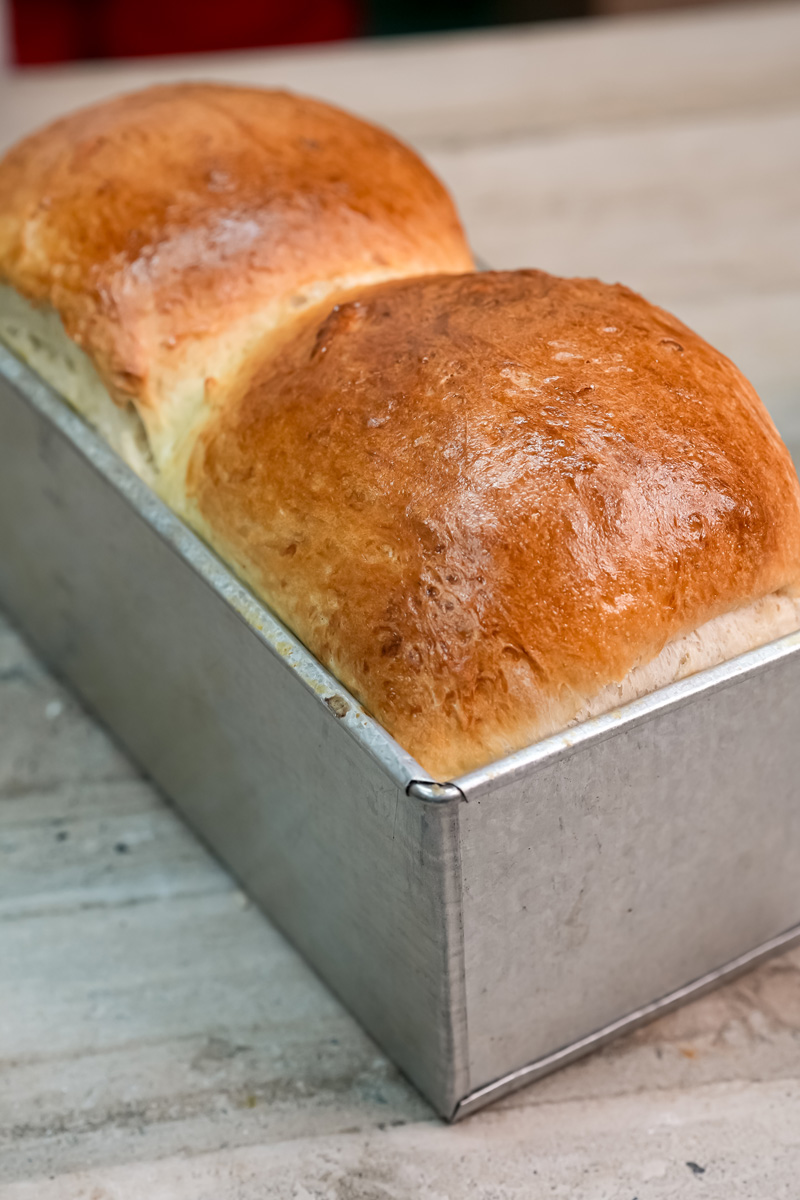
Place the pan in the center of your preheated oven and bake for 25-30 minutes, until the top is a beautiful, deep golden brown. You can tap the bottom of the loaf (carefully!)—if it sounds hollow, it’s done. Or, for total certainty, an instant-read thermometer stuck in the center should read 190°F (88°C).
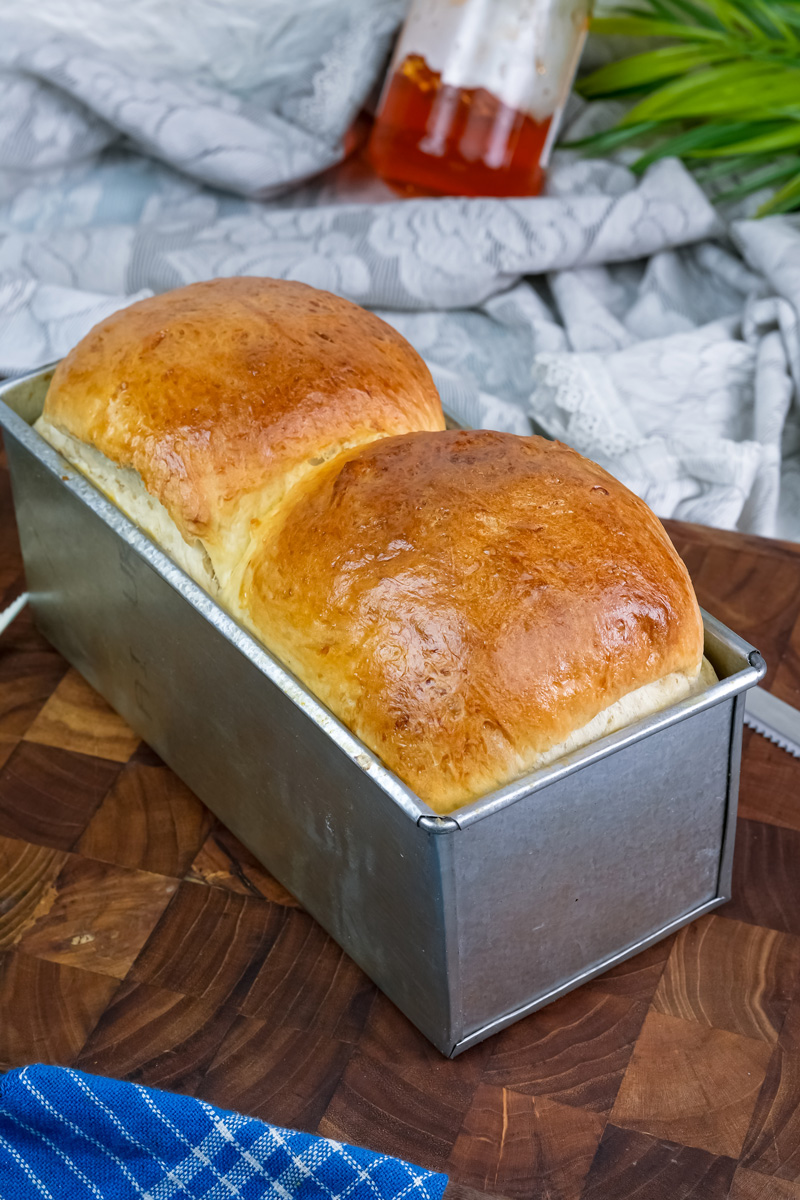
Stage 8: The Cool Down (The Hardest Part!)
This step is so important! As soon as it’s done, get the bread out of the pan and onto a wire cooling rack. I know how tempting it is to slice into it right away, but you have to resist! Cutting into hot bread lets all the steam escape, which can ruin that soft, moist texture you worked so hard for.
Ready to Play? Let’s Customize!
Once you nail the classic loaf, you can have a lot of fun with this recipe.
- Add Some Flavor: I love adding a few tablespoons of black sesame seeds during the last few minutes of kneading for a nutty taste. For a sweet version, brush the rectangles with melted butter and sprinkle with cinnamon sugar before you roll them into logs. You could even add a tablespoon of matcha powder for a green tea loaf!
- Make it Vegan: This is an easy swap! Just use a full-fat plant milk like oat or soy milk instead of dairy milk, and use your favorite vegan butter block.
- Dinner Rolls?: Absolutely! For an everyday twist, divide the dough into 8-10 smaller pieces, roll them into balls, and bake them in a round cake pan for the most amazing dinner rolls you’ve ever had.
How to Serve and Store Your Masterpiece
There’s nothing better than a fresh slice of Shokupan. Its beauty is in its simplicity.
How should I eat it?
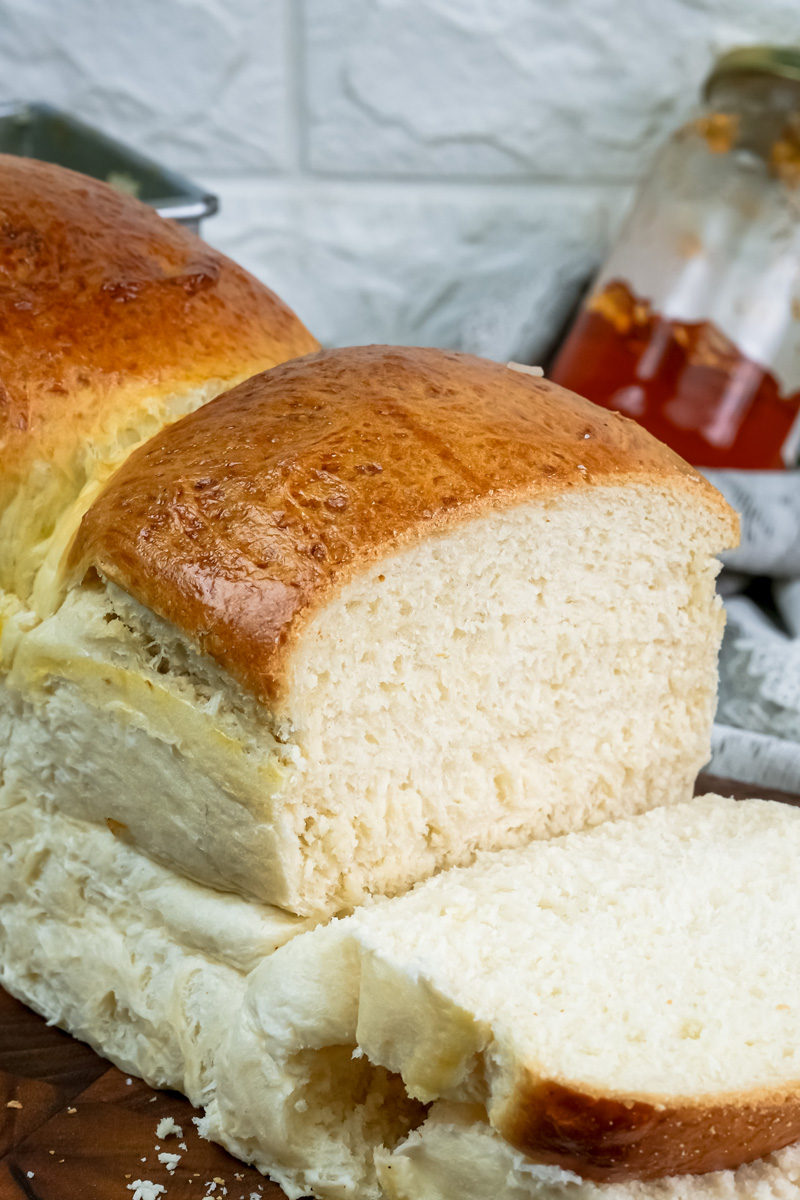
Honestly, the very best way to try it for the first time is to eat a slice plain or with a generous smear of good, salted butter. It also makes the most incredible toast—crispy on the outside, unbelievably soft and fluffy on the inside. And it’s the perfect bread for sandwiches, especially Japanese-style ones like a fried pork katsu sando or a creamy egg salad tamago sando.
How do I keep it fresh?
Because of our Yudane trick, this bread stays soft for a good 3-4 days. Store it in a bread box or a sealed plastic bag at room temperature. Don’t put it in the fridge! That actually makes bread go stale faster.
This bread also freezes like a dream. I always let the loaf cool completely, slice it, and then pop the slices into a freezer bag. They keep for at least a month, and you can toast them straight from frozen.
I really hope you enjoy baking this loaf as much as I do. Happy baking!
PrintJapanese Milk Bread (Shokupan)
Discover the secret to impossibly soft, cloud-like bread! This recipe for Japanese Milk Bread (Shokupan) uses a special starter paste called Yudane to create a loaf that’s incredibly fluffy, slightly sweet, and stays fresh for days. It’s a true game-changer for home bakers.
- Prep Time: 2 hours 30 minutes
- Cook Time: 30 minutes
- Total Time: 12 hours 50 minutes (+ resting & rising)
- Yield: 1 Loaf (8-10 slices) 1x
- Category: Bread
- Cuisine: Japanese
Ingredients
For the Yudane (Starter Paste):
- 50g Bread Flour
- 40ml Boiling Water
For the Main Dough:
- 150ml Whole Milk, room temperature
- 15g Sugar
- 3g Instant Dry Yeast
- 10g Unsalted Butter, softened
- 200g Bread Flour
- 5g Salt
- The chilled Yudane you prepared
Instructions
- Make the Yudane (Night Before): In a small bowl, pour the boiling water over the 50g of bread flour. Mix vigorously with a spatula until a thick, sticky paste forms. Press plastic wrap directly onto the surface and refrigerate for at least 8 hours or overnight.
- Mix the Dough: The next day, add the room-temperature milk, sugar, yeast, and softened butter to your stand mixer bowl. Tear the chilled Yudane into small pieces and add it to the bowl. Top with the 200g of bread flour and the salt.
- Knead the Dough: Using a dough hook, mix on low speed until a shaggy dough forms. Then, increase to medium-high and knead for a full 20 minutes. The dough should become very smooth, shiny, and pull away cleanly from the sides of the bowl.
- First Rise: Form the dough into a smooth ball and place it in a large, lightly greased bowl. Cover and let it rise in a warm place for 45-60 minutes, or until it has doubled in size.
- Shape the Loaf: Gently punch down the dough and divide it into two equal halves. Roll each half into a ball, cover, and let rest for 20 minutes. Working one at a time, roll a ball into a 6×8 inch rectangle. Fold it like a letter (left third to the center, right third over top), then roll it up tightly into a log.
- Second Rise (Proof): Place the two dough logs side-by-side in a greased 9×5 inch loaf pan. Cover and let rise in a warm place for 30-45 minutes, until the dough just reaches the rim of the pan. While it rises, preheat your oven to 365°F (185°C).
- Bake: Bake for 25-30 minutes, until the top is a deep golden brown. The internal temperature should be around 190°F (88°C).
- Cool Down: Immediately remove the bread from the pan and place it on a wire rack to cool completely before slicing. This is crucial for the perfect texture!
Notes
- Serving Suggestions: There’s nothing better than a fresh slice with good quality butter. It makes incredible toast and is the perfect bread for sandwiches like a Japanese egg salad (Tamago Sando) or fried pork cutlet (Katsu Sando).
- Tips & Tricks: For the best results, use a kitchen scale! Precision is key for the Yudane method. To check if your dough is perfectly kneaded, use the “windowpane test”—a small piece should stretch thin enough to see light through it without tearing.
- Storage & Reheating: This bread stays soft for 3-4 days! Store it in a sealed bag or bread box at room temperature (not the fridge). It also freezes beautifully. Slice the cooled loaf completely, place it in a freezer bag, and toast slices directly from frozen for up to a month.