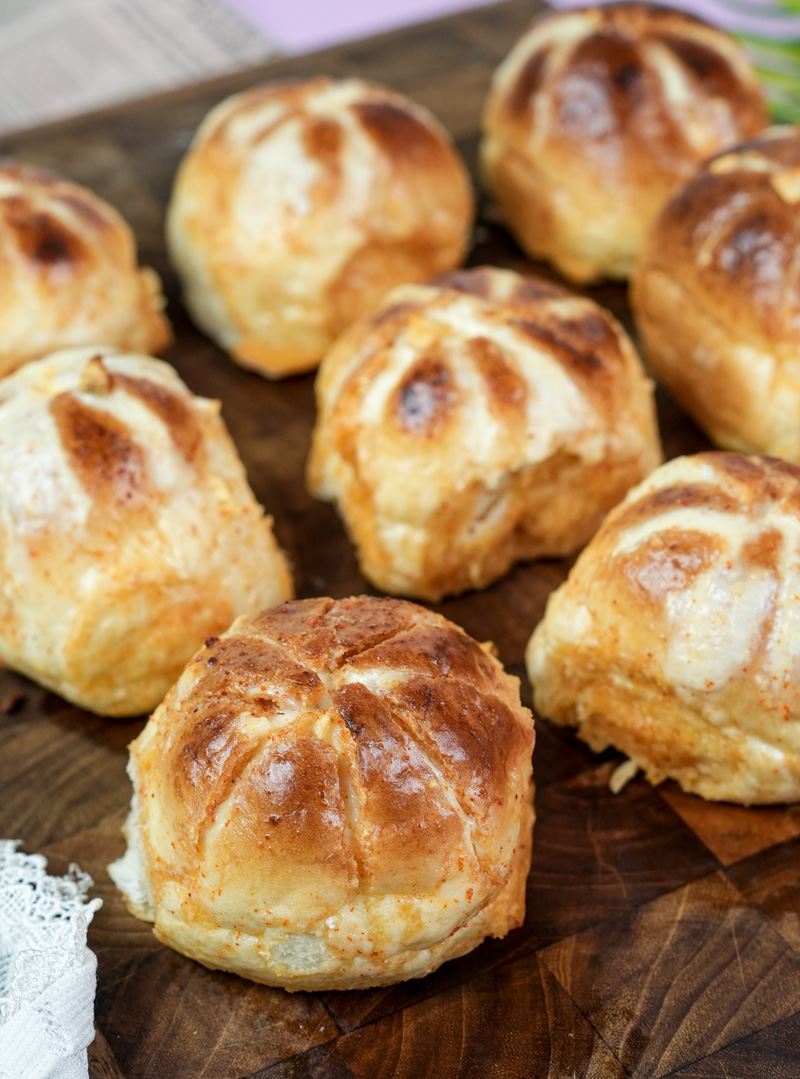
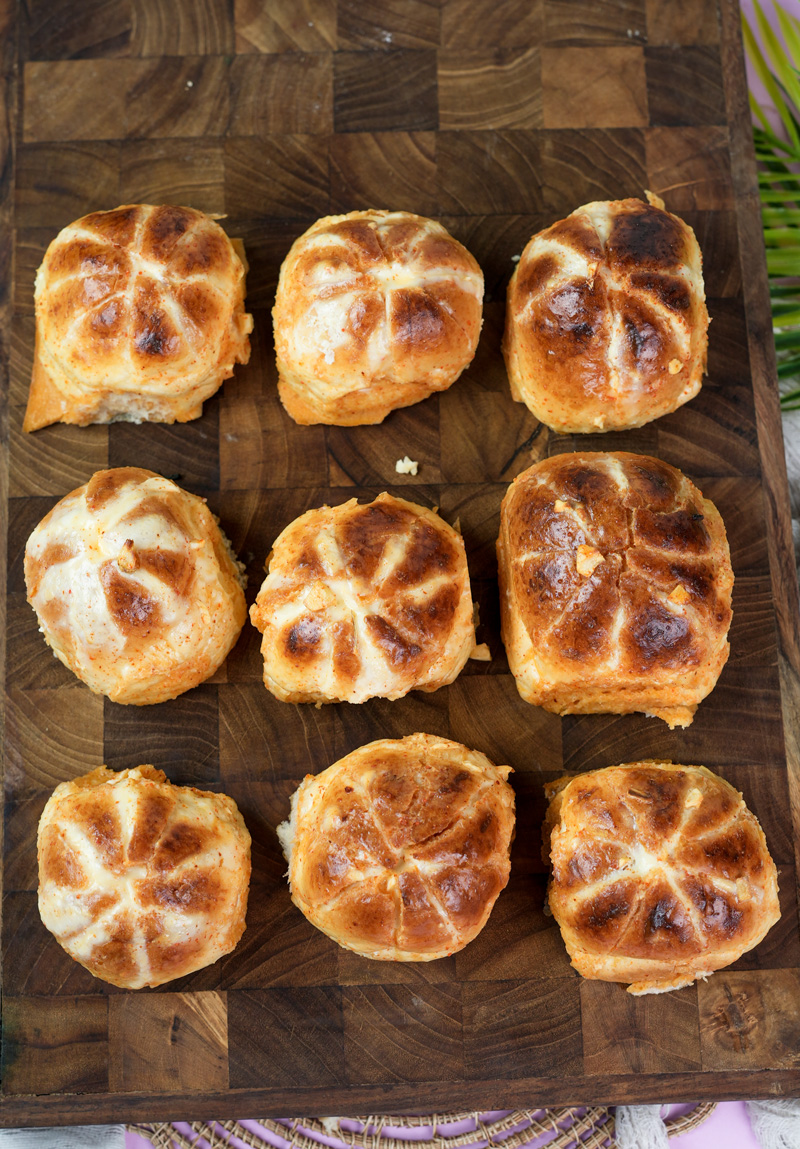
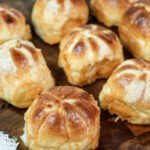
Okay, let’s talk about a recipe that completely blew my mind. The Korean Cream Cheese Garlic Bun.
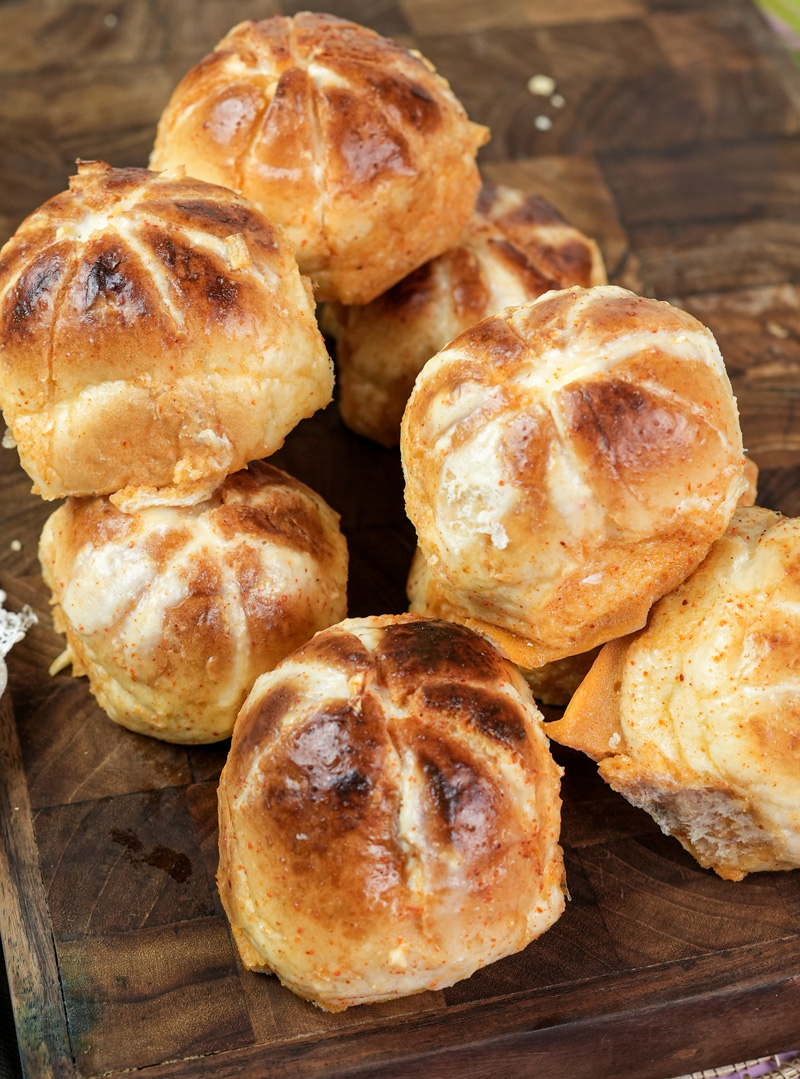
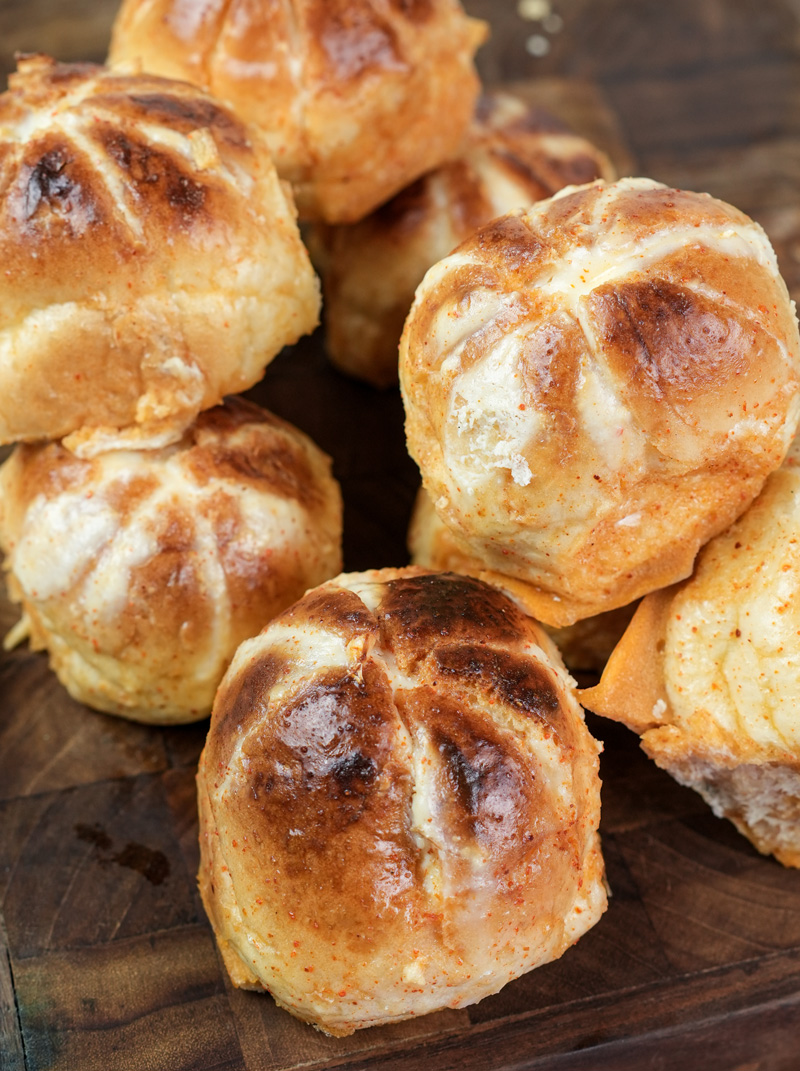
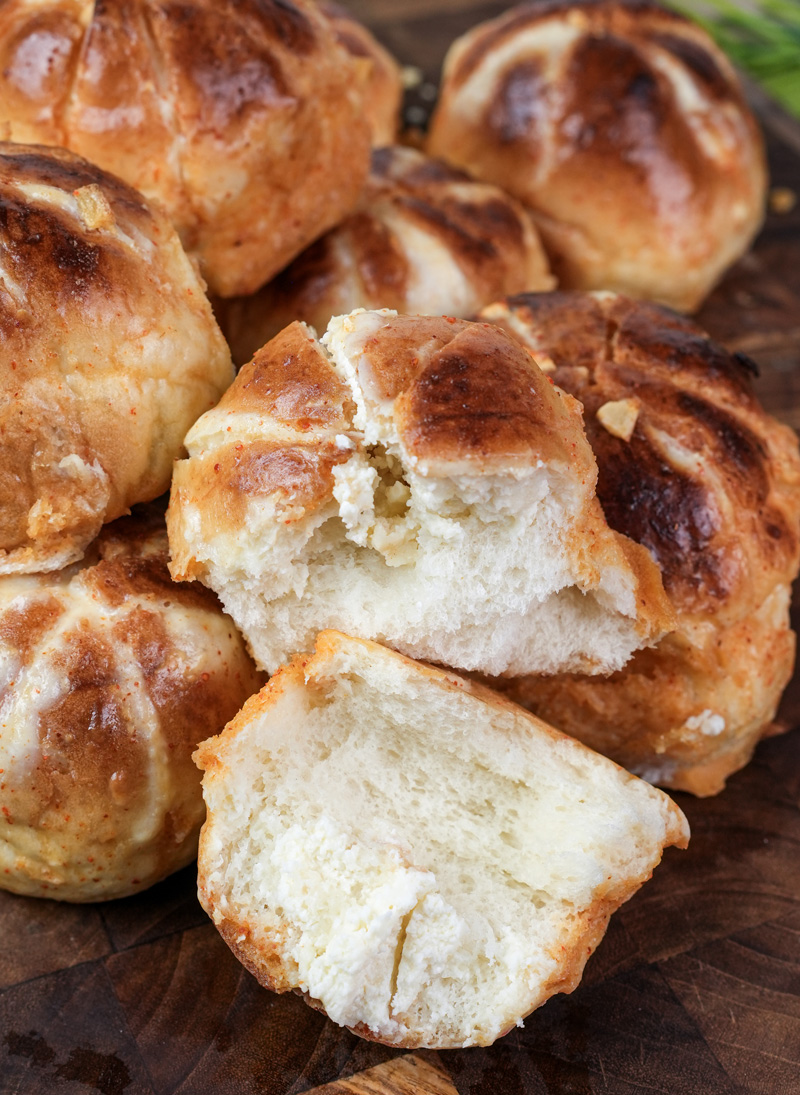
Picture this: You take the best garlic bread you’ve ever had. Now, imagine it gets a serious, delicious upgrade. That’s what we’re talking about. It’s a warm, fluffy bun that’s crispy on the outside. But when you bite in… you get a sweet and tangy cream cheese filling. Oh, and the whole thing is soaked in a rich, garlicky butter sauce.
It’s everything. Sweet, salty, cheesy, and garlicky all at once. One perfect bite.
This recipe became a huge deal over in Korea, where it’s called Yuktong-maneul-ppang (육쪽마늘빵), or “six-sided garlic bread.” It started as a street food in a city called Gangneung and people would line up for blocks to get it. Naturally, it took over the internet.
After trying a bunch of different ways to make them, this is the version I swear by. Instead of a big loaf, we’re using soft little sweet rolls. This makes them perfect for sharing. Or, you know, not sharing. I won’t judge.
So, let’s get into it. I promise, your kitchen is about to smell incredible.
Recipe at a Glance
So, what are you getting into? Here’s the quick rundown. This looks fancy, but it’s surprisingly simple.
- Total Time: You’ll have these on the table in about 35 minutes. (20 minutes to prep, 15 minutes to bake).
- Difficulty: Easy. Seriously! There’s no dough to make from scratch. The trickiest part is cutting and filling the rolls, but you can’t really mess it up. It’s a great recipe if you’re a beginner wanting to make something that looks impressive.
- Servings: This recipe makes 16 small buns.1 Perfect for a party appetizer or a side for 4-6 people.
Need to make more or less? No problem. It’s super easy to scale. Here’s a handy chart to help you out:
| Batch Size | Buns | Cream Cheese (room temp) | Melted Butter | Egg | Milk | Sweetened Condensed Milk | Minced Garlic | Grated Parmesan |
| Half Batch | 8 | 4 oz / 113g | 1/4 cup | 1 | 2 tbsp | 2-3 tbsp | 1-2 tbsp | 1 tbsp |
| Standard | 16 | 8 oz / 226g | 1/2 cup | 1 | 1/4 cup | 4-5 tbsp | 2-3 tbsp | 2 tbsp |
| Double | 32 | 16 oz / 452g | 1 cup | 2 | 1/2 cup | 1/2 cup | 1/4 cup | 1/4 cup |

What You’ll Need (Your Kitchen Tools)
You probably have all this stuff already. Nothing fancy required!
- A baking sheet and parchment paper. For easy cleanup. A lifesaver.
- A serrated knife. A bread knife is your best friend here—it won’t squish the soft rolls.
- A piping bag. This makes filling the buns so much cleaner. Don’t have one? Just use a Ziploc bag and snip a corner off. Works like a charm.
- Two mixing bowls. One for the cheese filling, one for the garlic butter.
- A small whisk or a fork.
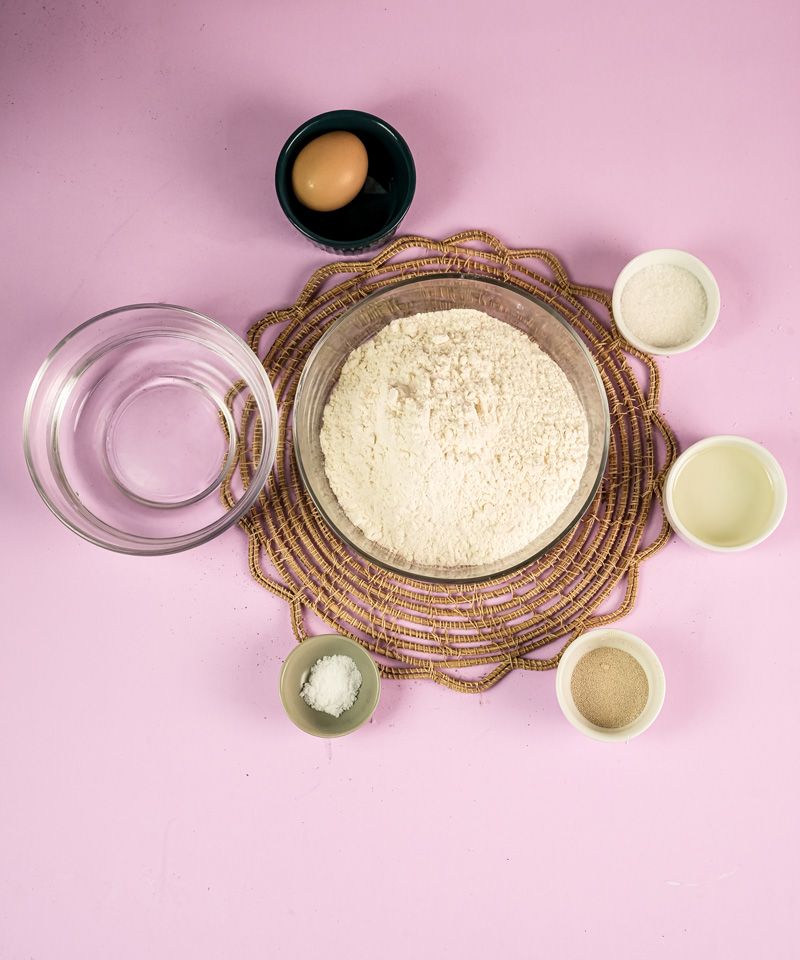
Let’s Talk Ingredients
The real secret to these buns is how a few simple ingredients work together.
For the Buns:
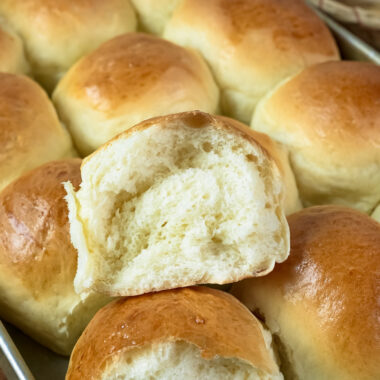
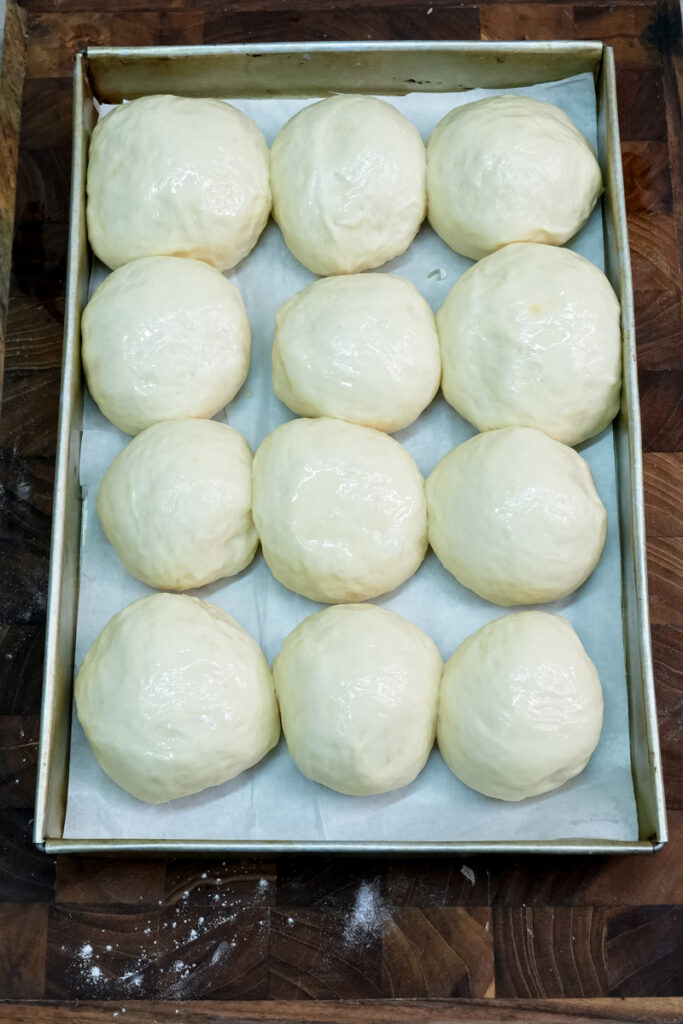
Our starting point is 16 King’s Hawaiian Original Hawaiian Sweet Rolls. Their built-in sweetness is perfect against the garlic and cheese. Now, here’s a little trick I learned: leave the rolls out on the counter for a couple of hours before you start. I know it sounds weird. But letting them get just a little stale helps them soak up all that garlic butter without turning into mush. Any soft dinner roll will do, but these are my favorite.
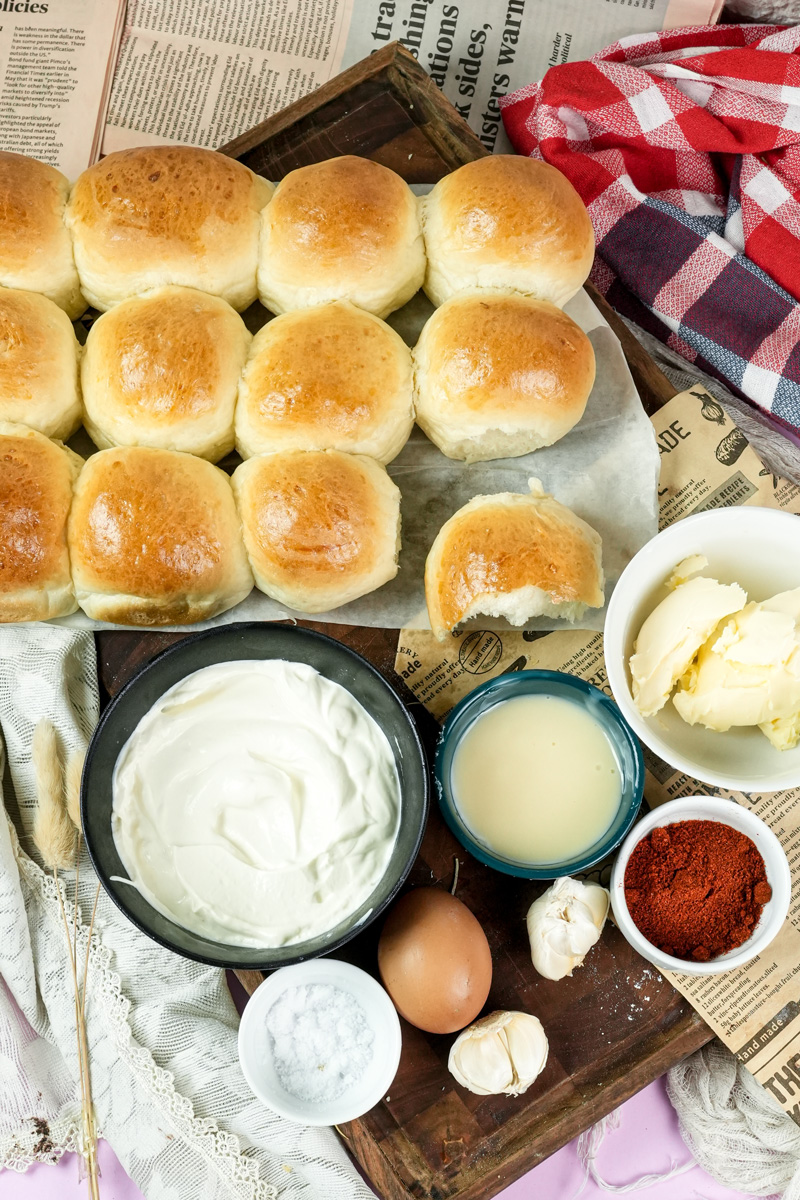
For the Creamy Filling:
You’ll need one 8-ounce block of cream cheese, and it has to be at room temperature. Please, don’t skip this. Cold cream cheese is lumpy, and nobody wants that. We’ll mix it with 2-3 tablespoons of sweetened condensed milk for a creamy sweetness that regular sugar just can’t match. A pinch of salt makes all the flavors pop.
For the Garlic Butter Dunk:
This is where the magic happens. We start with ½ cup of melted unsalted butter. Using unsalted lets us control the salt level. We’ll whisk that with 1 large egg and ¼ cup of milk. This turns the butter into a rich custard that bakes right onto the bread. For sweetness, another 2 tablespoons of sweetened condensed milk goes in.
The star, of course, is the garlic! You’ll need 2-3 tablespoons of minced fresh garlic. Use fresh. I can’t stress this enough. It makes all the difference. Then, add ½ teaspoon of salt, 2 tablespoons of chopped fresh parsley for color and freshness, and my little secret weapon: ½ teaspoon of paprika. It adds a beautiful color and a hint of smoky flavor.
For the Topping:
A simple sprinkle of 2 tablespoons of grated Parmesan cheese. This gives you that final salty, nutty, crispy crust.
Step-by-Step: Let’s Make Some Buns!
Alright, ready? I’ll walk you through every step.
Step 1: Get the Oven and Buns Ready
First things first, get your oven going at 350°F (175°C). While it’s heating up, line a baking sheet with parchment paper.
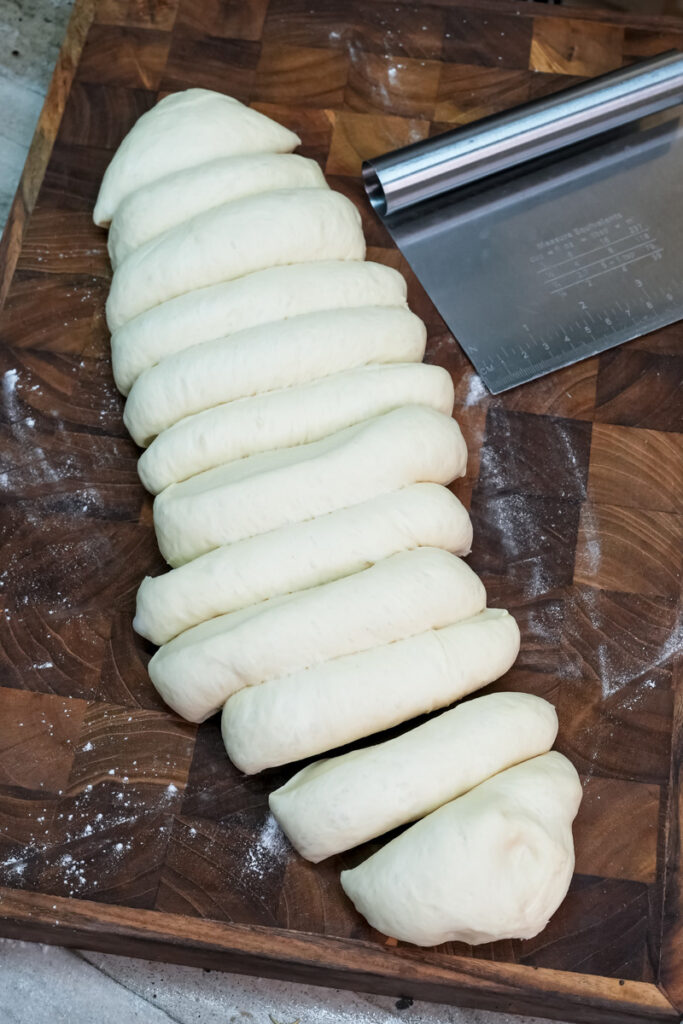
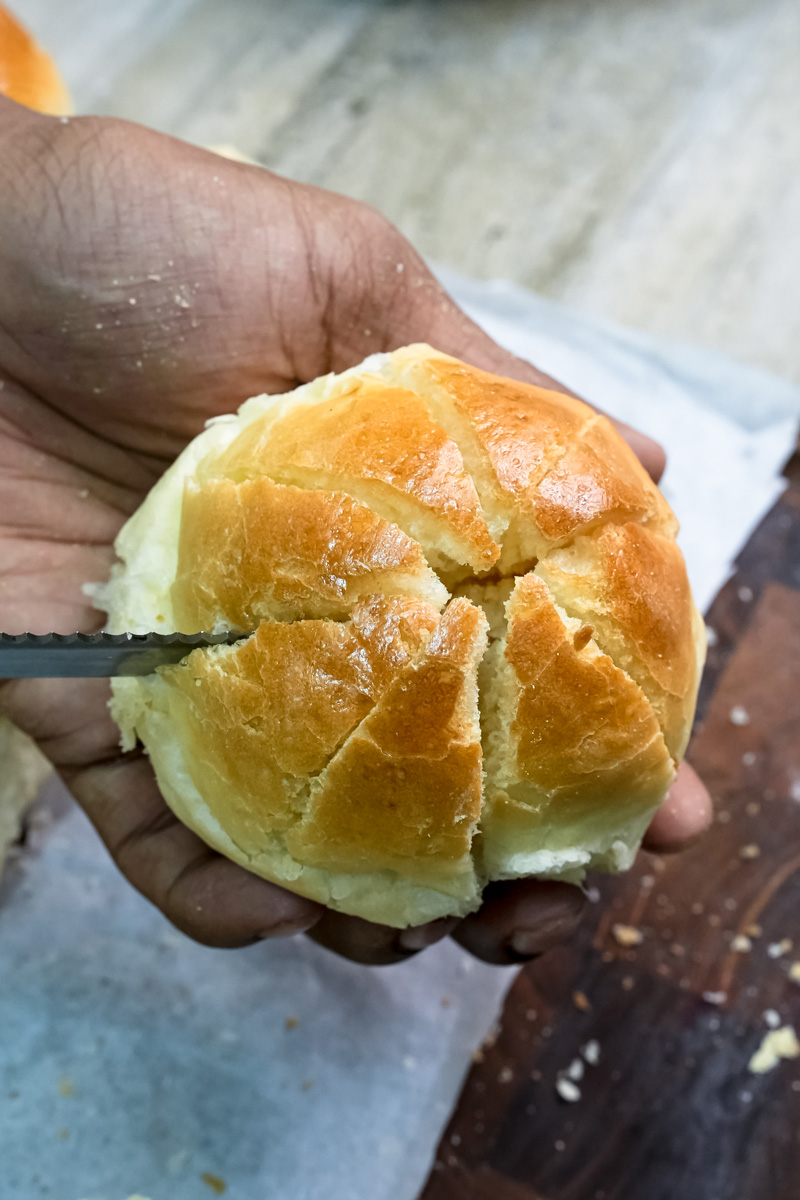
Now, grab those slightly stale rolls and your serrated knife. You’re going to make four cuts into the top of each roll, stopping about three-quarters of the way down. Think of a tic-tac-toe board. This gives you 8 little connected wedges. The idea is to create pockets for all that goodness to seep into, while the bun stays together at the bottom. If that feels too fussy, just making two cuts for 4 sections works great too!
Step 2: Whip Up the Cream Cheese Filling
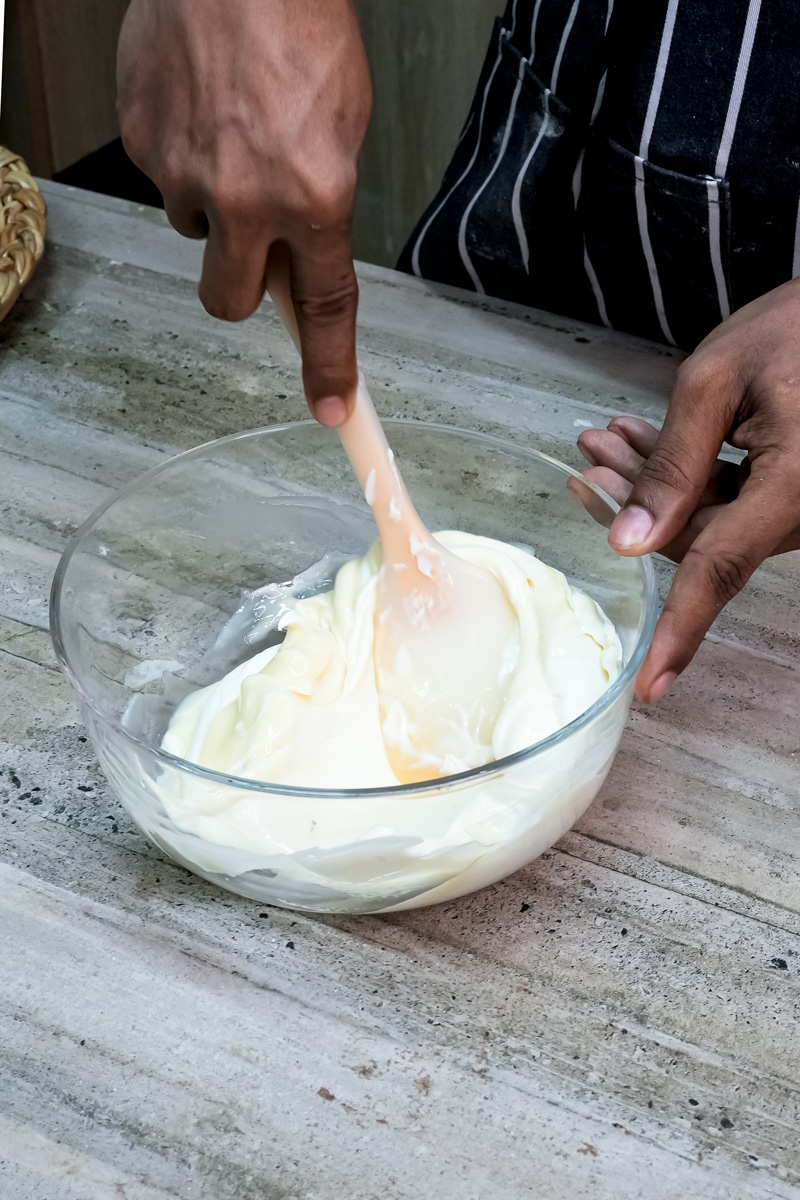
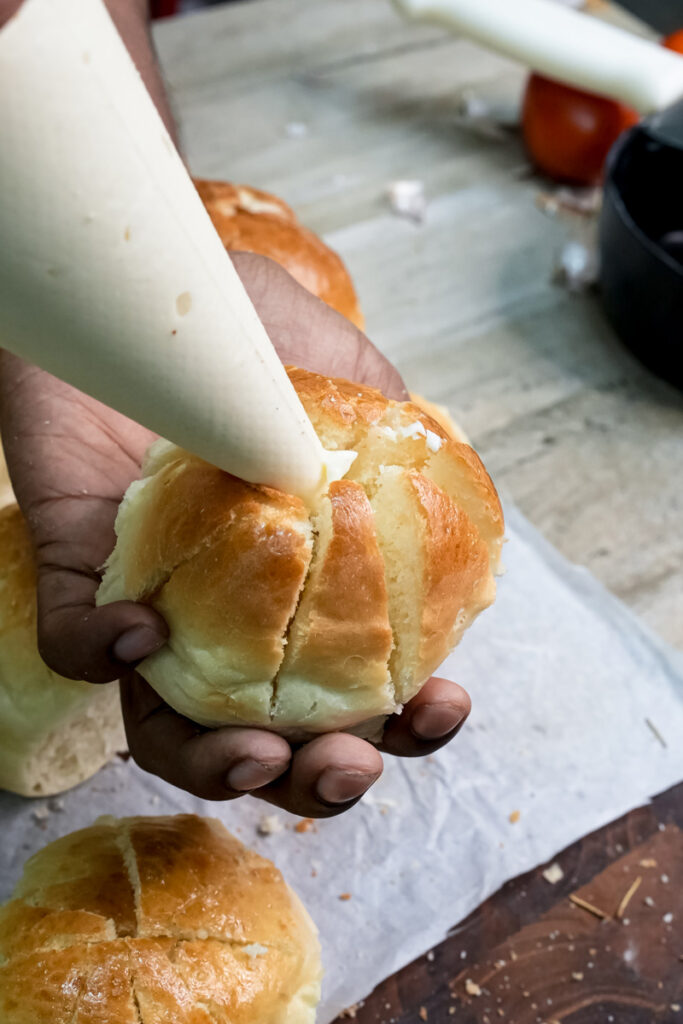
In a bowl, mix your room temperature cream cheese, condensed milk, and salt until it’s totally smooth. No lumps! You want it to be thick but still easy to pipe, kind of like frosting. Spoon it all into your piping bag.
Time for the fun part. Gently pull open the cuts you made in the rolls and squeeze a generous amount of the cream cheese filling inside each one. Don’t be shy!
Step 3: Make the Garlic Butter Custard
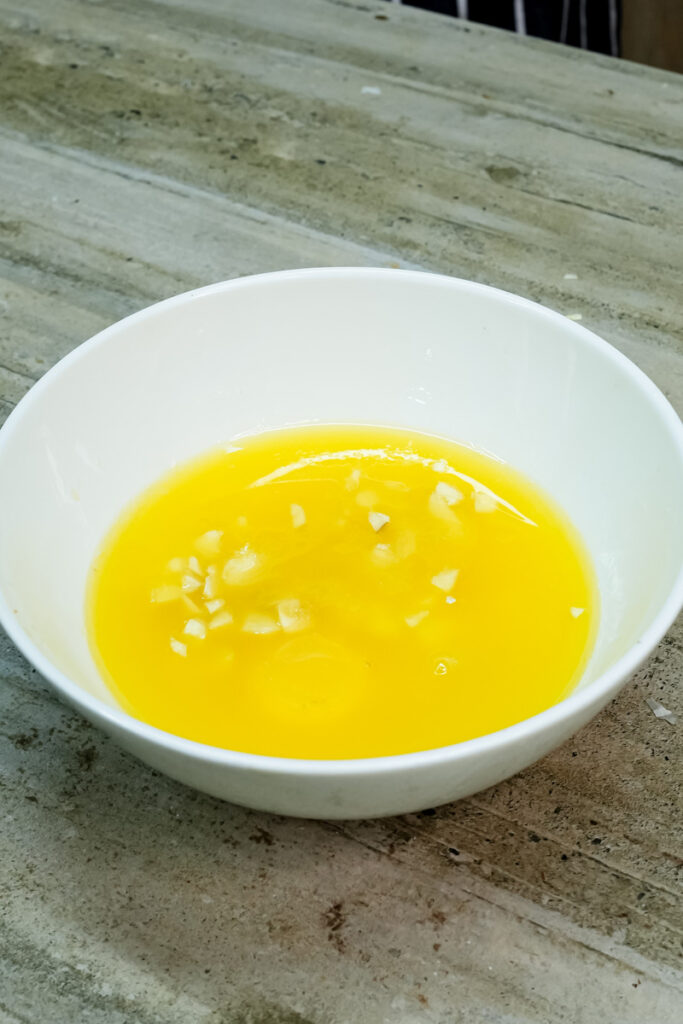
In a separate bowl—make sure it’s wide enough for dipping—whisk together the melted butter, egg, milk, condensed milk, minced garlic, salt, parsley, and paprika. Keep whisking until it’s all one beautiful, speckled mixture. Your kitchen should be smelling so good right about now. That’s how you know you’re doing it right.


Step 4: Dunk, Top, and Bake!
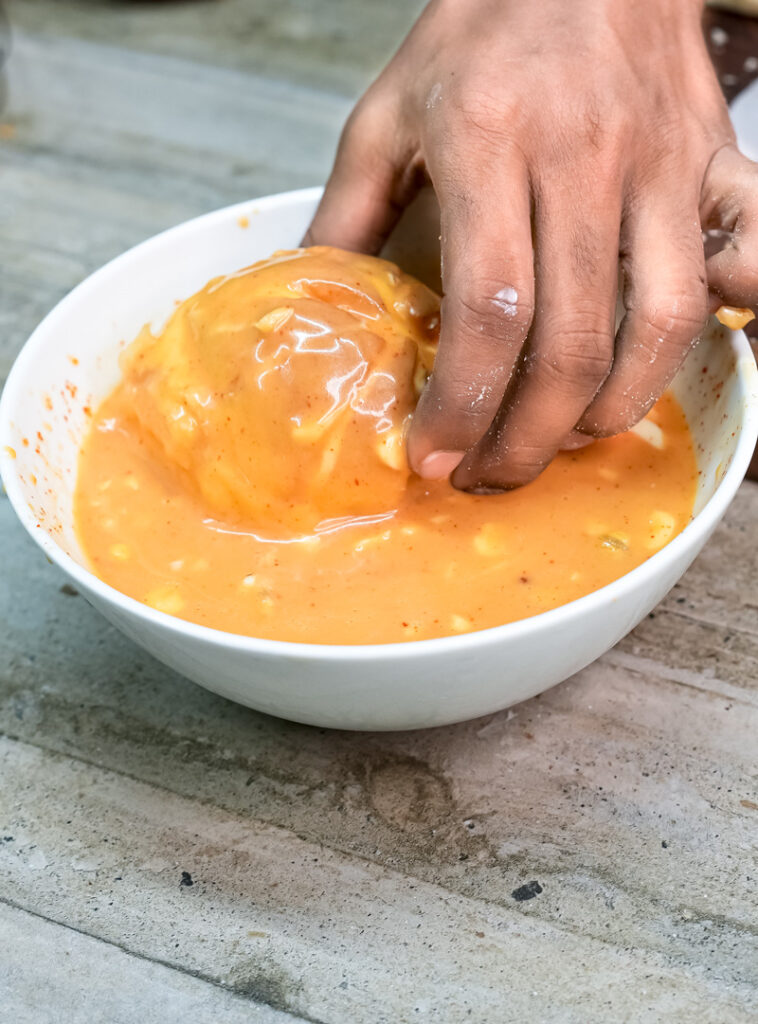
This is it. Take a filled roll and give it a quick dip in the garlic butter mixture, about 1-2 seconds per side. You want to coat it, not drown it.
Place each dipped bun on your baking sheet. You’ll probably notice all the yummy bits of garlic have sunk to the bottom of the bowl. Don’t let that flavor go to waste! Use a spoon or a pastry brush to scoop up that garlic and spread it right over the tops of the buns.
For the final touch, sprinkle the Parmesan cheese all over the top.
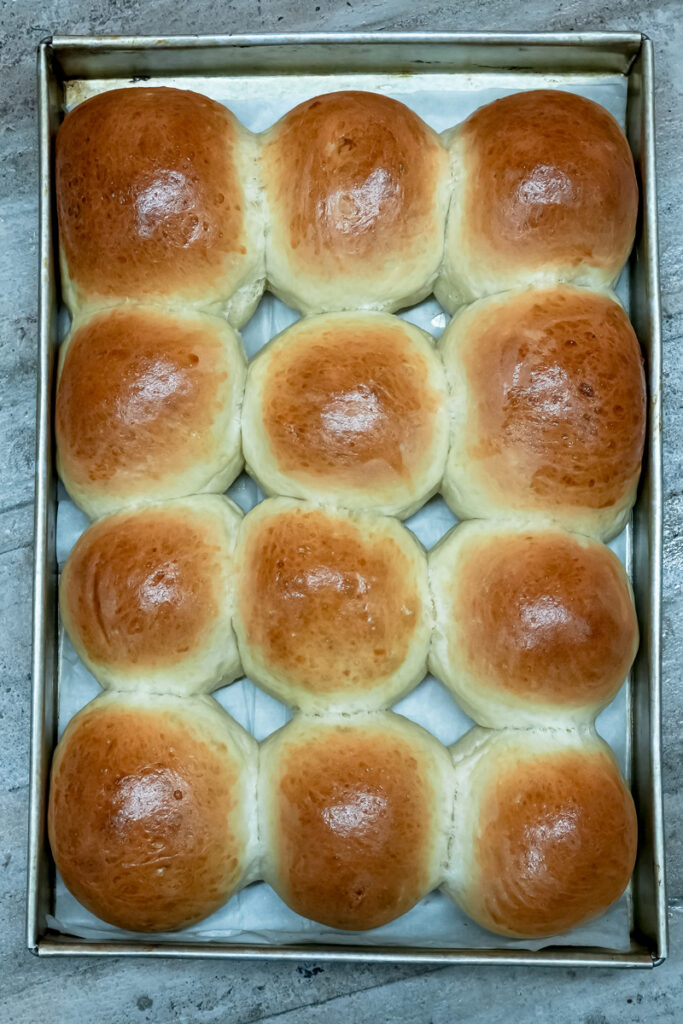
Slide them into the oven and bake for about 15 minutes. You’ll know they’re done when they are golden brown, a little crispy on top, and the cheese filling is warm and gooey. The smell alone will tell you it’s time. Serve them right away while they’re warm!
Want to Mix It Up?
One of the best parts about this recipe is you can totally make it your own.
- Feeling spicy? Add ½ teaspoon of gochugaru (Korean chili flakes) or a pinch of cayenne to the garlic butter. You could even mix some finely chopped jalapeños into the cream cheese.
- Feeling fancy? For a killer cheese-pull, swap the Parmesan for a mix of Gruyère and mozzarella. Topping them with crispy fried shallots after baking is also a great move.
- Need to adapt it? For a gluten-free option, find the best gluten-free sweet rolls you can. For a vegan version, you’ll need to make a few swaps: use vegan cream cheese, plant-based butter and milk, and maple syrup instead of condensed milk. It’s an adventure, but a delicious one!
Serving and Storing
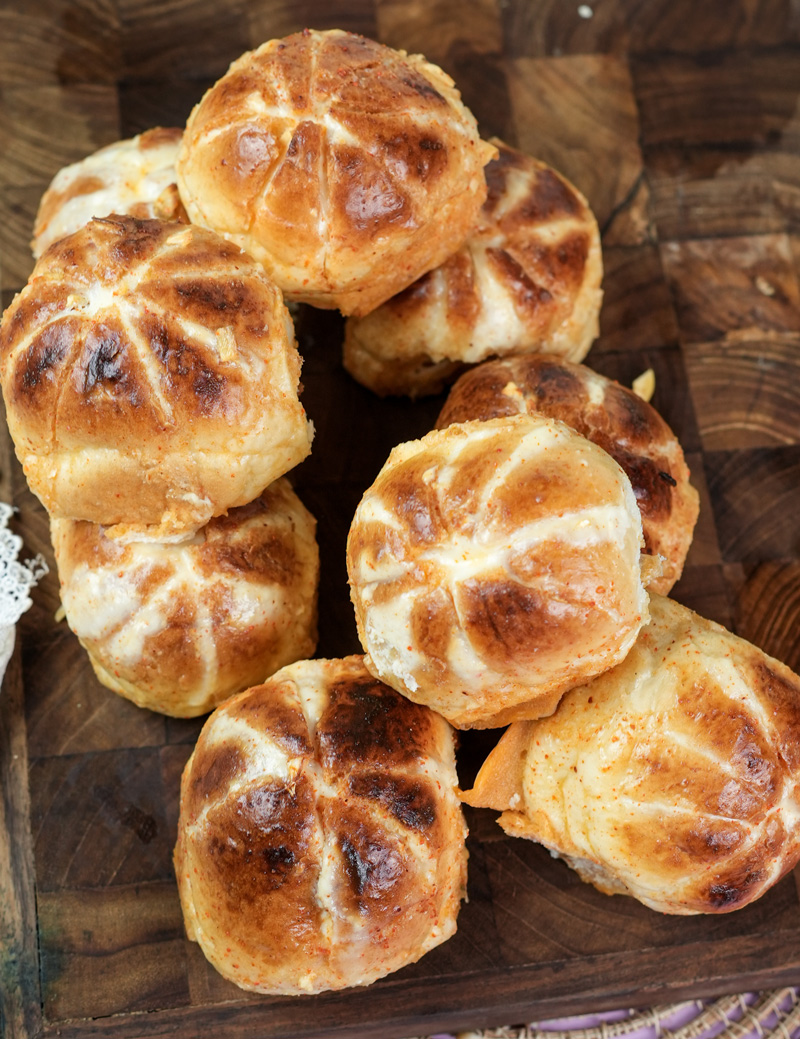
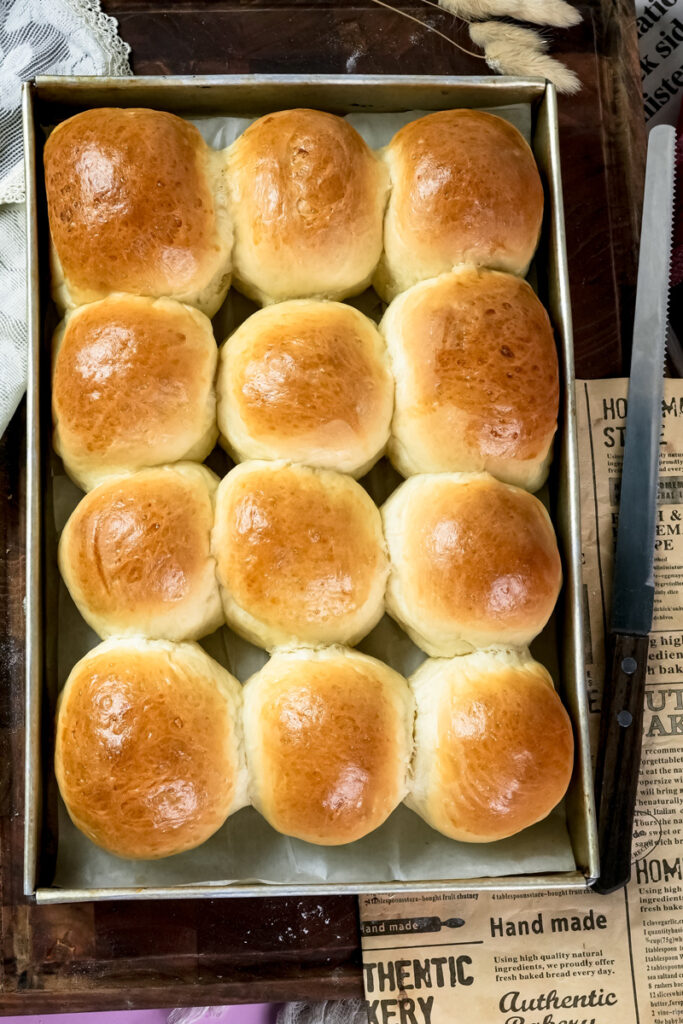
Honestly, these are best eaten right away, still warm from the oven. For a nice presentation, pile them on a platter and maybe sprinkle a little more fresh parsley on top. They’re amazing on their own, but also make a fantastic side for tomato soup or a big salad.
Leftovers? Store them in an airtight container in the fridge for up to 3 days. They will get soft, though.
How to Reheat: The air fryer is your best friend here! A few minutes at 350°F (175°C) will crisp them right back up. You can also use the oven for 5-7 minutes. I’d skip the microwave unless you’re in a real hurry—it makes them soft and chewy, not crispy.
Can you freeze them? Yes! Bake them, let them cool completely, then freeze them in a freezer-safe bag for up to 2 months. Reheat straight from the freezer in a 350°F (175°C) oven for 15-20 minutes.
PrintKorean Buns
The viral Korean street food snack you can easily make at home! It’s the perfect mix of sweet, savory, cheesy, and garlicky in every single bite. These buns are fluffy on the inside, crispy on the outside, and absolutely unforgettable.
- Prep Time: 20 minutes
- Cook Time: 15 minutes
- Total Time: 35 minutes
- Yield: 16 buns 1x
- Category: Appetizer, Snack
- Cuisine: Korean
Ingredients
For the Buns:
- 16 King’s Hawaiian Original Hawaiian Sweet Rolls
Cream Cheese Filling:
- 8 oz (226g) cream cheese, must be room temperature!
- 2–3 tbsp sweetened condensed milk
- 1 pinch of salt
Garlic Butter Custard:
- ½ cup (113g) unsalted butter, melted
- 1 large egg
- ¼ cup milk
- 2 tbsp sweetened condensed milk
- 2–3 tbsp fresh minced garlic
- ½ tsp salt
- 2 tbsp chopped fresh parsley
- ½ tsp paprika
- 2 tbsp grated Parmesan cheese, for topping
Instructions
- Prep Oven & Buns: Preheat your oven to 350°F (175°C) and line a baking sheet with parchment paper. Using a serrated knife, make 4 deep cuts into the top of each roll (like a tic-tac-toe board), stopping just before the bottom so they stay intact.
- Make the Filling: In a medium bowl, beat the room temperature cream cheese, condensed milk, and salt until completely smooth. Transfer the mixture to a piping bag (or a ziplock bag with the corner snipped off) and pipe generously into the cuts of each roll.
- Make the Custard: In a separate, wide bowl, whisk together the melted butter, egg, milk, condensed milk, minced garlic, salt, parsley, and paprika until everything is well combined.
- Dip & Top: Briefly dip each filled bun into the garlic butter custard, coating it on all sides. Place the coated buns on your prepared baking sheet. Spoon any leftover garlic bits from the bowl onto the tops of the buns. Sprinkle evenly with Parmesan cheese.
- Bake: Bake for 15 minutes, or until the buns are a beautiful golden brown and the tops are slightly crisp. For the best experience, serve immediately while they’re warm and gooey!
Notes
- Serving Suggestions: These are fantastic on their own as a snack or appetizer. They also pair wonderfully with a simple green salad or a bowl of tomato soup.
- Tips & Tricks: For the best texture, let the Hawaiian rolls sit out on the counter for a couple of hours to dry out slightly. This helps them soak up the custard without getting soggy. And always use fresh garlic for the best flavor!
- Storage & Reheating: Store leftovers in an airtight container in the refrigerator for up to 3 days. To bring back that crispy texture, reheat them in an air fryer or oven at 350°F (175°C) for 5-7 minutes. Avoid the microwave if you can.