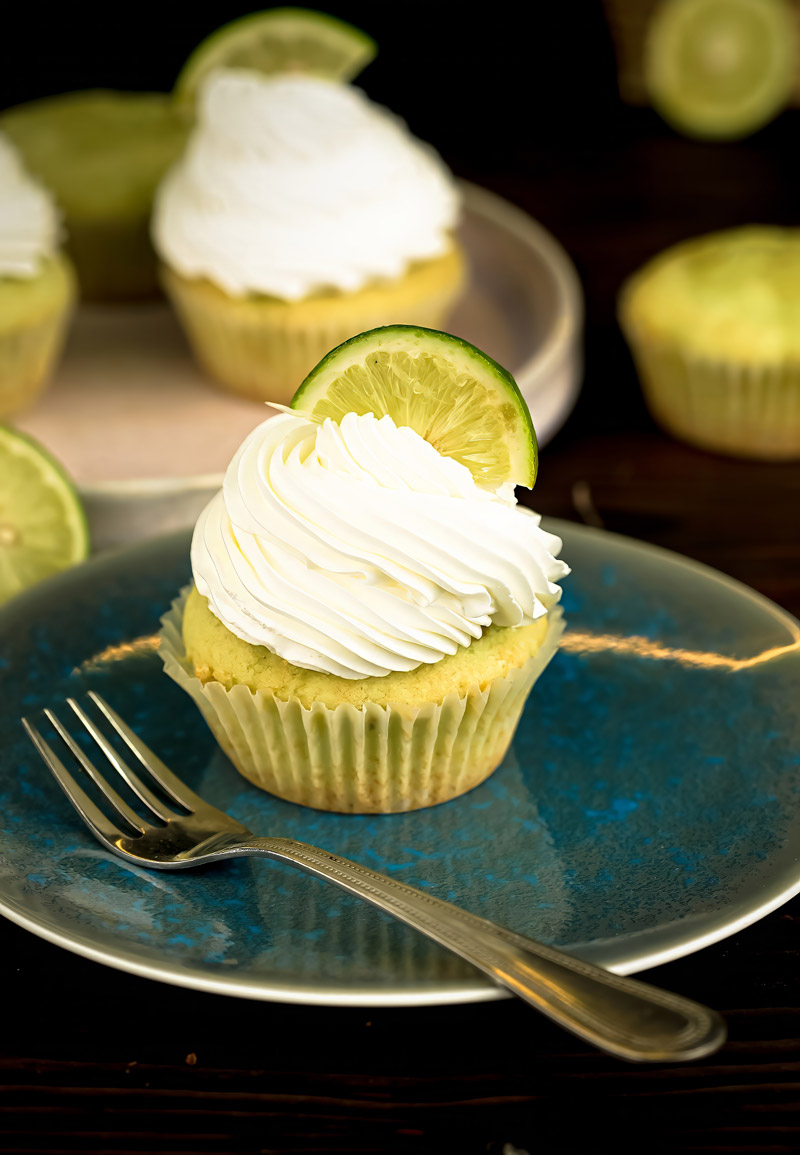
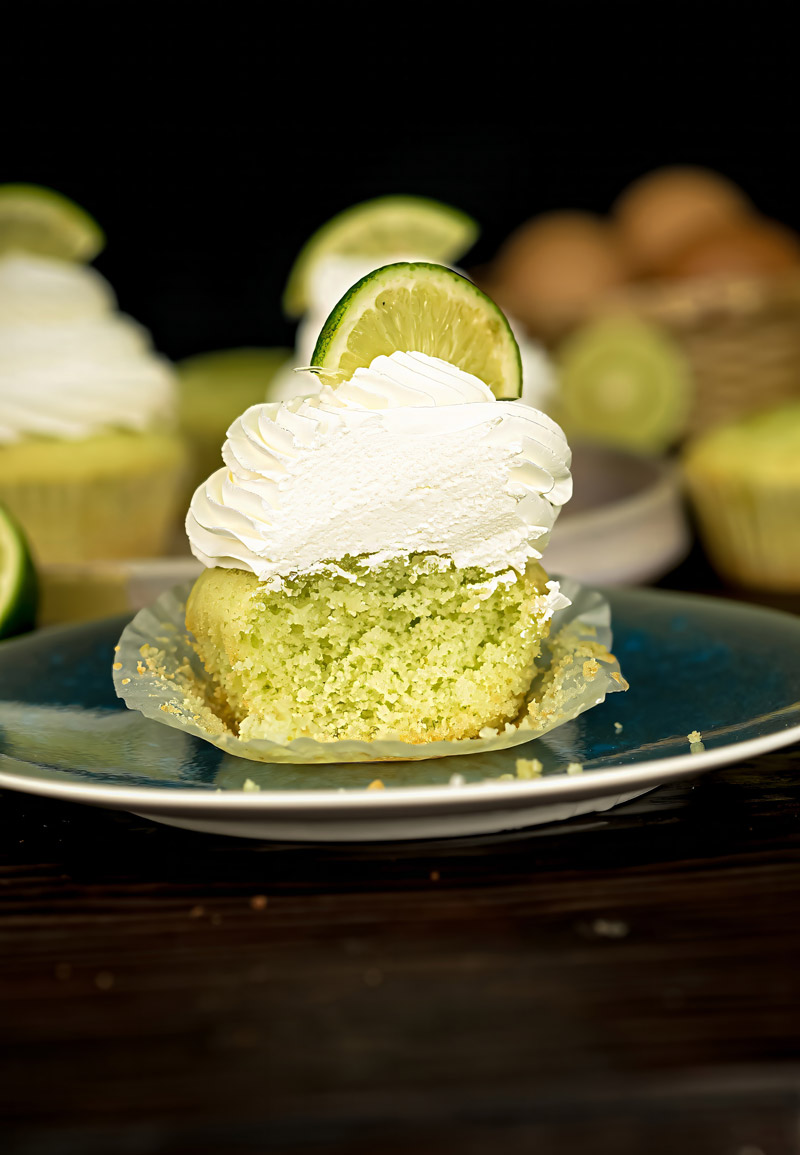
Okay, let’s bake something wonderful! We’re using simple ingredients and some classic kitchen wisdom to whip up the most delightful Moist Lemon Butter Cupcakes. Seriously, imagine biting into a soft, buttery cupcake bursting with bright, tangy lemon. It’s like pure sunshine!
There’s just something special about lemon desserts, right? They feel cozy and refreshing all at once. Perfect any time of year. Big, fancy lemon cakes are great, but sometimes you just want a perfect little lemon butter cup cake.
This recipe? It’s all about that rich, buttery taste, kicked up a notch with real lemon. We even use a bit of cream to make them extra tender. It’s a really easy lemon butter cup cake recipe – perfect if you’re a baking pro or just finding your way around the kitchen. I’ve made these countless times, and they always turn out great.
So, grab your apron. Let’s make some magic happen!
Recipe Overview: Your Baking Game Plan
Before we jump in, let’s quickly see what we’re getting into. It always helps me to have a roadmap!
Time & How Many Cupcakes
- Getting Ready: 20-25 minutes (Finding ingredients, zesting that lemon, mixing!)
- Baking Time: 15-20 minutes
- Total Time: About 35-45 minutes, plus cooling time (Super important, don’t skip it!)
- Makes: 6 lovely cupcakes.
- Need More? Easy! Just double everything for 12 cupcakes. Need fewer? Halving is tough with eggs, but for 3 cupcakes, you could try one egg and tweak the other amounts a bit.
Here’s a quick guide if you want to make a dozen:
| Ingredient | For 6 Cupcakes | For 12 Cupcakes |
|---|---|---|
| Butter | 110gm | 220gm |
| Sugar | 75gm | 150gm |
| Lemon Zest | 1 tsp | 2 tsp |
| Eggs | 2 | 4 |
| Dano Cream | 1 TbL | 2 TbL |
| Lemon Juice | 1 tsp | 2 tsp |
| Flour | 110gm | 220gm |
| Baking Powder | 1 tsp | 2 tsp |
| Baking Soda | 1/2 tsp | 1 tsp |
| Green Colour | 1/4 pinch (optional) | 1/2 pinch (optional) |
How Hard Is It?
- Easy Peasy: Honestly, this is a great recipe for beginners. The steps are simple. The results? Delicious. It’s a fantastic Simple lemon butter cup cake to boost your baking confidence.
What You’ll Need (Kitchen Gear)
No weird gadgets needed! Just your basics:
- A regular 6-cup muffin tin
- Cupcake liners (paper ones are fine!)
- Mixing bowls (a big one and a medium one)
- Electric mixer (handheld works great! Or a stand mixer. You can use a whisk, but get ready for an arm workout!)
- A rubber spatula or wooden spoon
- Measuring cups and spoons (the usual suspects)
- A fine sieve (for the flour – helps make them lighter, but optional)
- Something to zest the lemon (a zester or the small side of a cheese grater)
- Wire rack (for cooling the cupcakes down)
- Optional: An ice cream scoop – helps get the batter amount just right in each liner.
Can I Make Them Ahead?
Totally! Baking ahead can be a lifesaver.
- Cupcakes: Bake them the day before. Let them cool all the way. Then keep them in an airtight container on the counter. Easy!
- Frosting (If you’re using it): Planning on frosting? Like a simple lemon buttercream? You can often make that a day or two ahead. Keep it covered in the fridge. Just let it sit out for a bit to soften before you try to spread or pipe it.
Ingredients: Your Lemon Butter Building Blocks

Okay, time to gather our supplies! Think of it like getting all your LEGO bricks ready before you build something awesome. Here’s what you need for this lemon butter cup cake recipe:
The Lineup:
- Butter: 110gm (That’s about 1 stick minus 1 tablespoon). Unsalted is usually best for baking so you control the saltiness. If you only have salted, that’s okay! Just be mindful if you add frosting later. Make sure it’s soft, room temperature butter. Not melted!
- Sugar: 75gm (About 1/3 cup plus 1 tablespoon). Regular granulated sugar is perfect.
- Lemon Zest: 1 teaspoon. This is where all that amazing lemon smell comes from! Use a fresh lemon, please!
- Eggs: 2 large ones. They hold the cake together and make it rich. Room temperature eggs work best.
- Dano Cream: 1 Tablespoon. This stuff adds amazing moisture. It’s usually a thick, cultured cream. (More on swaps below!)
- Lemon Juice: 1 teaspoon. Gotta have that tangy kick! Freshly squeezed is way better than bottled.
- Flour: 110gm (About 3/4 cup plus 1 tablespoon). Plain old all-purpose flour.
- Baking Powder: 1 teaspoon. This gives our cupcakes their puff!
- Baking Soda: 1/2 teaspoon. This works with the lemon juice to help them rise even more.
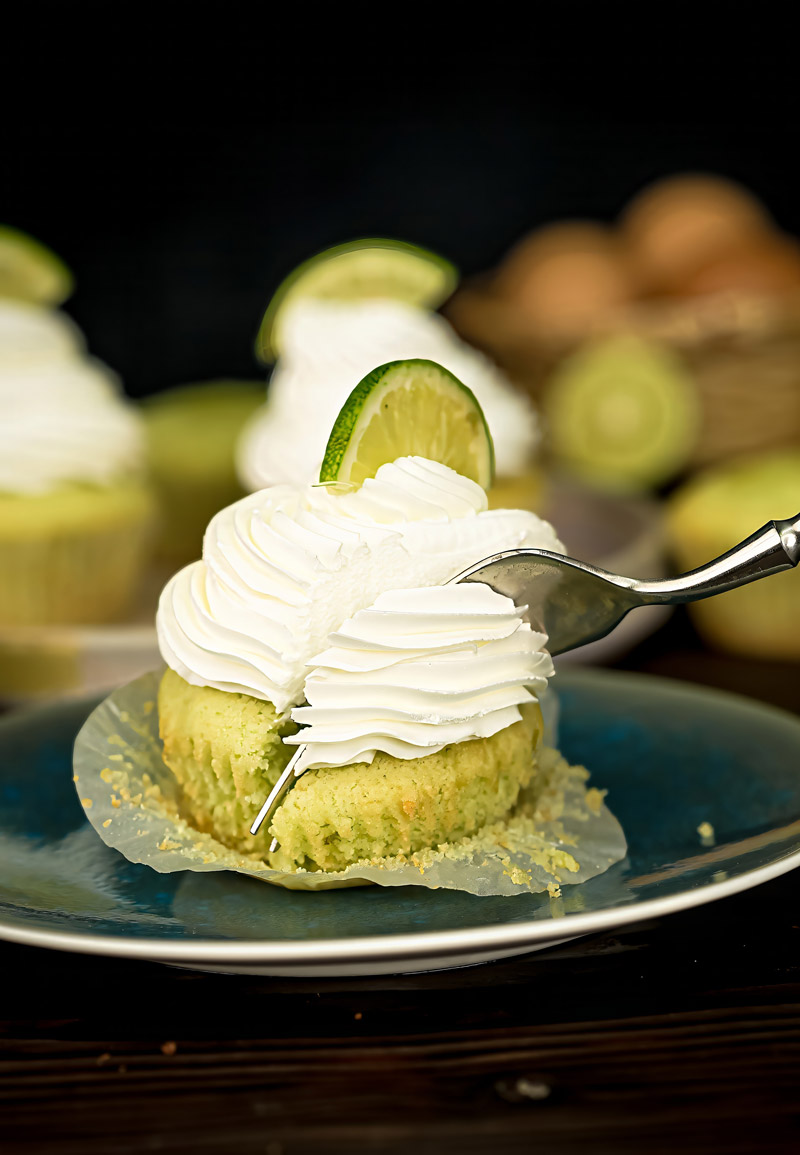
- Green Colour: 1/4 pinch (Totally optional!). Just a tiny bit if you want a slight green hint.
What if I Don’t Have…? (Substitutions)
- Butter: Butter gives the best flavor here. A baking margarine might work, but the taste and texture won’t be quite the same.
- Dano Cream: Can’t find Dano Cream? No problem! Use the same amount of full-fat sour cream, thick Greek yogurt, or even heavy cream. They all add moisture, just slightly different textures. I’ve used sour cream plenty of times!
- Lemon Juice/Zest: Fresh, fresh, fresh! I can’t stress this enough. Bottled juice is just…sad. And dried zest doesn’t have the same pow. Get one nice lemon, zest it first (about 1 tsp), then squeeze it for the juice (1 tsp). Easy!
- Flour: All-purpose works great for a lovely moist lemon butter cup cake. Some folks like cake flour for an even lighter texture. If you try cake flour, you might need a tiny bit more since it’s lighter.
A Few Quick Tips Before We Start:
- Room Temp Stuff: This is super important. Seriously. Your butter and eggs need to be at room temperature (leave them out for maybe 30-60 mins). Why? They mix together so much better when they’re not cold. This makes your cupcakes lighter and fluffier. Trust me, I’ve learned this the hard way – cold butter is a pain to cream!
- Fresh Lemon: Grab a nice, bright yellow lemon. Wash it and dry it before you zest. Only get the yellow part! The white pith underneath is bitter. Zest it before you cut and juice it! Much easier.
- Measure Right: Baking is kind of like science. Getting the amounts right, especially for flour, baking powder, and soda, really matters. Weighing (like in grams) is the most accurate way if you have a scale!
- To Sift or Not to Sift? Sifting the flour, baking powder, and baking soda gets rid of lumps and adds air. More air = lighter cupcakes! It’s optional, but I usually do it.
Let’s Bake! Step-by-Step to Lemon Heaven
Step 1: Get Ready! Set the Stage
Okay, first things first. Let’s get that oven heating up! Set it to 350°F (that’s about 175-180°C). While it’s warming, grab your muffin tin. Pop a cupcake liner in each of the 6 cups. Like little beds waiting for batter!
Now, find a medium bowl. Put your dry stuff in here: the 110gm flour, 1 tsp baking powder, and 1/2 tsp baking soda.
Got a sieve? Give them a quick sift into the bowl. It just makes things lighter. Whisk them together gently so they’re mixed up. Set this bowl aside. See? Getting prepped makes the next part way less chaotic.
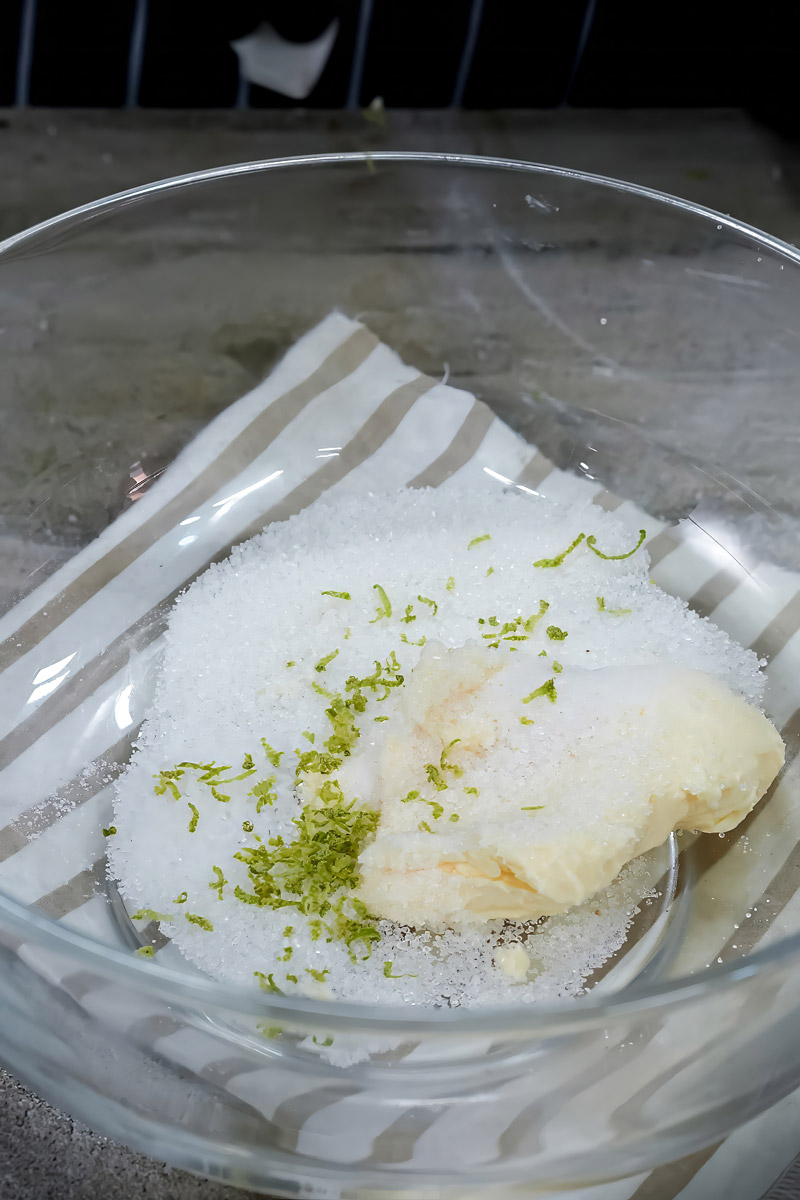
Step 2: Creaming Time! Building Flavor
This is where the magic starts for our moist lemon butter cup cake. Grab your big mixing bowl. Add the 110gm soft butter (remember, room temp!), the 75gm sugar, and that wonderful 1 tsp lemon zest.
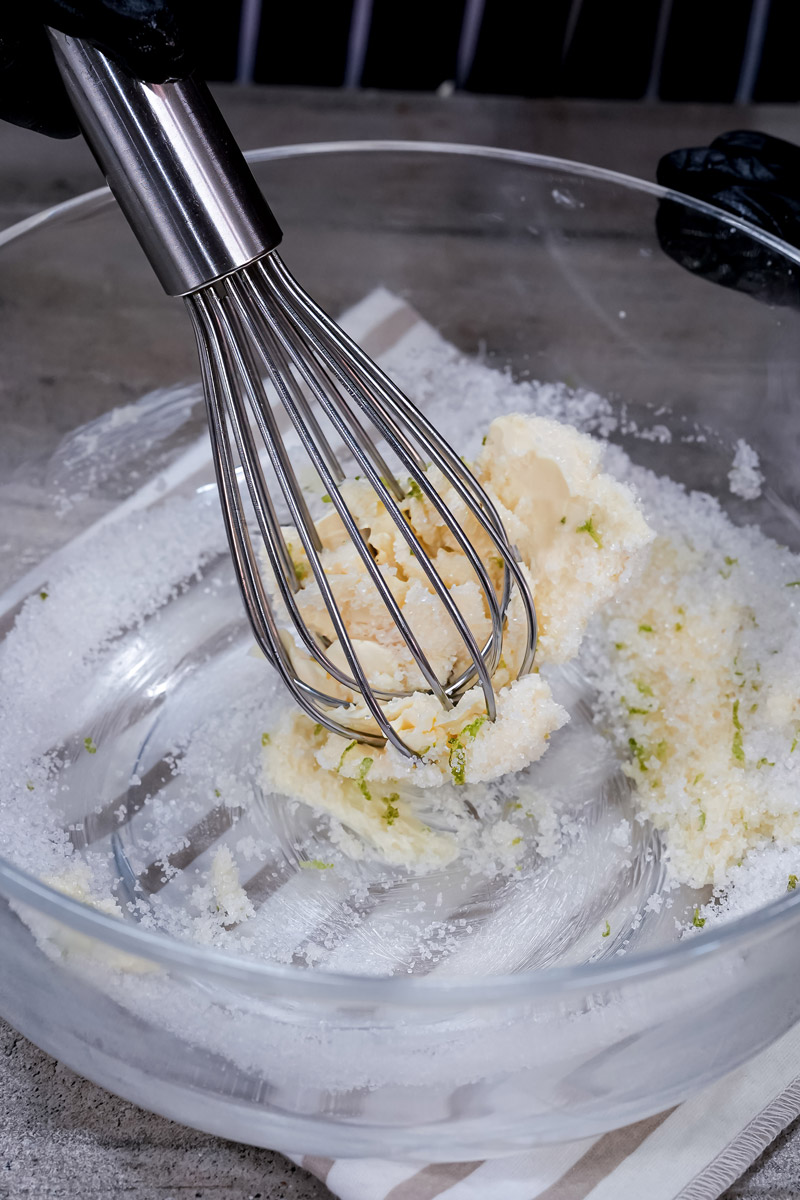
Get your electric mixer. Start beating on medium speed. Watch what happens! Over the next 2-3 minutes, the yellow butter and white sugar will mix and get lighter in color. You want it to look pale, almost white, and really fluffy. Like clouds!
What you’re doing is whipping air into the butter and sugar. Think of it like creating tiny air bubbles. Those bubbles help make the cupcakes light and tender, not dense like a hockey puck. Scrape down the sides of the bowl once or twice with your spatula so everything gets mixed in. Don’t rush this step!
Step 3: Add the Eggs! Holding it Together
Time for the eggs! They should be room temperature too, remember? It helps them mix in smoothly.
Pro tip: Crack your 2 eggs into a separate small bowl first. Why? So much easier to fish out any bits of shell before they get into your batter!
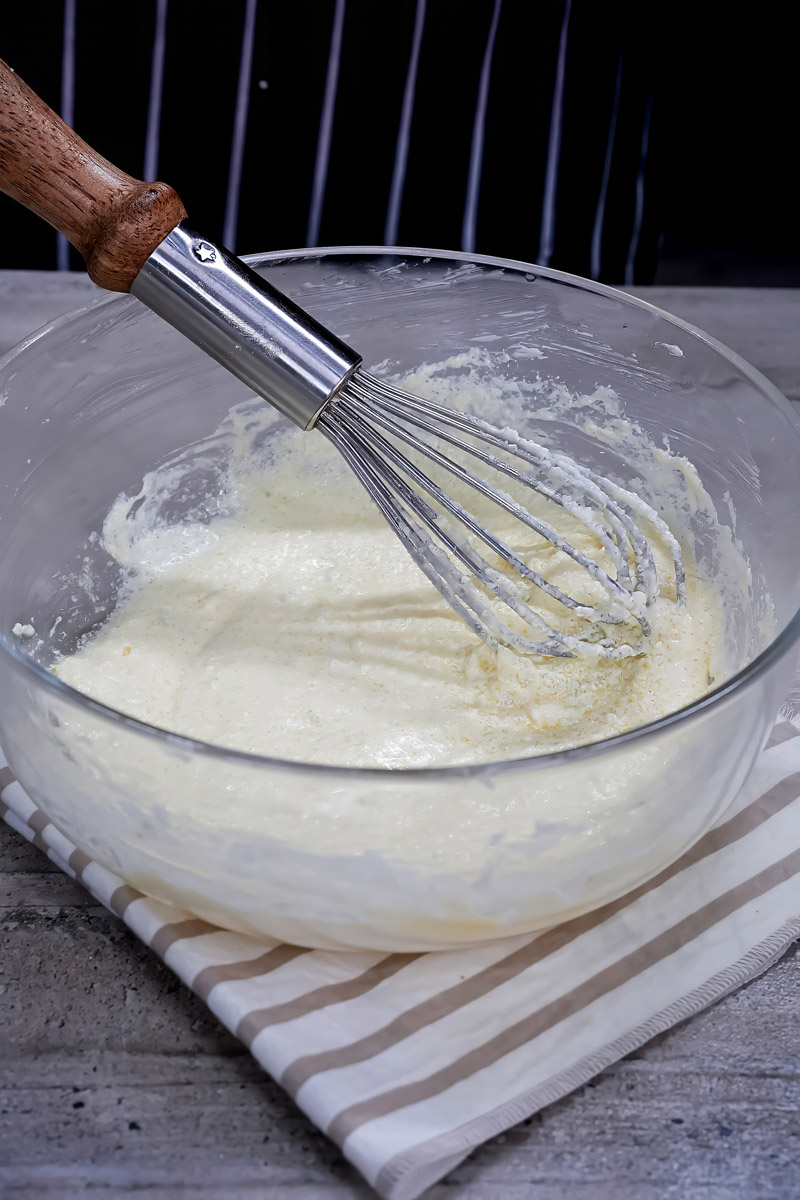
Okay, mixer on medium-low. Add the first egg to the butter mix. Beat until it’s mixed in nicely. Then add the second egg. Beat again until it’s just combined. Your batter should look smooth and maybe a bit glossy. Don’t just dump both eggs in at once! Adding them one by one helps everything blend better. Scrape down the bowl sides again!
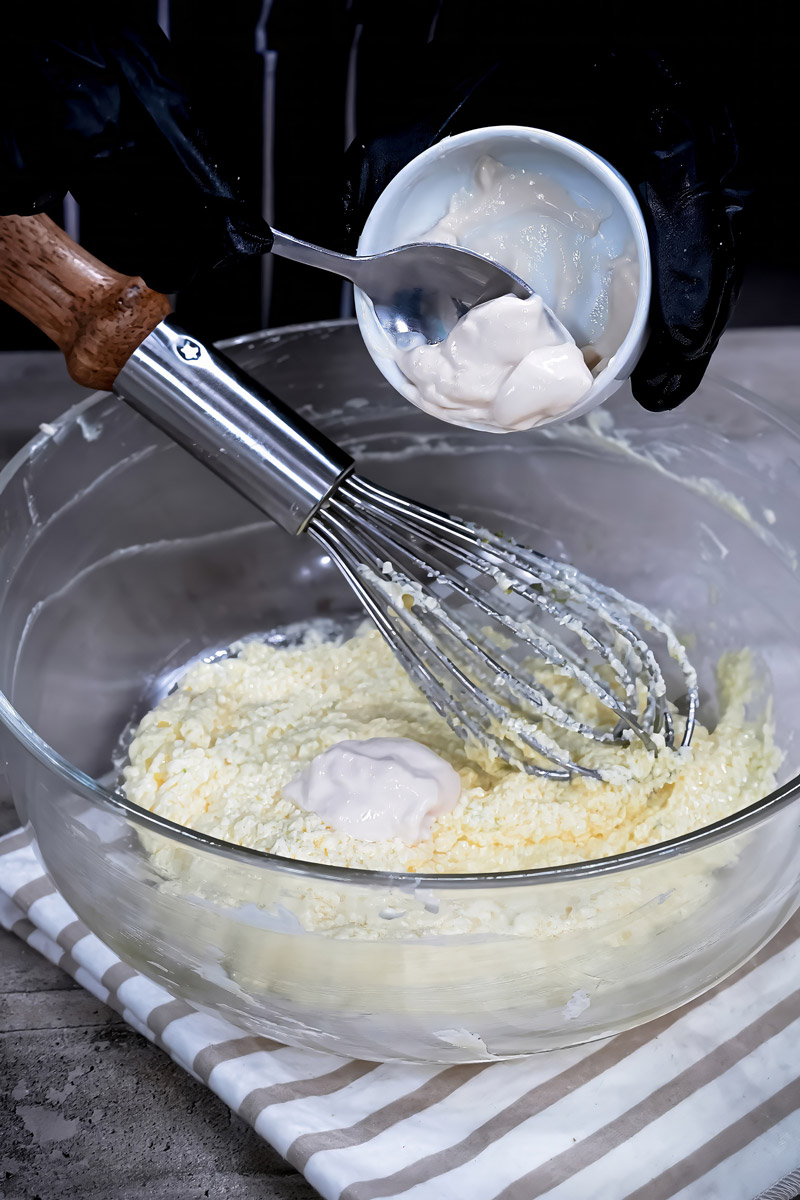
Step 4: Creamy, Tangy Goodness! Moisture & Zing
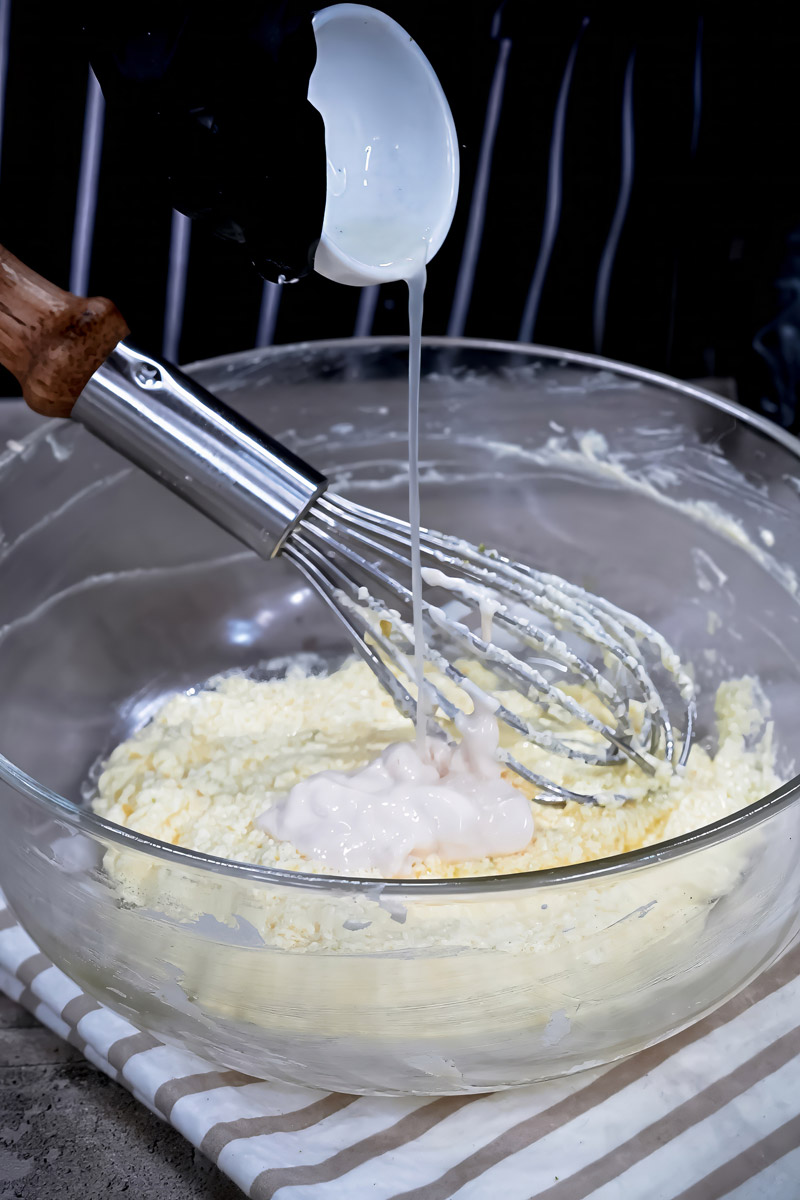
Next up: moisture and flavor boosts! Spoon in that 1 Tablespoon of Dano Cream (or sour cream/yogurt). This makes the cupcakes so tender.
Pour in the 1 teaspoon of fresh lemon juice too. Hello, tangy flavor!
Now, turn your mixer to the lowest speed, or better yet, just use your spatula. Mix just until these are swirled in.
Take a look. Does the batter look a little…weird? Maybe slightly split or curdled? Don’t panic! This happens sometimes because of the acid in the lemon juice mixing with the butter and eggs. It looks funny, but it will smooth out once the flour goes in. Promise! Just mix gently here.
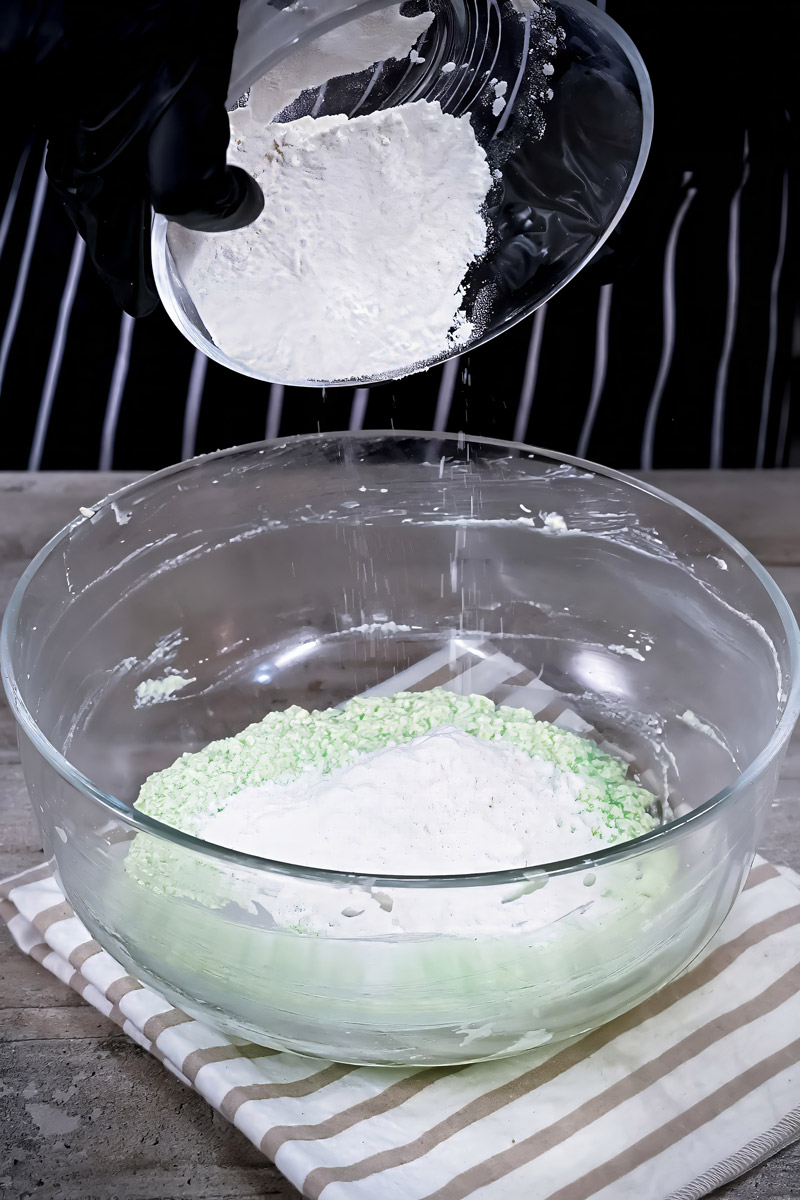
Step 5: Dry Meets Wet! The First Mix
Okay, time to bring the dry and wet ingredients together! Find your bowl of flour mixture. We’ll add it in two parts. This stops flour from flying everywhere!
Sprinkle about half of the flour mixture over the wet ingredients in the big bowl.
Mixer on the very lowest speed, or use your spatula. Mix just until the flour starts to disappear. You should still see white streaks. That’s perfect! We don’t want to overmix.
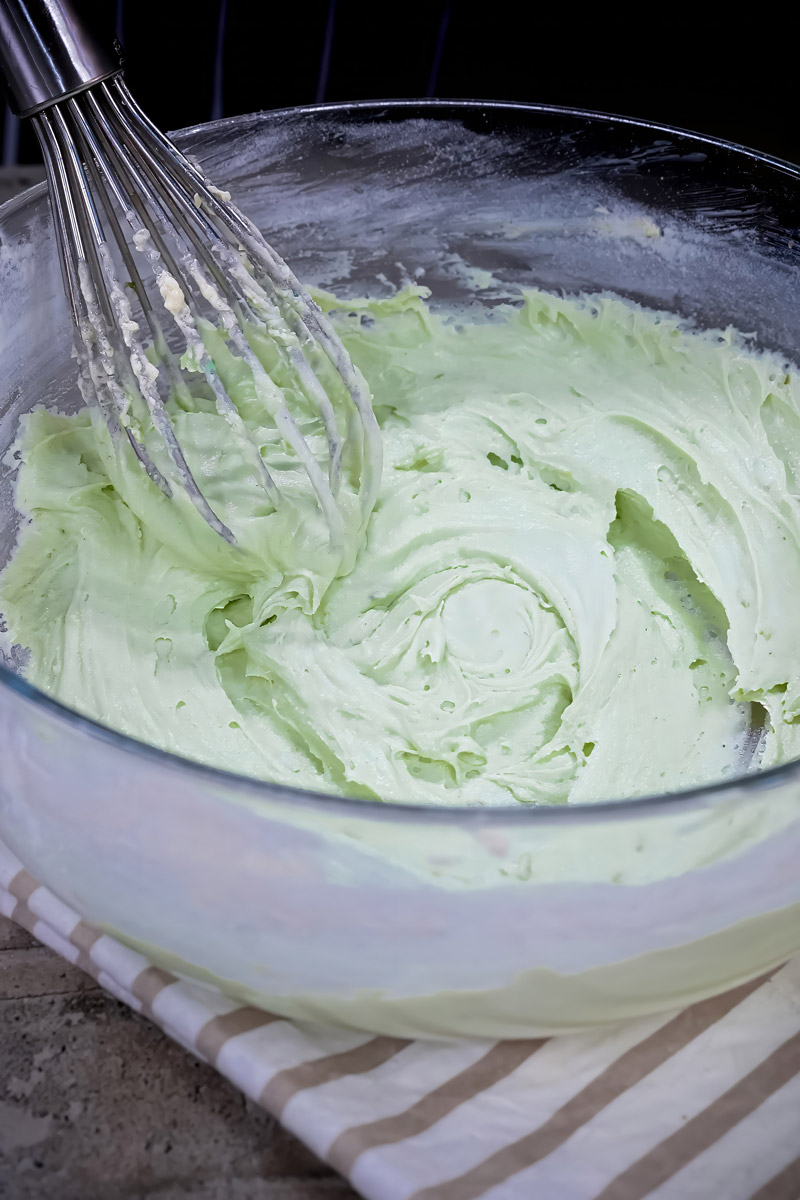
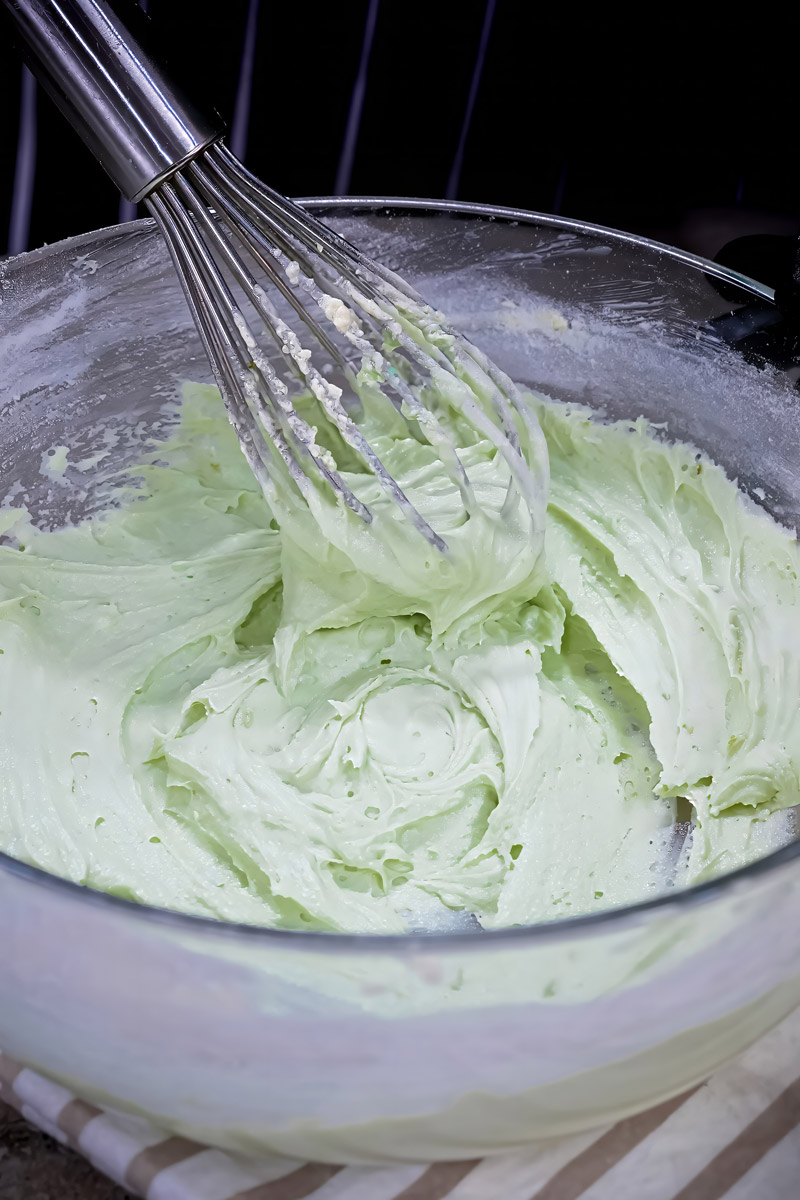
Step 6: The Final Fold (And Maybe Color!) – Be Gentle!
Add the rest of the flour mixture. Stop using the electric mixer now! This part is super important for getting that perfect moist lemon butter cup cake texture. Grab your rubber spatula.
Gently fold the flour into the wet stuff. How to fold? Go down the side of the bowl to the bottom, sweep across the bottom, and bring it back up and over. Turn the bowl a bit and repeat.
Keep folding only until you don’t see big streaks of dry flour anymore. A few little lumps are totally okay! In fact, they’re good. It means you didn’t mix too much.
If you want that optional hint of green, sprinkle in the 1/4 pinch now. Fold just until the color looks lightly mixed in.
Seriously, the biggest mistake is mixing too much right here. Overmixing makes the cupcakes tough. Less is more! Stop folding sooner than you think. The batter should be thick, but you can still scoop it.
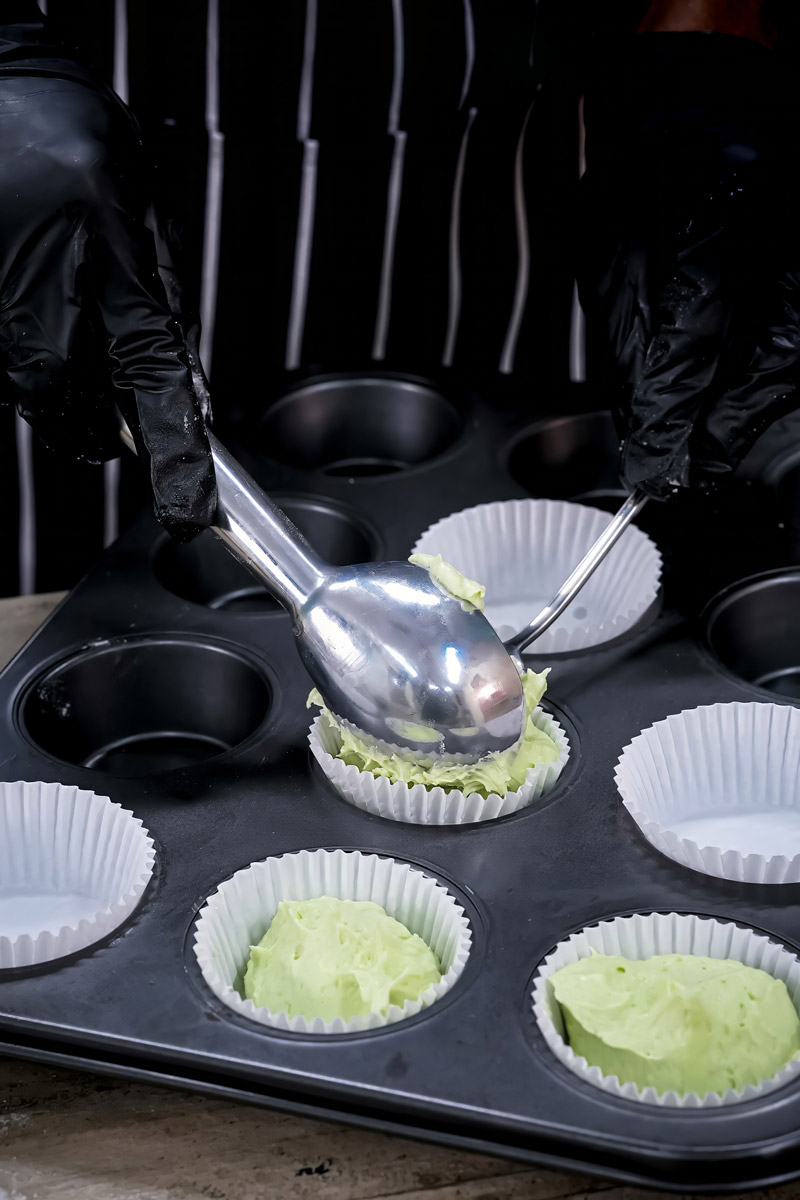
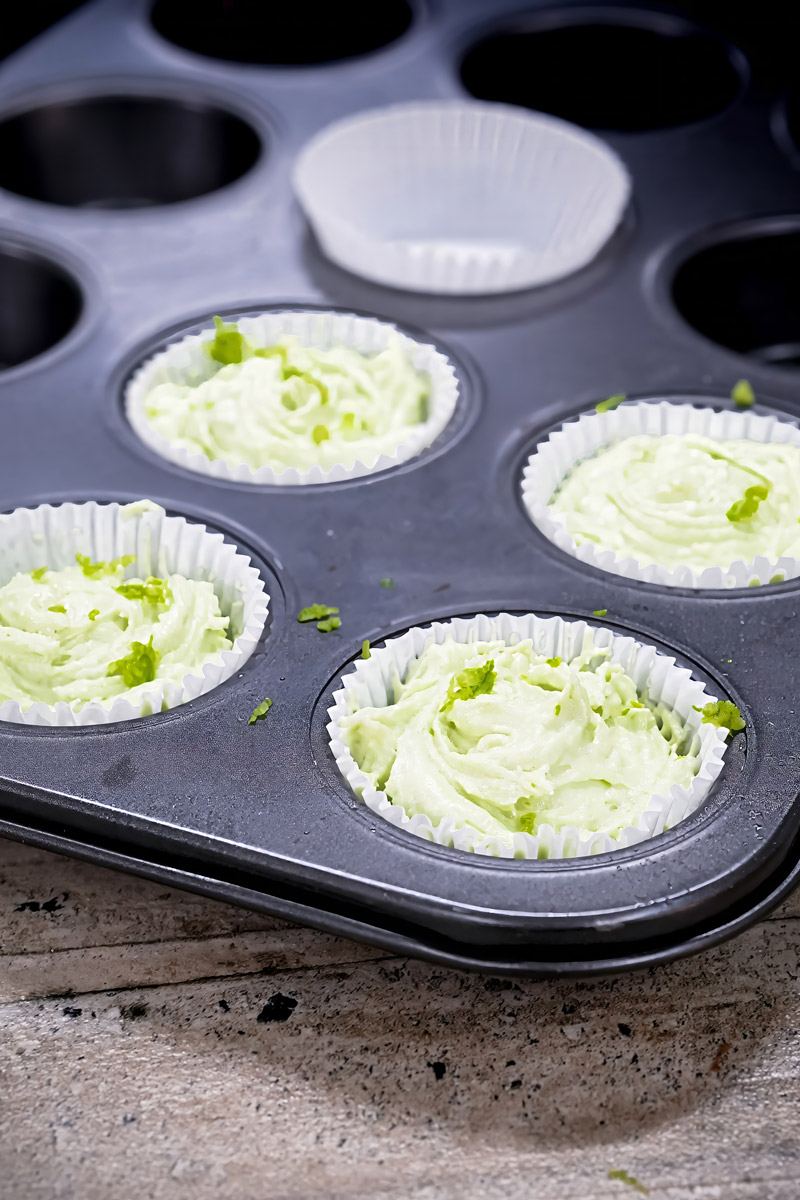
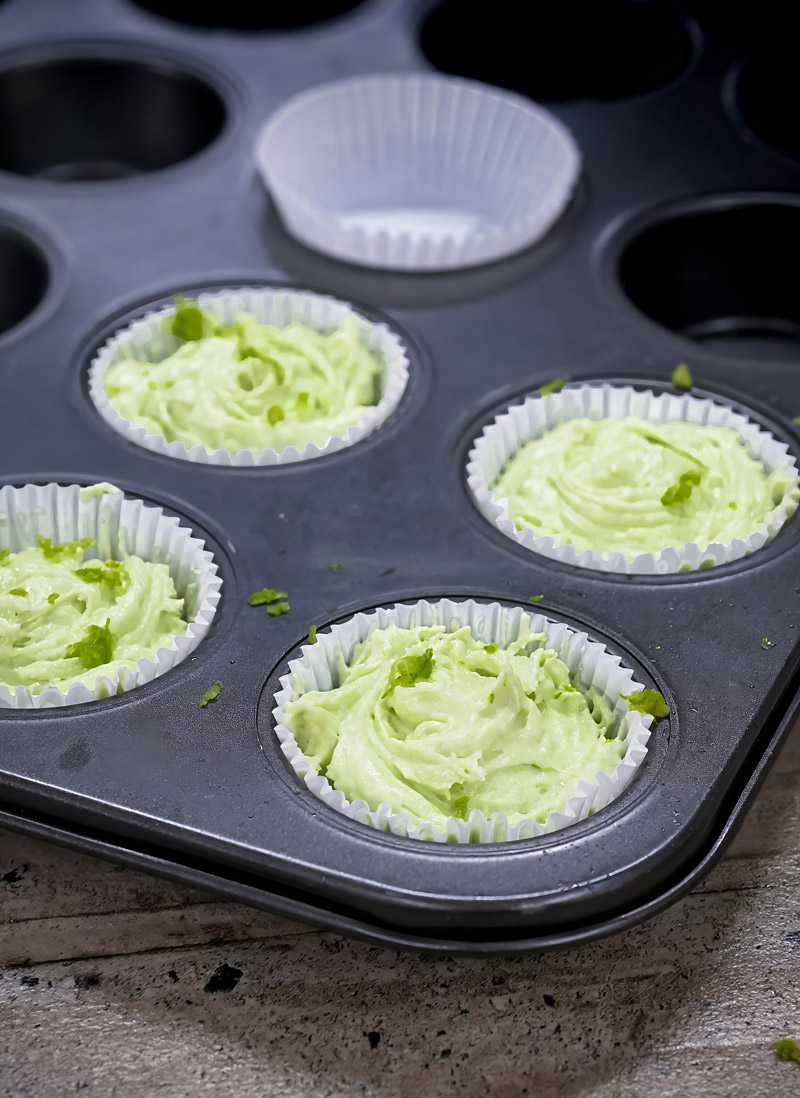
Step 7: Fill ‘Em Up! Sharing is Caring
Grab your muffin tin with the liners. Time to fill them up!
An ice cream scoop is amazing for getting the same amount in each cup. No scoop? A big spoon works fine too.
Fill each liner about two-thirds (2/3) full. Maybe up to three-quarters (3/4) full. Don’t fill them to the very top! They need room to rise in the oven without spilling over. Filling them evenly helps them all bake at the same speed.
Step 8: Bake Time! The Delicious Transformation
Carefully take your filled muffin tin to the nice hot oven. Open the door, slide it onto the middle rack (best spot for even heat). Close the door gently. (Slamming it can make cakes sink sometimes!)
Set your timer for 15 minutes. Ovens can be different, so times are just a guide.
After 15 minutes, take a peek. How do they look? The tops should be golden brown. Gently touch the top of one – does it spring back slightly?
The best test? Stick a wooden skewer (or a toothpick) into the center of a cupcake. If it comes out clean (no wet batter, maybe a few moist crumbs), they’re done! If there’s wet batter on the skewer, give them another 2-3 minutes, then test again.
Your kitchen probably smells amazing right now, right? That warm, buttery, lemony scent is the best!
Step 9: Cool Down! Patience, Young Grasshopper
Hooray, they’re baked! Use oven mitts to carefully take the muffin tin out of the oven. Place it on a wire rack or a heatproof surface.
Now, the hard part: waiting! Let the cupcakes cool in the tin for about 5 to 10 minutes. This lets them set up a bit so they don’t fall apart when you move them.
After 5-10 minutes, gently lift each cupcake out of the tin. A butter knife can help nudge them out if needed. Put them directly onto the wire rack.
Why the rack? Air needs to get all around them, even the bottoms, so they don’t get soggy. They need to cool completely on the rack. Like, all the way cool. Especially before you even think about frosting them!
Frosting warm cupcakes = melted, sliding mess. Not pretty! Complete cooling is key for the best texture and easy decorating. It might take 30-60 minutes. It feels like forever when they smell so good, but it’s worth the wait for your perfect easy lemon butter cup cake.
Shake Things Up: Fun Ideas & Changes
This simple lemon butter cup cake is awesome as is, but why not play around?
- Dietary Needs:
- Gluten-Free? Try a good 1-to-1 gluten-free flour blend (one that has xanthan gum). Texture might change a bit, but should still be tasty.
- Dairy-Free/Vegan? Oof, this one’s tricky since it relies on butter, eggs, and cream. You’d have to experiment with vegan butter, an egg replacer (like a flax egg: 1 Tbsp flaxseed meal + 3 Tbsp water per egg, let it sit 5 mins), and maybe coconut cream instead of Dano cream. The results will be very different, though.
- Flavor Fun:
- Add Vanilla: A 1/2 teaspoon of vanilla extract with the eggs is classic!
- Poppy Seeds! Stir 1-2 teaspoons of poppy seeds in with the dry ingredients. Looks pretty, nice texture.
- Extra Lemon POW: Love lemon? Core out the middle of the cooled cupcakes (like with an apple corer) and fill with lemon curd before frosting. Yum!
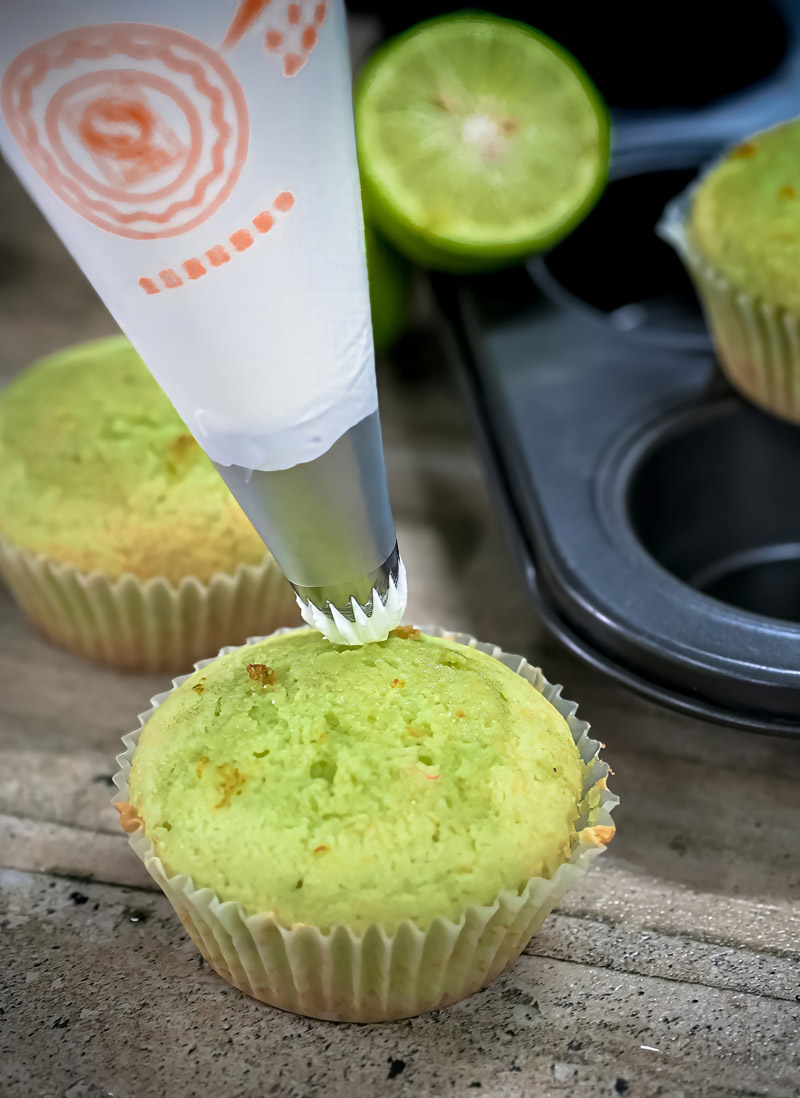
- Frosting Frenzy: They’re great plain, but frosting is fun!
- Simple Lemon Buttercream (butter, powdered sugar, lemon)
- Tangy Cream Cheese Frosting (my personal fave!)
- Easy Lemon Glaze (just powdered sugar + lemon juice)
- Making Them Pretty (or Keeping it Simple):
- Everyday Treat: Enjoy them just as they are. Maybe a little sprinkle of powdered sugar.
- Party Time: Get fancy! Use a piping bag and tip (like a star tip) to make swirls of frosting. Top with a tiny lemon slice (take it off before storing!), more zest, or fun sprinkles.
- Seasonal Ideas:
- Summer Vibes: Top with fresh raspberries or blueberries. So good with lemon!
- Spring Fling: A light pastel frosting just feels right for spring.
Serving & Storing Your Little Bundles of Sunshine
You did it! You baked beautiful cupcakes. Now, how to serve and keep them?
Making Them Look Good
Serve them on a pretty plate, arrange them on a big platter if you’re sharing, or go all out with a cupcake stand for a party. Perfect with a cup of tea or coffee for an afternoon pick-me-up.
What Goes Well With Them?
They’re great alone! But also nice with:
- Fresh fruit salad
- A spoonful of whipped cream
- A scoop of vanilla ice cream or berry sorbet (if you’re feeling fancy!)
How to Keep Them Fresh
- Storing: Once they are completely cool, keep unfrosted cupcakes in an airtight container on your counter. They’re best eaten within 2-3 days. If you frosted them (especially with cream cheese frosting), keep them in an airtight container in the fridge for up to 4-5 days.
- Eating After Chilling: If they’ve been in the fridge, let them sit out on the counter for 20-30 minutes before eating. This helps the cake and frosting soften up a bit for the best taste. Cold cake isn’t quite as nice!
Can You Freeze Them?
- Freezing: Yes! These cupcakes freeze really well without frosting. Once they’re totally cool, wrap each one tightly in plastic wrap. Then pop them into a freezer bag or container. Freeze for up to 2-3 months.
- Thawing: Just take them out and let them thaw on the counter for a few hours. Once they’re thawed, you can frost them. Easy way to have cupcakes ready to go!
And that’s everything! You’re all set to make your own batch of incredibly yummy, moist lemon butter cupcakes. Happy Baking!
PrintLemon Butter Cupcakes
Imagine biting into a little piece of sunshine! These cupcakes are wonderfully soft, buttery, and bursting with bright, fresh lemon flavor. They’re surprisingly easy to whip up and always a crowd-pleaser.
- Prep Time: 20 mins
- Cook Time: 15-20 mins
- Total Time: Around 40 mins (+ cooling!)
- Yield: 6 cupcakes 1x
- Category: Dessert, Cupcakes
- Cuisine: Bakery-Style
Ingredients
- 110gm Butter, softened (room temp is key!)
- 75gm Granulated Sugar
- 1 tsp Fresh Lemon Zest (from about 1 lemon)
- 2 Large Eggs, room temperature
- 1 TbL Dano Cream (or sour cream/thick yogurt)
- 1 tsp Fresh Lemon Juice
- 110gm All-Purpose Flour
- 1 tsp Baking Powder
- 1/2 tsp Baking Soda
- Optional: 1/4 pinch Green Food Colour
Instructions
- Prep Oven & Tin: Preheat oven to 350°F (175°C). Line a 6-cup muffin tin with liners. Whisk flour, baking powder, and baking soda in a medium bowl; set aside.
- Cream Butter & Sugar: In a large bowl, beat the softened butter, sugar, and lemon zest with an electric mixer on medium speed until pale and fluffy (about 2-3 minutes). This step is important for texture!
- Add Eggs: Beat in eggs one at a time, mixing well after each addition. Scrape down the bowl.
- Mix in Wet Ingredients: Gently mix in the Dano cream and lemon juice on low speed (or with a spatula). Don’t worry if it looks a little curdled!
- Combine Wet & Dry: Add half the flour mixture, mix on low just until combined. Add the remaining flour mixture.
- GENTLY Fold: Stop the mixer! Using a spatula, fold just until you don’t see big streaks of flour. Add optional color now. Do not overmix! Lumps are okay. Overmixing = tough cupcakes.
- Fill Liners: Divide batter evenly among liners, filling each about 2/3 full.
- Bake: Bake for 15-20 minutes, or until a toothpick inserted into the center comes out clean. Tops should be golden and spring back lightly when touched.
- Cool Completely: Let cupcakes cool in the tin for 5-10 minutes, then transfer them to a wire rack to cool completely before frosting or storing. Patience is key here!
Notes
- Serving Ideas: Delicious plain! Or dust with powdered sugar. Fantastic with a simple lemon glaze, lemon buttercream, or tangy cream cheese frosting. Perfect with tea or coffee.
- Top Tips: Use room temperature butter and eggs for the best texture. Zest the lemon before juicing it. Be very careful not to overmix the batter once the flour goes in!
- Storage: Store completely cooled, unfrosted cupcakes in an airtight container at room temperature for 2-3 days. Store frosted cupcakes (especially with cream cheese frosting) in an airtight container in the fridge for up to 4-5 days; let sit at room temp for 20-30 mins before serving.
- Freezing: Freeze unfrosted, cooled cupcakes wrapped tightly for up to 2-3 months. Thaw at room temperature.