I’m so excited to share this with you. There is something kind of magical about homemade lemon pancakes. They turn a boring Saturday morning into a bright, sunny event.
Have you ever felt like regular pancakes are just too heavy? Or maybe they taste a bit “flat”? You are going to love these. They are light, tangy, and totally fresh.
Lemon pancakes always felt fancy to me. You usually see them at expensive brunch spots. But when you add buttermilk like we’re doing here, they become the ultimate comfort food.
I actually came up with this version because I wanted a “bright” breakfast. I didn’t want a massive sugar bomb that makes me want to nap at 10:00 AM. By using fresh citrus and tangy buttermilk, we get a flavor that is smart but still cozy.
The best part? You don’t need to be a pro. Whether you’ve cooked a thousand breakfasts or this is your first time picking up a whisk, I’m right here with you.
Recipe Overview
Before we get flour all over the counter, let’s look at the plan. This is a quick project. It takes about 30 minutes from start to finish.
I’d call the difficulty “Beginner-Friendly.” You don’t need crazy skills. You just need a little patience when it’s time to flip.
Quick Stats
| Category | Details |
| Prep Time | 10 Minutes |
| Cook Time | 20 Minutes |
| Total Time | 30 Minutes |
| Yield | 4-6 Servings (About 12-14 pancakes) |
| Skill Level | Easy |
Gear and Getting Ready
To get that perfect texture, use a large non-stick skillet. If you have an electric griddle, even better. Griddles are great because they stay at the same temperature the whole time.
You will also need:
- Two mixing bowls (one medium, one large)
- A sturdy whisk
- A wide spatula for flipping
- A citrus zester (or the fine side of a cheese grater)
If you’re feeding a big group, this recipe scales up perfectly. Here is a simple guide if you need to make more:
| For This Many People | Flour Amount | Buttermilk Amount | Eggs |
| 2-3 People | 1 ⅛ Cups | 1 Cup | 1 Large |
| 4-6 People | 2 ¼ Cups | 2 Cups | 2 Large |
| 8-10 People | 4 ½ Cups | 4 Cups | 4 Large |
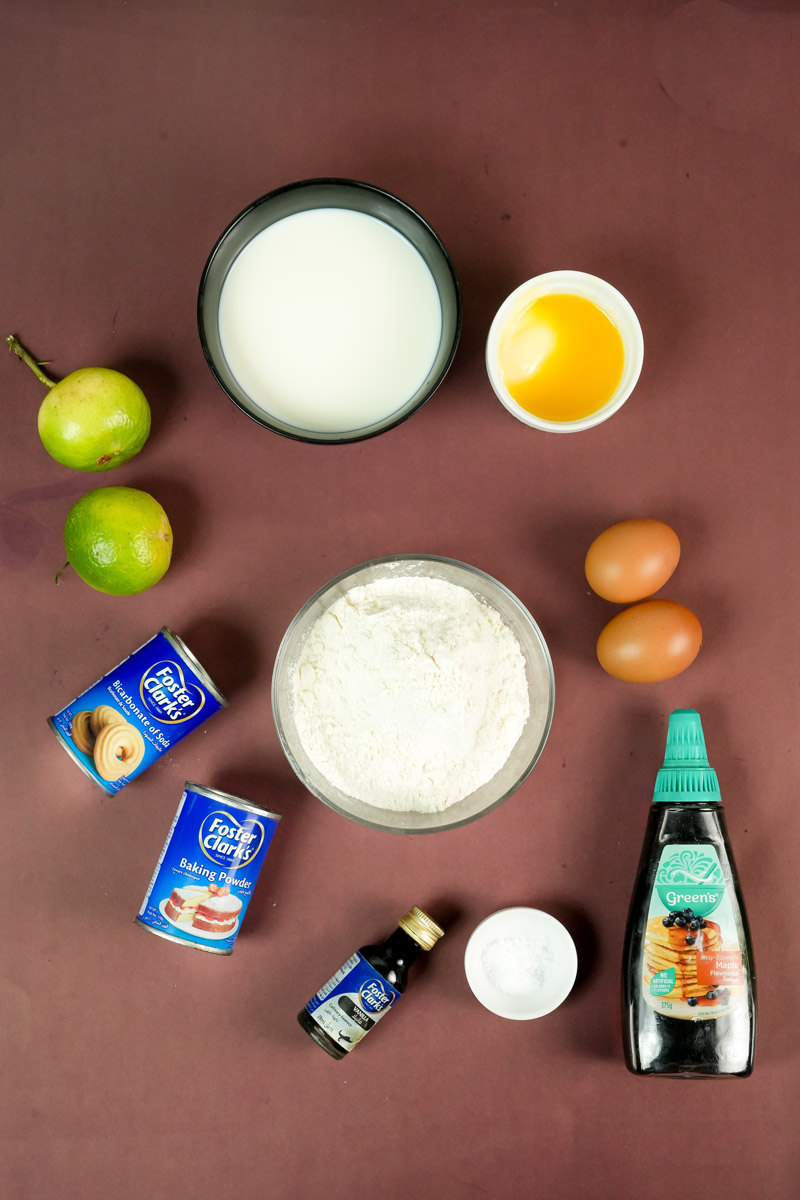
The Ingredients: Why Quality Matters
If you want these to be light and fluffy, your ingredients are your secret weapon. Since lemon is the star, try to use fresh lemons.
We are using 2 full tablespoons of zest. You want a peel that smells great. Pro tip: always zest your lemons before you juice them. It is almost impossible to zest a squished, juiced lemon!
Let’s talk flour. I used Bob’s Red Mill 1:1 Gluten-Free Flour for this. It’s a great swap that keeps things light. If you aren’t gluten-free, just use regular All-Purpose flour.
For the fat, melted unsalted butter gives that classic diner taste. If you want crispy edges, use avocado oil or melted coconut oil instead.
Don’t skip the buttermilk. The acid in the buttermilk reacts with the baking soda. That’s what creates those tiny air bubbles. If you’re out of buttermilk, don’t panic. You can make a “cheat” version:
- Grab a cup of milk.
- Add 1 tablespoon of lemon juice or vinegar.
- Let it sit for 5 minutes until it looks curdled.
This ensures your pancakes rise tall and stay soft.
Step-by-Step Method: Let’s Get Cooking!
1. The Dry Foundation
Whisk your 2 ¼ cups of flour, baking powder, and baking soda in the medium bowl. This seems small, but it matters. You want the rising agents spread out perfectly. You don’t want one giant pancake and three flat ones! Whisk it until it looks light.
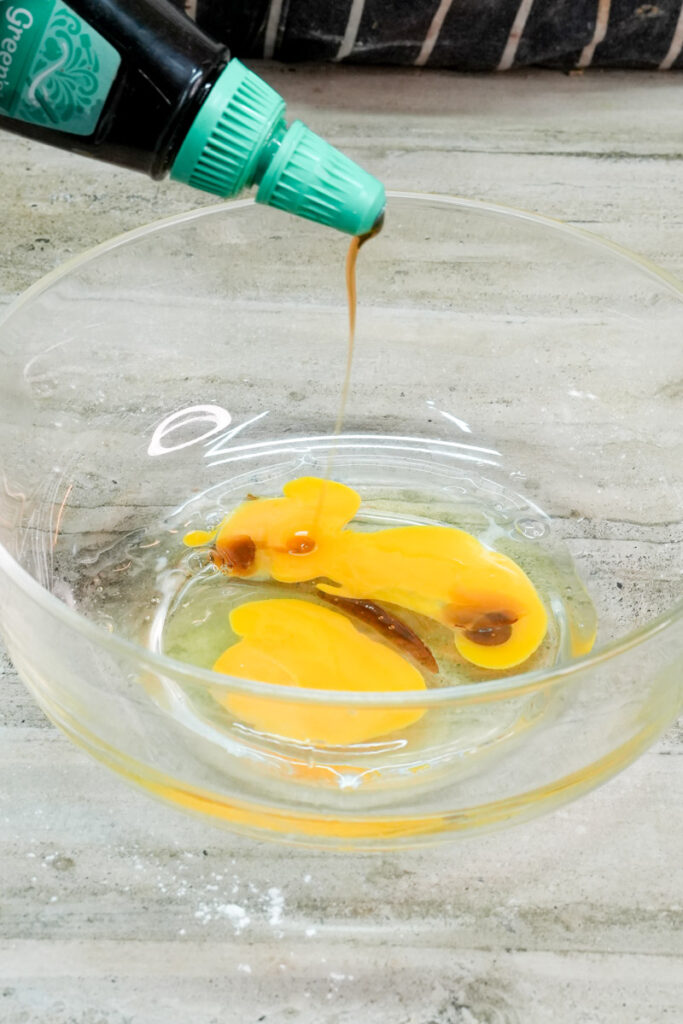
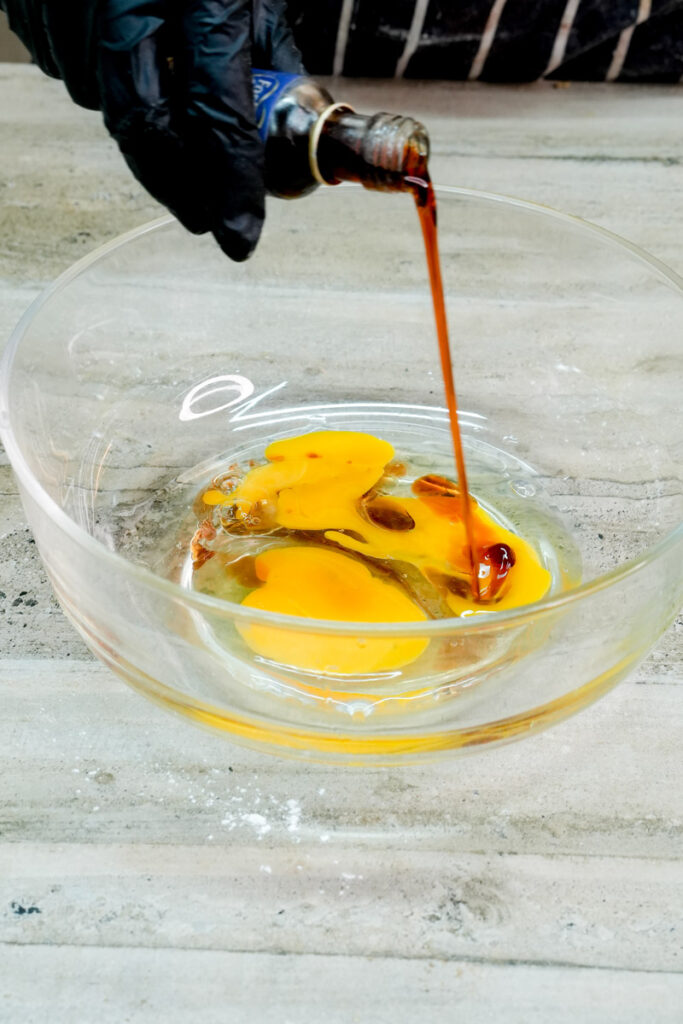
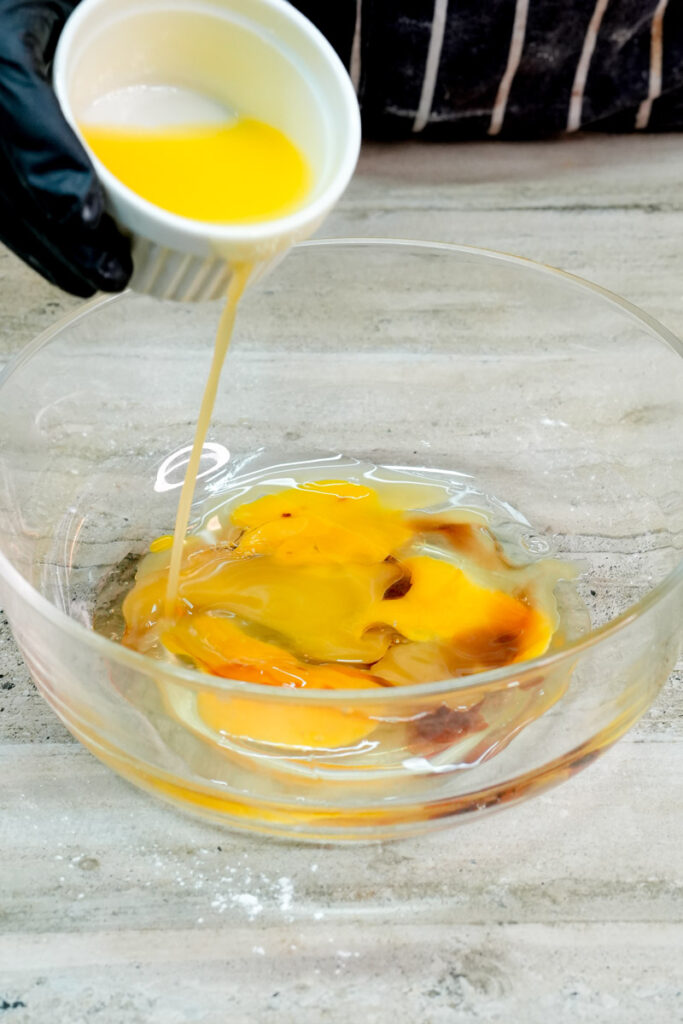
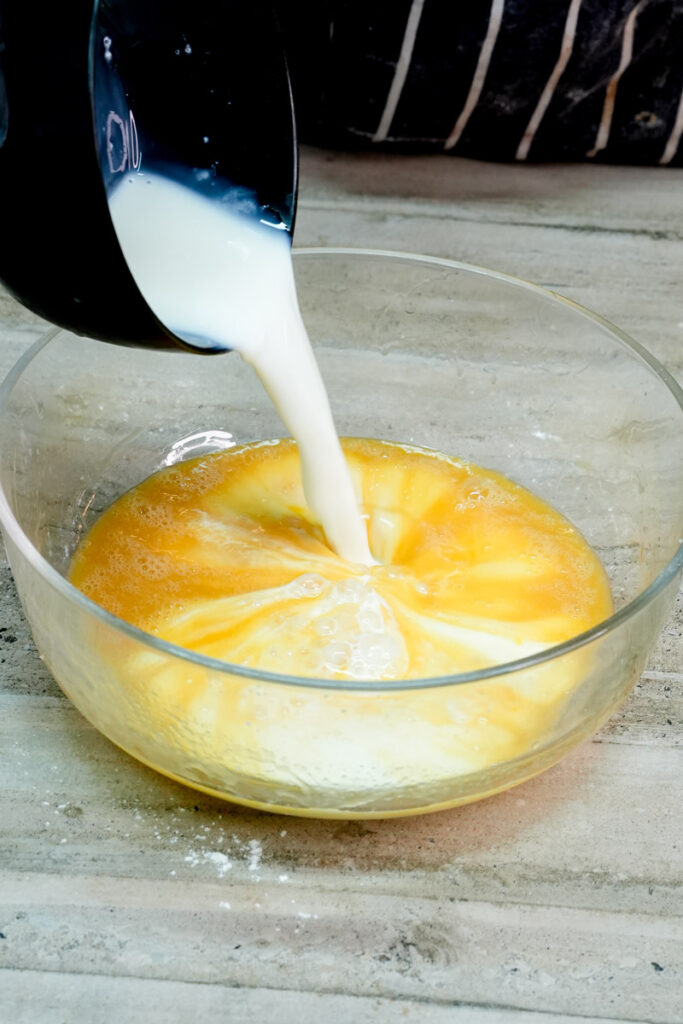
2. The Fragrant Wet Mix
In your large bowl, whisk the eggs with the maple syrup, vanilla, and sea salt. Now, here is a little secret. When you mix lemon zest and juice with the eggs and butter, the lemon flavor gets way stronger. Slowly pour in your melted butter while whisking. Just make sure the butter isn’t hot, or you’ll scramble the eggs!

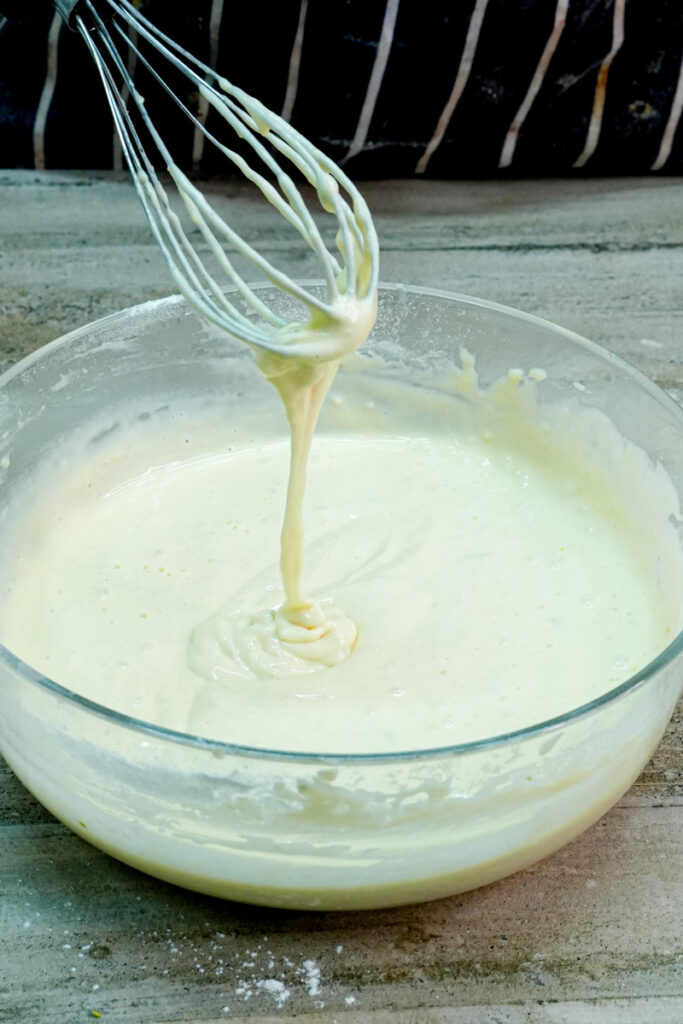
3. Combining the Two Worlds
Put the dry stuff into the wet mix. Stop whisking as soon as the white flour streaks are gone. This is the most common mistake. If you mix too much, the pancakes get rubbery. A few small lumps are your friends. They will disappear while cooking.
4. The Sizzle and the Flip
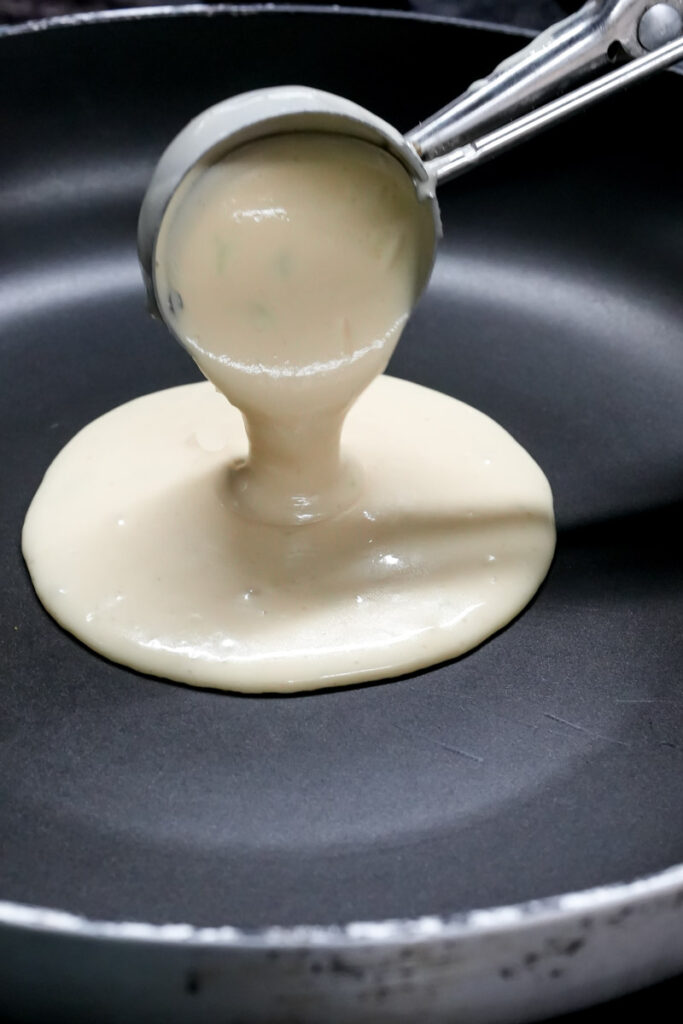
Heat your pan over medium-high heat. How do you know it’s ready? Flick a drop of water on it. If it dances and sizzles away, you’re good. Add a little knob of butter and let it foam.
Spoon your batter in. Leave about two inches between each pancake.
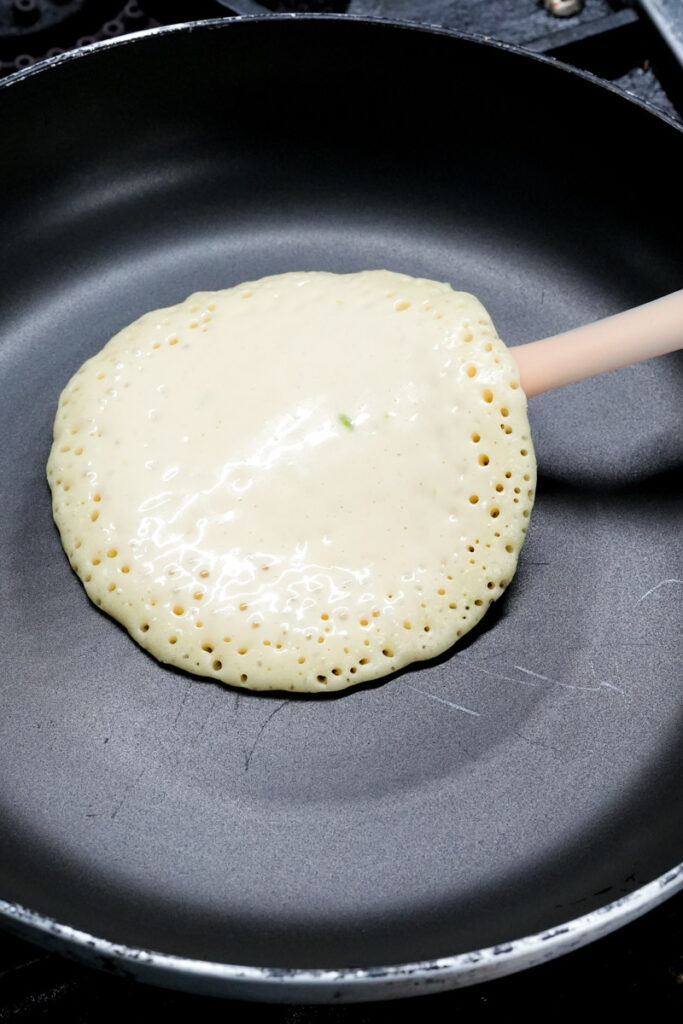
The big moment: After about 2 minutes, you’ll see bubbles on top. When those bubbles stay open and the edges look dry (not shiny), it’s time to flip. You want a beautiful golden-brown color. The second side usually cooks faster than the first!

Make It Your Own
I love this recipe because you can change it up.
- Fancy Version: Fold in half a cup of fresh blueberries.
- Crunchy Version: Add poppy seeds.
- Autumn Version: Use orange zest instead of lemon and add a pinch of cardamom.
For my Vegan friends: Use a “flax egg” (1 tbsp ground flax + 3 tbsp water). Swap the butter for coconut oil. Use the “fake buttermilk” trick with soy or almond milk.
If you want a protein boost, swap the buttermilk for plain Greek yogurt thinned with a little water. It adds a great tang.
Serving and Storage
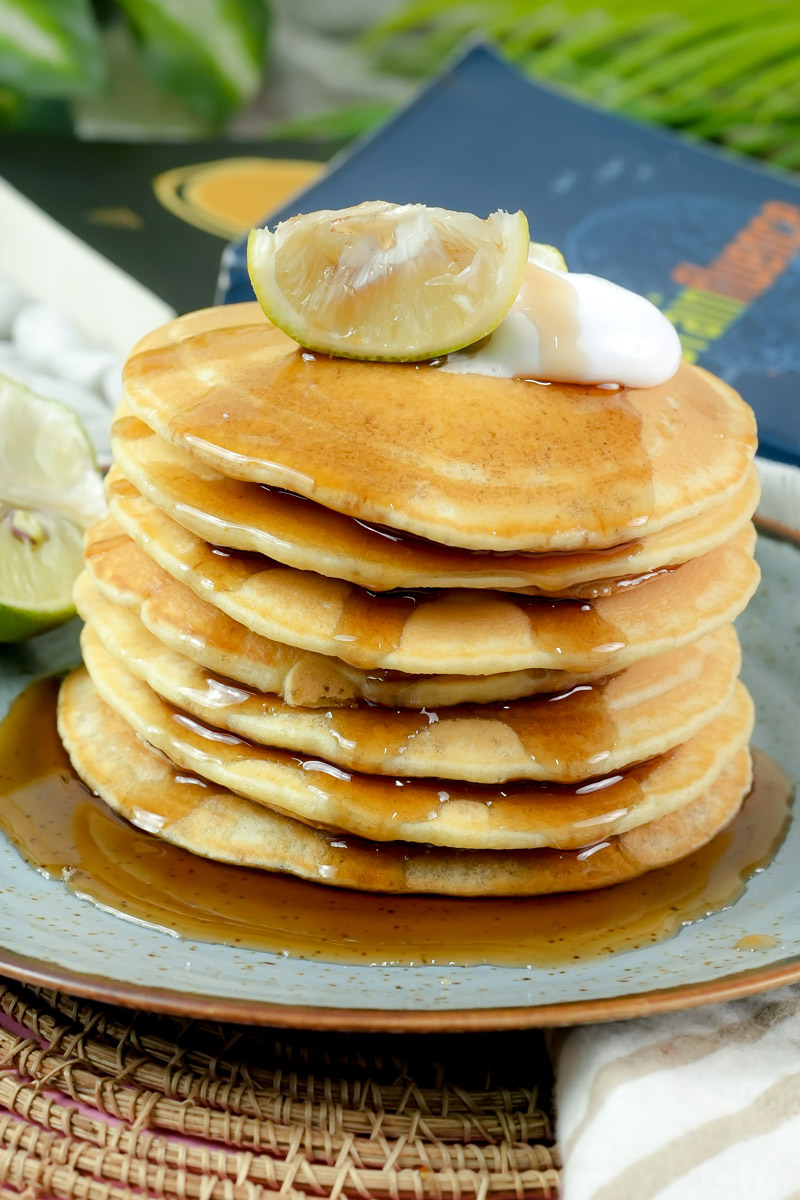
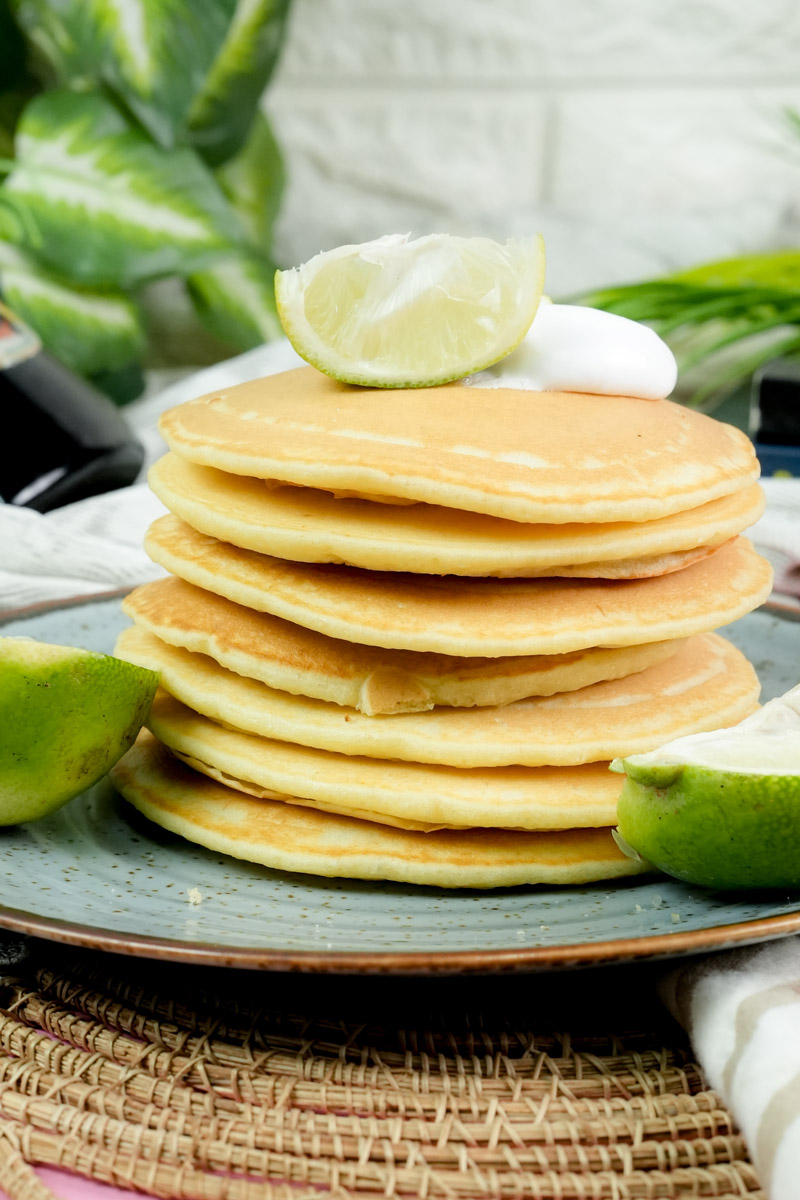
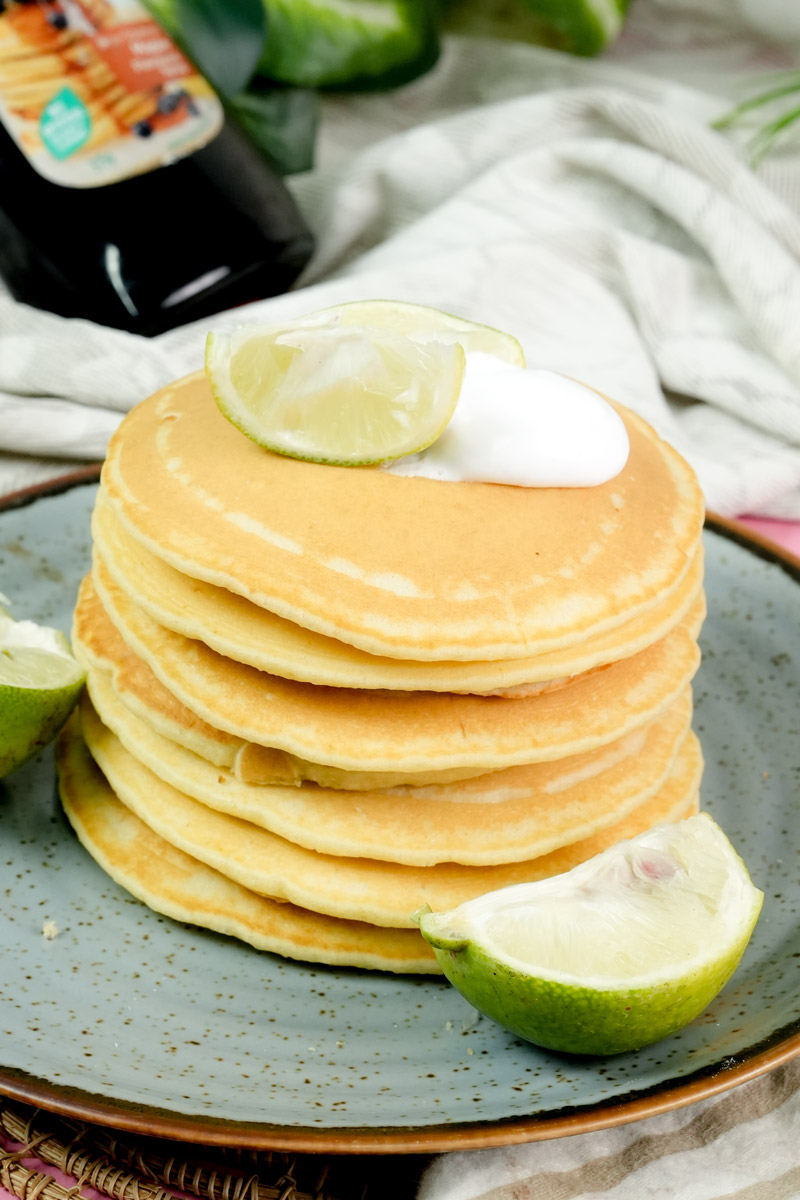
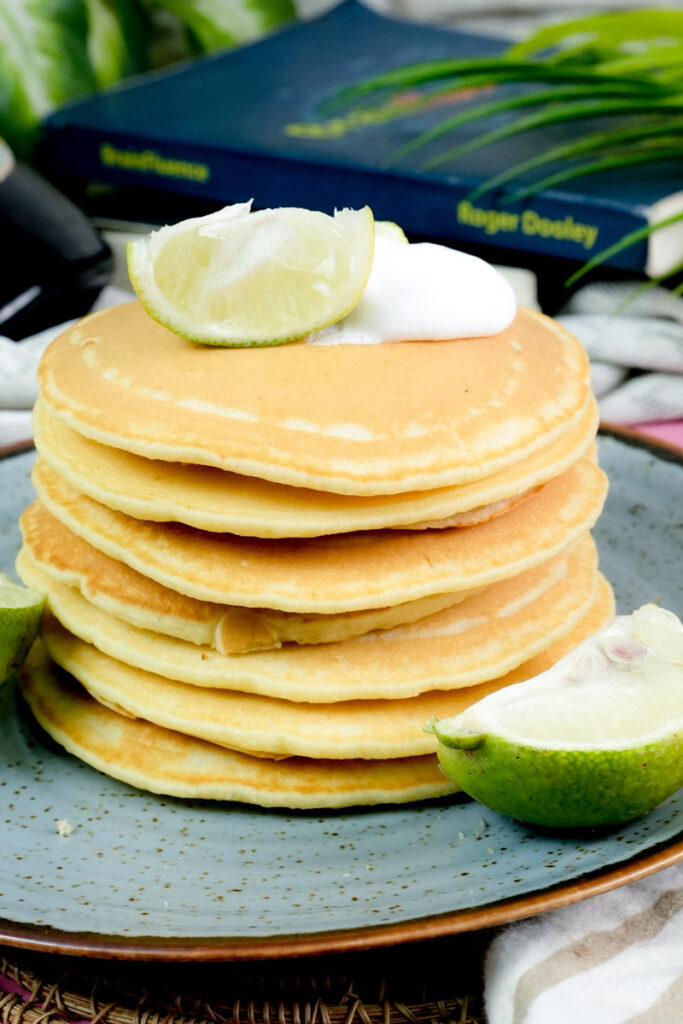
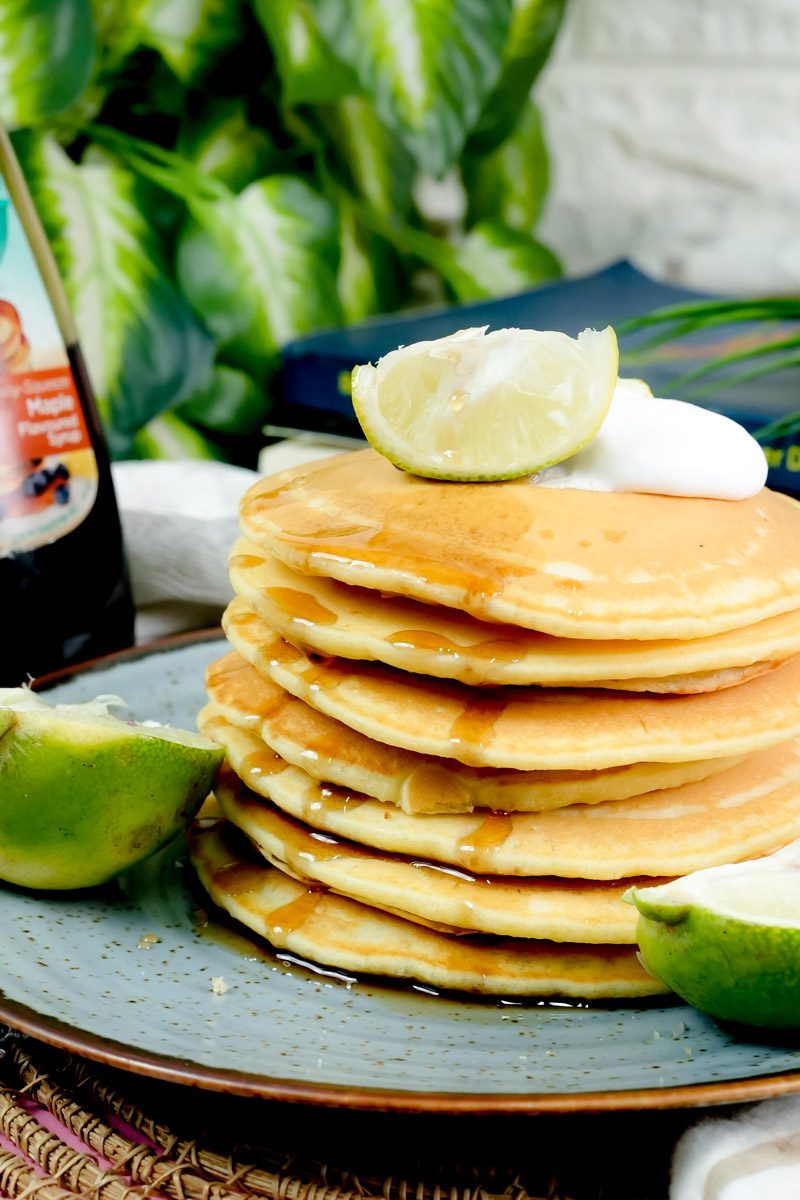
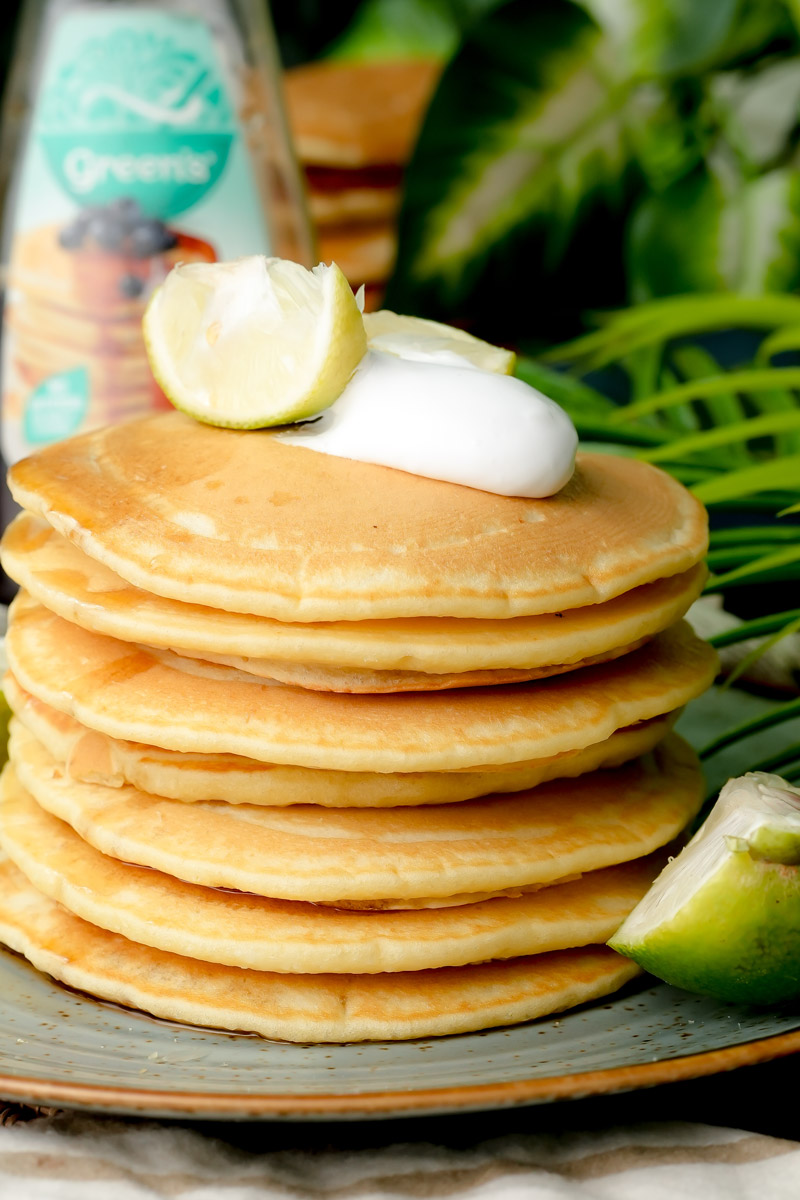
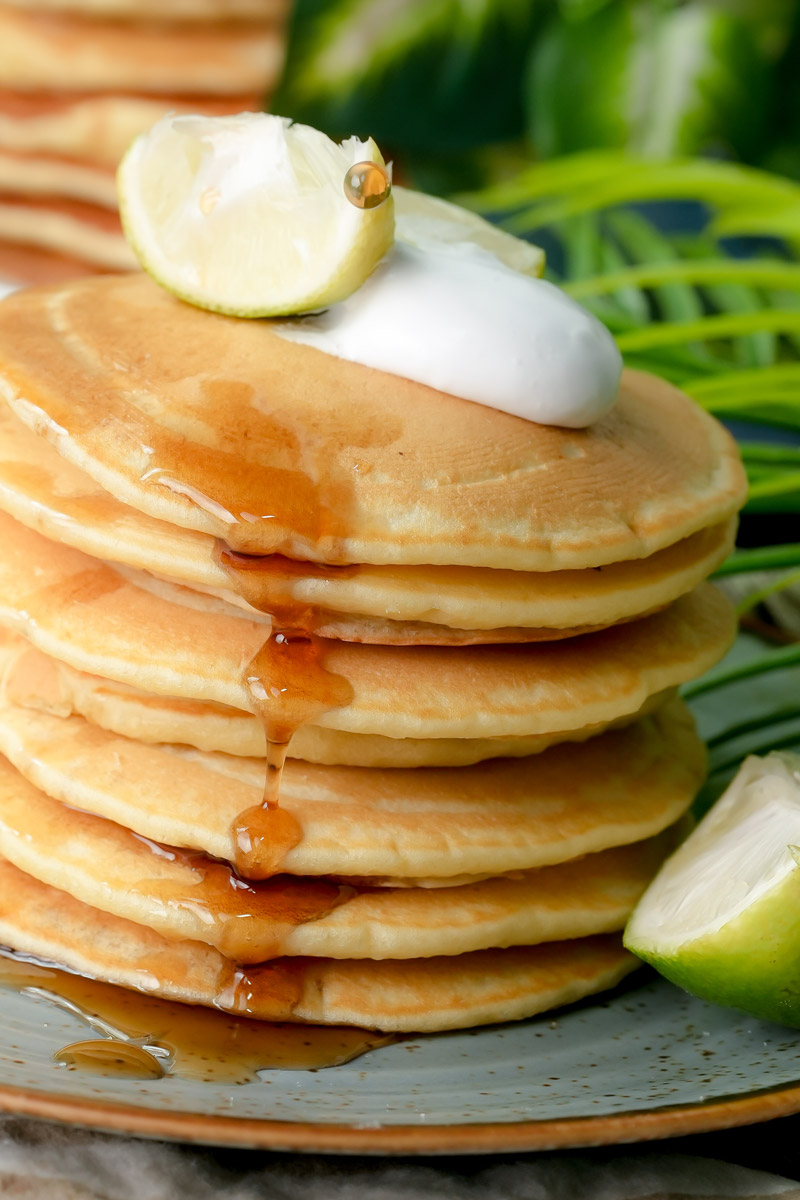
When you plate these, go big. Stack them high! I like to put a dollop of almond butter or Greek yogurt on top. Then, pour on the real maple syrup.
The nuttiness of almond butter tastes amazing with the lemon. To make it look like a restaurant dish, sprinkle on more lemon zest and a few mint leaves.
Leftovers?
Let them cool completely on a wire rack first. If you put warm pancakes in a bag, the steam makes them soggy. Nobody wants a soggy pancake.
- Fridge: Keep in a sealed container for up to 3 days.
- Freezer: These are great for busy mornings. Freeze them in a single layer on a tray for an hour, then put them in a freezer bag. They stay fresh for 2 months.
- Reheating: Don’t use the microwave. It makes them gummy. Pop them in the toaster on a medium setting instead. It makes the edges crispy and warms the middle perfectly.
I really hope these pancakes bring a little sunshine to your kitchen.
PrintLemon Pancakes
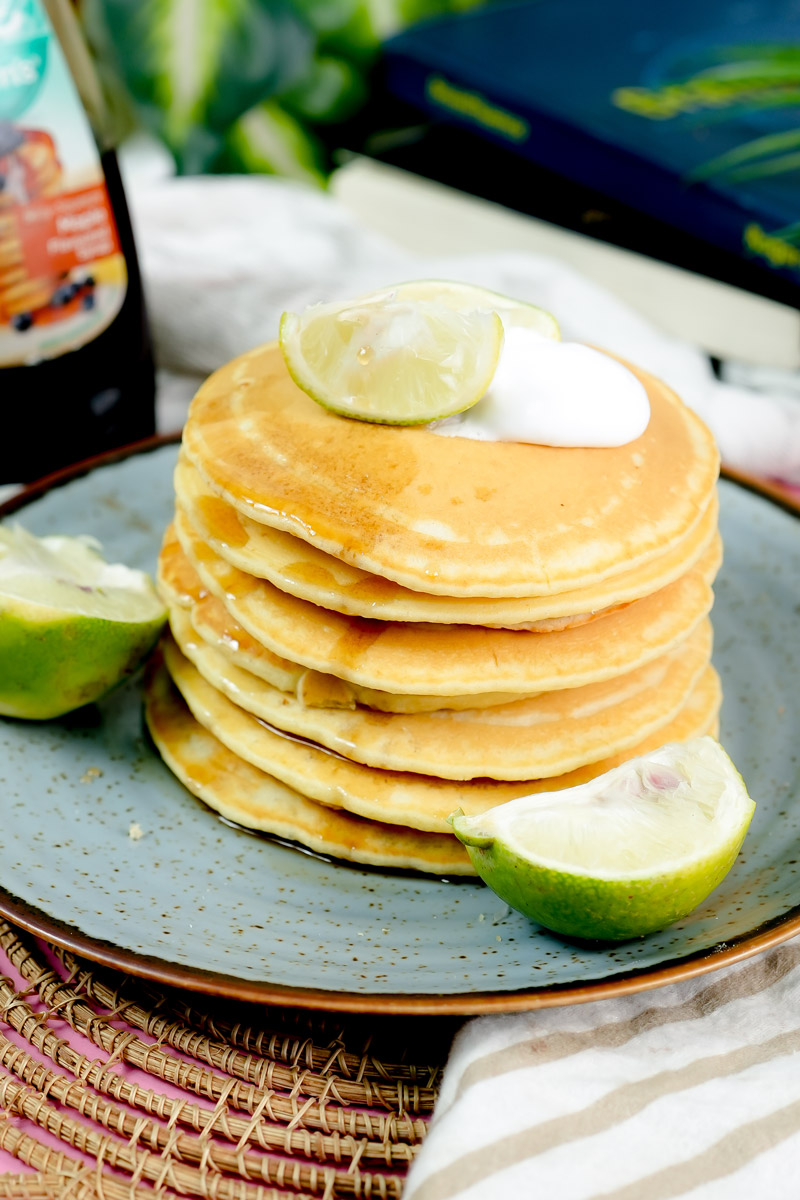
Think of these as a giant hug from the sun. They aren’t those heavy, dense pancakes that sit in your stomach like a brick. Instead, they’re light, tangy, and have a beautiful golden edge. It is the perfect way to make a regular morning feel a little more special without spending hours in the kitchen.
- Prep Time: 10 Minutes
- Cook Time: 20 Minutes
- Total Time: 30 Minutes
- Yield: 4–6 (About 12-14 pancakes) 1x
- Category: Breakfast
- Cuisine: American
Ingredients
The Dry Base
- 2 ¼ cups Flour (Bob’s Red Mill 1:1 GF or All-Purpose)
- 2 tsp Baking Powder
- ½ tsp Baking Soda
The Flavor Makers
- 2 Large Eggs
- 2 cups Buttermilk (or milk plus 1 tbsp lemon juice)
- 3 tbsp Unsalted Butter (melted)
- 2 tbsp Fresh Lemon Zest
- ¼ cup Fresh Lemon Juice
- 1 tsp Vanilla Extract
- ½ tsp Sea Salt
- Maple Syrup (for sweetness)
Instructions
- Prep the Dry Foundation: Whisk your flour, baking powder, and baking soda in a medium bowl. This ensures your pancakes rise evenly rather than lopsided.
- Whisk the Wet Mix: In a large bowl, beat the eggs with the maple syrup, vanilla, and salt. Stir in the buttermilk, lemon juice, and zest. Slowly pour in the melted butter while whisking.
- Mix Gently: Add the dry ingredients to the wet. Stop mixing as soon as the flour streaks are gone. A few lumps are totally fine—they keep the pancakes tender.
- Get the Pan Ready: Heat a non-stick skillet over medium-high heat. Add a tiny bit of butter. You’ll know it’s ready when a drop of water dances on the surface.
- The Sizzle and Flip: Pour about ¼ cup of batter per pancake. Wait for bubbles to pop on the surface and the edges to look dry. Flip and cook for another minute until golden brown.
Notes
Pro Tips & Tricks
- Zest First: It is a nightmare to zest a lemon after it’s been squeezed. Always grate the peel while the lemon is still whole.
- Don’t Overmix: If you stir too much, you’ll end up with rubbery pancakes. Lumps are your friends here.
- The Buttermilk Hack: If you’re out of buttermilk, just add a splash of lemon juice to regular milk and let it sit for five minutes.
Serving Suggestions
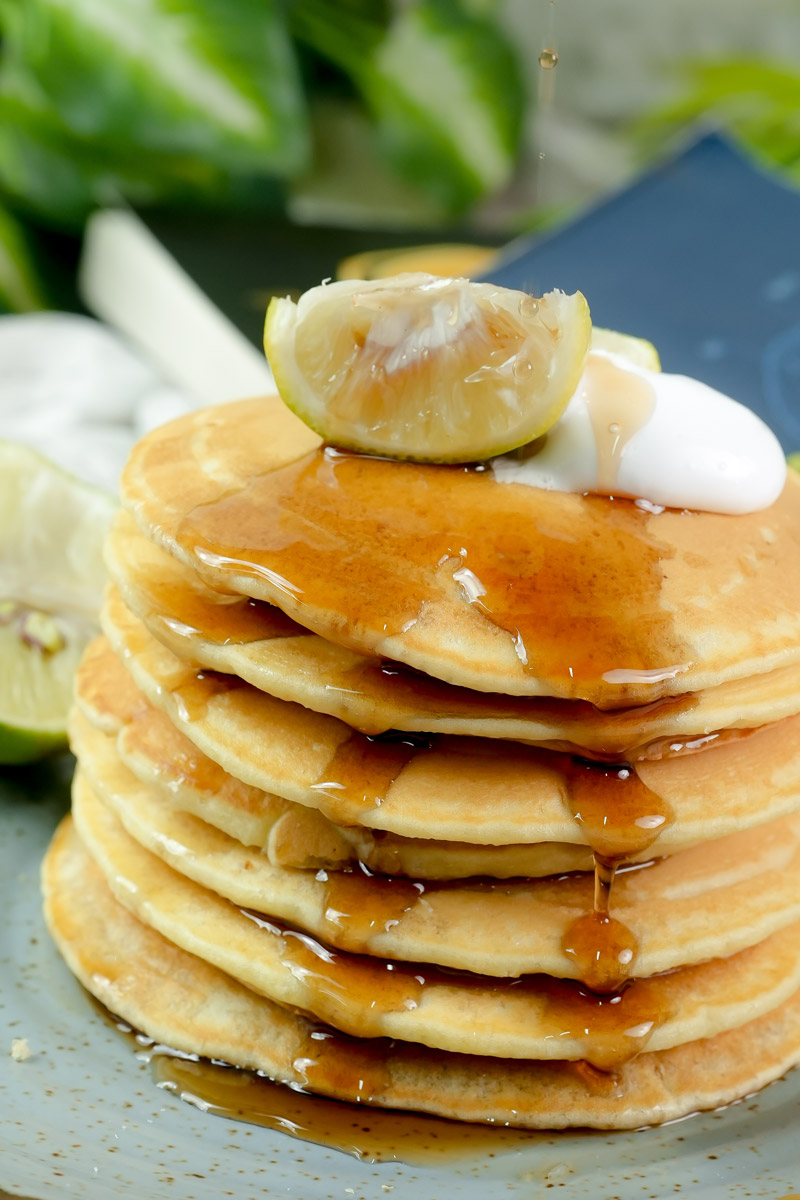
- I love stacking these high with a dollop of Greek yogurt or a smear of almond butter. Finish with a drizzle of maple syrup and a few fresh mint leaves for a restaurant look.
Storage & Reheating
- Fridge: Keep in a sealed container for up to 3 days.
- Freezer: Freeze them in a single layer before bagging them. They stay fresh for 2 months.
- To Reheat: Skip the microwave. Pop them in the toaster to get those edges crispy again!