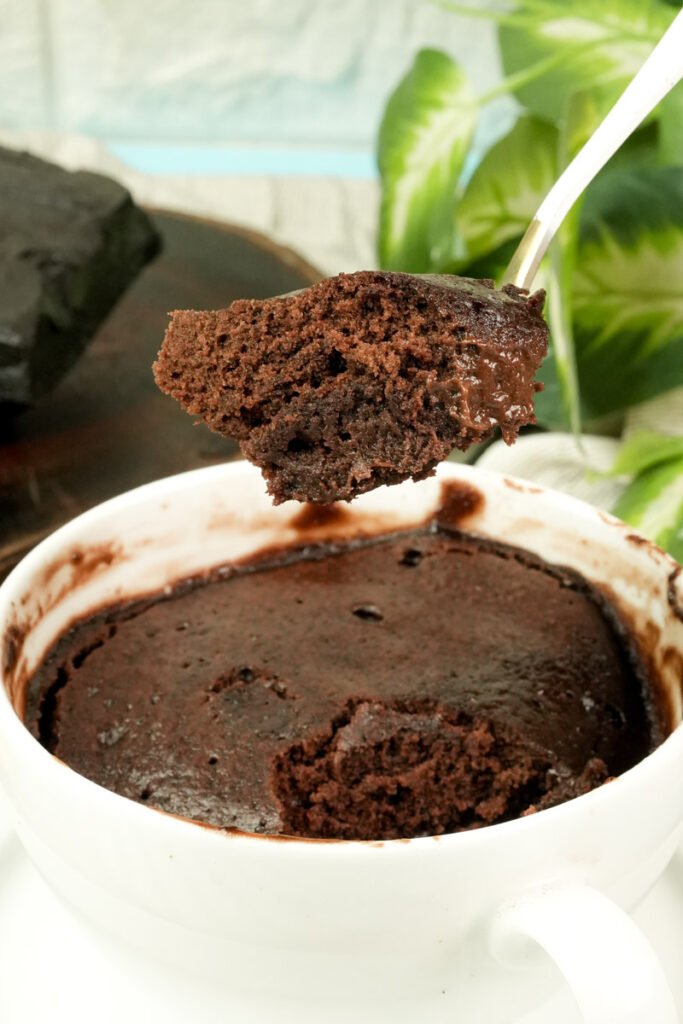
I recently found myself staring into my pantry at 10:00 PM. I wanted something sweet, but I didn’t want to ruin my diet. That’s when I rediscovered the 99 calorie chocolate mug cake.
Mug cakes were everywhere back in 2010. They were the ultimate quick fix for late-night snacks. But let’s be honest. Most of them tasted like a rubber tire. The secret to this version? No eggs. By skipping the egg, you get a soft, tender crumb instead of a bouncy mess. It feels like a fancy dessert, but it takes almost zero effort. It’s like a warm hug in a cup.

The Recipe Overview
This recipe is the gold standard for speed. You are only three minutes away from eating. It’s perfect for one person, which helps if you struggle with portion control like I do.
If you have friends over for a movie, just line up a few mugs. It’s easy to scale. I’d call this a beginner level recipe. If you can use a microwave, you’re golden.
The Pro Setup:
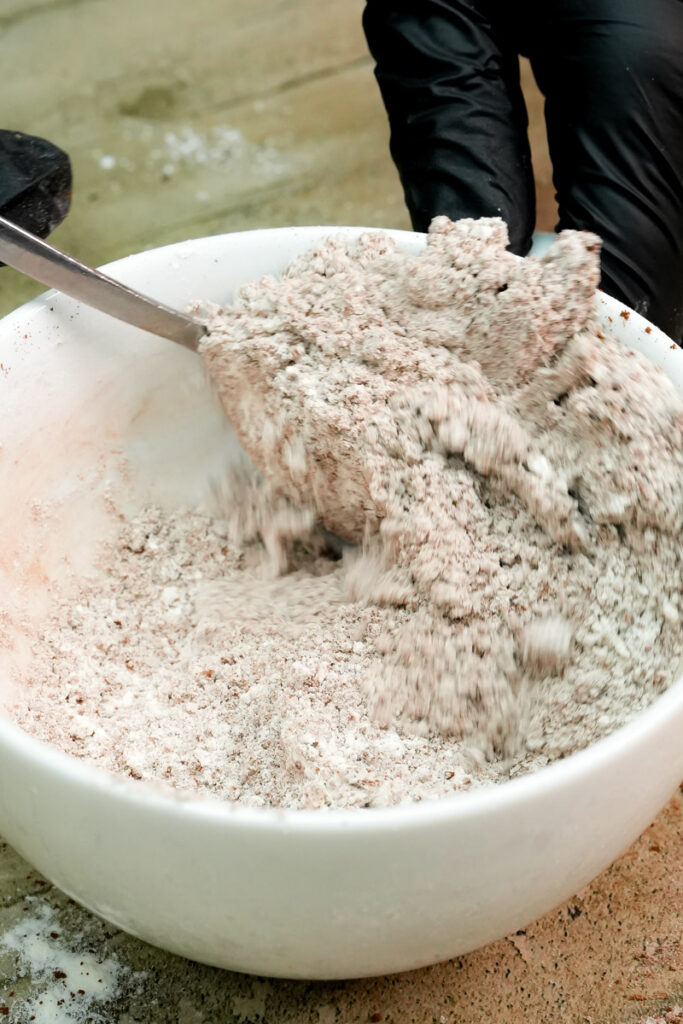
You just need a standard 10 oz or 12 oz ceramic mug. Use a dinner fork instead of a whisk. The fork prongs help you reach the bottom “corners” of the mug so you don’t end up with a clump of dry flour at the end.

| Number of Cakes | Prep Time | Microwave Strategy |
| 1 Cake | 3 Mins | Cook for 50-60 seconds |
| 2 Cakes | 4 Mins | Cook separately for the best texture |
| 4 Cakes | 7 Mins | Mix a big batch of dry stuff, then divide |
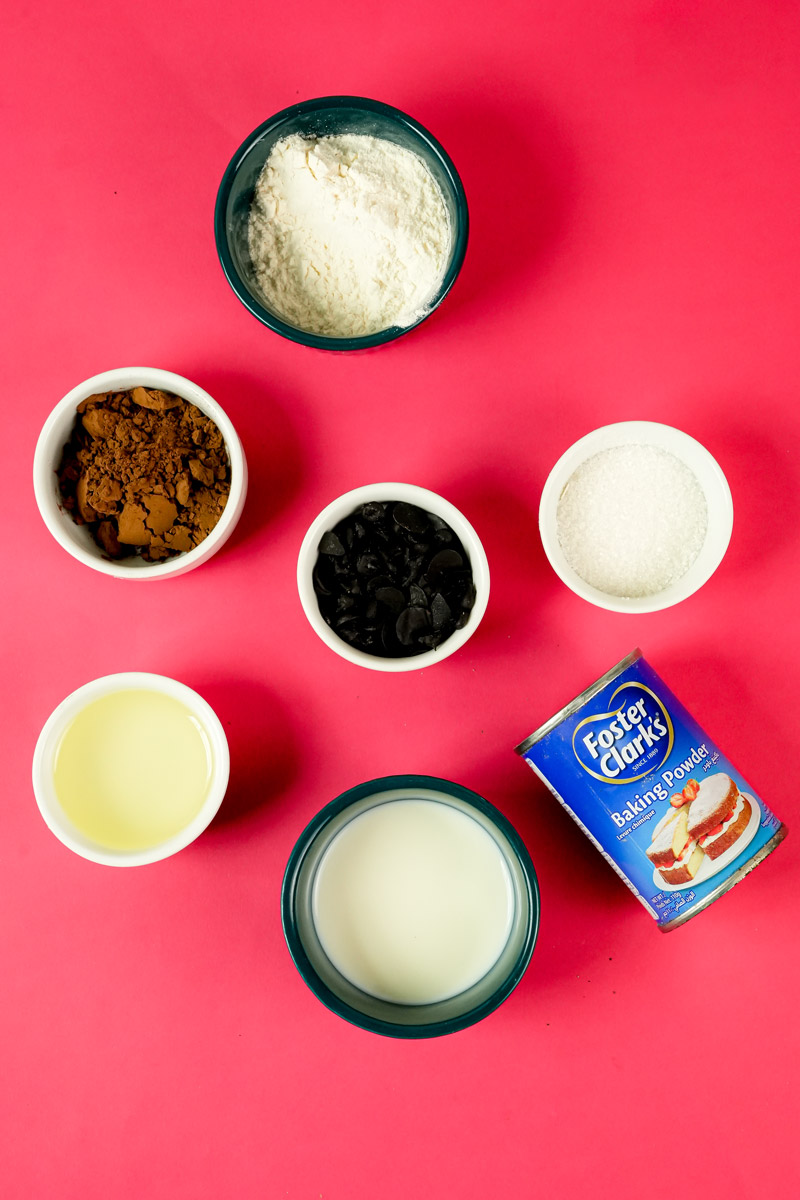
The Ingredient Gallery
Since we aren’t using many ingredients, quality matters.
- 2 tablespoons all-purpose flour: This keeps it fluffy.
- 1 tablespoon unsweetened cocoa powder: Try to find “Dutch-processed” cocoa. It’s darker and tastes way richer.
- 2 tablespoons stevia: Use a 0-calorie sweetener that measures 1:1 with sugar.
- 1/4 teaspoon baking powder: This gives the cake its “lift.”
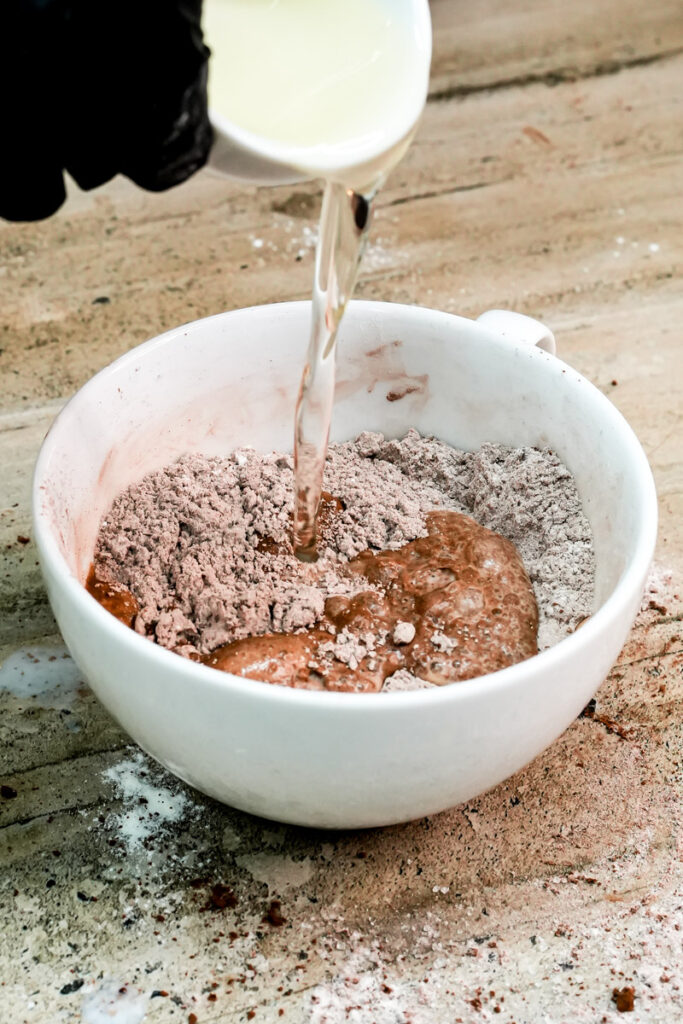
- 1/2 teaspoon olive oil: This provides moisture.1 You can use applesauce to save even more calories.
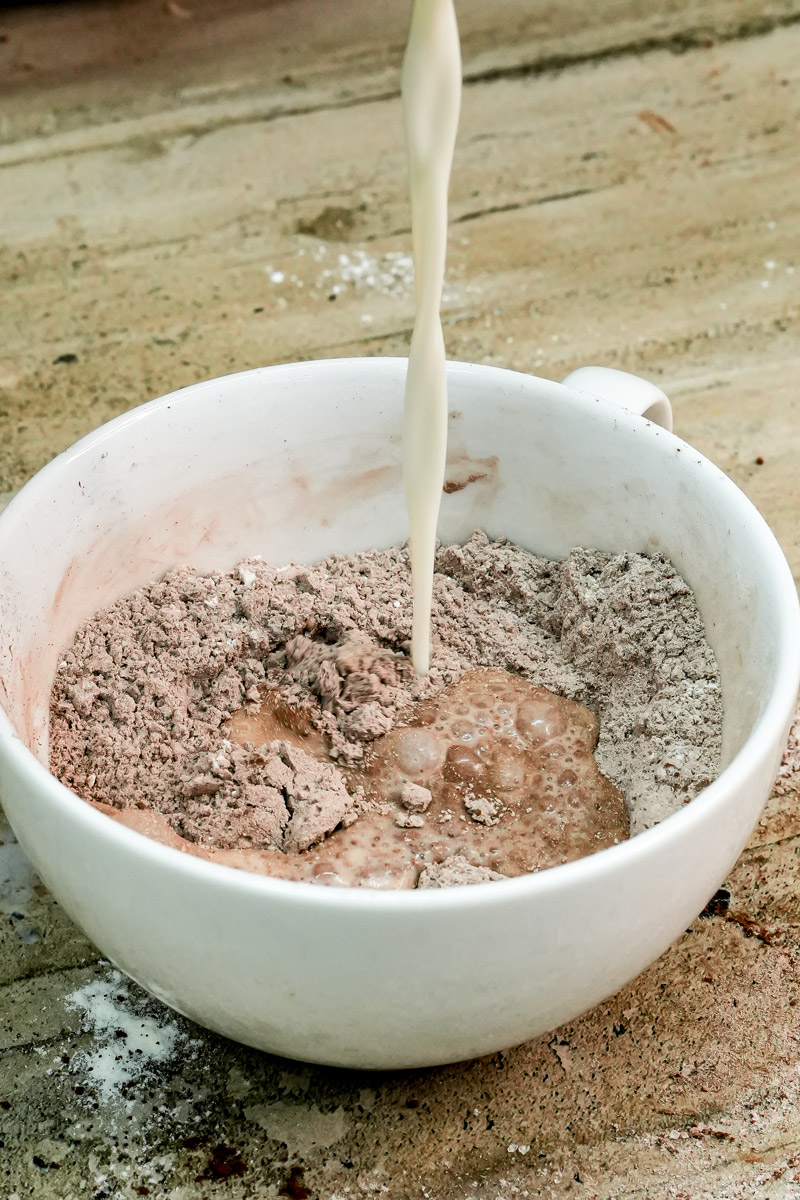
- 3 tablespoons unsweetened almond milk: It’s low-calorie and has a neutral taste.
My Little Secret: Don’t use milk straight from the fridge. If it’s too cold, the oil might clump up. Let it sit on the counter for a minute first.
Step-by-Step Method: Let’s Get Cooking!
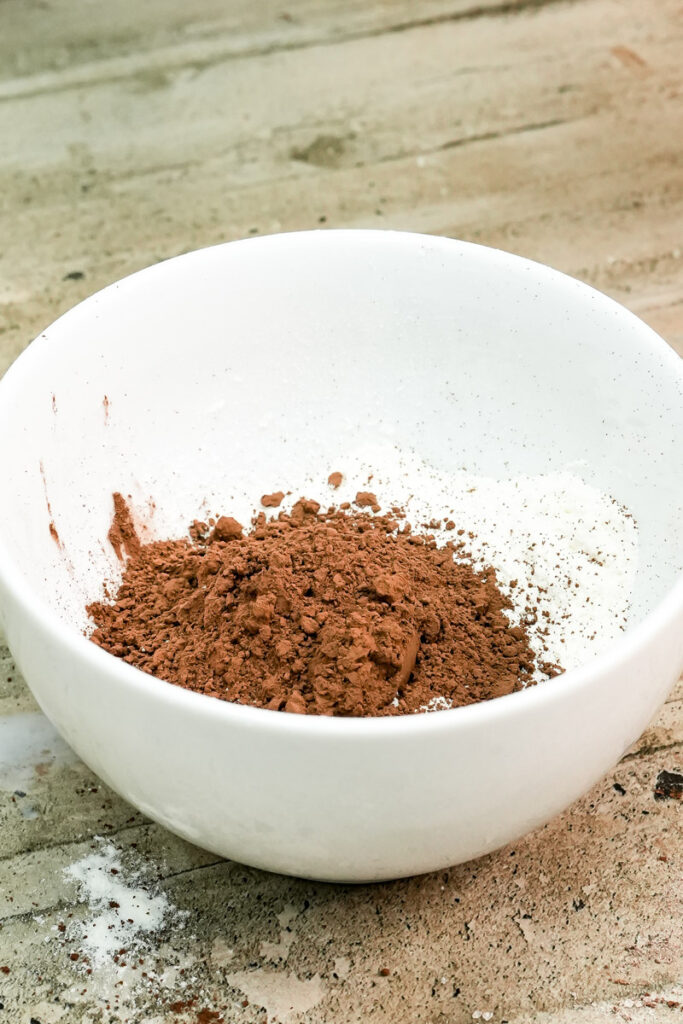
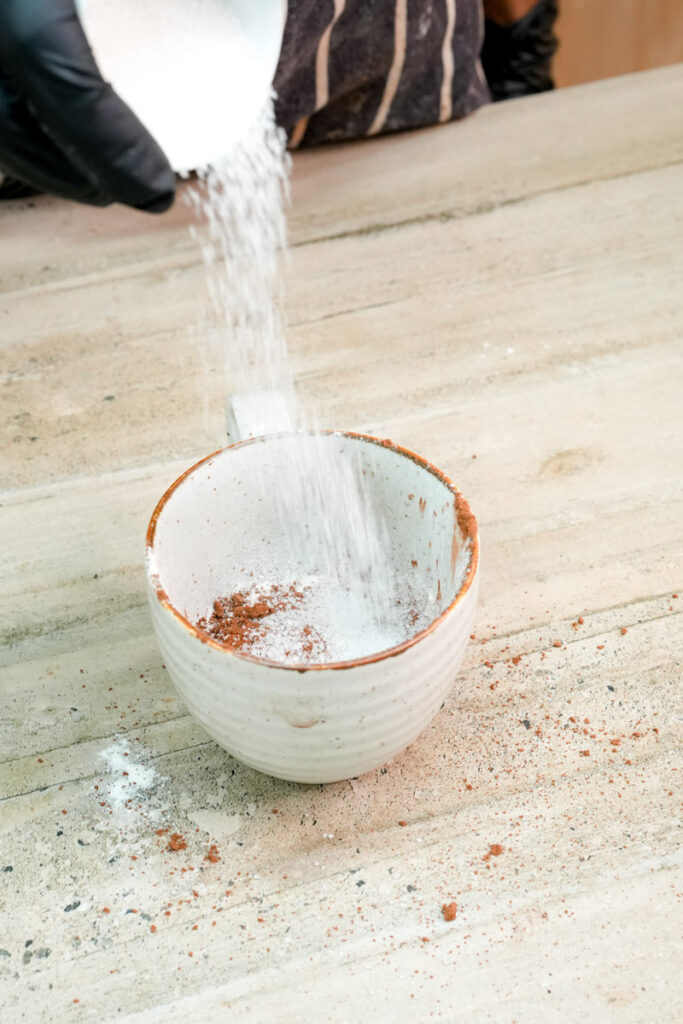
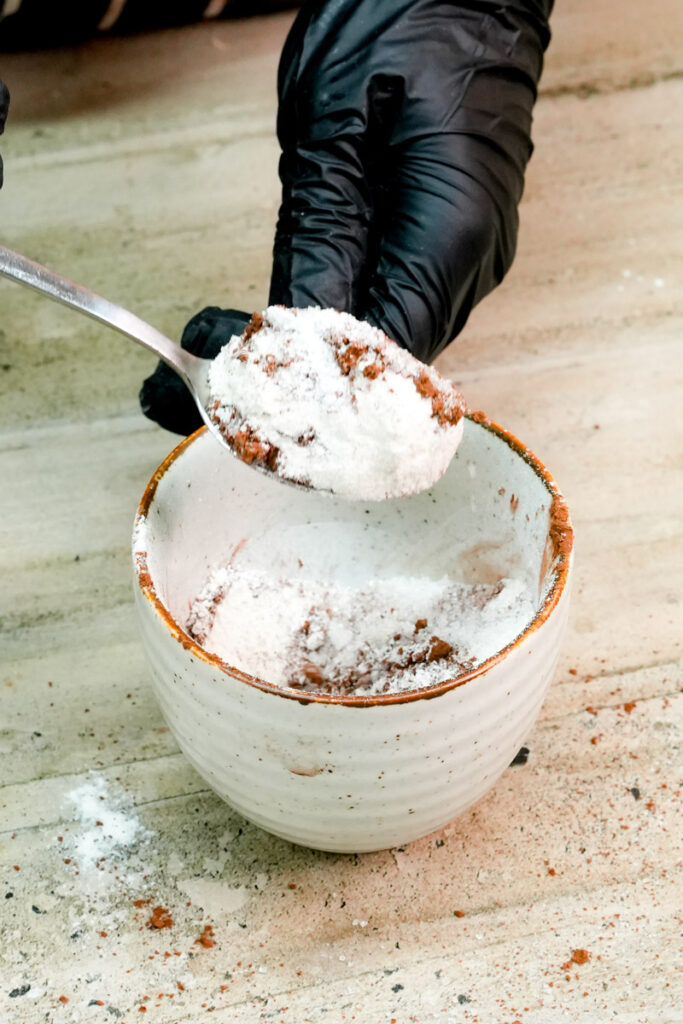
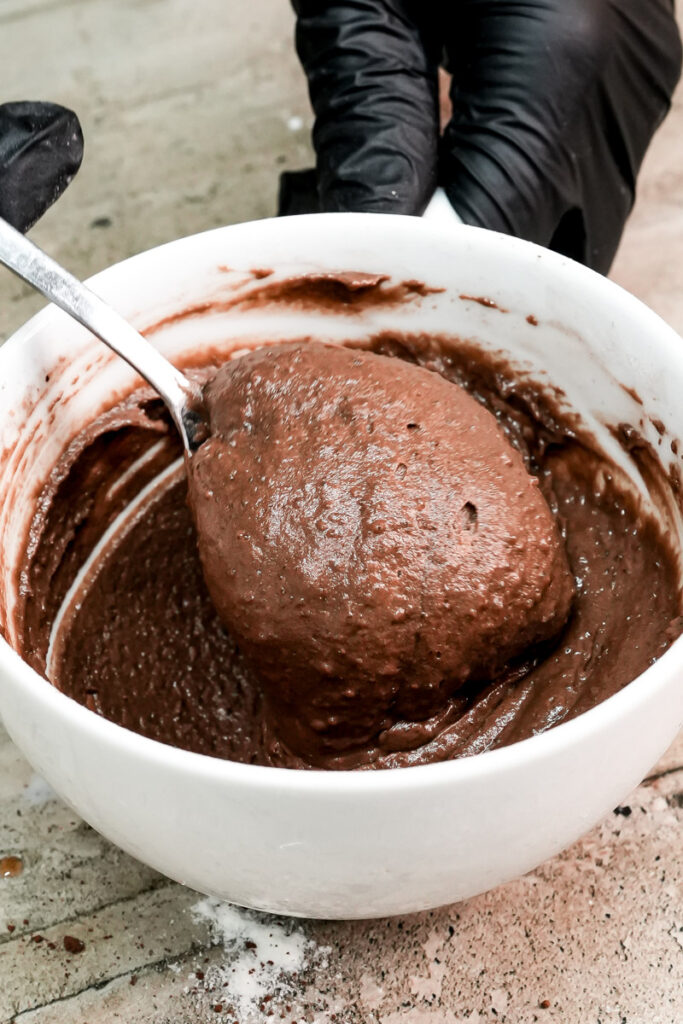
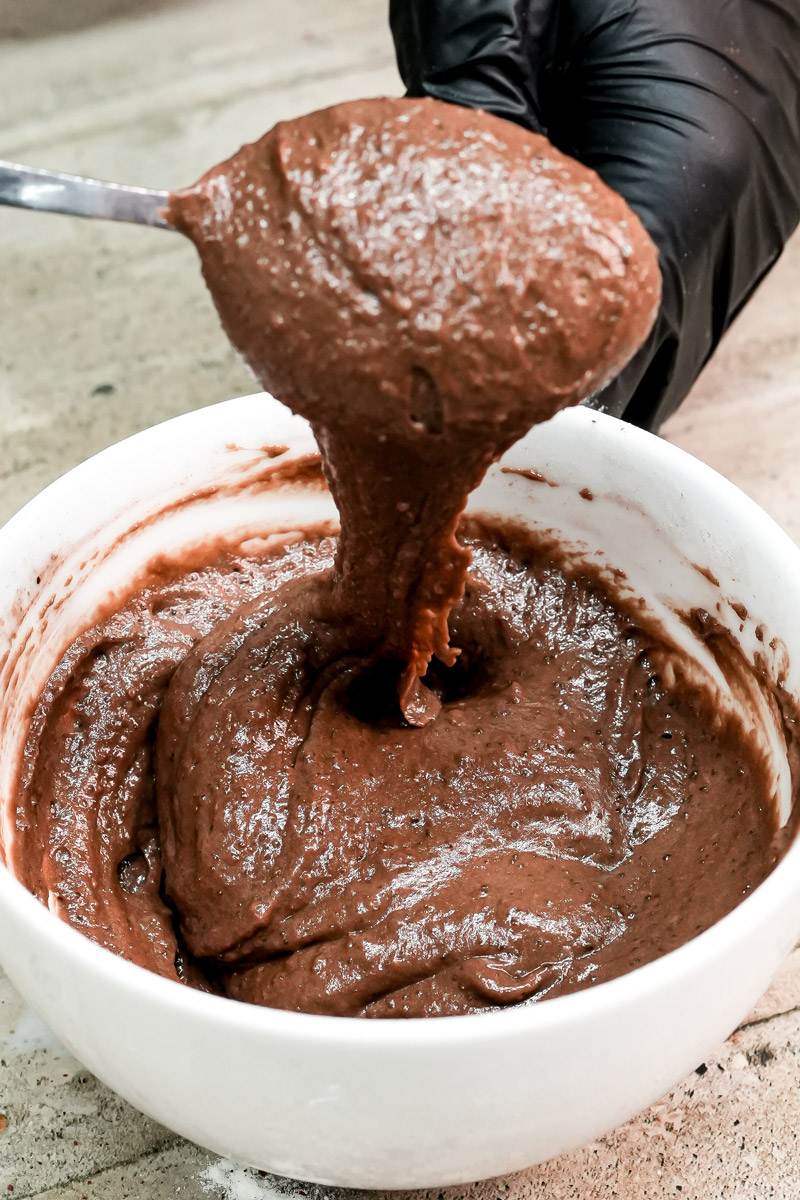
1. The Dry Foundation
Whisk your dry ingredients right in the mug. Don’t rush this! You want a nice, even brown color. If you see white streaks of flour, keep mixing. Cocoa powder is often lumpy. Use your fork to smash those little chocolate balls against the side of the mug until they turn to dust.

2. The Emulsion
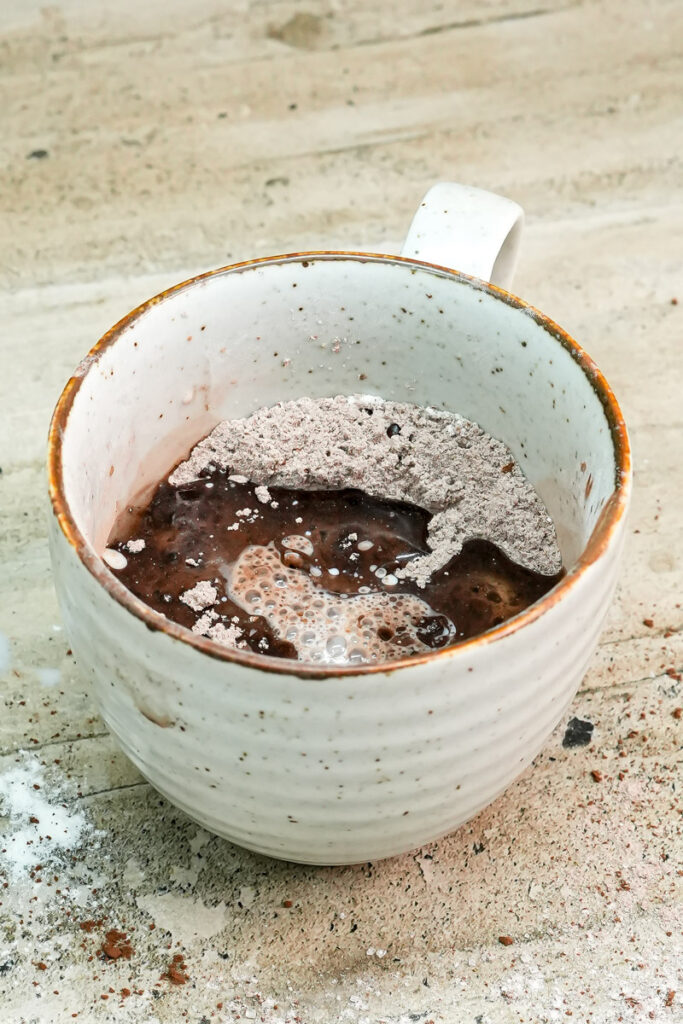
Make a small hole in the center of the powder. Pour in your oil and milk. Stir from the middle and work your way out. It should look like thick, shiny chocolate syrup. If it looks like bread dough, add a tiny splash of milk. The good news? It already smells like truffles at this stage.


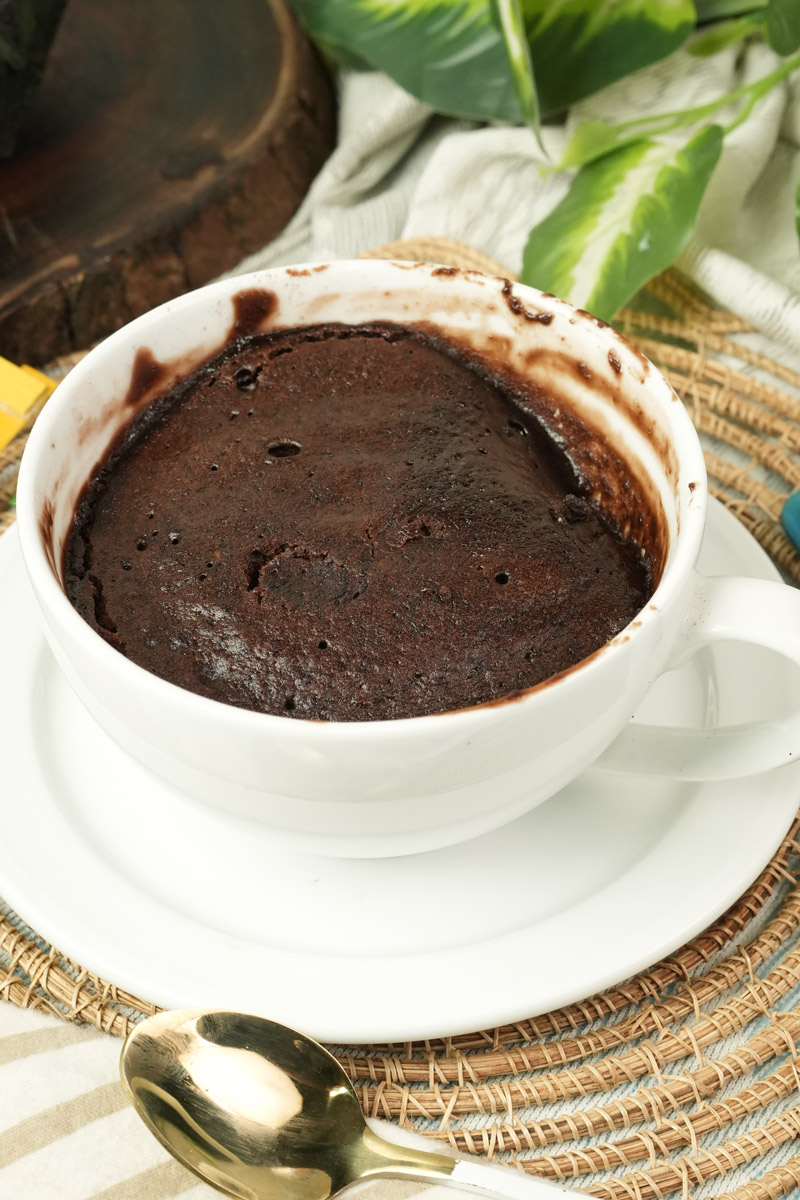
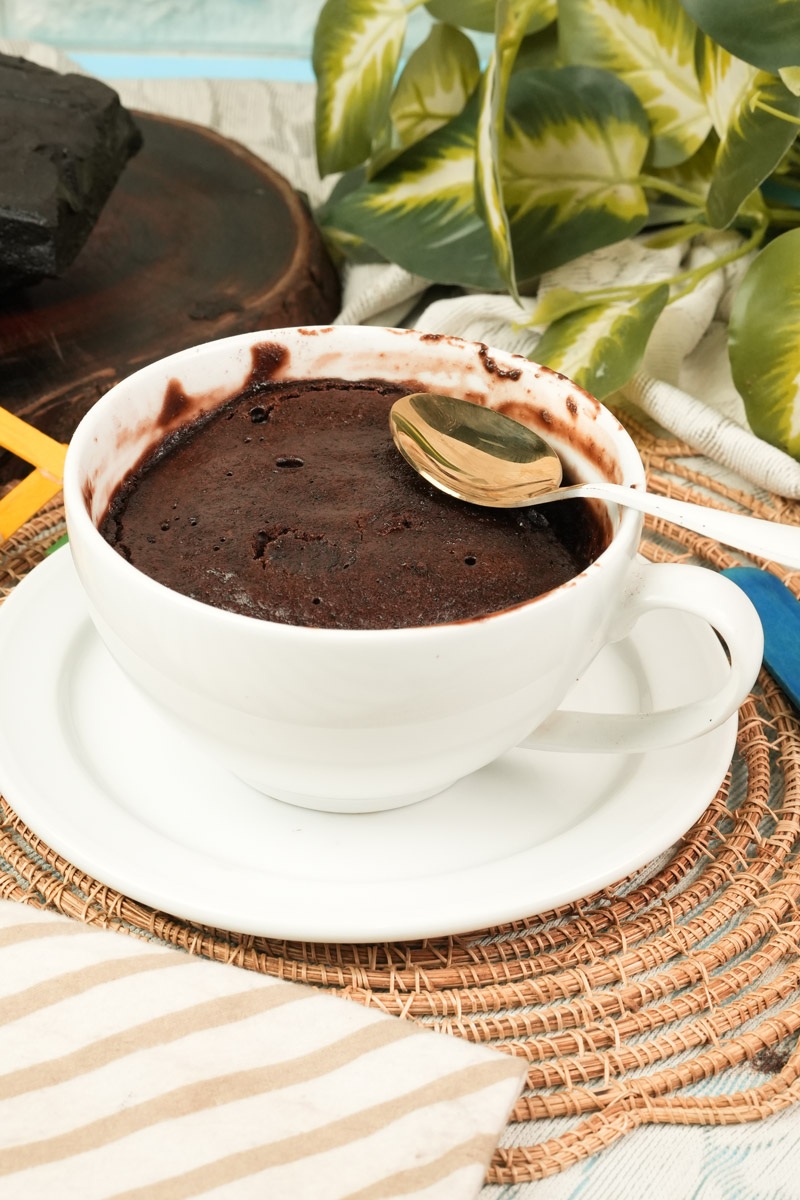
3. The Great Zap
Want to make it better? Drop a few chocolate chips on top. They’ll sink and make a gooey center. Put the mug in the microwave. For a standard microwave, 55 seconds is the magic number.
The cake will rise up high and then settle back down. The top should look dry, not wet. If the very center looks a bit damp, that’s fine. It keeps cooking while it sits. Don’t overcook it. Ten extra seconds can turn this into a dry sponge.

Variations & Customization
You can totally change this up based on what you like.
- Need more protein? Swap 1 tablespoon of flour for chocolate protein powder.
- Gluten-free? Use a 1:1 gluten-free flour blend.
- Want it fancy? Add a tiny drop of vanilla or a pinch of coffee powder. The coffee makes the chocolate taste “more” like chocolate. It’s like adding salt to a steak.
- The Lava Effect: If you have an extra 20 calories, put a teaspoon of sugar-free peanut butter in the center before cooking. It’s life-changing.
Serving & Storage
Wait! I know you’re hungry, but let it sit for two minutes. This lets the steam settle so the cake doesn’t fall apart when you dig in.
If you want it to look pretty, dust the top with a little powdered sweetener. This cake is definitely best when it’s fresh and warm. If you actually have leftovers, cover the mug and keep it on the counter. Just give it a 10-second blast in the microwave the next day to soften it back up.
PrintLow Calorie Chocolate Mug Cake

This is the ultimate “emergency” dessert for when those late-night chocolate cravings hit. It’s light, fluffy, and skip the egg to avoid that rubbery texture most microwave cakes have. It’s a single-serving treat that actually tastes like a real cake.
- Prep Time: 2 Minutes
- Cook Time: 1 Minutes
- Total Time: 3 Minutes
- Category: Dessert
- Cuisine: American
Ingredients
- 2 tbsp All-purpose flour
- 1 tbsp Unsweetened cocoa powder (Dutch-processed is best)
- 2 tbsp Stevia or 0-calorie granulated sweetener (1:1 ratio)
- 1/4 tsp Baking powder
- 1/2 tsp Olive oil (or applesauce for lower fat)
- 3 tbsp Unsweetened almond milk
- Optional: 1g mini chocolate chips (adds about 5-8 calories)
Instructions
- Mix Dry Ingredients: In a standard 10–12 oz mug, whisk the flour, cocoa powder, sweetener, and baking powder using a fork. Smash any cocoa clumps against the side until the mix is a uniform light brown.
- Add Liquids: Pour in the olive oil and almond milk. Stir well, making sure to scrape the “corners” at the bottom of the mug where flour likes to hide. The batter should look like thick, glossy syrup.
- Microwave: Top with chocolate chips if you’re using them. Pop it in the microwave for 50–60 seconds (based on a 700W-950W oven).
- The Finish: The cake will rise and then settle. The top should look matte and set. If it’s slightly damp in the dead center, that’s okay—it will finish cooking as it rests.
Notes
- Serving Suggestions: Let it sit for 2 minutes before eating. This is the hardest part, but it helps the texture firm up. Top with a raspberry or a tiny dollop of fat-free whipped cream if you want to feel fancy.
- Tips & Tricks: Use a fork instead of a spoon for mixing; it acts like a mini whisk and gets rid of lumps faster. If your batter looks like dry dough, add one extra teaspoon of milk.
- Storage & Reheating: This is best eaten fresh. If you have to save it, cover the mug and keep it at room temperature for up to 24 hours. To revive it, microwave for 10 seconds to make it soft again.