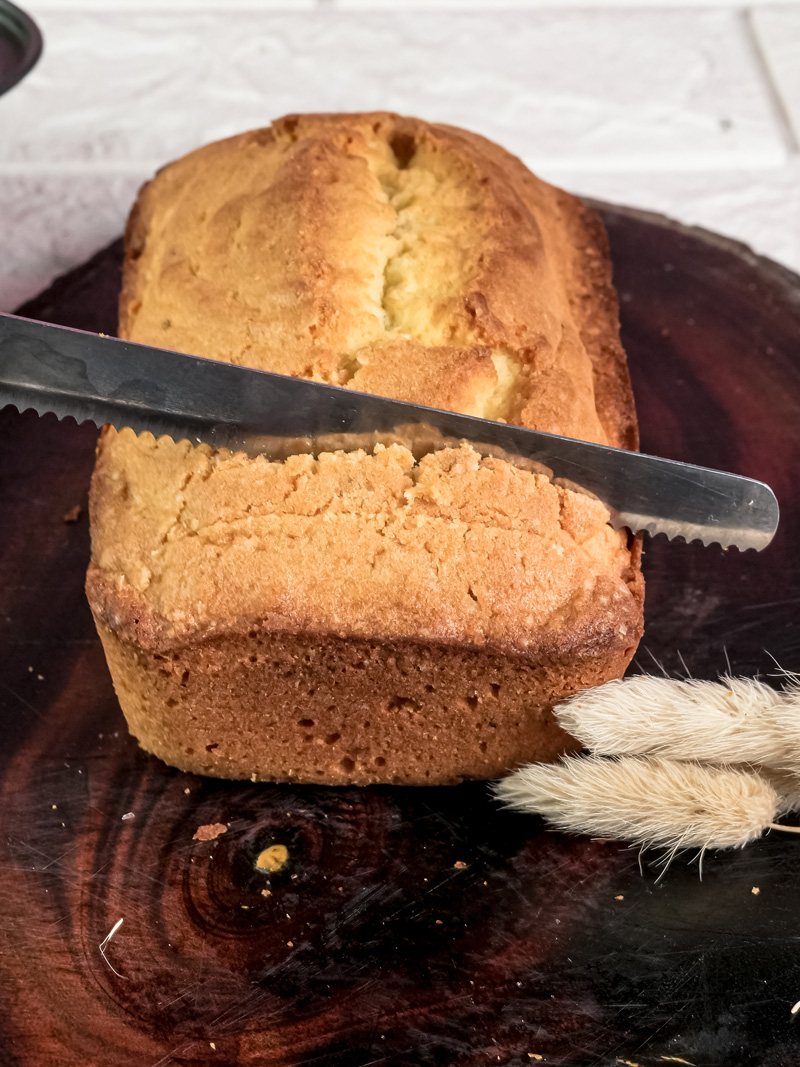
Hey everyone! If you’re looking for a recipe that feels like a warm hug on a quiet afternoon, you’ve come to the right place. Today, we’re making a Classic Madeira Cake.
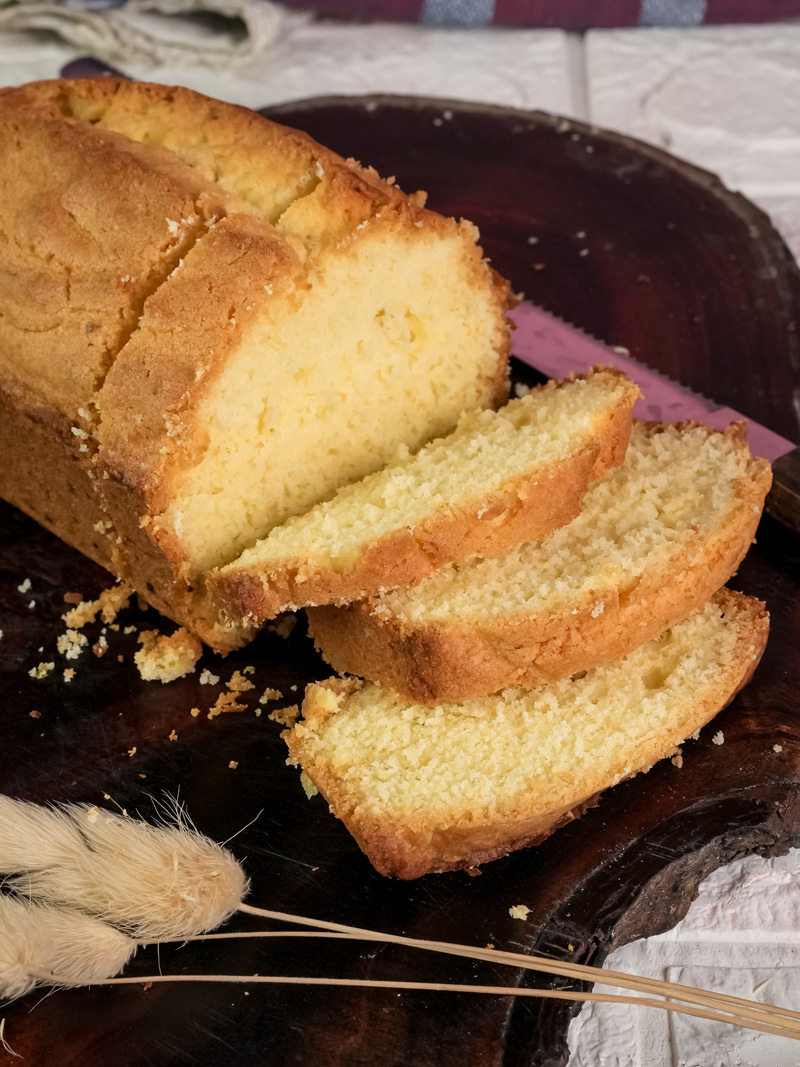
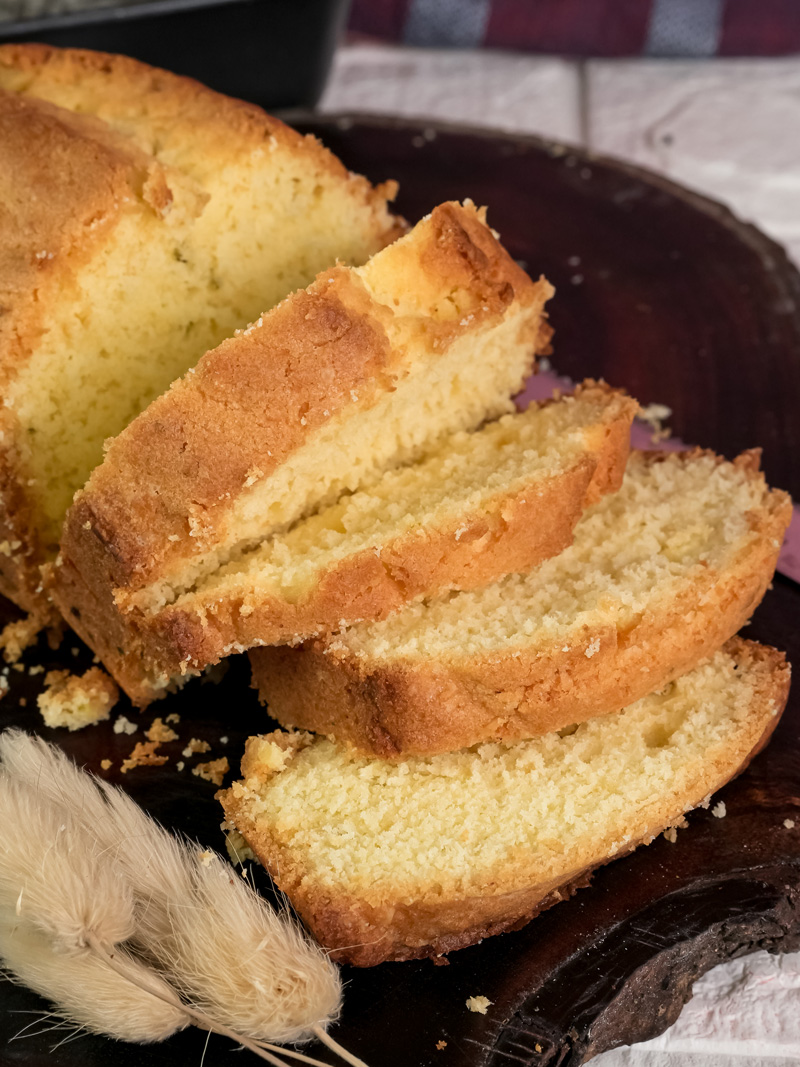
Now, this isn’t your typical light and airy sponge. A real Madeira cake has a bit more substance. It’s got a fine, close-knit crumb and a taste that is just packed with buttery goodness. It’s a simple cake, but the flavor is anything but.
Funny enough, the cake doesn’t actually have any Madeira wine in it. The name comes from 18th-century Britain, where people loved to enjoy a slice of this sturdy cake with a glass of Madeira wine.1 It was the perfect pairing.
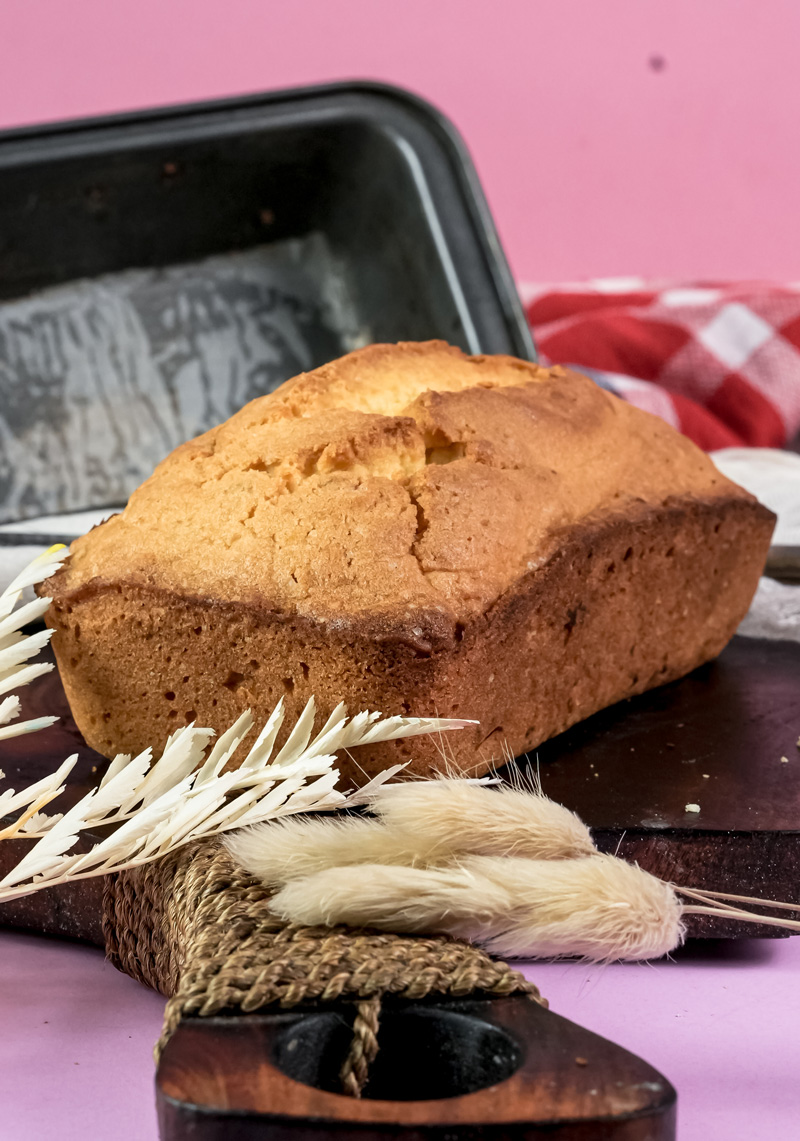
I’ve tinkered with so many Madeira cake recipes over the years, but this is the one I always come back to. It’s rich and buttery but never feels heavy. It has a little pop of lemon and an amazing sugary top. It’s simple enough for an afternoon snack with tea, but also a great, solid base if you want to get fancy and decorate a cake for a special occasion.
So, grab your apron. Let’s get baking.
Recipe at a Glance
Before we pull out the butter and sugar, let’s get a quick overview. Think of this as your game plan for a perfect bake.
| Time & Servings | Details |
| Prep Time | 15 minutes |
| Cook Time | 45-50 minutes |
| Total Time | About 1 hour 5 minutes (plus cooling) |
| Yield | 12 slices |
| Difficulty | Easy! |
Want to change the size? No problem.
- For a smaller cake: Just cut all the ingredients in half. Bake it in a 6×3-inch loaf pan and start checking it around the 35-minute mark.
- For a bigger crowd: Double everything and use two 8×4-inch loaf pans.
What You’ll Need
| Equipment | Notes & Why It Matters |
| 8×4-inch Loaf Pan | This is the standard. An 8-inch round cake tin works just as well if that’s what you have. |
| Parchment Paper | Please, please don’t skip this. It’s the secret to getting your cake out of the pan without any drama. |
| Electric Mixer | A stand mixer or a hand mixer really helps get the butter and sugar light and fluffy. It’s hard work to do by hand! |
| Mixing Bowls | You’ll want one for the main batter and a separate one for your dry ingredients. |
| Spatula & Whisk | Essential kitchen helpers for scraping down the bowl and mixing your flour. |
| Wire Cooling Rack | This lets air get underneath the cake, which stops the bottom from getting damp and soggy. |
Baking Ahead? This cake is perfect for it. The flavor actually gets better on the second day. You can easily bake this two or three days before you need it.
The Ingredients List
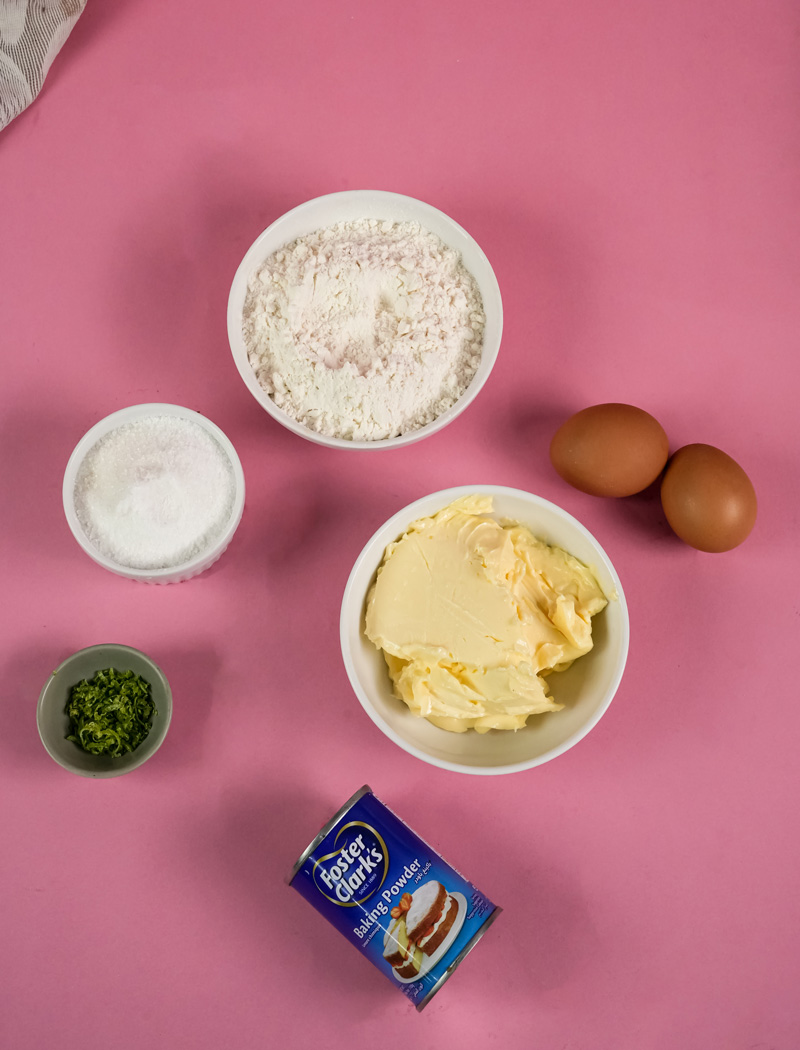
Great baking starts with good ingredients. The list here is short and sweet, so each one has a chance to shine.
You’ll need 1 cup of unsalted butter, softened to room temperature. This is really important! When you beat softened butter with sugar, it creates tiny air pockets. That’s what gives the cake its lift. If you only have salted butter, you can use it, but the flavor might be a little different.
Next is 1 cup plus 2 tablespoons of granulated sugar. We’ll use the 1 cup in the batter itself. That extra 2 tablespoons? We sprinkle it on top right before baking. It creates this incredible, crunchy, sugary top that is just so good.
For flavor, we’re using 2 teaspoons of freshly grated lemon zest. I can’t stress this enough: use a fresh lemon if you can! The taste you get from fresh zest is so much brighter than the stuff from a bottle.
You’ll also need 3 large eggs, and just like the butter, make sure they’re at room temperature. This helps them mix into the batter smoothly, which means a better cake texture in the end. A simple trick is to put your eggs in a bowl of warm water for 5-10 minutes.
Last up is the structure: 2 and 1/4 cups of all-purpose flour and 2 teaspoons of baking powder. It’s a small thing, but always whisk these two together in a separate bowl before you add them. This makes sure the baking powder is spread out evenly, so your cake rises perfectly.
Step-by-Step Guide
Okay, let’s walk through this together. I’ll share all the little tips I’ve picked up to make sure you get a fantastic cake every time.
Step 1: Prep Your Oven and Pan
First off, get your oven preheating to 325°F (165°C). We use a lower temperature on purpose. It lets the cake bake gently all the way through, so the outside doesn’t get too dark before the middle is cooked.
Now, let’s get the 8×4-inch loaf pan ready. Grease it with butter or cooking spray. Then, cut a strip of parchment paper so it lines the bottom and comes up the two long sides, like little handles. This makes lifting the cake out so easy later. Give the parchment paper a little grease, too. I promise, your cake will slide right out.
Step 2: The Creaming Method
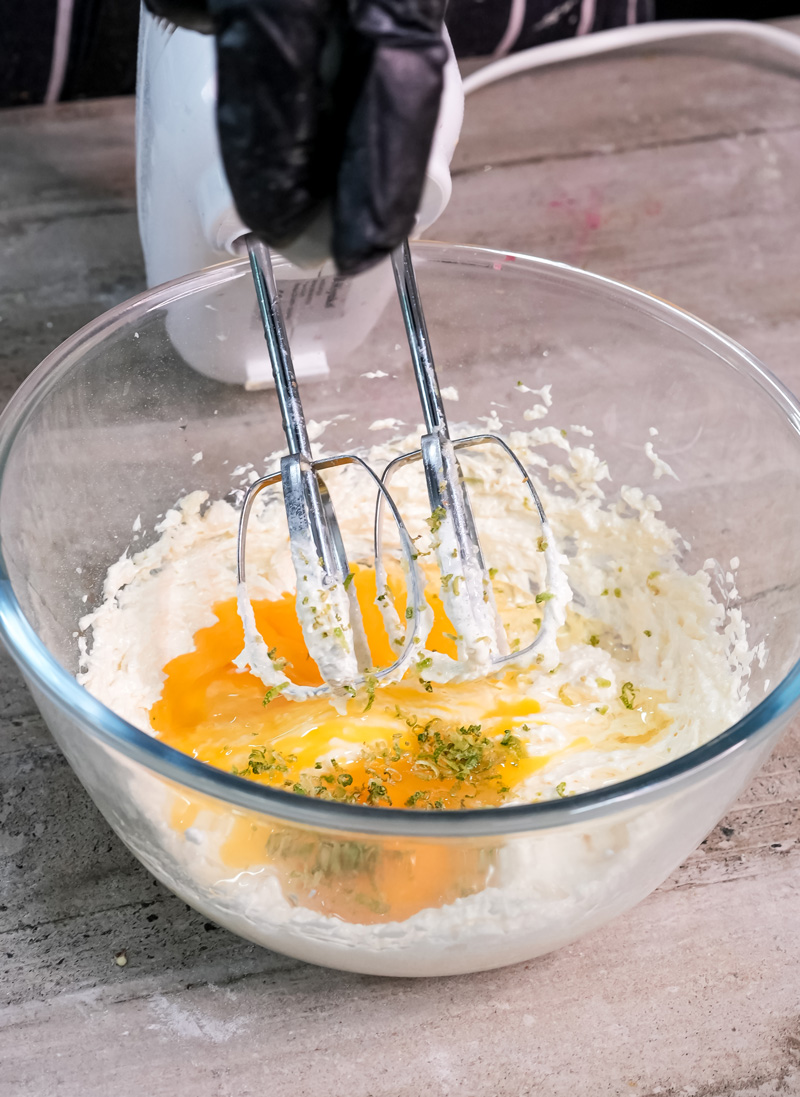
In your big mixing bowl, put the softened butter and 1 cup of the sugar. Now for the most important part of the whole recipe: the creaming.
Using an electric mixer, beat them together on medium-high speed for a full 5 to 7 minutes. I know, it feels like a long time. But this is where the texture of your cake is born. You’re whipping air into the fat. You’ll see it change from a dense, yellow paste to something much lighter in color, fluffier, and almost double in volume. Once it looks like a fluffy cloud, beat in the lemon zest.
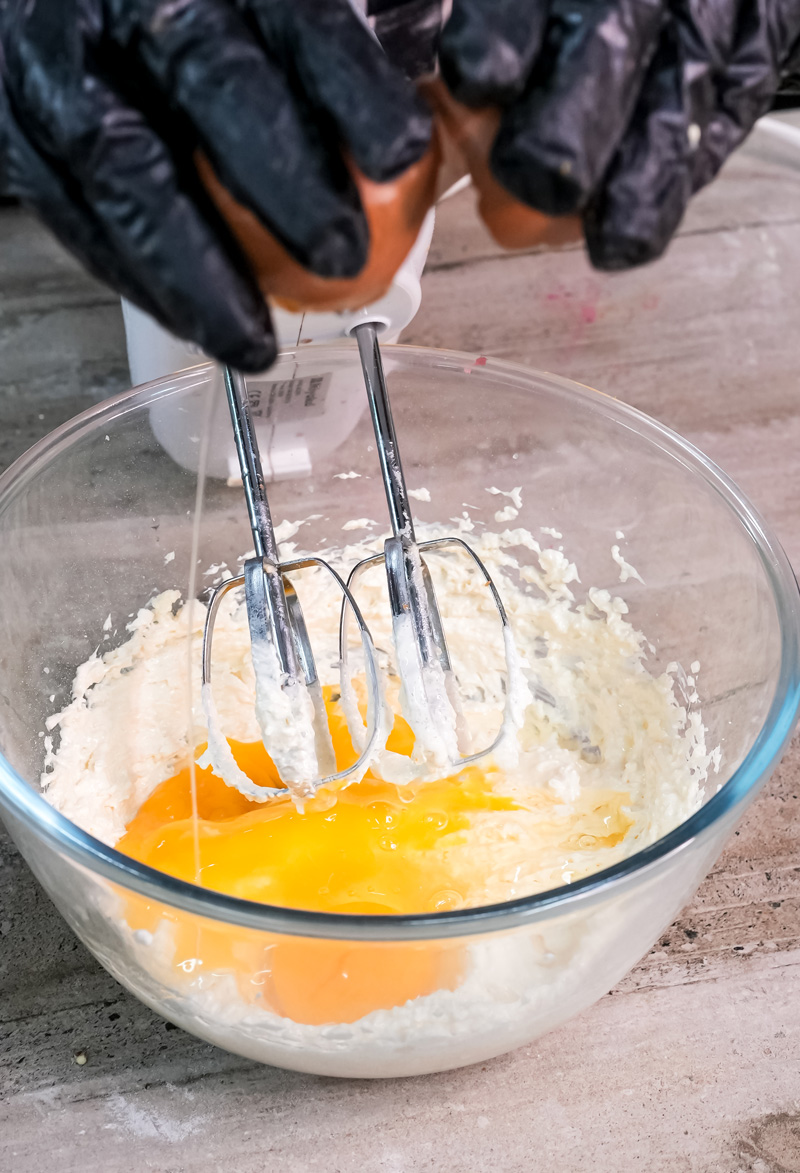
Step 3: Adding the Eggs
Turn the mixer down to medium-low. Add your room-temperature eggs, but add them one at a time. Mix until the first egg completely disappears before you add the next one.
A common problem: Sometimes the batter looks a little curdled or split after adding the eggs. Don’t worry! This just means the mixture is struggling to hold together.
The easy fix: Add one tablespoon of your flour mixture right along with each egg. The flour helps hold everything together and keeps the batter smooth.
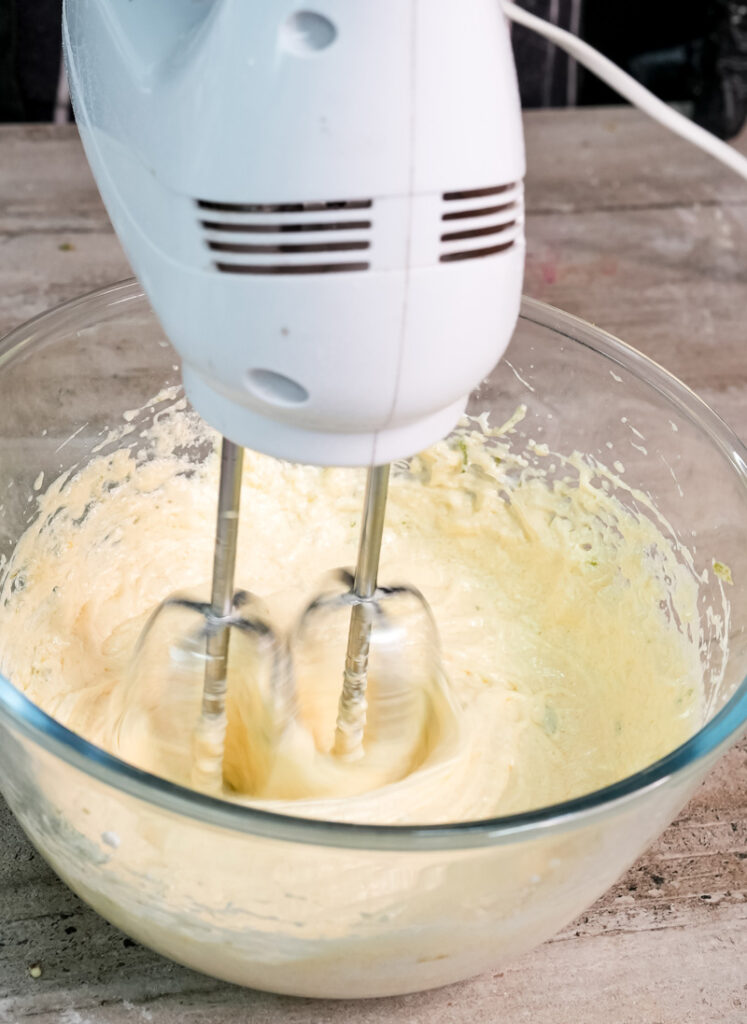
Step 4: Folding in the Flour
In that other bowl, you should have your flour and baking powder already whisked together.
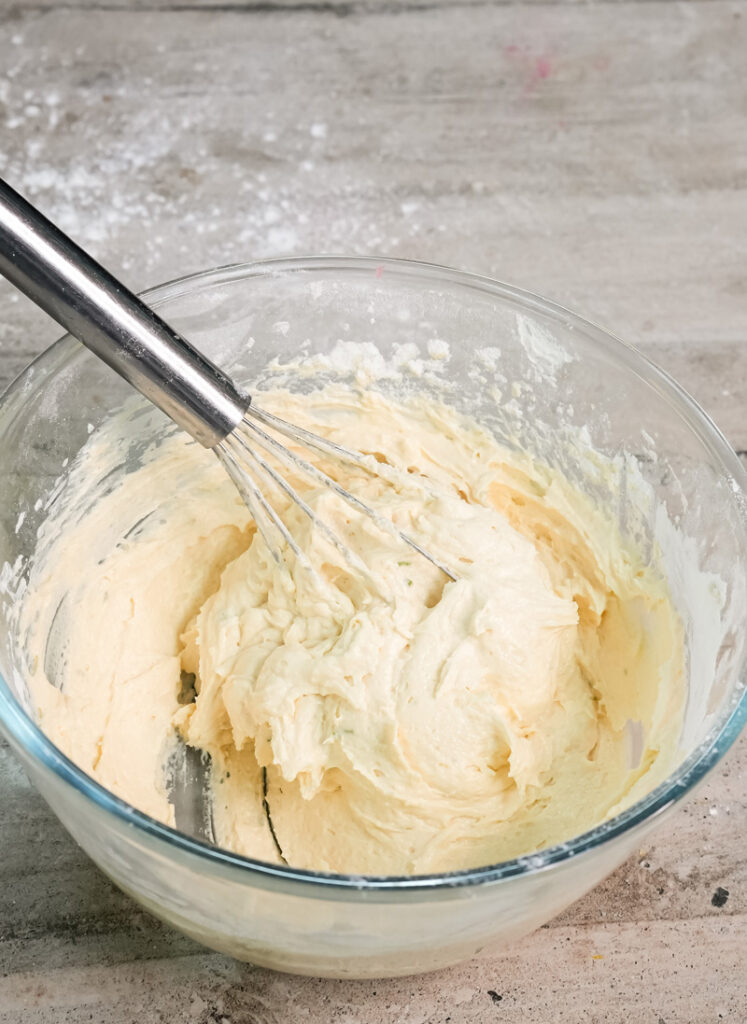
With the mixer on its lowest speed, add the flour mixture to the wet ingredients. Mix only until you don’t see any more streaks of flour. Do not overmix! If you mix for too long, you’ll make the cake tough instead of tender. The finished batter will be thick and pale.
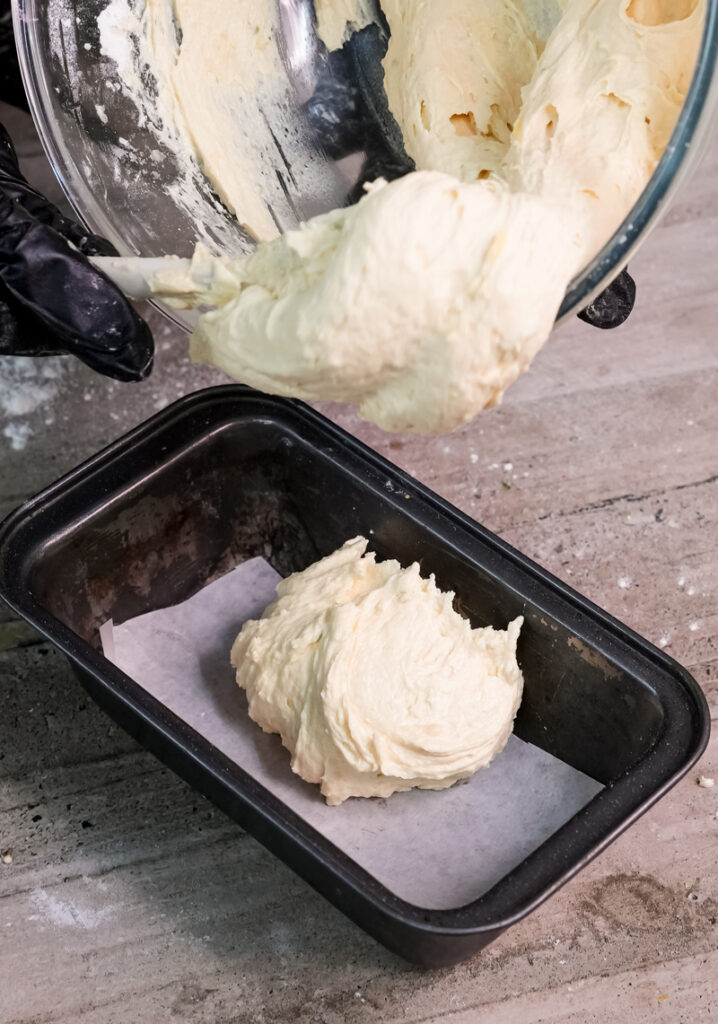
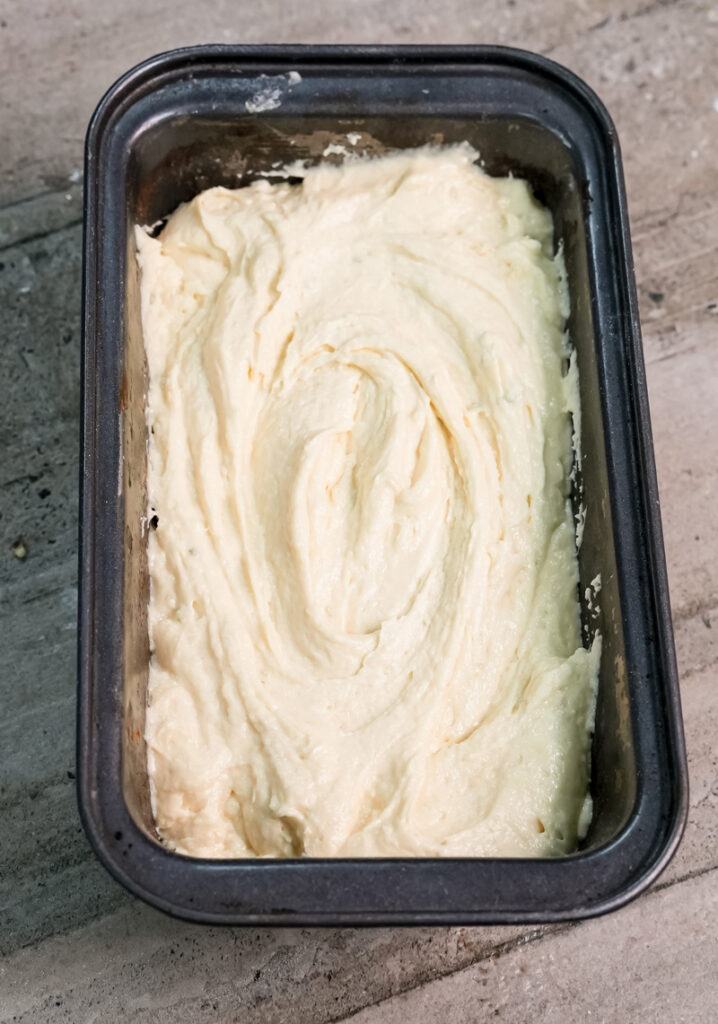
Step 5: Time to Bake
Spoon the batter into your prepared pan and use a spatula to smooth out the top. Now, grab those remaining 2 tablespoons of sugar and sprinkle them all over the top. This is the secret to that crisp, delicious crust.
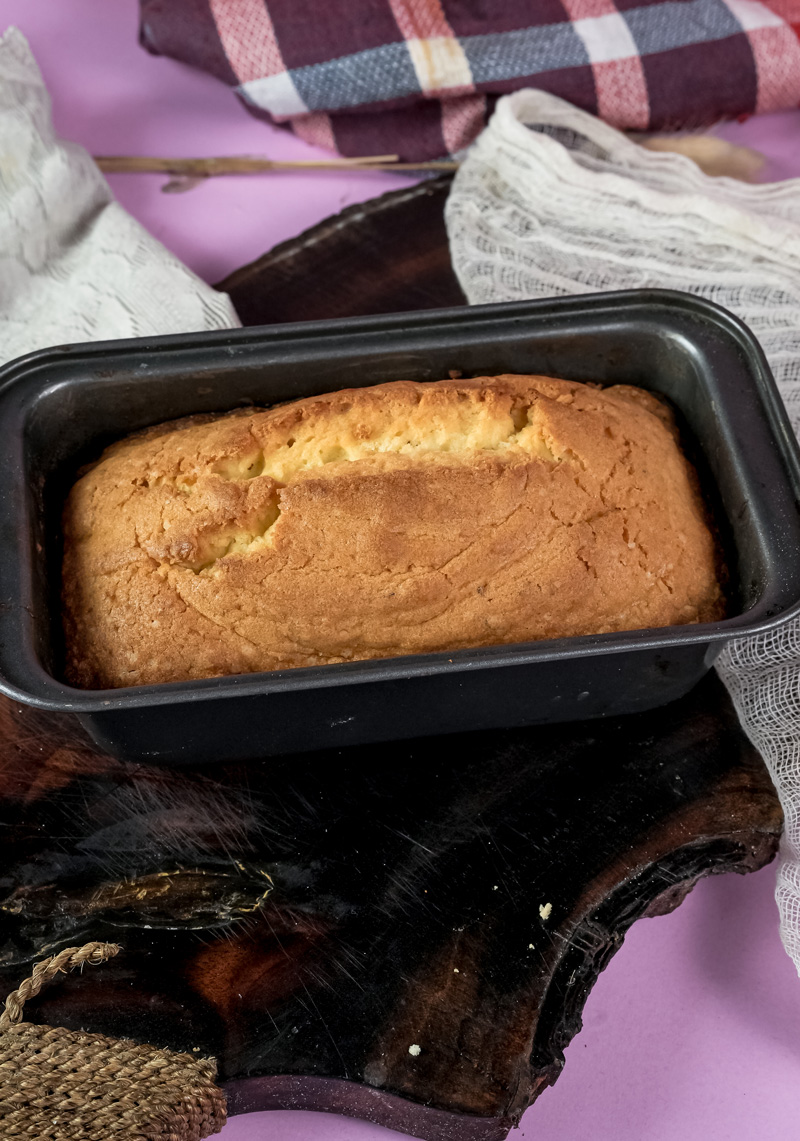
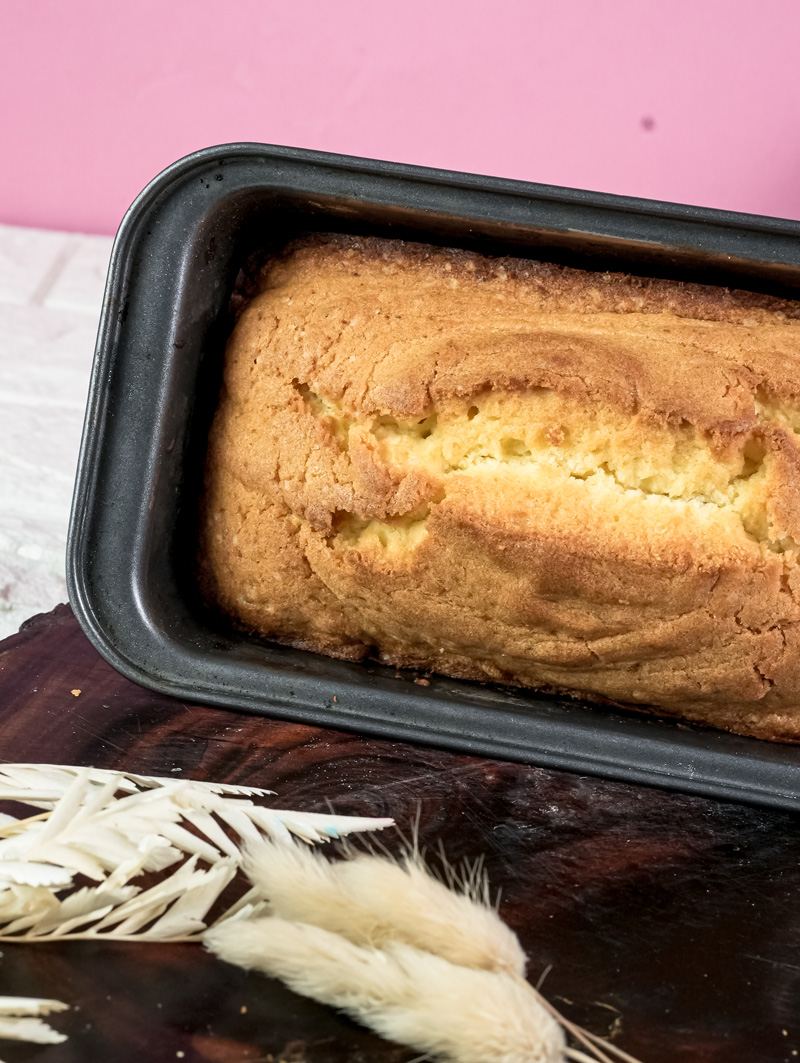
Pop the pan into the oven and bake for 45-50 minutes. About halfway through, your whole kitchen will start to smell like buttery, lemony heaven. The cake is ready when a toothpick or a wooden skewer stuck into the center comes out clean.
Let the cake cool in the pan for about 10 minutes. This helps it firm up. Then, use your parchment paper handles to lift it out and place it on a wire rack to cool the rest of the way. You have to be patient here! If you cut into the cake while it’s still warm, it’s more likely to crumble.
Fun Ways to Change It Up
One of the great things about this recipe is how easy it is to tweak. Here are a few ideas:
- Try Different Citrus: Lemon is classic, but the zest from a large orange or a couple of limes is also fantastic.
- Add Some Almond: For a richer, nuttier flavor, swap out 1/4 cup of the all-purpose flour for 1/4 cup of almond flour.
- Make it Gluten-Free: You can use a good quality “1-to-1” gluten-free baking flour. Just make sure it’s a blend that already has xanthan gum in it. The texture will be a little different, but still delicious.
- Add a Simple Glaze: Once the cake is completely cool, whisk together 1/2 cup of powdered sugar with 1-2 tablespoons of fresh lemon juice. Drizzle it over the top for a pretty finish.
How to Serve and Store It
You did it! Now for the best part.
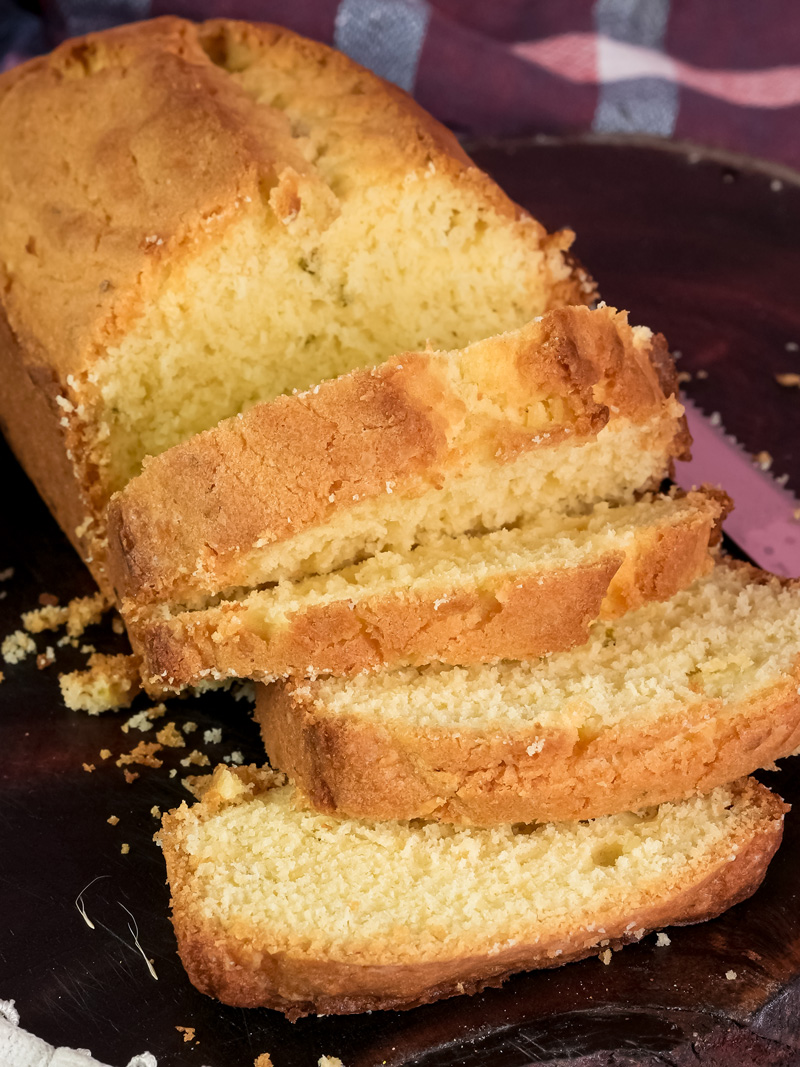
Honestly, a simple slice of this cake is perfect on its own, maybe with a cup of tea or coffee. If you want to turn it into a dessert, try serving a slice slightly warmed up with some fresh berries and a spoonful of whipped cream.
To store the cake, just keep it in an airtight container on the counter. It will stay fresh for 3-4 days. I think it tastes even better the next day!
This cake also freezes incredibly well. You can freeze the whole loaf or wrap up individual slices. Cover them well in plastic wrap and then a layer of foil. It will keep in the freezer for up to 3 months. Just let it thaw on the counter when you’re ready for a treat.
Happy baking!
PrintMadeira Cake
A wonderfully simple and buttery loaf cake with a hint of bright lemon and a signature crunchy sugar top. This sturdy, fine-crumbed cake is a British classic that I make all the time. It’s incredibly reliable and perfect with a cup of tea.
- Prep Time: 15 minutes
- Cook Time: 50 minutes
- Total Time: 1 hour 5 minutes (+ cooling)
- Yield: 12 slices 1x
- Category: Dessert, Cake
- Cuisine: British
Ingredients
- 1 cup unsalted butter, softened to room temperature
- 1 cup + 2 tablespoons granulated sugar, divided
- 3 large eggs, at room temperature
- 2 tsp fresh lemon zest
- 2 ¼ cups all-purpose flour
- 2 tsp baking powder
Instructions
- Prep: Preheat your oven to 325°F (165°C). Grease an 8×4-inch loaf pan and line it with a parchment paper sling, leaving some hanging over the sides to act as handles.
- Cream: In a large bowl, use an electric mixer to beat the softened butter and 1 cup of sugar on medium-high speed for a full 5-7 minutes. The mixture should become very pale, light, and fluffy. Beat in the lemon zest.
- Add Eggs: With the mixer on low, beat in the eggs one at a time, making sure each one is fully mixed in before adding the next.
- Combine Dry & Wet: In a separate small bowl, whisk together the flour and baking powder. Add this to the butter mixture and mix on the lowest speed until just combined. The batter will be quite thick. Do not overmix.
- Bake: Spread the batter evenly into your prepared pan. Sprinkle the remaining 2 tablespoons of sugar all over the top. Bake for 45-50 minutes, or until a wooden skewer inserted into the center comes out clean.
- Cool: Let the cake cool in the pan for 10 minutes. Then, use the parchment handles to lift it onto a wire rack to cool completely before slicing.
Notes
- Tips & Tricks: For the best texture, don’t rush the creaming step! It’s the most important part. Having your butter and eggs at room temperature is also key to a smooth batter that doesn’t split.
- Serving: Delicious on its own. For a simple dessert, serve a slice with fresh berries and whipped cream.
- Storage: Keep the cake in an airtight container on the counter for up to 4 days. It freezes perfectly for up to 3 months—just wrap it tightly.