Hey there, food friends!
Let me share a recipe that is basically a lifesaver during our hot, humid summers here in Dhaka. It’s for a mango trifle that is creamy, dreamy, and so, so simple to make.
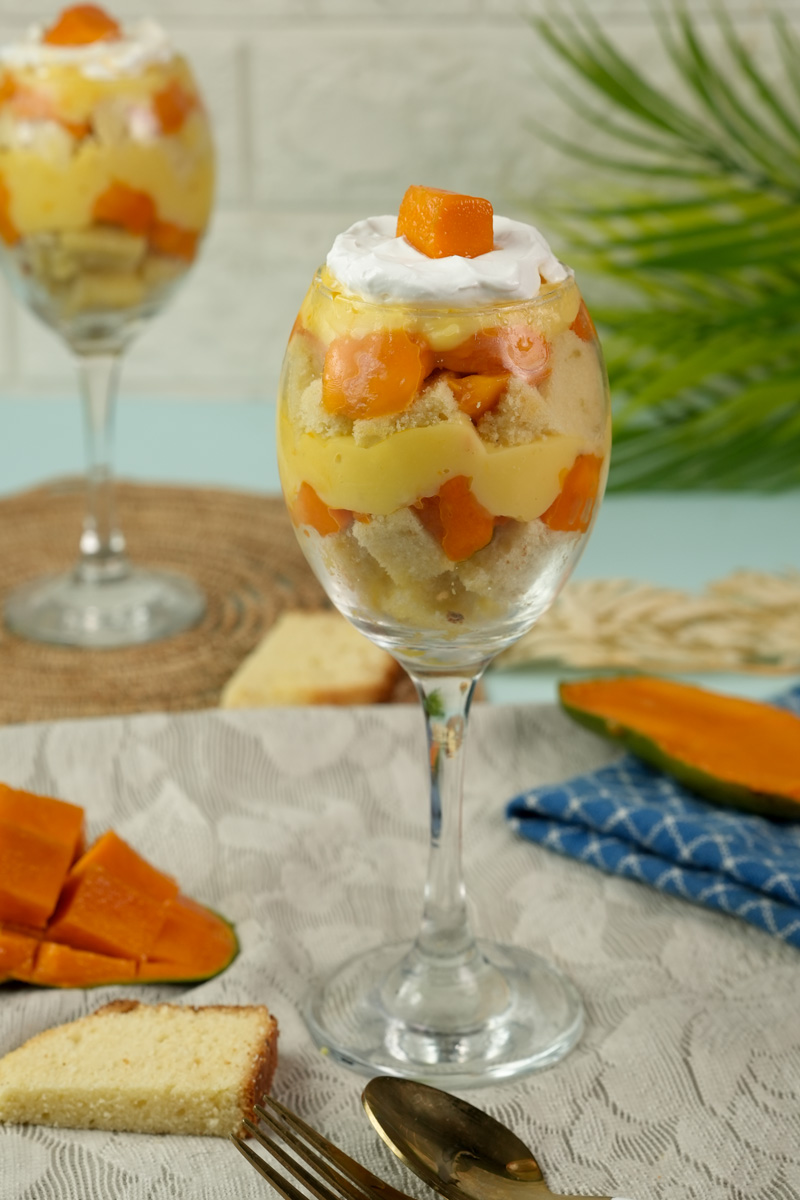
There’s something special about taking a classic dessert like a British trifle and giving it a tropical twist. The original, with its layers of cake and custard, is pure comfort food. But when you introduce it to the king of all fruits, the mango, it becomes something else entirely. It’s bright, it’s fresh, and it’s always a massive hit.
I first came up with this version because I wanted a dessert that looked like a million bucks but didn’t require me to turn on the oven. A no-bake dessert is a gift when it’s scorching outside! This has become my go-to for everything from a simple family dinner to a big Eid celebration.
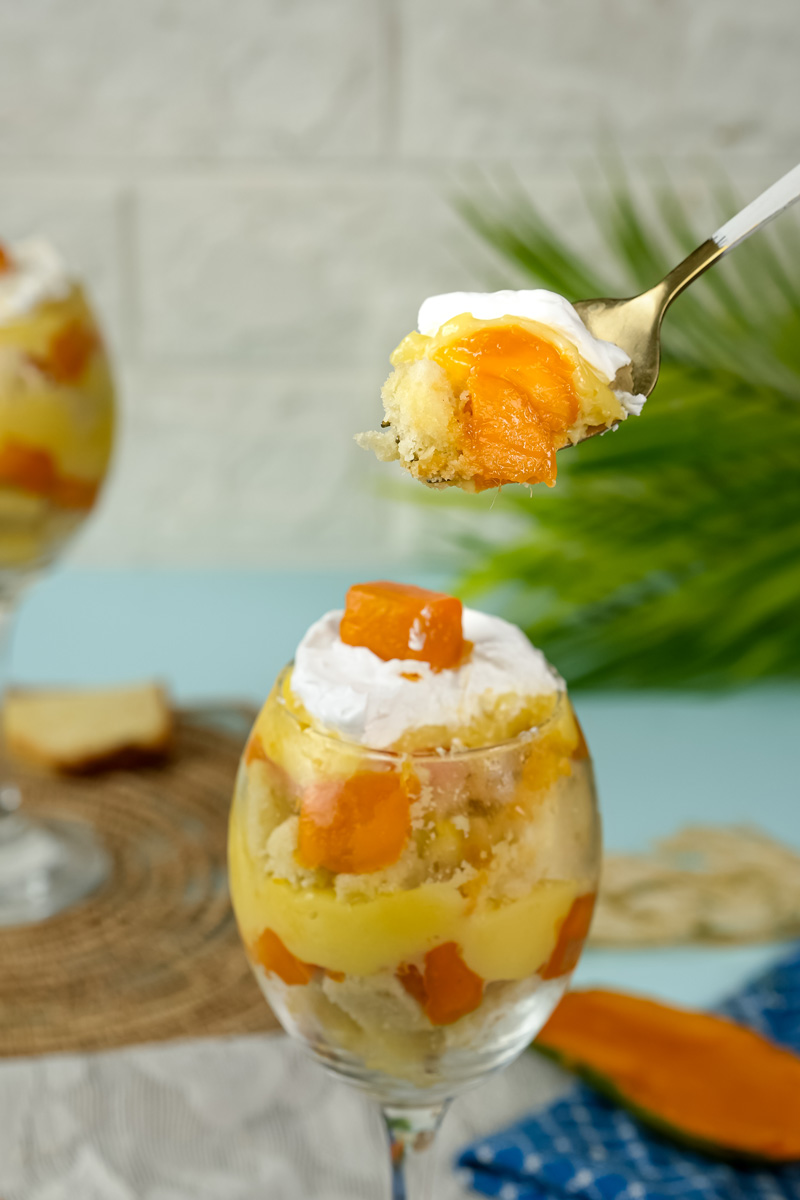
It’s all about layering flavors and textures: soft cake, silky custard, juicy mango, and a light, fluffy cream. Looks amazing, tastes even better. Ready to give it a try?
A Quick Look Before We Start
Don’t worry, this recipe is perfect even if you’re a total beginner.
Prep Time: You’ll only need about 20 minutes of active prep. The real challenge? Waiting for it to chill in the fridge! If you’re impatient like me, a quick 20-25 minutes in the freezer does the trick. Otherwise, a couple of hours in the fridge works perfectly.
Servings: This recipe makes enough for two very happy people. But what if you have guests? It’s super easy to make more.
Here’s a handy chart to help you scale it up:
| Servings | Cake Slices | Milk (for custard) | Custard Powder | Sugar (for custard) | Cream & Whipping Powder |
| 2 | 4 | 1.5 cups | 2 tsp | 4 tsp | ½ cup each |
| 4 | 8 | 3 cups | 4 tsp (1.5 tbsp) | 8 tsp (2.5 tbsp) | 1 cup each |
| 8 | 16 | 6 cups | 3 tbsp | 5 tbsp | 2 cups each |
Difficulty: Super easy. Since we’re not baking anything, it’s really just about the joy of putting it all together.
What You’ll Need (No Fancy Gadgets!)
You probably have most of this stuff already.
- A saucepan for the custard.
- A couple of mixing bowls.
- A whisk (your best friend for smooth custard).
- An electric beater for the cream. A hand whisk works too, but you’ll get a good arm workout!
- Serving glasses or a big trifle bowl. Individual glasses look so chic.
- A piping bag for that pro-looking finish.
My little secret? If you don’t have a piping bag, just spoon the cream on top for a lovely rustic feel. Or, do what I do in a pinch: snip the corner off a clean Ziploc bag. Works like a charm every time.
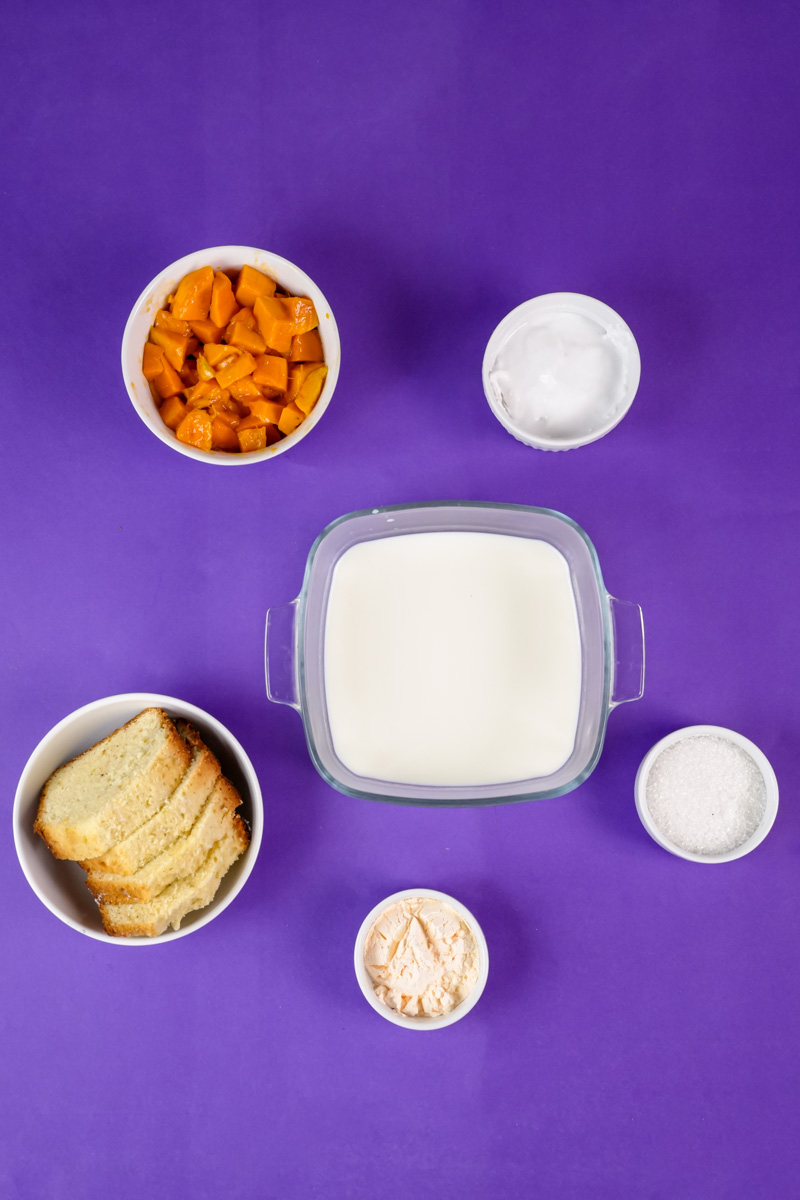
Let’s Talk Ingredients
Good ingredients are the key. Let’s break down what we need.
The Star: Mangoes
You’ll need 1 cup of diced fresh mango and ½ cup of fresh mango juice. The type of mango you use is really important. Sweet, non-fibrous varieties are best. Their golden color and amazing flavor are what make this dessert pop. Cut the mango into small, bite-sized cubes. For the juice, just blend a few pieces of mango with a tiny splash of milk or water. You want the juice to be thick so the cake doesn’t get soggy.
The Silky Custard
For this, we need 1.5 cups of milk (full-fat is best for richness!), 2 teaspoons of vanilla custard powder, and 4 teaspoons of sugar. The custard powder is our shortcut to a perfect, smooth custard without messing with eggs.
The Cakey Base
Grab 4 slices of eggless plain vanilla cake. Honestly, a store-bought pound cake or sponge cake is a huge time-saver and works beautifully. You just need a light, soft base to soak up all that mango goodness. If you have a favorite homemade cake, go for it! Just make sure it’s completely cool first.
The Fluffy Topper: Cream
Okay, here’s my favorite trick for a super stable whipped cream. I use a mix of ½ cup of fresh cream and ½ cup of whipping cream powder. The powder is a lifesaver—it helps the cream whip up into beautiful, firm peaks that won’t get watery later. If you’re using a high-fat heavy cream (the kind with over 35% fat), you can probably skip the powder and just add a little powdered sugar to sweeten it up.
Let’s Build This Trifle!
Alright, time for the fun part. I’ll walk you through every step.
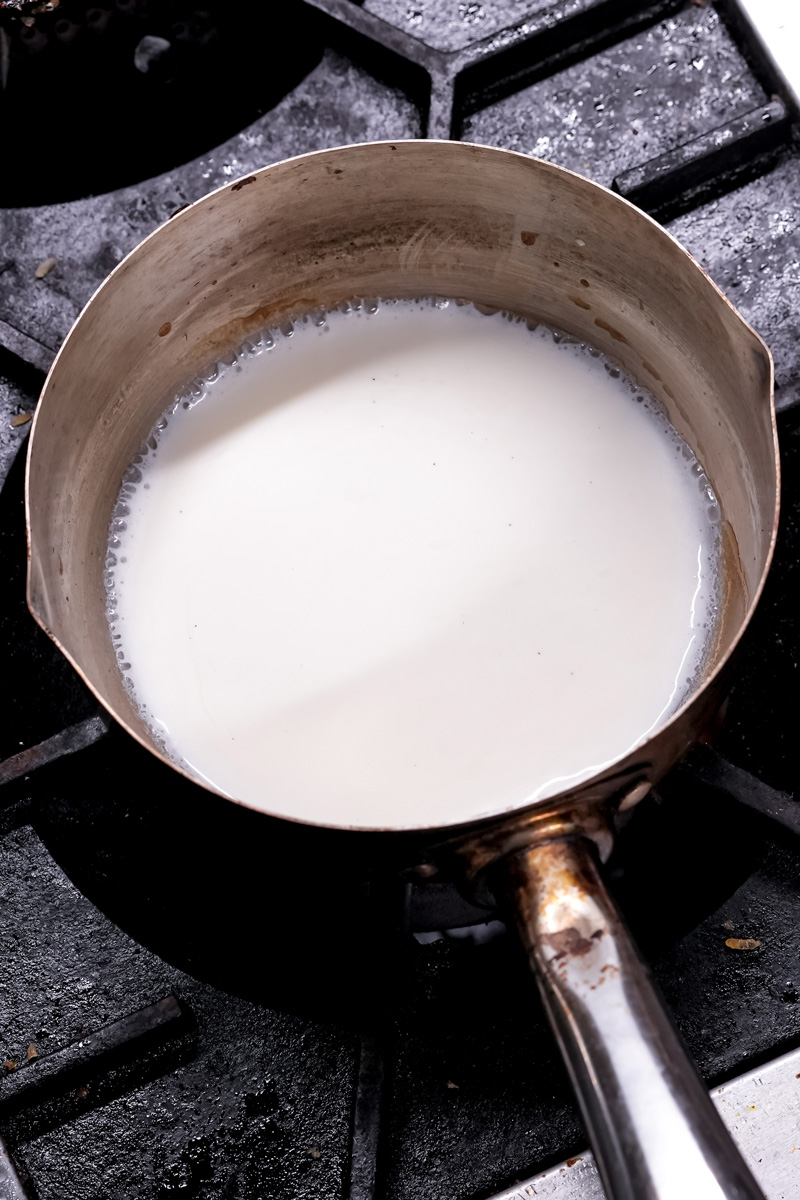
Step 1: Make the Silky Custard
First up, the custard. Let’s make it perfectly smooth.
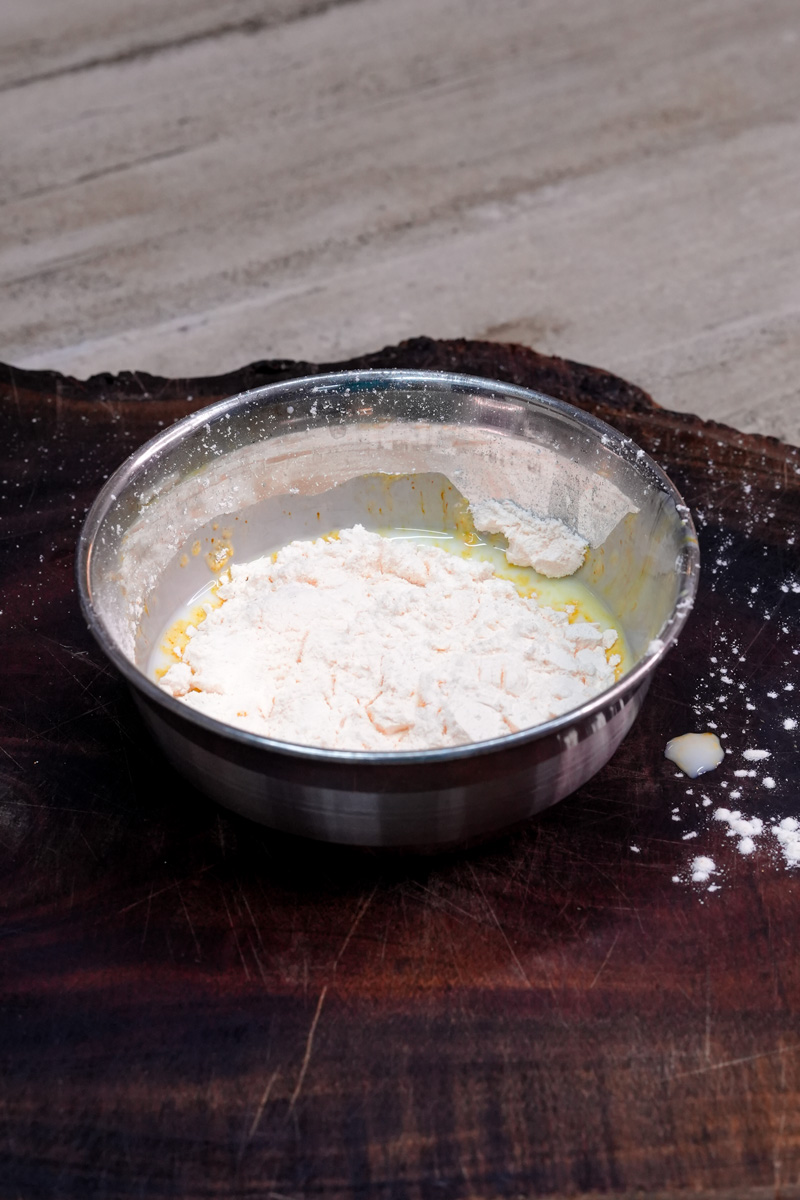
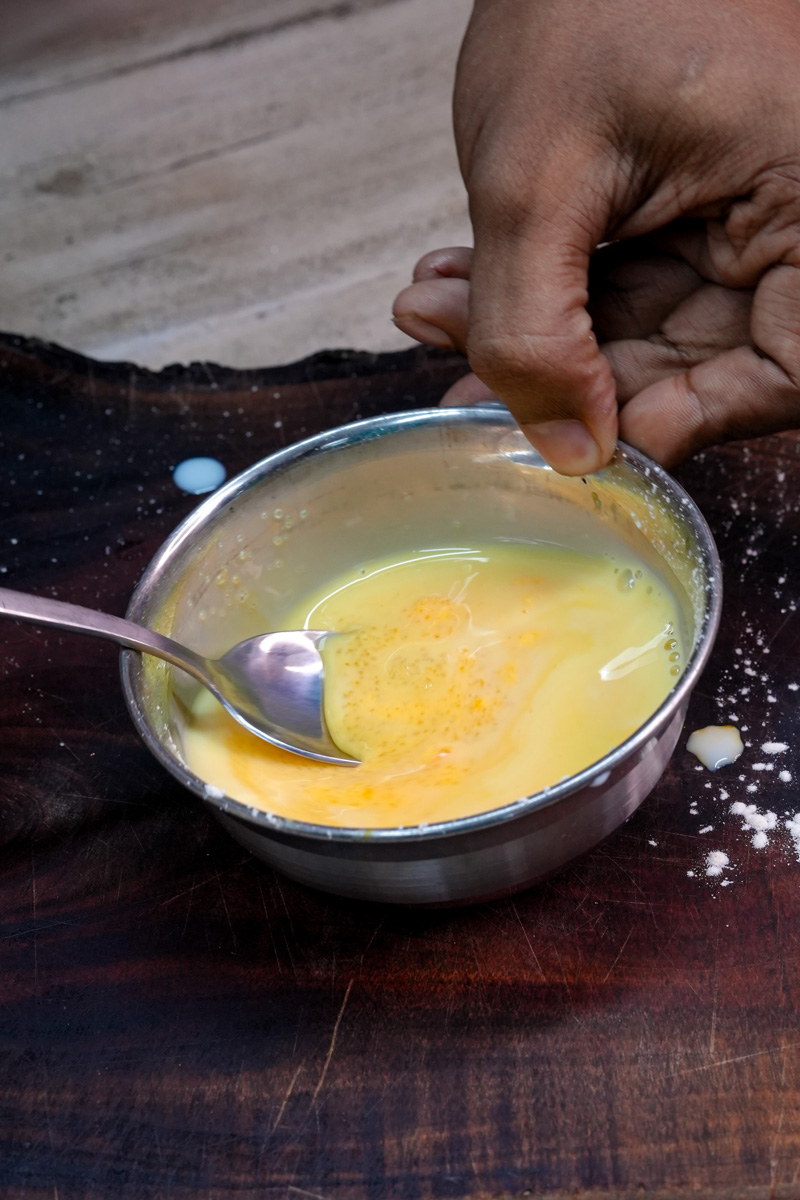
Pour 1 cup of the milk into a saucepan and set it on the stove over medium heat. While that’s warming up, grab a small bowl. Whisk together the other ½ cup of cold milk, the custard powder, and the sugar until it’s totally smooth. This little mixture, called a slurry, is our secret weapon against lumps. Seriously, it’s a game-changer.
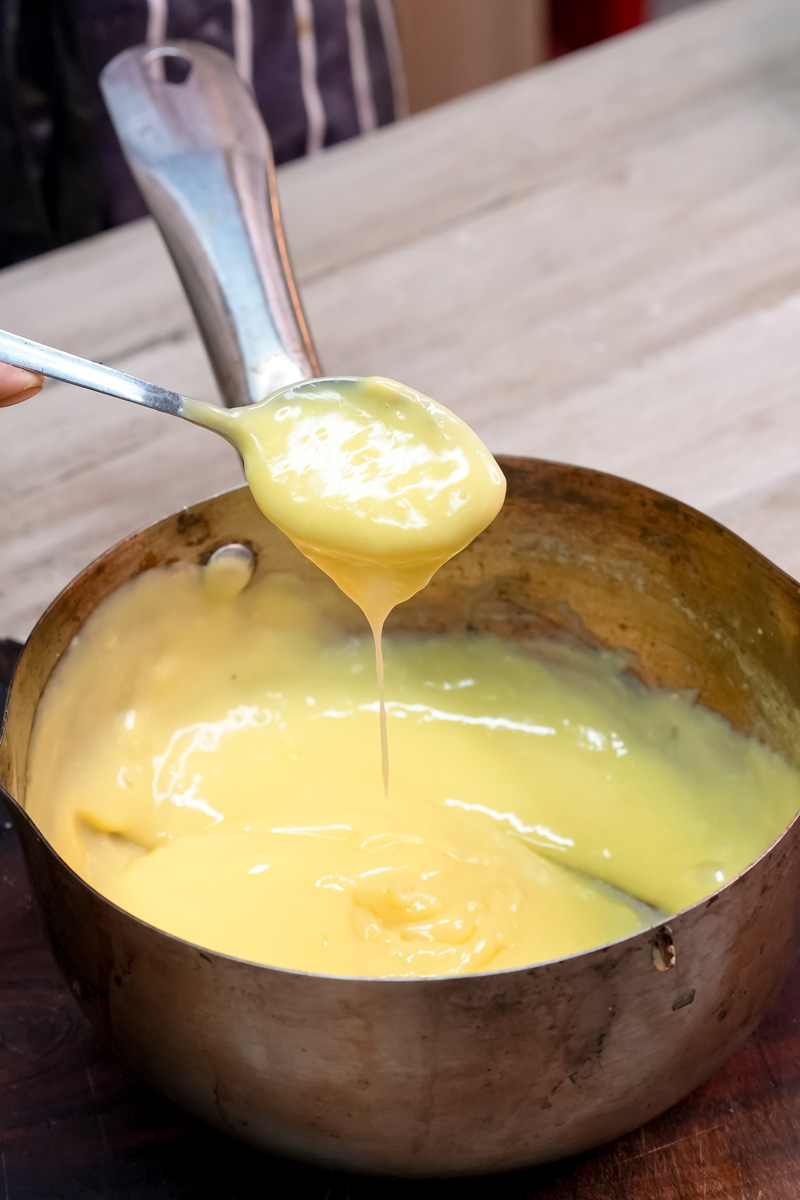
Once the milk on the stove starts to gently boil, turn the heat way down. Now, slowly pour in the custard slurry while you stir the pot. And whatever you do, do not stop stirring! You’ll feel it thicken up right before your eyes. Keep stirring for another minute or two until it’s thick enough to coat the back of a spoon. It will get even thicker as it cools, so don’t overdo it. Once it’s creamy, take it off the heat and let it cool.
Step 2: Start Layering
Now, let’s assemble this beauty. Grab your glasses or bowl.
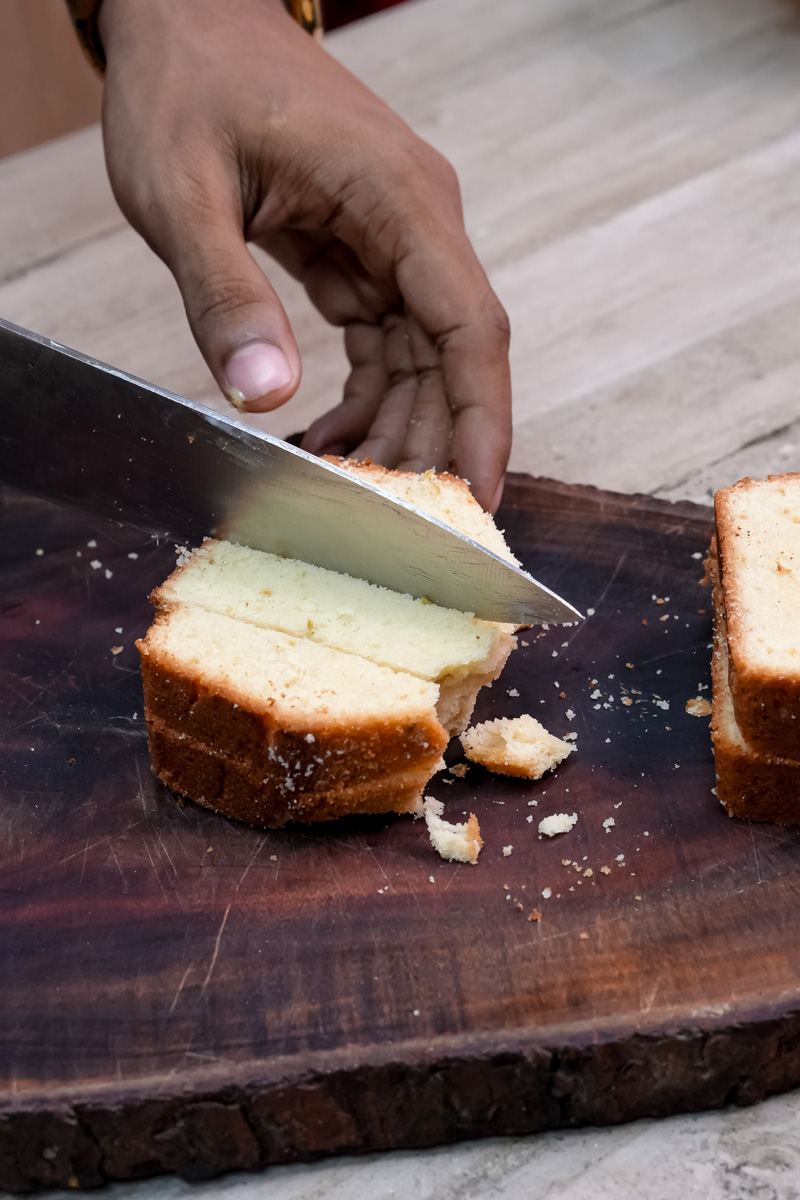
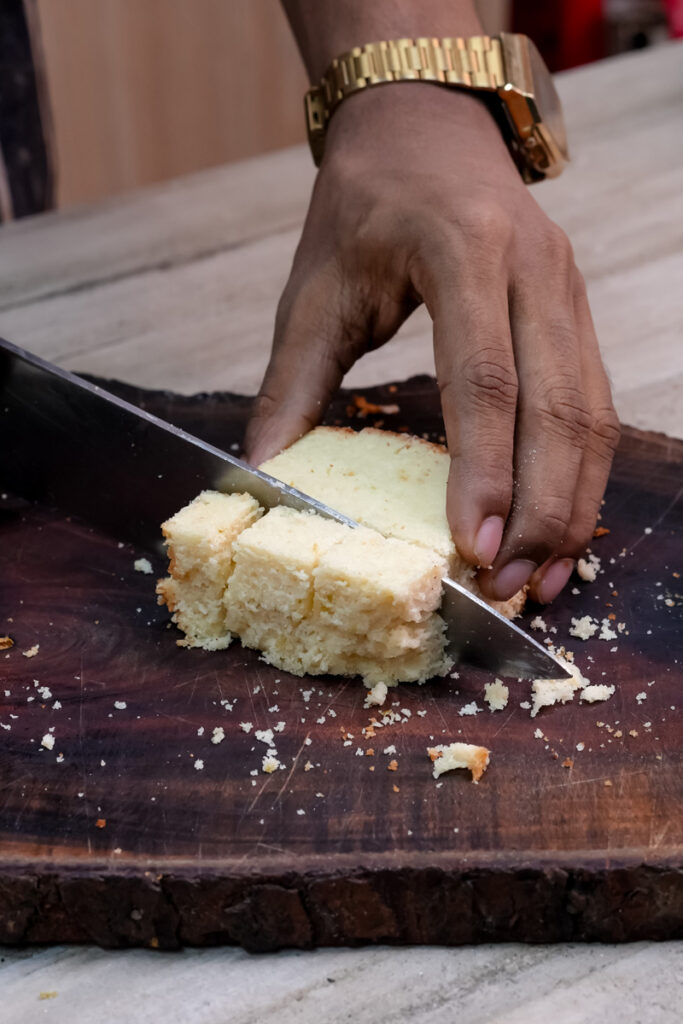
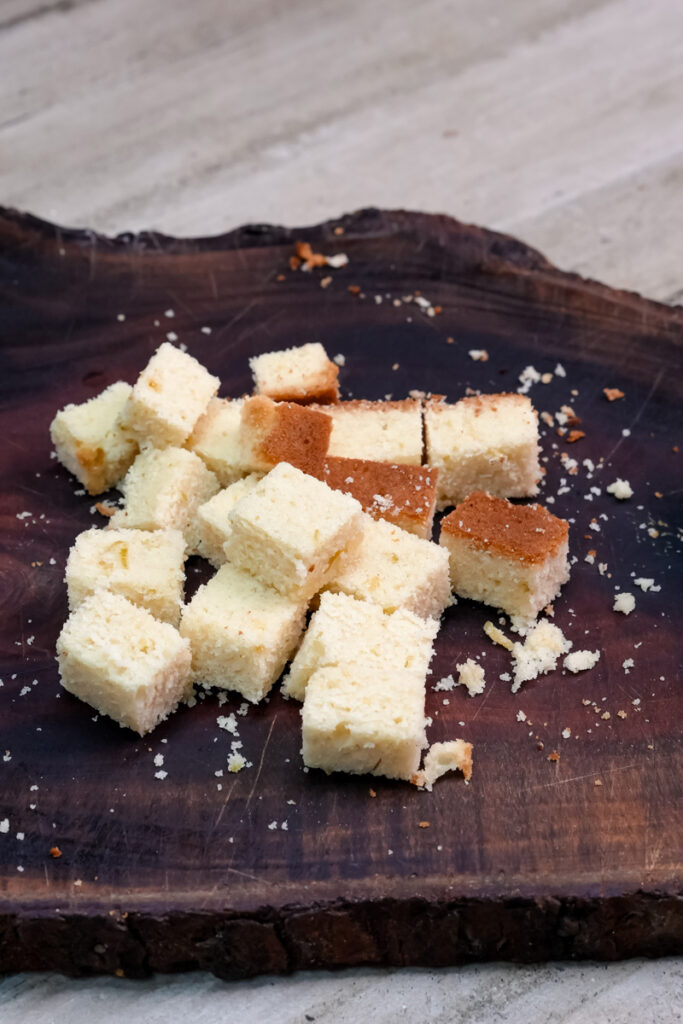
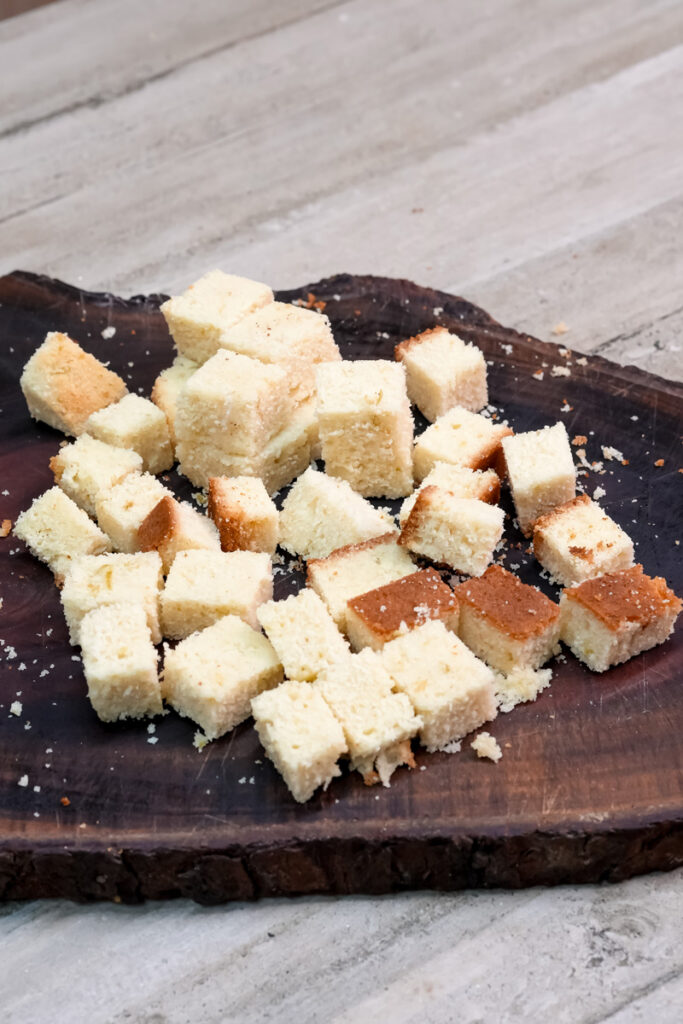
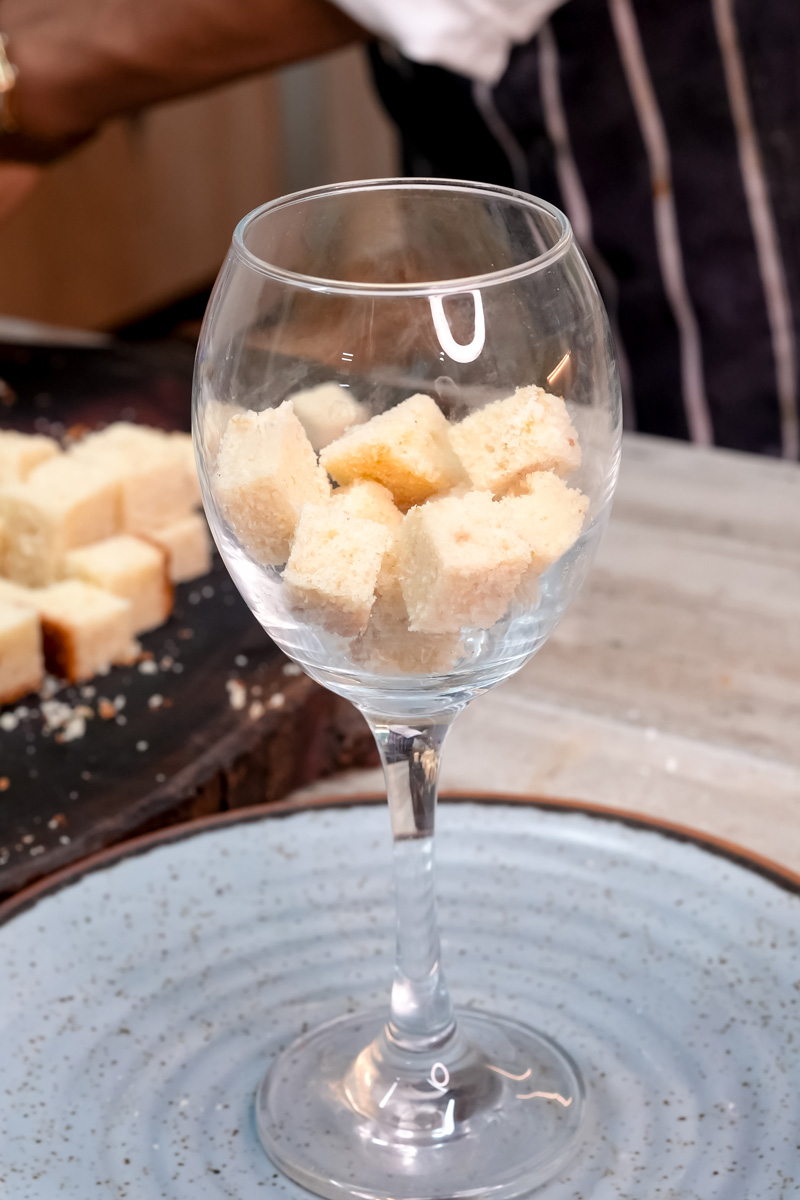
Chop your cake slices into small cubes. Put a layer of cake at the bottom of each glass. Then, gently spoon just enough mango juice over the cake to make it moist. You want it damp, not swimming in juice.
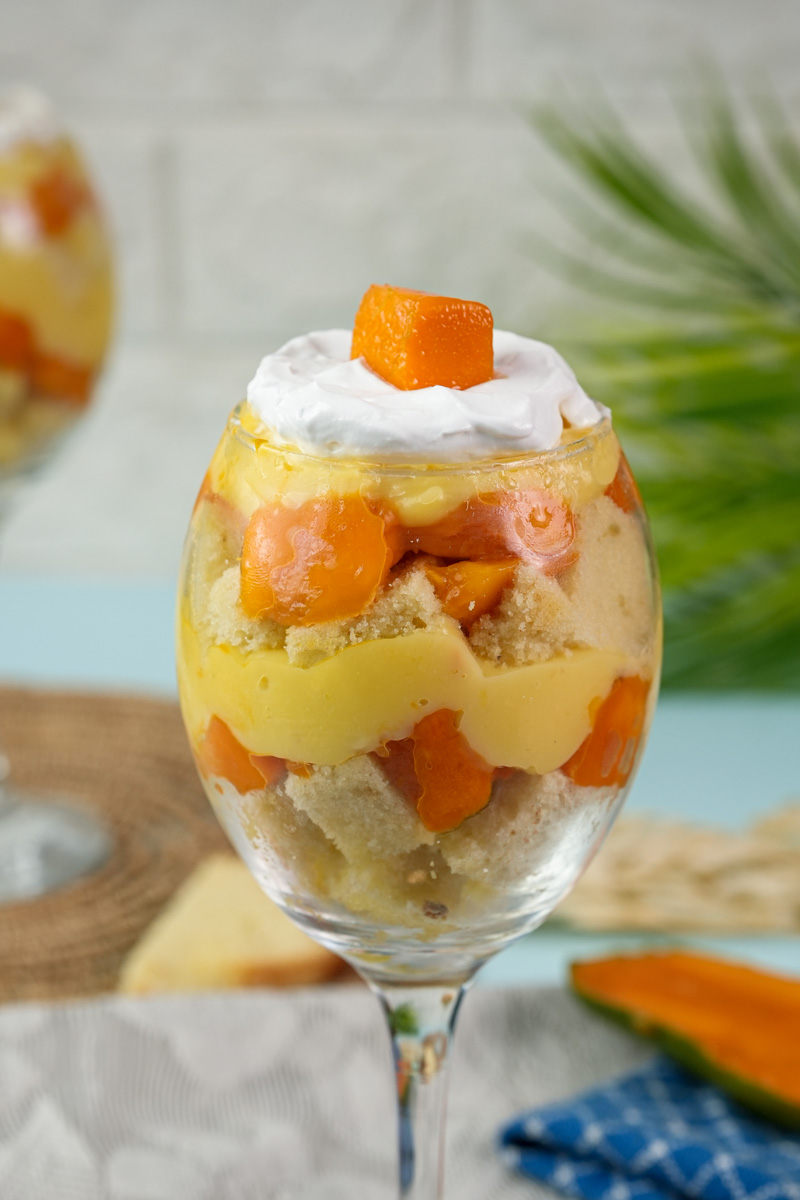
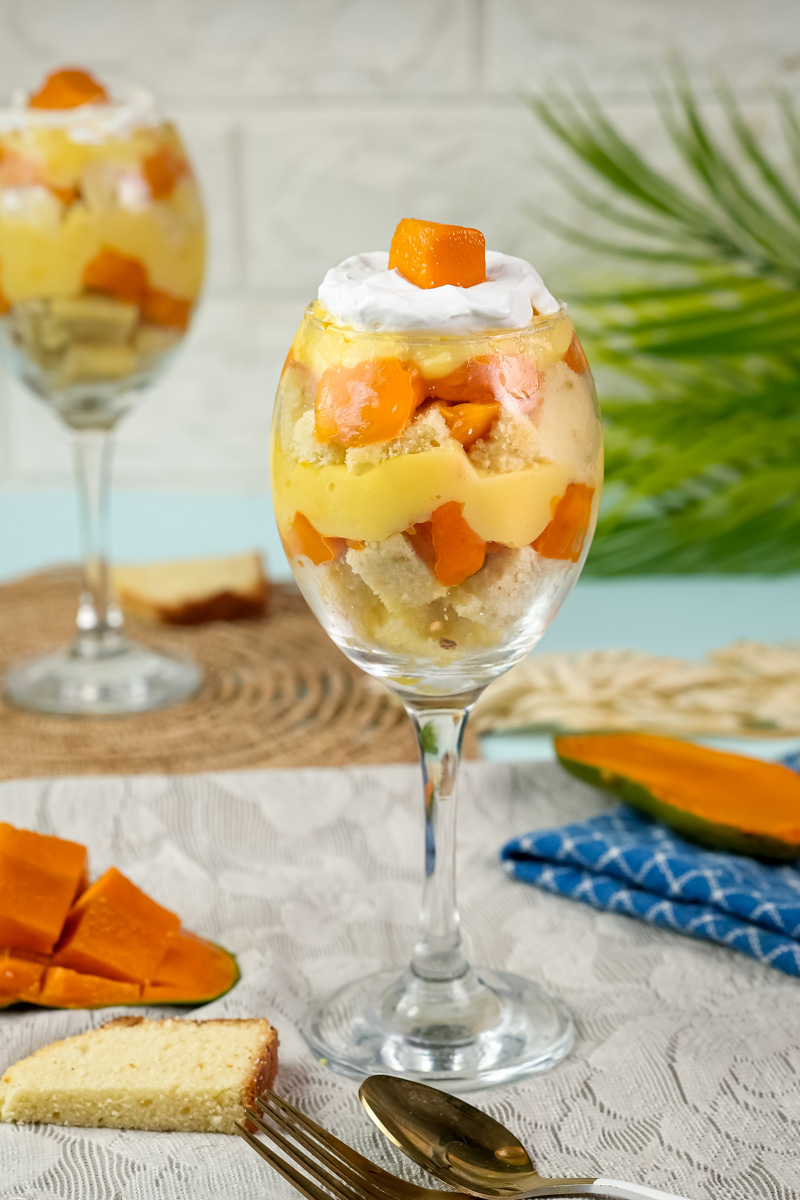
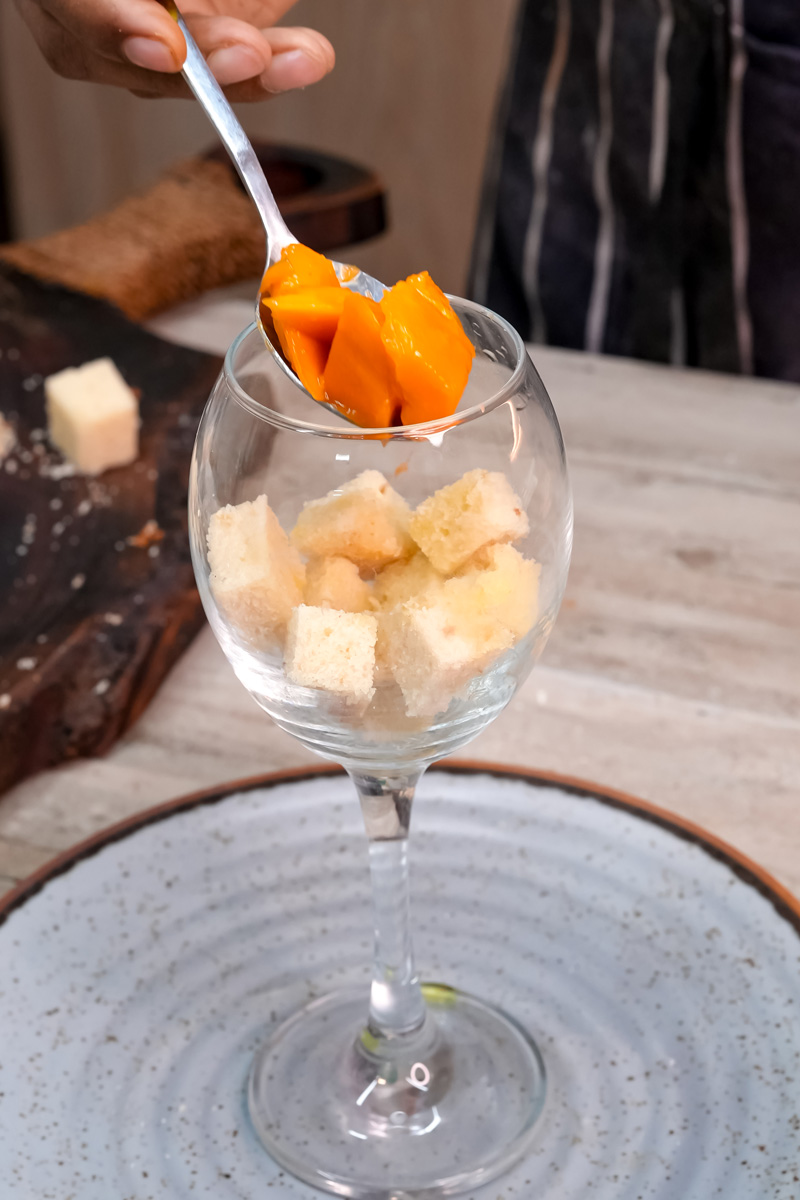
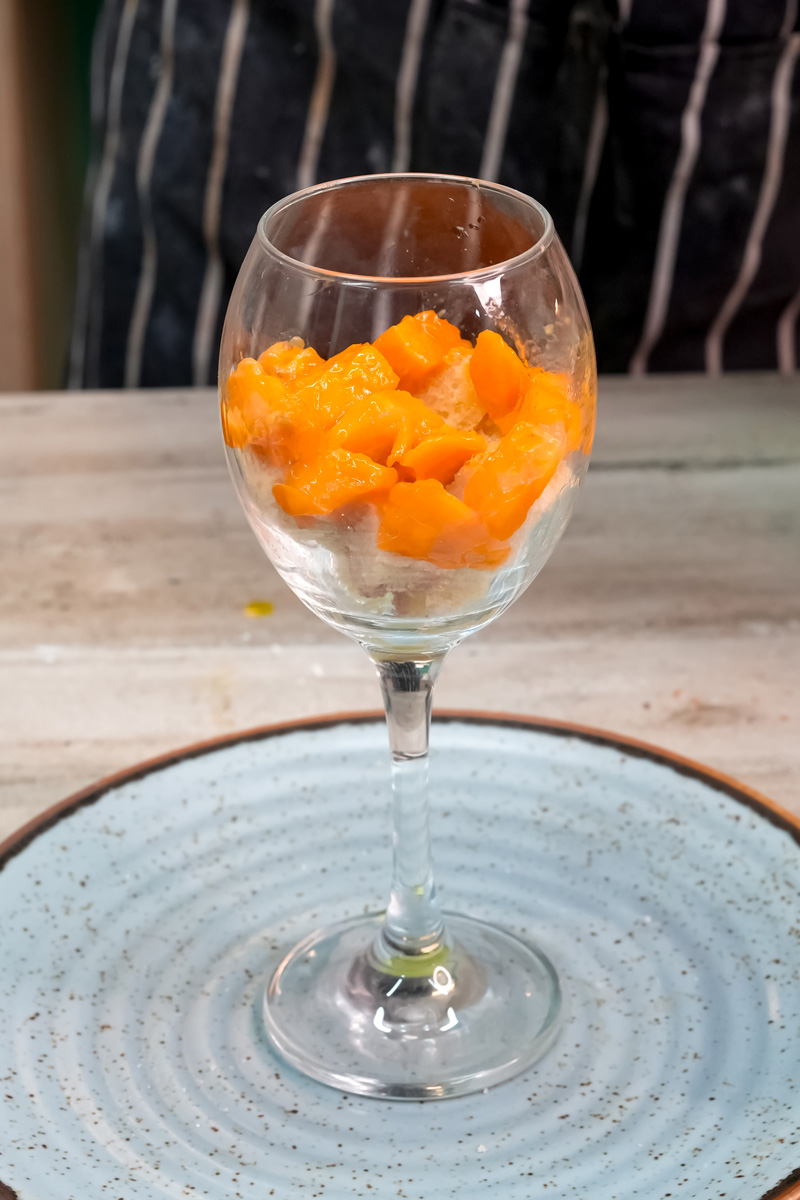
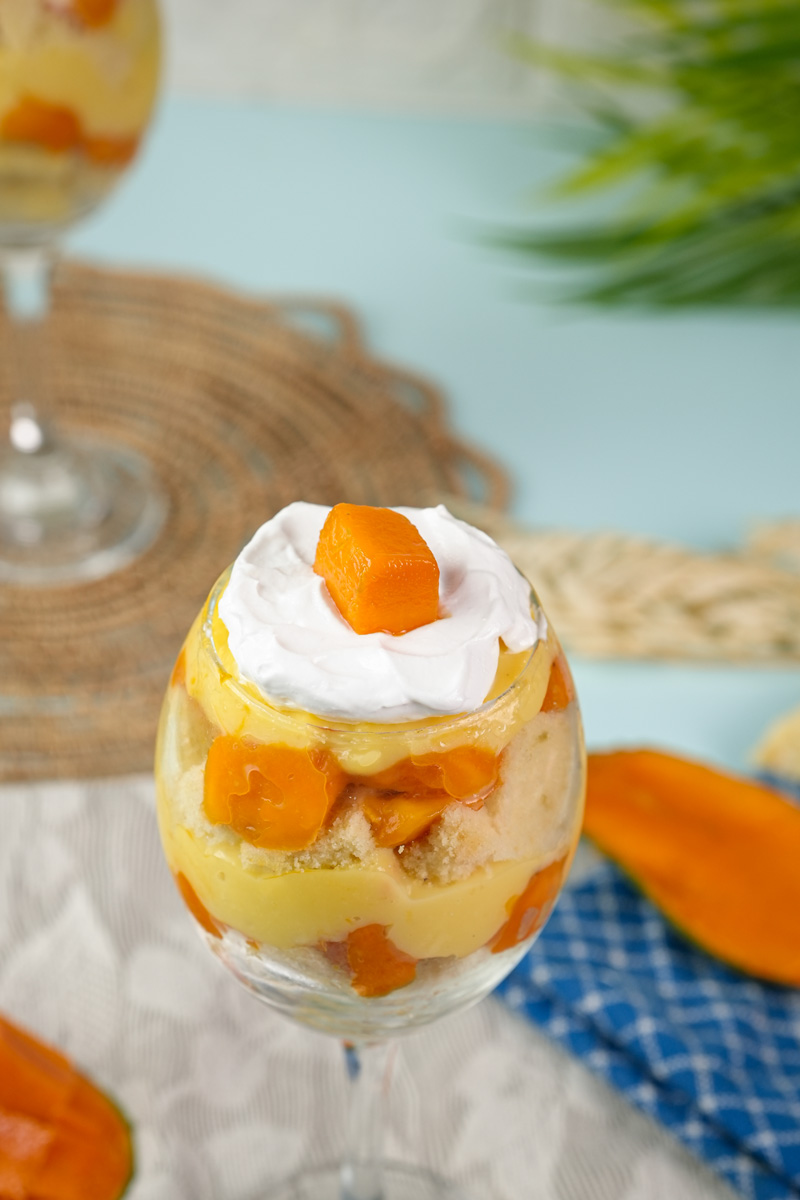
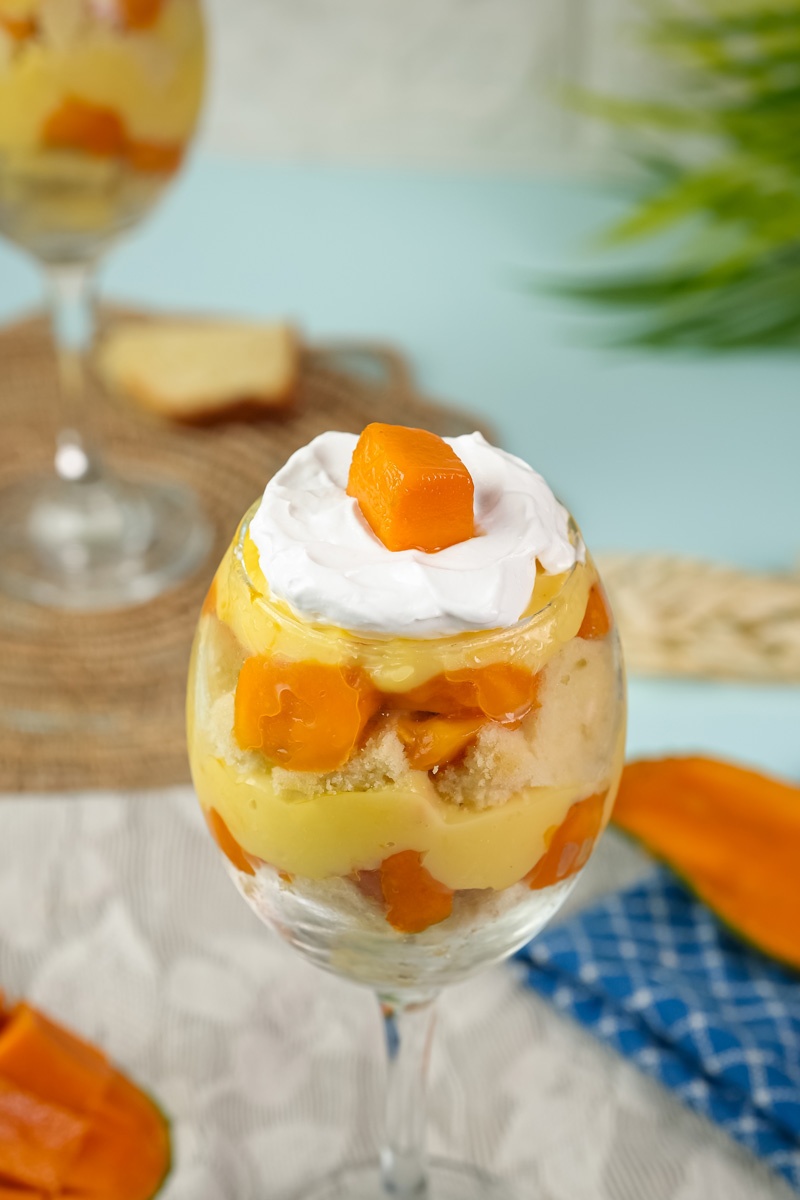
Next, add a layer of your cooled custard right on top of the cake. Spread it out evenly. Then, add a generous layer of your diced mangoes. The bright orange of the mango against the pale yellow custard looks just gorgeous. If your glasses are tall enough, repeat the layers: cake, juice, custard, and mangoes.
Step 3: Whip the Creamy Crown
Stick your layered trifles in the freezer for a few minutes while you make the cream.
In a chilled bowl, combine the fresh cream and the whipping cream powder. With your electric beater, start on low and work your way up to high. Beat it for about 4-5 minutes until you get “stiff peaks.” That just means when you lift the beaters up, the little peak of cream that forms holds its shape and doesn’t flop over.
Once you’ve got those perfect peaks, pop the bowl of cream in the freezer for 5-7 minutes. This makes it firmer and way easier to pipe. Load it into your piping bag.
Step 4: The Grand Finale
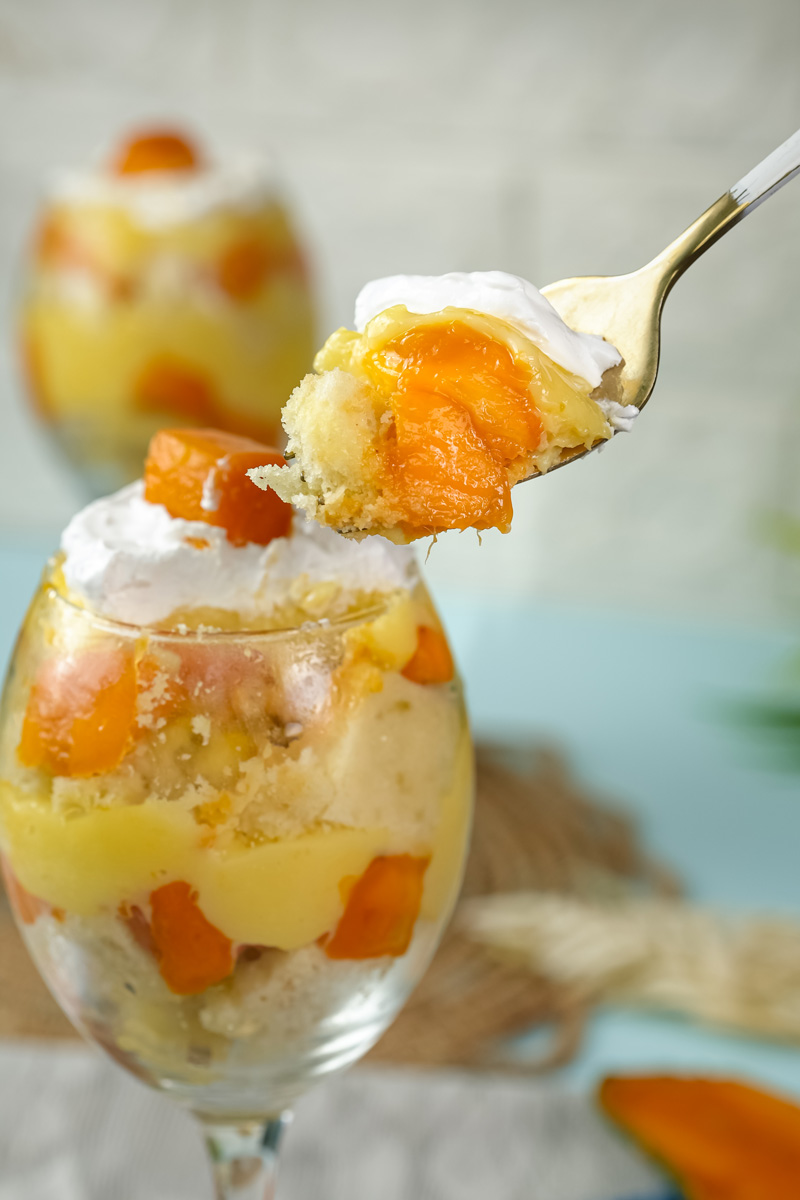
Take your trifles out of the freezer. Pipe a lovely swirl of whipped cream on top of the final mango layer. Garnish with a few extra pieces of fresh mango to make it look extra special.
And now, the final, most difficult step: chilling. For a quick dessert, pop the finished trifles in the freezer for 20-25 minutes. This sets the layers perfectly. Enjoy every single bite!
Make It Your Own
The best part about this recipe is you can totally play with it. Think of this as your starting point.
- Add some crunch: Toss a layer of chopped pistachios or toasted almonds between the custard and mango layers.
- Spice it up: Add a pinch of saffron or cardamom to the custard for a beautiful South Asian aroma.
- Get wobbly: Make a simple mango jelly from a packet mix and add it as another fun layer.
- Gluten-Free? Easy. Just use your favorite gluten-free vanilla cake.
- Vegan? Also simple! Use almond or oat milk for the custard, whip up some full-fat coconut cream, and use a vegan cake.
When mangoes aren’t in season, you can use other fruits. Berries like strawberries and blueberries are amazing, and so are peaches and raspberries.
Serving and Storing Your Creation
This dessert is definitely best served chilled, straight from the fridge. That’s when all the flavors and textures are at their most refreshing. I love using clear glasses so everyone can see the pretty layers you worked so hard on.
If you somehow have leftovers, cover them tightly and they’ll be good in the fridge for up to 3 days. The cake will get softer over time, but it will still be delicious. I wouldn’t recommend freezing the whole trifle, as the cream and custard can get a weird texture when they thaw.

Enjoy making it!
PrintMango Trifle

Beat the Dhaka heat with this stunning yet simple No-Bake Mango Trifle! It’s a creamy, dreamy dessert with layers of soft cake, silky vanilla custard, and sweet, juicy mangoes. The perfect showstopper for any occasion that, best of all, requires no oven.
- Prep Time: 20 minutes
- Cook Time: 5 minutes
- Total Time: 25 minutes (+ chilling)
- Yield: 2
- Category: Dessert
- Cuisine: Fusion / British
Ingredients
For the Layers:
- Vanilla Cake: 4 slices, store-bought or homemade, cut into cubes
- Fresh Mango: 1 cup, diced into small pieces
- Mango Juice: ½ cup, preferably fresh and thick
For the Custard:
- Milk: 1.5 cups, full-fat recommended, divided
- Vanilla Custard Powder: 2 tsp
- Sugar: 4 tsp
For the Cream Topping:
- Fresh Cream: ½ cup
- Whipping Cream Powder: ½ cup (my secret for stable cream!)
Instructions
- Make the Custard: Heat 1 cup of milk in a saucepan over medium heat. In a separate bowl, whisk the remaining ½ cup of cold milk with the custard powder and sugar until completely smooth—this is the trick to prevent lumps! Once the milk on the stove boils, lower the heat and slowly whisk in the custard mixture. Keep stirring for 2-3 minutes until it thickens. Set aside to cool.
- Build the First Layers: Place a layer of cake cubes at the bottom of your serving glasses. Spoon just enough mango juice to moisten the cake. Top with a layer of cooled custard, followed by a generous layer of diced mangoes.
- Repeat: If your glasses are tall enough, repeat the layers one more time: cake, juice, custard, mangoes.
- Whip the Cream: In a chilled bowl, use an electric beater to whip the fresh cream and whipping cream powder together until stiff peaks form (about 4-5 minutes). For extra firm cream, pop the bowl in the freezer for 5 minutes before piping.
- Finish & Chill: Pipe or spoon the whipped cream on top of the trifles. Garnish with a few more mango pieces. For a quick set, chill in the freezer for 20-25 minutes before serving. Enjoy!
Notes
- Tips & Tricks: For the best flavor, use sweet, non-fibrous mangoes. Don’t have a piping bag? A Ziploc bag with the corner snipped off works perfectly for a pretty finish.
- Serving Suggestions: This dessert is best served cold, straight from the fridge. Use clear glasses to show off the beautiful layers! A small mint sprig on top adds a nice touch of color.
- Storage: Leftovers? Unlikely! But if you have them, cover tightly and store in the refrigerator for up to 2-3 days. Note that the cake will continue to soften over time. I don’t recommend freezing the finished trifle.