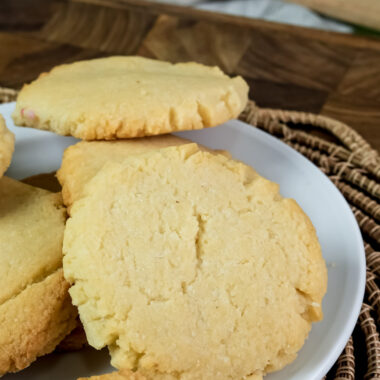
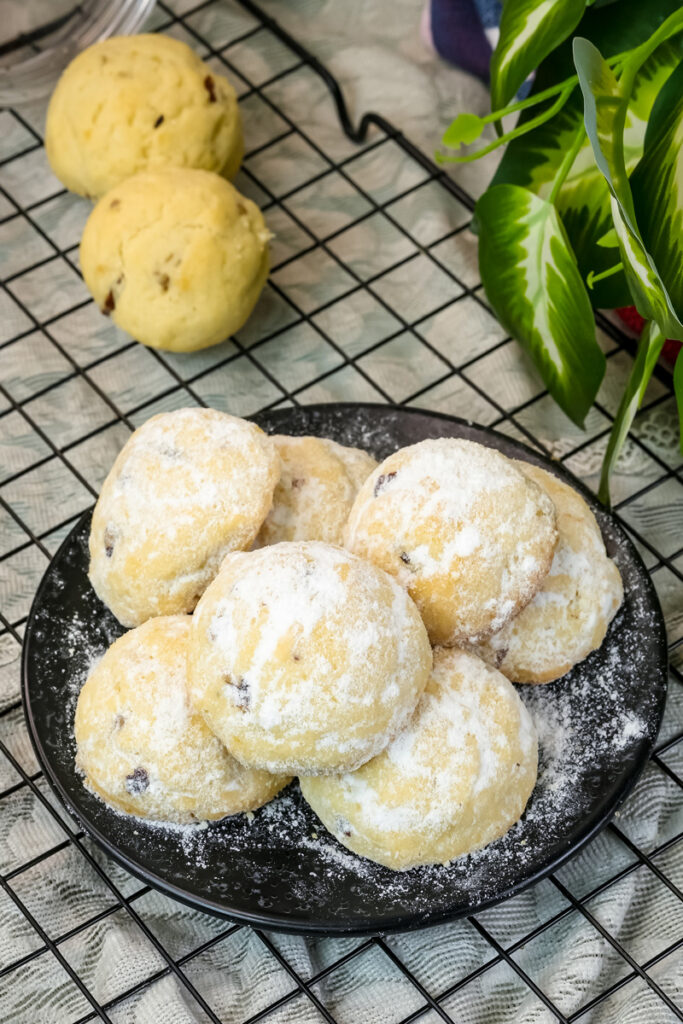
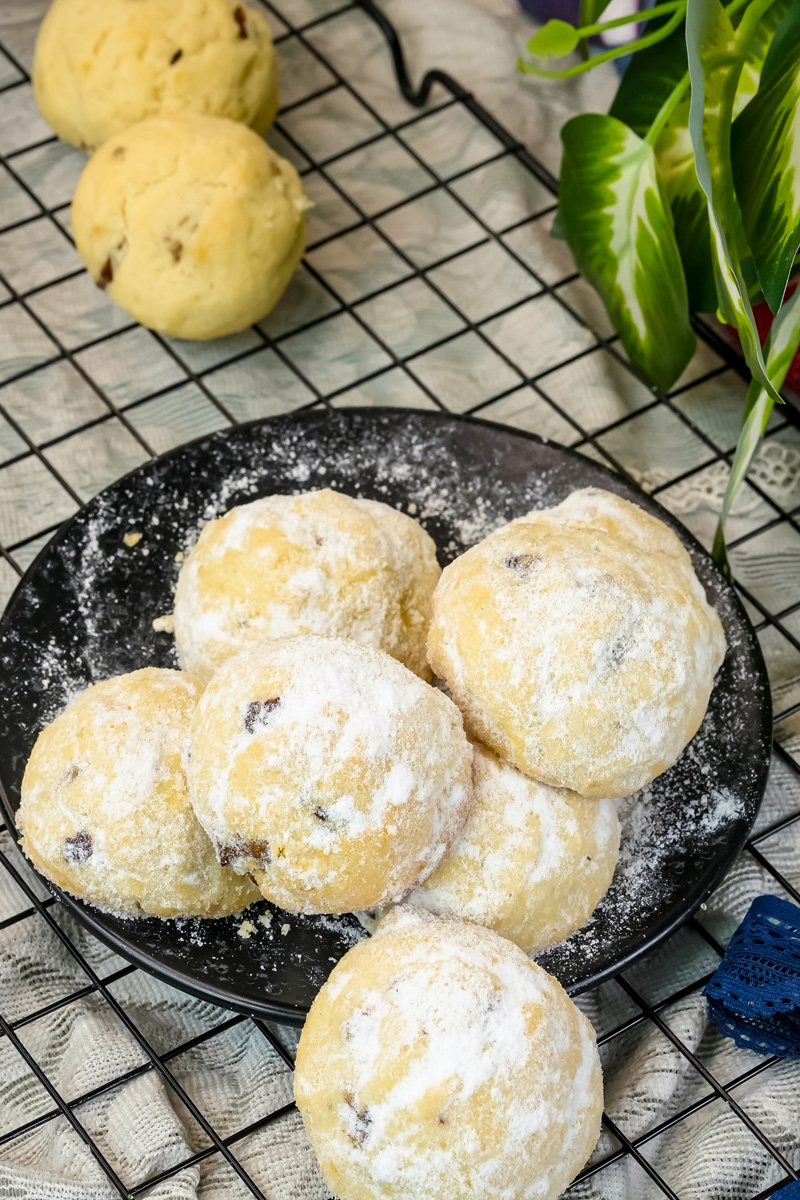
Greetings, my friend! Come on in, let’s get our hands into something special today. We’re going to make a classic: Mexican Cookies. They go by many names—Polvorones, Hojarascas, and maybe most famously, Mexican Wedding Cookies.
These cookies are more than just a sweet treat. They’re a tradition, a taste of celebration. Known for that delicate, crumbly texture that just melts in your mouth, they’re often shared at holidays, weddings, and family get-togethers. My goal? To honor that tradition while making this recipe simple for everyone. I’ll show you the best techniques I’ve picked up from my own kitchen and from other chefs.
What You Need to Know Before We Start
This recipe is simple, but a few key steps make all the difference between a good cookie and a truly heavenly one.
Prep and Cook Time: This is a quick one! We’re talking about 20 minutes for prep and a short 10-12 minutes for baking. The total time, from start to finish? About 30 minutes. Perfect for a spur-of-the-moment baking session.
Servings and Scaling: This recipe makes about 36 cookies. Need more? You can easily double the recipe. Just be sure to bake in batches so you don’t crowd your baking sheets. I learned this the hard way—crowding leads to uneven cooking!
Difficulty Level: I’d call this an easy to medium recipe. It’s great for beginners since it doesn’t require any fancy tricks. But it also lets more experienced bakers get creative and make it their own.
Equipment: You’ll want a stand mixer or a hand mixer for creaming the butter and sugar. It just makes things so much smoother and faster. You’ll also need a couple of baking sheets, and I highly recommend using a cookie scoop to get all your cookies the same size. That helps them bake evenly.
Make-Ahead and Meal Prep: The dough is a dream for meal prep! You can make it ahead of time and store it in the fridge for up to a week, or even freeze it for a month. Just thaw it in the fridge when you’re ready to bake.
The Ingredients
The magic of these cookies lies in a few simple, high-quality ingredients. I can’t stress this enough—the better your ingredients, the better the cookie.
Ingredients List
| Ingredient Name | Measurement | Prep Note |
| Unsalted butter | 1 cup | At room temperature |
| Confectioners’ sugar | 1/2 cup (for dough) + 1 cup (for rolling) | Sifted |
| Vanilla extract | 1 teaspoon | – |
| Almond extract | 1/2 teaspoon | – |
| All-purpose flour | 2 cups | Sifted |
| Salt | 1/2 teaspoon | – |
| Pecans or walnuts | 1 cup | Chopped |
Quick Tips on Ingredients:
- Butter: The traditional recipe uses lard, which gives an even more delicate, melt-in-your-mouth texture. You can totally try that. For butter, use a good-quality brand and let it soften on the counter for about 20 minutes. How do you know if it’s ready? When you press on it, your finger should leave a slight dent. If it’s too soft, your dough will be sticky and hard to work with.
- Extracts: While almond extract isn’t traditional, it really makes the nutty flavor pop. I always add it.
- Sifting: Don’t skip sifting the flour and powdered sugar! It’s a quick step that makes sure your dough is smooth and the final cookies are light and airy.

Step-by-Step Method
Let’s get cooking! I’ll walk you through each step as if we were in my kitchen together.
Prep the oven and pan. First things first, get your oven ready. Preheat it to 350°F. While it’s heating up, grab a cookie sheet and line it with parchment paper. This is my pro-tip: it makes cleanup a breeze and keeps the cookies from sticking.
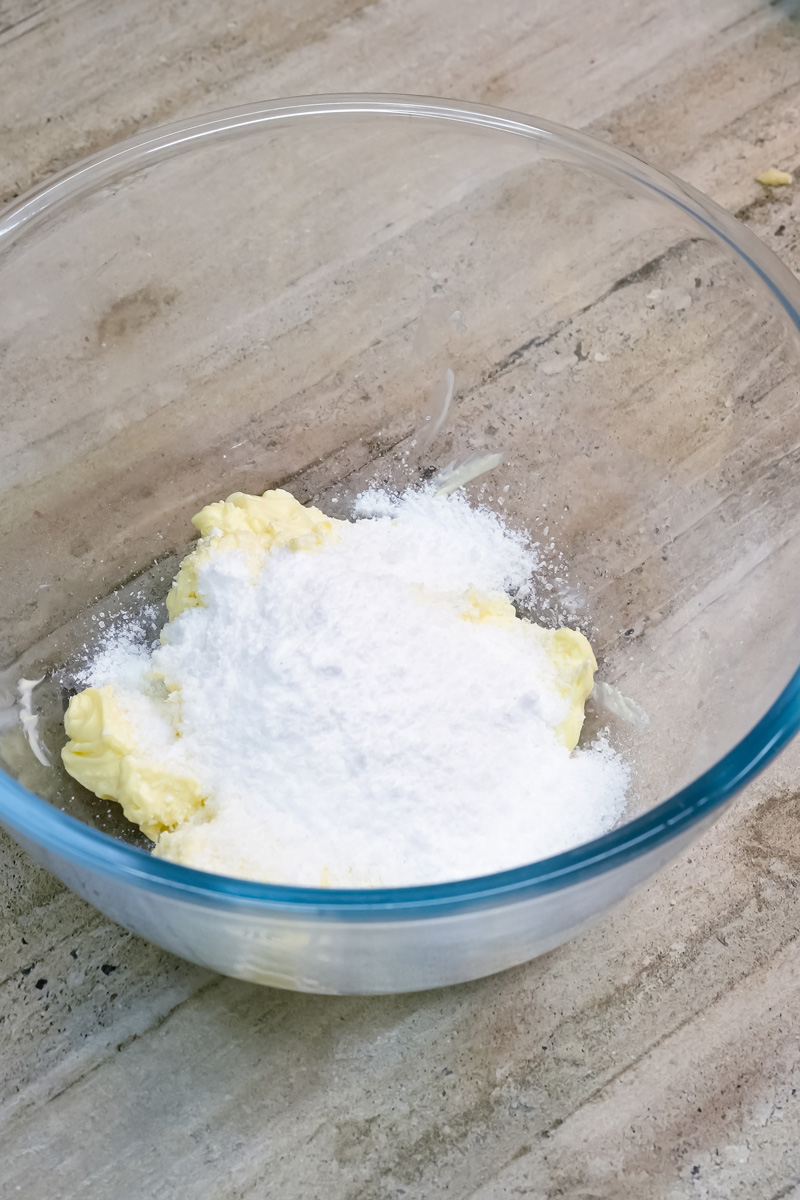
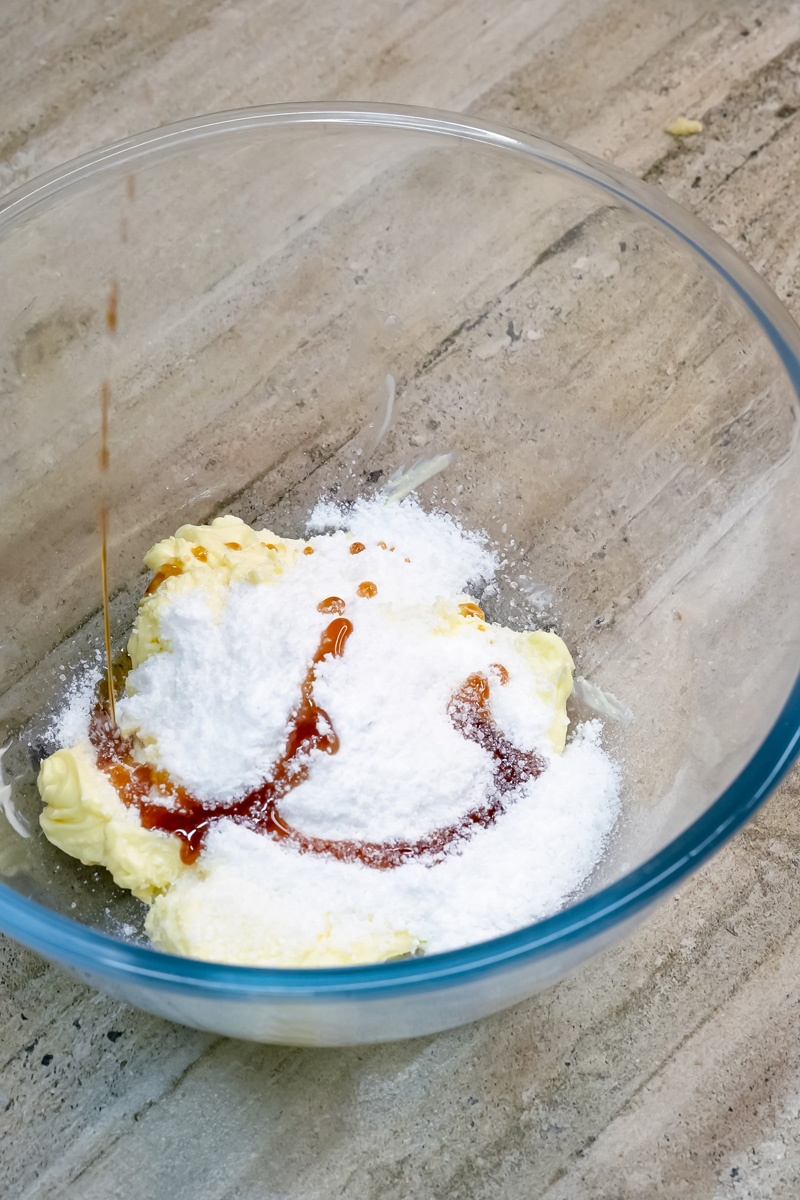
Cream the butter and sugar. Put your softened butter in the mixer. Add the sifted powdered sugar, vanilla extract, and almond extract. Now, beat it! You want to mix until it’s light, fluffy, and a pale yellow. This step is crucial because it whips air into the butter. The good news? That’s the secret to a delicate, tender cookie. You’ll see the texture change from a dense mass to something that looks like whipped cream.
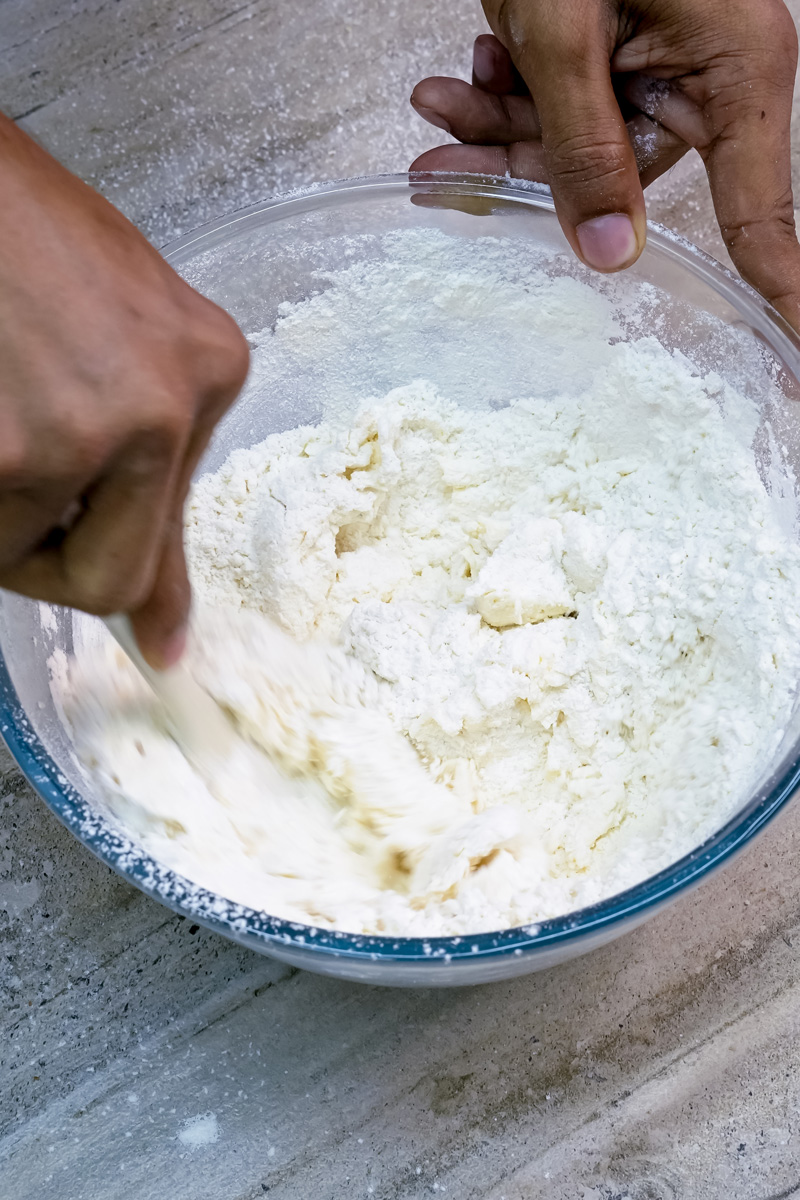
Add the dry ingredients. Now for the flour and salt. Sift them right into the butter mixture. Beat on medium speed. The dough will look thick and a little crumbly at first. You might think, “Oh no, I did something wrong!” But trust me, that’s normal. It’ll take a minute or two to come together into a thick, cohesive dough. Don’t forget to scrape down the sides of the bowl to make sure everything gets mixed in.
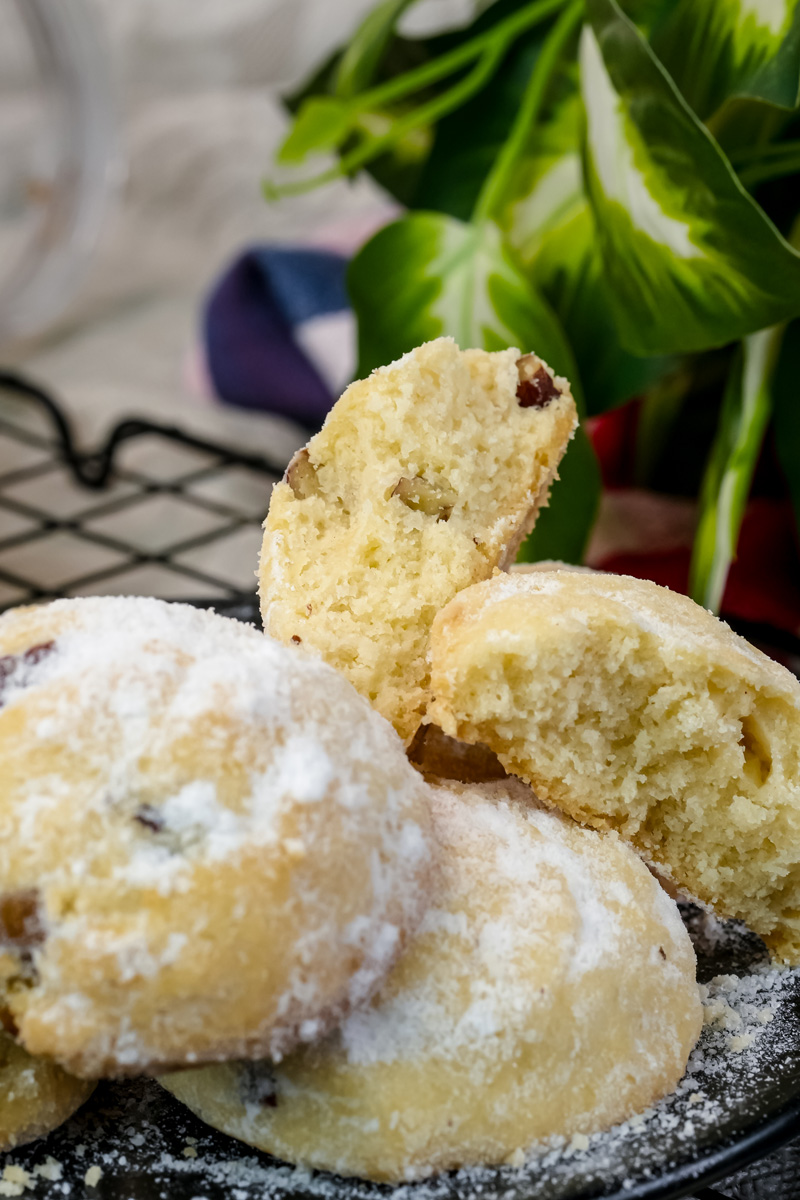
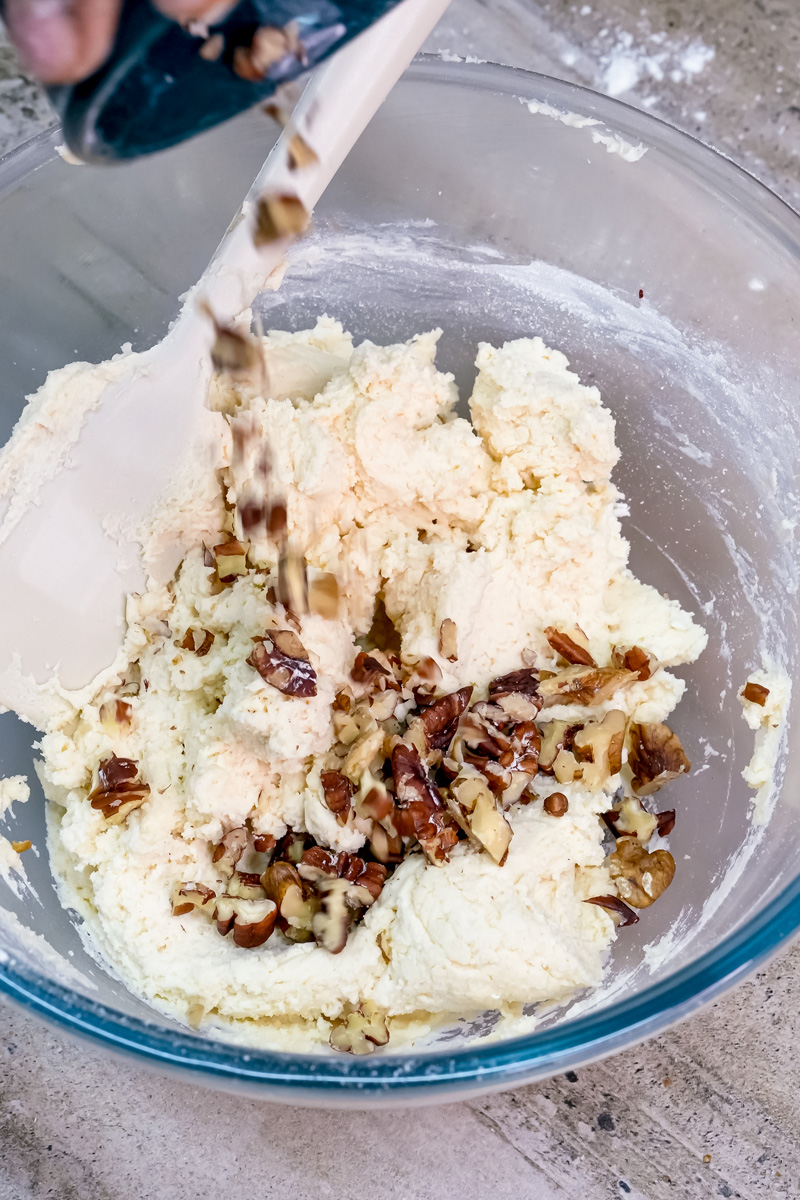
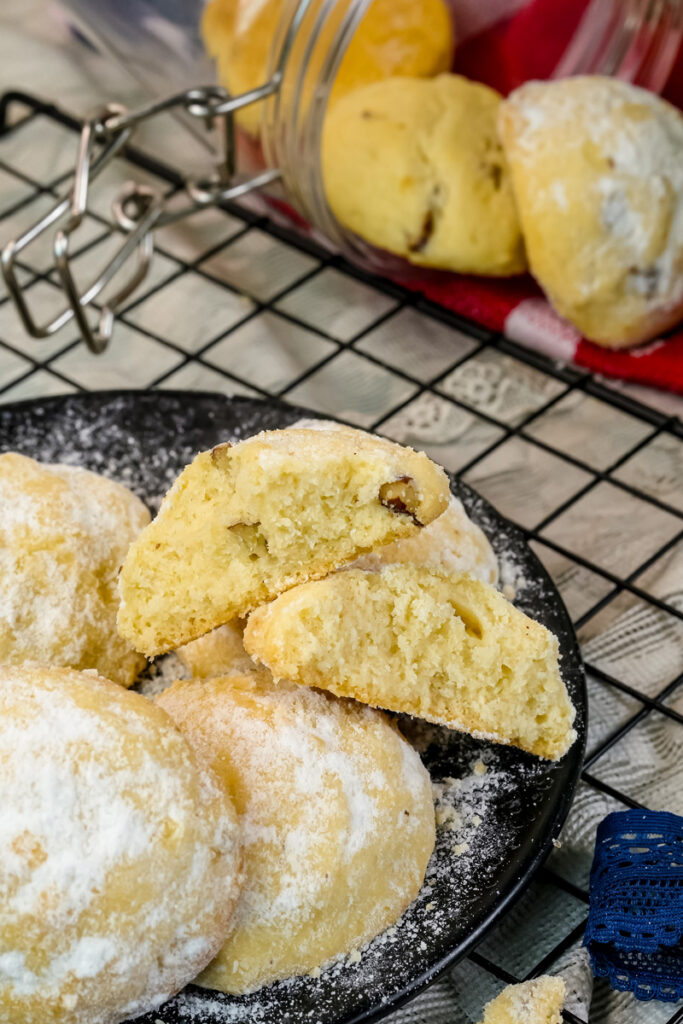
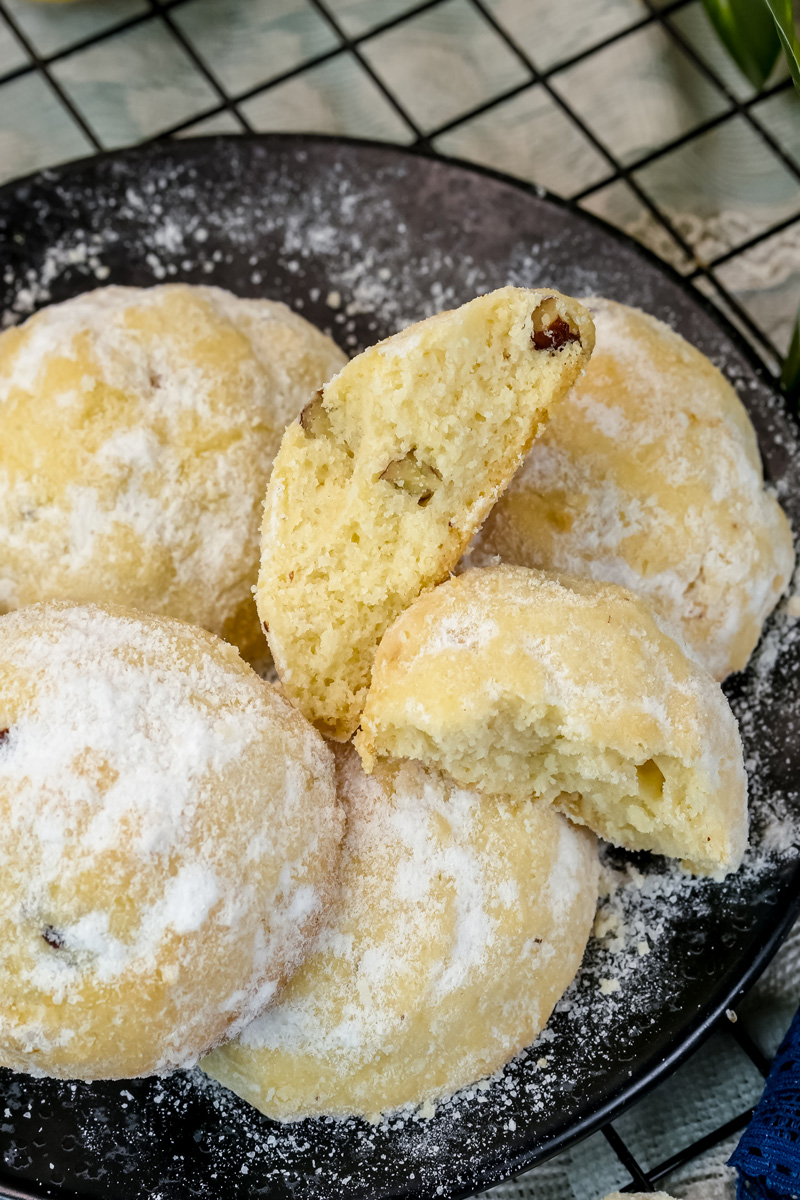
Fold in the pecans. This is where we add the star of the show. Gently fold in your chopped pecans or walnuts. Mix just until they are evenly spread out. You don’t want to overmix here or you’ll get tough, not tender, cookies. The dough should look studded with little pieces of nut, with a nice, almost play-doh-like feel.
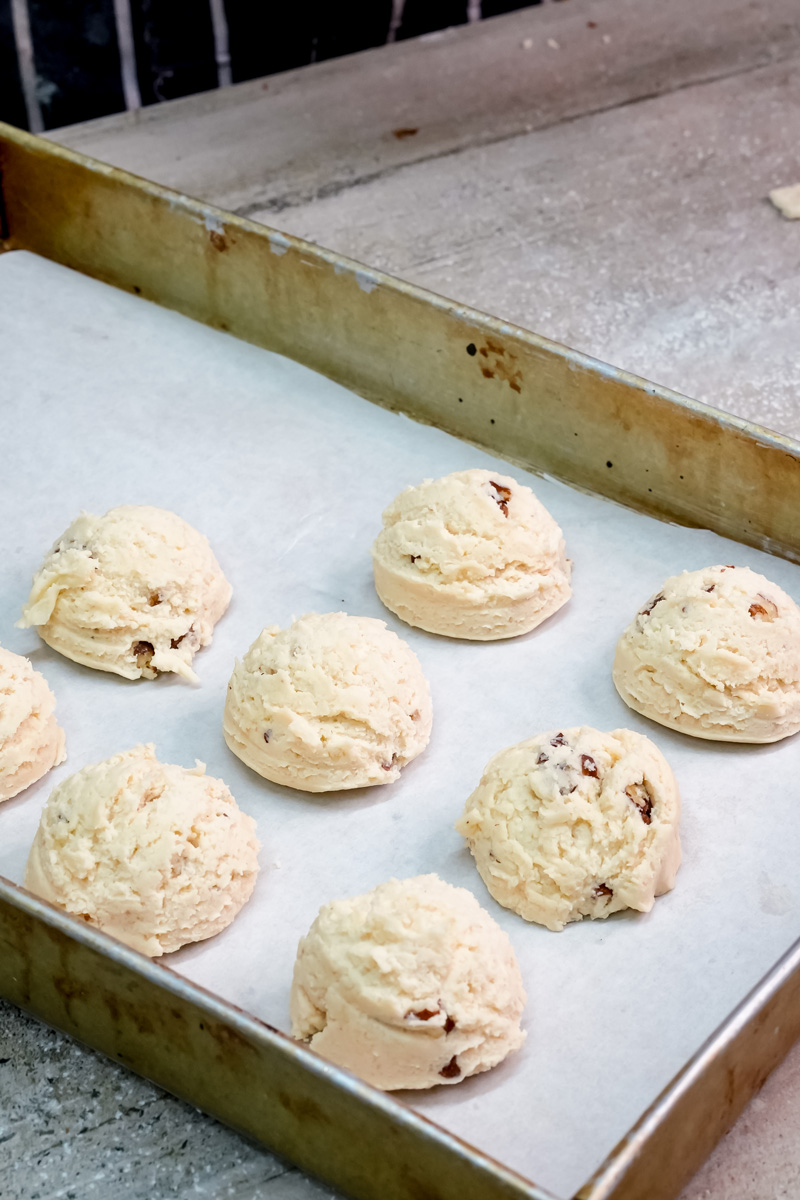
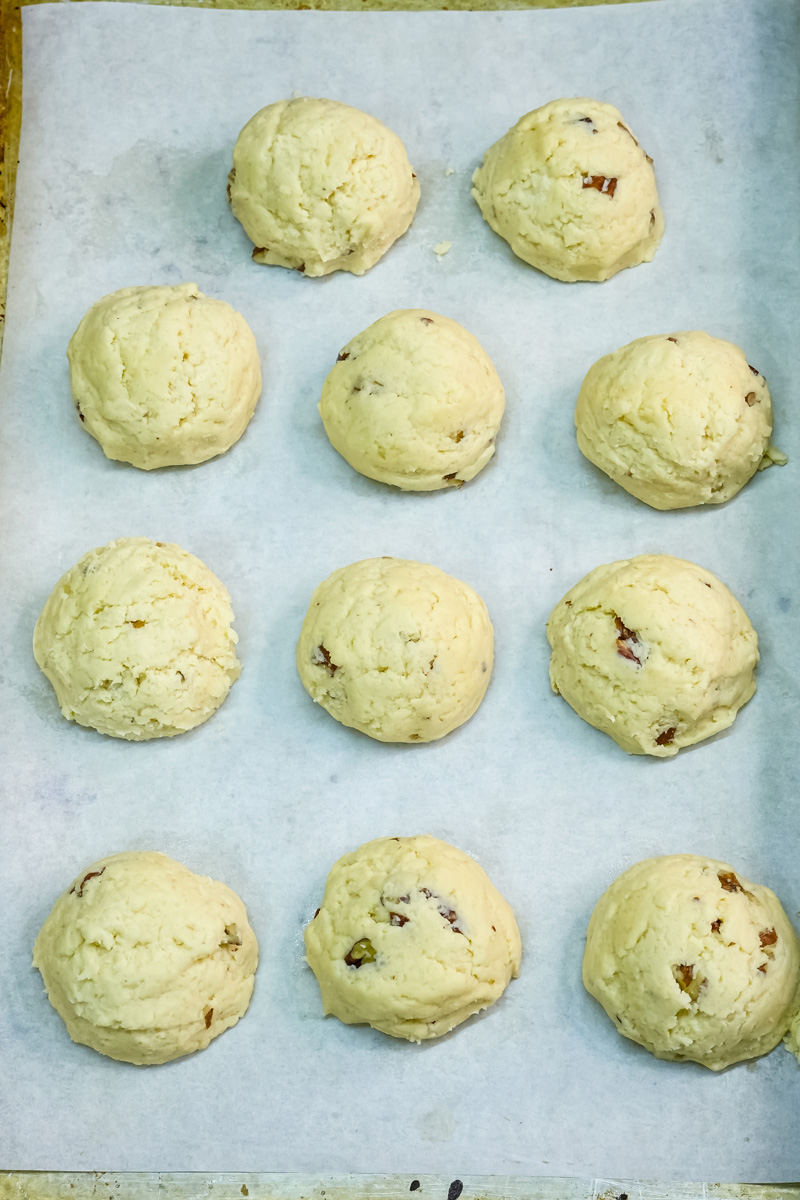
Shape and bake. Now for the fun part! Grab about a tablespoon of dough—I love using a cookie scoop for consistency—and roll it into a neat little ball. Place it on your prepared cookie sheet, leaving a little space between each one. They will expand a bit as they bake.
Bake and cool. Put the sheet in the oven and bake for 10-12 minutes. They’re ready when they look set and the bottoms are a light golden brown. They won’t look dark, so be careful not to overbake! When they’re done, let them cool on the baking sheet for 5-10 minutes. They’re very delicate when they first come out, and this little wait will keep them from breaking.
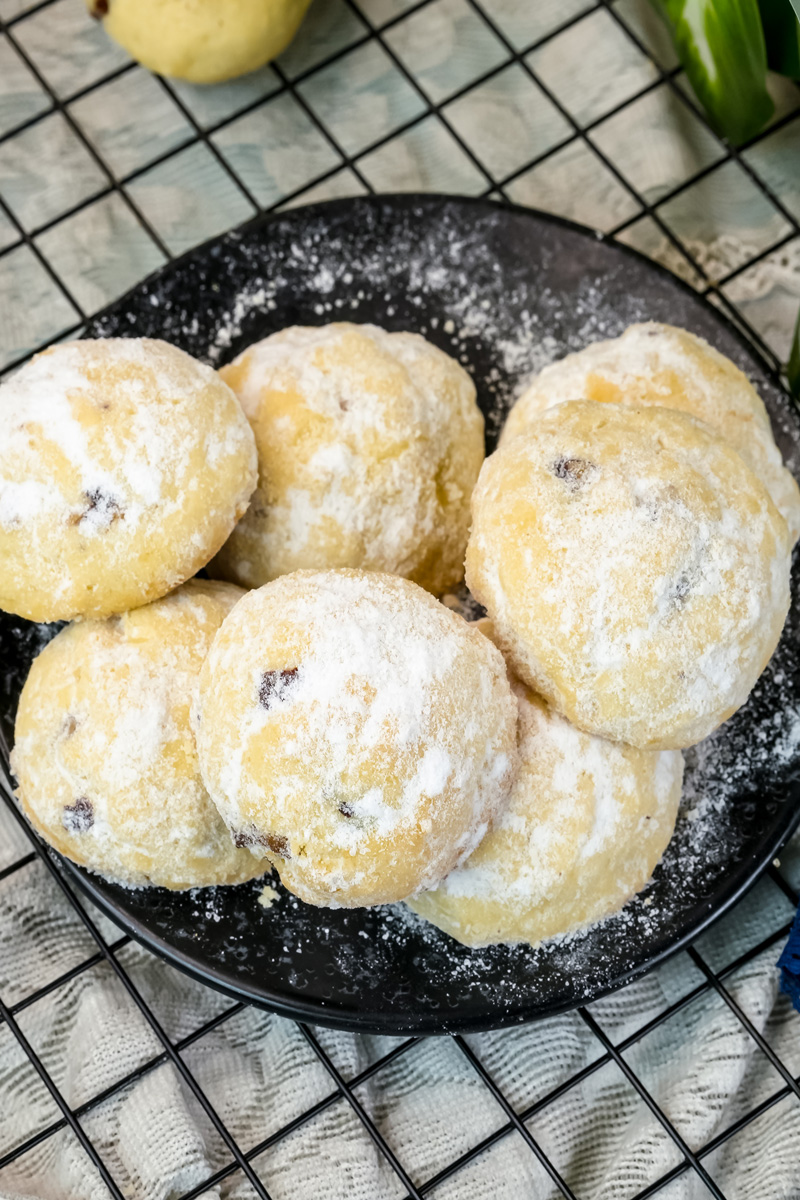
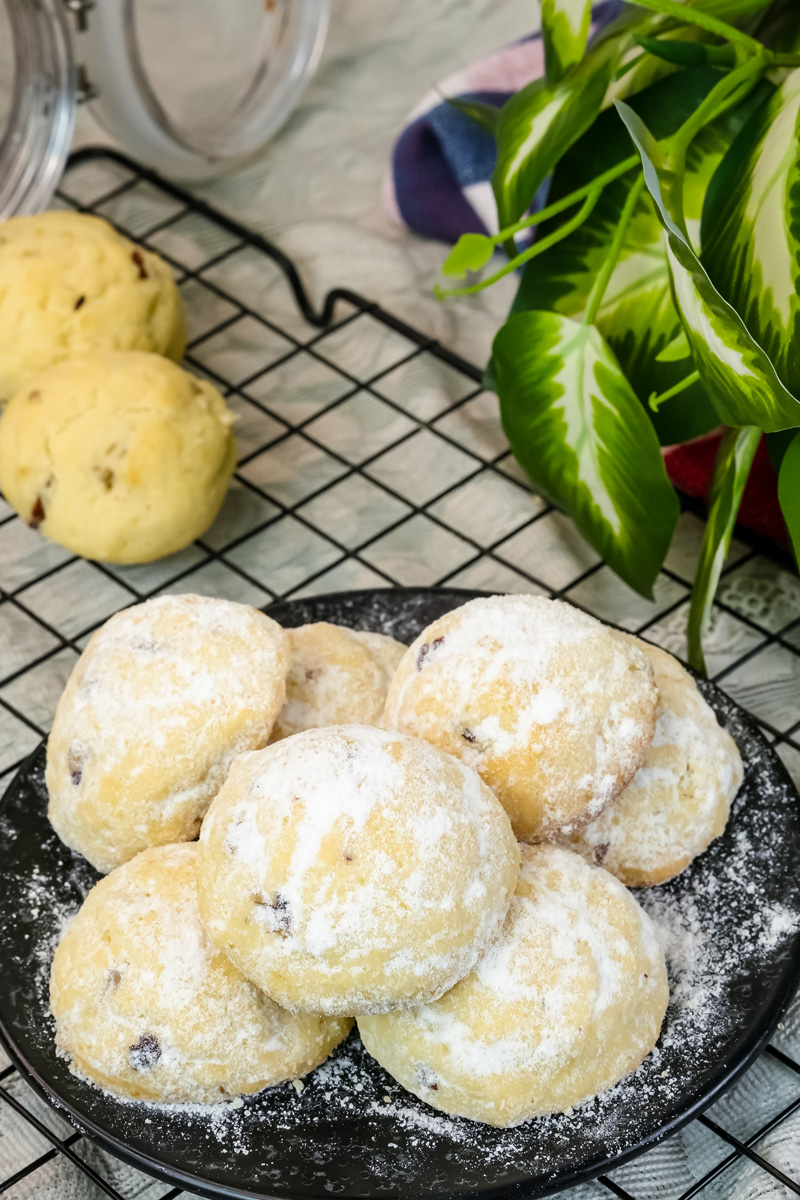
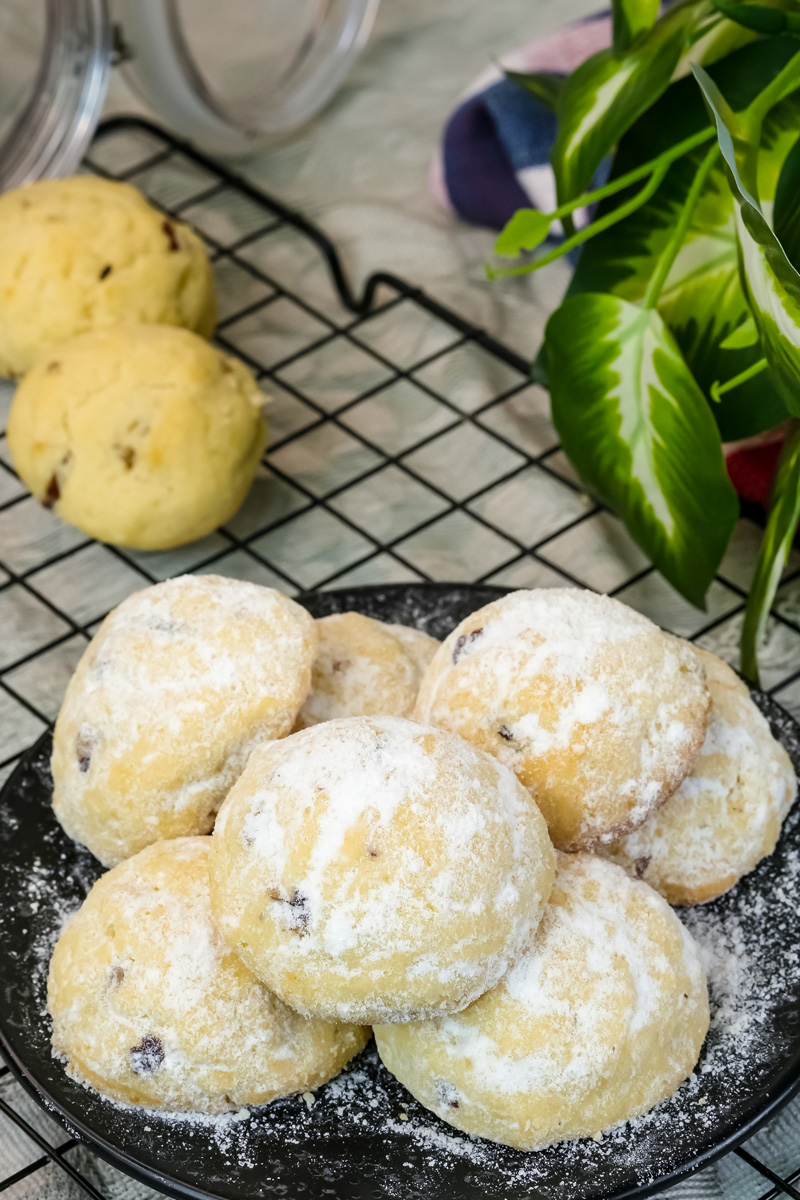
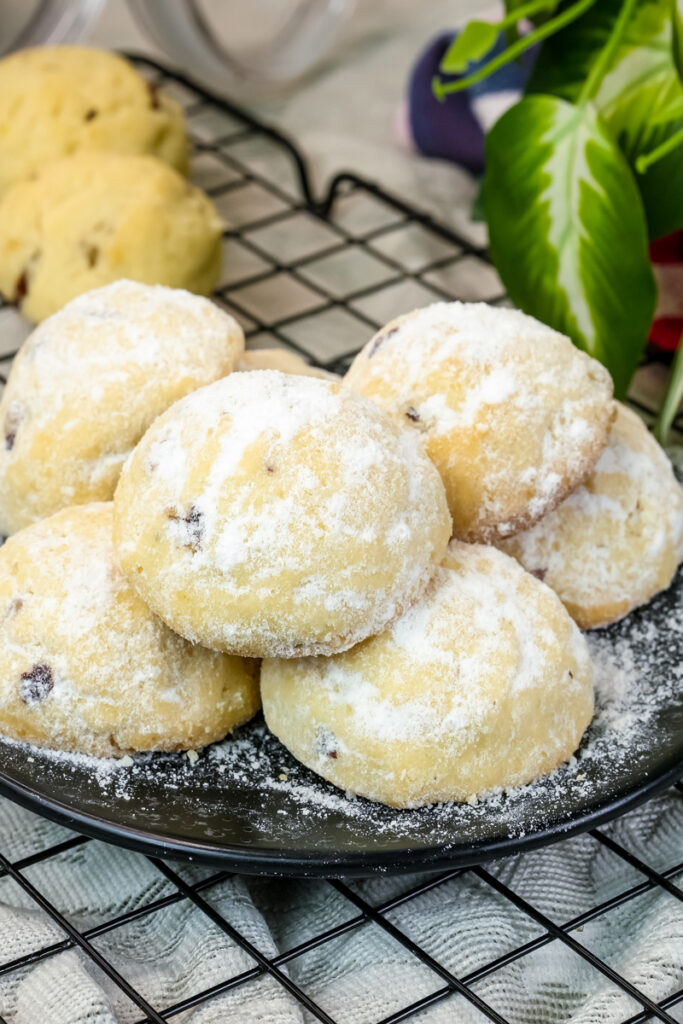
Roll in sugar. While the cookies are still warm, but not hot, it’s time to roll them. Generously roll each cookie in a bowl of sifted powdered sugar. The warmth of the cookie helps the sugar stick. For that extra-special look, you can roll them again once they’ve cooled completely to add a final, thick layer of sugary goodness.
Variations and Customization
This recipe is a great base for endless creativity.
Gluten-Free or Vegan: You can easily make these for different diets. For a gluten-free version, just use your favorite gluten-free flour blend. To make them vegan, use a high-quality vegan butter or shortening. You might need to add a touch of plant-based milk to get the right consistency.
Spice it up: For a kick, you can turn these into Mexican Hot Chocolate Cookies by adding a little cayenne pepper and some cocoa powder to the dough. You could also add cinnamon and cloves for a warmer, more aromatic cookie.
Make it fancy: For a festive look, add sprinkles to the dough before baking. For a chocolatey twist, mix cocoa powder into the dough. Or, you can even fill them with dulce de leche or chocolate ganache after they bake for a super-indulgent treat.
Seasonal Adaptations: These are a Christmas classic, but you can change the flavors for any season. Think of lemon or lime zest for a summery vibe, or pumpkin pie spice for a fall treat.
Serving and Storage
These cookies are as easy to store as they are to make.
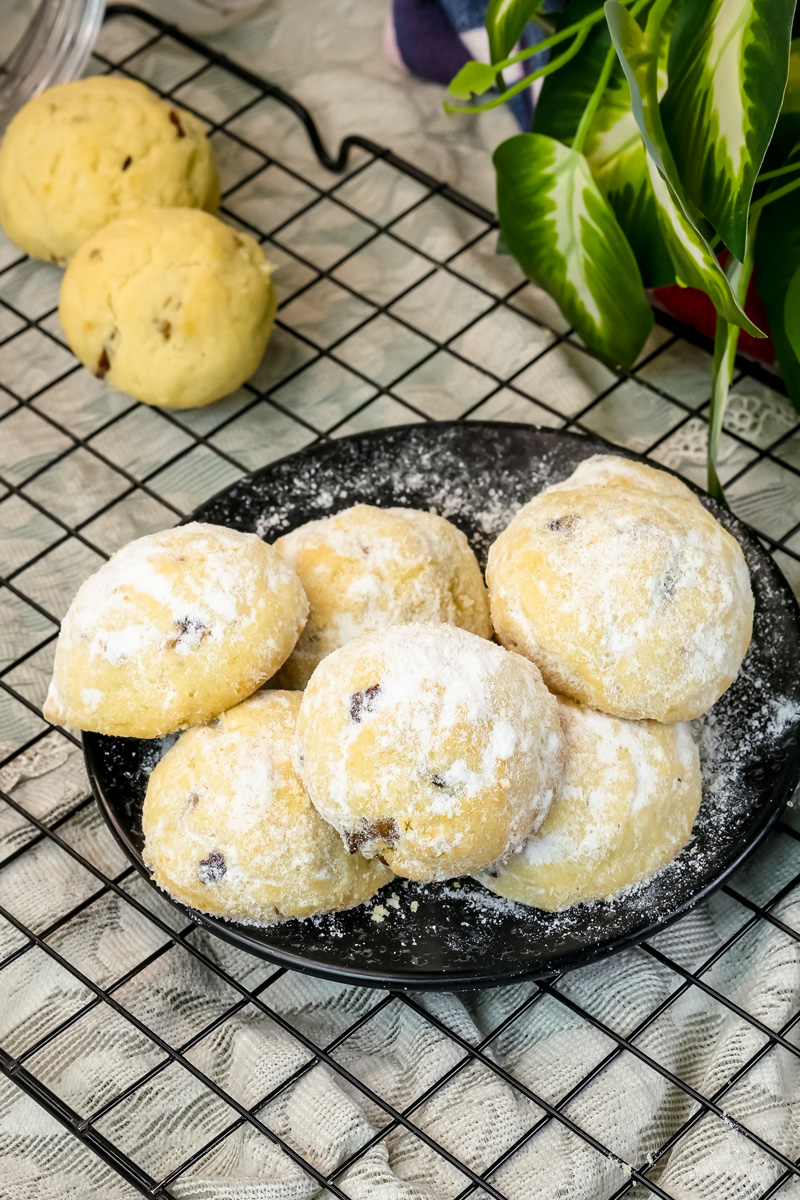
How to serve: These cookies look great on a platter, especially with that extra layer of powdered sugar. They’re also perfect for gifting!
What to serve with them: They’re a perfect match for a hot cup of coffee, a cold glass of milk, a rich hot chocolate, or a scoop of vanilla ice cream.
How to store: Store your Mexican Cookies in an airtight container at room temperature. They’ll stay fresh and delicious for up to a week.
Make-ahead and freezing: The unbaked dough can be stored in the fridge for up to a week or frozen for up to a month. Just let it thaw in the fridge overnight before you bake. Once baked, the cookies also freeze well for up to 3 months. Just let them thaw at room temperature when you’re ready to eat them. They’ll be as good as new!
PrintMexican Cookies

These buttery, melt-in-your-mouth cookies are a classic for a reason! They are the perfect sweet treat to share with friends and family during a celebration or with a cup of coffee. This recipe is simple, fast, and packed with a nutty, delicious flavor.
- Prep Time: 20 minutes
- Cook Time: 10-12 minutes
- Total Time: Approx. 30 minutes
- Yield: 36 cookies 1x
- Category: Dessert
- Cuisine: Mexican
Ingredients
- 1 cup unsalted butter, softened
- ½ cup confectioners’ sugar, sifted (for the dough)
- 1 teaspoon vanilla extract
- ½ teaspoon almond extract
- 2 cups all-purpose flour, sifted
- ½ teaspoon salt
- 1 cup chopped pecans or walnuts
- 1 cup confectioners’ sugar, sifted (for rolling the cookies)
Instructions
- Prep: Preheat your oven to 350°F. Line a baking sheet with parchment paper.
- Cream: In a stand mixer, beat the softened butter, ½ cup of sifted confectioners’ sugar, and both vanilla and almond extracts until the mixture is light and fluffy.
- Combine: Sift the flour and salt directly into the butter mixture. Beat on medium speed until the dough comes together. Don’t worry if it looks a little crumbly at first—it will become a thick, cohesive dough.
- Fold: Gently fold in the chopped pecans or walnuts just until they are evenly distributed. Be careful not to overmix.
- Shape: Use a tablespoon-sized cookie scoop to portion the dough and roll it into small, neat balls. Place them on your prepared baking sheet, leaving some space between each cookie.
- Bake: Bake for 10-12 minutes, or until the bottoms are a light golden brown. The cookies won’t look dark on top.
- Cool & Roll: Let the cookies cool on the baking sheet for 5-10 minutes, as they will be very delicate at first. While they are still warm, roll each one generously in the remaining bowl of sifted confectioners’ sugar. For an extra sugar boost, you can roll them again once they have cooled completely.
Notes
- Tips & Tricks: The key to a delicate cookie is to make sure your butter is at room temperature and to sift your dry ingredients.
- Substitutions: You can swap the pecans for walnuts or even use a gluten-free flour blend.
- Serving Suggestions: These cookies are the perfect match for a hot cup of coffee or a cold glass of milk.
- Storage: Store in an airtight container at room temperature for up to a week. The dough can also be refrigerated for a week or frozen for up to a month before baking.