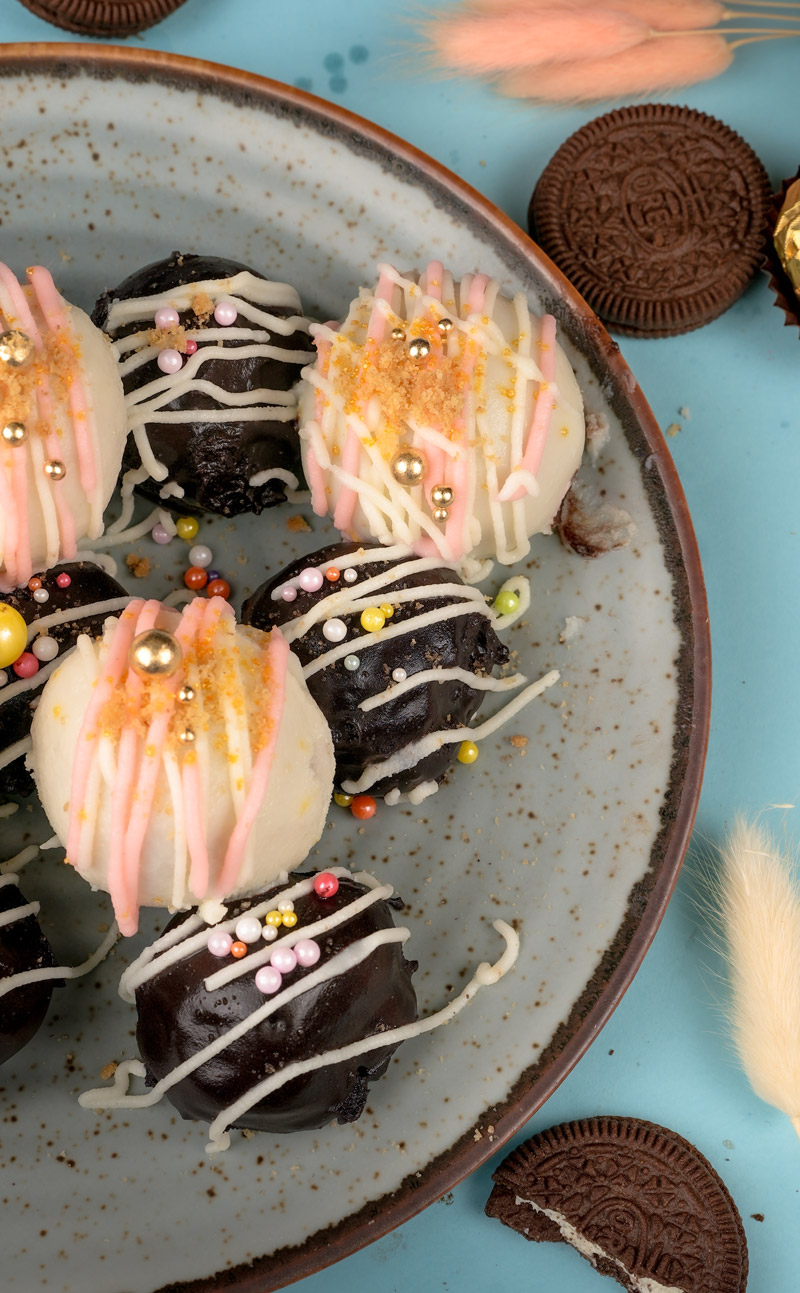
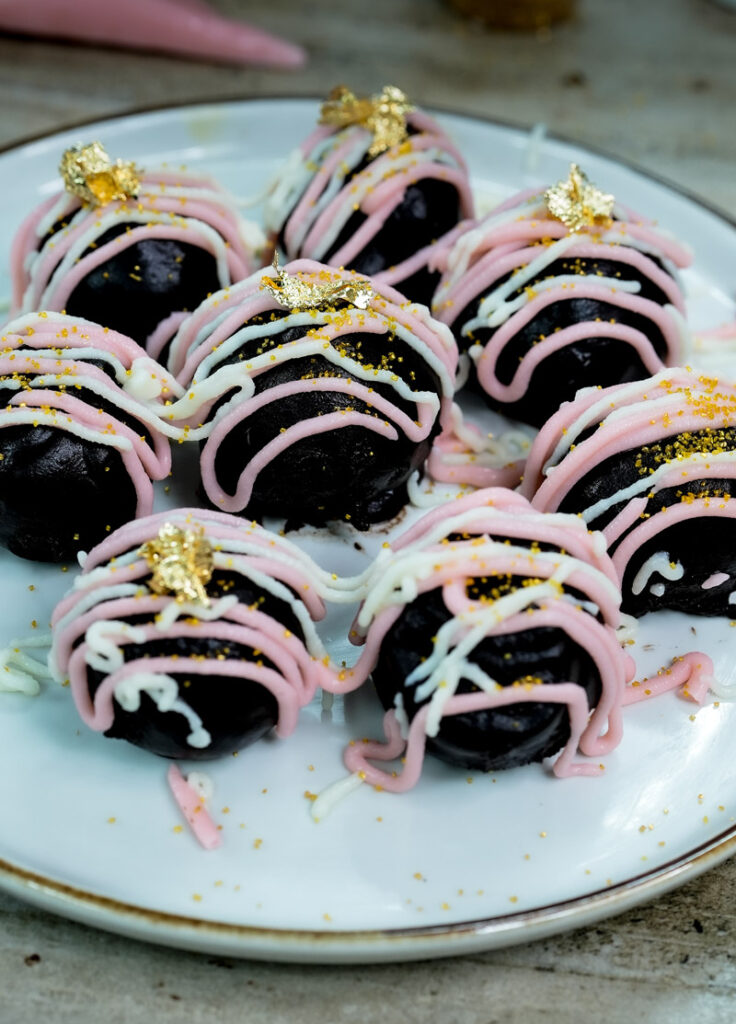
Hey everyone! Ready to make something seriously delicious and super easy? Today, we’re making Oreo Balls. Some people call them Oreo Truffles, probably because they feel so fancy, but trust me, they’re incredibly simple.
Imagine biting into a rich, fudgy ball packed with Oreo cookie goodness, all coated in smooth chocolate. So good, right?
The best part? They’re ridiculously easy. Seriously, the basic recipe only needs 3 ingredients: Oreos, cream cheese, and chocolate. That’s it! I’m not sure who invented them first – probably some clever home cook years ago – but they pop up everywhere at parties and holidays because they look amazing but take almost no effort. Win-win!
This recipe makes a smaller batch, maybe 7 or 8 balls. Perfect for when you just need that chocolate-Oreo fix without being buried in treats (unless you want to be, then just double it!). Think of it as your secret stash of happiness. Let’s do this!
Recipe Quick Look
Here’s what you need to know before we start:
- Getting ready: About 10-15 minutes (mostly crushing cookies!)
- Chill time: This is important! Needs about 30-60 minutes total chilling time.
- Total time: Start to finish? Maybe 45-75 minutes.
- Makes: About 7-8 yummy Oreo balls.
- Want more? Easy peasy. Just double or triple everything. Check the table below.
- Skill level: So easy! If you can mash cookies and stir, you’ve got this. Great for baking with kids.
- Stuff you’ll need:
- Food processor (makes life easier!) OR a zip-top bag and something heavy (like a rolling pin or sturdy can).
- A medium bowl for mixing.
- Spatula or electric hand mixer (optional, but nice).
- Baking sheet lined with parchment or wax paper (so they don’t stick!).
- A small pot and a heatproof bowl (for melting chocolate the old-fashioned way) OR just a microwave-safe bowl.
- Forks or one of those cool candy dipping tools.
- Making ahead? Totally! Mix and roll the balls a day before, cover them in the fridge. You can even dip them a day or two ahead!
Need More Oreo Balls? Here’s How to Scale Up:
| Servings | Oreos (approx.) | Cream Cheese | Semi-Sweet Chocolate |
|---|---|---|---|
| 7-8 | 25-30 | 80g | 40-50g |
| 14-16 | 50-60 | 160g | 80-100g |
| 21-24 | 75-90 | 240g | 120-150g |
| Heads up: These are just estimates. Use a bit more or less depending on how big you make your balls or how thick you like the chocolate. |
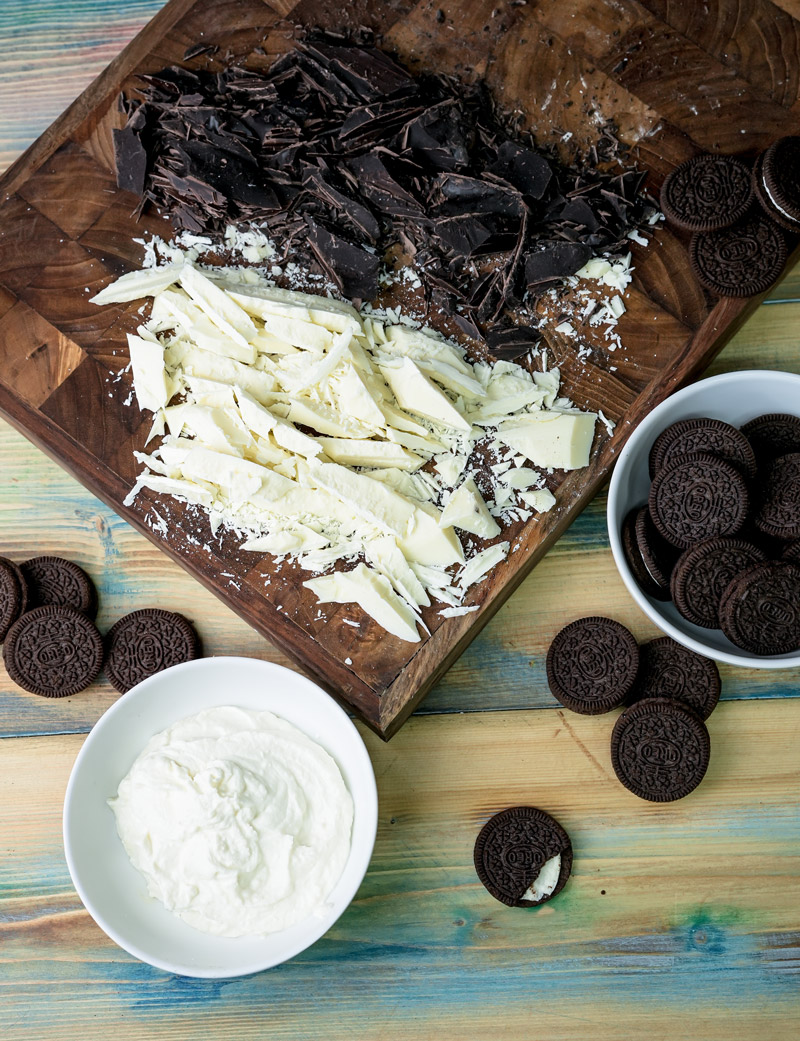
The Magic Ingredients
Okay, let’s chat about what goes into these little bites of awesome. Simple stuff, but using the right kind makes a difference.
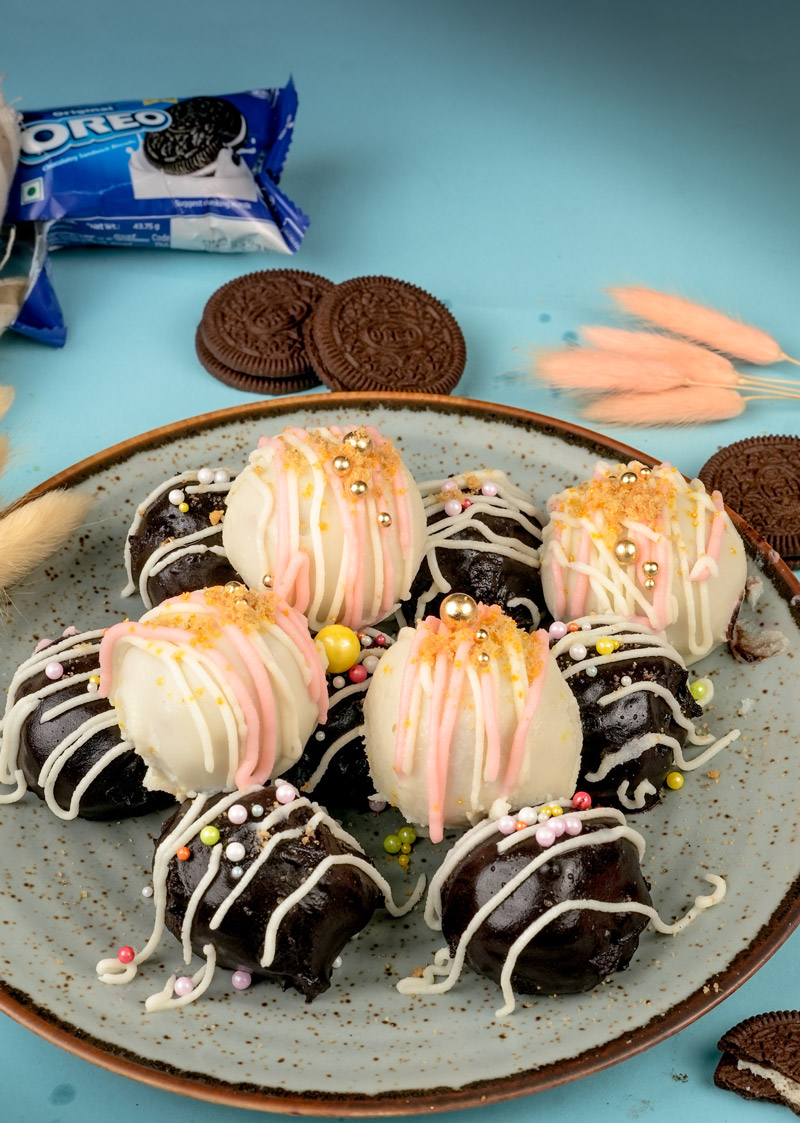
- Oreo Cookies (25-30 cookies): The main event! Just regular Oreos are perfect. Use the whole cookie – the crunchy part and the creamy filling. No need to scrape anything out! Around 25-30 cookies should do it for this batch. Want to mix it up? Try Mint, Golden, or Peanut Butter Oreos sometime!
- Cream Cheese (80g): This is the glue holding everything together, making it fudgy. Super important: Make sure it’s softened to room temperature. Seriously. Take it out of the fridge maybe an hour before you start. Cold cream cheese is a nightmare to mix – you’ll get annoying lumps. Trust me on this one. I always use the full-fat block kind, not the stuff in a tub. It makes the balls firmer and easier to handle. 80 grams is roughly 1/3 of a standard 8oz block.
- Semi-Sweet Dark Chocolate (40-50g): For that yummy outer shell. Semi-sweet is great because it balances the sweetness inside. Milk or white chocolate works too, whatever you like! Now, 40-50g is enough for a thin coating on 7-8 balls. If you love a thick chocolate shell (like me!), use more – maybe 75g or even 100g. Tip: Chocolate melting wafers or candy melts (like Candiquik) are the easiest because they melt super smooth. Regular chocolate chips work, but sometimes they’re a bit thick. If yours seem gloopy, stir in just a tiny bit (like ¼ teaspoon) of coconut oil or shortening to help smooth it out. If using a chocolate bar, chop it up small!
Let’s Make Some Oreo Truffles: Step-by-Step
Step 1: Crush Those Cookies!
First up, let’s turn those Oreos into dust. Grab your 25-30 cookies (whole cookies, remember?).
The easiest way? A food processor. Toss the cookies in and pulse. Don’t just let it run – pulsing helps you control it. You want fine crumbs, like dark, slightly damp sand. No big cookie chunks left! Short pulses work best.
No food processor? No problem! Grab a strong zip-top bag (freezer bags are tougher). Put the Oreos in, squeeze the air out, seal it. Now, grab a rolling pin, the bottom of a heavy pan, or even a sturdy bottle. Lay the bag flat and start bashing and rolling! It’s kinda fun. Keep checking and moving the cookies around until you get those fine crumbs. Takes a bit more muscle, but works just fine!

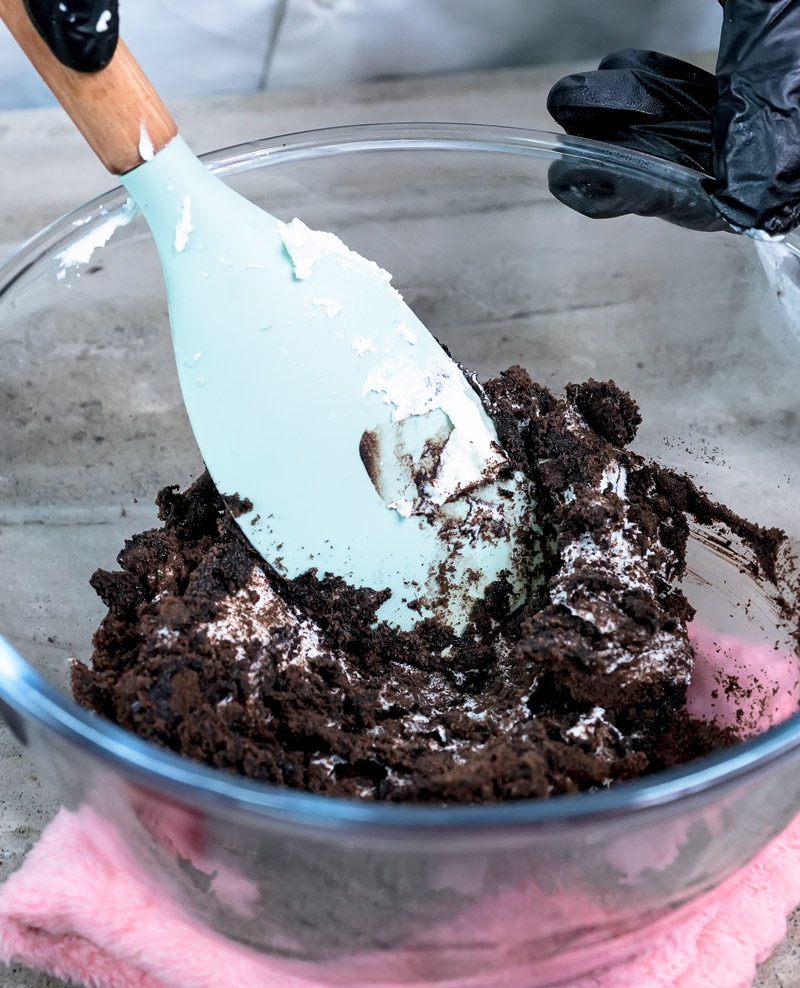
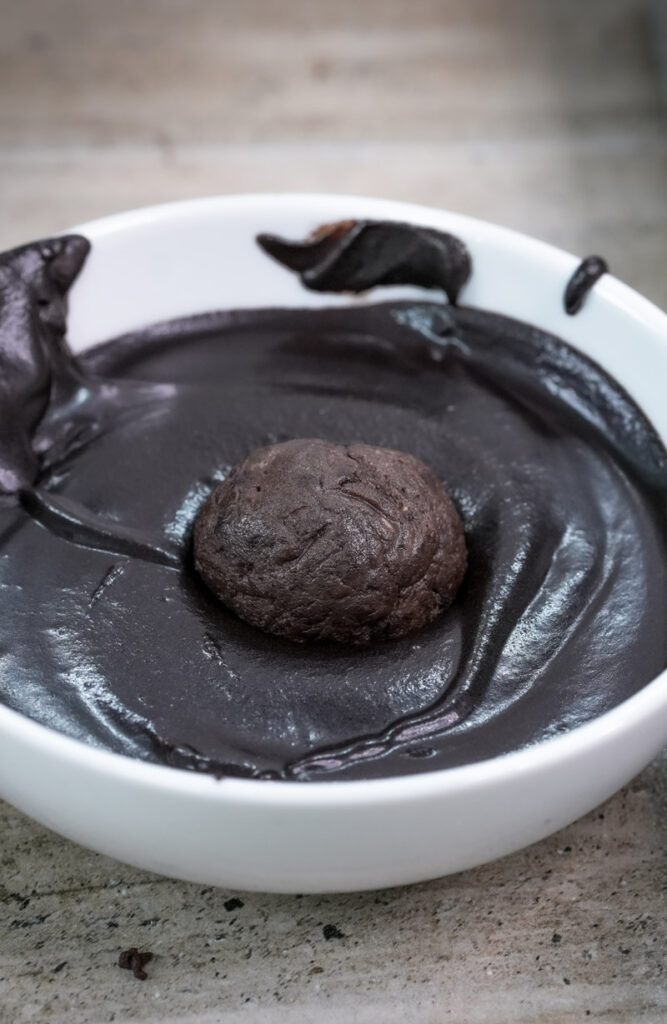
Step 2: Mix It All Up!
Pour your lovely Oreo dust into a medium bowl. Now for the cream cheese (80g). And I’ll say it again: make sure it’s soft! If it’s cold, you’ll be fighting lumps. Not fun. Add the softened cream cheese to the crumbs.
Time to mix. You can use a sturdy spatula and some elbow grease, pressing the cream cheese into the crumbs. Or, grab an electric hand mixer on low speed – this is usually faster. Mix just until it all comes together into a thick, dark, slightly sticky ball of dough. No white streaks of cream cheese left! Stop mixing as soon as it’s combined. Overmixing can sometimes make it a bit greasy.
Step 3: Roll ’em Up!
This is the fun part! Get your baking sheet lined with parchment paper ready.
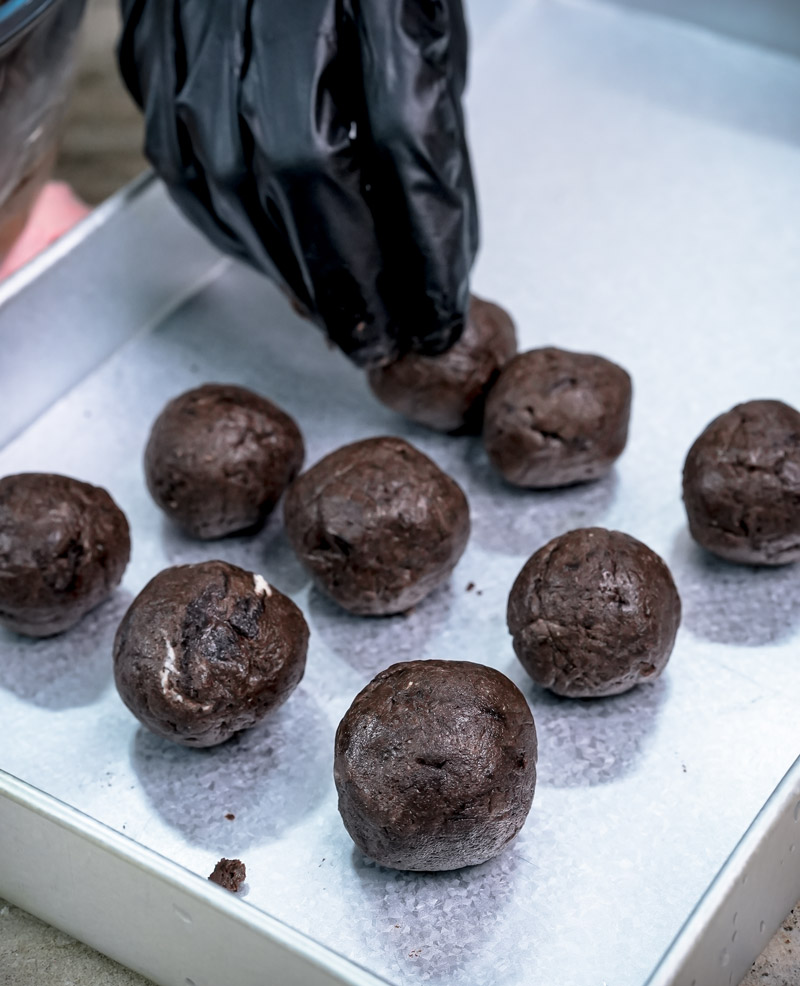
Scoop out bits of the mixture, about the size of a big walnut or 1 tablespoon (around 18-22g if you’re using a scale). A small cookie scoop is great for making them all the same size. If not, a spoon works!
Roll each scoop gently between your hands to make a smooth ball. Don’t squeeze too hard. Place each ball on your lined baking sheet. Leave a little space between them. They don’t have to be perfectly round – homemade is charming!
Uh oh, too sticky? Sometimes the mix can feel a bit soft. If it’s sticking to your hands like crazy, just cover the bowl and chill it in the fridge for 15-20 minutes. That little rest makes it much easier to roll.

Step 4: Chill Out! (Seriously, Don’t Skip This!)
Okay, your balls are rolled. Now for the most important step before dipping: chilling!
Slide that baking sheet into the freezer for 15 to 20 minutes. Or, pop it in the fridge for about 30-40 minutes.
Why? Because warm, soft Oreo balls + warm melted chocolate = disaster! They’ll just fall apart in the chocolate. Sad face. Chilling makes them firm, so the chocolate coats them nicely instead of melting them. They should feel cold and firm, but not frozen solid. This quick chill is the secret to perfect dipping!
Step 5: Melt That Chocolate!
While the balls are chilling, let’s get the chocolate coating ready. Grab your 40-50g (or more!) of chocolate. Melting wafers are easiest, but chopped chocolate bars or chips work too.
Microwave Method (My fave for small amounts): Put the chocolate in a small, deep-ish, microwave-safe bowl (deep makes dipping easier). Microwave on medium power (like 50%) for 20-30 seconds. Stir it well. It might not look melted yet, but stir anyway! Repeat short bursts and stirring until it’s almost melted, with just a few lumps left. Then, just keep stirring off the heat – the warmth of the chocolate will melt the rest. Perfectly smooth. This stops it from getting burnt or grainy.
Double Boiler Method: Fill a small pot with an inch of water, let it simmer gently. Put a heatproof bowl with the chocolate on top (don’t let the bowl touch the water). Stir until melted and smooth.
Once melted, let the chocolate cool down for just a minute or two. You don’t want it super hot. It should still be nice and liquidy.
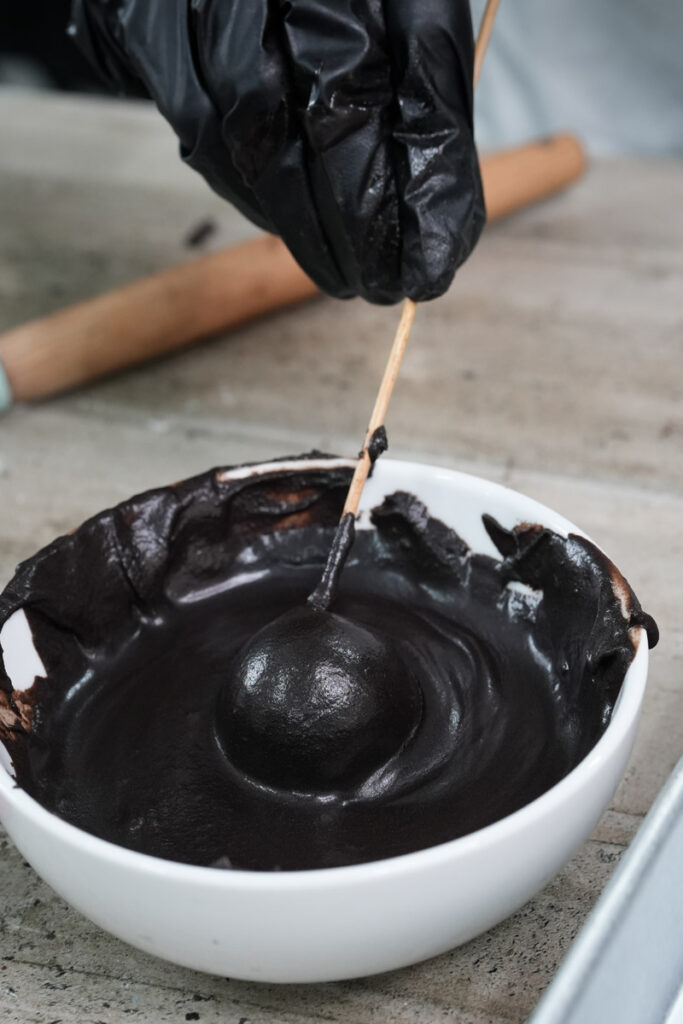
Step 6: Dip and Decorate!
It’s time! Get your chilled Oreo balls from the freezer/fridge. Keep the baking sheet close.
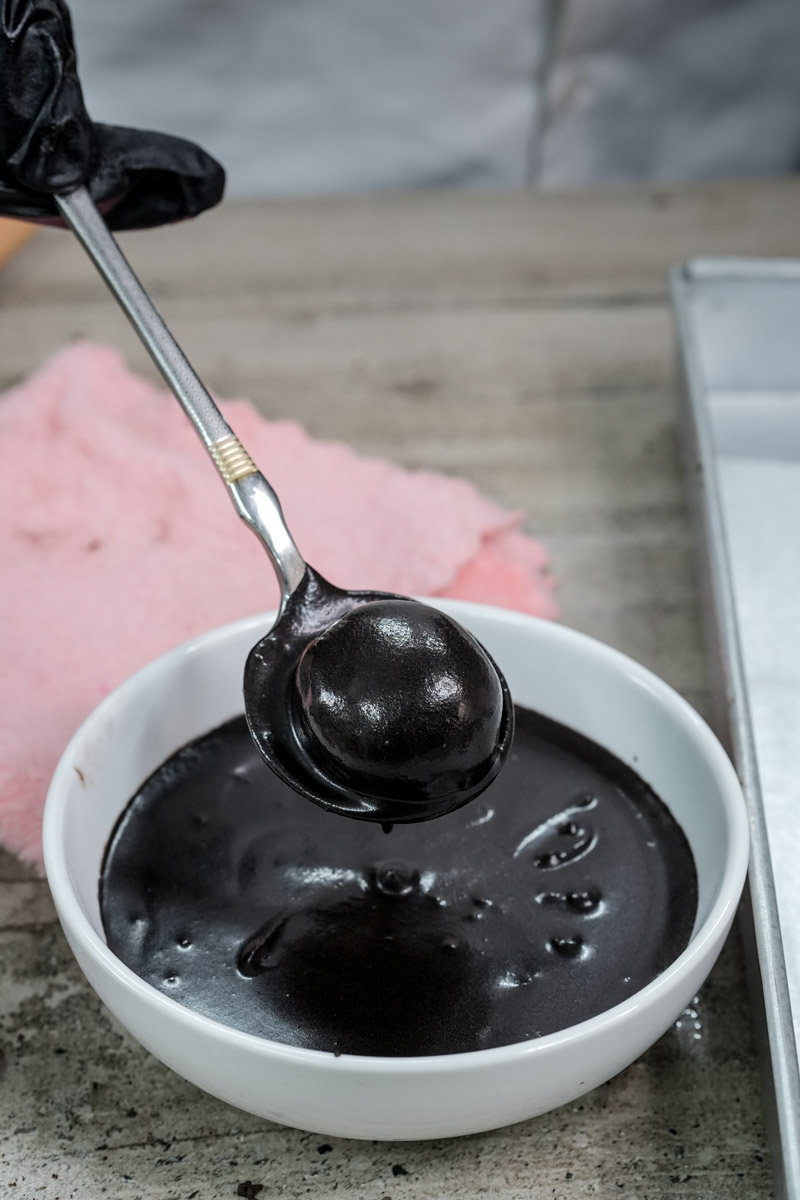
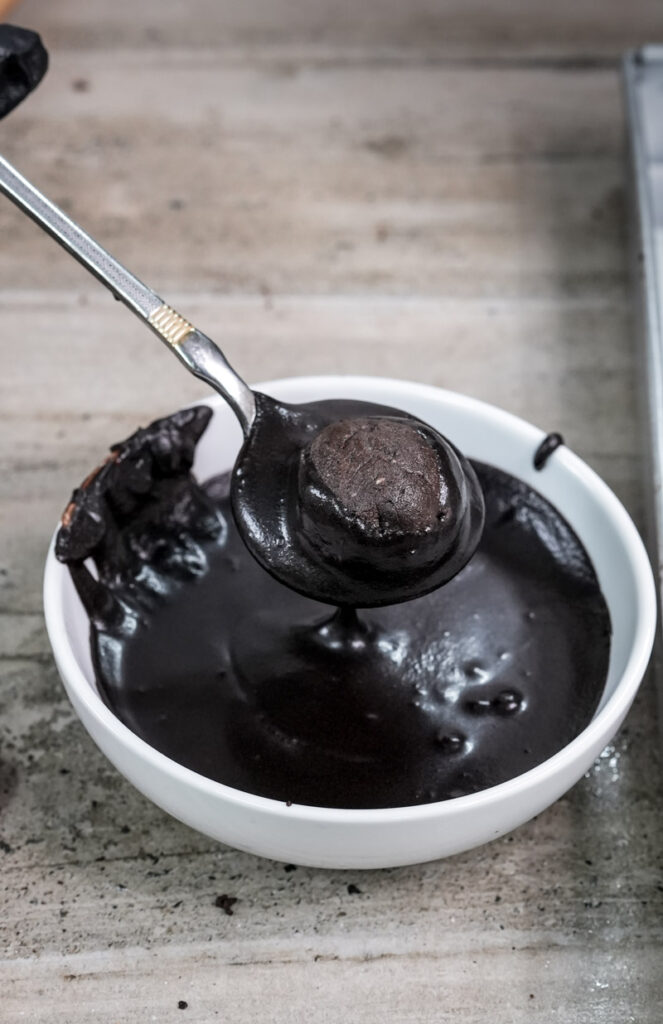
Work with one ball at a time, leaving the others chilling. Drop a ball into the melted chocolate. Use two forks (or a dipping tool) to gently roll it around until it’s totally coated.
Lift the ball out with the fork. Tap the fork handle gently on the side of the bowl. This lets the extra chocolate drip off, so you don’t get a big puddle under your truffle. Nice and neat!
Carefully place the dipped ball back on the parchment paper. Use a toothpick to help slide it off the fork if needed.
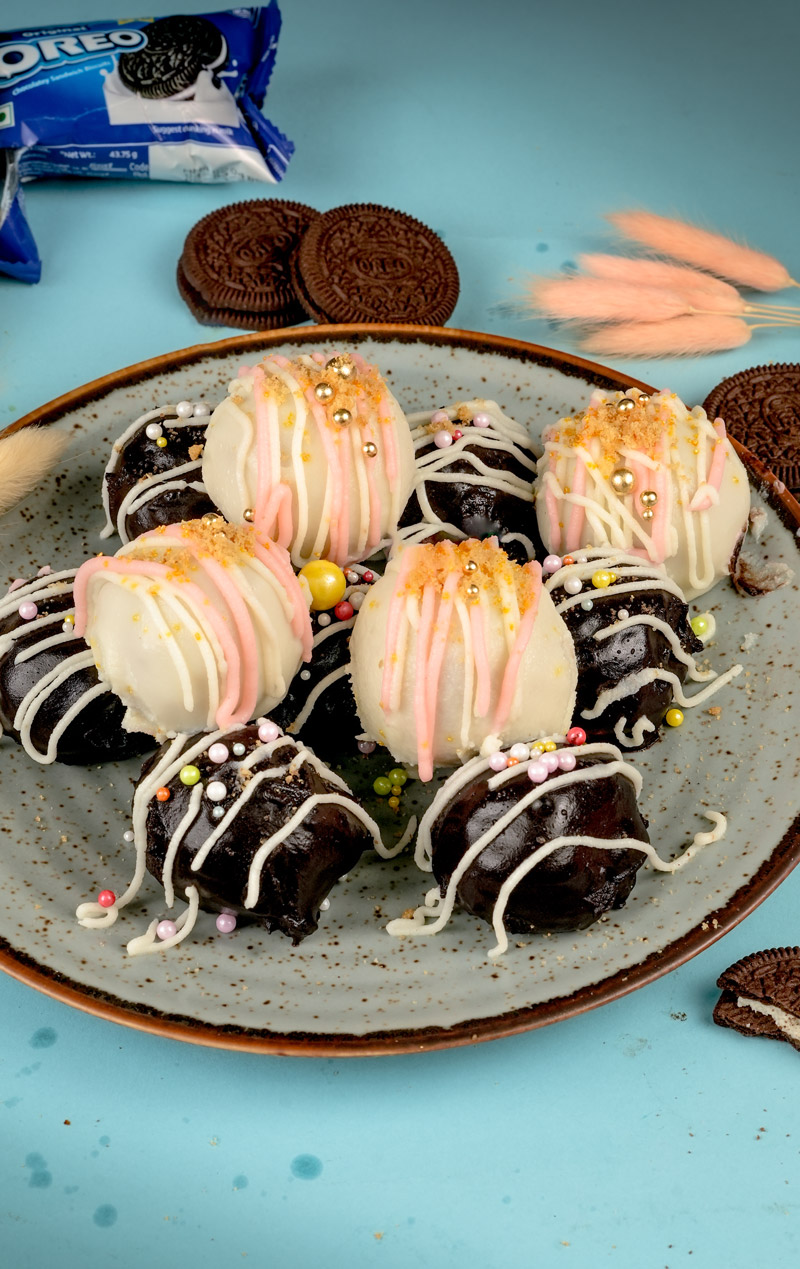
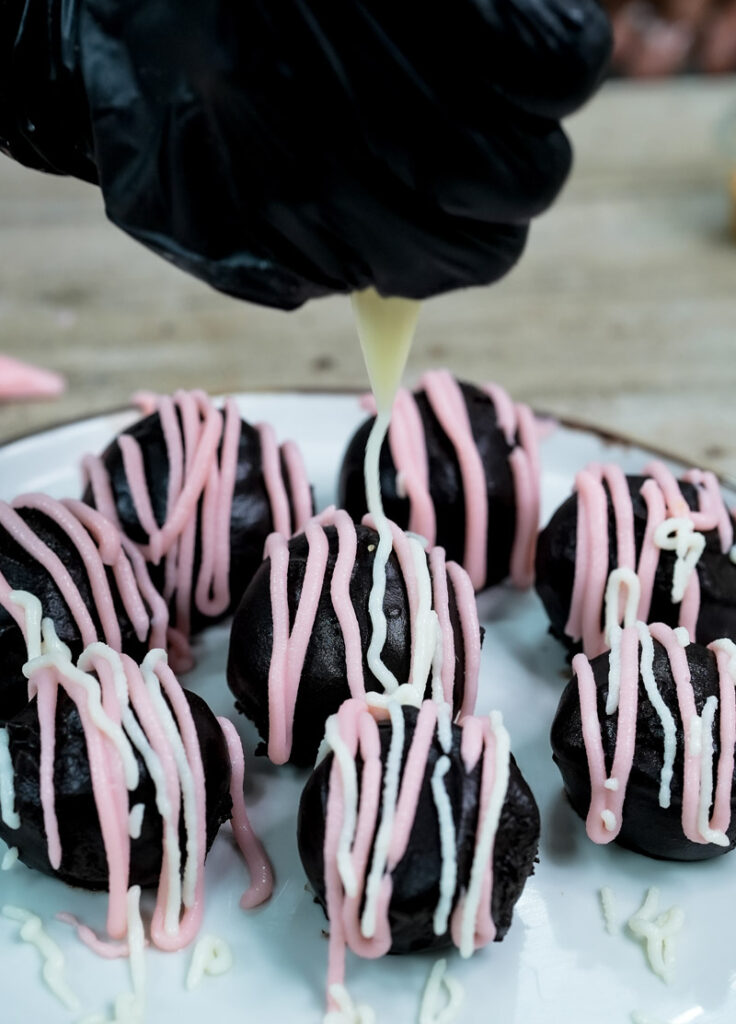
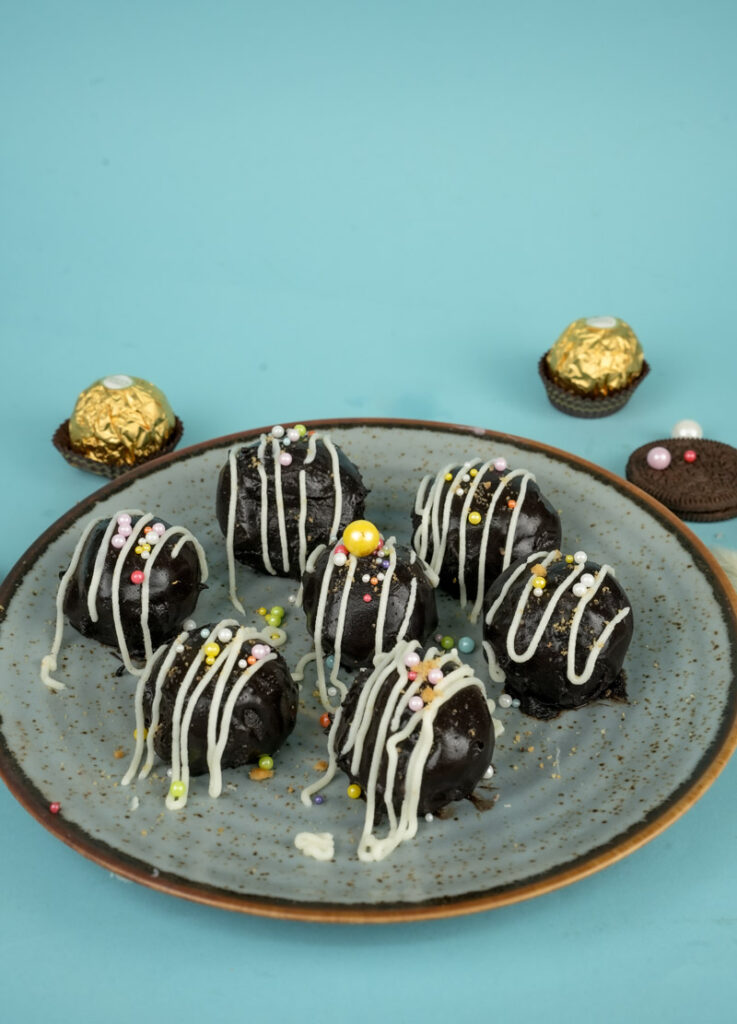
Want to decorate? Do it RIGHT NOW! While the chocolate is still wet, add your toppings:
- Extra Oreo crumbs
- Festive sprinkles
- Chopped nuts
- Toasted coconut
- A sprinkle of flaky sea salt (so good with dark chocolate!)
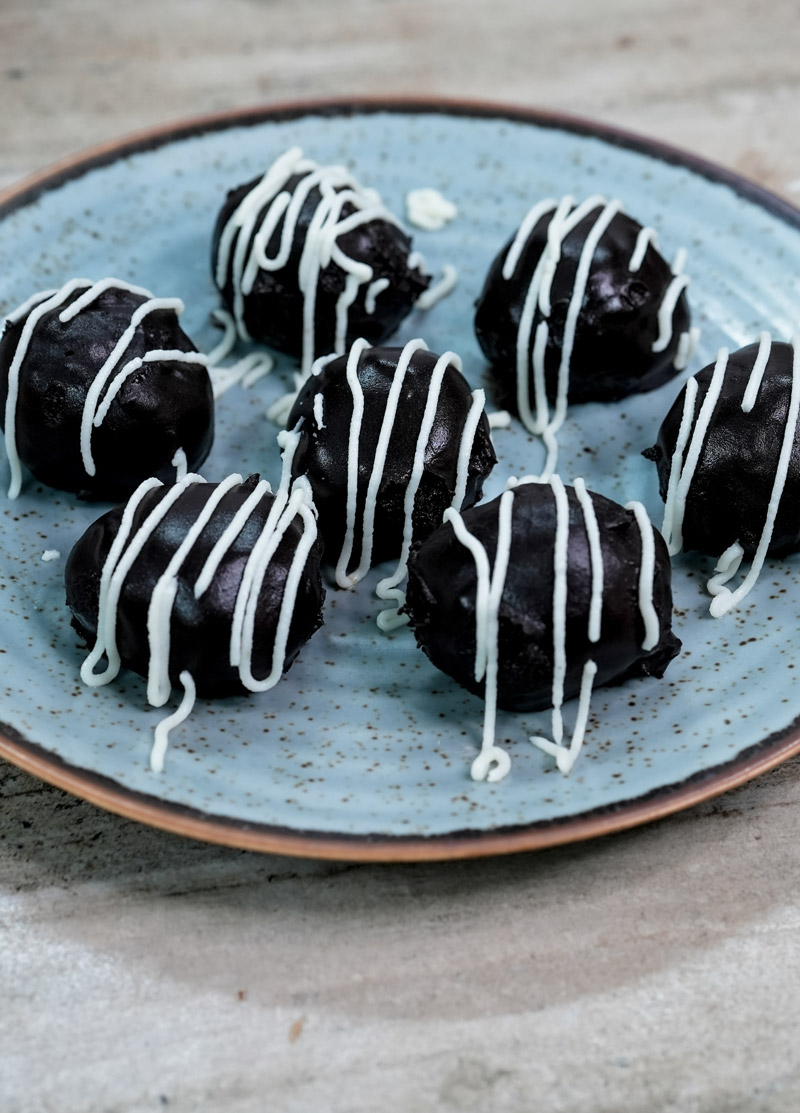
- Or wait a sec, then drizzle with melted white or milk chocolate.
Quick, before the chocolate sets! Dip and decorate all your balls. If the chocolate starts getting thick, warm it up gently for a few seconds.
Step 7: The Final Chill
You did it! Look at those beauties! One last step: slide the baking sheet back into the refrigerator for at least 30 minutes.
This lets the chocolate shell get totally hard and snappy. That contrast between the crisp shell and the soft inside? Chef’s kiss. You’ll know they’re ready when the chocolate looks dull (not shiny) and feels firm. Be patient! This makes them perfect.
Let’s Get Creative: Fun Ideas
This basic recipe is awesome, but feel free to play around!
- Flavor Fun:
- Try different Oreos! Mint Oreos + dark chocolate = yum! Golden Oreos + white chocolate? Yes please!
- Add a little flavor boost: ½ tsp vanilla extract or ¼ tsp peppermint extract in the cream cheese mix. A pinch of instant coffee powder makes them mocha-like!
- Mix mini chocolate chips right into the Oreo filling before rolling.
- Need Allergy-Friendly?
- Gluten-Free: Use gluten-free sandwich cookies and GF chocolate.
- Vegan: Use Oreos (check the label, many are accidentally vegan!), vegan cream cheese (block style works best), and dairy-free chocolate. Texture might be slightly different, but still tasty!
- Fancy or Casual?
- Everyday: Plain chocolate dip is always a winner.
- Fancy: Drizzle with another color chocolate, use fancy sprinkles or edible glitter, add sea salt, or roll in chopped nuts after dipping (while wet).
- Holiday Time: Use colored candy melts (like orange for Halloween), holiday sprinkles, or add peppermint and crushed candy canes for Christmas!

Serving and Storing Your Goodies
Okay, you made ’em, now what?
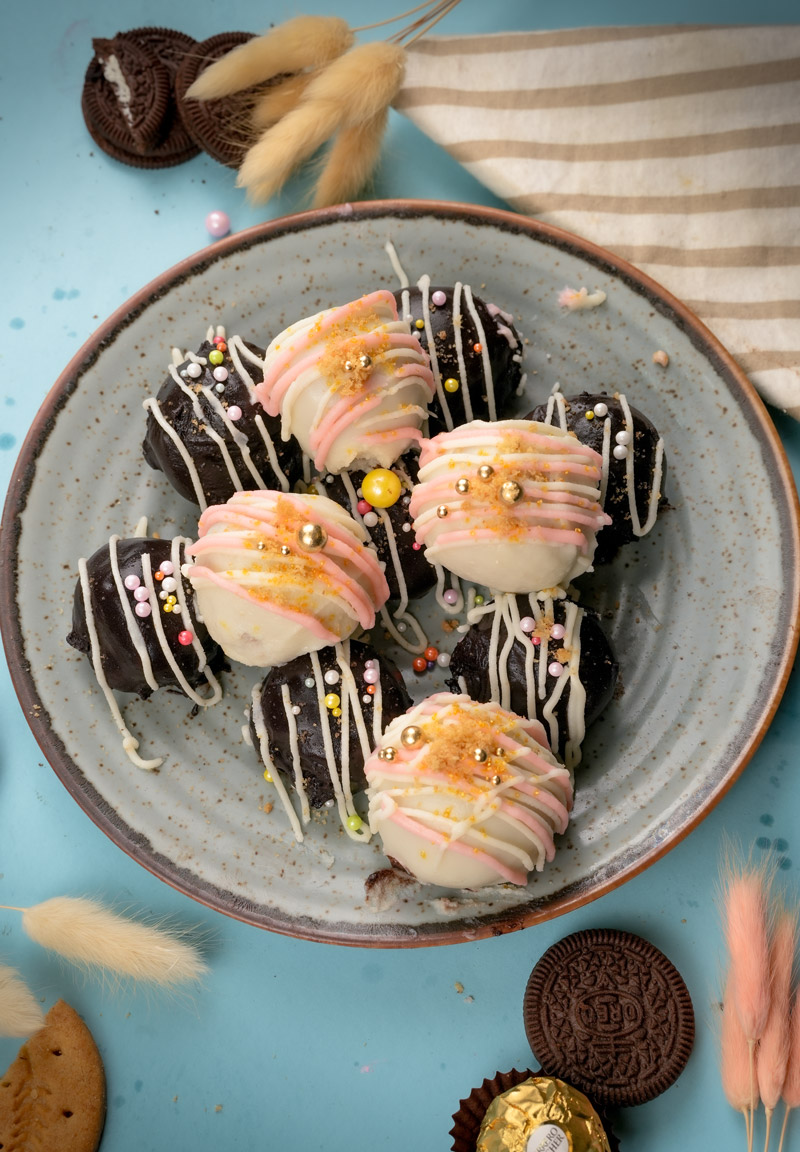
- Serving: They taste best chilled, right out of the fridge. That fudgy center and crisp shell are amazing cold. Put them on a pretty plate or in mini paper cups. Perfect with coffee or milk!
- Storing: Got leftovers? (Are leftovers even possible?) Keep them in an airtight container in the fridge. Cream cheese means they need to stay cold. Put wax paper between layers if you stack them. They’ll be good for up to a week, but honestly, they taste best in the first few days.
- Freezing: Yep! Once the chocolate is totally set, freeze them on the baking sheet until solid (about an hour). Then pop them into a freezer bag or container with wax paper between layers. They’ll keep for up to 2 months.
- Thawing: Just move them from the freezer to the fridge for a few hours before you want to eat them. Don’t thaw them on the counter, or the chocolate might get weird condensation spots.

And that’s it! Your own amazing, homemade Oreo Balls. I really hope you have fun making (and eating!) these. Happy treat making!
PrintOreo Balls

Seriously simple, seriously delicious! These no-bake Oreo balls have a rich, fudgy center and a crisp chocolate shell. Perfect for parties, holidays, or just because!
- Prep Time: 15 mins
- Cook Time: None
- Total Time: 1 hr (Included Chilling Time)
- Yield: 7–8 balls 1x
- Category: Dessert, No-Bake
- Cuisine: American
Ingredients
- 25–30 Regular Oreo Cookies (use the whole cookie!)
- 80g Cream Cheese (about 1/3 of an 8oz block), must be softened
- 40–50g Semi-Sweet Chocolate (chips, wafers, or chopped bar – use more if you like a thick coat!)
Instructions
- Crush the Oreos: Using a food processor or a sealed bag and rolling pin, crush the entire Oreo cookies (filling included!) into very fine crumbs. No big chunks allowed!
- Mix the Filling: In a medium bowl, mix the fine Oreo crumbs with the softened cream cheese. Stir well (a spatula or hand mixer works) until it’s all combined into a thick, dark dough. Don’t overmix!
- Roll ’em Up: Scoop out portions (about 1 tablespoon size) and roll gently between your hands into smooth balls. Place them on a baking sheet lined with parchment or wax paper. Makes about 7-8 balls.
- Chill #1 (Super Important!): Freeze the rolled balls for 15-20 minutes (or refrigerate 30-40 mins). They need to be firm for dipping! Don’t skip this!
- Melt the Chocolate: While balls chill, gently melt the chocolate. Microwave in short bursts (stirring often!) or use a double boiler until smooth. Let it cool slightly.
- Dip Away!: Dip each chilled Oreo ball into the melted chocolate, coating it completely (forks work great!). Let excess chocolate drip off by tapping the fork on the bowl edge.
- Place & Decorate (Optional): Place coated balls back onto the lined baking sheet. If you want sprinkles or toppings, add them now while the chocolate is wet.
- Chill #2 (The Final Set): Refrigerate the dipped balls for at least 30 minutes for the chocolate shell to harden completely.
Notes
- Serving: Best served chilled straight from the fridge! Great with coffee or milk.
- Tips & Tricks:
- Make sure cream cheese is soft for smooth mixing. Block-style works best!
- Crush Oreos really fine.
- The pre-dip chill is key to prevent them from falling apart in the warm chocolate.
- For easier dipping, use chocolate melting wafers or add ¼ tsp coconut oil to melting chips if they seem thick.
- Storage: Keep leftover Oreo balls in an airtight container in the refrigerator for up to 1 week. You can also freeze them for up to 2 months (thaw in the fridge).