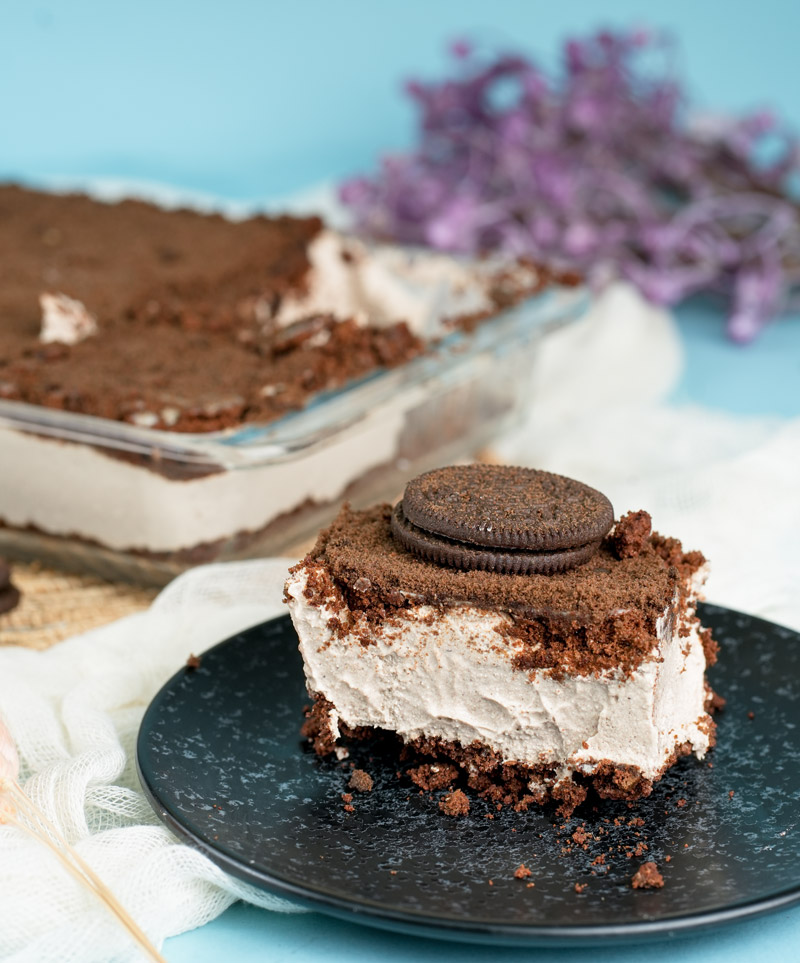
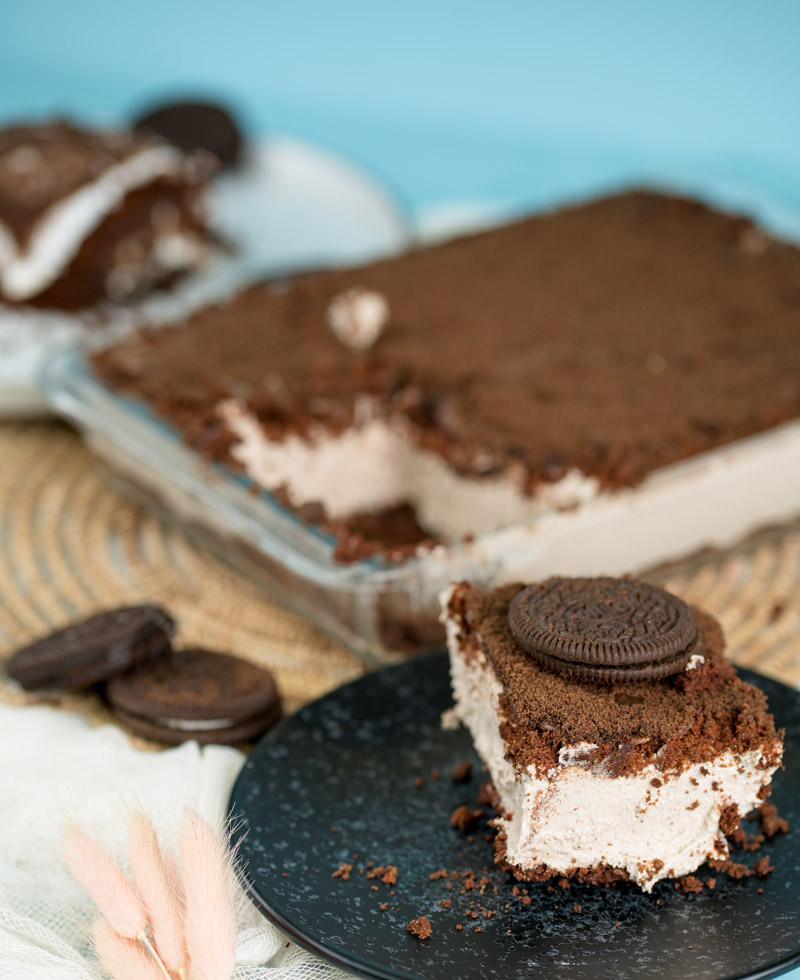
Hey everyone! Ready to whip up a dessert that’s seriously fun and crazy delicious? We’re talking about the Easy Oreo Dirt Cake.
If you haven’t tried it, picture this: layers of creamy, dreamy filling mixed with crunchy Oreo bits. It looks just like a pot of dirt, especially if you add some gummy worms wriggling through! Kids love it. Adults love it. Honestly, it’s always a winner at parties, birthdays, or just because.
Now, you can find different takes on this cake. Some use vanilla pudding, some less Oreos. But this version? It’s all about that deep chocolate flavor, thanks to chocolate pudding. And we don’t skimp on the Oreos! We want maximum crunch, maximum “dirt” effect.
The best part? It’s a No Bake Oreo Dessert. You mix it up in about 10 minutes, then let your fridge do the heavy lifting. It tastes like you slaved away for hours, but it’s super simple.
Ready to dig in? Let’s get baking… well, not baking!
What You’re Getting Into
Here’s a quick look at the process:
| Detail | Time/Amount | Notes |
|---|---|---|
| Prep Time | 10 minutes | Seriously, that’s it for assembly! Fast, right? |
| Chill Time | 4 hours (minimum) | This is where the magic happens. Gotta let it set! |
| Total Time | 4 hrs, 10 mins | From starting to the first yummy bite. |
| Servings | About 15 people | Great for a crowd! |
| Difficulty | Easy Peasy | Perfect if you’re new to desserts or just want something simple. |
Want to change the size?
- Smaller Batch: Cut everything in half. An 8×8 inch pan should work great.
- Double Batch: Wow, feeding an army? You’ll need a really big pan, or just use two 9×13 pans.
What Gear Do You Need?
- Big bowl(s) for mixing
- An electric mixer (handheld is fine, stand mixer works too – helps get things smooth!)
- A spatula (for folding and spreading)
- Measuring cups and spoons (gotta be accurate!)
- A 9×13 inch pan (or similar size serving dish)
- A food processor (the fastest way to crush Oreos). Or: A big zip-top bag and something heavy like a rolling pin.
Can I Make It Ahead?
Absolutely! This dessert is perfect for making the day before. The flavors actually get better overnight. Quick tip: If you want the top layer of Oreos super crunchy, maybe wait to sprinkle those on right before you serve it.
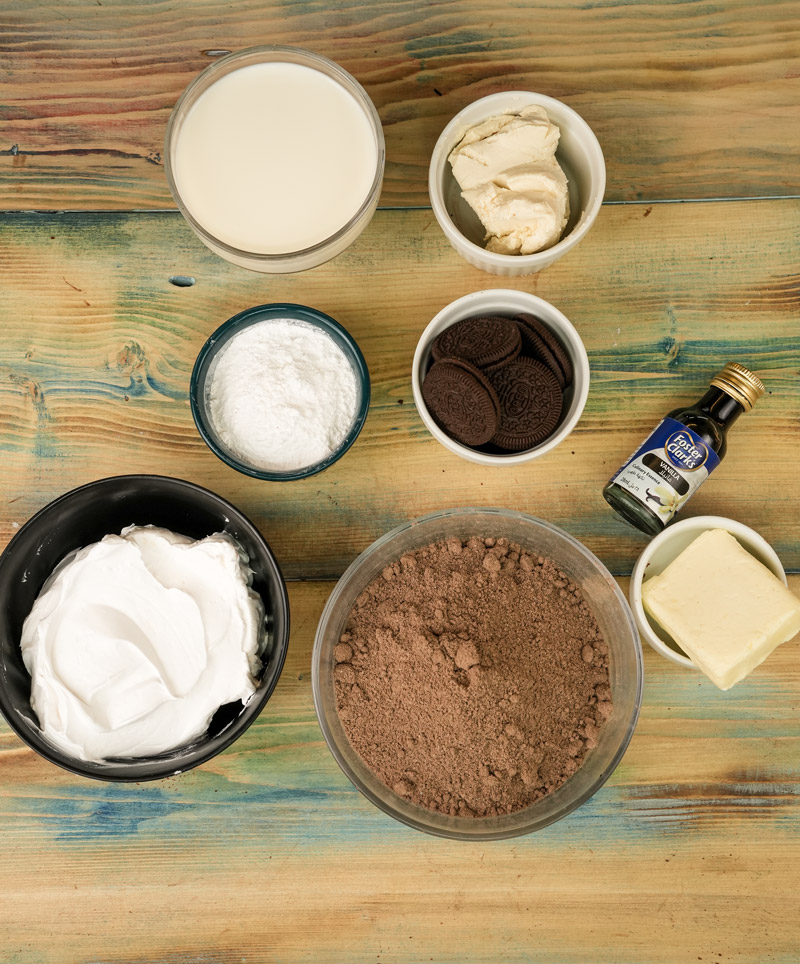
The Good Stuff: Ingredients
Okay, let’s round up what you need. This recipe uses a few key things to make it extra rich and Oreo-packed.
- Oreo Cookies: The star! You’ll need 2 to 3 family-size packages. Yup, it sounds like a lot, but trust me. It makes the best “dirt.” Regular Oreos are perfect. No need for Double Stuf (unless you really want to!).
- Salted Butter: 1/3 cup. Make sure it’s soft – leave it out on the counter for a bit. Soft butter = smooth filling. The saltiness balances the sweet stuff.
- Cream Cheese: 1/2 cup. Also needs to be soft! Use the block kind, not the tub kind. We use a bit less cream cheese than some recipes, letting the chocolate and Oreos be the heroes.
- Powdered Sugar: 1 ½ cups. This makes it sweet and dissolves easily. No grainy texture here!
- Vanilla Extract: 1 teaspoon. Just a splash makes everything taste better.
- Frozen Whipped Topping (like Cool Whip): 1 cup. Let this thaw in the fridge before you start. If you’re feeling ambitious, you could whip your own real cream (about 1.5 cups sweetened), but Cool Whip works great and is easy.
- Instant Chocolate Pudding Mix: 1/4 cup. Chocolate pudding makes this version extra decadent. Make absolutely sure it says instant on the box. Not the cook-and-serve kind! We’re using just a bit, which gives it a unique texture.
- Whole Milk: 1 cup. Needs to be cold! This is super important for making the instant pudding thicken up properly.
- (Optional Fun!) Gummy Worms: A handful, if you want that classic worms-in-the-dirt vibe!
Let’s Get Our Hands Dirty (The Steps!)
Alright, got everything? Let’s turn this pile of ingredients into dessert magic. Think of it like building with delicious blocks.
1. Making the Oreo “Soil” (Crust Time!)
- First up: Oreos! Grab those 2-3 packages. We need to turn them into crumbs – cream filling and all!
- Got a food processor? Awesome. Toss the cookies in and pulse ’em up until they look like chunky dirt. Don’t go too fine; some bigger bits are nice for texture. Think coarse crumbs, like potting soil.
- My first time making this, I didn’t have a food processor. I put the Oreos in a zip-top bag and whacked them with a rolling pin. Totally works, but whew, it’s an arm workout! The food processor is way faster.
- No food processor? Use the bag method! Put cookies in a strong zip-top bag (maybe do it in batches), seal it, and crush away with a rolling pin or heavy can. It’s kinda fun!
- Super Important Step: Scoop out about 1 full cup of these Oreo crumbs. Put them in a little bowl and set them aside. These are for the topping later. Don’t mix them up!
- Okay, back to the rest of the crumbs. Melt your 1/3 cup salted butter. Drizzle it all over the main batch of crumbs.
- Use a fork or spatula to mix it all up. You want all the crumbs to be a little moist and darker, like damp earth. Get it nice and even.
- Grab your 9×13 inch pan. Dump the buttered crumbs in. Press them down firmly and evenly across the bottom. Use the bottom of a glass or your hands. This is your base layer!
- Stick the pan in the fridge to chill while you make the filling. This helps the crust set up.
2. Whipping Up the Creamy Cloud
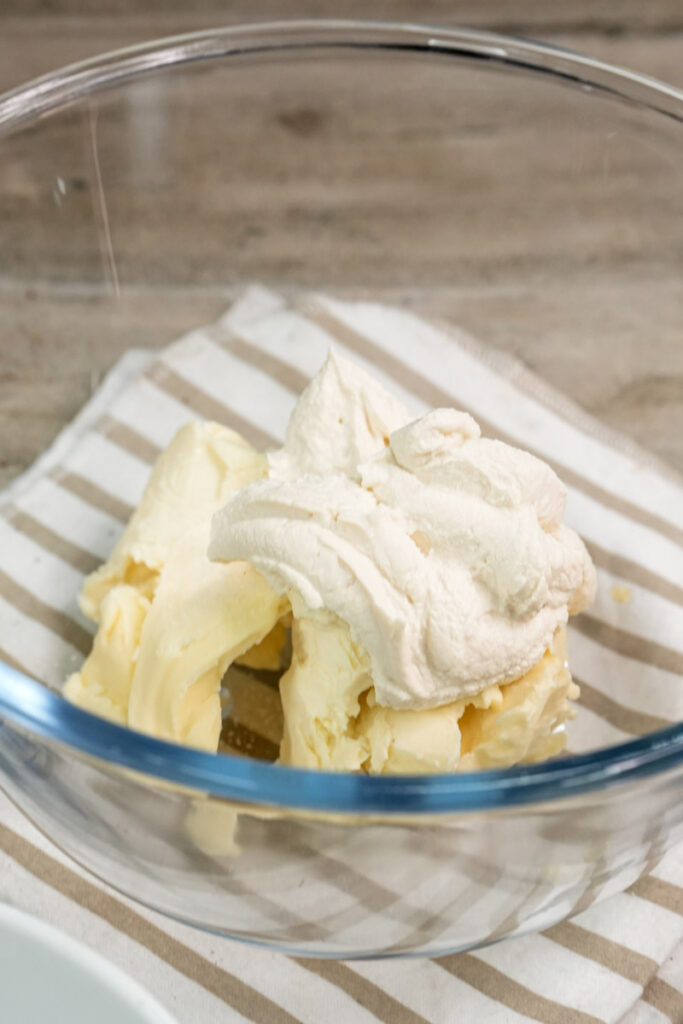
- In a big mixing bowl, put your softened 1/2 cup cream cheese and softened 1/3 cup salted butter. Remember, soft is key! No cold chunks allowed.
- Grab your electric mixer. Start on low, then crank it up to medium-high. Beat the butter and cream cheese until they’re totally smooth, light, and fluffy. No lumps! Stop and scrape the sides of the bowl sometimes so everything gets mixed in. This might take a minute or two.
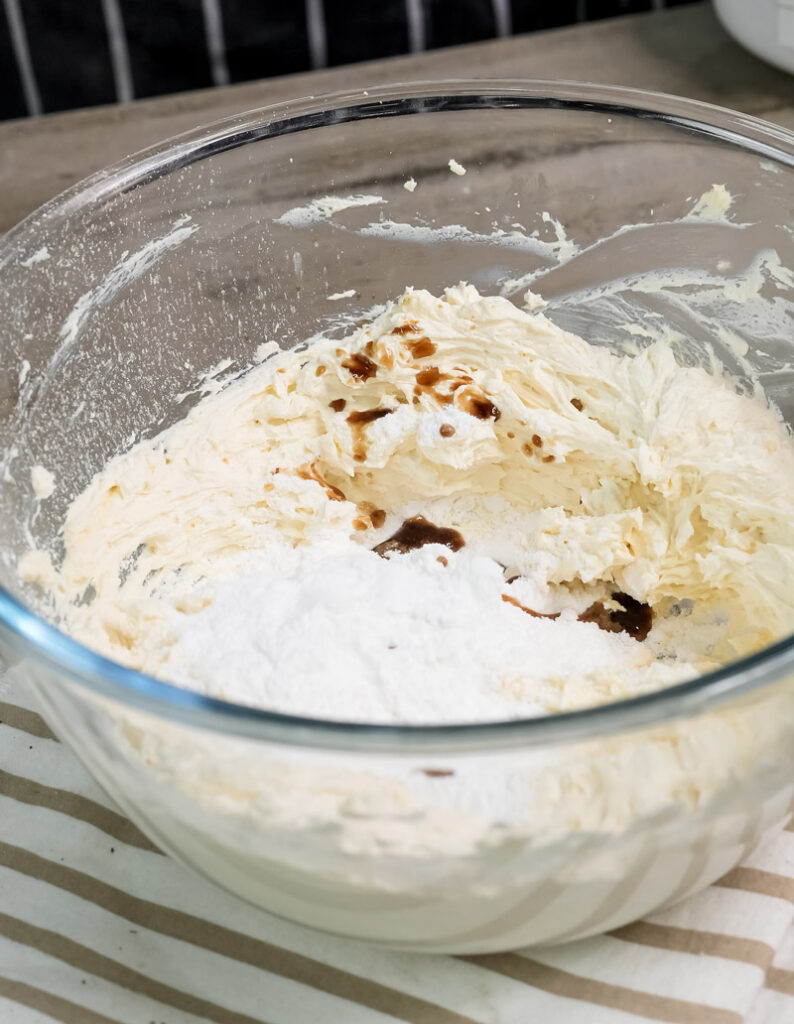
- Pour in the 1 ½ cups powdered sugar and the 1 teaspoon vanilla. Mix on low first (so sugar doesn’t fly everywhere!), then back up to medium-high. Beat for another minute or two until it looks even fluffier. Like a sweet cloud. Go ahead, sneak a taste. So good.
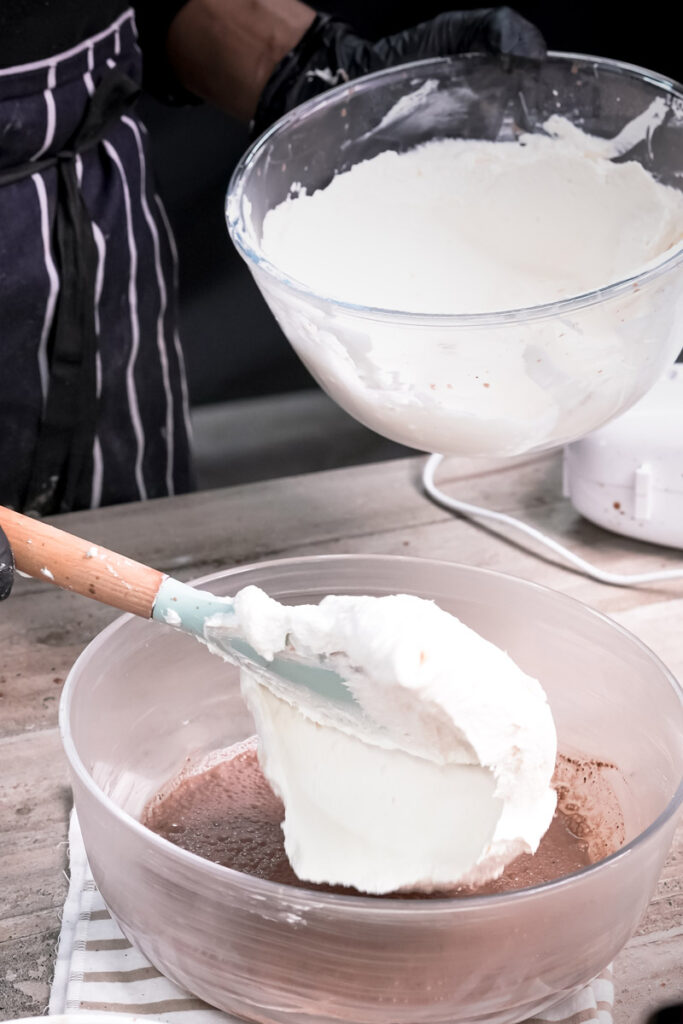
- Time for the 1 cup thawed whipped topping. Add it to the bowl. Put away the mixer now! We need to be gentle.
- Use your spatula to fold the whipped topping in. How to fold? Cut down the middle, scrape along the bottom, lift, and fold it over the top. Turn the bowl, repeat. Keep doing this gently until you don’t see white streaks anymore. We want to keep it light and airy! Set this bowl aside.
3. Mixing the Chocolate Magic
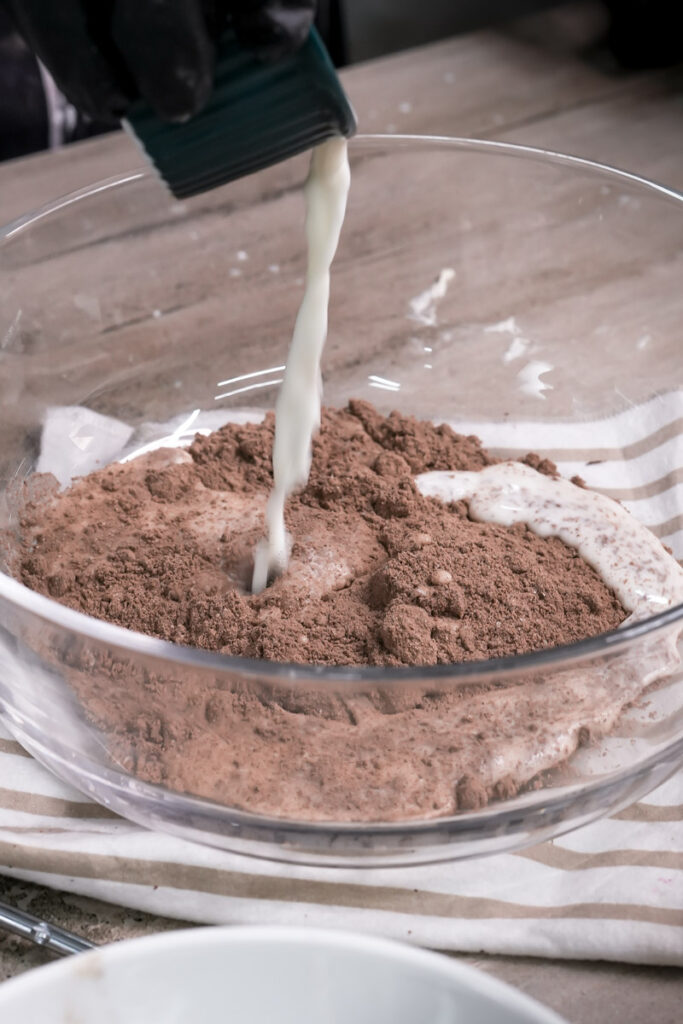
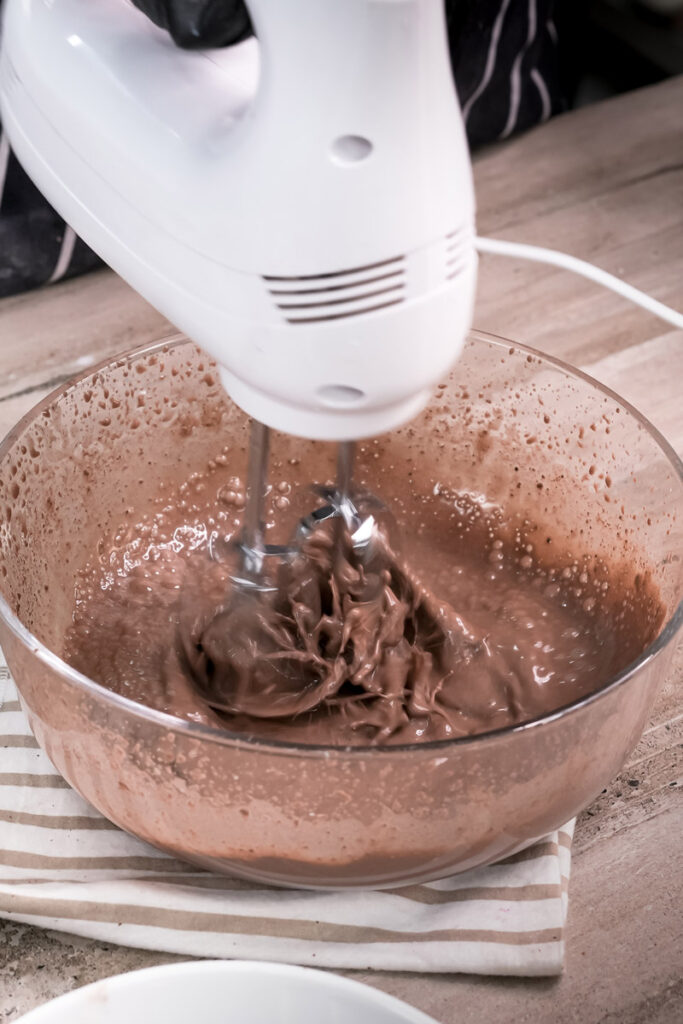
- Get another medium bowl. Pour in the very cold 1 cup whole milk. Cold milk = pudding success!
- Sprinkle the 1/4 cup instant chocolate pudding mix over the milk.
- Grab a whisk and go! Whisk it hard for about 2-3 minutes straight. You’ll feel it getting thicker. It should coat the back of a spoon or hold soft mounds. Don’t stop whisking too soon! Make sure it’s thick. You’ll smell that yummy chocolate!
- Bring back your cream cheese mixture bowl. Gently scrape the thick chocolate pudding into the cream cheese mixture.
- Guess what? Time to fold again! Use that spatula. Gently fold the chocolate pudding into the cream cheese mix until it’s all one color and creamy. No vigorous stirring! Keep it fluffy.
4. Building Your Masterpiece & Chilling Out
- Get your pan with the chilled Oreo crust out of the fridge. The crust should feel firm.
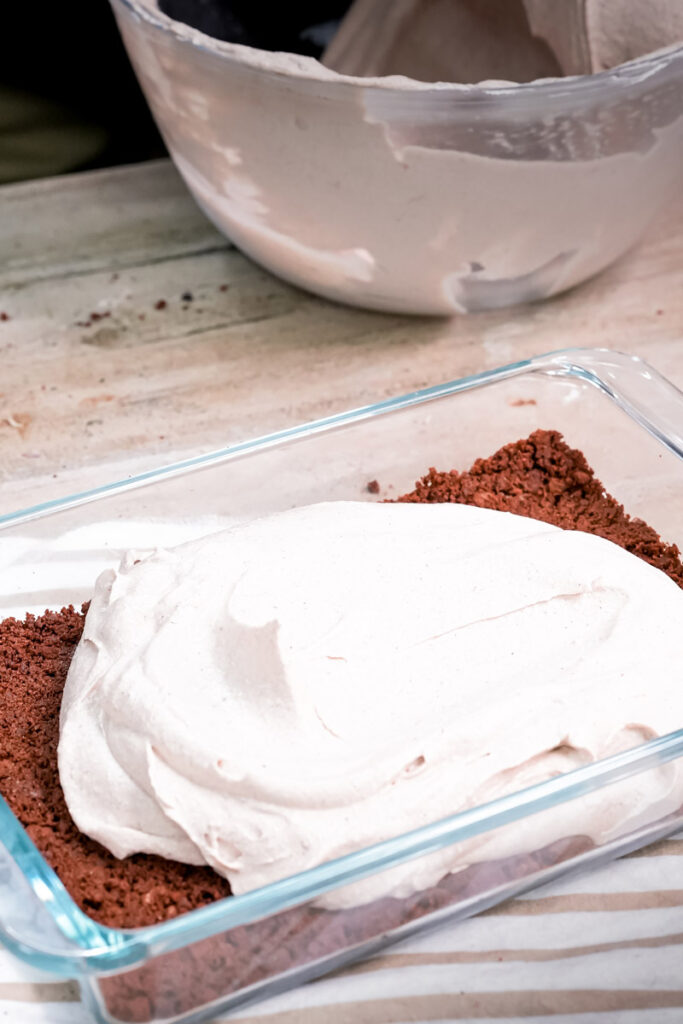
- Spoon or gently pour the amazing chocolate filling over the crust. Try to spread it out a bit as you pour.
- Use your spatula to gently spread the filling evenly all the way to the edges. Try not to disturb the crust layer too much. Smooth the top. It doesn’t have to be perfect; we’re covering it anyway!
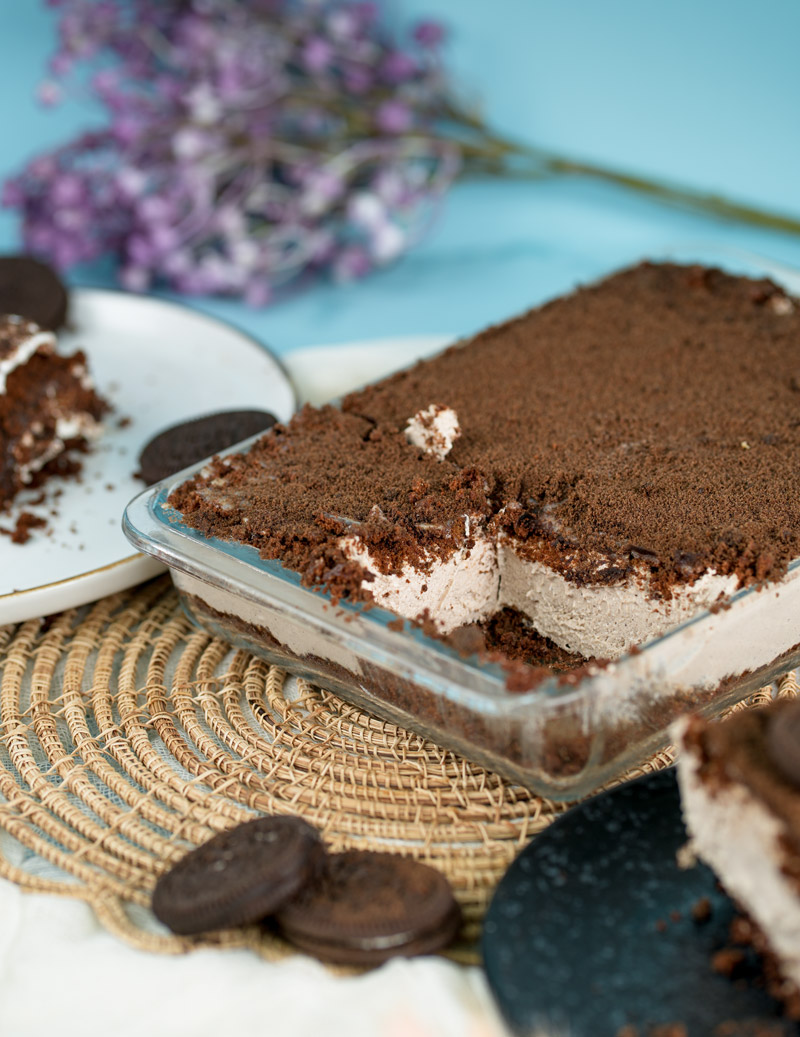
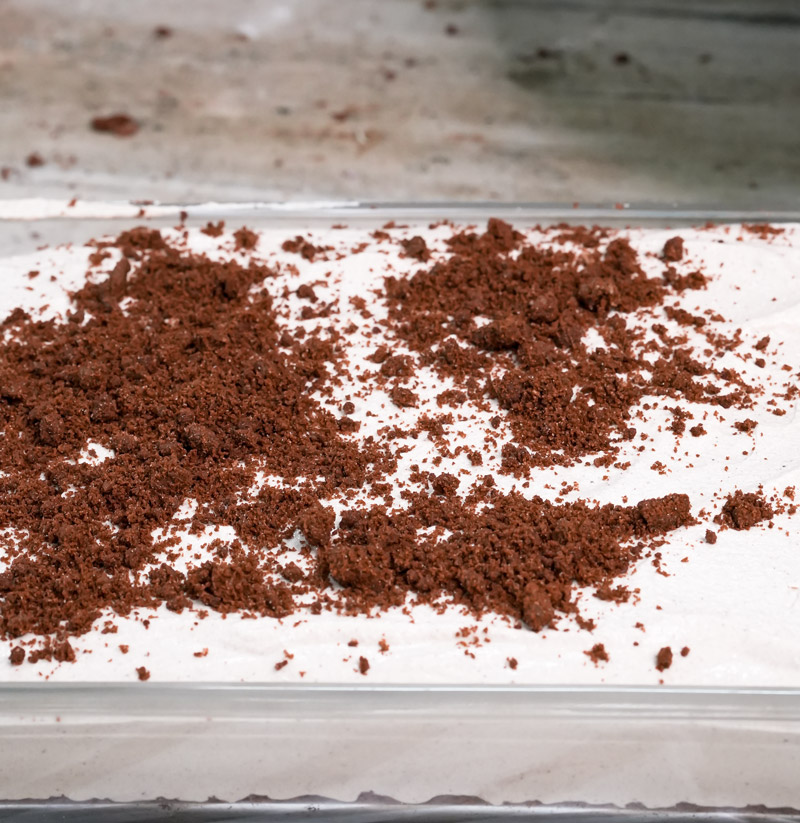
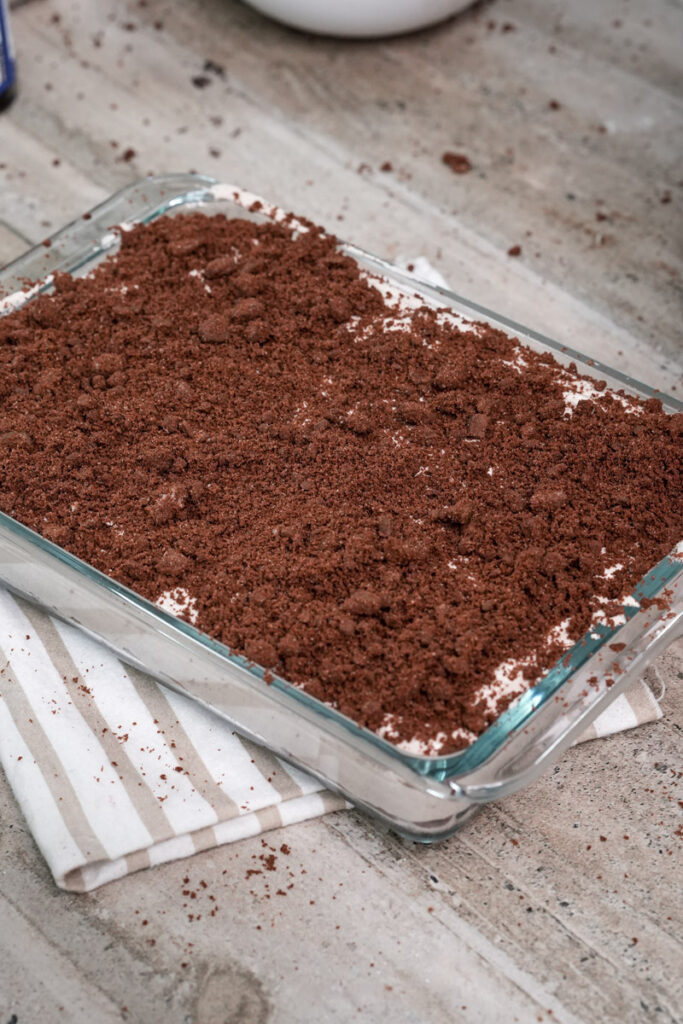
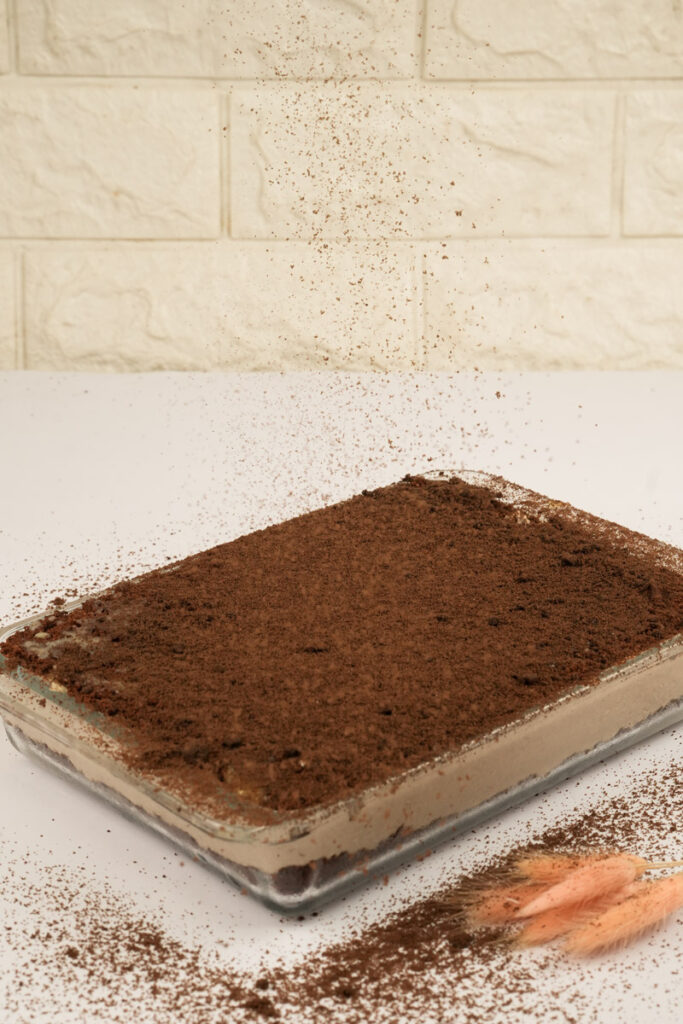
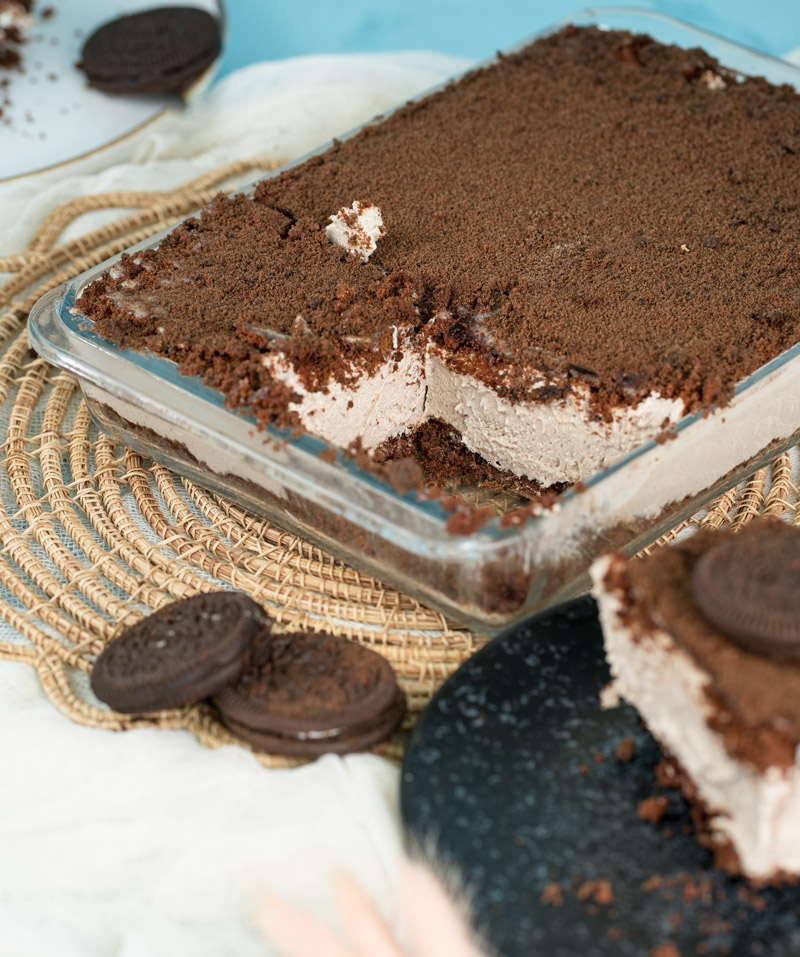
- Remember those reserved Oreo crumbs? Their moment has arrived! Sprinkle them all over the top of the filling. Cover it completely. This is your final “dirt” layer. Looks awesome, right?
- Cover the pan loosely with plastic wrap or a lid. Now, the hard part: waiting! Put your beautiful Easy Oreo Dirt Cake in the fridge. It needs to chill for at least 4 hours. This lets the filling set up so you can scoop it nicely.
- Honestly? Letting it chill overnight is even better. The flavors really hang out and get tastier. Patience, my friend!
Let’s Play in the Dirt (Fun Twists!)
This cake is super easy to change up. Here are some fun ideas:
- Pudding Swaps: Not feeling chocolate? Try instant vanilla or white chocolate pudding instead. French vanilla is also really popular for a richer taste.
- Need it Gluten-Free? Easy! Just use gluten-free chocolate sandwich cookies instead of Oreos. Double-check your pudding and whipped topping are GF too.
- Vegan/Dairy-Free? This is a bit trickier. You’d need vegan “Oreos,” plant-based butter, vegan cream cheese, non-dairy milk (like almond or soy) for the pudding (check the pudding mix is vegan!), and a vegan whipped topping. The texture might be a little different, but it could work!
- Add Some Crunch or Flavor:
- Nuts: Mix chopped pecans or walnuts into the crust or sprinkle them on top.
- Candy: Fold mini chocolate chips or chopped peanut butter cups into the filling. M&Ms on top look fun too!
- Fruit: Maybe swirl in some raspberry sauce? Or fold in fresh berries? Just be careful not to add too much liquid.
- Make it Look Cool:
- Trifle Bowl: Layer everything in a big glass bowl to show off the stripes! Alternate crumbs and filling, end with crumbs. Looks fancy!
- Individual Cups: Make single servings in clear cups or jars. Perfect for parties!
- The Classic Pail: Find a clean, new sand pail and serve it right in there with a shovel! So fun for kids.
- “Sand” Cake: Use Golden Oreos instead of chocolate ones for a beach theme!
Serving and Storing Your Dirt Cake
You did it! Time to enjoy.
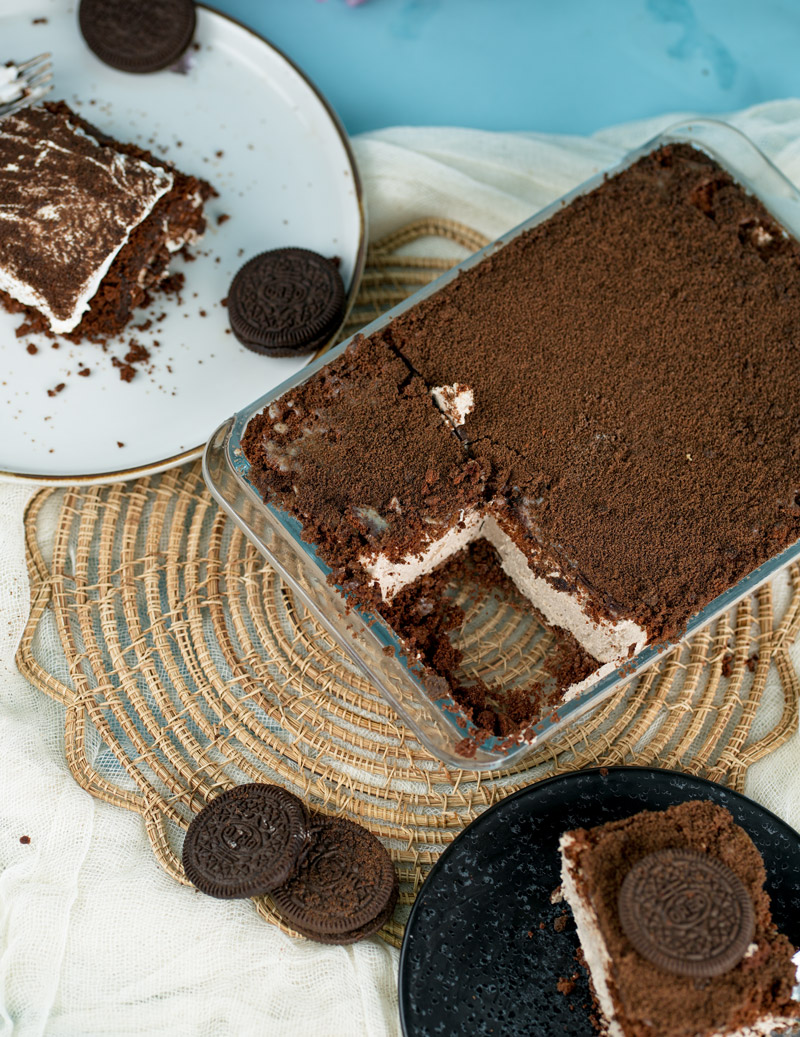
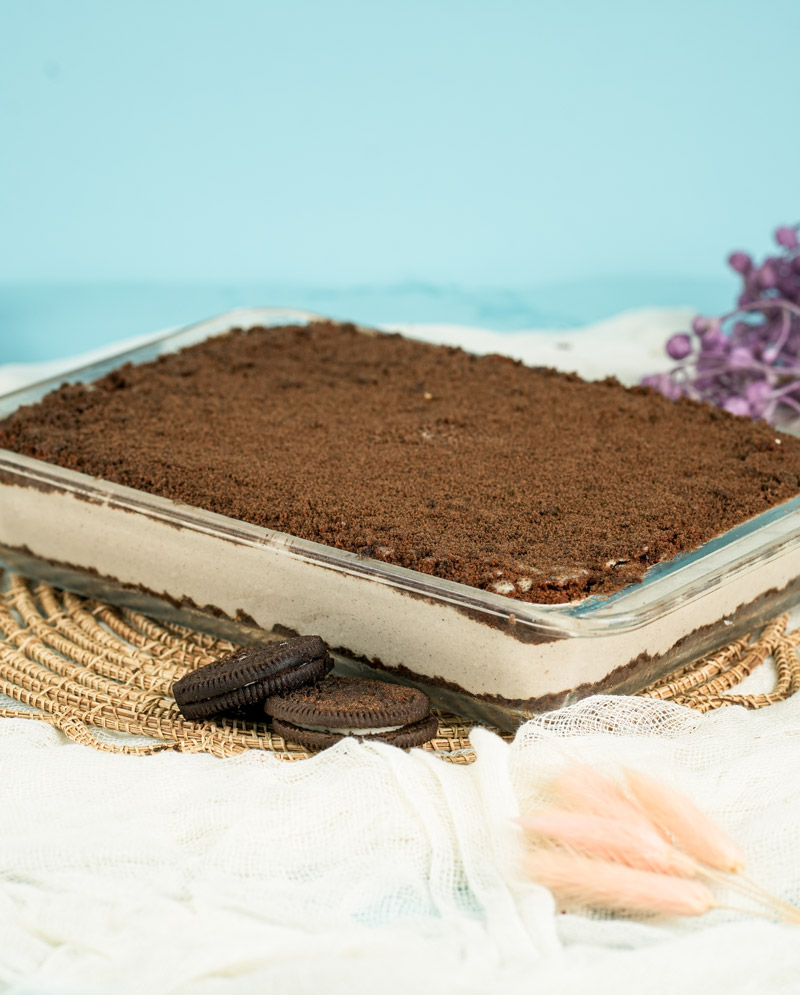
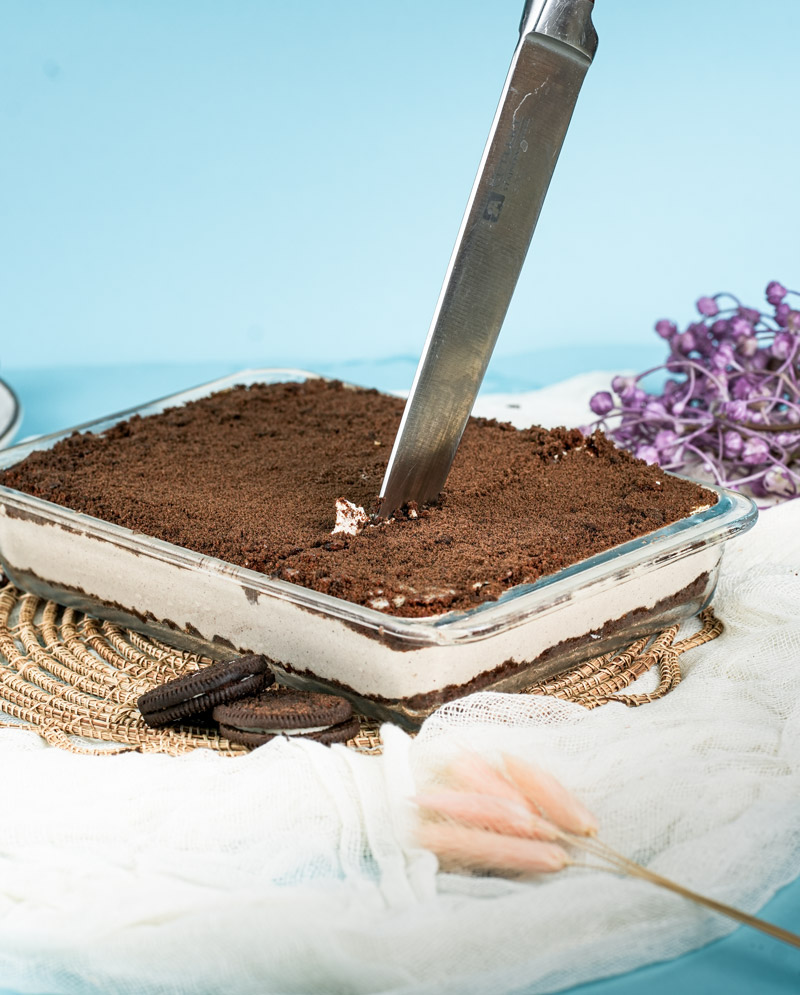
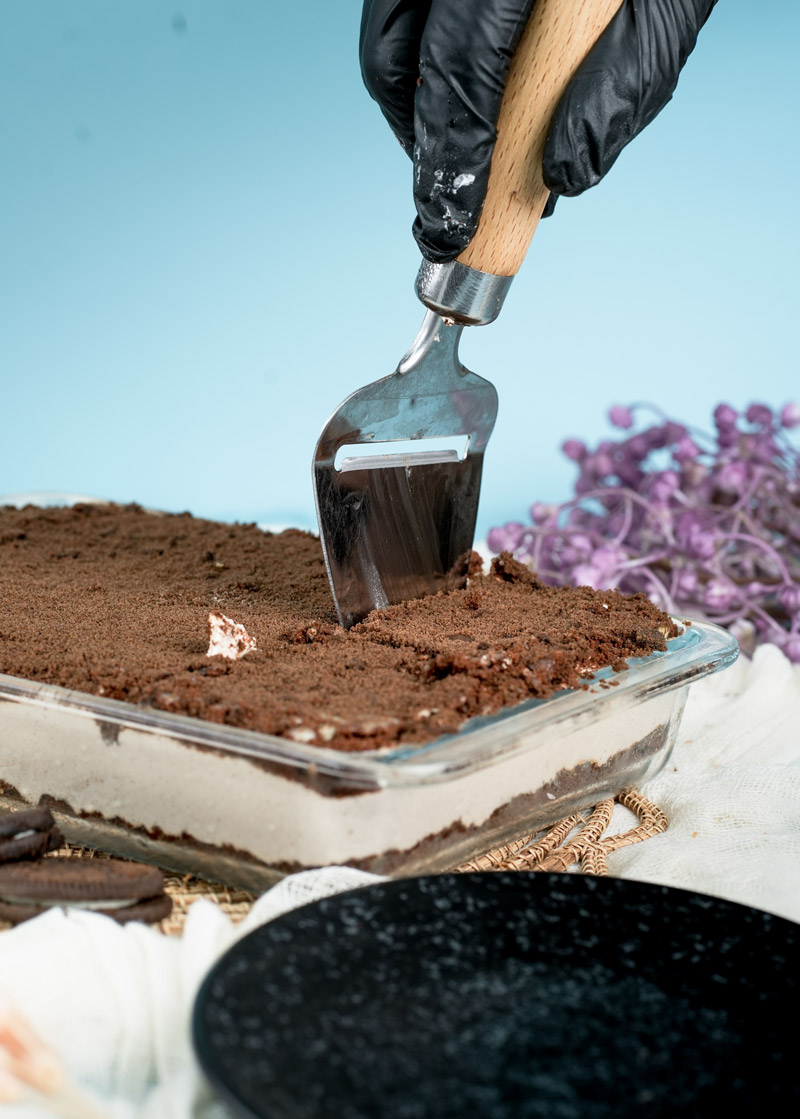
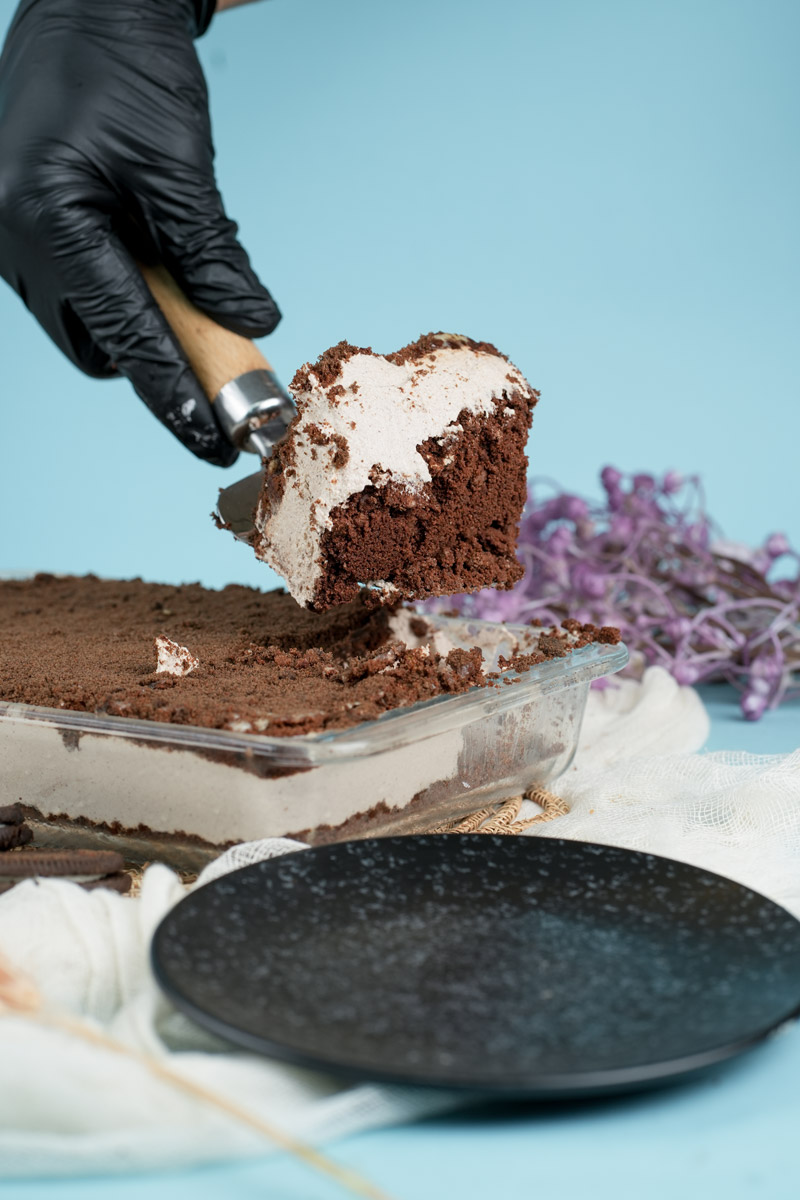
- Serving: Serve this Easy Oreo Dirt Cake cold, right out of the fridge. If you’re using gummy worms, put them on top just before serving so they look their best. You can scoop it out like pudding or cut it into squares if it’s firm enough. It’s perfect all by itself!
- Storing Leftovers: Cover the pan tightly (plastic wrap, foil, or a lid) and keep it in the fridge. It should be good for about 3 days. Heads up: the Oreo crumbs will get softer over time as they soak up moisture from the filling. Still tasty, just less crunchy!
- Freezing? Hmm, probably not the whole cake. The filling can get a bit weird and watery when it thaws. But… you can freeze leftover portions and eat them frozen or partly frozen. Kinda like an ice cream cake! Works surprisingly well.
- Make-Ahead Reminder: Like I said, making this the day before is a great idea. If you want that top layer of Oreos super crunchy, just wait to add them until right before serving.
Now go ahead, grab a spoon, and dig into your amazing homemade Oreo Dirt Pudding Cake! It’s proof that easy can be incredibly delicious and fun. Enjoy!
PrintOreo Dirt Cake
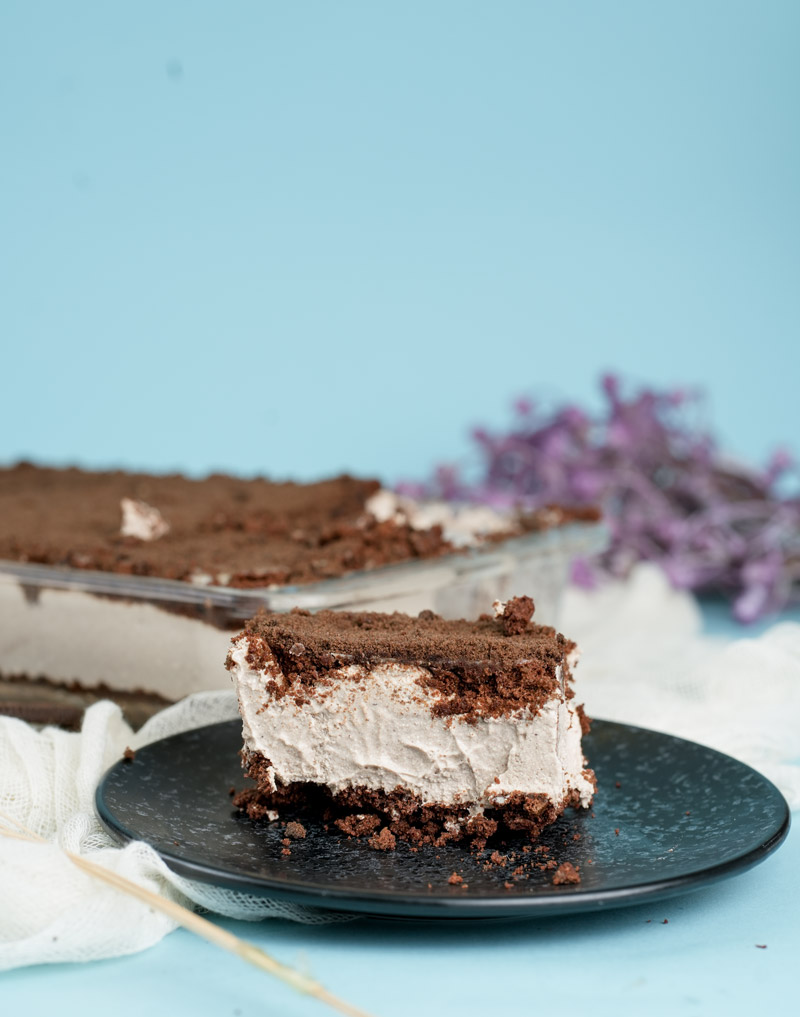
Get ready for layers of creamy chocolate filling and crunchy Oreo “dirt”! This super fun, no-bake dessert is a guaranteed crowd-pleaser. Looks like dirt, tastes like heaven! Perfect for parties or just because.
- Prep Time: 10 mins
- Cook Time: None
- Total Time: 4 hrs 10 mins (Included Chilling Time)
- Yield: 15 1x
- Category: Dessert
- Cuisine: American
Ingredients
- 2–3 family-size packages Oreo cookies
- 1/3 cup salted butter, melted (for crust) + 1/3 cup salted butter, softened (for filling)
- 1/2 cup cream cheese, softened (block style)
- 1 ½ cups powdered sugar
- 1 tsp vanilla extract
- 1 cup frozen whipped topping (like Cool Whip), thawed
- 1/4 cup instant chocolate pudding mix (not cook & serve)
- 1 cup cold whole milk
- (Optional) Gummy worms for decoration
Instructions
- Make Oreo Crumbs: Crush the entire Oreo cookies (filling too!) into crumbs using a food processor or a bag and rolling pin. Don’t make it powder – leave some small bits!
- Reserve & Make Crust: Scoop out 1 cup of crumbs and set aside for the topping. Mix the remaining crumbs with the 1/3 cup melted butter. Press this mixture firmly into the bottom of a 9×13 inch pan. Chill the crust in the fridge while you make the filling.
- Creamy Base: In a large bowl, beat the 1/3 cup softened butter and 1/2 cup softened cream cheese with an electric mixer until smooth and fluffy. No lumps!
- Sweeten It Up: Beat in the powdered sugar and vanilla extract until light and combined.
- Fold It In: Gently fold in the thawed whipped topping with a spatula until just combined. Don’t stir wildly – keep it airy! Set aside.
- Make Pudding: In a separate bowl, whisk the 1 cup cold milk and 1/4 cup instant chocolate pudding mix for about 2-3 minutes, until it’s nice and thick.
- Combine Fillings: Gently fold the thickened chocolate pudding into the cream cheese mixture until everything is smooth and one color.
- Layer It Up: Spread the creamy chocolate filling evenly over the chilled Oreo crust in the pan.
- Top & Chill: Sprinkle the reserved 1 cup of Oreo crumbs evenly over the top. Cover the pan and chill in the refrigerator for at least 4 hours (or overnight is even better!) until firm.
Notes
- Serving: Serve cold! Add gummy worms right before serving for fun. Scoop or cut into squares.
- Get Ahead: This is perfect to make a day in advance. Flavors get even better! If you want extra crunchy topping, add the reserved crumbs just before serving.
- Storage: Keep leftovers covered tightly in the fridge for up to 3 days. The crumbs will soften over time, but it still tastes great!
- Freezing? Not recommended for the whole cake (texture can get weird). But you can freeze individual slices and eat them frozen/semi-frozen like ice cream cake!
- Variations: Try vanilla pudding, add mini chocolate chips, or serve in individual cups!