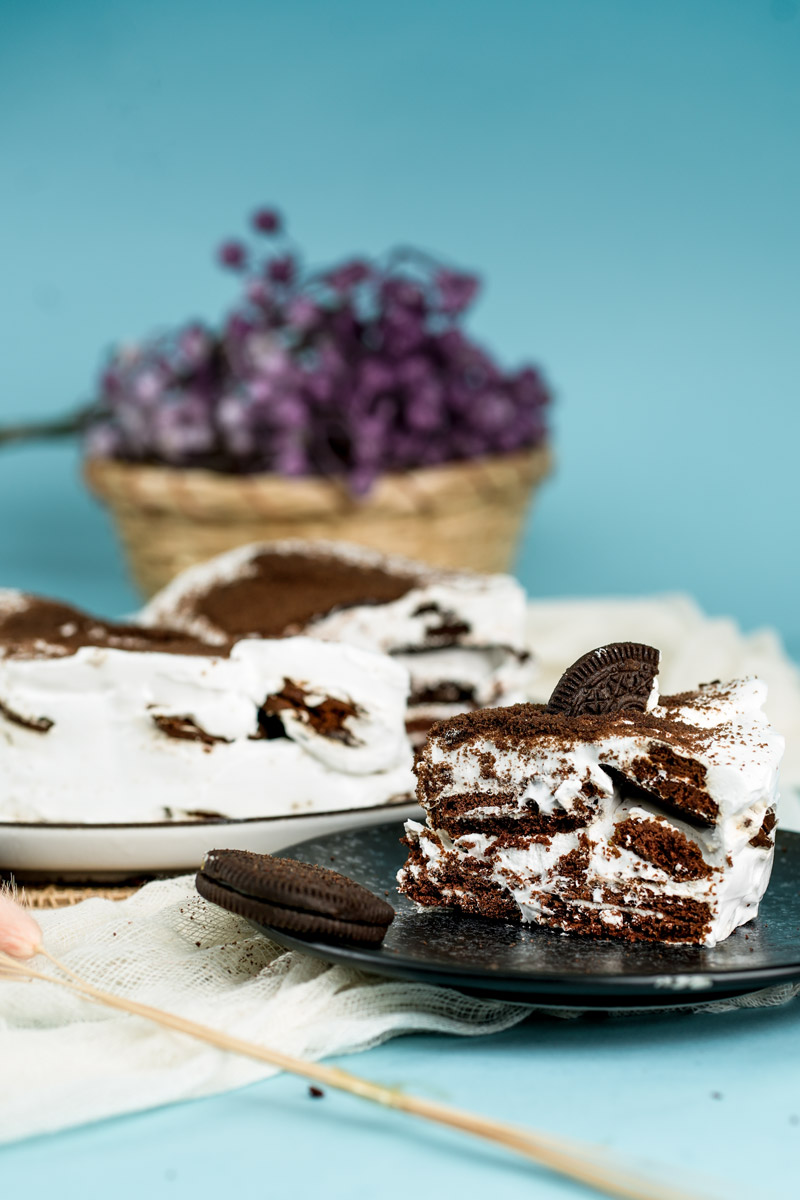
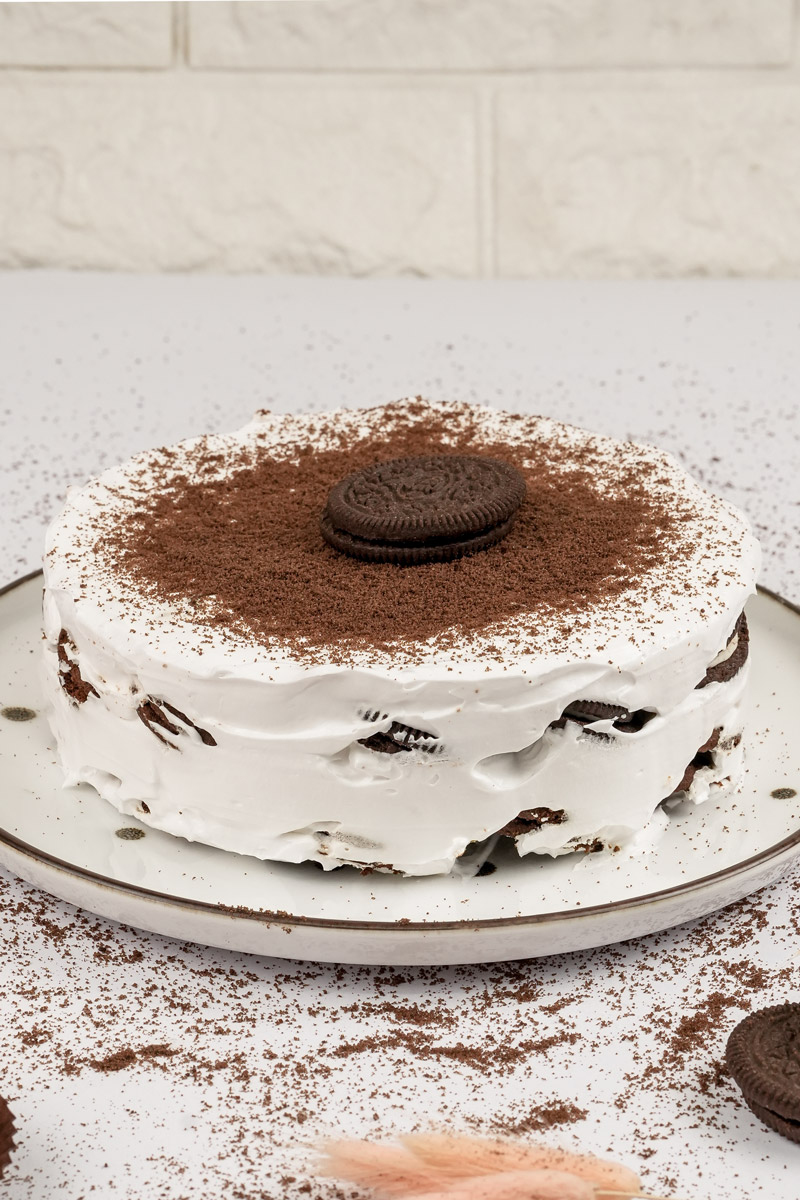
Hey dessert fans! Ready to whip up something seriously delicious without breaking a sweat? Today, we’re making an Oreo Icebox Cake. Trust me, it’s amazing.
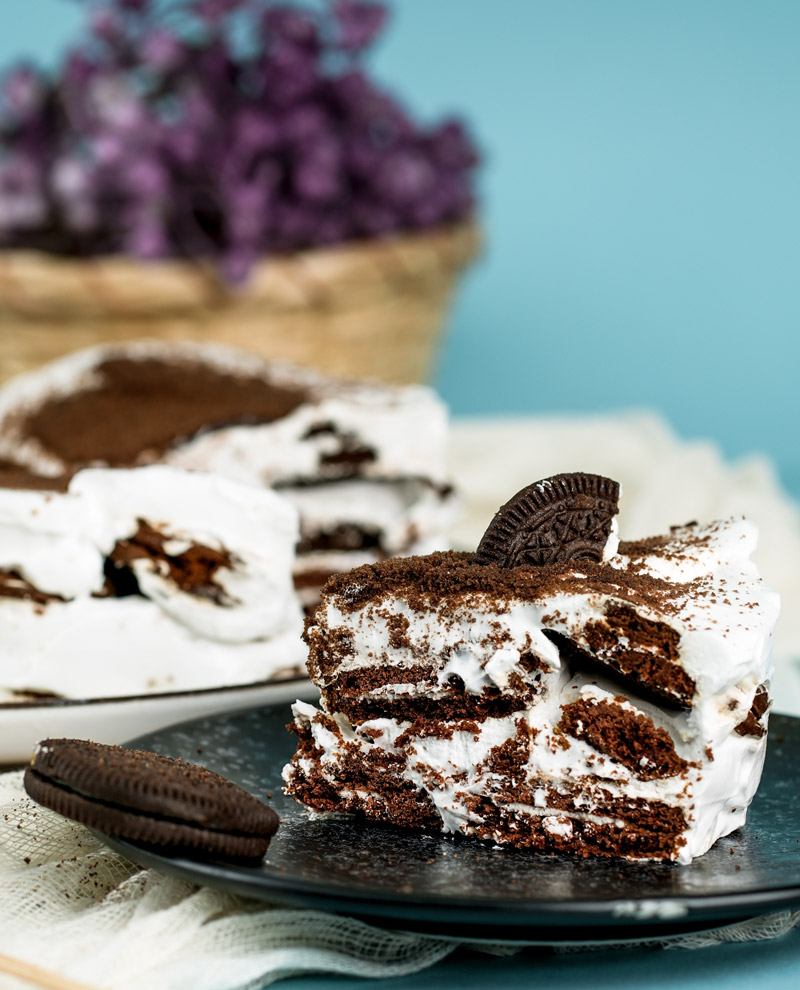
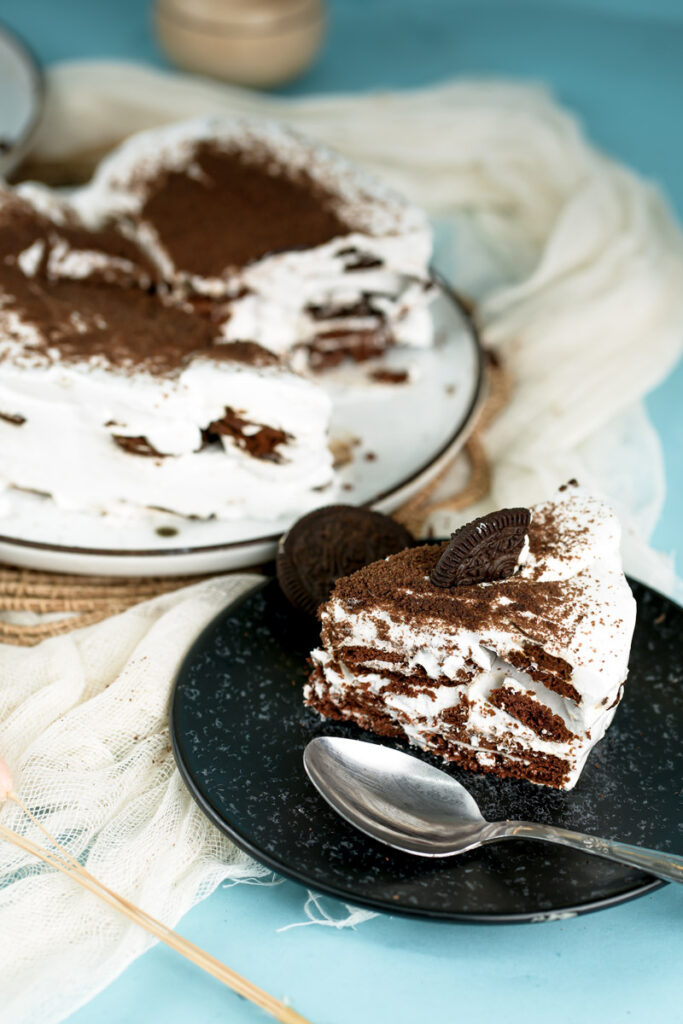
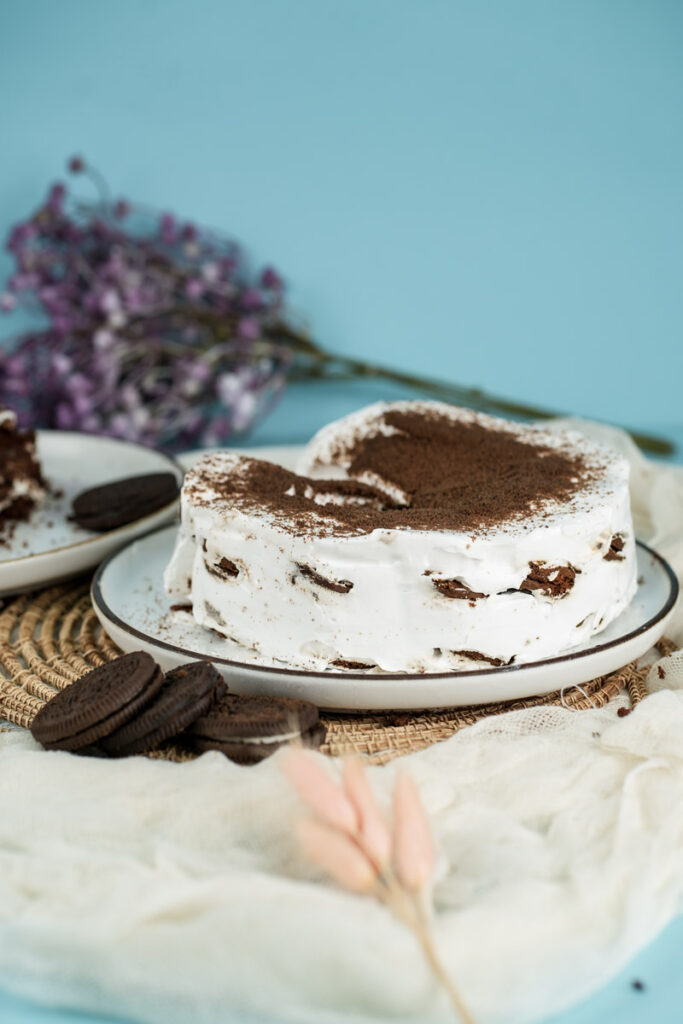
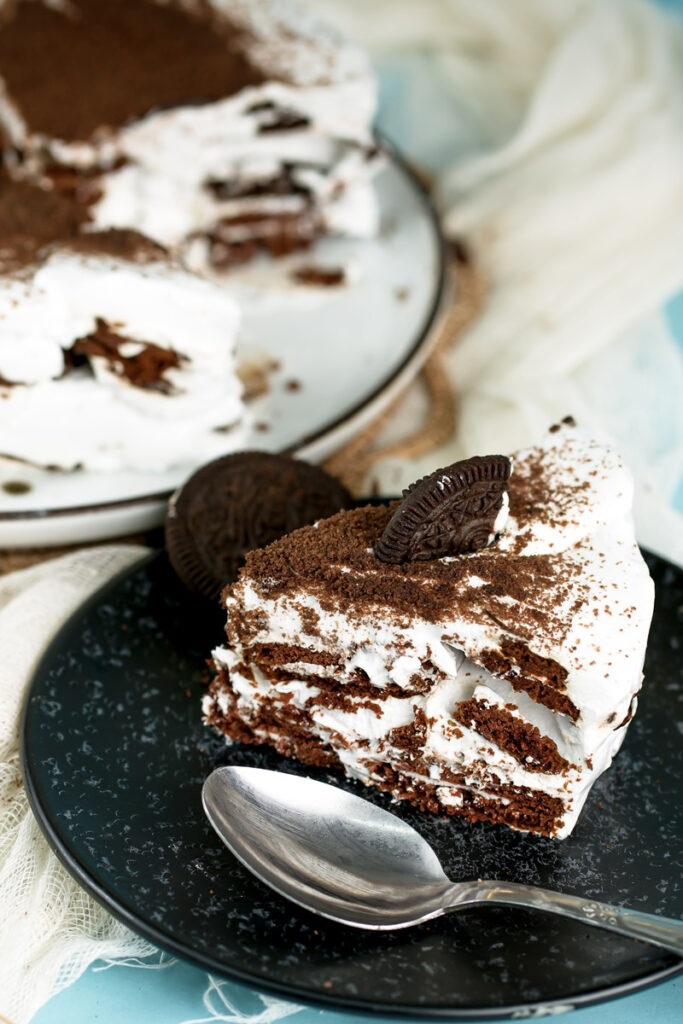
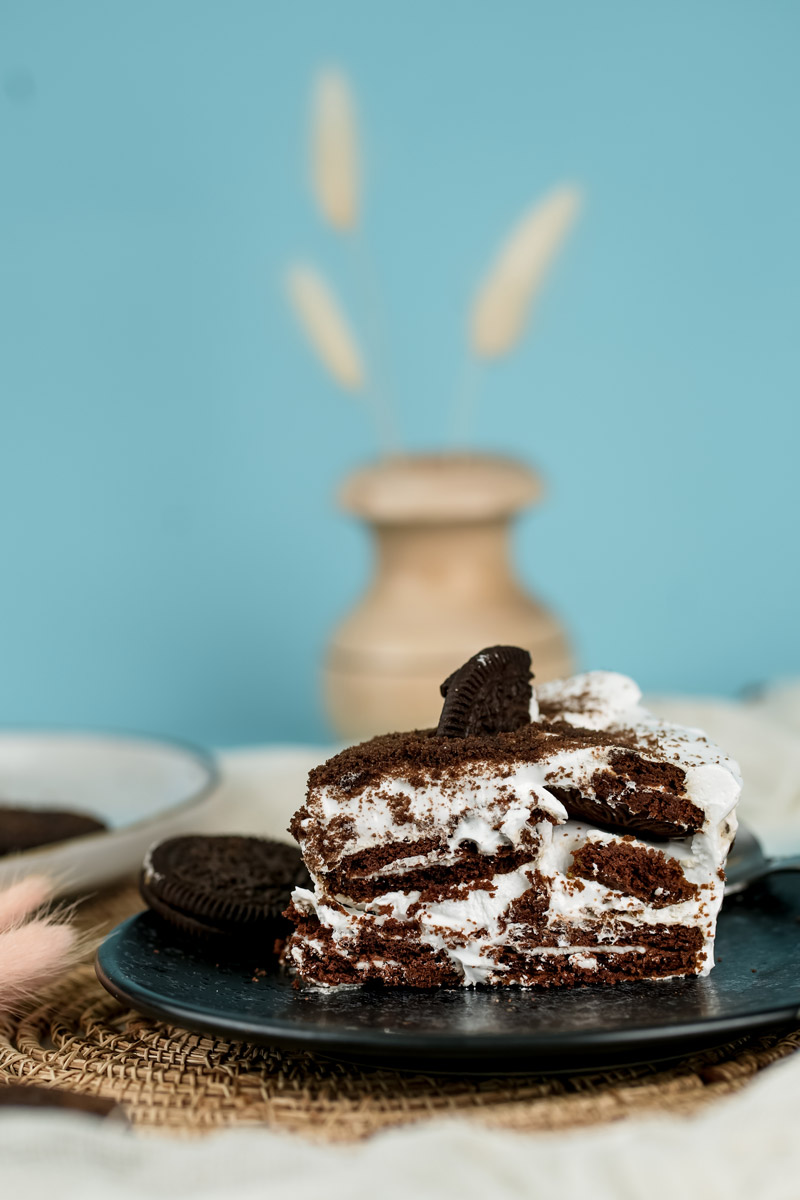
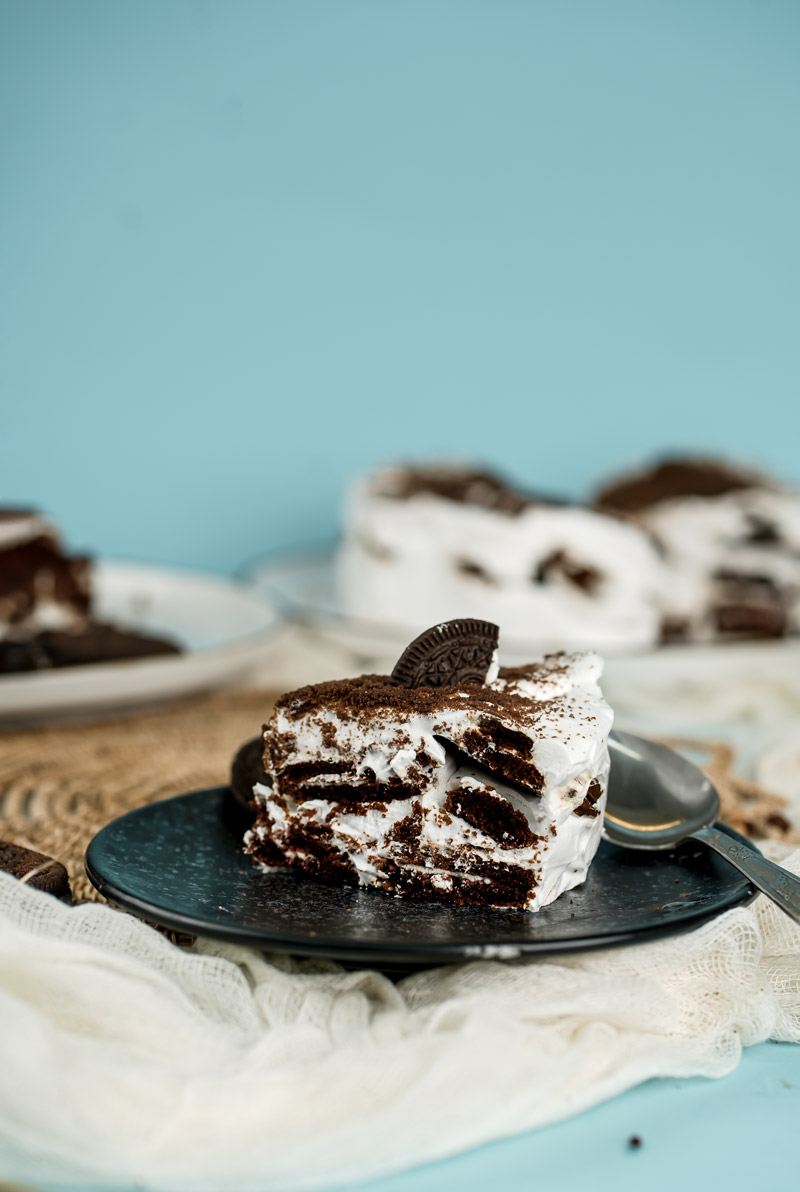
Never had one? Picture this: layers of Oreos getting all soft and cake-like, snuggled up with sweet, fluffy whipped cream. It’s heavenly.
You know, icebox cakes are actually a cool blast from the past. Back before everyone had refrigerators, people got creative! They layered cookies with pudding or cream and chilled them in actual iceboxes. The cookies soaked up the moisture and turned into a no-bake “cake.” Pretty smart, right?
This Easy Oreo Icebox Cake takes that idea and makes it super simple. How simple? We’re talking an Oreo Icebox Cake 4 ingredients simple. Seriously! It proves you don’t need a ton of fancy stuff to make something people will rave about.
And because it’s a No Bake Oreo icebox cake, it’s perfect for those days when turning on the oven sounds like torture. Like, pretty much any summer afternoon here in LA! Let’s get to it.
What We’re Making: The Quick Look
Before we dive in, here’s the lowdown:
- Getting Ready: Only about 15 minutes. Faster than picking a movie on Netflix!
- Chill Time: This version needs 4 hours in the freezer. This is where the magic happens, so patience is key! It needs this time to get firm enough to slice nicely.
- Total Time: 4 hours and 15 minutes, but most of that is just waiting. Easy peasy.
- How Much It Makes: You’ll get about 8 or 9 slices. Great for family dessert or a small get-together.
- Need More? No problem! Just double everything – ingredients and use a 9×13 inch pan. You’ll get about 16 servings. Layer it up the same way!
- Skill Level: Super easy. If you can whip cream and stack cookies, you’re golden. Seriously, it’s a great one to make with kids.
- Stuff You’ll Need:
- Electric Mixer (Handheld or stand mixer makes whipping cream way easier)
- Big Mixing Bowl (Bonus points if it’s chilled!)
- Spatula (An offset one is great, but a regular rubber one works too)
- 8×8 inch square pan (Or a loaf pan, about 9×5 inches)
- Plastic Wrap
- What if I don’t have…? No electric mixer? You can whip cream by hand. Get ready for an arm workout, though! I did it once… once. No square pan? An 8 or 9-inch round cake pan or even a deep pie dish can work. Just adapt!
- Make it Ahead? Absolutely! This dessert loves being made ahead. It actually needs the chill time, so making it the day before is perfect.
Here’s that info again, quick and easy:
| Feature | Detail |
|---|---|
| Prep Time | 15 Minutes |
| Freeze Time | 4 Hours (Minimum) |
| Total Time | 4 Hours 15 Minutes |
| Servings | 8-9 |
| Difficulty | Easy |
| Main Equipment | Mixer, Bowl, Spatula, Pan |
| Make-Ahead | Perfect! (Needs chilling) |
Let’s Grab Our Stuff: The Ingredients
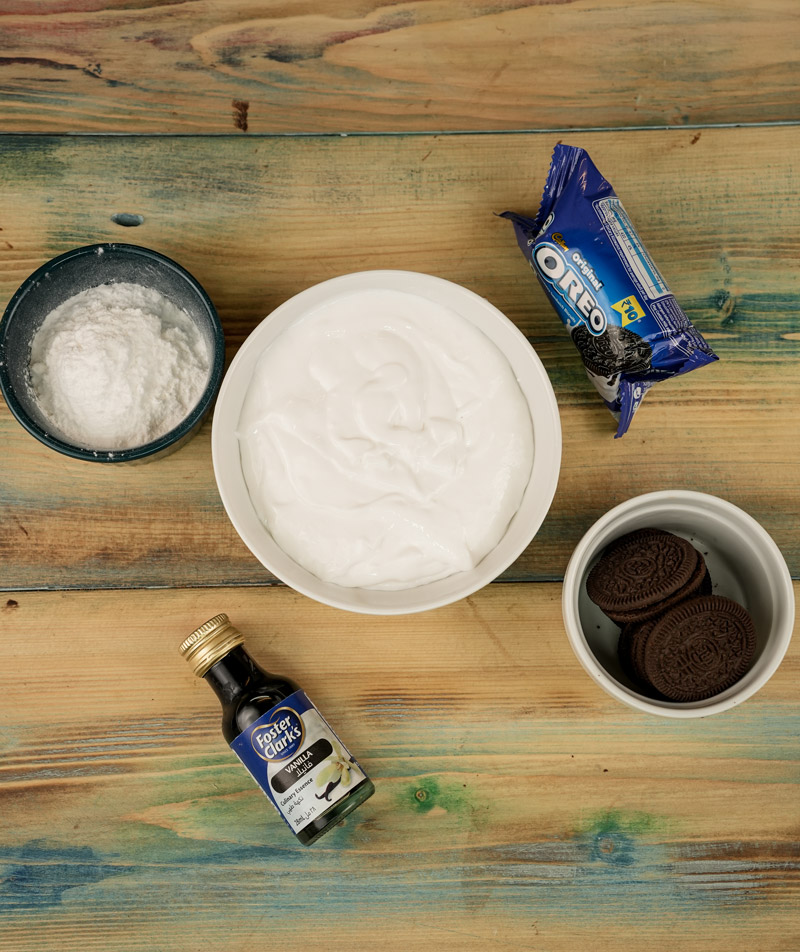
Okay, this is the best part. Just four things!
- Heavy Cream (2 cups, COLD): This is the star. It has to be cold, like straight-from-the-back-of-the-fridge cold. This helps it whip up nice and fluffy. Make sure it says “heavy cream” or “heavy whipping cream.” The fat content (usually 36%+) is key. Half-and-half or milk won’t work here, folks.
- Powdered Sugar (1/2 cup): Some call it confectioners’ sugar. It dissolves super fast in the cream, making it sweet without being grainy. Plus, the little bit of cornstarch in it helps the whipped cream hold its shape. Got only regular sugar? You could whiz it in a food processor to make it fine first, otherwise, your cream might feel a tiny bit sandy.
- Pure Vanilla Extract (1 tsp.): Adds that yummy, warm flavor that goes so well with Oreos and cream. Use the pure stuff if you can – the taste is way better than imitation. I sometimes use vanilla bean paste if I have it, just for those little specks!
- Oreo Cookies (30-35 cookies, plus a few more for the top): The classic chocolate sandwich cookies! Regular ones are perfect. You’ll need about 30-35 for the layers. Grab a few extras for crushing on top. It looks nice and adds a little crunch.
- Which Oreos? Regular is classic. But hey, feel free to experiment! Mint Oreos? Peanut Butter Oreos? Golden Oreos? Go for it! Double Stuf works too, you might just need fewer cookies since they’re thicker. The layers might squish a bit more, but who cares? It’ll still taste great.
That’s really it! Four simple ingredients. Amazing, right?
Let’s Build This Thing: Step-by-Step
Alright, chef, let’s turn these ingredients into dessert magic. Grab your tools!
Get Your Pan Ready: First up, the pan. Grab your 8×8 inch pan (or loaf pan). You could just start layering, but lining it makes life easier later. Trust me on this. Take some plastic wrap or parchment paper and press it into the pan, getting it into the corners. Leave some hanging over two sides – these are your little handles to lift the cake out later. Smooth it down. Set the pan aside. Your stage is set!
Whip It Up! (Making the Cream): Time for the creamy heart of our cake. Get that cold heavy cream from the fridge. Pour it into your big mixing bowl (especially good if the bowl is chilled too!). Start the mixer on low. We don’t want cream flying everywhere! Gradually add the powdered sugar and the vanilla extract as it starts to thicken a little. Adding them slowly helps them mix in smoothly.
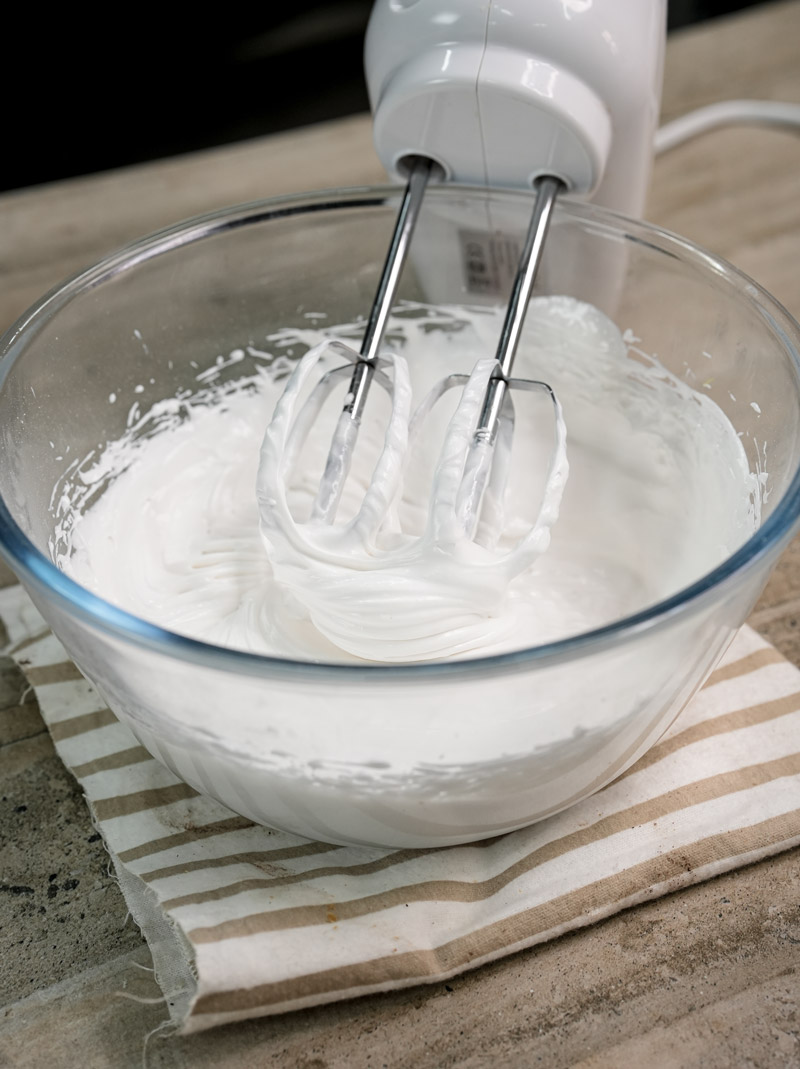
Aim for Fluffy Clouds (Getting the Right Peaks): Okay, turn the mixer speed up to medium-high. Now, watch closely! The cream will get thicker and fluffier. You want ‘stiff peaks’. What does that mean? When you stop the mixer and lift the beaters, the cream peak should stand up tall, maybe with just a tiny curl at the tip. It shouldn’t flop over. See those nice tracks the beaters leave? Perfect! Quick tip: Stop mixing as soon as you hit stiff peaks. If you mix too long, the cream can get grainy or weirdly separated. We want smooth and dreamy!
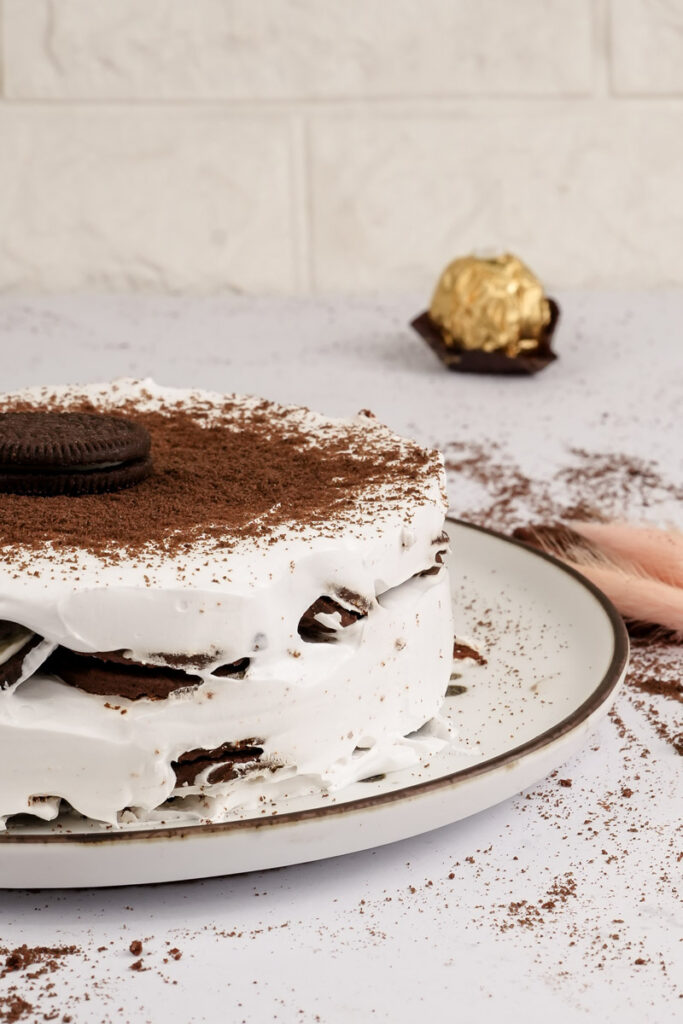
First Layer Down (Starting the Stack): Grab your pan and the whipped cream. Spoon just a little bit of cream onto the bottom and spread it thinly. Think of it like glue for the cookies. Now, place Oreo cookies side-by-side on top of the cream. Cover the whole bottom. You’ll probably need to break some cookies to fill in the gaps, especially around the edges. It’s like edible Tetris! Use about half your cookies here (15-18 cookies).
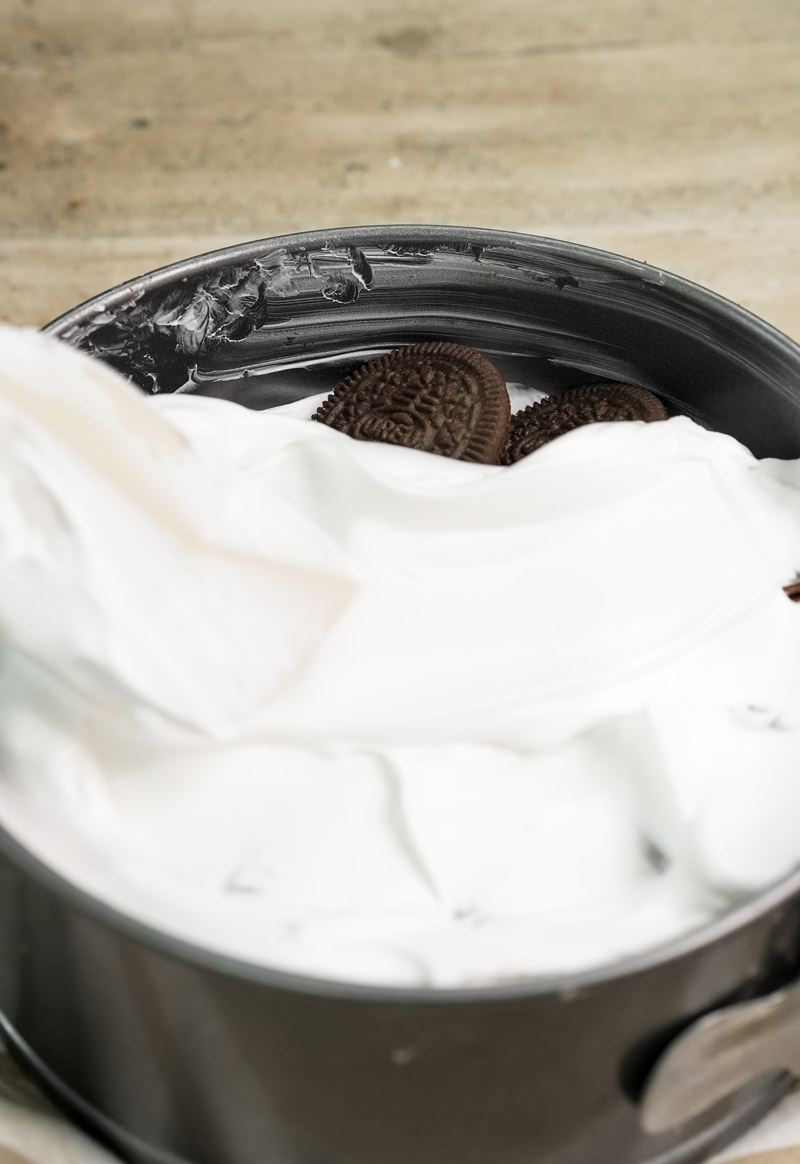
Cover ‘Em Up (Adding More Cream): Take about half of the rest of the whipped cream. Dollop it over the cookie layer. Gently spread it out with your spatula so all the cookies are covered, right to the edges. Be gentle, don’t push the cookies around too much. Smooth it out, but don’t worry about perfection.
Layer Two! (Repeat): Let’s do it again. Arrange the rest of your Oreos (the other 15-18) on top of the cream layer. Fit them in snugly, breaking pieces as needed. You’re building a cookie tower!
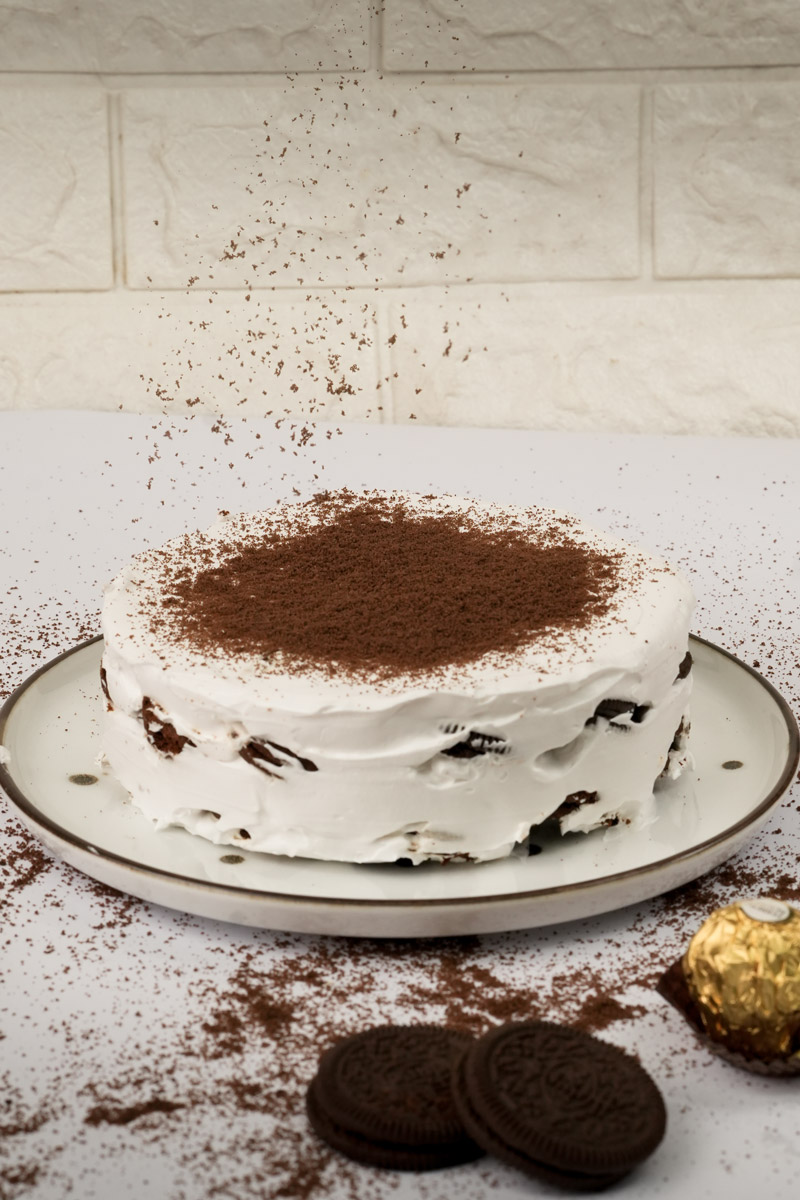
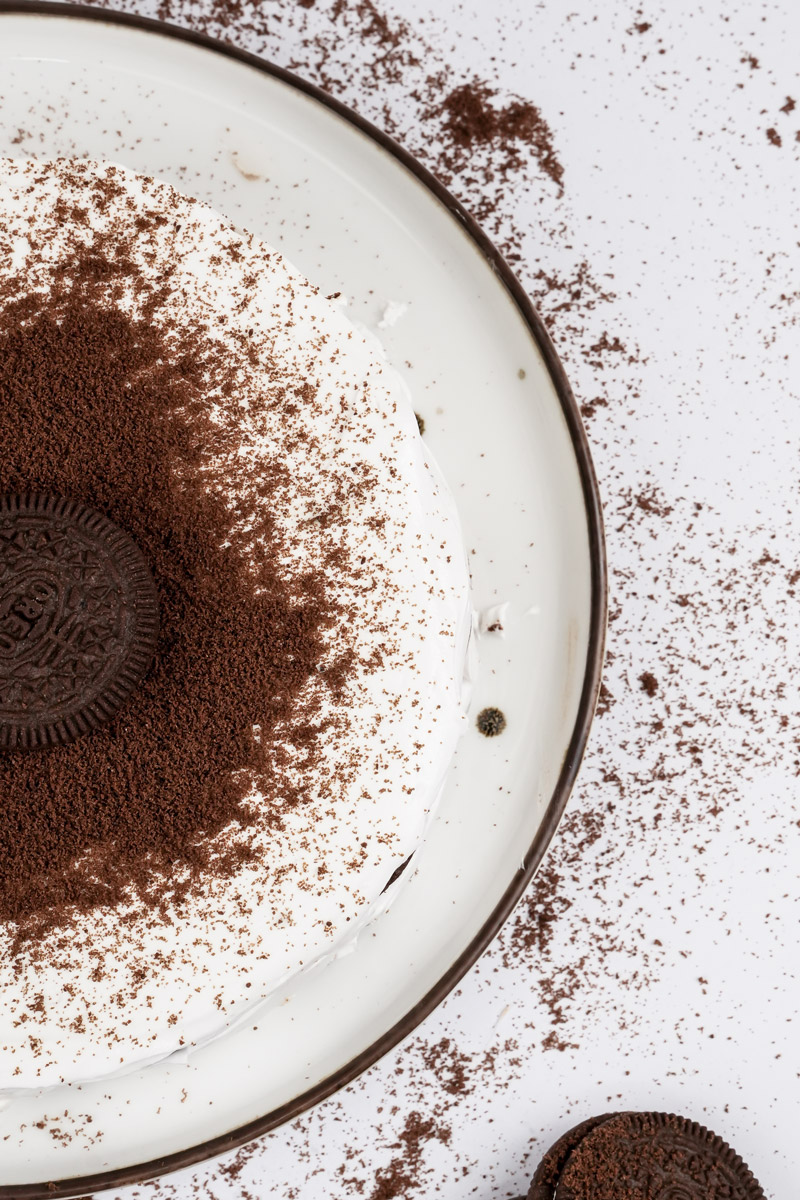
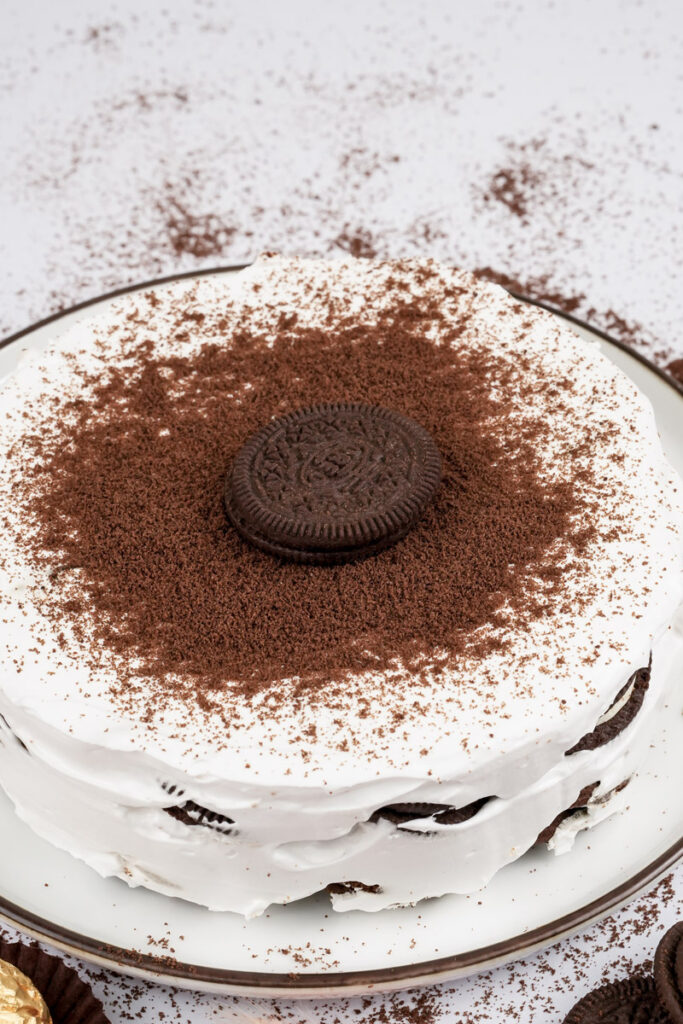
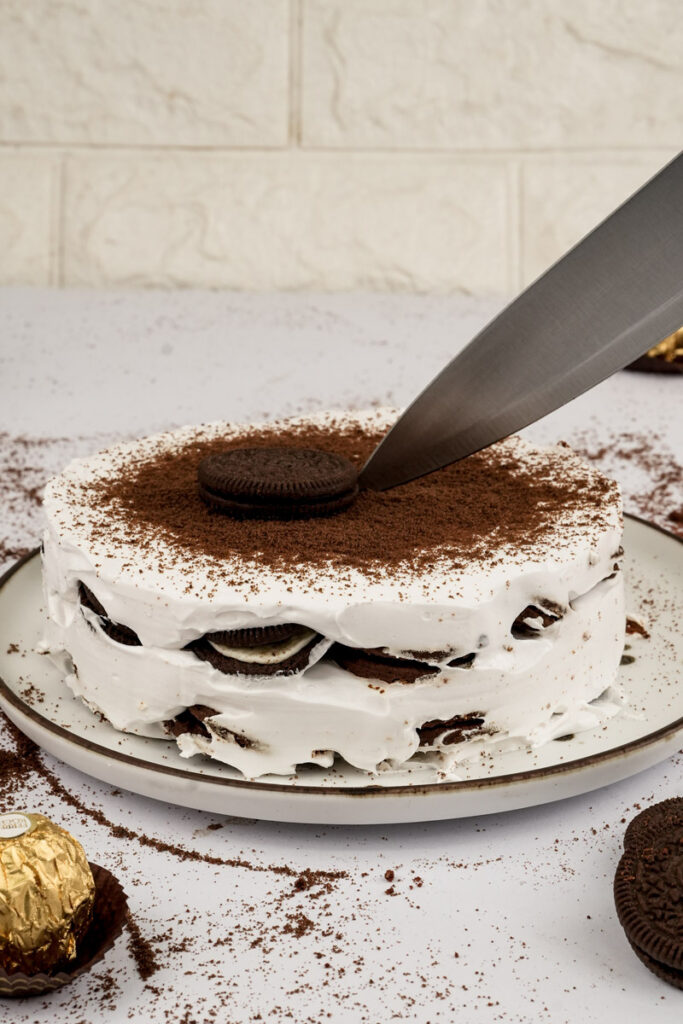
The Big Finish (Top Layer): Take all the whipped cream you have left. Spoon it over the last cookie layer. Spread it out gently, covering everything. Make this top layer look nice and fairly smooth. Now, for the topping! Grab those extra Oreos. Want chunky bits? Put them in a zip-top bag and whack ’em gently with a rolling pin. Want finer crumbs? Pulse them in a food processor. Sprinkle the crumbs all over the top. Go wild!
Chill Out Time (The Most Important Step!): Carefully cover the pan tightly with plastic wrap. Press it down gently or make sure the edges are sealed well. This stops ice crystals. Now, carry it carefully to the freezer. It needs at least 4 hours. I know, waiting is hard! But this freezing time is what makes this version slice so well, almost like ice cream cake. The Oreos get just enough time to soften perfectly. Overnight is even better if you can wait! Think of it as beauty sleep for your cake.
Make It Your Own: Fun Ideas
This simple cake is awesome as is, but here are ways to jazz it up:
- Diet Stuff:
- Gluten-Free? Easy! Just use gluten-free Oreo-style cookies.
- Vegan? Okay, this 4-ingredient recipe is all about the dairy cream. Making it vegan needs different stuff, like special vegan creams or maybe coconut cream. It’s a whole different recipe, really.
- Flavor Twists:
- Minty Fresh: Add 1/2 teaspoon of peppermint extract to the cream.
- Coffee Love: Mix 1-2 teaspoons of instant espresso powder into the vanilla before adding it. Mocha cake! Yum.
- Extra Chocolatey: Fold in 1/4 cup of mini chocolate chips, or add a couple of tablespoons of cocoa powder to the cream while whipping.
- Different Cookies: Like we talked about! Golden Oreos with maybe some lemon zest in the cream? Sounds good for spring!
- Simple vs. Fancy:
- Everyday: Honestly, it’s great just like this.
- A Bit Extra: Before serving, drizzle with chocolate sauce or caramel. Maybe add extra whipped cream dollops and whole Oreos around the edge. Feeling really ambitious? Some recipes add a layer of cream cheese filling or pudding, but that’s more than our 4 ingredients!
- Seasonal Fun:
- Winter: Use peppermint Oreos, maybe crush some candy canes on top.
- Summer: Classic is perfect. Or try Lemon Oreos and serve with fresh berries.
- Fall: A pinch of cinnamon in the cream could be nice.
Serving and Storing Your Masterpiece
You did it! Let’s eat.
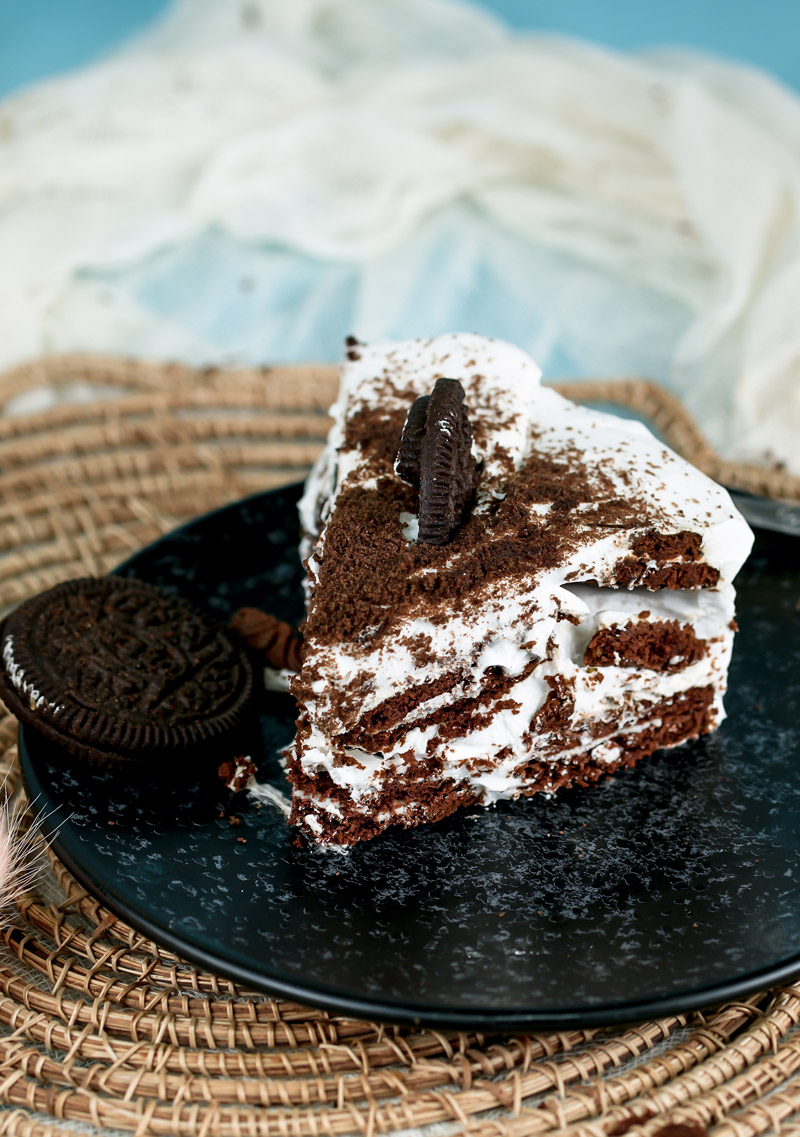
- Getting it on the Plate: Since this version is frozen, it slices really well. Let it sit out for maybe 5-10 minutes first, just so it’s not rock solid. Use a sharp knife. Hot tip: Run the knife under hot water and wipe it dry between cuts for super clean slices. Serve it up! A drizzle of chocolate syrup is always a good idea.
- Serving Hack: You can totally make these in individual cups! Just layer crushed Oreos (instead of whole ones) and whipped cream in little bowls or glasses. Chill/freeze the same way. Perfect for parties!
- What to Serve With It: A cup of coffee or a glass of cold milk is perfect. Fresh berries like raspberries add a nice touch of color and freshness. But honestly? It’s amazing all by itself.
- Leftovers? Awesome!
- Freezer (Best Bet for this Recipe): Keep it tightly covered with plastic wrap, or put slices in an airtight container. It stays good in the freezer for up to a month. It’ll stay firm, like an ice cream cake.
- Fridge: You can keep it in the fridge for about 3 days, covered well. Just know that since we froze it initially, the cream might get a little watery, and the cookies will get really soft and cakey. It won’t hold its shape as well as the frozen version.
Check out this quick storage guide:
| Storage Method | How Long? | What Happens? | Best For… |
|---|---|---|---|
| Freezer | Up to 1 Month | Stays firm, like ice cream cake, slices neatly | Keeping that structure, longer storage |
| Refrigerator | Up to 3 Days | Gets much softer, cookies turn very cake-like | Eating sooner, if you like it softer |
- Reheating? Nope! Serve this cold, straight from the freezer (after that brief 5-10 min wait).
- Making it Ahead: Like I said, this is the perfect make-ahead dessert. Assemble the whole thing, cover it, freeze it. Do it the day before or even a few days before. Just let it thaw slightly before you try to slice it.
And there you have it! Your guide to making a totally delicious, super Easy Oreo Icebox Cake with just four ingredients. Go ahead, impress everyone. Enjoy!
PrintOreo Icebox Cake

Seriously, this might be the easiest and most delicious dessert you’ll ever make! Layers of Oreos magically soften into a cake-like treat nestled in fluffy whipped cream. It’s a total crowd-pleaser and perfect for cooling down. No oven needed!
- Prep Time: 15 minutes
- Cook Time: None
- Total Time: 4 hours 15 minutes (includes freezing & chilling)
- Yield: 8–9 slices 1x
- Category: Dessert
- Cuisine: American (No-Bake)
Ingredients
- 2 cups Heavy Cream (Make sure it’s super cold!)
- 1/2 cup Powdered Sugar (Also called confectioners’ sugar)
- 1 tsp Pure Vanilla Extract (The good stuff makes a difference!)
- 30–35 Oreo Cookies (Regular works great! Plus a few extra for topping)
Instructions
- Prep Your Pan: Line an 8×8 inch square pan (or a 9×5 loaf pan) with plastic wrap or parchment paper. Leave some hanging over the sides to use as handles later. Set it aside. Easy cleanup? Yes, please!
- Whip the Cream: Pour the very cold heavy cream into a big, chilled bowl. Start mixing on low with an electric mixer. Gradually add the powdered sugar and vanilla as it thickens slightly.
- Get Stiff Peaks: Turn the mixer up to medium-high. Beat until the cream is thick, fluffy, and holds its shape when you lift the beaters (that’s called ‘stiff peaks’). Careful! Don’t mix too long, or it’ll get grainy. Stop right when it looks like perfect clouds.
- First Layer: Spread a thin layer of whipped cream on the bottom of your lined pan. Arrange about half the Oreos (15-18) on top, breaking some to fill gaps. Snug ’em in there!
- Add More Cream: Gently spread about half of the remaining whipped cream over the Oreos. Cover them completely, right to the edges.
- Second Cookie Layer: Place the rest of the Oreos (another 15-18) on top of the cream layer. Fill in those gaps again. Almost done!
- Top it Off: Spread the last bit of whipped cream evenly over the top cookie layer. Make it look pretty! Crush those extra Oreos (whack ’em in a bag or pulse in a food processor) and sprinkle them all over the top.
- Freeze Time! Cover the pan tightly with plastic wrap. Pop it in the freezer for at least 4 hours. This is key! It needs this time to firm up so you can slice it like a dream. Overnight works great too.
Notes
- Serving: Let the cake sit out for 5-10 minutes before slicing. Use a sharp knife (run it under hot water for cleaner cuts!). Perfect with coffee or milk.
- Why Cold Cream? Seriously, ice cold heavy cream whips up way better and fluffier. Don’t skip this! Chilling the bowl helps too.
- Lining the Pan: Don’t skip lining the pan! Those plastic wrap ‘handles’ make it so much easier to lift the whole cake out for slicing.
- Storage: This cake loves the freezer! Keep leftovers tightly covered in the freezer for up to 1 month. It stays firm like an ice cream cake. You can keep it in the fridge for 2-3 days, but it will get much softer.
- No Reheating: Serve this one chilled or frozen!