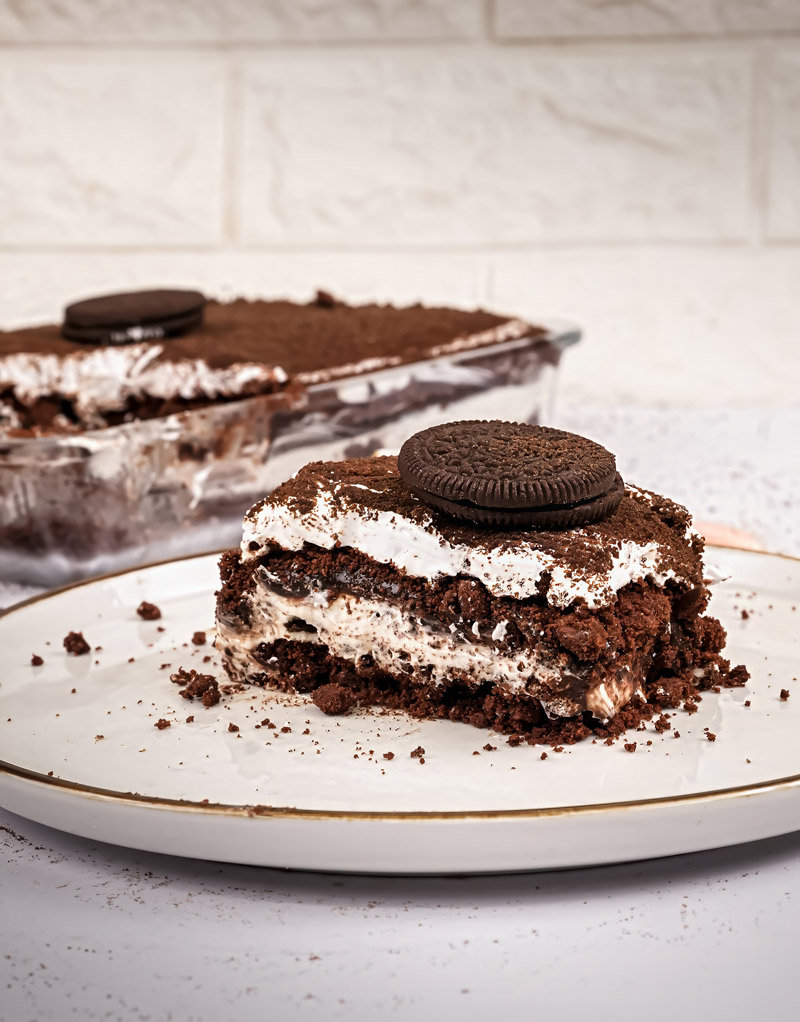
Hey there! Want to make something seriously delicious and way easier than it looks? Let’s talk about Chocolate Oreo Lasagna. It’s become a huge hit for a good reason. And the best part? No oven needed! This awesome No Bake Oreo Lasagna is perfect for parties, potlucks, or just because. Any time, really!
Now, hold on – this isn’t like your grandma’s meaty lasagna! Nope. This is a sweet treat with layers of creamy goodness piled on top of a crunchy Oreo cookie crust. Where did it come from? Honestly, nobody knows for sure! It feels like something born from awesome potluck dinners, maybe getting a boost from restaurant versions like the one Olive Garden used to have. And Oreos? They’ve been around forever – since 1912 in New York City, believe it or not!
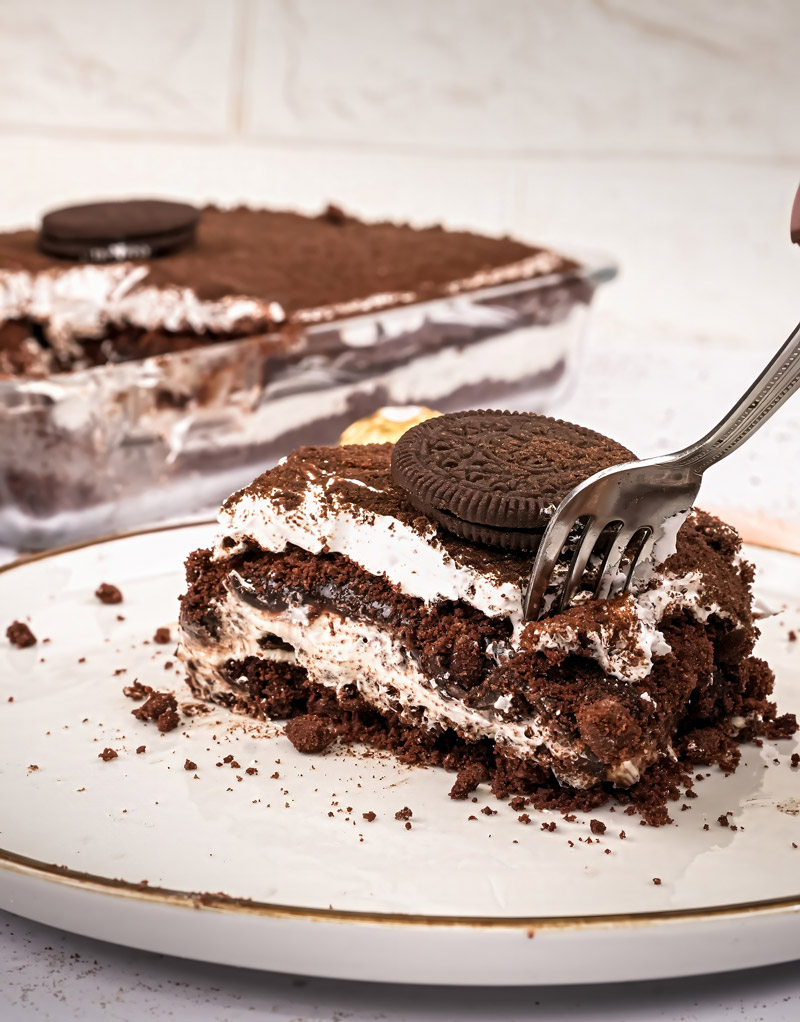
This recipe takes that Oreo love and runs with it. You get layers of different textures and tastes. Rich chocolate pudding. Tangy cream cheese. Fluffy whipped topping. It’s a combo that just works. Think of it like the coolest icebox cake you’ve ever had. Ready to make this Easy Oreo lasagna recipe? Let’s do it!
What You’re Getting Into
Here’s a quick rundown of what making this dessert looks like:
| Detail | Time / Info |
|---|---|
| Prep Time | About 20 minutes of hands-on work. Quick, right? |
| Chill Time | 4 hours. Super important so it all sets up nicely. Don’t skip this! |
| Total Time | Around 4 hours and 20 minutes total. Most of that is just waiting. |
| Servings | Makes 12-15 good-sized slices in a 9×13 inch pan. |
| Need Less? | Halve everything for an 8×8 or 9×9 pan (layers might be a bit different). |
| Need More? | You might need two 9×13 pans if you double it! |
| Difficulty | Easy! Seriously. If you can crush cookies and stir stuff, you’re golden. |
| Stuff Needed | |
| – 9×13 inch baking dish | |
| – Food processor (best for Oreos!) OR a big Ziploc bag + rolling pin | |
| – Large mixing bowls | |
| – Electric mixer (handheld or stand) OR a whisk + strong arm | |
| – Spatula (an offset one is great for spreading!) | |
| Make Ahead? | YES! It’s actually better the next day. Flavors get cozier overnight. Perfect for less stress on party day! |
What You Need to Grab (Ingredients)
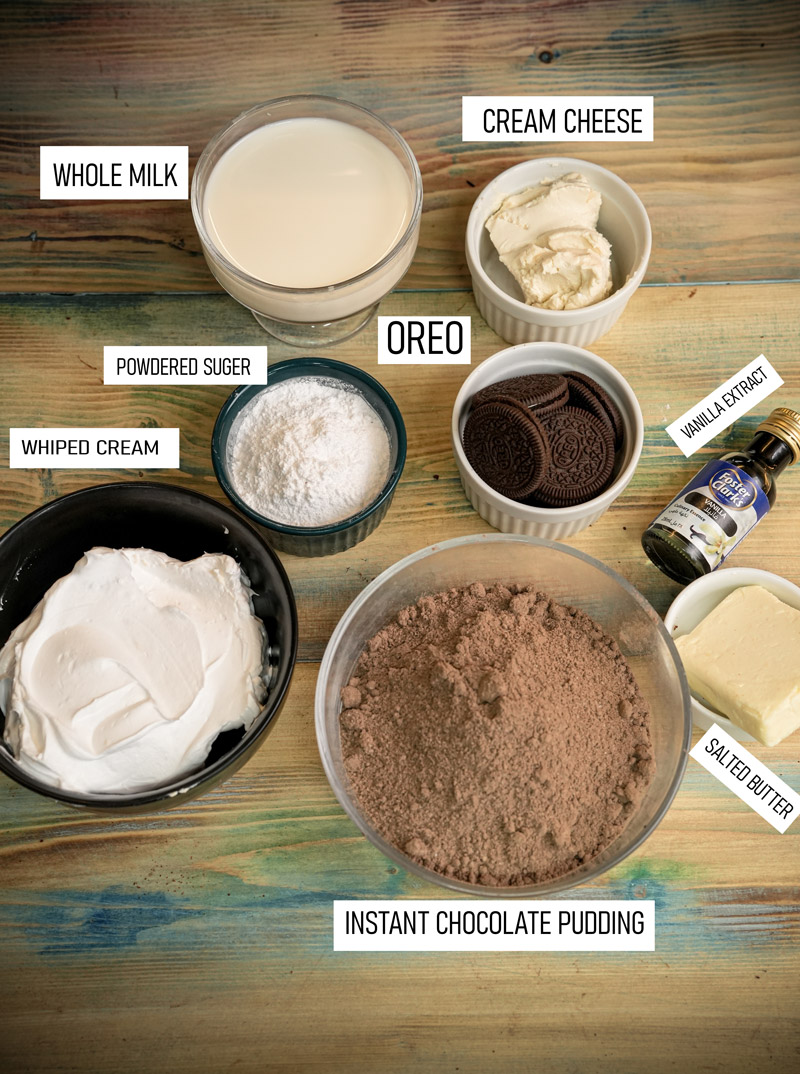
Okay, let’s gather our goodies! Getting the right stuff is key for those yummy layers.
For the Bottom Layer (The Crust):
- Oreos: You need a lot – about 40-45 regular Oreo cookies. Stick with the classic ones. Double Stuf Oreos have too much filling and can make the crust kinda greasy. We want crunchy! Crush ’em up good, like coarse sand.
- Butter: 10 tablespoons of salted butter, melted. Why salted? It adds a little something extra that cuts the sweetness just right. But hey, unsalted works fine too if that’s all you’ve got.
For the Tangy Cream Cheese Layer:
- Cream Cheese: 1/2 cup (that’s 4 oz, or half a brick). Make sure it’s soft, like room temperature soft. Seriously, leave it out on the counter for a bit. Cold cream cheese = lumpy layer. No fun!
- Powdered Sugar: 1/2 cup. It mixes in super smooth.
- Vanilla Extract: 1 teaspoon. For that lovely flavor boost.
- Cool Whip: 1 cup, thawed! This makes the layer light and fluffy. Gently fold this in.
- More Oreos! Fold in 2-3 finely crushed Oreo cookies for extra yum.
For the Rich Pudding Layer:
- Instant Pudding Mix: 1/2 cup (which is about one standard 3.9 oz box) of instant chocolate pudding mix. Make sure it says INSTANT on the box, not the kind you cook! Big difference.
- Milk/Half-and-Half: 1 cup of cold half-and-half or whole milk. Using the richer stuff makes the pudding layer thicker and yummier. Trust me.
- Even More Oreos! Fold in 6 finely crushed Oreo cookies here, too. Can’t have too many Oreos, right?
For the Fluffy Top:
- Cool Whip: One 8-ounce tub, thawed.
- The Last Oreos: 12 finely crushed Oreo cookies to sprinkle all over the top. This is the grand finale!
Step-by-Step: Building Your Oreo Lasagna!
Alright, let’s put this amazing No Bake Oreo Lasagna together. Grab your apron, it’s easier than you think! We’ll go layer by delicious layer.
Okay, here is the expanded step-by-step section with more descriptive words, keeping the humanized tone:
Build Your Oreo Base: First, grab those 40-45 Oreos (filling and all!) and crush them into fine crumbs – think coarse sand. A food processor makes quick work of this, but a zip-top bag and a rolling pin work great too, just get those crumbs nice and small! Pour the melted salted butter over the crumbs and mix well until every crumb is coated and damp. Now, tip this mixture into your 9×13 inch dish.
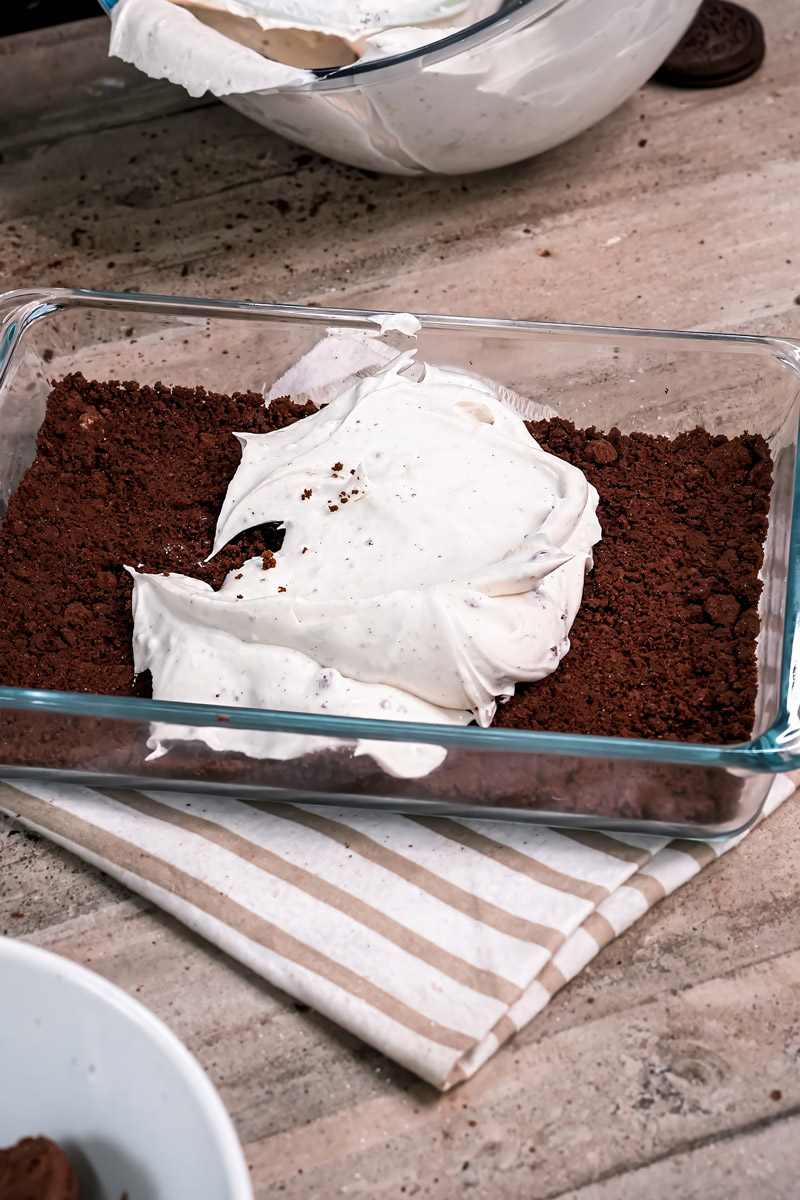
Using the bottom of a glass or your hands, press the crumbs down firmly and evenly across the entire bottom and slightly up the sides if you like. A nice, compact crust is what we want! Pop it in the fridge to chill for about 10 minutes while you get the next layer ready.
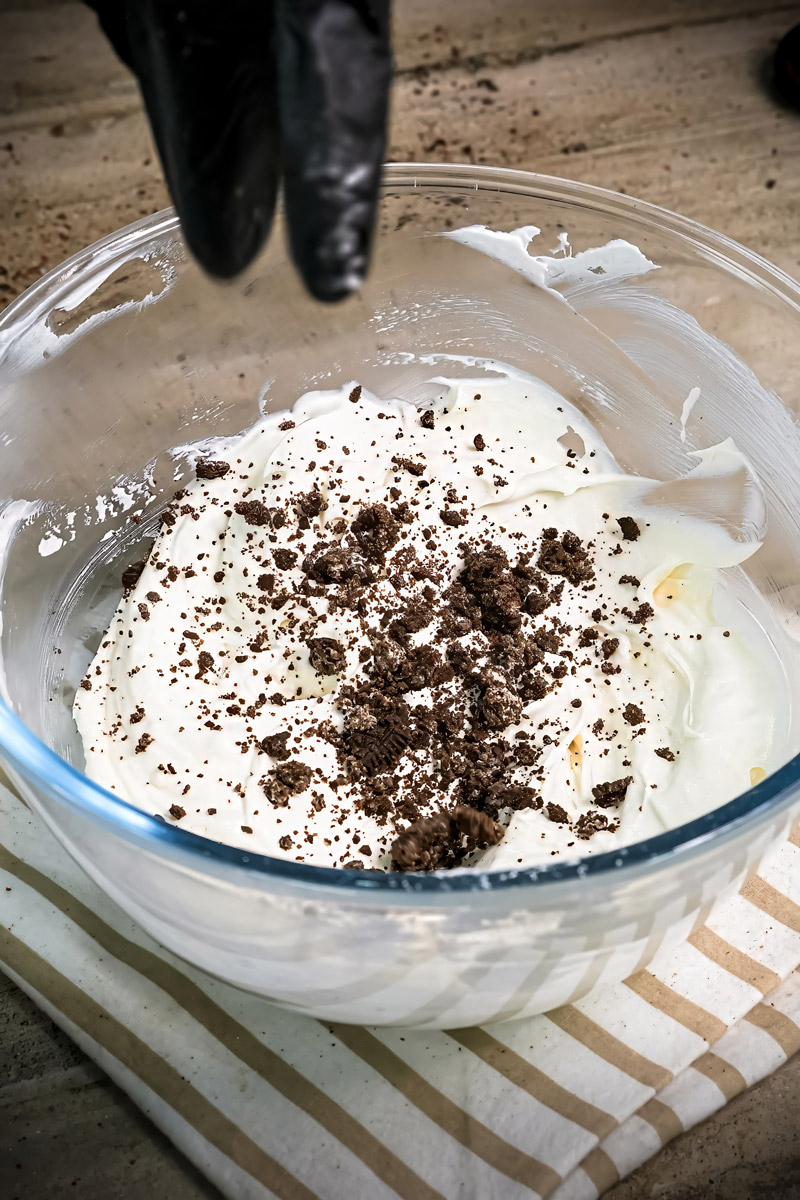
Whip Up the Creamy Tang: In a medium bowl, beat the very soft, room temperature cream cheese with an electric mixer until it’s completely smooth and lump-free. Seriously, make sure it’s soft first! Beat in the powdered sugar and vanilla extract until combined and fluffy. Now, switch to a spatula and gently fold in the thawed 1 cup of Cool Whip – use light, lifting motions until just combined, don’t stir out all the air!
Finally, gently fold in the 2-3 finely crushed Oreos. Retrieve your chilled crust and carefully spread this creamy mixture evenly over the top, going all the way to the edges. Try not to disturb the crust underneath. Back into the fridge it goes!
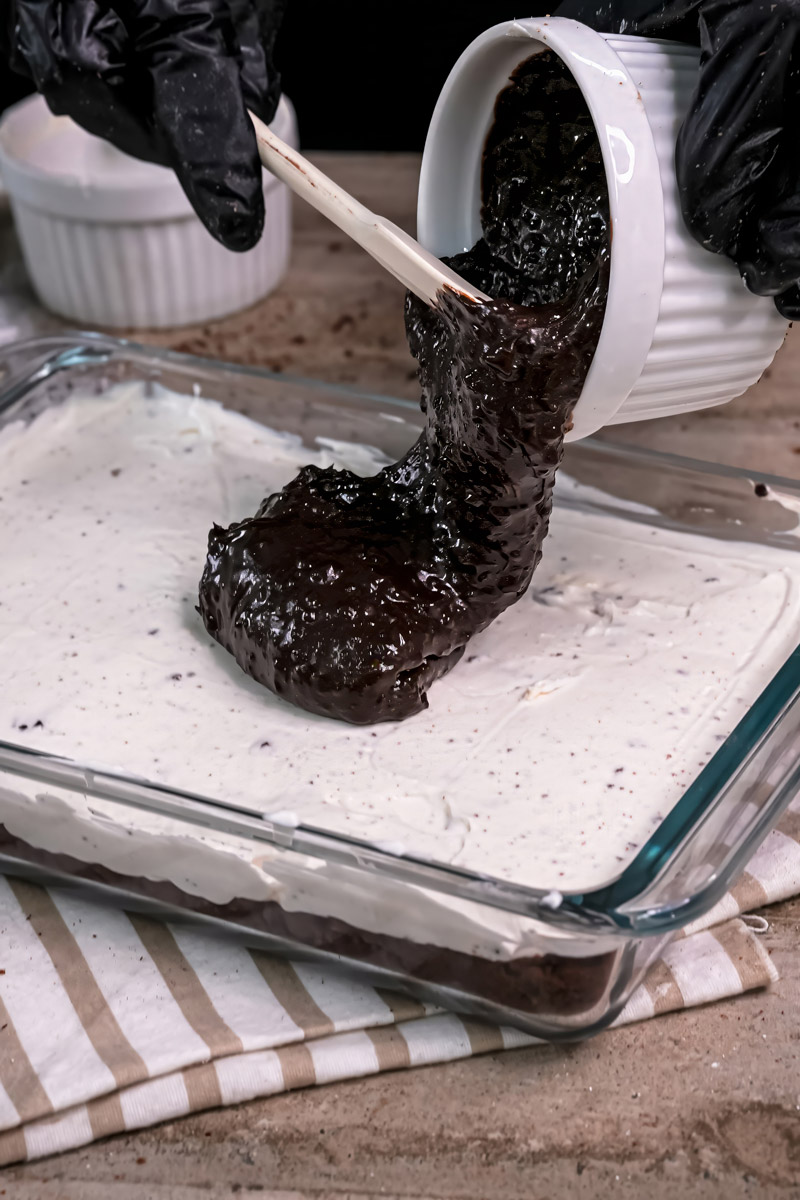
Make the Pudding Magic: In another bowl, grab your instant chocolate pudding mix and the cold half-and-half or whole milk. Whisk these together vigorously for about 2 full minutes. You’ll feel it thicken up nicely right before your eyes – that’s the magic of instant pudding! Once it’s thick and luscious, gently fold in the 6 crushed Oreos.
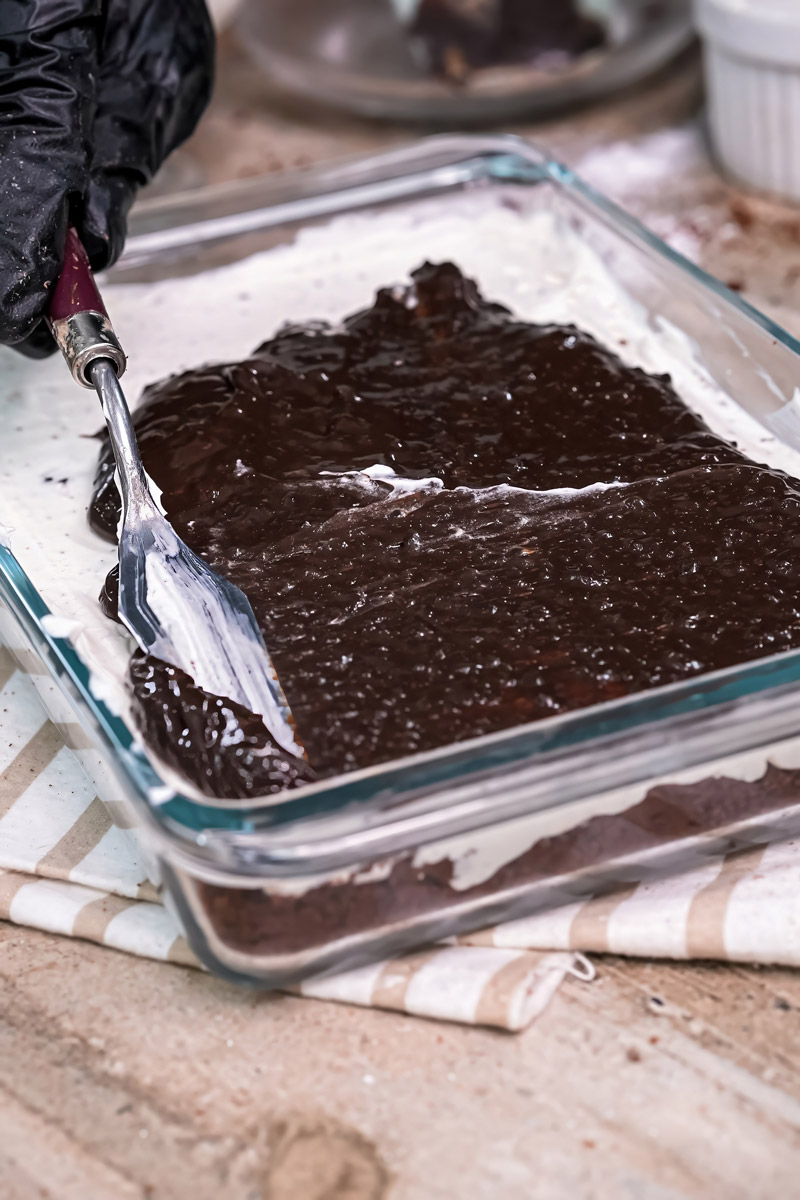
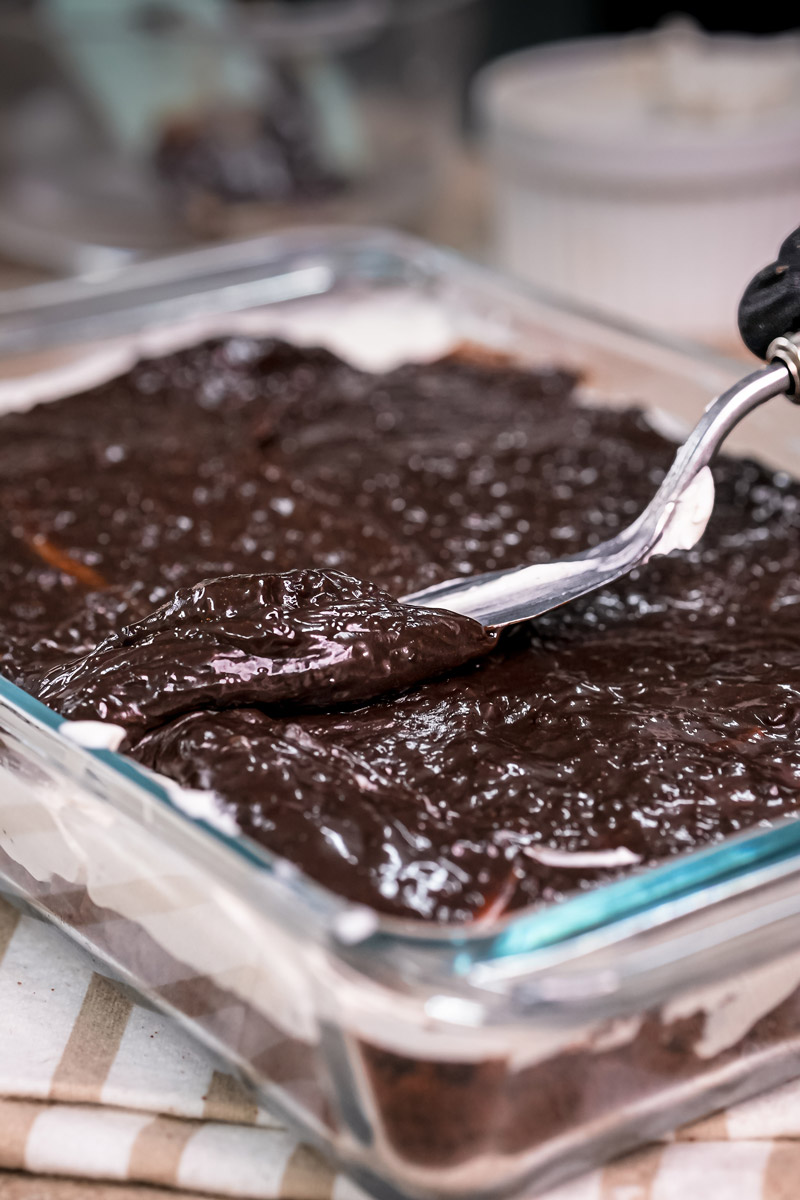
Take the dish out of the fridge again and carefully spoon the pudding mixture over the set cream cheese layer, spreading it gently into an even layer. Pop it back in the fridge for just 5-10 minutes so the pudding can firm up slightly before the final topping.
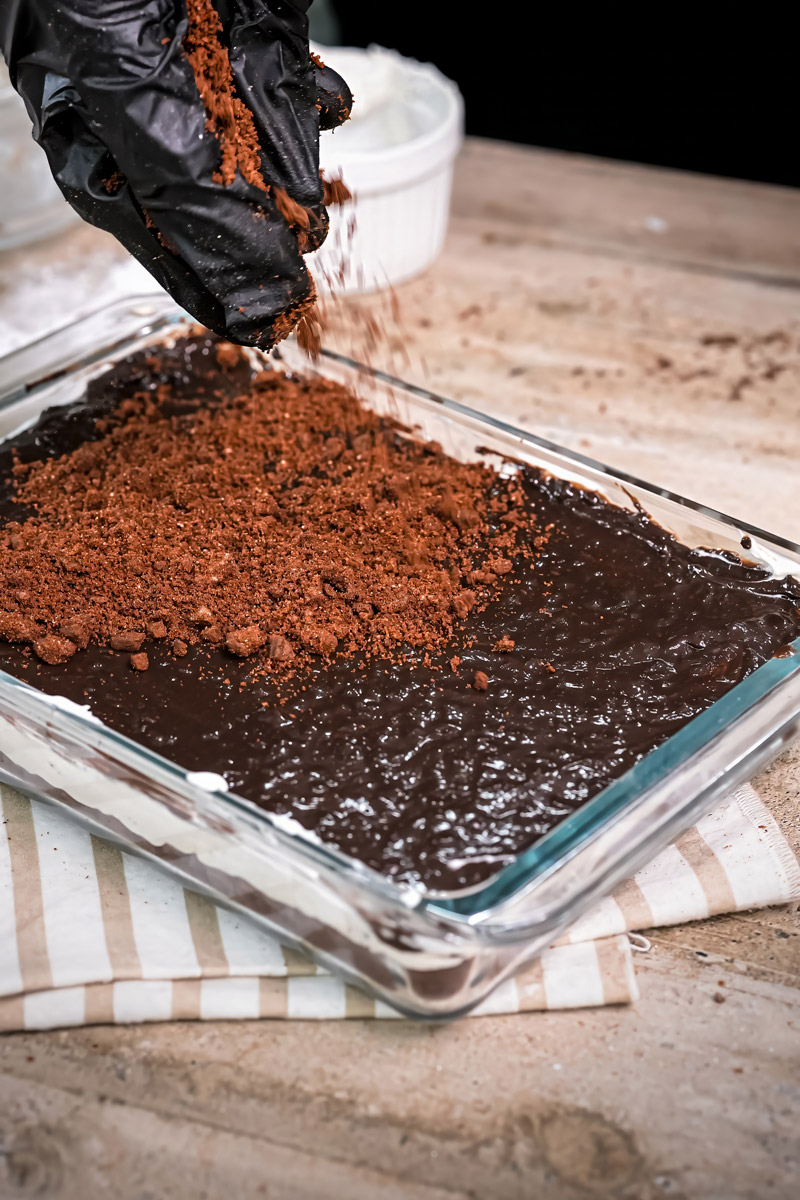
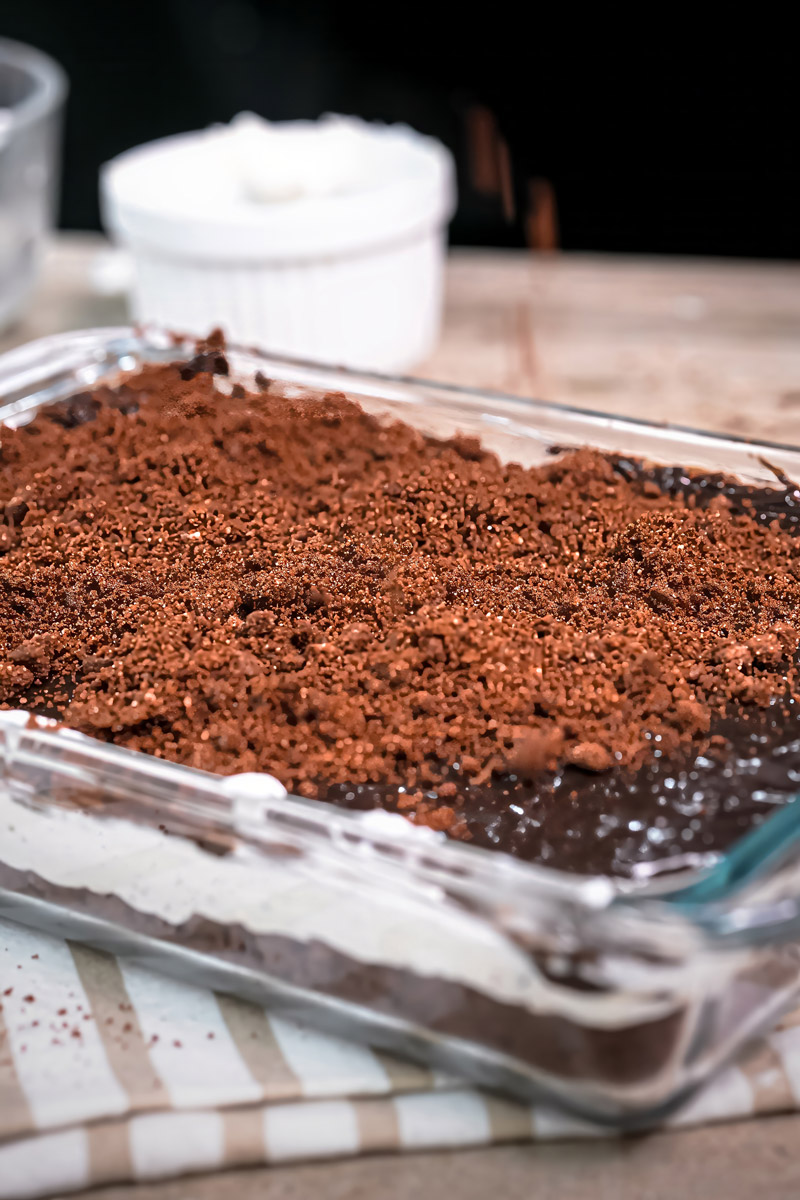
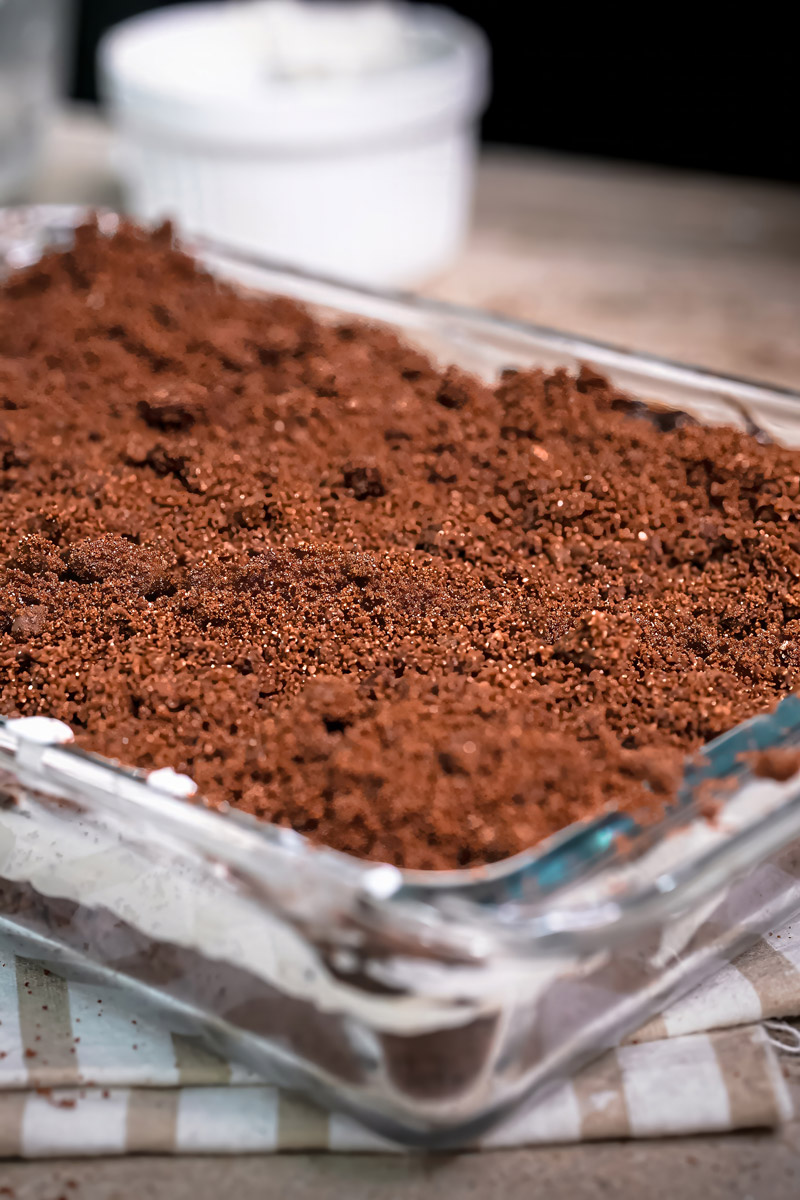
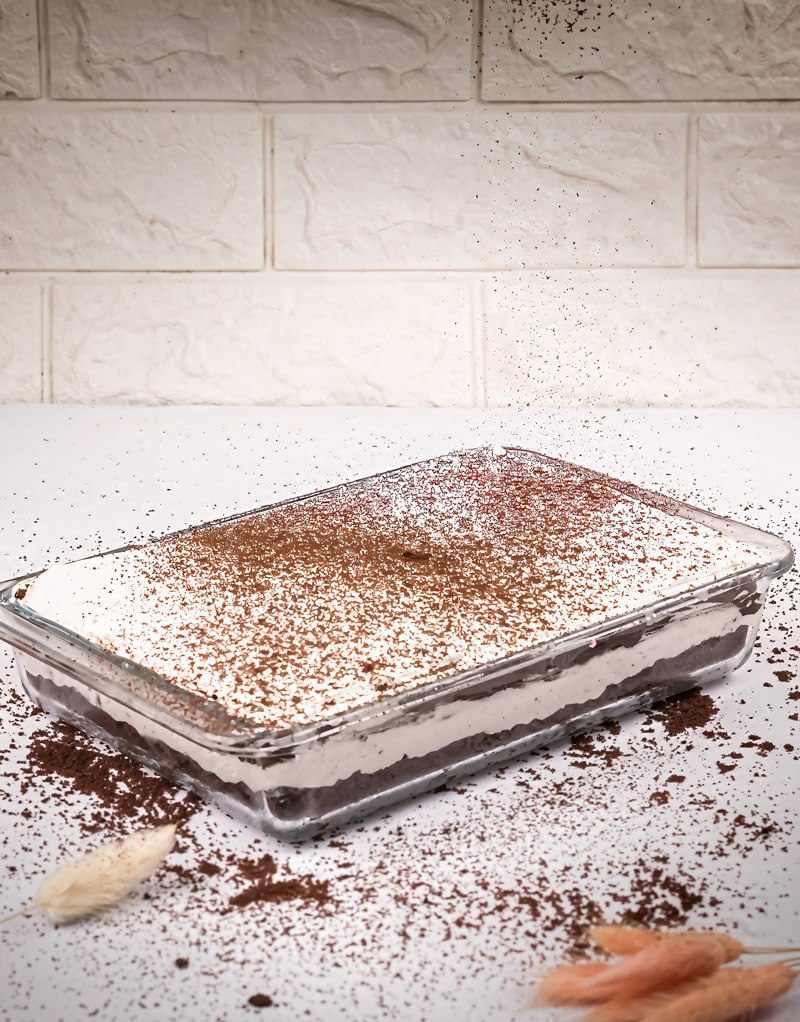
Add the Fluffy Cloud & Sparkle: Time for the grand finale! Gently spread the 8 oz tub of thawed Cool Whip over the pudding layer, creating a beautiful, fluffy white cloud that covers everything right to the edges. Now, take your remaining 12 crushed Oreos and sprinkle them generously all over the top. Go edge-to-edge for maximum deliciousness in every bite!
Chill, Chill, Chill! (The Secret Step): This is crucial! Cover the dish tightly with plastic wrap and place your masterpiece in the refrigerator. It absolutely needs to chill for at least 4 hours, but honestly, overnight is even better if you can wait!
This long chill time allows all the layers to set perfectly firm for easy slicing and, more importantly, lets those delicious chocolate, tangy, and creamy flavors meld together beautifully. Resist the urge to dig in early – the wait is so worth it!
Mix It Up! (Variations & Fun Ideas)
This Easy Oreo lasagna recipe is awesome because you can totally play with it! Try these ideas:
- Different Cookies: Swap regular Oreos for Mint, Golden, or Peanut Butter Oreos! Imagine a mint chocolate lasagna! Festive Oreos with colored creme? Super fun for holidays!
- Pudding Flavors: Not feeling chocolate today? Use instant vanilla, white chocolate, cheesecake, or butterscotch pudding instead. You could even do one layer vanilla, one layer chocolate!
- Fun Add-Ins:
- Fold mini chocolate chips into the cream cheese or pudding.
- Sprinkle mini chocolate chips on top.
- Drizzle chocolate or caramel sauce over it right before serving. Fancy!
- Some folks add mini marshmallows. Kinda like hot chocolate lasagna!
- Real Whipped Cream?: You can use homemade sweetened whipped cream instead of Cool Whip. Just know Cool Whip holds up better, especially if you make it ahead or freeze it. Homemade tastes super fresh though!
- Need Special Diet Options?
- Gluten-Free: Easy! Just use certified gluten-free chocolate sandwich cookies. Double-check your pudding mix too.
- Lighter Version: This recipe is definitely a treat! But if you search online, you can find versions using things like Greek yogurt, protein powder, and sugar substitutes for a different spin. That would change this recipe quite a bit, though.
- Show It Off: Instead of a pan, layer it in a big glass trifle bowl. So pretty! Or make mini ones in small jars or cups for individual servings. Cute!
Serving and Storing Your Creation
You waited patiently! Time to dig in!
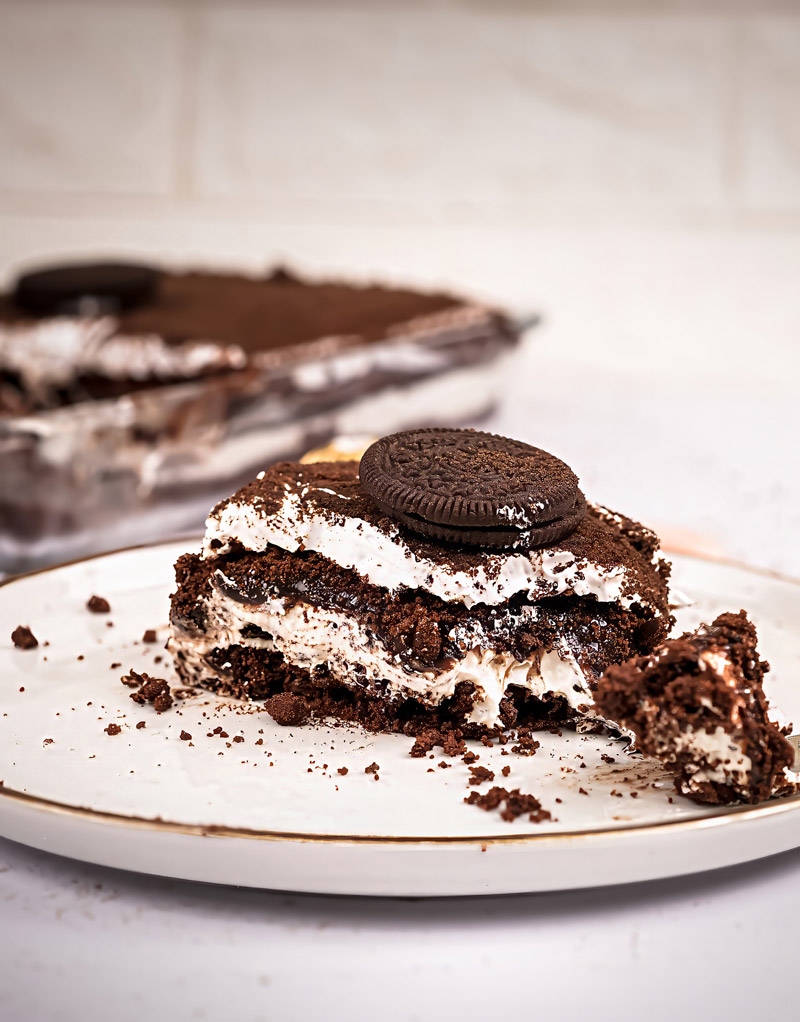
- Serving: Serve this Chocolate Oreo Lasagna cold, right out of the fridge.
- Want neat slices? Run a sharp knife under hot water, wipe it dry, then cut. Repeat between slices. This stops the layers from smearing together too much. Looks pro!
- It’s amazing all by itself. Definitely the star of the show!
- Storing Leftovers (If Any!): Cover the dish tightly with plastic wrap, or put slices in an airtight container. Keep it in the fridge. It’s good for up to 3 days. The Oreos might get a little softer over time, but still delicious! Don’t leave it sitting out on the counter for long, the layers can get soft.
- Can You Freeze It? Yes! Cool Whip desserts actually freeze pretty well. Wrap the dish (or slices) super tight in plastic wrap, then wrap again in foil. It can last in the freezer for up to a month. Let it thaw overnight in the fridge before eating. Freezing might change the texture of the creamy layers just a tiny bit, but it’s usually fine.
- Reheating? Definitely NO! This is a cold, no-bake dessert all the way.
Enjoy making – and eating – this incredible, easy, and totally yummy dessert! My family goes absolutely wild every time I make this!
PrintOreo Lasagna

Meet your new go-to dessert! This Chocolate Oreo Lasagna is pure magic – layers of creamy, dreamy goodness on a crunchy Oreo crust. Best part? No oven needed! It’s surprisingly simple and always a crowd-pleaser. Perfect for parties or just because you deserve a treat!
- Prep Time: 20 mins
- Cook Time: None
- Total Time: 4 hrs 20 mins+ (Included Chill time)
- Yield: 12–15 slices 1x
- Category: Dessert
- Cuisine: American
Ingredients
For the Crust:
- 40–45 Regular Oreo Cookies (leave the filling in!)
- 10 tbsp Salted Butter, melted
For the Cream Cheese Layer:
- ½ cup (4 oz) Cream Cheese, very soft (room temp is key!)
- ½ cup Powdered Sugar
- 1 tsp Vanilla Extract
- 1 cup Cool Whip, thawed
- 2–3 Oreo Cookies, finely crushed
For the Pudding Layer:
- ½ cup (one 3.9 oz box) Instant Chocolate Pudding Mix (make sure it’s instant!)
- 1 cup Cold Half-and-Half or Whole Milk
- 6 Oreo Cookies, finely crushed
For the Topping:
- 8 oz tub Cool Whip, thawed
- 12 Oreo Cookies, finely crushed (for sprinkling)
Instructions
- Crush & Press: Crush the 40-45 Oreos into fine crumbs (a food processor is easiest!). Mix crumbs with the melted butter. Press this mixture firmly into the bottom of a 9×13 inch dish. Chill for 10 minutes. Make it even!
- Mix Cream Cheese Layer: Beat the soft cream cheese until totally smooth (no lumps!). Beat in powdered sugar and vanilla. Gently fold in 1 cup Cool Whip, then fold in the 2-3 crushed Oreos. Spread evenly over the chilled crust. Chill again while you make the next layer. Gentle spreading is key!
- Whisk Pudding Layer: Whisk the instant pudding mix and cold milk/half-and-half together for about 2 minutes until thick. Fold in the 6 crushed Oreos. Spread carefully over the cream cheese layer. Chill for 5-10 minutes just to let it set slightly.
- Top it Off: Spread the 8 oz Cool Whip evenly over the pudding layer. Sprinkle the remaining 12 crushed Oreos all over the top.
- Chill Out! (Important!): Cover tightly and refrigerate for at least 4 hours, or preferably overnight. This lets it set properly and the flavors meld. Don’t rush this step!
Notes
- Serving: Serve chilled! For clean slices, dip a sharp knife in hot water and wipe between cuts. Looks way prettier!
- Tips & Tricks:
- Seriously, make sure that cream cheese is soft to avoid lumps. Leave it out for an hour or two!
- Chilling between layers really helps keep them distinct.
- Dollop fillings around before spreading – makes it easier to get an even layer without disturbing the one below.
- Storage: Keep leftovers tightly covered in the fridge for up to 3 days (Oreos might soften slightly). You can also freeze it! Wrap well in plastic wrap and foil for up to 1 month. Thaw overnight in the fridge. Do not reheat! Enjoy!