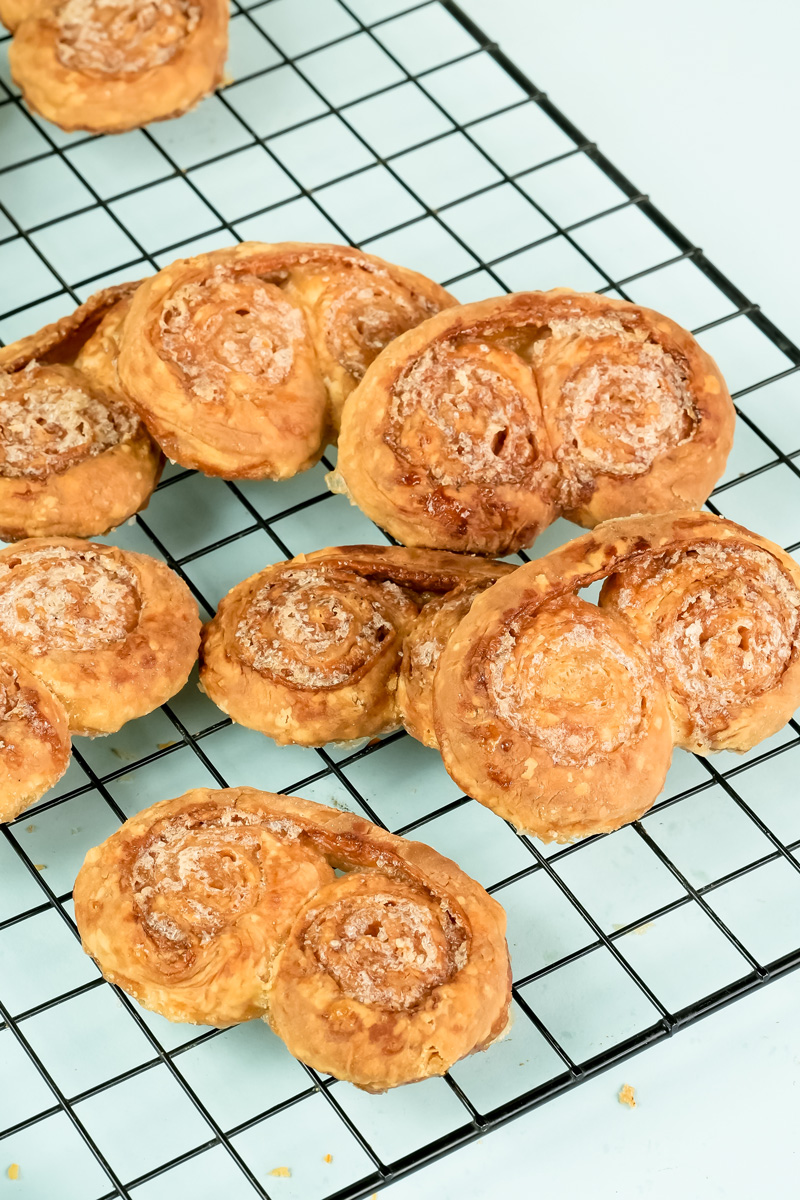
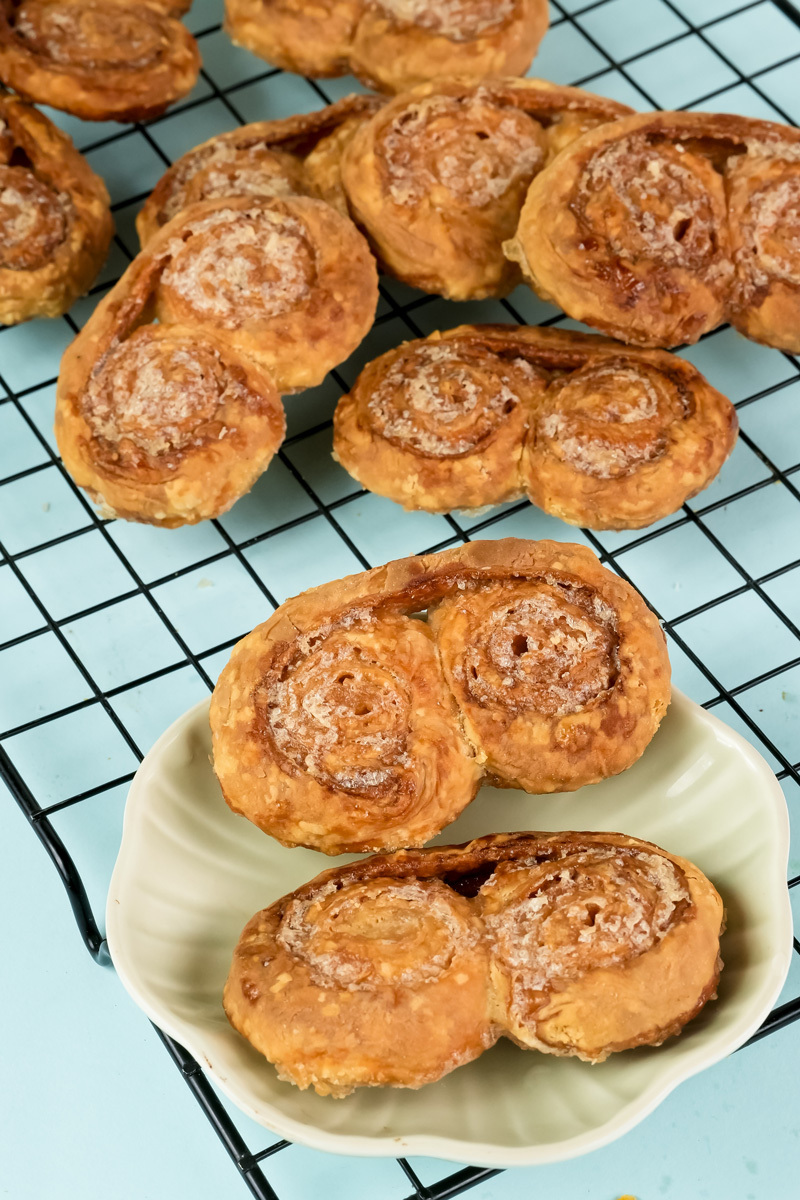
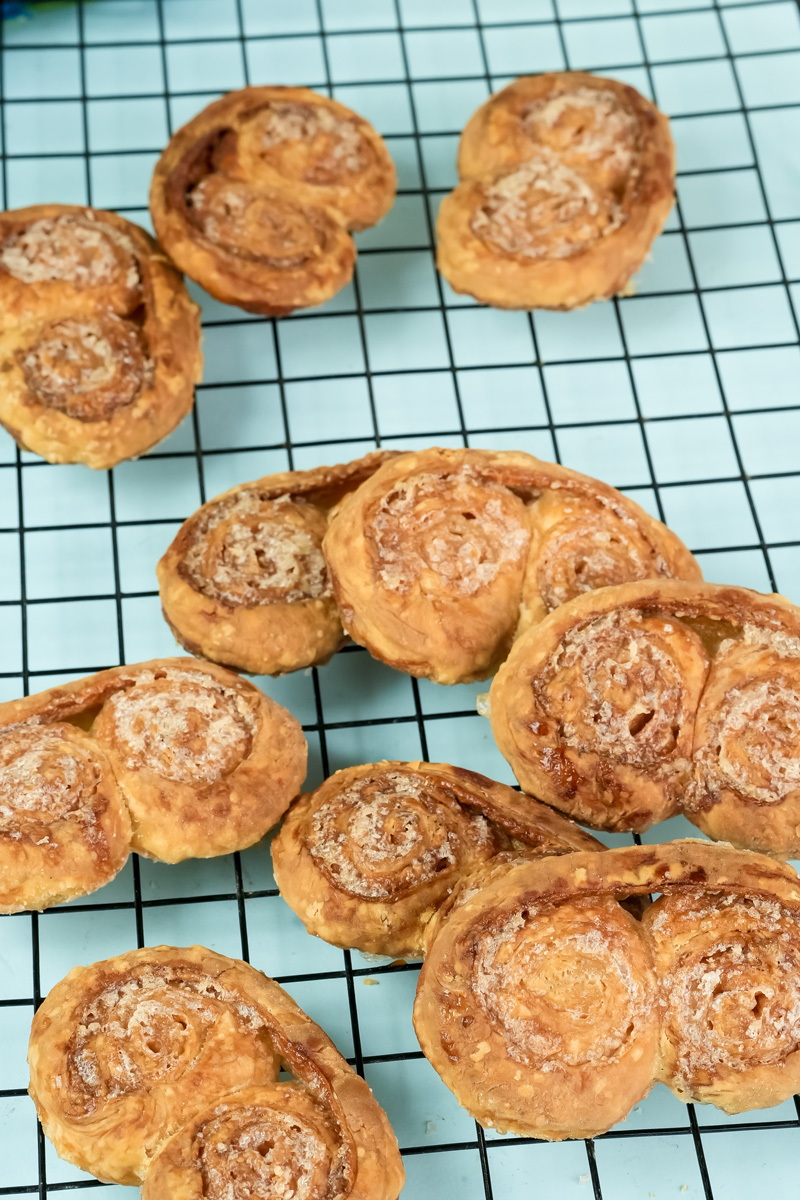
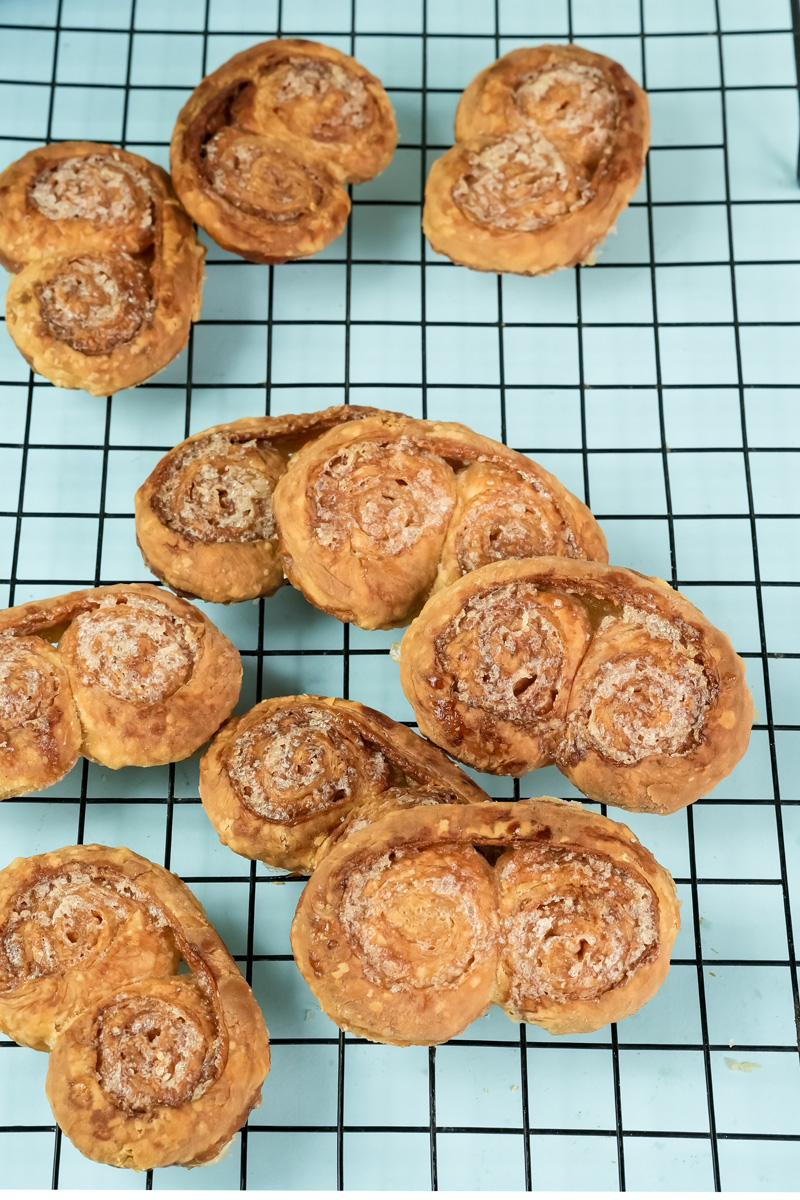
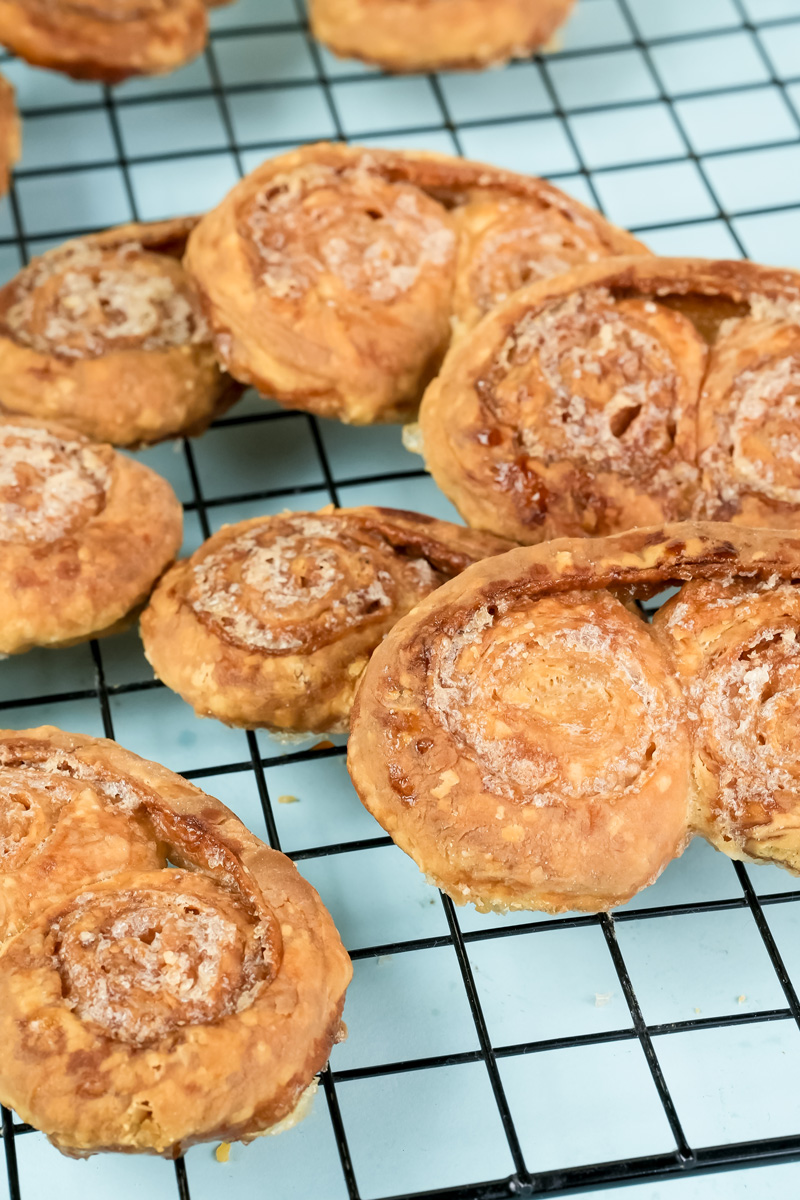
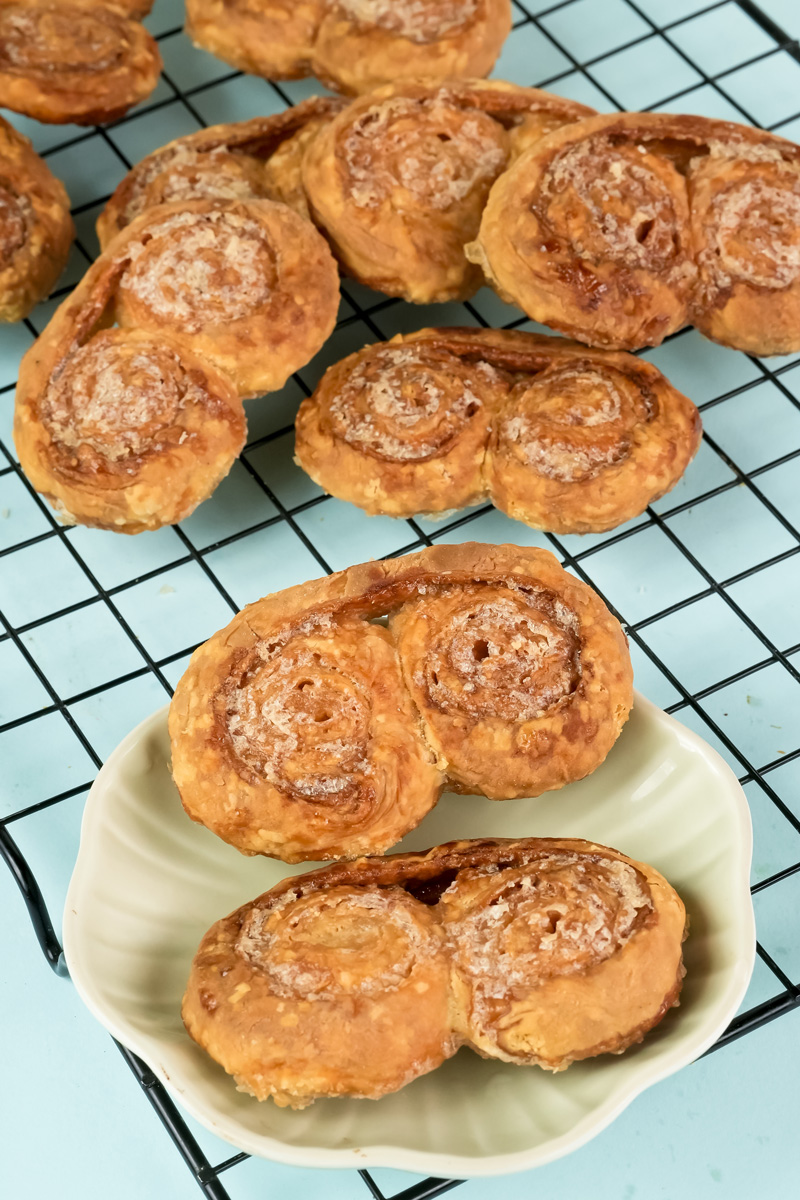
I remember the first time I saw a Palmier cookie. I was pressing my nose against the glass of a little bakery window, and there they were. Golden. Heart-shaped. Caked in a layer of sparkling, caramelized sugar.
They looked so delicate and complicated. I was sure they were something only a true pastry chef with years of training could pull off.
For years, I didn’t even try to make them. Why bother, right?
Then I learned the secret. The good news? They are ridiculously simple to make. I’m talking about a recipe with just two ingredients. Puff pastry and sugar. That’s it. The oven does all the hard work, turning them into crispy, flaky, buttery bites of heaven.
Today, I’m going to walk you through the recipe I’ve tweaked and perfected over time. It’s straightforward, I promise. Forget the intimidation. Let’s roll up our sleeves and make something that looks incredibly impressive but is actually easier than making chocolate chip cookies.
A Quick Look at Our Baking Journey
Before we start, let’s get a quick idea of what we’re getting into.
How long does this take?
You’ll need about an hour total. But the actual hands-on work? Only about 15 minutes. The rest of the time is for chilling the dough, which is a super important (and hands-off!) step.
How many cookies will I get?
This recipe makes about 22 cookies. But be warned, they disappear fast. I usually make a double batch. You can also easily cut the recipe in half.
Here’s a simple guide:
| Batch Size | Puff Pastry | Granulated Sugar | Approximate Yield |
| Half Batch | ½ sheet | ¼ cup | 11 cookies |
| Full Batch | 1 sheet | ½ cup | 22 cookies |
| Double Batch | 2 sheets | 1 cup | 44 cookies |
Is this actually hard to make?
Nope! I’d call this an easy recipe with very professional-looking results. The only real skills you need are a little patience for the chilling step and keeping an eye on them while they bake so the sugar doesn’t burn.
What gear do I need?
No fancy gadgets required. You probably have everything you need already.
- A standard baking sheet.
- Parchment paper or a silicone mat. This is a must. Caramelized sugar is a nightmare to clean off a bare pan.
- A rolling pin. If you don’t have one, a clean wine bottle works just fine!
- A sharp knife to get clean slices.
- A wire rack for cooling.
Can I make them ahead of time?
Absolutely. This recipe is fantastic for prepping. You can get the dough log all rolled up, wrap it tight, and keep it in the fridge for up to 2 days or in the freezer for a month.
The Two Magic Ingredients
It’s kind of amazing that something so delicious comes from just two things. That’s why you want to make sure they’re good quality.
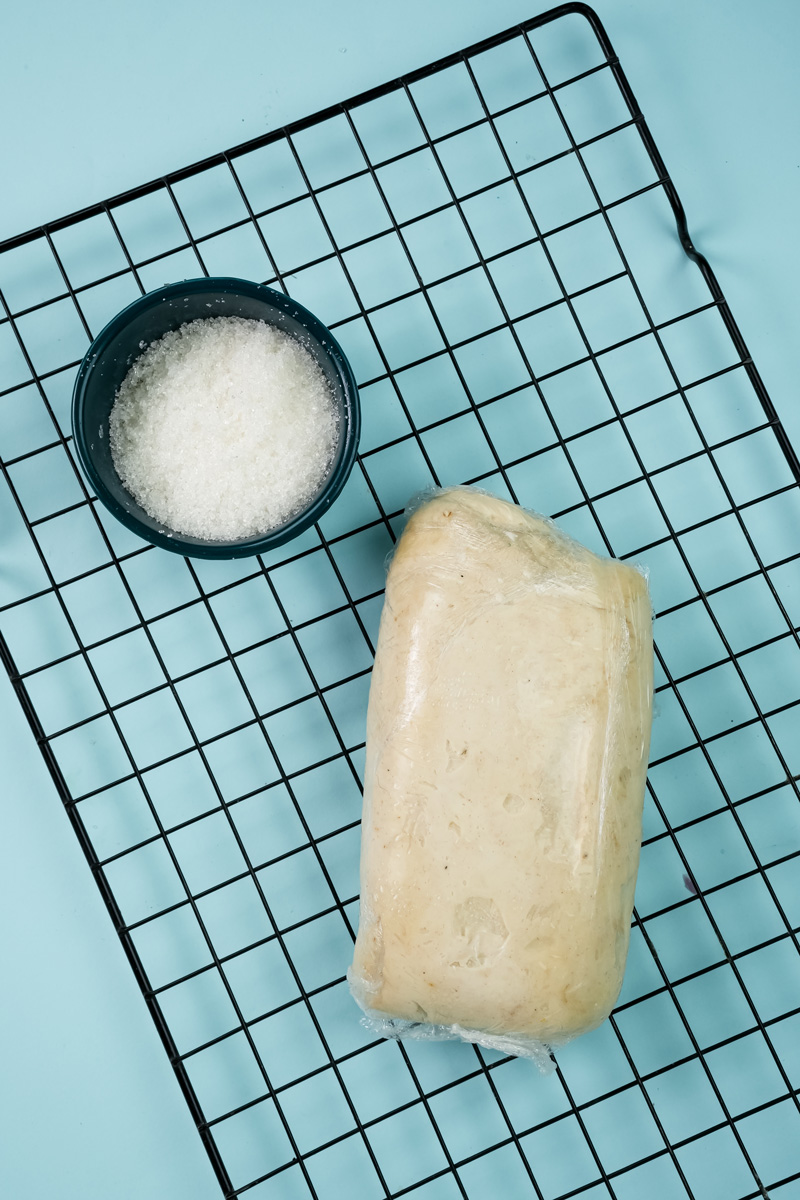
All you need is one sheet of thawed puff pastry and ½ cup of granulated sugar.
When your ingredient list is this short, every little bit counts. For the puff pastry, I really suggest you look for an all-butter version. The regular kind made with shortening works, and the cookies will still be tasty. But an all-butter pastry gives you a rich, complex flavor that tastes just like the ones from a real French pâtisserie.
The key is making sure the pastry is thawed but still very cold. The best way to do this is to let it thaw overnight in the fridge. Cold pastry is what gives you that incredible puff in the oven.
And the sugar? Simple, plain old granulated sugar is perfect. It gives the best crunch and caramelizes into that beautiful amber shell. No need for anything fancy.
Step-by-Step Method: Let’s Get Baking!
Alright, let’s get our hands a little sugary. I’ll share all the little tricks I’ve picked up along the way.
Step 1: Make a Bed of Sugar
First things first. On a clean counter, sprinkle about half of your sugar (¼ cup) into a square shape. Think of it as a sweet, crunchy foundation for the pastry.
Now, gently unwrap your cold puff pastry sheet and lay it on top of the sugar. Sprinkle the rest of the sugar over the top. Grab your rolling pin and gently roll the pastry into a bigger, 12-inch square. You’re doing two things here: getting the pastry to the right size and, more importantly, pressing those sugar crystals right into the dough. This is what gives the finished cookies their signature crunch.
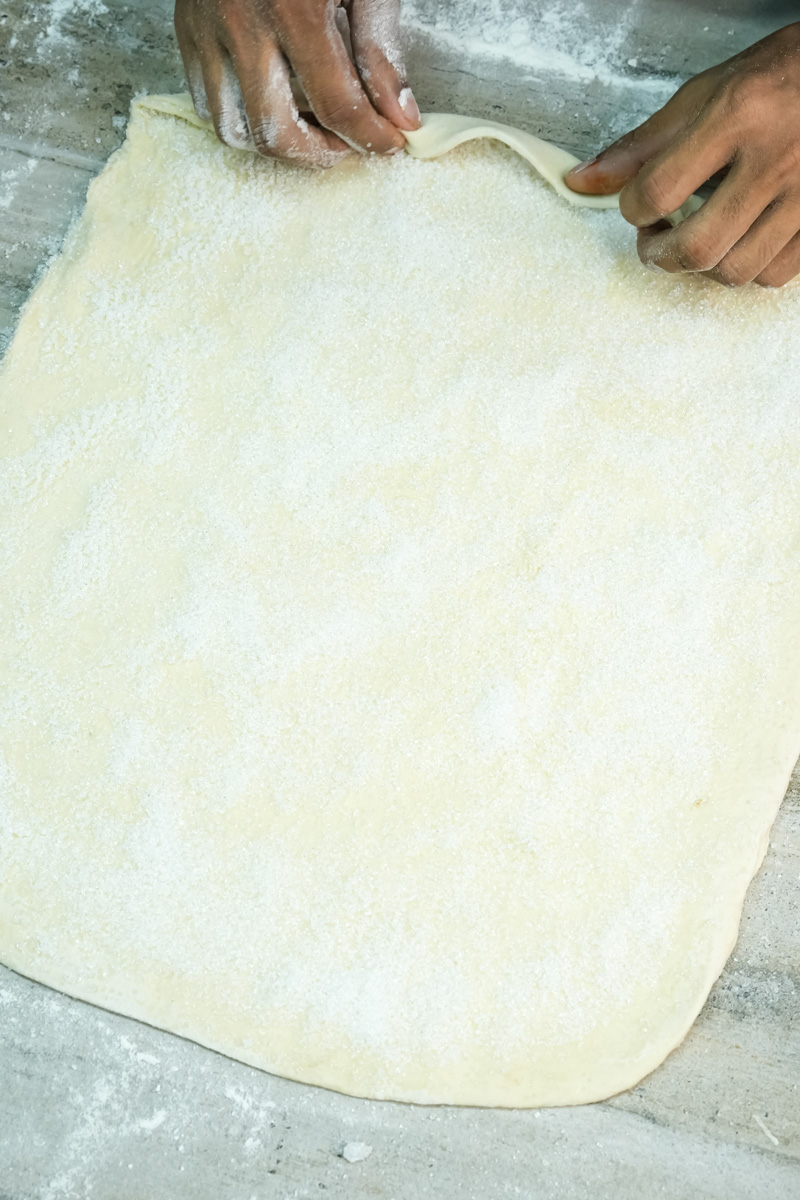
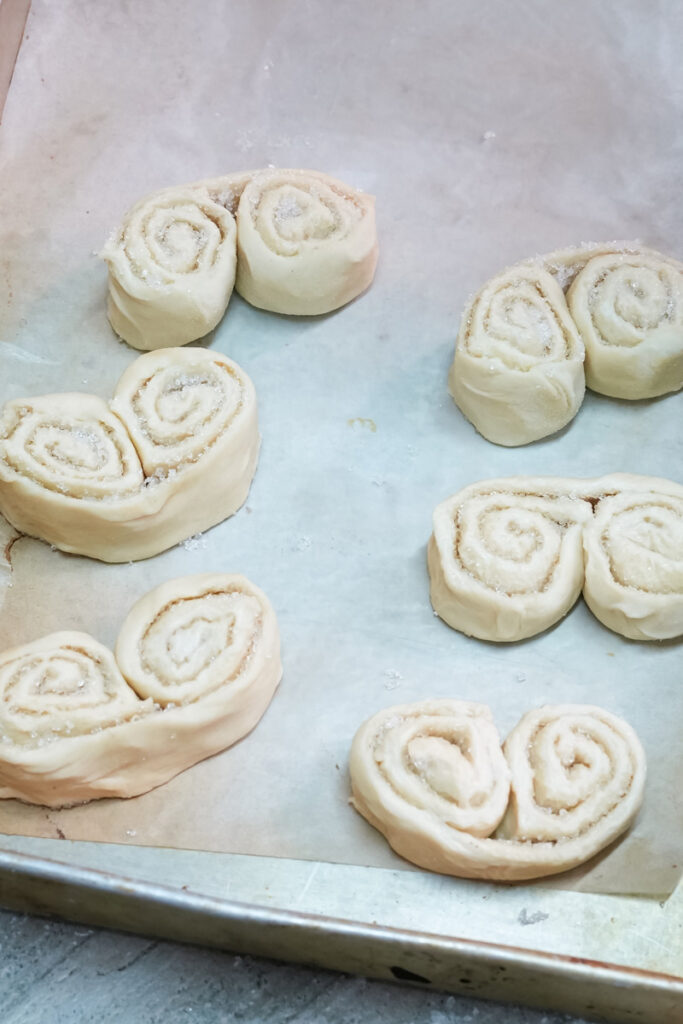
Step 2: The Signature Palmier Roll
Here comes the fun part where we create that classic heart shape.
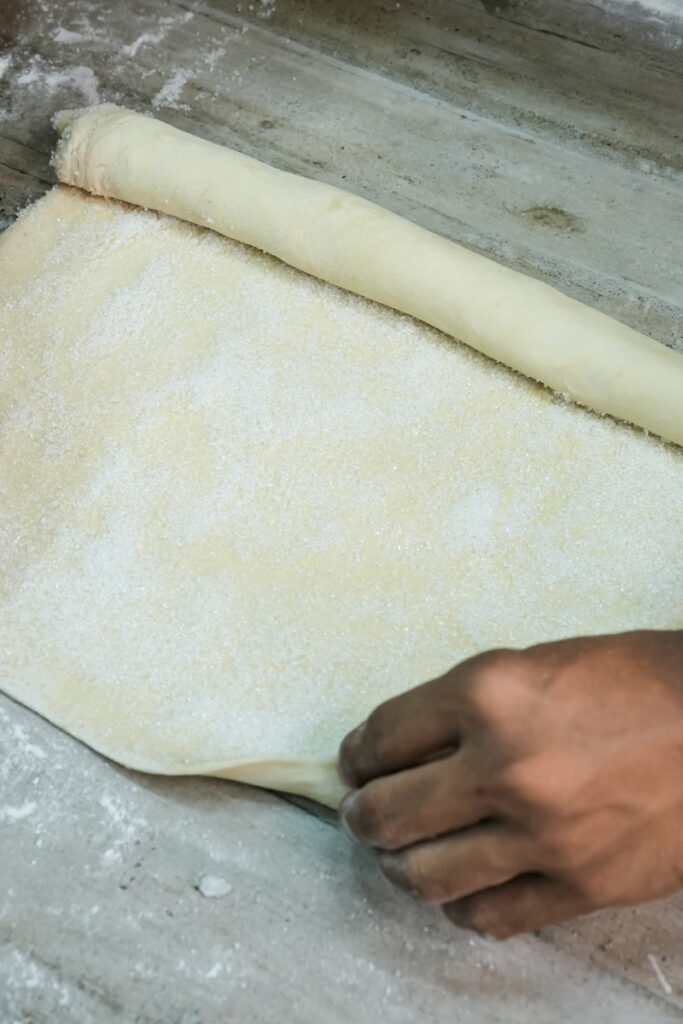
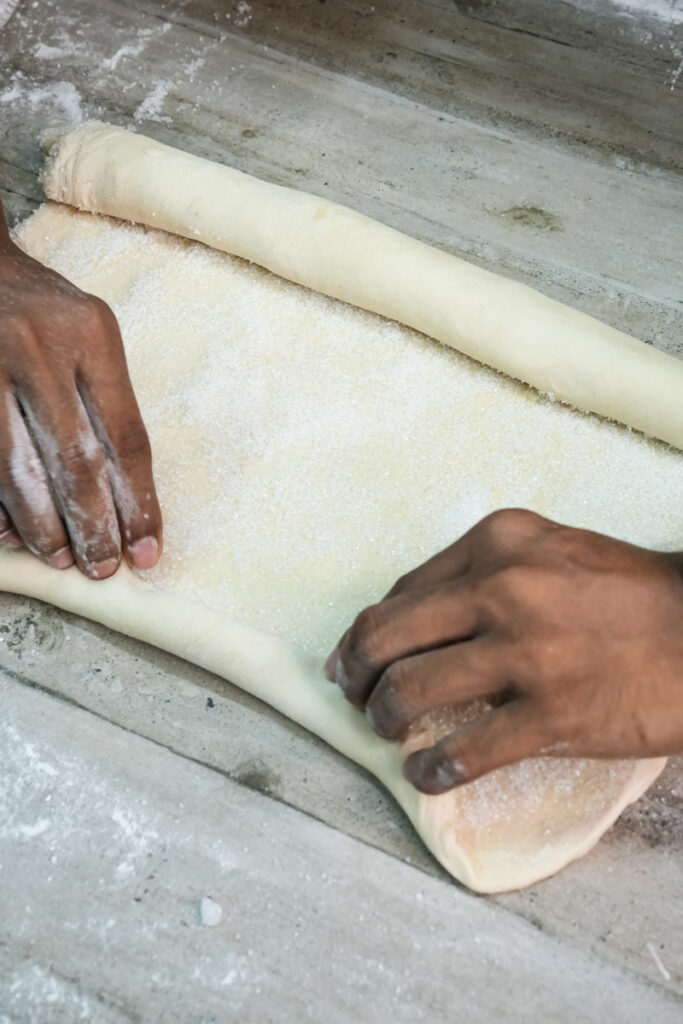
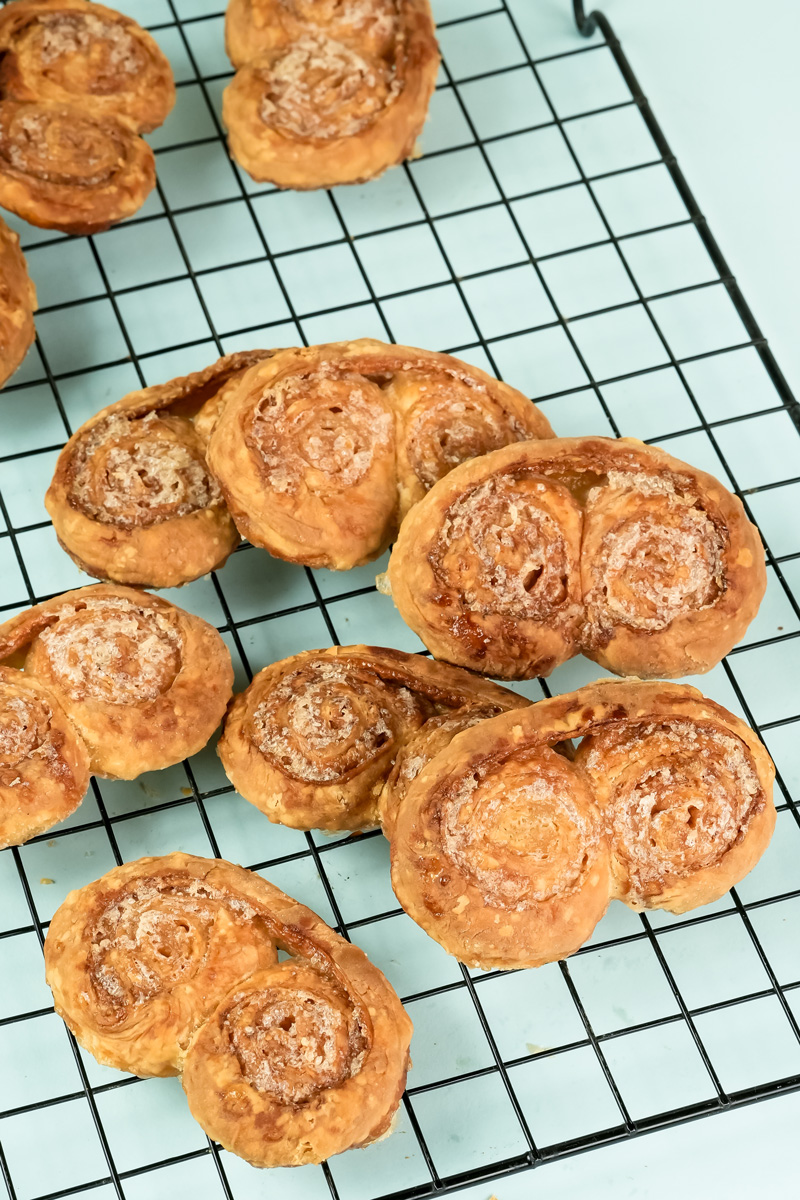
Look at your square of pastry and find the center line. Take one side and roll it up tightly until it meets the middle. Now, do the exact same thing with the other side. You should end up with something that looks like a scroll or an open book. Gently press the two rolls together.
A common mistake I used to make was rolling too loosely. A tight roll is your best friend here; it helps the cookies keep their shape when they bake.

Step 3: The Super-Important Chill
This next step requires patience, but please, do not skip it. It makes all the difference.
Carefully move your pastry log onto a small plate and stick it in the freezer for 30 minutes. This step is a must. It hardens the butter in the pastry and makes the log firm, which lets you slice it without squishing it. A soft log will just get smushed, and you’ll lose that beautiful swirl.
While the dough is chilling, preheat your oven to 425°F (220°C) and line a baking sheet with parchment paper.
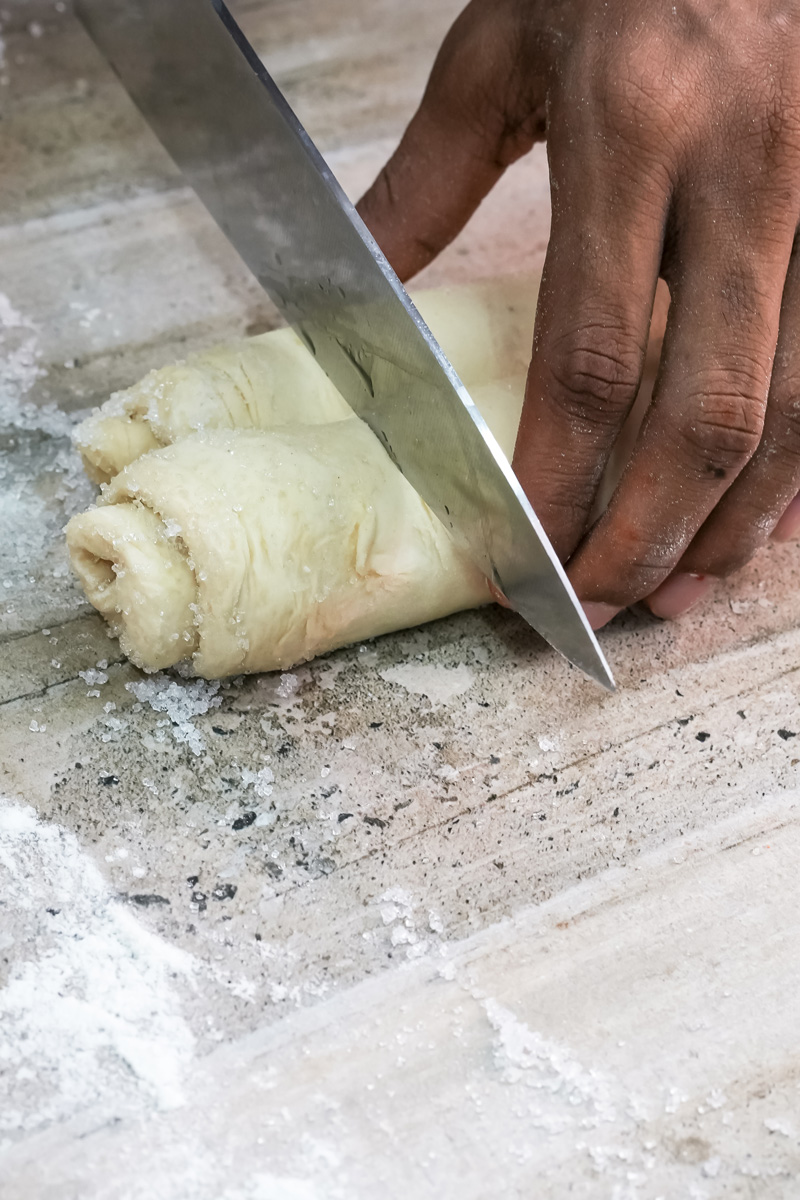
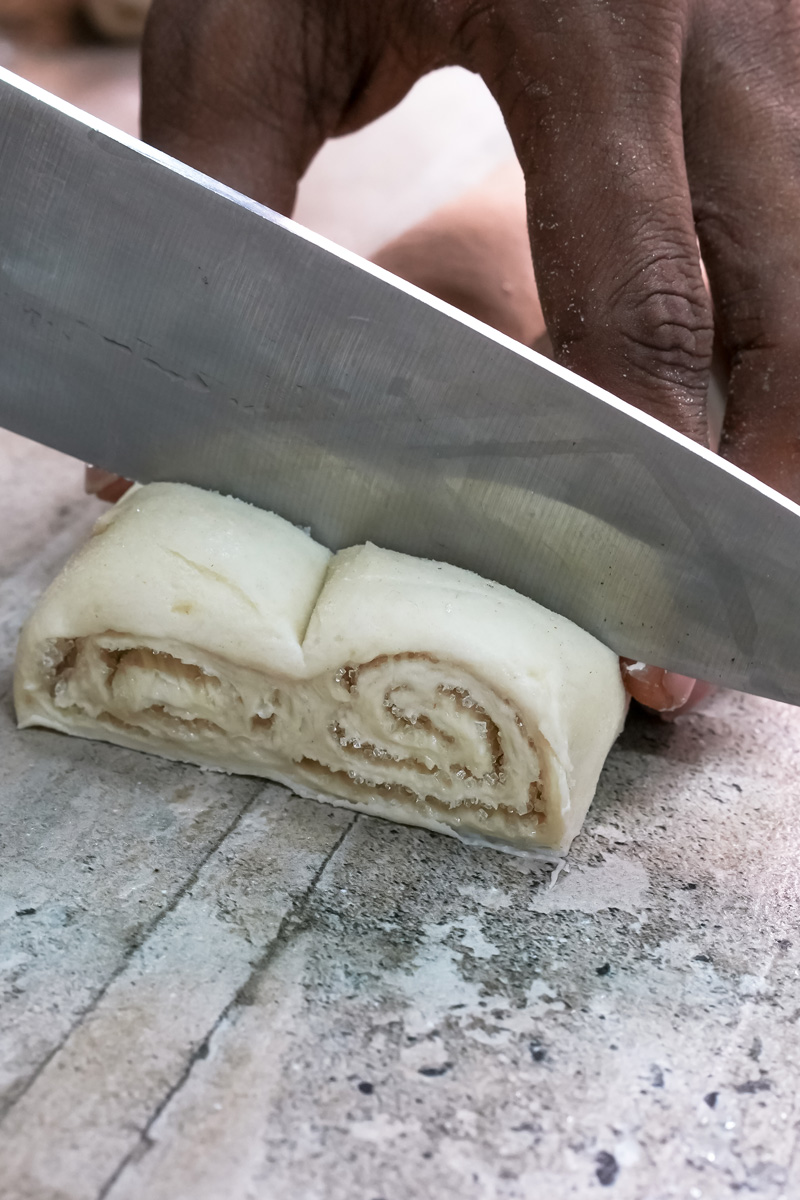
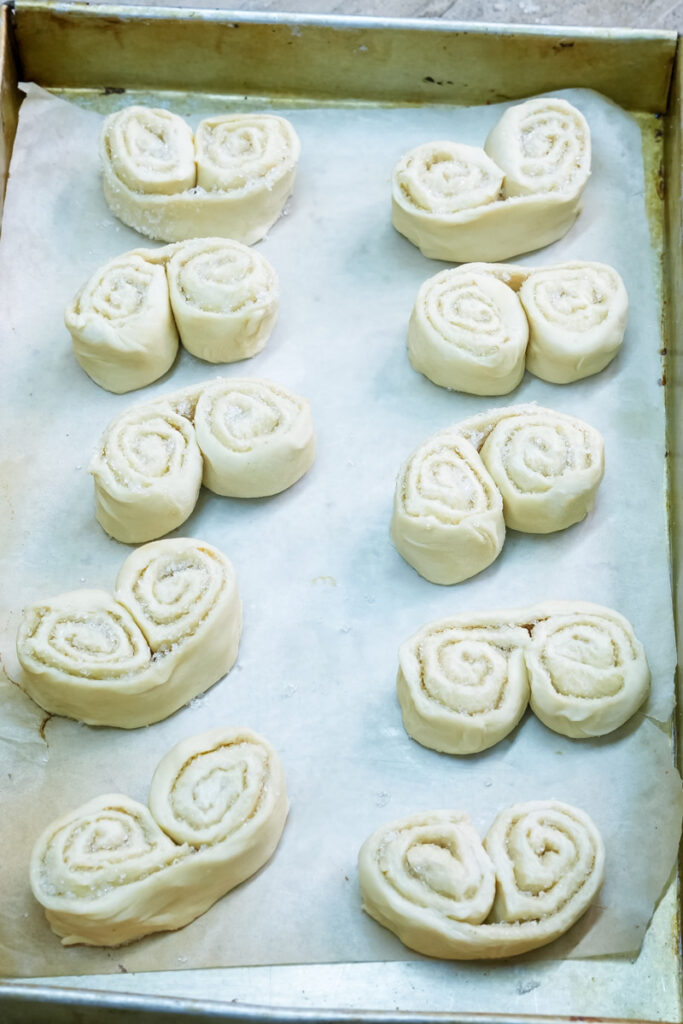
Once the 30 minutes are up, grab the firm log from the freezer. Using a very sharp knife, slice it into cookies about ¼-inch thick. Want a wild but effective trick? Use unflavored dental floss. Just loop it around the log and pull to get a perfectly clean cut.
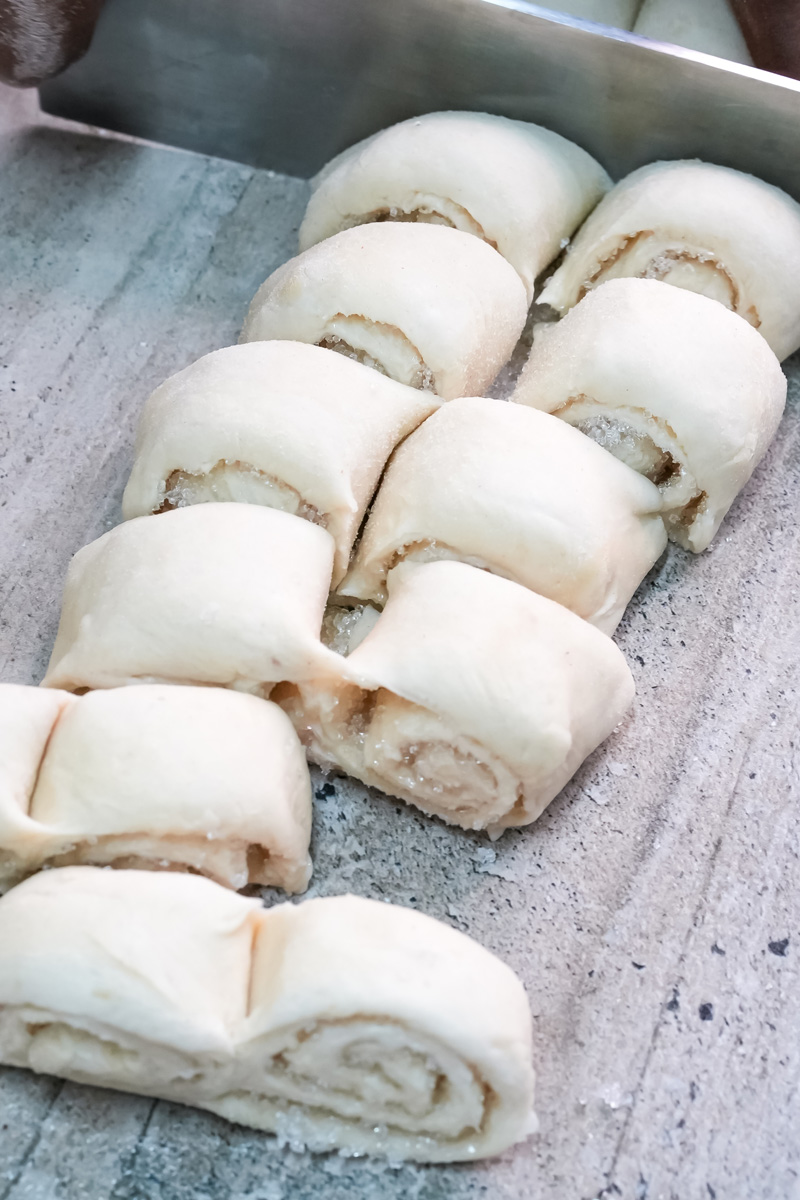
Place the slices on your baking sheet, leaving about 2 inches of space between them. They’ll puff up and spread out more than you think!
Step 4: The Bake
Time for the magic.
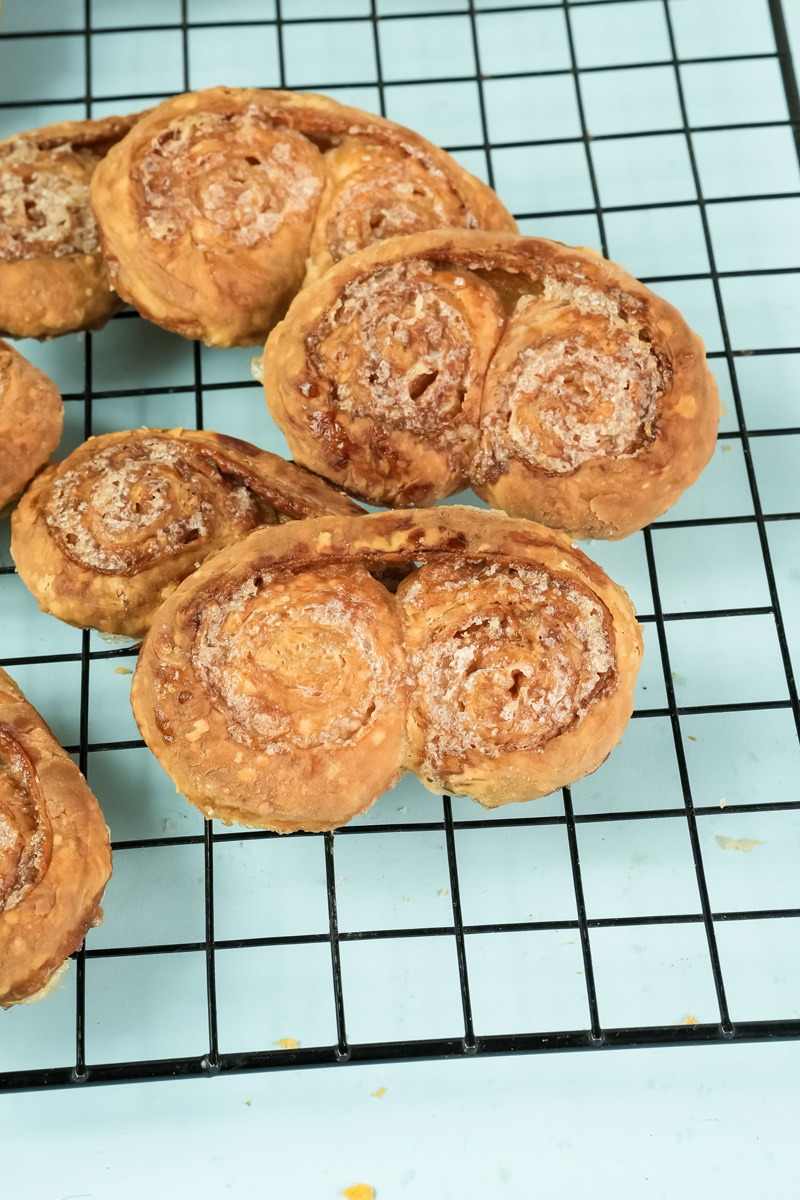
Put the baking sheet in the oven for 8 to 10 minutes. You’ll see the pastry puff up, and the sugar on the bottom will start to melt into a bubbly, amber-colored puddle. That’s the good stuff!
Once you see that, carefully take the baking sheet out. Use a thin spatula to flip each cookie over. Then pop them back in the oven for another 4 to 5 minutes to caramelize the other side. They’re done when they are golden brown all over.
Get them onto a wire rack to cool right away. If you leave them on the hot pan, the caramel can keep cooking and burn.
Fun Variations to Try
The classic version is divine, but Palmiers are also a perfect canvas for your own ideas. Here are a few things I’ve tried and loved:
- A Touch of Spice. This is the easiest and most popular twist. Just add a teaspoon of ground cinnamon to the sugar before you roll out the dough. Cardamom or nutmeg is also delicious for a cozy, autumn feel.
- A Savory Twist. Who says they must be sweet? Instead of sugar, try spreading a thin layer of pesto or sun-dried tomato paste on the pastry. A sprinkle of finely grated Parmesan cheese before rolling is amazing. These make a fantastic party appetizer!
- The Fancy Version. For a really special treat, dip one side of the cooled cookies in melted dark chocolate. Before the chocolate sets, sprinkle on some chopped pistachios or toasted almonds.
Serving and Storing Your Cookies
Honestly, my favorite way to serve these is by eating one right off the cooling rack. But they are perfect with a cup of coffee or tea. They also make a simple, elegant dessert after dinner with a scoop of ice cream.
You can store cooled Palmiers in an airtight container for up to a week, but they are crispiest in the first couple of days. If they last that long. If they get a little soft, you can bring them back to life! Just pop them in a 350°F (175°C) oven for a few minutes until they’re crunchy again.
My secret weapon? Freeze the unbaked, sliced cookies. Place them on a baking sheet until they’re frozen solid, then toss them in a freezer bag. You can bake them straight from frozen—just add a couple of extra minutes to the baking time. It’s the perfect way to have “fresh-baked” fancy cookies ready at a moment’s notice!
Enjoy the process, and happy baking!
PrintPalmiers
Unlock the secret to these beautiful, crispy French cookies! Known as “Elephant Ears,” these sweet, buttery swirls look like they came from a fancy bakery but are ridiculously simple to make at home. They are the perfect impressive-but-easy treat to share.
- Prep Time: 15 minutes
- Cook Time: 15 minutes
- Total Time: 1 hour (+Chill Time)
- Yield: 22 cookies
- Category: Dessert, Cookie
- Cuisine: French
Ingredients
1 sheetall-butter puff pastry, thawed in the fridge until cold½ cupgranulated sugar
Instructions
- Prep the Dough: Sprinkle ¼ cup of sugar on a clean counter. Place the cold puff pastry on top. Sprinkle the remaining ¼ cup of sugar over the pastry. Gently roll everything into a 12-inch square, pressing the sugar into both sides of the dough.
- Fold the Log: Tightly roll one side of the square to the exact center. Repeat with the opposite side so the two rolls meet in the middle, creating a scroll shape.
- Chill & Slice: Wrap the dough log and freeze it for 30 minutes until very firm. This step is key for clean cuts! While it chills, preheat your oven to 425°F (220°C) and line a baking sheet with parchment paper. Once firm, slice the log into ¼-inch thick cookies.
- Bake: Arrange the cookie slices 2 inches apart on your prepared baking sheet. Bake for 8-10 minutes, or until the sugar on the bottom is melted, bubbly, and amber-colored.
- Flip & Finish: Carefully remove the pan, flip each cookie with a spatula, and return to the oven. Bake for another 4-5 minutes until both sides are a beautiful golden brown. Immediately move the hot cookies to a wire rack to cool completely.
Notes
- Tips & Tricks: For the flakiest, most flavorful cookies, use an all-butter puff pastry and make sure it’s very cold when you work with it. For perfectly clean cuts on the chilled dough, try using a piece of unflavored dental floss!
- Serving Suggestions: These are wonderful with a cup of coffee or tea. For a simple and elegant dessert, serve them alongside fresh berries or a scoop of vanilla bean ice cream.
- Storage & Make-Ahead:
- Store cooled cookies in an airtight container at room temperature for up to 3 days. If they lose their crunch, you can crisp them up in a 350°F (175°C) oven for a few minutes.
- To Freeze: You can freeze the unbaked, sliced cookies on a baking sheet until solid, then transfer them to a freezer bag for up to 1 month. Bake straight from the freezer, adding 2-3 extra minutes to the cooking time.