I’ve been there. It’s 10 PM on a Tuesday. You’re craving something sweet, but the thought of preheating the oven and washing a dozen pans feels like a chore. I once tried to bake a whole batch of cookies just for a single craving, and I ended up with a mountain of dishes and a stomachache.
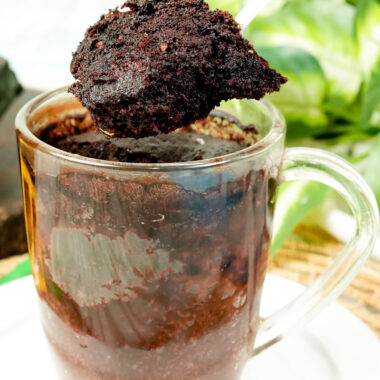
That’s why I love this Peanut Butter Mug Cake. It’s the perfect “I need dessert right now” fix. It feels like a warm hug in a cup.
Mug cakes got popular because not everyone has a full kitchen. Whether you’re in a dorm or just don’t want to heat up the house, they are a total lifesaver. Most people look for a 3-ingredient version. The problem? Those usually end up tasting like a rubber ball.
This recipe is what I call the Gourmet Upgrade. By adding a little oil and an egg yolk, you get a rich, soft cake that actually tastes like a real dessert. It’s salty, sweet, and reminds me of those classic “Elvis” flavors.
The Game Plan
If you want an Easy Peanut Butter Mug Cake, this is it. It takes about 2 minutes to prep and a little over a minute to cook.
The good news? This is a “Level 1” recipe. It’s great for beginners or kids. You just need a standard 10–12 oz mug. Anything smaller might cause a “cake-cano” overflow in your microwave. Trust me, cleaning exploded cake off a microwave turntable is not how you want to spend your night.
| Equipment | What to use instead |
| 12 oz Ceramic Mug | A small microwave-safe bowl |
| Mini Whisk | A regular dinner fork |
| Measuring Spoons | A standard soup spoon (about 1 tbsp) |

What You’ll Need
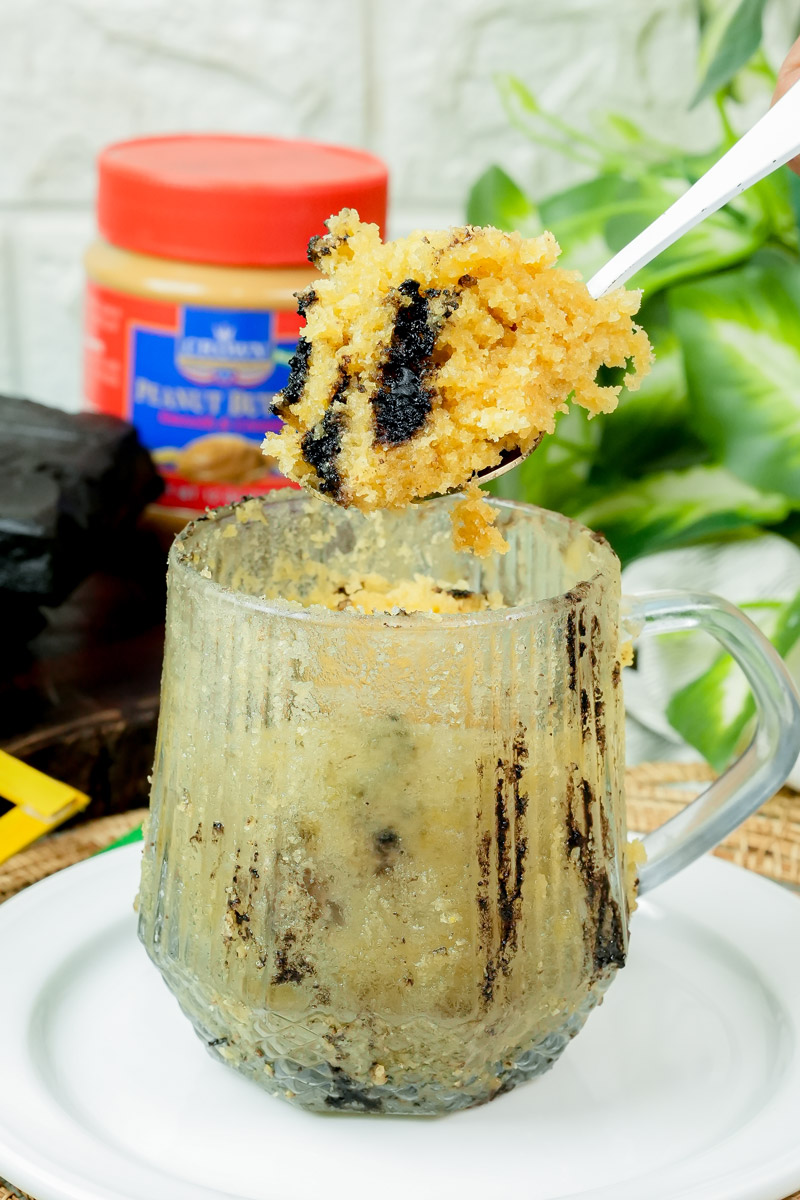
The star of the show is the peanut butter. I usually grab a jar of Jif or Skippy because they are consistent. If you use the natural stuff that you have to stir, make sure it’s mixed really well. If you get the dry bits from the bottom of the jar, your cake will be a desert.
Here is your shopping list:
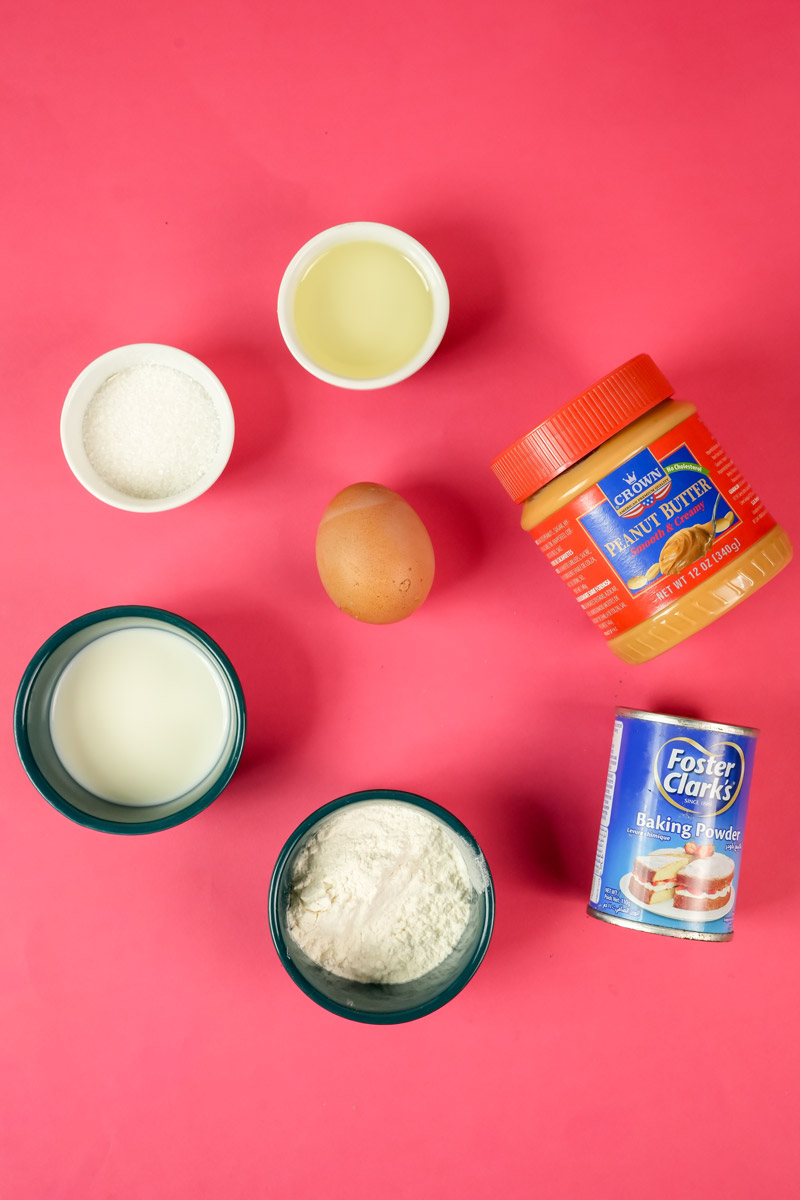
- Peanut Butter: 2 tablespoons.
- Oil: 1.5 tablespoons. This keeps it moist.
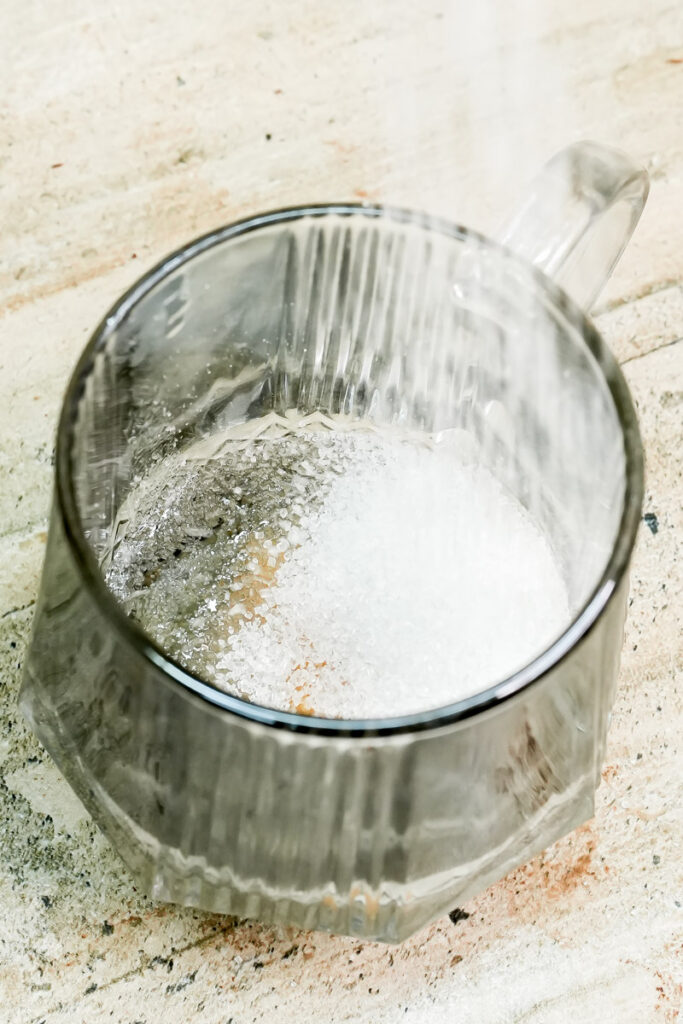
- Sugar: 2 tablespoons.
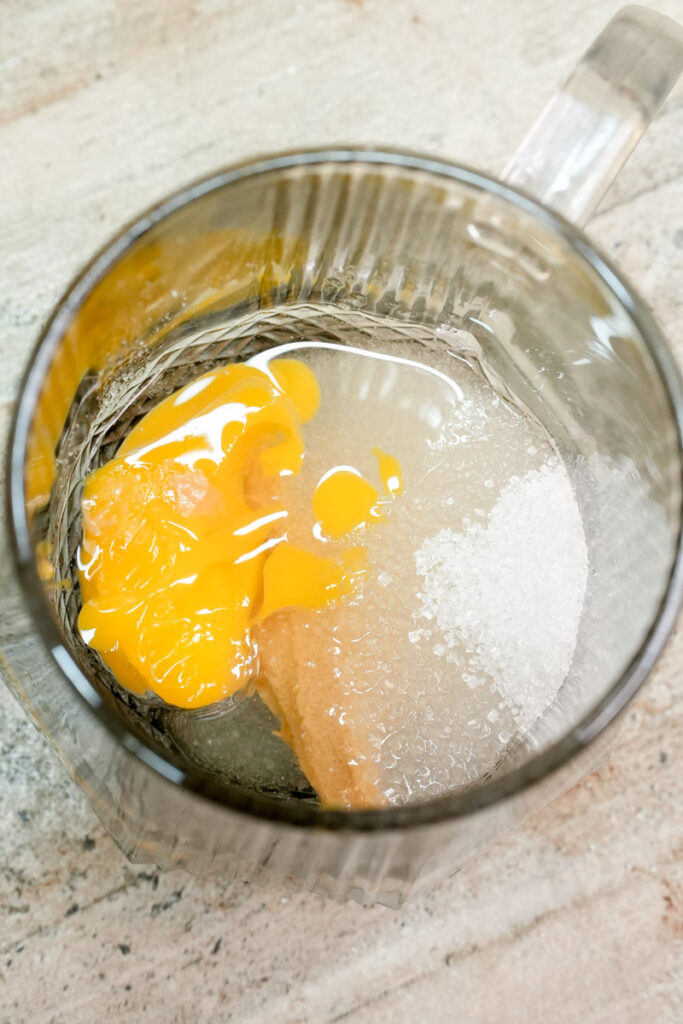
- Egg Yolk: 1 large. This is the secret for a custard-like texture.
- All-purpose Flour: 2 tablespoons.
- Baking Powder: 1/4 teaspoon.
- Milk: 1 tablespoon (plus a splash if needed).
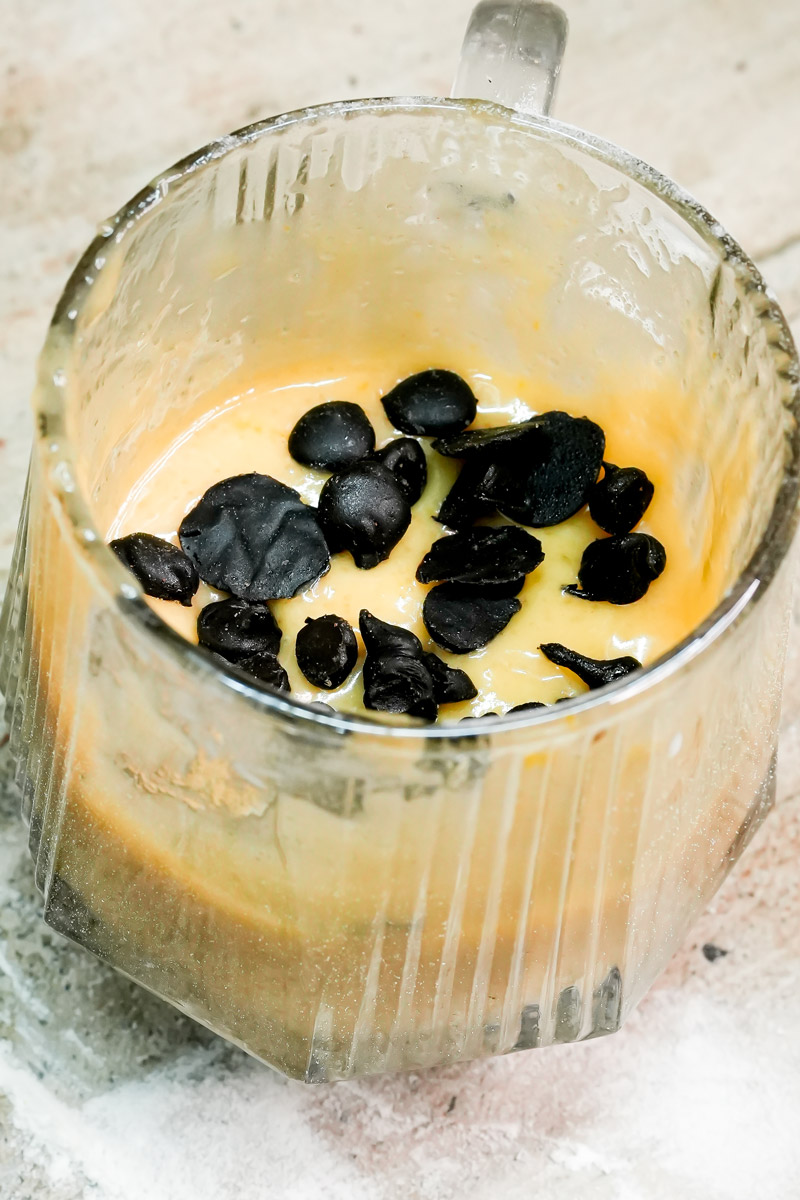
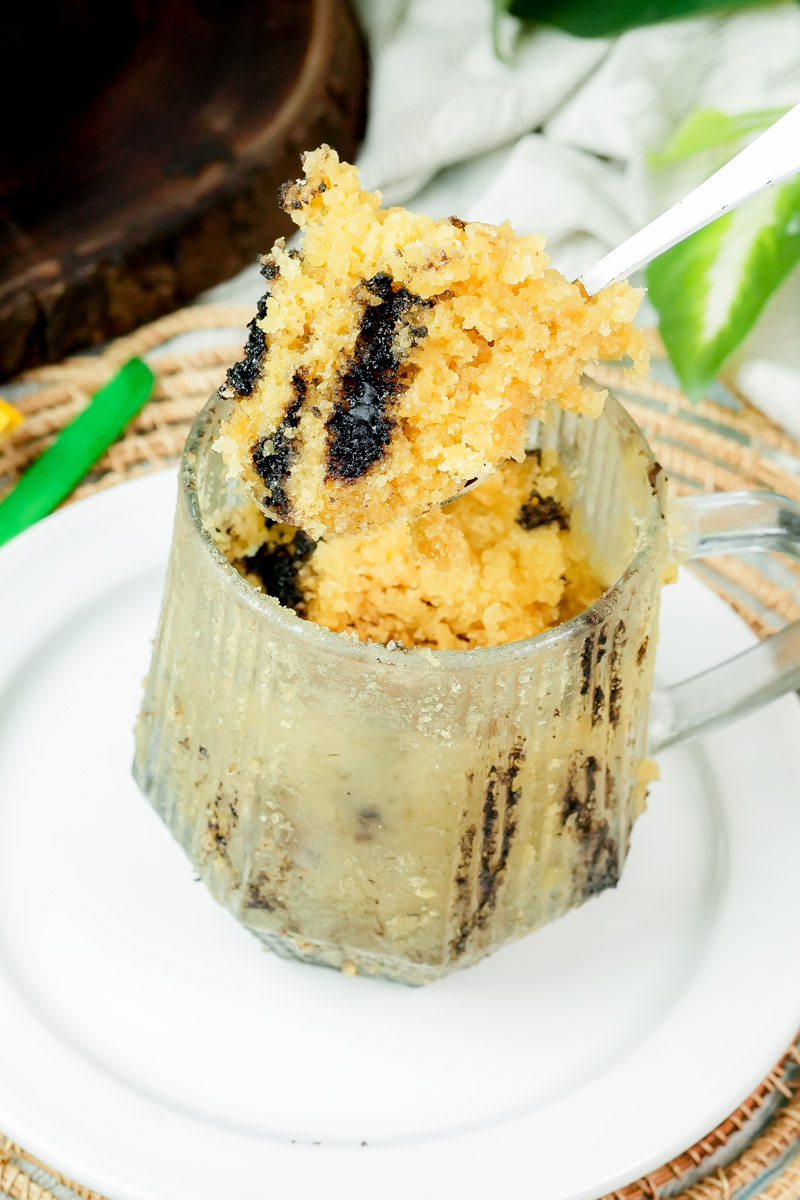
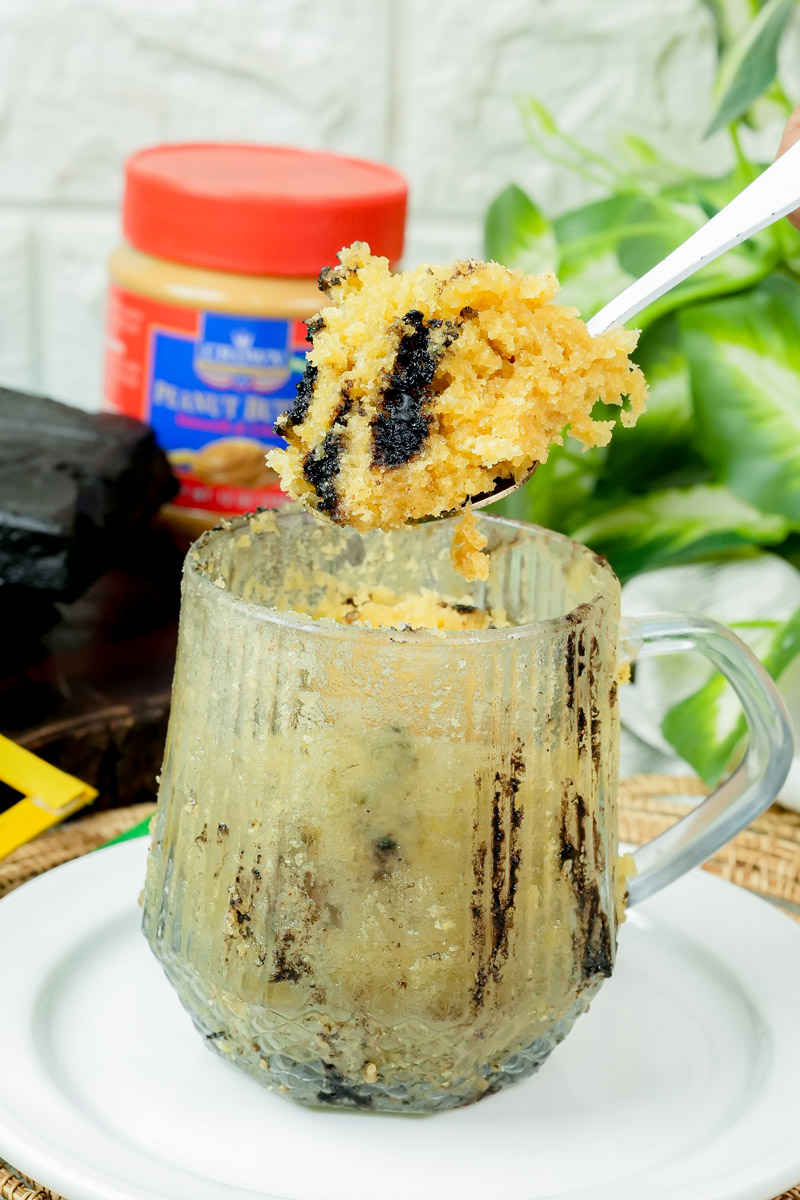
- Chocolate Chips: (Optional, but highly recommended).
Quick Tip: Try to use a room-temperature egg and milk. If they are freezing cold, they can make the peanut butter seize up. It’s like trying to stir cement.
Let’s Cook Together!
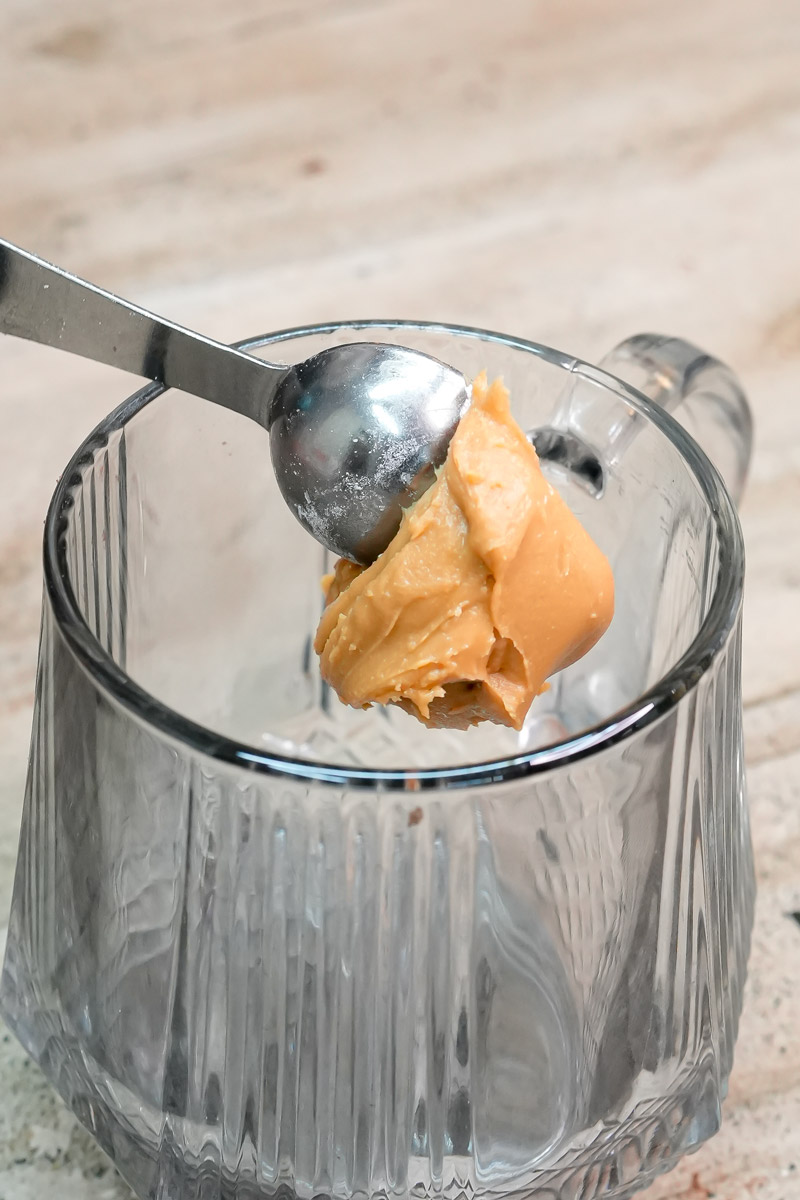
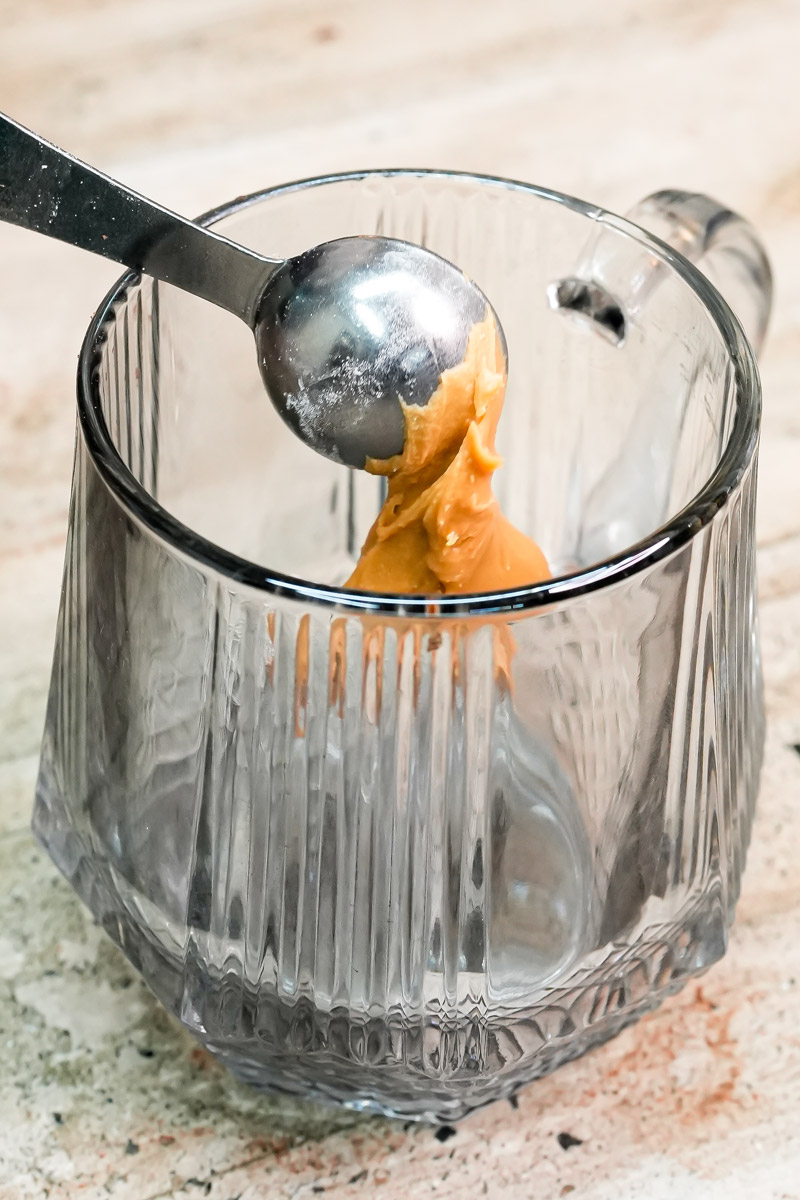
Step 1: The Liquid Base
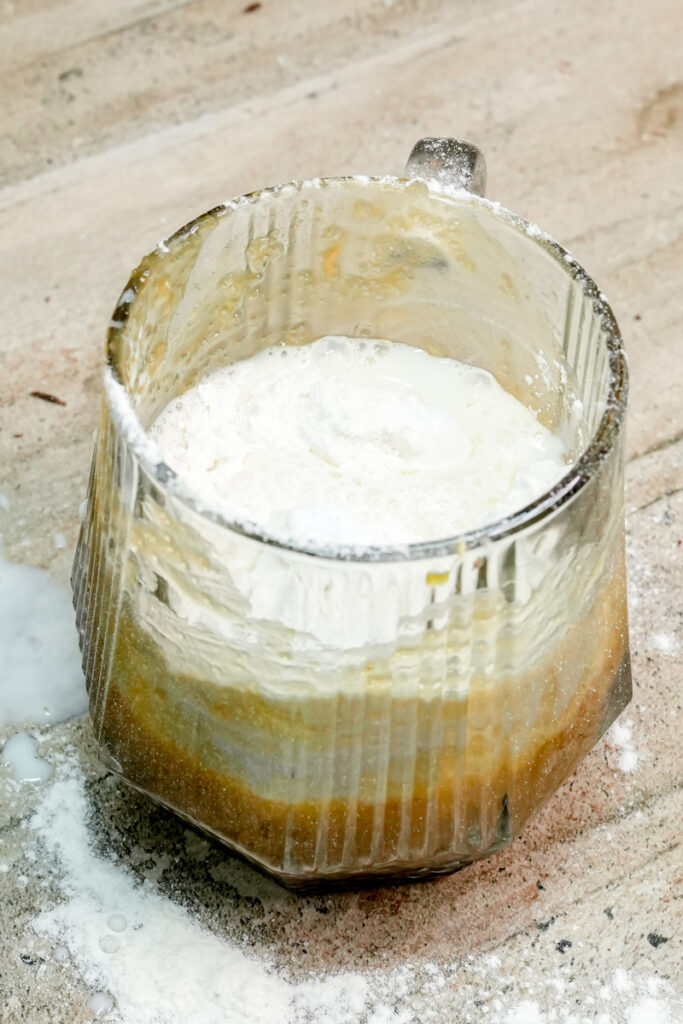
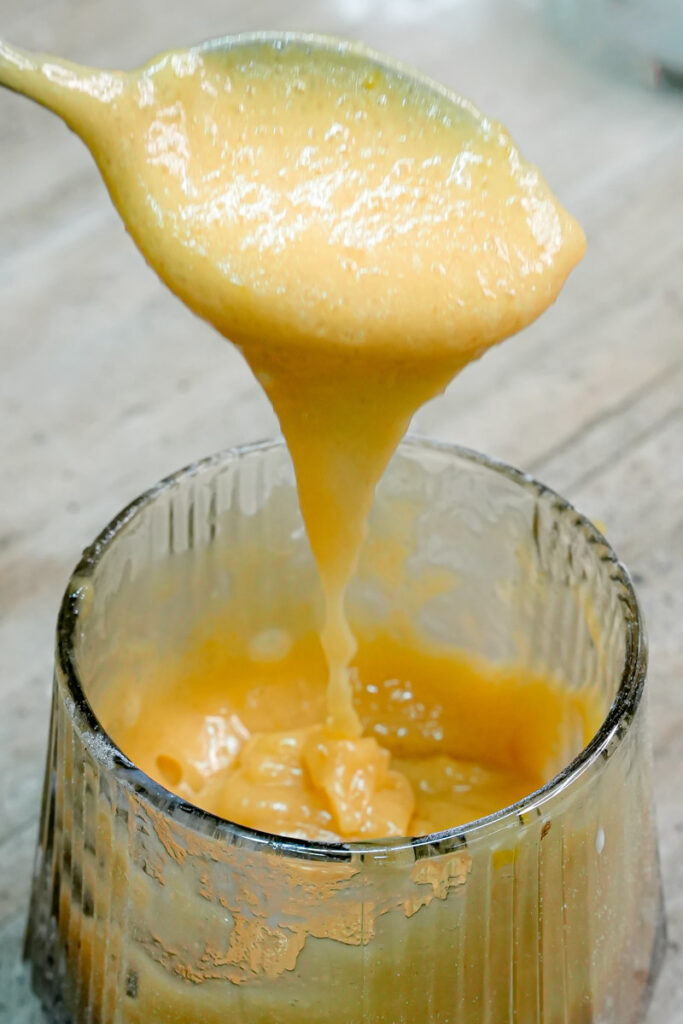
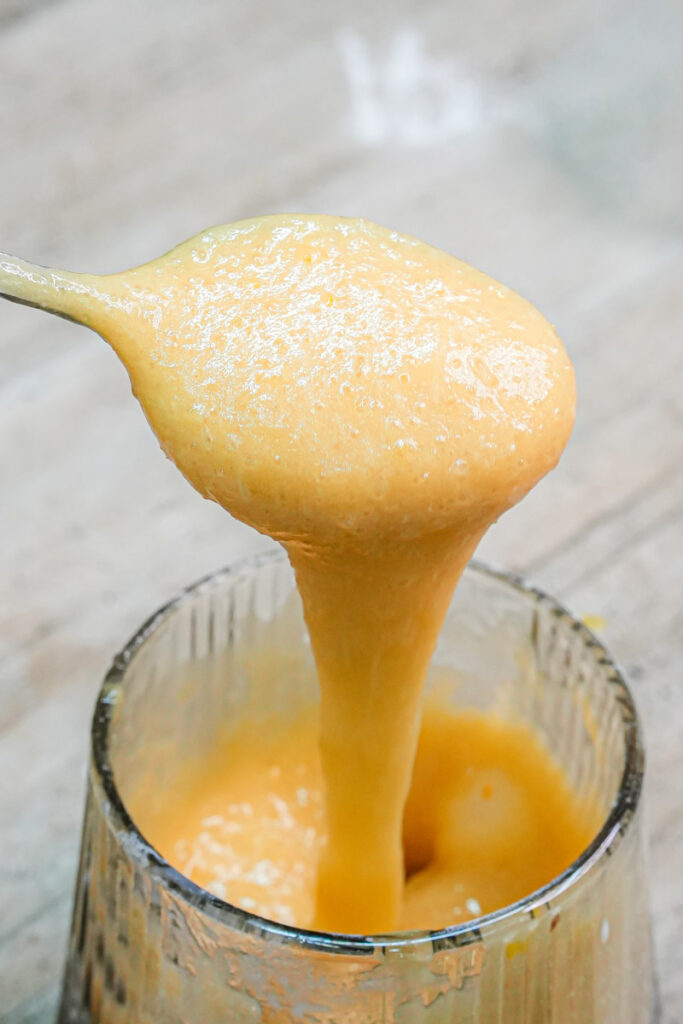
Grab your mug. Toss in the oil, peanut butter, sugar, and egg yolk. Whisk them until they look like a smooth, glossy paste. You want that sugar to start dissolving. If your peanut butter is too stiff to stir, pop the mug in the microwave for 10 seconds to soften it up.
Step 2: Add the Structure
Slowly whisk in the flour and baking powder. Don’t dump it all in at once or you’ll get flour clumps. Once it’s thick, stir in the milk and chocolate chips. It should look like thick Greek yogurt. If it looks like bread dough, add a tiny bit more milk.
Step 3: The Magic Moment
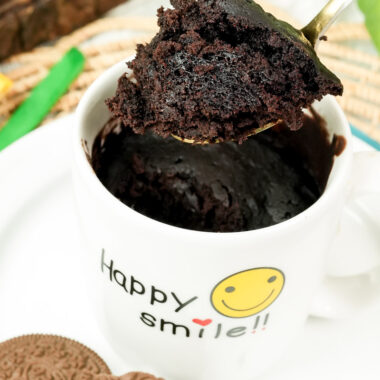
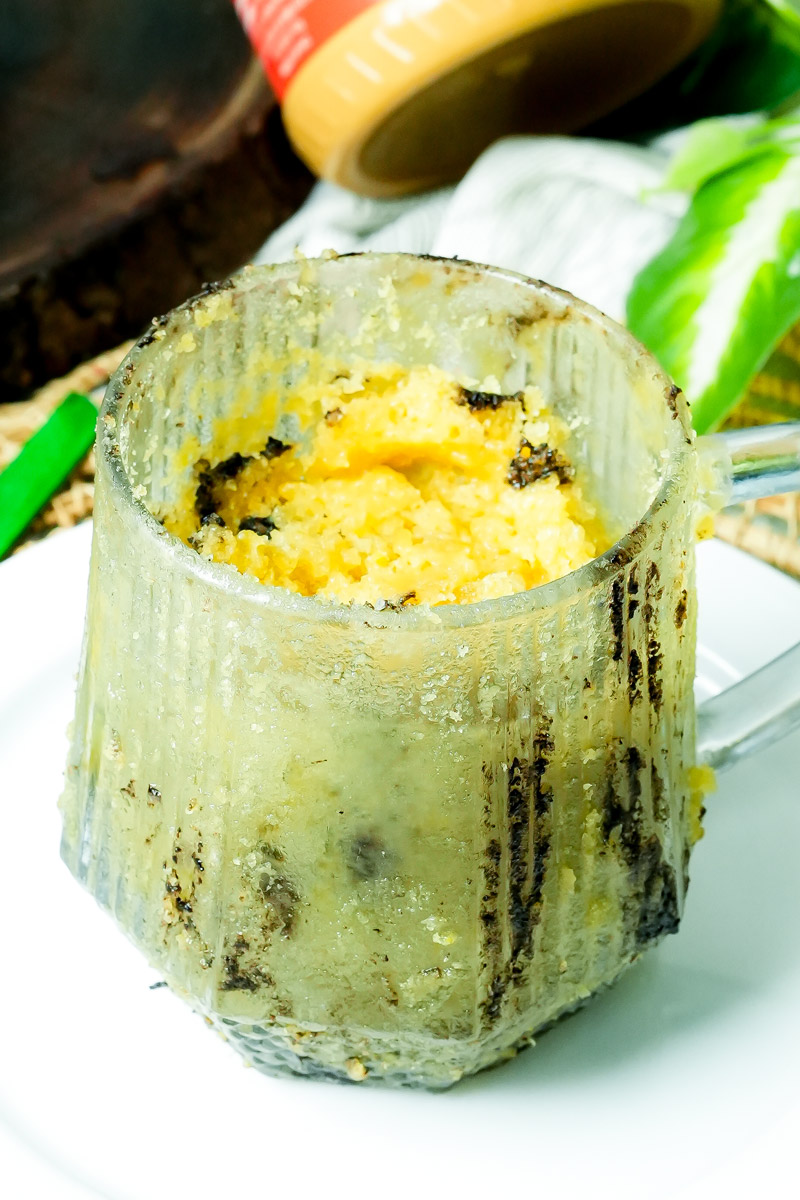
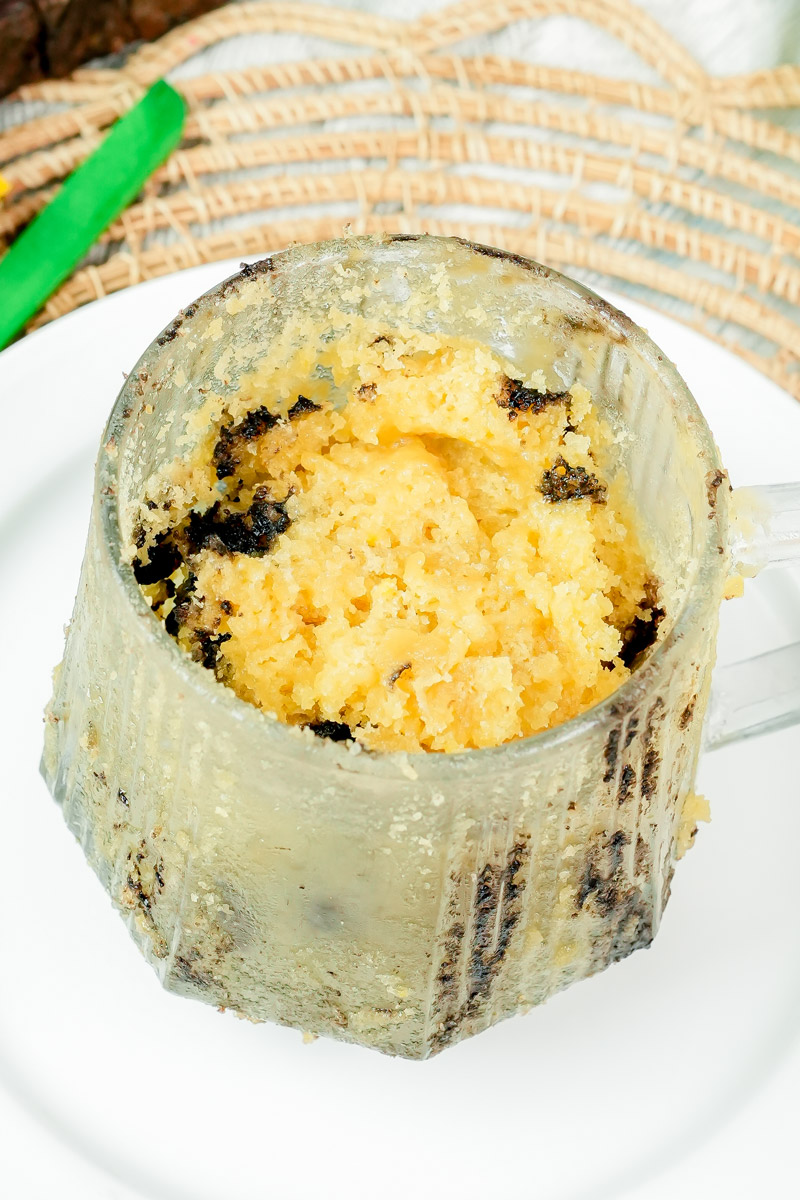
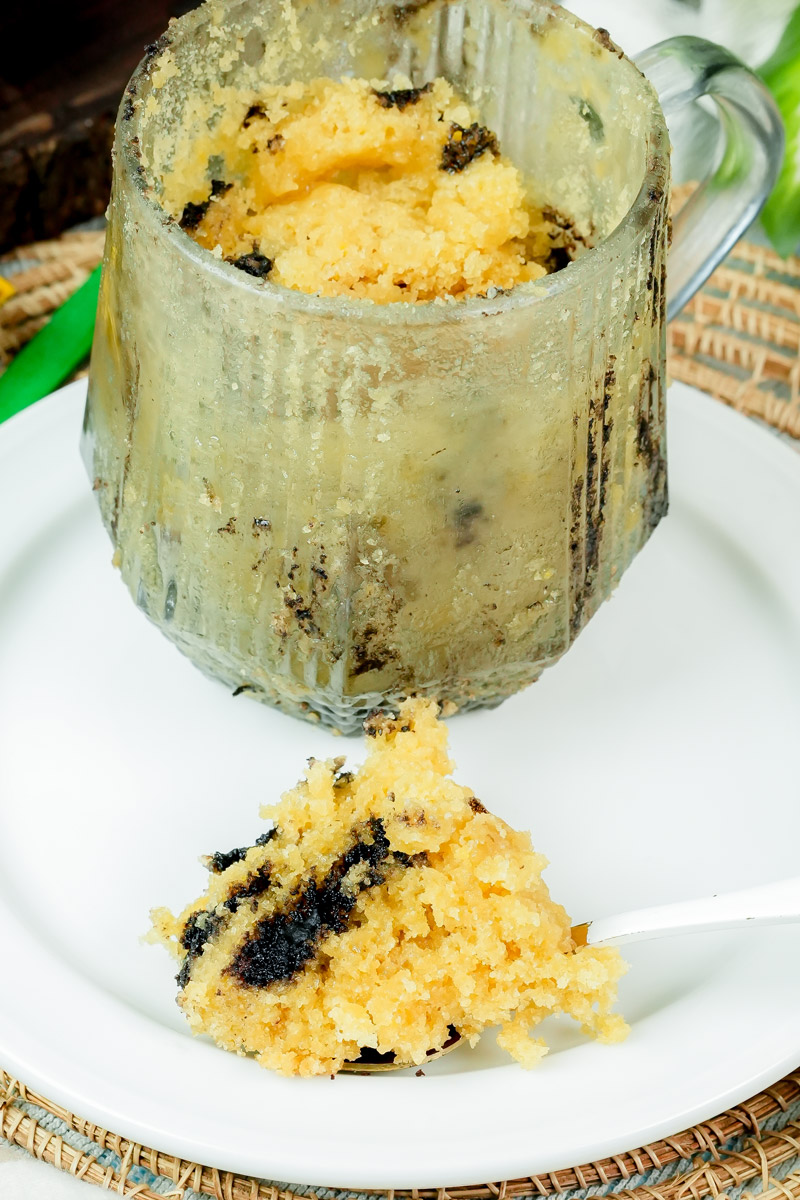
Stick it in the microwave. I usually go for 1 minute and 30 seconds, but every microwave is a different beast. Watch it through the glass! It will rise high and then settle back down.
The goal? Take it out when it’s 95% done. If the top looks set and springs back when you poke it, it’s ready. Let it rest for 1 or 2 minutes. This “Resting Phase” lets the center finish cooking so you don’t end up with a hockey puck.
Mix it Up
You can totally change this recipe to fit your mood. Because let’s be honest, sometimes you want to get creative.
- The Elvis: Mash up half a banana and mix it in.1
- The Mocha: Add 1/2 teaspoon of espresso powder to the wet ingredients.
- The Festive Version: Use white chocolate chips and a pinch of cinnamon.
- Vegan/GF: Use a 1-to-1 gluten-free flour. Swap the egg for a tablespoon of applesauce and use almond milk.
Serving it Up
You can eat it straight from the mug, or go “fancy cafe” style. A scoop of vanilla ice cream on top is heavenly because of the hot-cold contrast.
Mug cakes are best when they are fresh. If you can’t finish it, cover it with plastic wrap. It stays okay at room temperature for a few hours, but I wouldn’t freeze it. If it gets cold, just zap it for 10 seconds to bring back the gooey center.
PrintPeanut Butter Mug Cake
Forget those rubbery, sad microwave cakes you’ve tried before. This version uses a few “upgraded” pantry staples to give you a rich, tender crumb that feels like it actually came out of a bakery—not a mug. It’s the perfect salty-sweet fix for late-night cravings.
- Prep Time: 2 mins
- Cook Time: 1-1.5 mins
- Total Time: 5 mins (+2 mins)
- Yield: 1
- Category: Dessert
- Cuisine: American
Ingredients
- Creamy Peanut Butter: 2 tbsp (Standard brands like Jif work best)
- Oil: 1.5 tbsp (Vegetable or canola)
- Sugar: 2 tbsp (Granulated white sugar)
- Egg Yolk: 1 large (The secret to a moist, non-spongy texture)
- All-Purpose Flour: 2 tbsp
- Baking Powder: 1/4 tsp
- Milk: 1 tbsp (Plus an extra splash if the batter is too dry)
- Chocolate Chips: 1 tbsp (Optional, but highly recommended)
Instructions
- Cream the Base: In a 10–12 oz microwave-safe mug, whisk together the peanut butter, oil, sugar, and egg yolk. Keep going until the mixture looks like a smooth, shiny caramel paste.
- Add Dry Ingredients: Whisk in the flour and baking powder. Add them slowly to avoid any dry flour pockets hiding at the bottom.
- Finish the Batter: Stir in the milk and chocolate chips. The batter should be thick and creamy, similar to Greek yogurt.
- Microwave: Heat on high for 60 to 90 seconds. Stop when the top looks set and barely matte, not wet.
- The Critical Rest: Let the mug sit for 2 minutes. This allows the residual heat to finish the center without overcooking the edges.
Notes
Serving Suggestions
- The Classic: Top with a scoop of cold vanilla ice cream for a “hot-cold” treat.
- The Nutty: Drizzle a little extra warm peanut butter over the top.
- The Fancy: Sprinkle a tiny pinch of flaky sea salt to balance the sugar.
Tips & Tricks
- No Whisk? Use a dinner fork! It’s actually better at mashing the peanut butter into the liquids.
- Natural PB: If your peanut butter is very stiff, zap the mug for 10 seconds before mixing to soften it up.
- Room Temp: Using a room-temperature egg yolk and milk helps the batter stay smooth and prevents clumping.
Storage & Reheating
- Enjoy Now: This is definitely best eaten right away.
- Leftovers: If you have to wait, cover with plastic wrap for up to 3 hours.
- Reheat: Zap for 10–15 seconds to bring back that melty, gooey center.