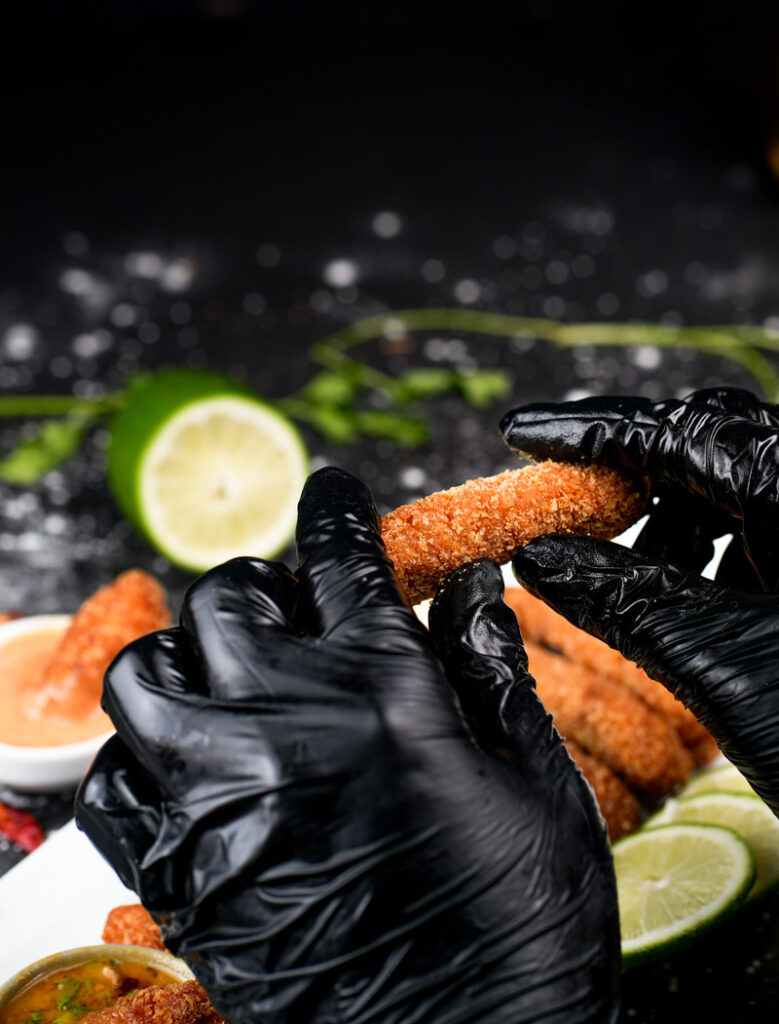
Hey there, fellow food lovers! Ready to cook up something really tasty today? We’re making Peri Peri Fish Strips. Some people call them Peri Peri Fish Fingers. Whatever you call them, they’re delicious.
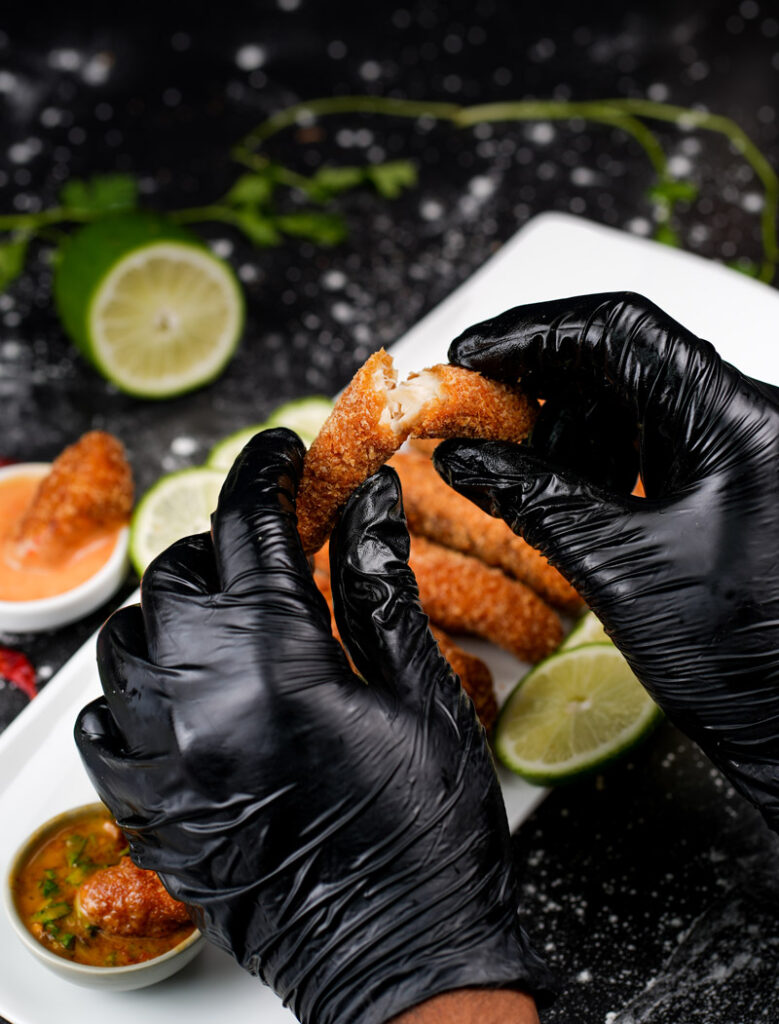
Picture this: strips of tender fish, perfectly golden brown. They’ve got this super crunchy coating packed with that amazing Peri Peri flavor. Spicy. Tangy. A little savory. It’s a party in your mouth!
So, what is Peri Peri anyway? It started with these tiny African Bird’s Eye chilies. Portuguese explorers found them and spread the word. That little chili gives Peri Peri its famous kick. You usually see it with chicken, right? But trust me, it’s fantastic with fish too.
I wanted a recipe that was quick, full of flavor, and felt a bit special. But not complicated. You know? So, we’re taking some nice white snapper. Marinating it in a zingy Peri Peri mix. Giving it that classic crispy coating. And frying it up.
Serve it with a creamy, spicy Peri Peri Mayo? Chef’s kiss. Perfect for a weeknight dinner when you want something fun. Great for parties. Or just anytime you need a yummy kick! Let’s get started.

What You’re Getting Into: Quick Recipe Peek
Before we jump in, here’s the lowdown.
- How long will this take? About 15 minutes to prep (mostly getting the fish ready and coated). Then just 10 minutes to cook. Seriously fast! You can have these on the table in less than half an hour.
- How many people does it feed? This recipe makes enough for 4 people. Need more? Or less? Easy! Just adjust the ingredients up or down. Check out the handy table below.
- Is it hard? Nope! I’d say Easy to Medium. The steps are simple. Getting the fry just right takes a little attention, but don’t worry. I’ll walk you through it.
- What gear do I need? Nothing too crazy:
- A few mixing bowls (for the fish, flour, egg, crumbs)
- A whisk
- Shallow plates or dishes (for the coating steps)
- A good heavy pan or pot for frying (like a Dutch oven) OR a deep fryer if you have one
- Tongs or a slotted spoon (for fishing out the strips!)
- A wire rack sitting over a baking sheet (important for crispiness!)
- A kitchen thermometer (really helpful for frying, but I’ll give you a workaround)
- Can I make it ahead? Totally! Coat the fish strips, pop them on a tray lined with parchment paper, and freeze ’em solid. Then toss them in a freezer bag. You can cook them straight from frozen – just add a couple extra minutes to the cooking time. The Peri Peri Mayo dip? Make that a day or two ahead and keep it chilled. Super handy for meal prep!
Quick Guide: Scaling Up or Down
| Ingredient | For 2 People (Approx) | For 4 People (This Recipe) | For 8 People (Approx) |
|---|---|---|---|
| White Snapper Fillet | 125g | 250g | 500g |
| Peri Peri Sauce (Marinade) | 1 Tbsp | 2 Tbsp | 4 Tbsp |
| Onion/Garlic/Paprika Pdr | 1/4 Tsp each | 1/2 Tsp each | 1 Tsp each |
| Egg | 1 small / Medium | 1 large | 2 large |
| All-Purpose Flour | 1/4 cup | 1/2 cup | 1 cup |
| Bread Crumbs | 1/4 cup | 1/2 cup | 1 cup |
| Spices in Coating | Pinch/Dash each | As listed | Double listed |
| Mayonnaise | 1/4 cup | 1/2 cup | 1 cup |
| Peri Peri Sauce (Mayo) | 1 Tbsp | 2 Tbsp | 4 Tbsp |
| Chilli Sauce (Mayo) | 1/2 Tsp | 1 Tsp | 2 Tsp |
(Heads up: Salt, pepper, and lemon juice are usually ‘to taste’. Just adjust them as you go).

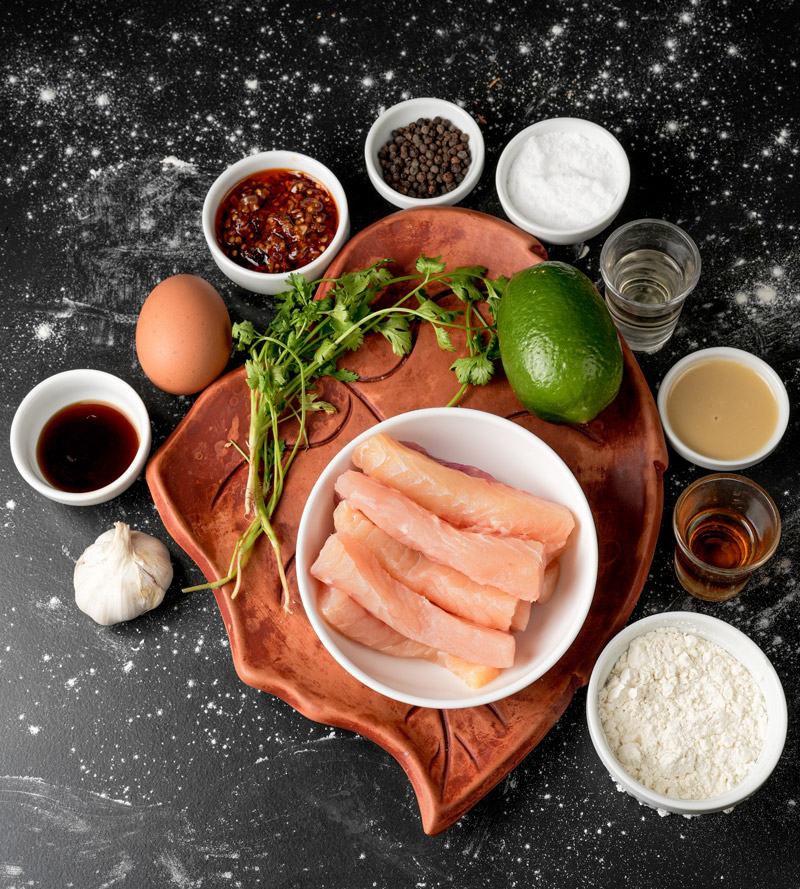
Your Shopping List: Getting the Good Stuff
Okay, ingredient time! Good ingredients make all the difference. Here’s what you need to grab:
For the Fish Marinade & Coating:
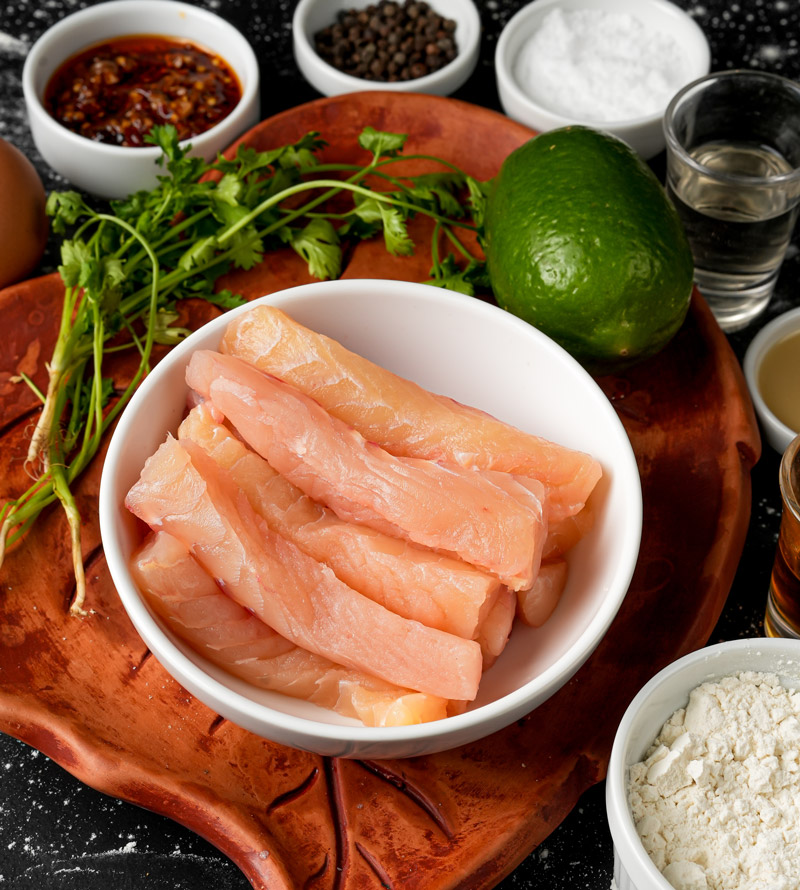
The star is 250g of white snapper fillet. Cut it into strips, about the size of your finger. Snapper’s great because it’s firm and a little sweet. Holds up really well.
Can’t find snapper? No problem! Cod, tilapia, basa, or halibut work great too. Just make sure it’s boneless and skinless. And pat it dry! Really dry.
Now for the flavor kick: 2 Tablespoons of Peri Peri Sauce. Use your favorite store-bought kind. They range from mild to wild, so pick one you like. For the dry stuff in the marinade: 1/2 Teaspoon each of onion powder, paprika powder (sweet paprika is nice here), and garlic powder. Plus, salt and black pepper – season it well! Oh, and juice of half a lemon (maybe 1 Tbsp?) for brightness. It wakes everything up!
For that crispy coat, we need three things:
- 1/2 cup of all-purpose flour. We’ll spice this up too! Mix in a pinch of garlic powder and about 3/4 teaspoon paprika powder, plus more salt and pepper.
- 1 large egg. Beat it in a shallow dish.
- 1/2 cup of bread crumbs. Regular ones are fine. But want extra crunch? Use Panko bread crumbs. They’re like little snowflakes of crispiness.
And finally, oil for frying. Use something neutral like canola, vegetable, sunflower, or peanut oil. You’ll need enough to fill your pot about 2-3 inches deep.
For the awesome Peri Peri Mayonnaise dip:
Easy peasy. Just whisk 1/2 cup of mayonnaise (your fave kind), 2 Tablespoons of Peri Peri sauce, and 1 teaspoon of chilli sauce (like Sriracha).
Pro Tip: Get everything measured out before you start frying. It goes fast once you start! Chefs call it mise en place – everything in its place. Makes life so much easier.
How to Make Them: Step-by-Step
Flavor Time: Marinate the Fish
Okay, first up, let’s get that fish soaking up the yumminess. Put your snapper strips in a bowl. Drizzle over the Peri Peri sauce. Sprinkle in the onion powder, paprika powder, garlic powder, salt, and pepper. Squeeze in that lemon juice. Now, gently toss it all together. Use your hands or a spatula. Make sure every piece gets coated.
See that nice reddish color? Perfect! Cover the bowl and let it hang out for at least 15 minutes on the counter. Got more time? Pop it in the fridge for up to 30 minutes. The flavor gets even better! Plus, the lemon juice helps make the fish super tender. Smell that? Spicy, tangy, garlicky… so good.
Get Set: Prep Your Breading Station
While the fish marinates, let’s set up our coating area. Grab three shallow dishes. Pie plates work great.
Dish 1 (Flour): Pour in the flour. Add the paprika (about 3/4 tsp), garlic powder (a pinch), onion powder (if you like!), salt, and pepper. Whisk it up so the spices are mixed in. This first layer adds flavor right onto the fish.
Dish 2 (Egg): Crack the egg into the second dish. Add a tiny splash of water or milk (like a teaspoon, helps it coat better) and beat it with a fork. Just until the yolk and white are mixed. This is the glue!
Dish 3 (Crumbs): Spread the bread crumbs in the third dish. Make sure it’s an even layer.
Line ’em up near the stove: Flour -> Egg -> Crumbs. Easy! Here’s a lifesaver tip I learned the messy way: Use one hand only for the dry stuff (flour, crumbs) and the other hand only for the wet stuff (egg). Seriously. It stops your fingers from turning into gummy messes. Game changer!
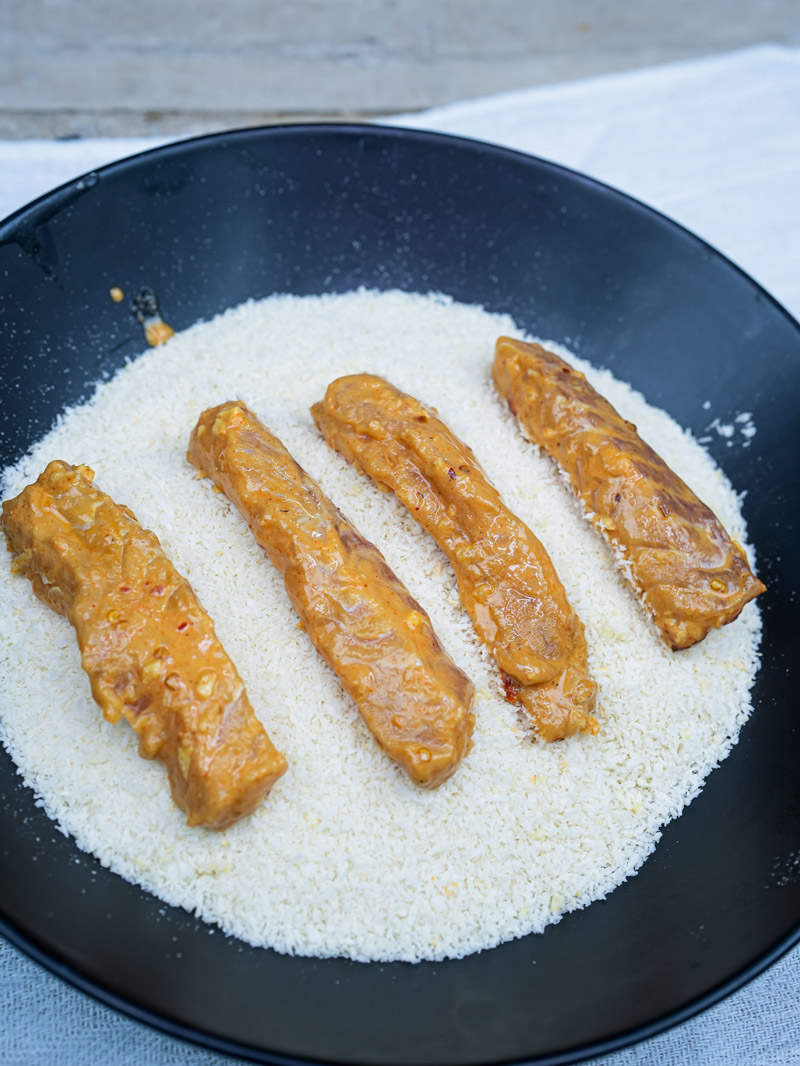
Coat ‘Em Up: Getting that Crispy Layer
Time for the fun part! Let’s give that fish its crunchy coat. Take one piece of fish out of the marinade. Let any extra liquid drip off. Drop it in the seasoned flour (Dish 1). Roll it around gently until it’s coated. Shake off any extra flour. We want a thin coat. Now, dip it in the beaten egg (Dish 2). Make sure it’s all wet. Let extra egg drip off. Finally, put it in the bread crumbs (Dish 3).
Roll it around and press gently with your dry hand. Make sure the crumbs stick everywhere! We want a nice, thick coat for maximum crunch. Put the coated strip on a clean plate or a tray lined with parchment paper. Repeat with all the fish strips. Flour. Egg. Crumbs. Look at those beauties! Ready to fry.
Hot Stuff: Frying Time!
Let’s get that oil hot! Pour your frying oil into your heavy pan or pot (remember, 2-3 inches deep). If you have a thermometer, clip it on and heat the oil over medium-high heat to 180°C (350°F). No thermometer? No worries! Dip the handle of a wooden spoon in. See little bubbles forming around it right away? You’re ready. Or, carefully drop in a small cube of bread. It should turn golden brown in about 30-40 seconds. Safety first! Hot oil is serious business.
Never leave it alone. Don’t let it splatter. And never fill the pot more than halfway. Okay? Okay.
Oil hot? Good. Carefully lower a few fish strips into the oil using tongs or a slotted spoon. Don’t crowd the pan! Too many strips at once cools the oil down. That means greasy fish. No thanks! Fry just 3-5 strips at a time. Listen to that sizzle! That’s the sound of crispy happening. Fry for about 4 to 5 minutes total. Turn them gently halfway through. You want them deep golden brown all over. They should be floating near the top. Done? Use your slotted spoon or tongs to lift them out.
Let the extra oil drip back into the pan. Put them immediately on a wire rack over a baking sheet or paper towels. Why a wire rack? It lets air get underneath so the bottoms don’t get soggy. Keeps ’em crispy! Sprinkle with a tiny bit more salt while they’re hot, if you like. Fry the rest of the strips in batches. Let the oil heat back up between batches!

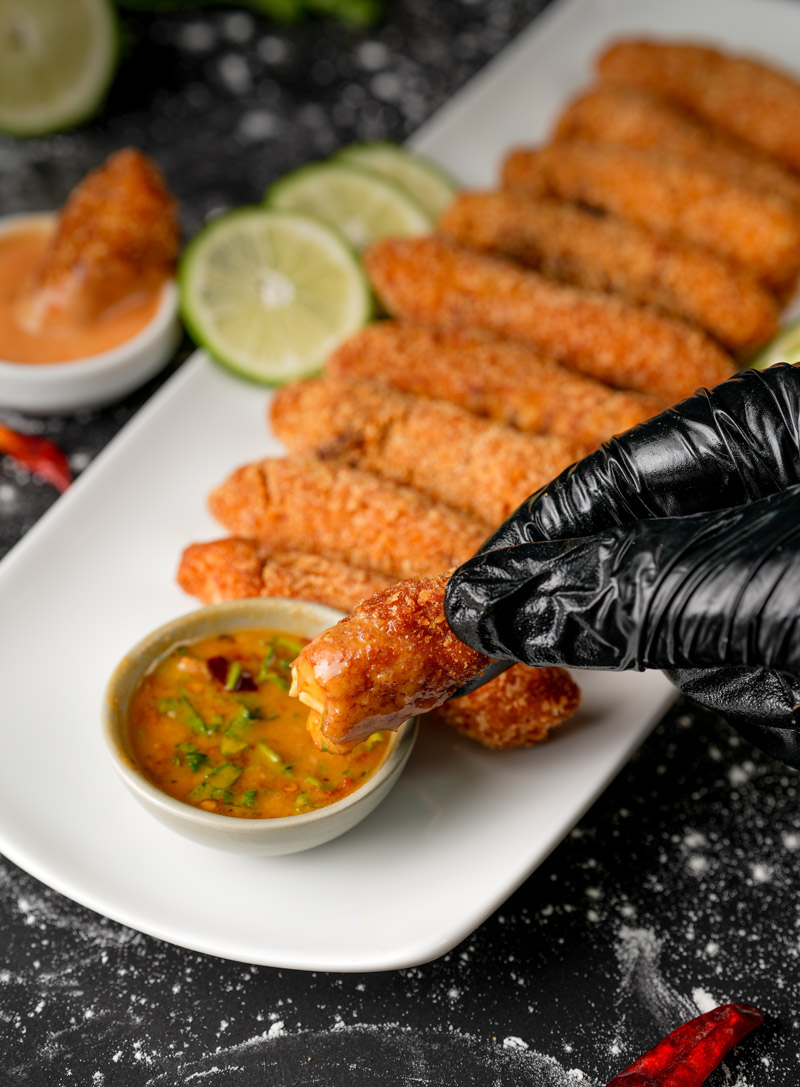
Dip & Serve: The Delicious Finish!
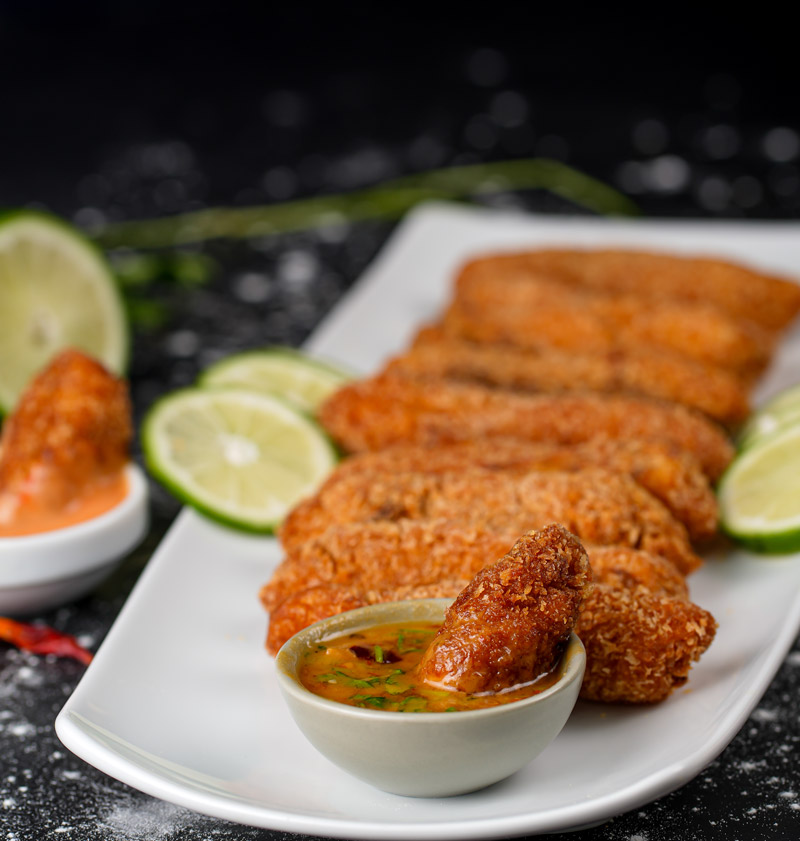
While the last batch is frying or draining, let’s make the dip. It takes like, 30 seconds. In a small bowl, mix the mayonnaise, Peri Peri sauce, and chilli sauce. Whisk it until smooth. Give it a taste. Need more salt? More Peri Peri?
More chili heat? Fix it now! Okay, moment of truth! Serve those gorgeous, golden, crispy Peri Peri Fish Strips right away. Hot and crunchy is the best way! Pile them up next to the bowl of creamy, spicy Peri Peri Mayo. That contrast? Hot, crispy fish with cool, tangy dip? Amazing. Get ready for people to ask for the recipe!

Your Recipe, Your Rules: Twists & Ideas
Cooking is all about making things your own! Here are a few ideas:
- Need it Gluten-Free? Easy! Use a gluten-free flour blend instead of regular flour. Grab some gluten-free bread crumbs (most stores have them). Just double-check your Peri Peri sauce is GF too.
- No Eggs? Try using milk, buttermilk, or an egg replacer for the dipping step. It might be slightly different, but still yummy.
- Heat Level:
- Love spice? Add a pinch of cayenne pepper to the marinade. Or use a hotter Peri Peri sauce. Add more chili sauce to the mayo!
- Prefer it milder? Use a mild Peri Peri sauce. Or just use less of it. Let the paprika do the work for color and gentle flavor.
- Feeling Fancy? Use Panko crumbs (extra crisp!). Chop some fresh parsley or cilantro and mix it into the crumbs. Serve with lemon wedges and fancy flaky salt. Everyday meal? The recipe is perfect as is!
- Don’t Want to Deep Fry?
- Air Fryer: Heat your air fryer to 200°C (400°F). Spray the coated fish strips with a little oil. Air fry for 8-12 minutes, flip them halfway. They’ll get nice and golden.
- Oven Baked: Heat oven to 220°C (425°F). Put the coated strips on a lightly oiled baking sheet (or a rack on a sheet). Spray the tops with oil. Bake 12-15 minutes, flip once. They won’t be quite as shatteringly crisp as frying, but still really good and lighter!
Eating, Saving, and Reheating
You did it! Time to eat!
- How to Serve: Serve ’em hot! Put them in a basket with parchment paper for a fun vibe. Or arrange them nicely on a platter with the mayo dip. A sprinkle of fresh parsley or cilantro looks great. Lemon wedges are a must!
- What Goes With Them? Classic pairing? Chips (fries!). A crunchy coleslaw or a simple green salad is nice too. Roasted veggies or spicy rice would also be delicious. Great as an appetizer, great as a meal!
- Leftovers? (If you have any!) Let them cool completely. Store in an airtight container in the fridge for up to 2 days. They won’t be as crispy later, just so you know.
- Reheating: Best way? Oven or air fryer. Heat to about 180°C (350°F) for 5-10 minutes. This helps bring back some crispness. Please, please don’t microwave them – they’ll just get soggy. Sad face.
- Freezing for Later: Remember that make-ahead tip? Freeze the uncooked, coated strips. Lay them flat on a tray, freeze solid (1-2 hours), then put them in a freezer bag. They’re good for 2-3 months. Cook straight from frozen – just add a few extra minutes to the cooking time (fry, bake, or air fry).
And that’s everything! I really hope you enjoy making – and eating! – this Peri peri fish strips recipe. It’s one of my favorites. Happy cooking!
PrintPeri Peri Fish Strips

Whip up these super easy crispy fish strips! Tender fish, crunchy Peri Peri coating, and a must-have creamy, spicy dip. Seriously addictive!
- Prep Time: 15 mins
- Cook Time: 10 mins
- Total Time: 25 mins
- Yield: 4 people 1x
- Category: Appetizer / Main Course
- Cuisine: Fusion / Portuguese-Inspired
Ingredients
For the Fish & Marinade:
- 250g white snapper fillet, cut into finger-width strips
- 2 Tbsp Peri Peri sauce
- 1/2 tsp onion powder
- 1/2 tsp paprika powder
- 1/2 tsp garlic powder
- Salt and freshly cracked black pepper, to taste
- 1 Tbsp lemon juice (from about 1/2 lemon)
For the Crispy Coating:
- 1/2 cup all-purpose flour
- 3/4 tsp paprika powder (for the flour)
- Pinch garlic powder (for the flour)
- Pinch onion powder (optional, for the flour)
- Salt and pepper (for the flour)
- 1 large egg, beaten
- 1/2 cup bread crumbs (Panko recommended!)
For Frying:
- Neutral oil (like canola, vegetable), for frying (about 2-3 inches deep)
For the Peri Peri Mayo Dip:
- 1/2 cup mayonnaise
- 2 Tbsp Peri Peri sauce
- 1 tsp chilli sauce (like Sriracha)
Instructions
- Marinate Fish: In a bowl, gently mix the fish strips with Peri Peri sauce, onion powder, paprika, garlic powder, salt, pepper, and lemon juice. Let sit for 15 minutes.
- Set Up Coating: Get 3 shallow dishes ready:
- Dish 1: Mix flour with its paprika, garlic/onion powder, salt, and pepper.
- Dish 2: Beat the egg.
- Dish 3: Add bread crumbs.
- Coat the Fish: Take a marinated strip, dip in flour (shake off excess), then dip in egg, then press firmly into bread crumbs to coat well. Place on a plate. Repeat for all strips.
- Fry ‘Em Up: Heat oil in a heavy pot to 180°C (350°F). Carefully add fish strips in small batches (don’t crowd the pan!). Fry for 4-5 minutes, turning once, until deep golden brown and crispy.
- Drain & Dip: Remove fish with a slotted spoon and drain on a wire rack. While fish is frying/draining, whisk together mayonnaise, Peri Peri sauce, and chilli sauce for the dip.
- Serve HOT! Serve the crispy fish strips immediately with the Peri Peri mayo dip.
Notes
- Serving Ideas: Awesome with chips (fries!), coleslaw, or a simple green salad. Great appetizer or main! Don’t forget lemon wedges for squeezing.
- Tips for Success: Pat the fish really dry before marinating. Use Panko crumbs for the best crunch! Don’t overcrowd the frying pan – cook in batches. Draining on a wire rack (not paper towels) keeps them crispier.
- Storage & Reheating: Got leftovers? Cool completely, store airtight in the fridge (up to 2 days). Reheat in an oven or air fryer at 180°C (350°F) for 5-10 mins to revive crispness (avoid the microwave!).
- Make Ahead: Freeze uncooked, coated fish strips on a baking sheet until solid, then transfer to a freezer bag (up to 3 months). Cook from frozen, adding a few extra minutes to frying/baking/air frying time.