Hey friends, and welcome back to my kitchen!
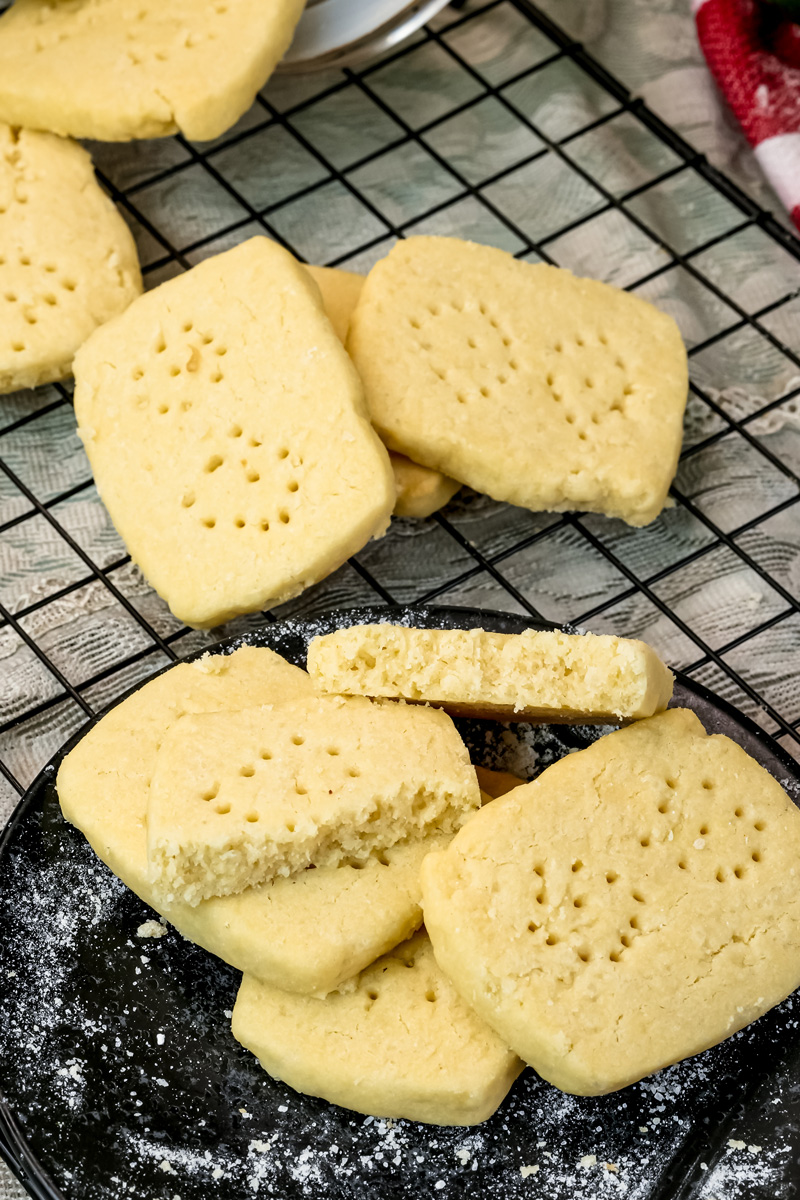
Today, we’re talking about shortbread. I love this classic cookie. It’s so simple, yet it’s the ultimate example of buttery, melt-in-your-mouth perfection. And get this: the history of this treat is as rich as its flavor.
Shortbread started in Scotland way back in the 12th century. It was first made with leftover bread dough, and bakers would sweeten it with sugar and spices. But over time, they got smarter. They swapped out the yeast for butter. The result? The crumbly delight we all love today.
Here’s a fun fact: Scottish bakers even called it “shortbread” to get around taxes on “biscuits” (cookies). It’s a little piece of defiance baked right into its history.
This version is my go-to. It’s an easy, traditional recipe that still tastes like the real deal. It’s the kind of recipe that feels like a warm hug. It’s simple, and that’s the point. It lets the pure, glorious flavor of butter shine.
We’re going to use the core principles of a true shortbread: the perfect ratio of butter, sugar, and flour. The end result? A cookie that is tender, buttery, and completely irresistible. It’s an easy shortbread recipe you’ll want to make again and again.
This recipe is designed to be foolproof. The good news? It gives you a chance to create the best shortbread cookie you’ve ever tasted.
Recipe Overview
Let’s get into the details. This is a quick and easy recipe, perfect for when you want a delicious baked good without spending all day in the kitchen.
| Time | Notes | |
| Prep Time | 15 minutes | Just a few minutes to get everything ready. |
| Cook Time | 20 minutes | The cookies bake quickly. |
| Total Time | 35 minutes | Ready in under an hour! |
| Chilling Time | At least 1 hour | This is the secret for perfect cookies. Don’t skip it! |
| Yield | 16 cookies | Enough for a small gathering or a weekend treat. |
Difficulty Level: This recipe is easy. It’s great for a beginner because you don’t need any tricky techniques or special equipment. More experienced bakers will love how simple it is.
Equipment Needed: A stand mixer with a paddle attachment is great, but a large bowl and a hand mixer will also work perfectly. You’ll also need a sharp knife, a rolling pin, and a baking sheet. And for an easy cleanup, use a silicone mat or parchment paper.
Make-Ahead Options: This recipe is perfect for make-ahead baking. You can prepare the dough, shape it into a log, wrap it up, and store it in the fridge for up to a week. This is perfect for when you want fresh cookies in a flash!
The Ingredients: Quality Over Quantity
The secret to amazing shortbread is the quality of your ingredients. There are so few of them, so each one is a star.
Here’s what you’ll need:
- 10 tbsp unsalted butter (142g)
- ½ cup confectioners’ sugar
- ½ teaspoon pure vanilla extract
- 1 ½ cups all-purpose flour (180g)
- ½ teaspoon kosher salt (optional)
Possible Substitutions:
- Butter: If you only have salted butter, you can use it. Just don’t add the extra ½ teaspoon of kosher salt. The salt is there to balance the sweetness and bring out the buttery flavor.
- Vanilla Extract: You can use vanilla bean paste instead. It gives a more intense flavor and those lovely little specks of vanilla bean.
- Sugar: Confectioners’ sugar is key. Its fine, powdery texture gives you that signature “melt-in-your-mouth” feel. Granulated sugar can make the cookies grainy.
Notes on Ingredients:
- Butter: This is the most important ingredient, so if you can, splurge on a high-quality one. European-style butters have a higher fat content, which makes your shortbread even more rich and tender.
- Temperature: Your butter must be at room temperature. This is non-negotiable! It should be soft enough to make an indent with your finger but not melting into a greasy mess. This soft consistency is a must for proper creaming.

Step-by-Step Method
Let’s get our hands dirty! I’ll walk you through each step, sharing the tips I’ve learned along the way.
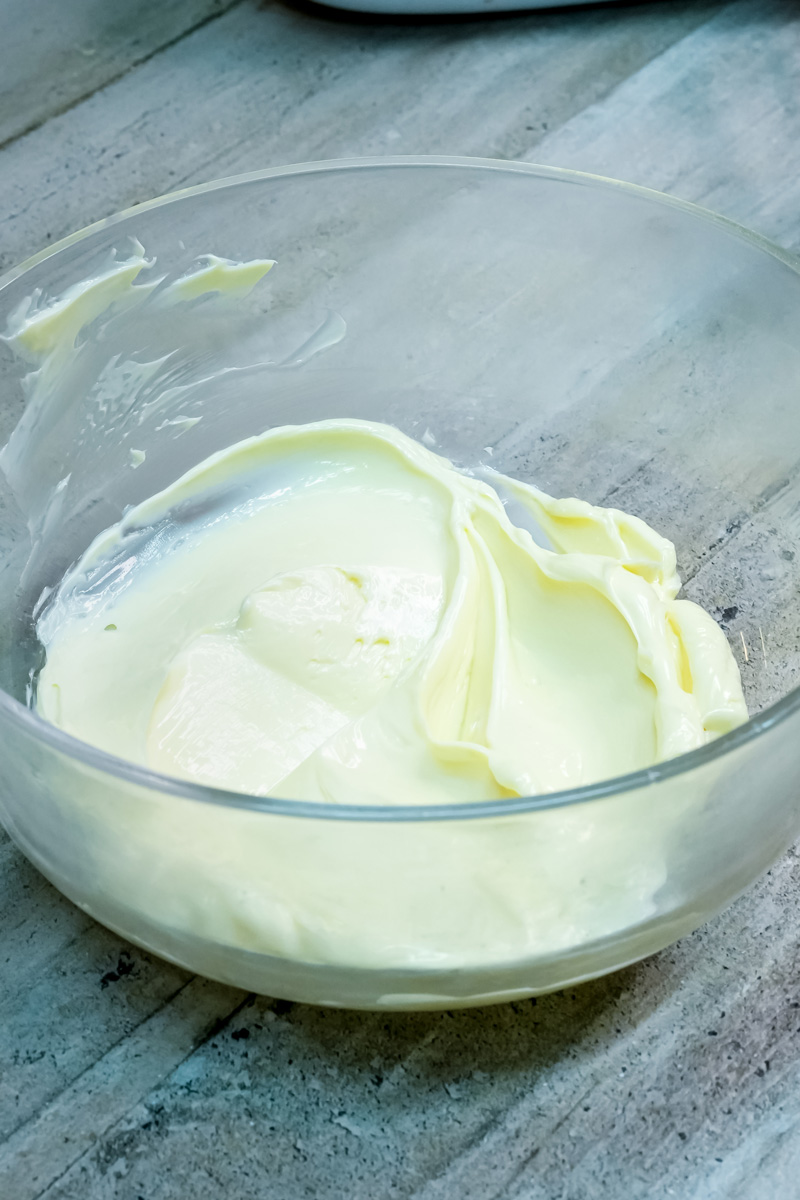
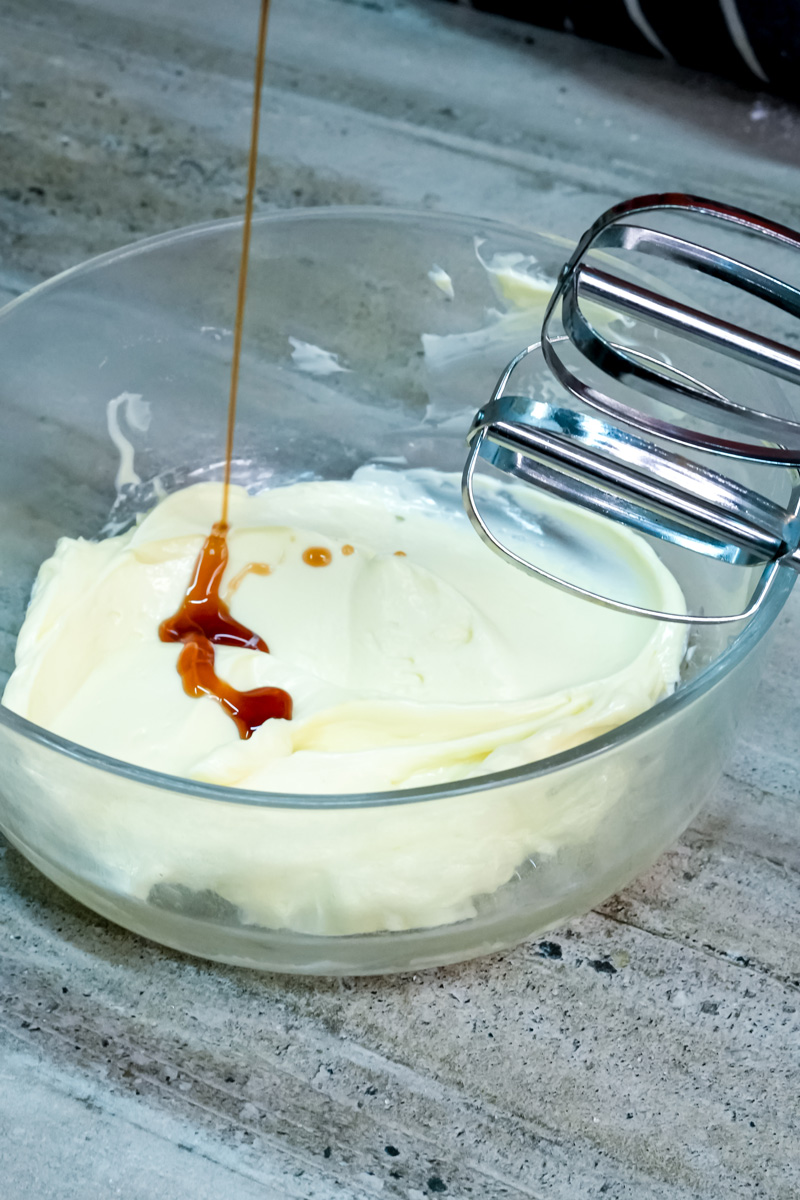
Step 1: Cream the Butter
First, combine the unsalted butter and vanilla extract in your mixer. Beat them on medium-high speed until they look beautiful and creamy. The butter should be light in color and have a wonderfully smooth, uniform texture. This takes just a few minutes. This is a crucial step for our classic shortbread cookies.
Step 2: Add the Sugar and Salt
Next, add the confectioners’ sugar and salt. Mix until everything is just combined. You’re not trying to whip a lot of air into it. Just incorporate the ingredients. The mixture will now be a little thicker and slightly gritty from the sugar, but still very smooth. Make sure to scrape down the sides of the bowl to get any pockets of dry sugar.
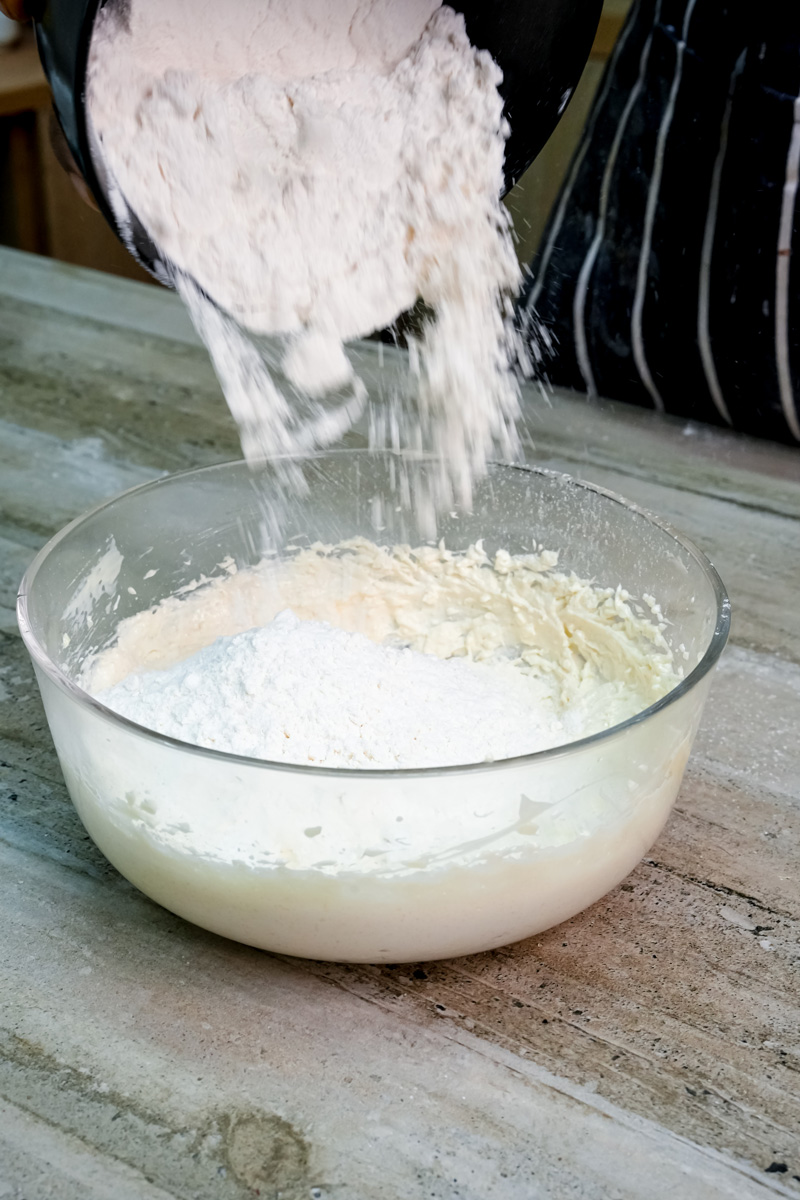
Step 3: The Flour Finale
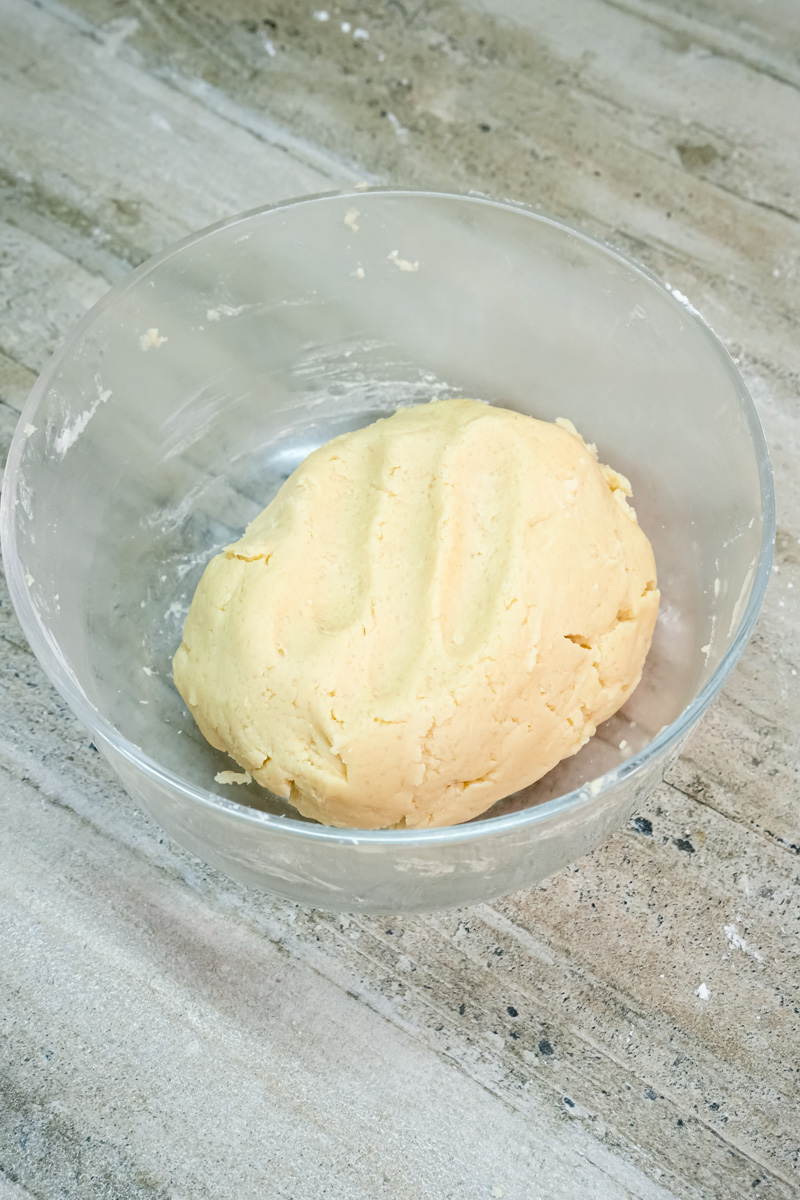
Now for the flour. With your mixer on a low speed, add the flour slowly. The dough will transform from a smooth, creamy paste into a crumbly, sandy texture. Don’t worry! This is exactly what you want. Mix until the flour is just combined and the dough comes together into a ball. Overmixing will make your cookies tough instead of tender. The dough should feel soft and slightly crumbly but hold together when you press it.
Step 4: Chill the Dough
This is the most important step for that perfect shape and texture. Turn the dough out onto a clean surface and form it into a rectangular log. Wrap it tightly in plastic wrap and put it in the fridge for at least an hour. This chilling time is vital; it firms up the butter and stops the cookies from spreading too much in the oven. It’s a non-negotiable pro tip for a crisp, defined cookie.
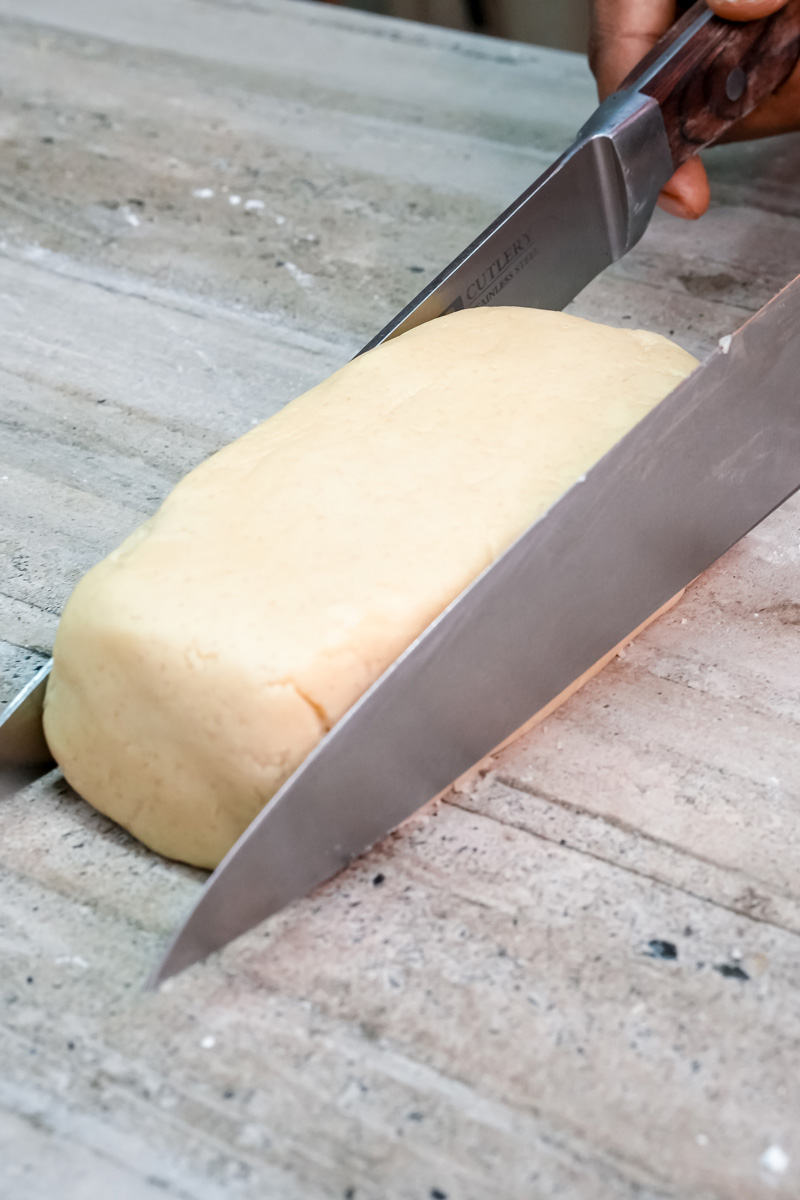
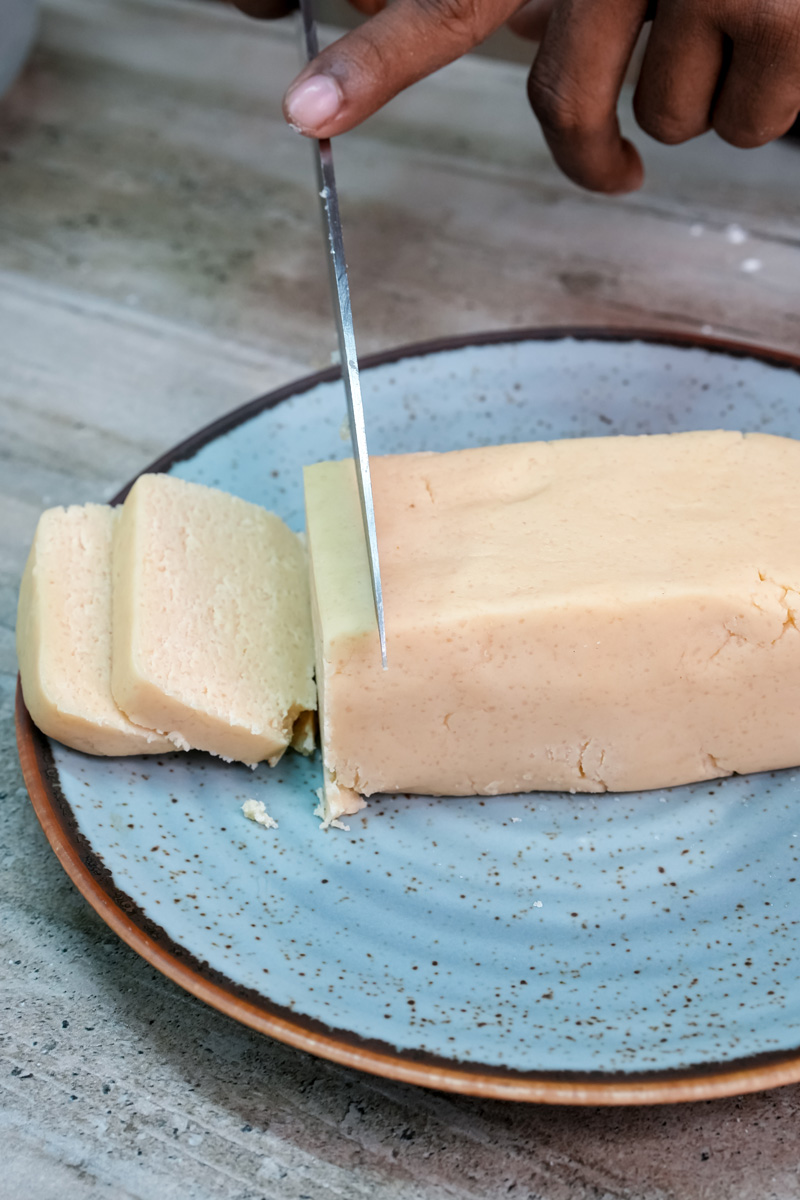
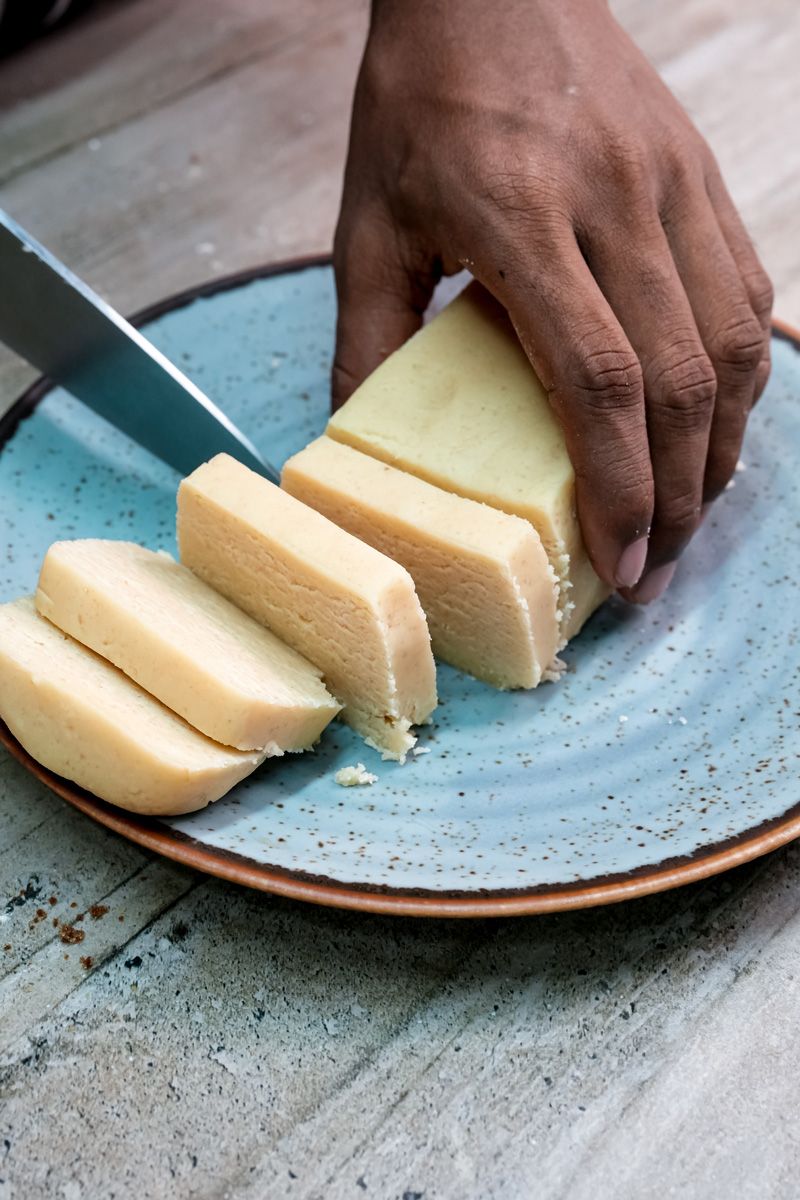
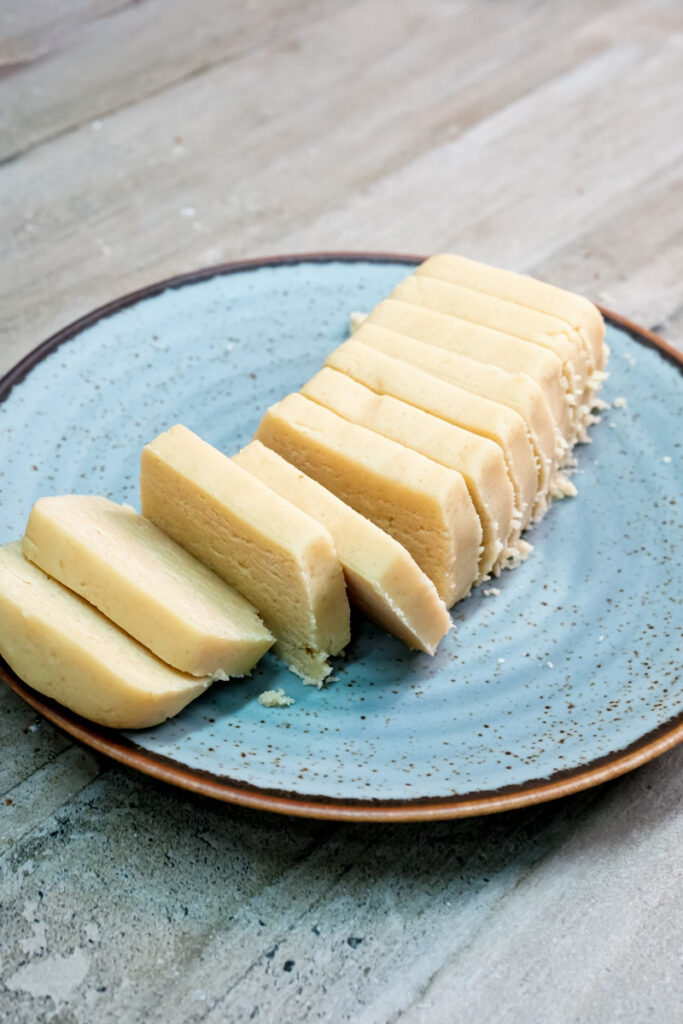
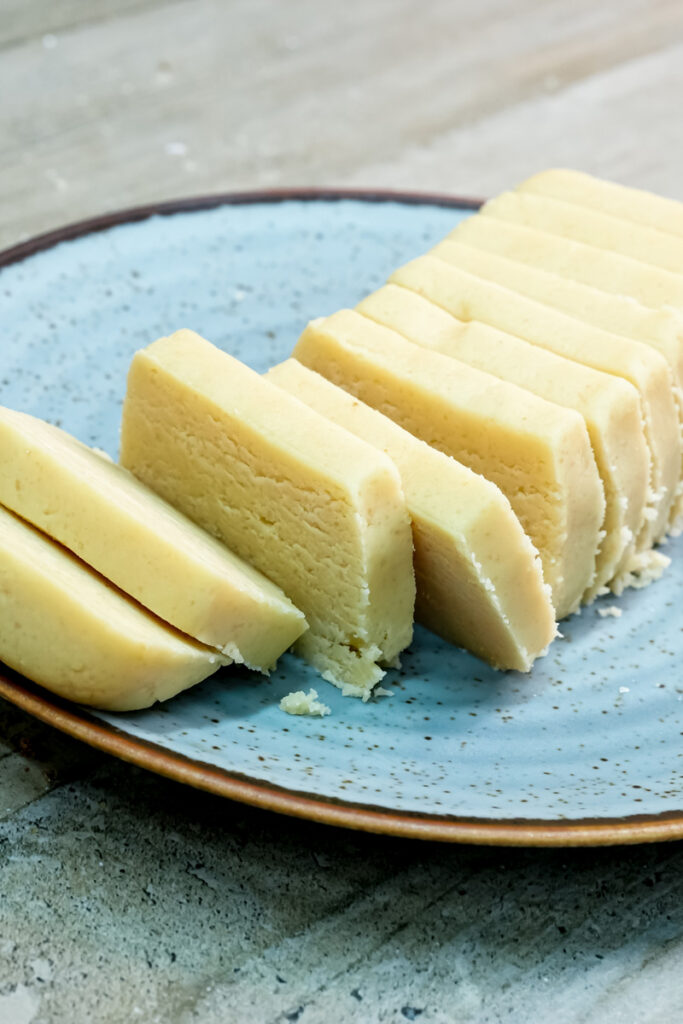
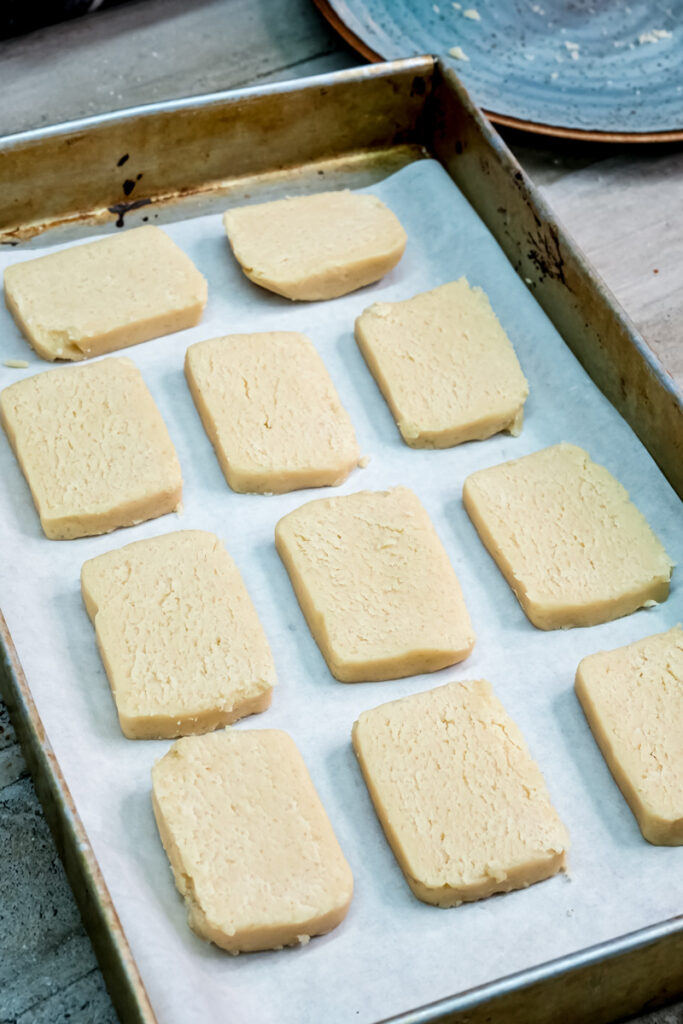
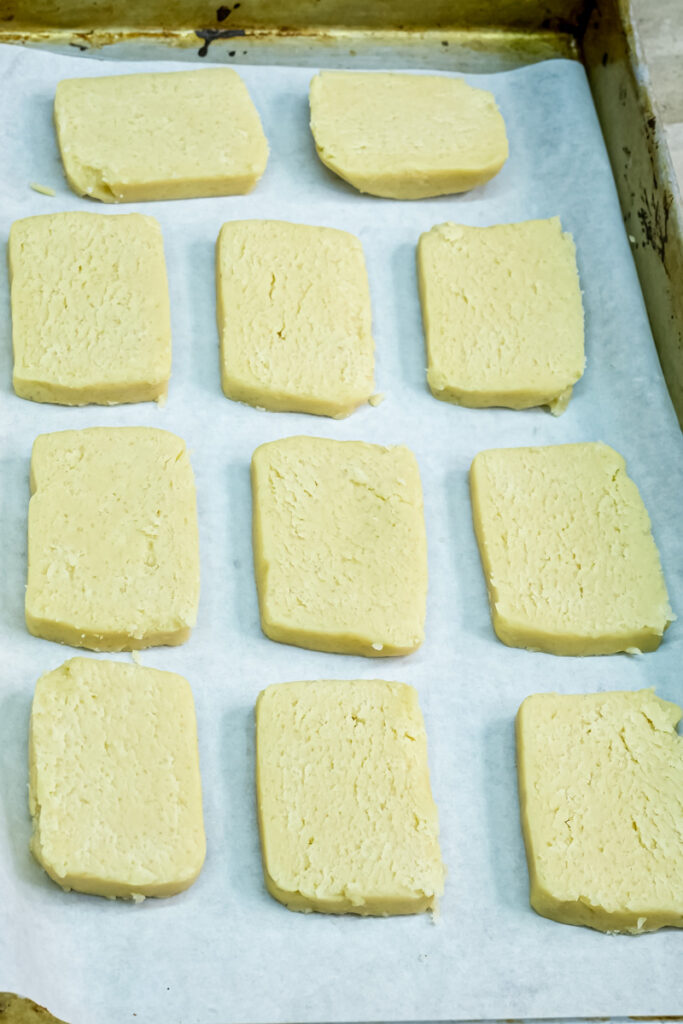
Step 5: Cut and Prep for Baking
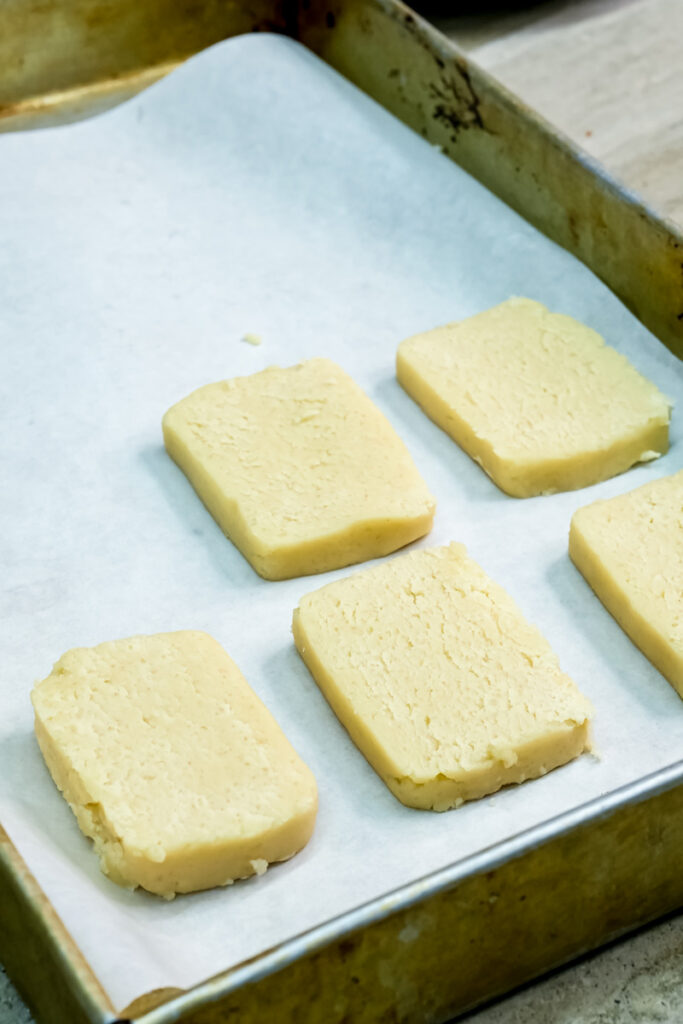
Once your dough is firm, preheat your oven to 350°F (177°C) and get your baking sheet ready with parchment paper. Use a sharp knife to cut the log into ½-inch thick slices. This is where your chilling pays off! The dough should be firm enough to slice cleanly without crumbling. Arrange the slices on your prepared baking sheet, leaving about an inch of space between each.
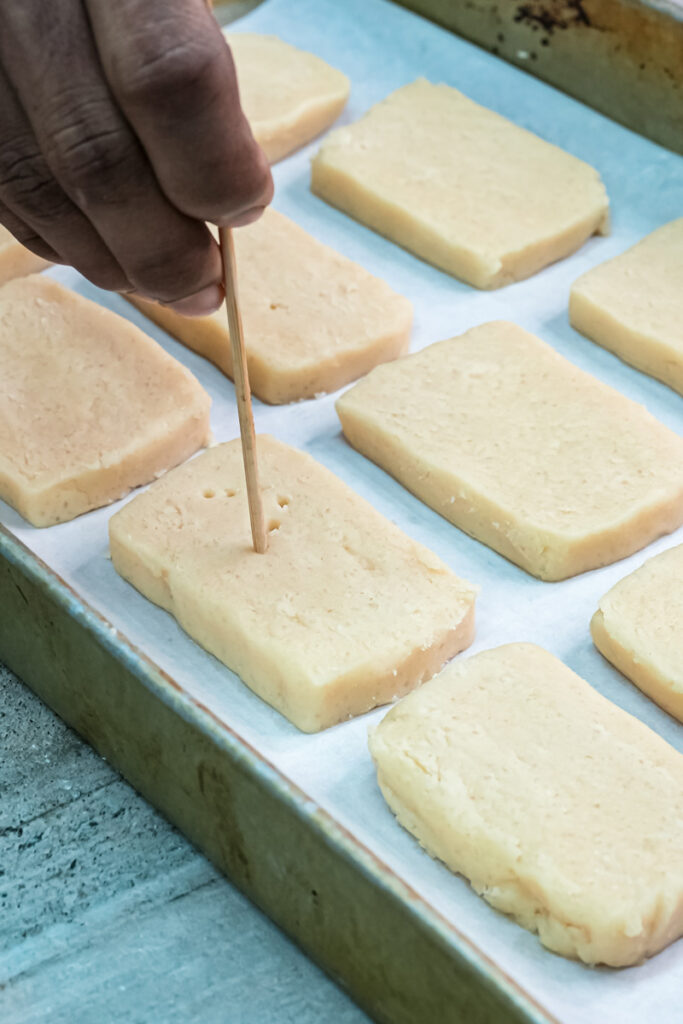
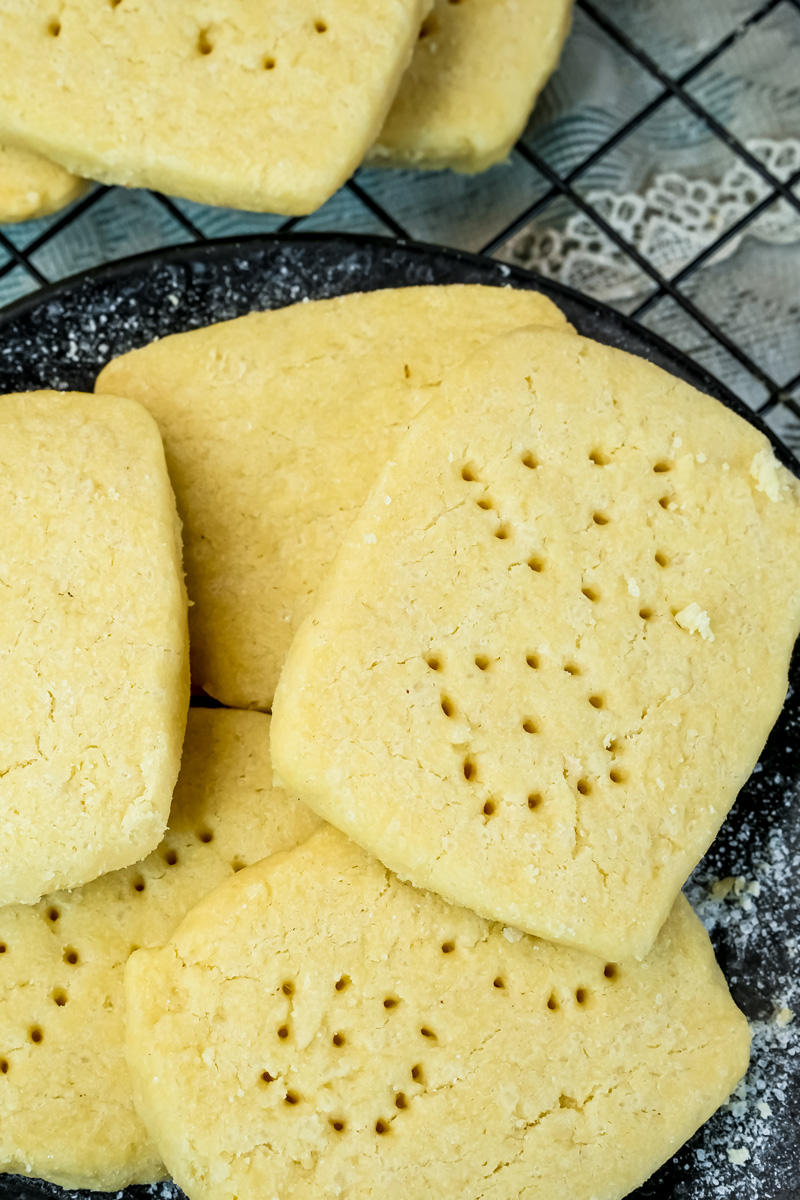
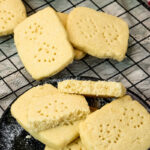
Step 6: The Signature Look
This is my favorite part! Grab a fork or a skewer and gently press a pattern onto the top of each cookie. This isn’t just for looks—it also helps them bake more evenly and keeps them from puffing up too much. You can make classic fork marks or get creative with a skewer.
Step 7: The Final Bake
Place your pan in the preheated oven. Bake for about 10 minutes. Around the 5-minute mark, rotate the baking sheet to ensure even baking. The cookies are done when the bottoms just start to turn a very light golden color. They won’t look golden on top, and that’s okay. They should be firm to the touch but still look pale.
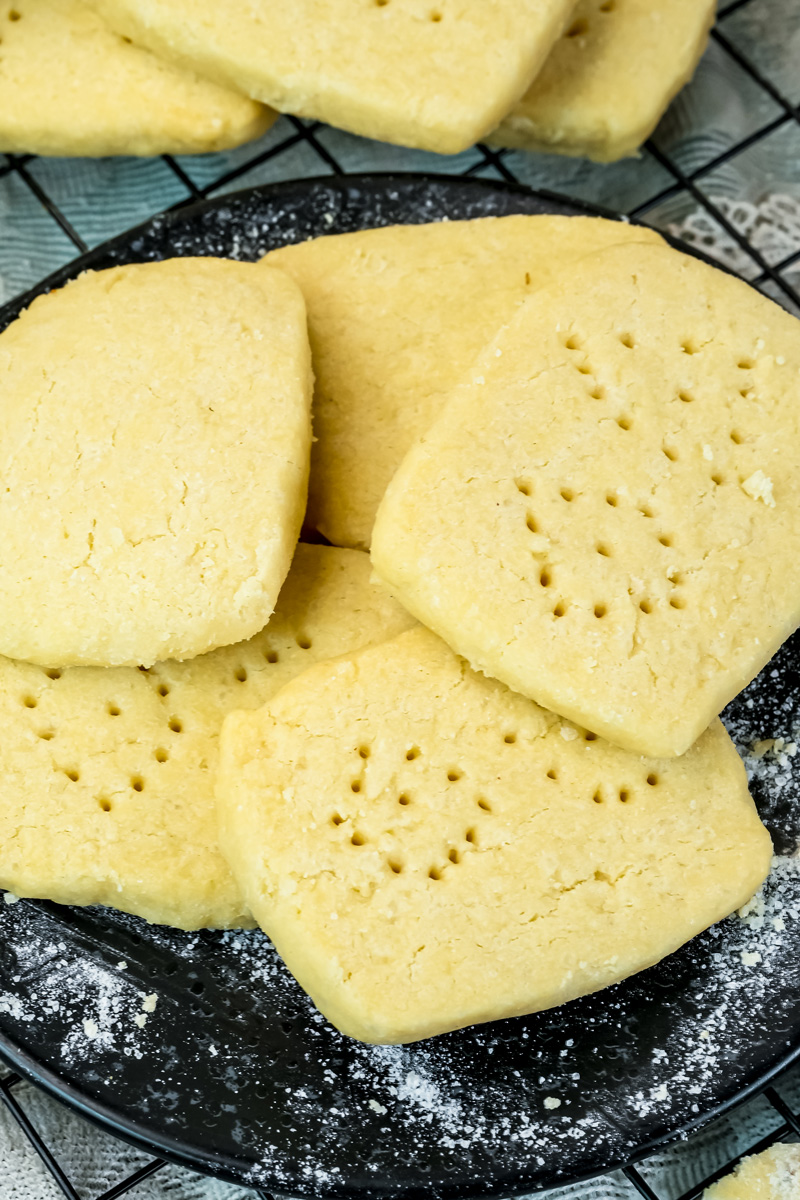
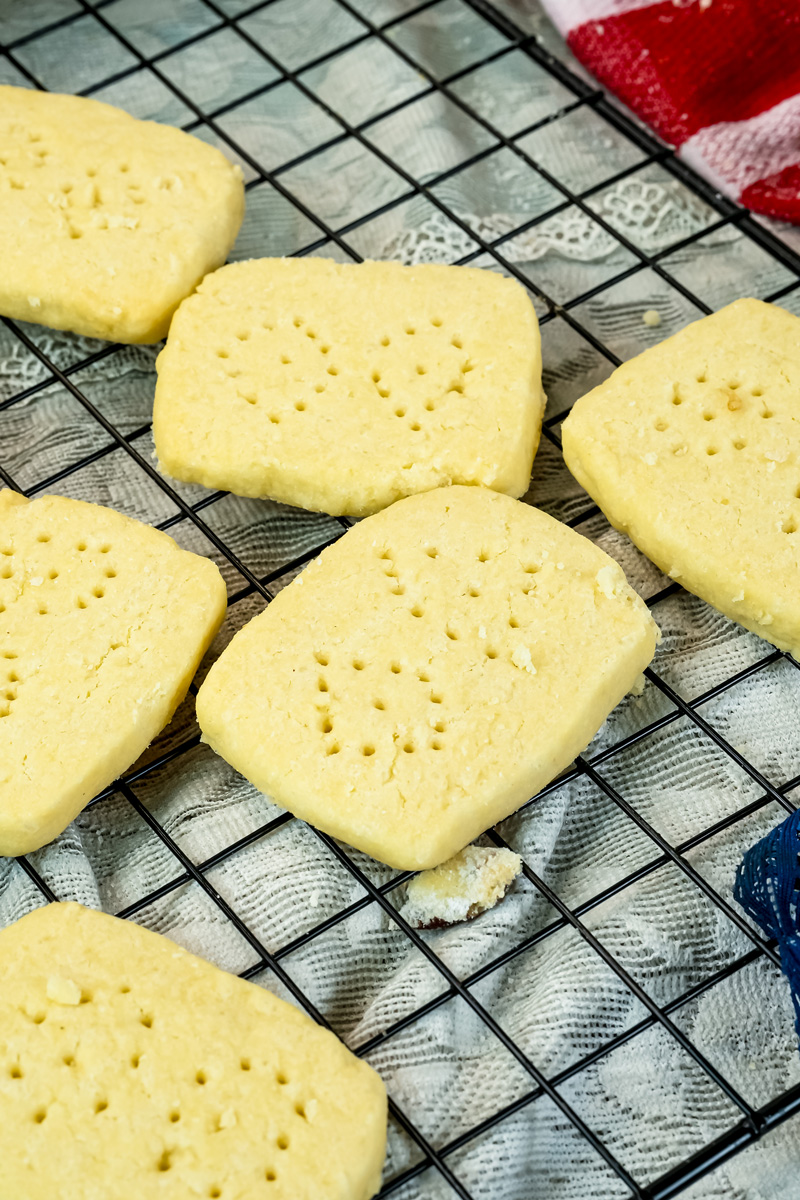
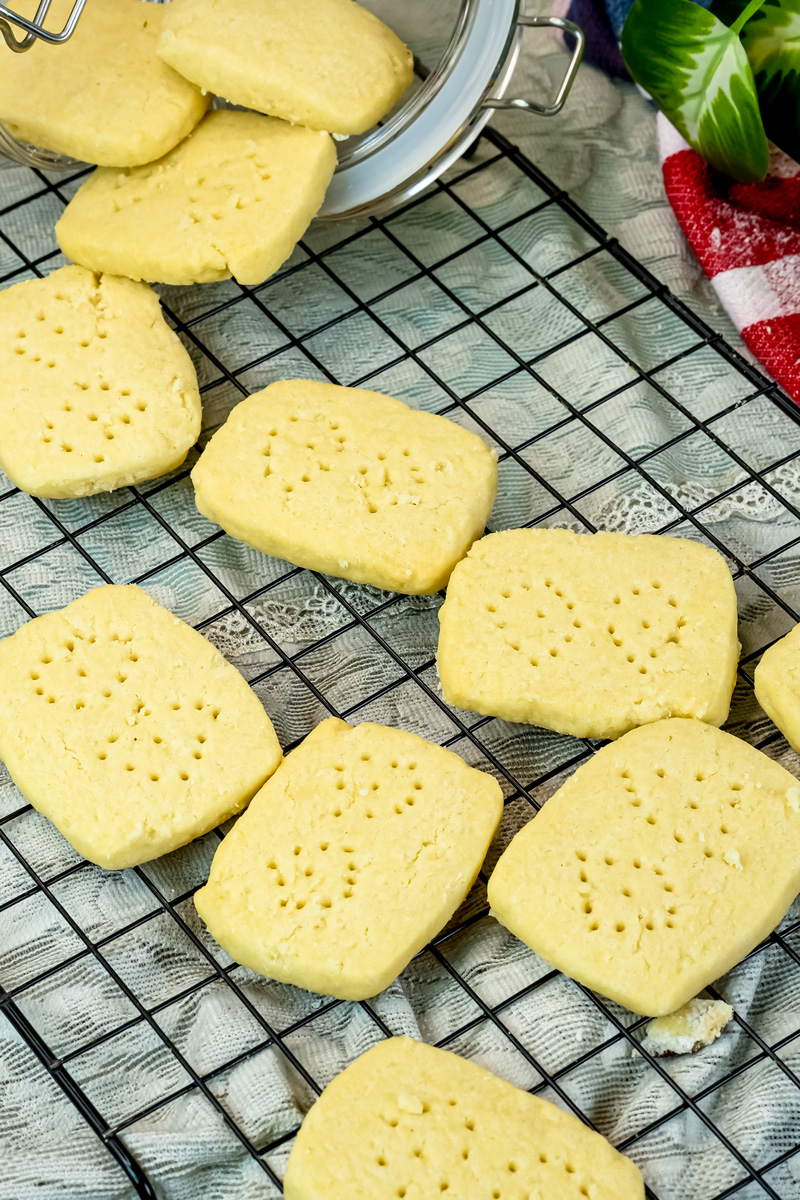
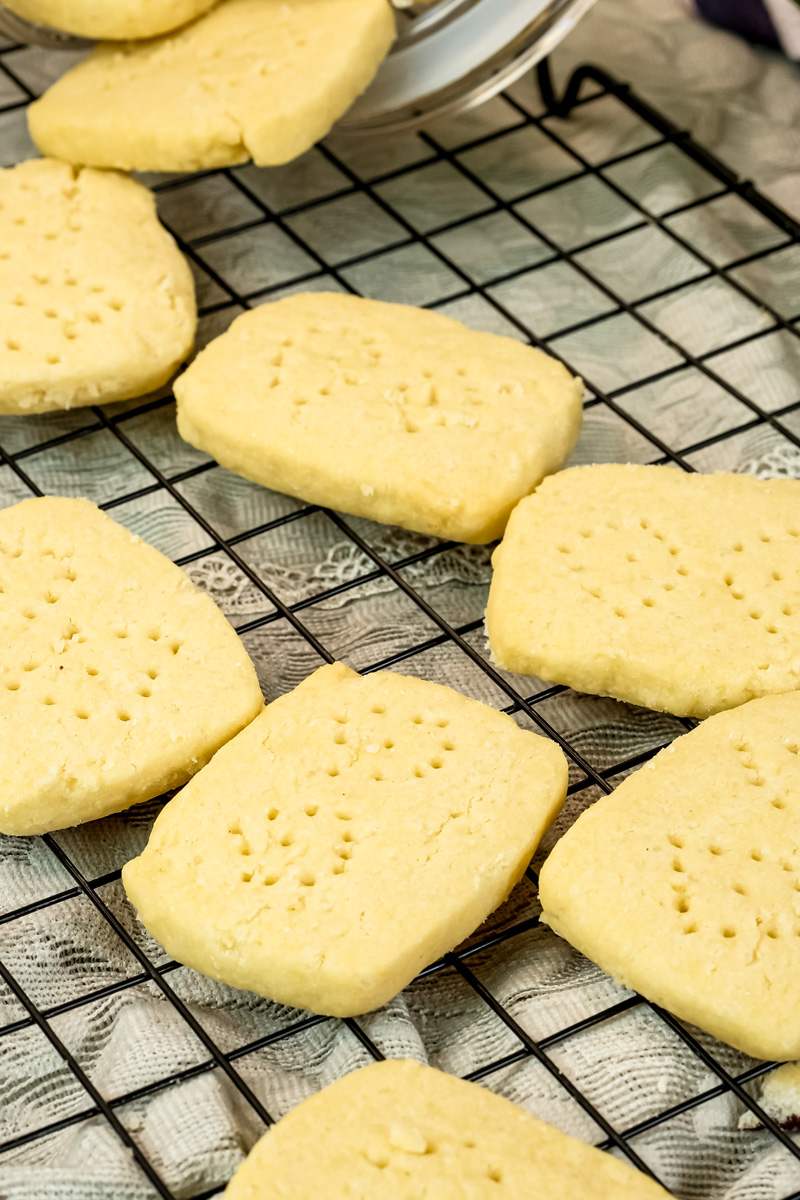
Step 8: Cooling Down
Carefully move the cookies to a wire rack to cool completely. This last step is essential for getting the perfect texture. They will firm up as they cool, so try not to handle them too much while they are still warm.

Variations & Customization
This easy traditional shortbread recipe is a blank canvas for your creativity.
Dietary Modifications:
- Gluten-Free: Use a 1-to-1 gluten-free flour blend. The texture might be a little more crumbly, but the flavor will still be fantastic.
- Vegan: You can substitute a high-quality plant-based butter for the dairy butter. Look for one with a high-fat content for the best results.
Spice and Flavor Adjustments:
- Spice: Add ½ teaspoon of cinnamon, cardamom, or ground ginger for a warm, spiced flavor.
- Extracts: Try almond extract or lemon extract for a different flavor.
- Add-ins: Fold in ¼ cup of mini chocolate chips, toasted chopped pecans, or dried cranberries at the end of the mixing process.
Fancy vs. Everyday: For a fancy touch, dip half of each cooled cookie in melted dark or white chocolate. You can also press a slivered almond into the top of each cookie before baking.
Serving & Storage
You’ve made them! Now it’s time to enjoy them.
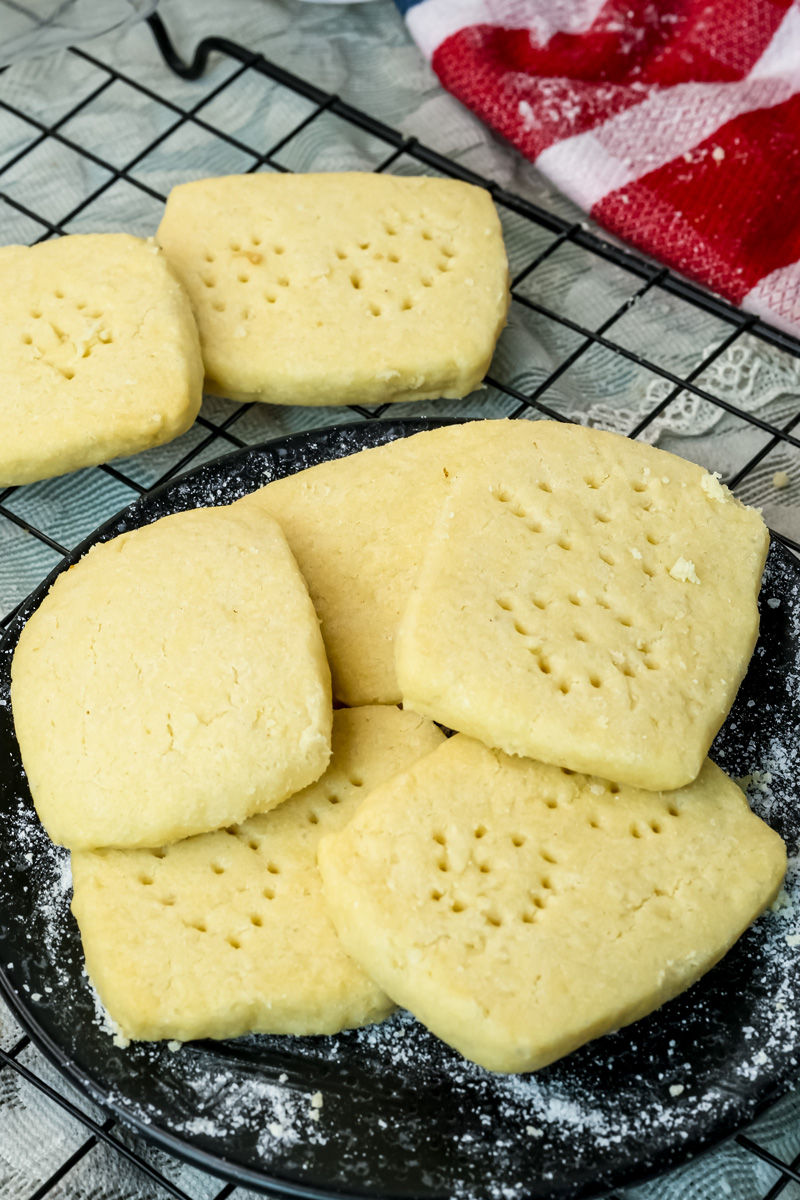
Plating Suggestions: Shortbread is great on its own, but it pairs beautifully with a cup of hot tea or coffee. You can also arrange them on a platter with a dusting of confectioners’ sugar.
What to Serve with it: While they don’t have “side dishes,” they are a great accompaniment to a fruit compote, a scoop of vanilla ice cream, or a cheese board.

Storage and Make-Ahead:
- Short-Term Storage: Store the cooled cookies in an airtight container at room temperature. They will stay fresh and crisp for up to two weeks.
- Freezing: This recipe is perfect for freezing. The dough log can be wrapped tightly and frozen for up to a month. Just let it thaw in the fridge for a few hours before slicing and baking. You can also freeze the baked cookies. Place them in a single layer on a baking sheet to freeze solid, then transfer them to an airtight container or freezer bag. They will keep for up to 3 months.
Final Thoughts
This easy traditional shortbread recipe is a true classic. With a little care for your ingredients and a few simple steps, you’ll be baking a cookie that’s stood the test of time for centuries.
Enjoy the process, and happy baking!
PrintShortbread Cookies
The story of shortbread is as rich as its flavor. This simple cookie from Scotland has stood the test of time for one reason: it’s buttery, tender, and melts in your mouth. This recipe is an easy, go-to version that captures that classic taste and lets the glorious flavor of butter shine.
- Prep Time: 15 minutes
- Cook Time: 20 minutes
- Total Time: 35 minutes (plus at least 1 hour of chilling)
- Yield: 16 cookies 1x
- Category: Dessert
- Cuisine: Scottish
Ingredients
- 10 tbsp unsalted butter (142g), at room temperature
- ½ cup confectioners’ sugar
- ½ teaspoon pure vanilla extract (optional)
- 1 ½ cups all-purpose flour (180g)
- ½ teaspoon kosher salt (optional)
Instructions
- Cream the Butter: In a mixer, beat the room-temperature butter and vanilla extract on medium-high speed until light and creamy.
- Add Sugar and Salt: Add the confectioners’ sugar and salt. Mix until just combined. Scrape down the sides of the bowl to make sure everything is incorporated.
- Mix in Flour: With the mixer on low speed, slowly add the flour. Mix until the dough just comes together into a ball. Avoid overmixing to keep the cookies tender.
- Chill the Dough: Form the dough into a rectangular log and wrap it tightly in plastic wrap. Refrigerate for at least one hour.
- Cut and Bake: Preheat oven to 350°F (177°C). Use a sharp knife to slice the chilled dough log into ½-inch thick rounds. Place them on a baking sheet lined with parchment paper.
- Decorate: Gently press a fork or skewer into the top of each cookie to create a pattern. This helps them bake evenly.
- Final Bake: Bake for about 10 minutes, rotating the pan halfway through. The cookies are done when the bottoms are a light golden color. They should still be pale on top.
- Cool: Transfer the cookies to a wire rack to cool completely. They will firm up as they cool.
Notes
- Serving Suggestions: These cookies are perfect on their own but also pair beautifully with coffee or tea.
- Tips & Tricks: The key to this recipe is chilling the dough. Don’t skip this step! It keeps the cookies from spreading in the oven and helps them hold their shape.
- Substitutions: You can use salted butter, but omit the ½ teaspoon of salt. For a gluten-free version, use a 1-to-1 gluten-free flour blend.
- Storage: Store cooled cookies in an airtight container at room temperature for up to two weeks.
- Freezing: The dough log can be wrapped and frozen for up to a month. You can also freeze the baked cookies in an airtight container for up to three months.