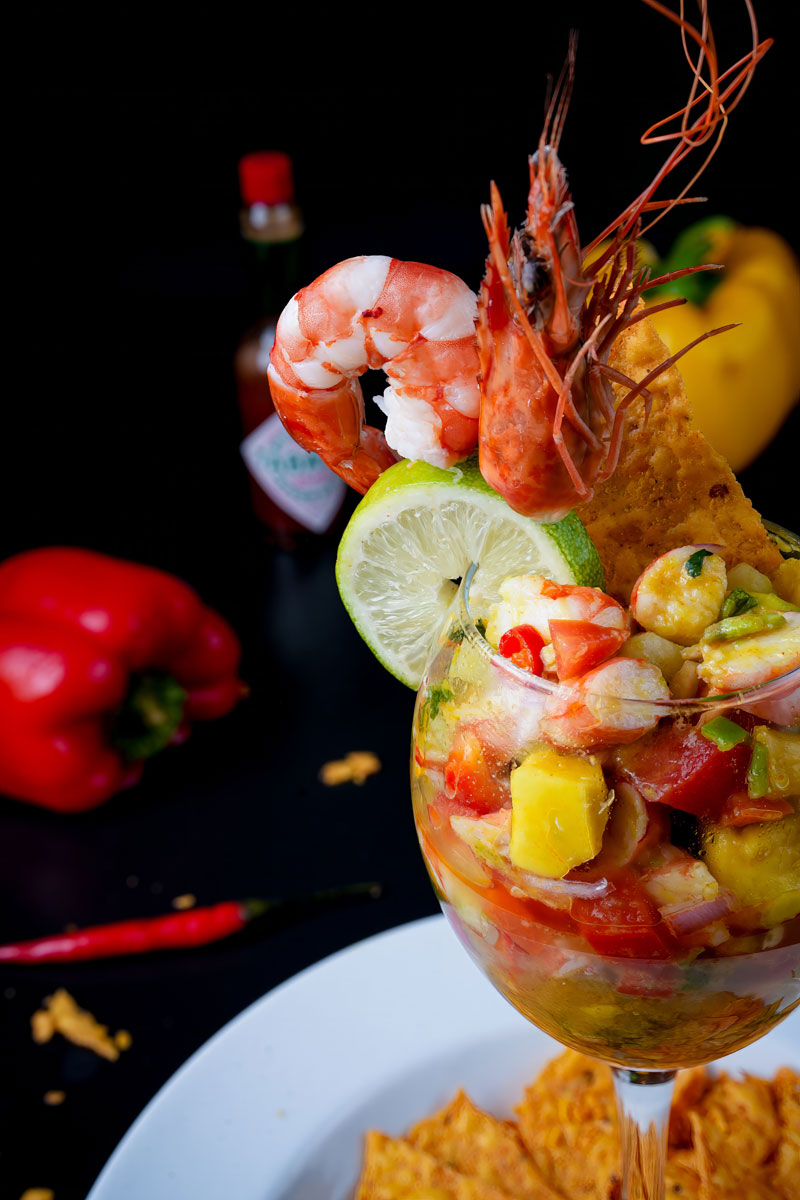
Shrimp ceviche is a refreshing, zesty dish that brings together vibrant flavors and contrasting textures.
A classic in Latin American cuisine, this dish uses lime and lemon juice to “cook” seafood, creating a no-heat-required meal that’s as fun to make as it is to eat. Originating from coastal regions of Central and South America, ceviche is beloved for its versatility and its ability to capture the essence of summer in every bite.
This version is a vibrant, colorful take on the dish, complete with optional peppers for added crunch and spice.
Recipe Overview
- Prep Time: 15 minutes
- Cook Time: 15 minutes
- Servings: 4 persons
- Difficulty Level: Easy
- Equipment Needed:
- Cutting board and knife
- Mixing bowls
- Citrus juicer (optional, for fresh juice)
- Spoon or spatula for mixing
- Make-Ahead Options: This dish is best made fresh but can be prepared a few hours in advance. The flavors intensify as they sit, making it a great make-ahead appetizer for gatherings.
Ingredients
Main Ingredients
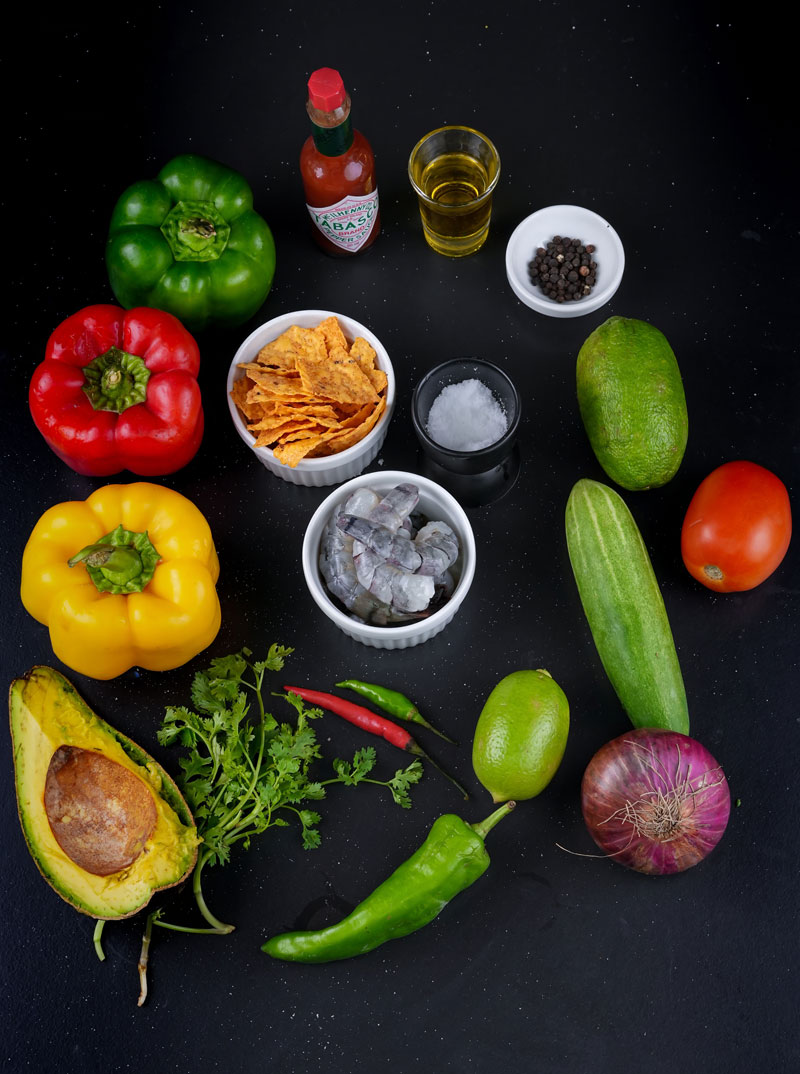
- 130g shrimp meat (poached)
- ½ medium red onion, diced
- ½ medium cucumber, diced
- 1 medium Roma tomato, diced
- ¼ avocado, diced
- 1 small or medium jalapeño, diced
- ¼ cup cilantro, chopped
- 1 piece red chili, chopped
- 1 piece green chili, chopped
Optional Additions
- ¼ red bell pepper, diced
- ¼ green bell pepper, diced
- ¼ yellow bell pepper, diced
For the Dressing
- 4 tbsp lemon and lime juice
- 3 tbsp olive oil
- Salt and pepper, to taste
- 3 tbsp hot sauce
Ingredient Notes & Substitutions
- Shrimp: Pre-poached shrimp is convenient, but raw shrimp can be used if marinated longer in the citrus juice to “cook” it.
- Citrus Juice: Freshly squeezed is best for authentic flavor; bottled can work in a pinch.
- Cilantro: Substitute parsley if cilantro isn’t to your taste.
- Chilies: Adjust the type and quantity to control spice level. Omit chilies for a mild version.
How to Cook Shrimp Ceviche: Step-by-Step Method
Step 1: Prepare the Shrimp
- Choose the Best Shrimp for Ceviche:
- Use fresh, high-quality shrimp for the best ceviche experience. Opt for medium-sized shrimp that are easy to handle and have a firm texture.
- Frozen shrimp can also work, but ensure they are properly thawed and deveined before use.
- Cook or Poach the Shrimp (if raw):
- If your shrimp is raw, bring a pot of salted water to a gentle boil. This method is ideal for beginners who prefer not to use raw shrimp in their ceviche.
- Add the shrimp and cook for 2-3 minutes until they turn pink and opaque.
- Immediately transfer the shrimp to an ice bath to stop the cooking process and maintain its texture.
- Dice the shrimp into bite-sized pieces once cooled.
- Marinate Raw Shrimp for Traditional Ceviche:
- For an authentic ceviche experience, use raw shrimp and marinate them in fresh lime juice. The acidity in the lime juice “cooks” the shrimp, turning them opaque and firm in about 30-40 minutes.
- Be sure to fully submerge the shrimp in lime juice and stir occasionally to ensure even marination.
- Use Pre-Cooked Shrimp for Convenience:
- If you’re using pre-cooked shrimp, ensure they are peeled, deveined, and diced into bite-sized pieces before proceeding.
- Pre-cooked shrimp are ideal for those seeking a quick and easy version of this dish, like prawn ceviche, which is popular for its simplicity and flavor.
By choosing the best shrimp for ceviche and preparing them properly—whether through poaching, marinating raw shrimp, or using pre-cooked shrimp—you’ll create a dish that is both flavorful and safe to enjoy!
Step 2: Prep the Vegetables
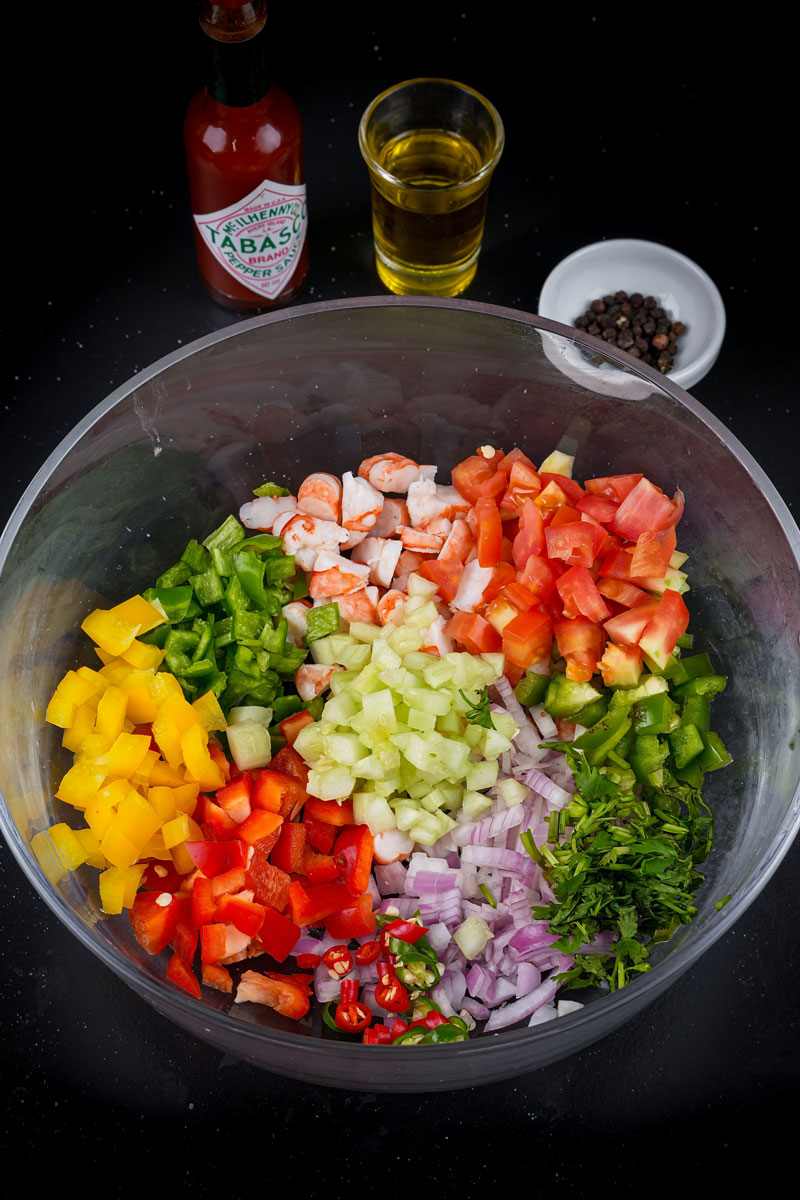
- Dice red onion, cucumber, Roma tomato, and optional bell peppers into small, uniform pieces. This ensures even distribution of flavors.
- Finely chop cilantro, red chili, green chili, and jalapeño. Adjust the quantity of chili to your desired spice level.
- Dice the avocado into cubes but save it for the last step to maintain its creamy texture. Pro Tip: Soak diced red onions in cold water for 10 minutes to mellow their flavor and reduce bitterness. Visual Cue: Vegetables should appear crisp, vibrant, and evenly chopped.
Step 3: Make the Dressing
- In a small bowl, whisk together the following ingredients to create a flavorful dressing:
- 4 tablespoons of fresh lemon and lime juice: Lime juice is a key ingredient in ceviche, as its acidity is essential for marinating and “cooking” the shrimp. If you’ve ever wondered, “Does lime juice cook shrimp?” the answer is yes! The citric acid in lime juice denatures the proteins in shrimp, turning them opaque and firm, similar to heat cooking.
- 3 tablespoons of olive oil: Adds a smooth, rich texture to balance the acidity.
- 3 tablespoons of hot sauce (adjust to taste): For a spicy kick, use your preferred hot sauce.
- A pinch of salt and freshly ground black pepper: Season to taste, ensuring the flavors are well-rounded.
- Mix and Adjust: Whisk the ingredients together until they emulsify into a smooth and slightly thickened mixture. Taste and adjust seasoning as needed, ensuring the balance of tanginess, spice, and saltiness. Pro Tip: Always use freshly squeezed citrus juice for the most vibrant flavor. Bottled juice can sometimes taste flat or overly acidic. Visual Cue: The dressing should be glossy, well-emulsified, and have a bright, tangy aroma that complements the freshness of the shrimp and vegetables.
This tangy and slightly spicy dressing is the heart of your ceviche, enhancing every bite with a burst of flavor!
Step 4: Combine Ingredients
- In a large mixing bowl, add:
- Diced shrimp.
- Chopped vegetables (onion, cucumber, tomato, chilies, and optional bell peppers).
- Finely chopped cilantro.
- Pour the dressing over the mixture and gently toss to coat all ingredients evenly. Pro Tip: Handle gently to avoid mashing delicate ingredients like avocado and shrimp. Visual Cue: The shrimp should glisten, and the vegetables should appear glossy and well-coated with the dressing.
Step 5: Chill and Let Flavors Meld
- Cover the bowl with plastic wrap and refrigerate for at least 15 minutes. This allows the flavors to combine and intensify. Pro Tip: While 15 minutes is sufficient, letting it sit for up to 1 hour enhances the depth of flavor. Visual Cue: The ceviche should appear vibrant, with a balance of textures and colors.
Step 6: Add Avocado and Serve
- Just before serving, gently fold in the diced avocado to avoid it turning mushy. Pro Tip: Garnish with fresh cilantro leaves and a wedge of lime for a touch of elegance.
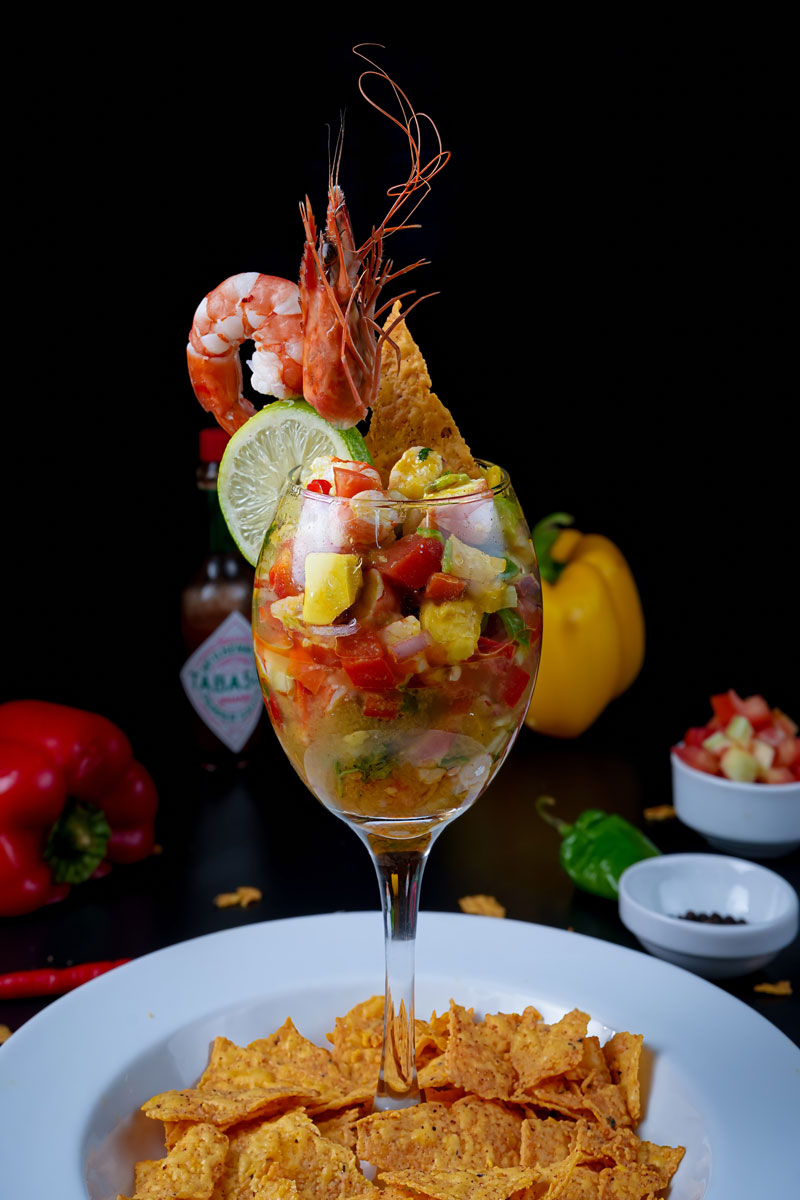
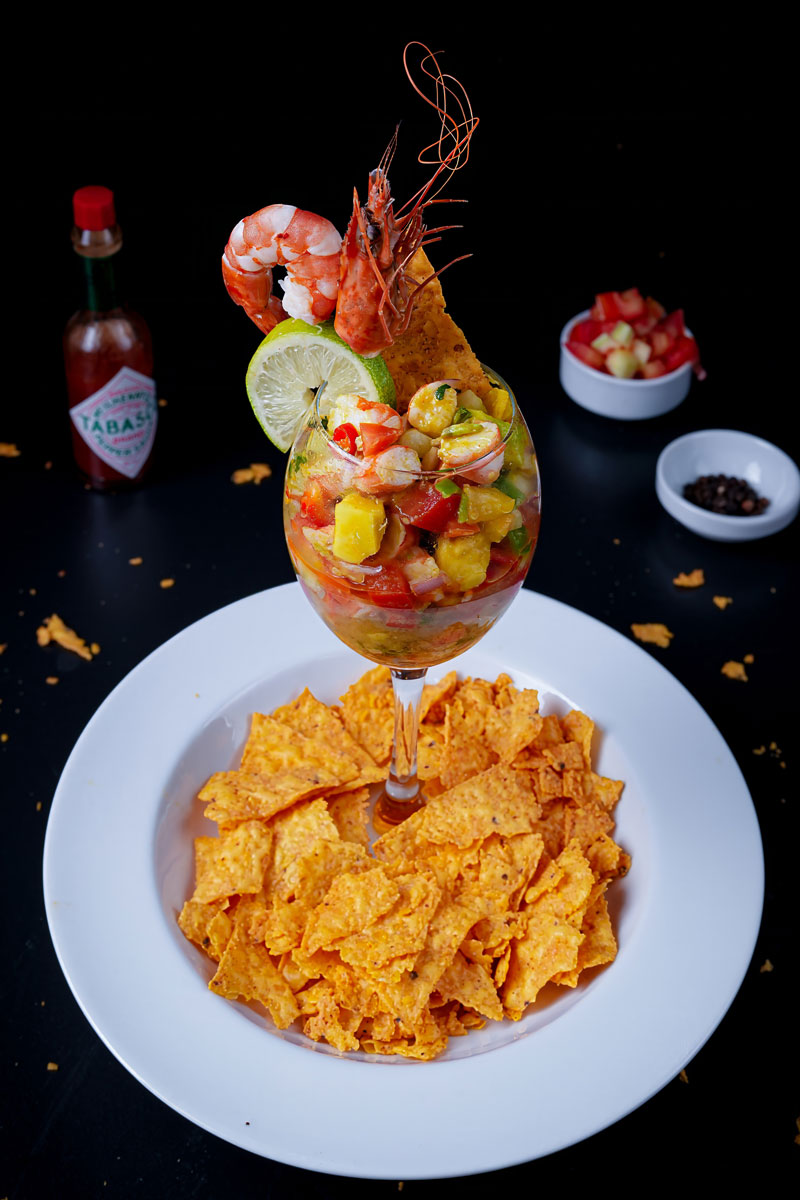
- Serve chilled with tortilla chips or on tostadas. For a complete meal, pair it with a light salad or Mexican rice. Visual Cue: A well-made ceviche should be colorful, aromatic, and have a balanced mix of textures – crunchy vegetables, tender shrimp, and creamy avocado.
Additional Pro Tips and Insights:
- Timing Guidance: If using raw shrimp marinated in citrus, ensure they turn fully opaque before proceeding to the next step. This typically takes 30-40 minutes.
- Common Mistakes to Avoid: Avoid overmixing to prevent the avocado and shrimp from breaking apart. Also, do not let the ceviche sit for too long after adding avocado, as it may become mushy or brown.
- Visual/Texture Cues: A perfect ceviche will be tangy, slightly spicy, and bursting with freshness. The vegetables should remain crisp, and the shrimp should be tender but not rubbery.
This detailed guide ensures that even a beginner can confidently create a restaurant-quality ceviche while giving experienced cooks pro tips to refine their dish!
Variations & Customization
Dietary Modifications
- Gluten-Free: Ensure the hot sauce and tortilla chips are certified gluten-free. Most ingredients in ceviche are naturally gluten-free, making this a great option for those with dietary restrictions.
- Vegan Version: Substitute shrimp with hearts of palm, diced mushrooms, or even jackfruit to create a plant-based version that mimics the texture of seafood.
Spice Level Adjustments
- Reduce the amount of chilies or remove seeds for a milder dish.
- For those who love heat, add a pinch of cayenne or use a spicier hot sauce to elevate the flavor.
Fancy vs. Everyday Versions
- Fancy Version: Add diced mango or pineapple for a tropical twist that pairs beautifully with the tangy citrus dressing. This is perfect for special occasions or entertaining guests.
- Everyday Version: Stick to the base recipe with cooked shrimp or use ceviche with frozen shrimp to save time and money while still enjoying a flavorful dish.
Seasonal Adaptations
- Swap tomatoes for diced peaches or nectarines in the summer for a sweeter, seasonal variation.
- In cooler months, you can add a dash of smoked paprika to the dressing for a slightly earthy flavor.
Serving & Storage
Plating Suggestions
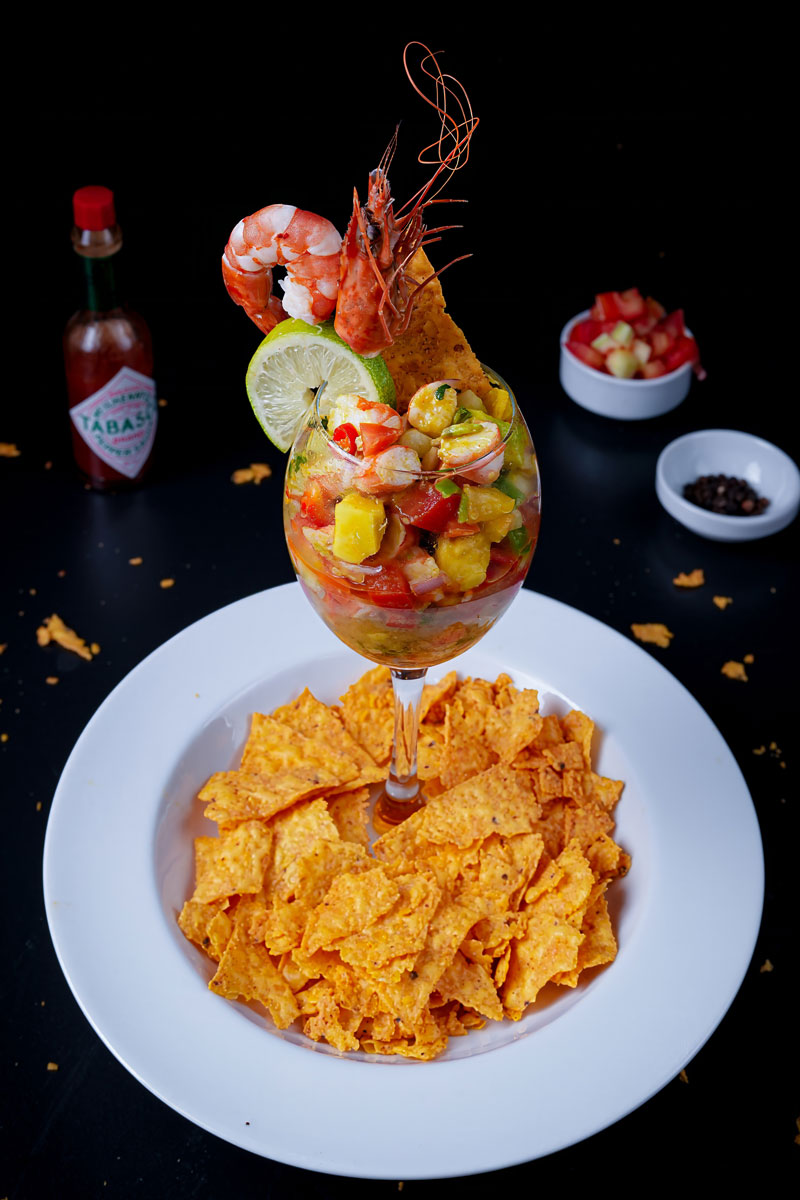
Serve shrimp ceviche in individual bowls or martini glasses for a formal presentation. For a casual gathering, serve on a communal platter surrounded by tortilla chips, crackers, or tostadas. If you’re wondering how to eat shrimp ceviche, it pairs beautifully as a dip, topping for tacos, or even over a bed of greens for a light meal.
Storage Instructions
- Refrigeration: Store ceviche in an airtight container for up to 1 day. How long is ceviche good for? The freshness of the ingredients is key, so it’s best consumed within 24 hours. Over time, the texture of the shrimp and vegetables may degrade.
- Freezing: Not recommended because the fresh ingredients, like avocado and tomato, do not freeze well and can become mushy when thawed.
Reheating Tips
Ceviche is always served chilled and is not meant to be reheated. If you’ve made ceviche with cooked shrimp, ensure it stays cold by serving it over a bed of ice at gatherings to maintain its freshness.
This comprehensive guide ensures your shrimp ceviche is adaptable, easy to serve, and always enjoyed at its best!
This shrimp ceviche recipe is a delightful combination of fresh ingredients, bold flavors, and a touch of creativity. Perfect for a light lunch, appetizer, or party dish, it’s versatile and easy enough for beginners while offering room for creativity to please seasoned cooks. Dive into this tropical-inspired treat and enjoy the vibrant flavors with every bite!
PrintShrimp Ceviche
This bright and zesty shrimp ceviche combines citrus-marinated shrimp with crunchy vegetables, creamy avocado, and a touch of spice. It’s perfect as a light appetizer or a refreshing main dish. Quick, easy, and packed with vibrant flavors!
- Prep Time: 15
- Cook Time: 15
- Total Time: 30
- Yield: 4 1x
- Category: Appetizer
- Cuisine: Latin American
Ingredients
For the Ceviche:
- 130g shrimp meat (poached or raw, marinated in lime juice)
- ½ medium red onion, diced
- ½ medium cucumber, diced
- 1 medium Roma tomato, diced
- ¼ avocado, diced
- 1 small or medium jalapeño, finely chopped
- ¼ cup cilantro, chopped
- 1 red chili, finely chopped
- 1 green chili, finely chopped
Optional Add-Ins:
- ¼ red bell pepper, diced
- ¼ green bell pepper, diced
- ¼ yellow bell pepper, diced
For the Dressing:
- 4 tbsp freshly squeezed lemon and lime juice
- 3 tbsp olive oil
- 3 tbsp hot sauce (adjust to taste)
- Salt and freshly ground black pepper, to taste
Instructions
Step 1: Prepare the Shrimp
- If using raw shrimp, marinate it in fresh lime juice for 30-40 minutes until fully opaque. Alternatively, poach raw shrimp in salted boiling water for 2-3 minutes, transfer to an ice bath, and dice into bite-sized pieces.
- For pre-cooked shrimp, simply dice into small pieces.
Step 2: Chop and Prep the Vegetables
- Dice the red onion, cucumber, Roma tomato, and avocado into uniform sizes.
- Chop the cilantro, jalapeño, and optional bell peppers for added crunch and color.
- For extra heat, finely dice red and green chilies.
Step 3: Make the Dressing
- In a mixing bowl, whisk together lemon and lime juice, olive oil, hot sauce, salt, and black pepper. Adjust seasoning to your taste.
- Ensure the dressing is smooth and tangy.
Step 4: Combine Ingredients
- In a large bowl, mix the shrimp with the chopped vegetables and cilantro.
- Pour the dressing over the mixture and gently toss to coat everything evenly.
Step 5: Chill and Serve
- Cover and refrigerate for 15-20 minutes to allow the flavors to meld.
- Serve cold with tortilla chips, crackers, or tostadas for dipping.
Notes
Serving Suggestions:
- Garnish with fresh cilantro, lime wedges, or a drizzle of hot sauce.
- Pair with a crisp salad or a refreshing cocktail for a complete meal.
Tips & Tricks:
- Use freshly squeezed citrus juice for the best flavor.
- For a vegan twist, replace shrimp with diced hearts of palm or mushrooms.
- Adjust the chilies and hot sauce to suit your preferred spice level.
Storage & Reheating:
- Store in an airtight container in the fridge for up to 1 day.
- Ceviche is meant to be served cold and should not be reheated.

