Hey friends, let’s talk holiday cookies. For me, the holiday season isn’t complete without a giant batch of spritz cookies. They’re more than just a treat—they’re a little piece of history and a reminder of how good simple things can be.
The name “spritz” comes from the German word spritzen, which means “to squirt.” It’s a funny name, but it perfectly describes how you “squirt” the dough through a cookie press. These delicate, buttery cookies melt in your mouth and are the perfect canvas for all your festive decorations. My recipe is a twist on the classic, a family favorite that I’m so excited to share with you.
Recipe Overview: The Game Plan
Before we get our hands dirty, let’s get you organized. This recipe is super easy, whether you’re a baking pro or just starting out.
| Metric | Value | Notes |
| Prep Time | 20 minutes | This includes softening butter and getting all your ingredients ready. |
| Cook Time | 10-12 minutes | The cookies bake fast, so keep a close eye on them! |
| Total Time | ~40 minutes | This includes mixing, shaping, and baking a full batch. |
| Servings | 40 Cookies | This recipe makes a ton, perfect for sharing! |
| Difficulty Level | Easy | The dough is a breeze, the only tricky part is getting the hang of the cookie press. |
For this recipe, you’ll need a few key tools. A cookie press is the classic choice and makes beautiful shapes. But if you don’t have one, a piping bag with a wide star tip works just as well. You’ll also need a big mixing bowl, an electric mixer, and a couple of baking sheets. My advice? Don’t line or grease the baking sheets. The dough needs to stick to the pan to get those perfect shapes.
The best part about this recipe? You can easily double or triple it to feed a crowd. You can also make the dough ahead of time and freeze it. That way, you’re always just a quick bake away from warm, fresh cookies.
Ingredients for a Buttery Delight
The secret to these cookies? A few simple, high-quality ingredients. It’s all about the butter, which gives them that signature rich flavor.
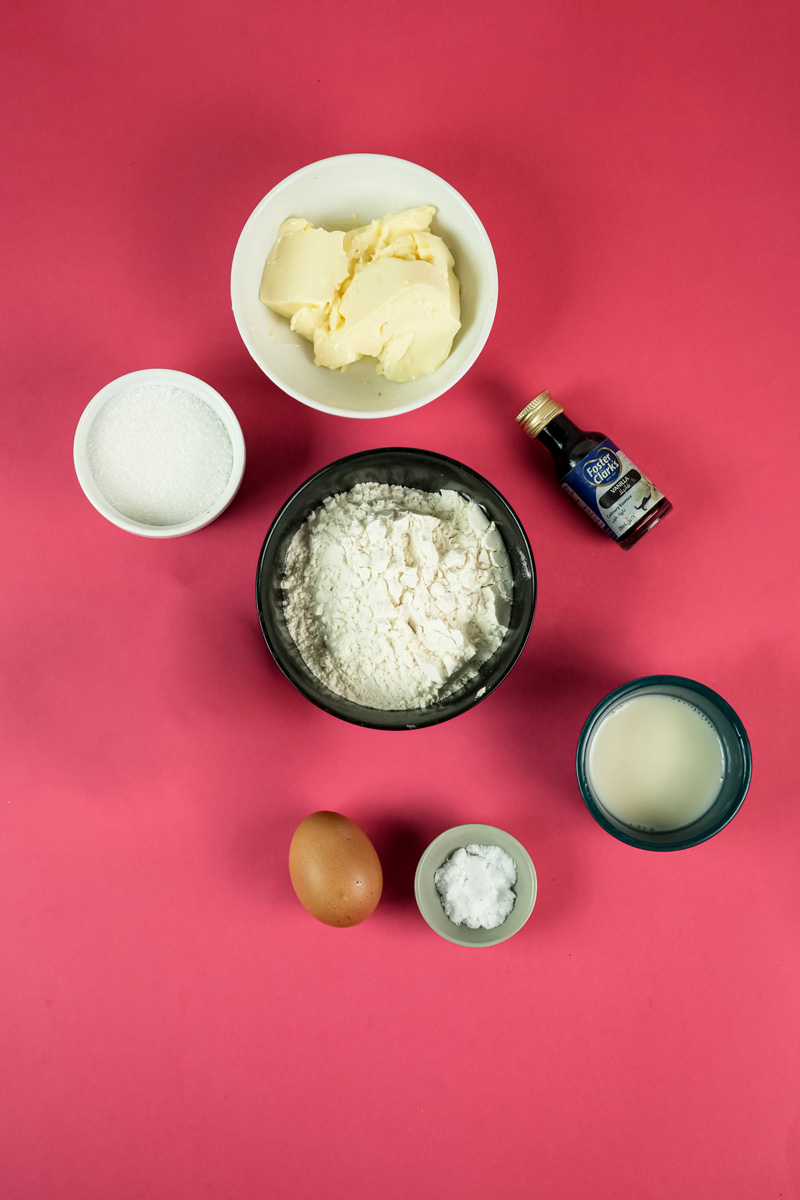
- 1 cup Butter, softened: I use salted butter. If you use unsalted, add a ¼ teaspoon of salt with your flour. The most important thing is that your butter is truly at room temperature—soft, but not a melty mess. This makes the dough soft and easy to press.
- ½ cup Caster sugar: This fine sugar dissolves easily, making the dough smooth and light.
- 1 Egg: A single egg makes the cookies rich and gives them a good structure.
- 1 tsp Vanilla extract & 1 tsp Almond extract: This is the classic spritz combo. It gives them that incredible nutty, sweet smell and taste.
- 2 ¼ cup All-purpose flour: This is the perfect amount to make a dough that holds its shape.
- 2-3 tbsp Milk, lukewarm (Optional): This is your secret weapon. If your dough is too stiff, add a tablespoon of milk at a time until it’s soft and easy to work with.
- Sprinkles, Melted chocolate: For decorating, of course! I love adding colorful holiday sprinkles before baking and dipping the cooled cookies in melted chocolate for a special touch.
Step-by-Step Method
Time to get baking! I’ll walk you through each step, just like we’re in the kitchen together.
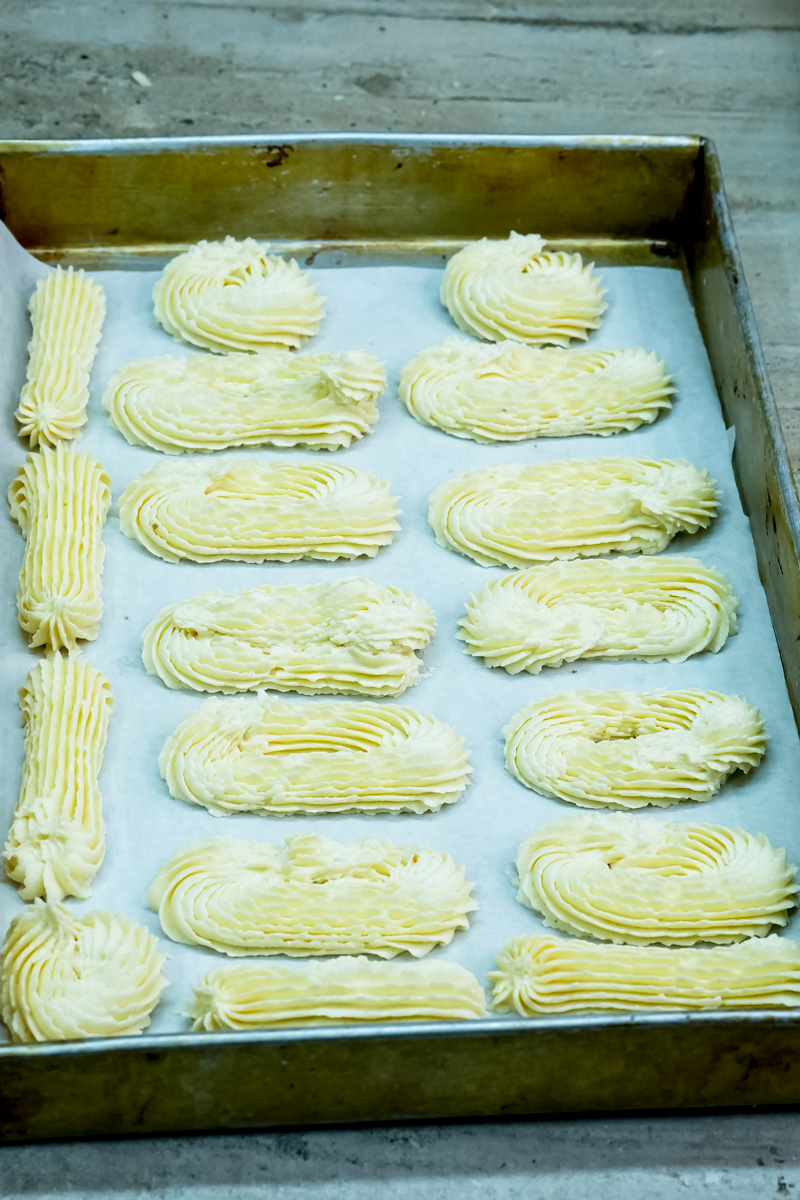
Prep Your Space: First, preheat your oven to 180°C. Get your baking sheets ready. As I mentioned, leaving them unlined and ungreased helps the dough stick when you press it.
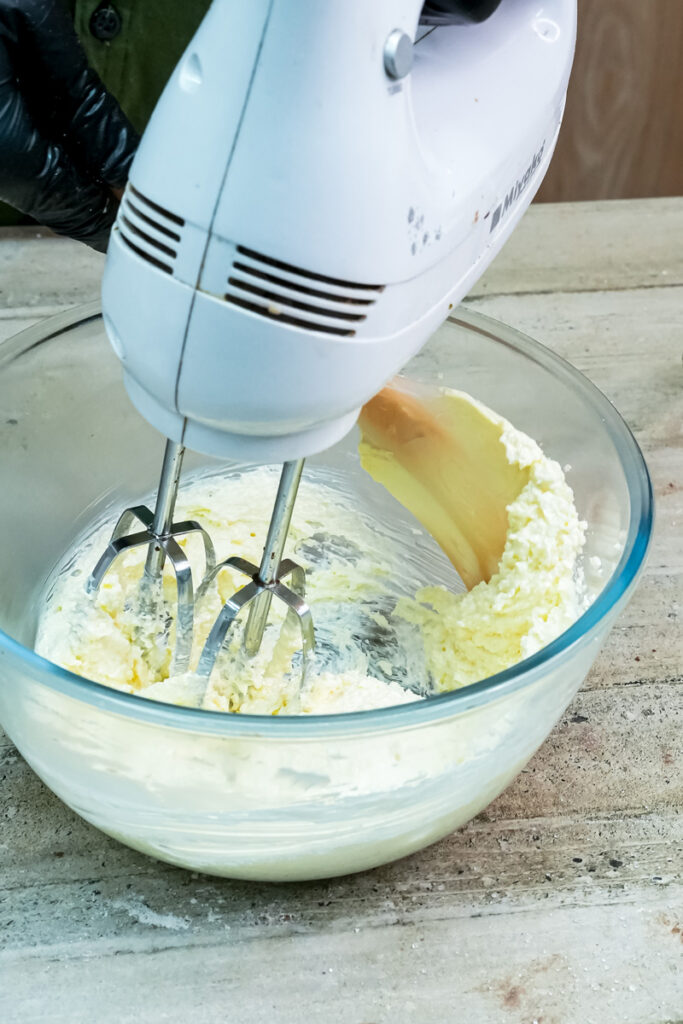
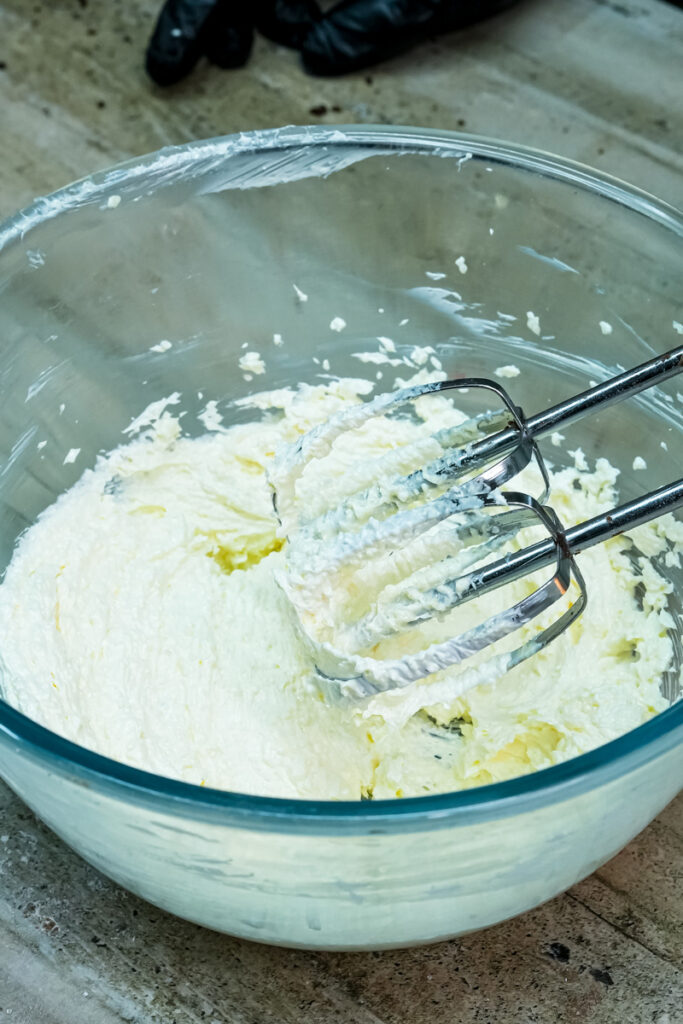
Creaming to Perfection: In a large bowl, beat the softened butter and sugar with an electric mixer until it’s light and fluffy. Don’t rush this step—it’s the key to your cookies’ texture. The mixture should be pale, airy, and whipped.
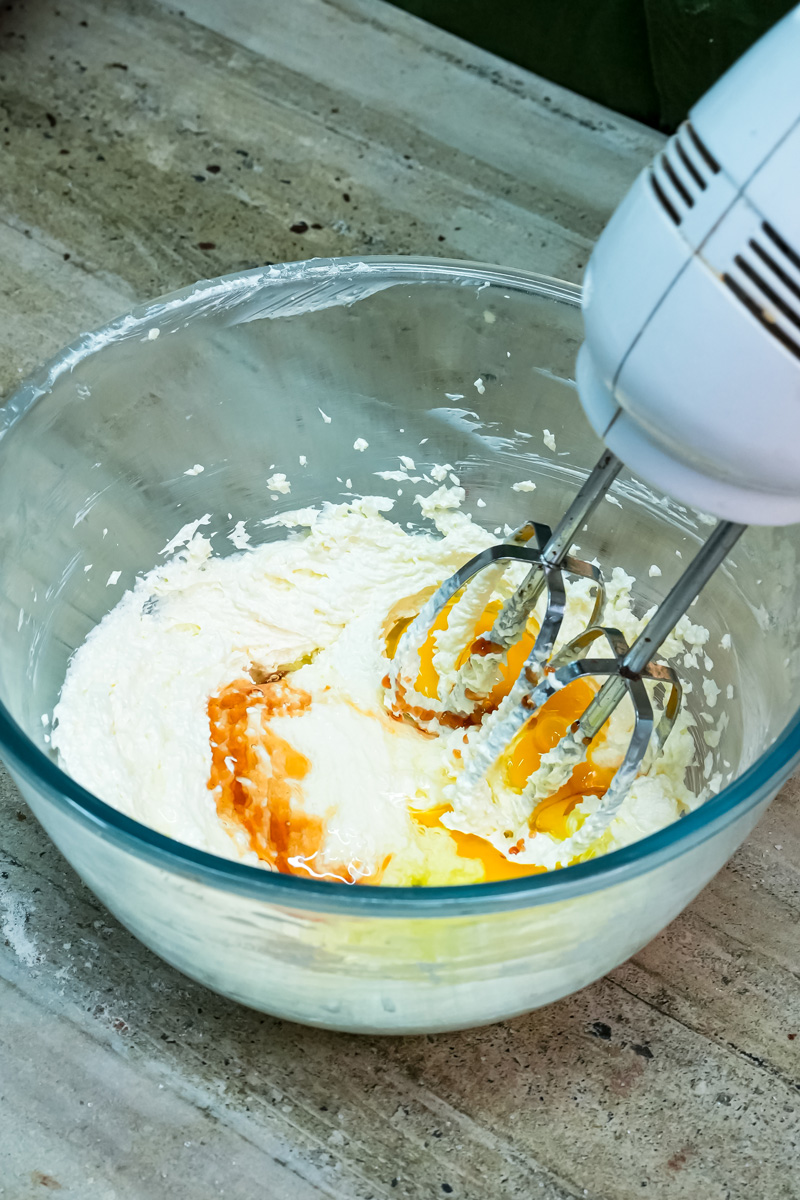
Mixing in the Wet Ingredients: Now, add the egg, vanilla, and almond extract. Mix everything until it’s smooth, and be sure to scrape down the sides of the bowl.
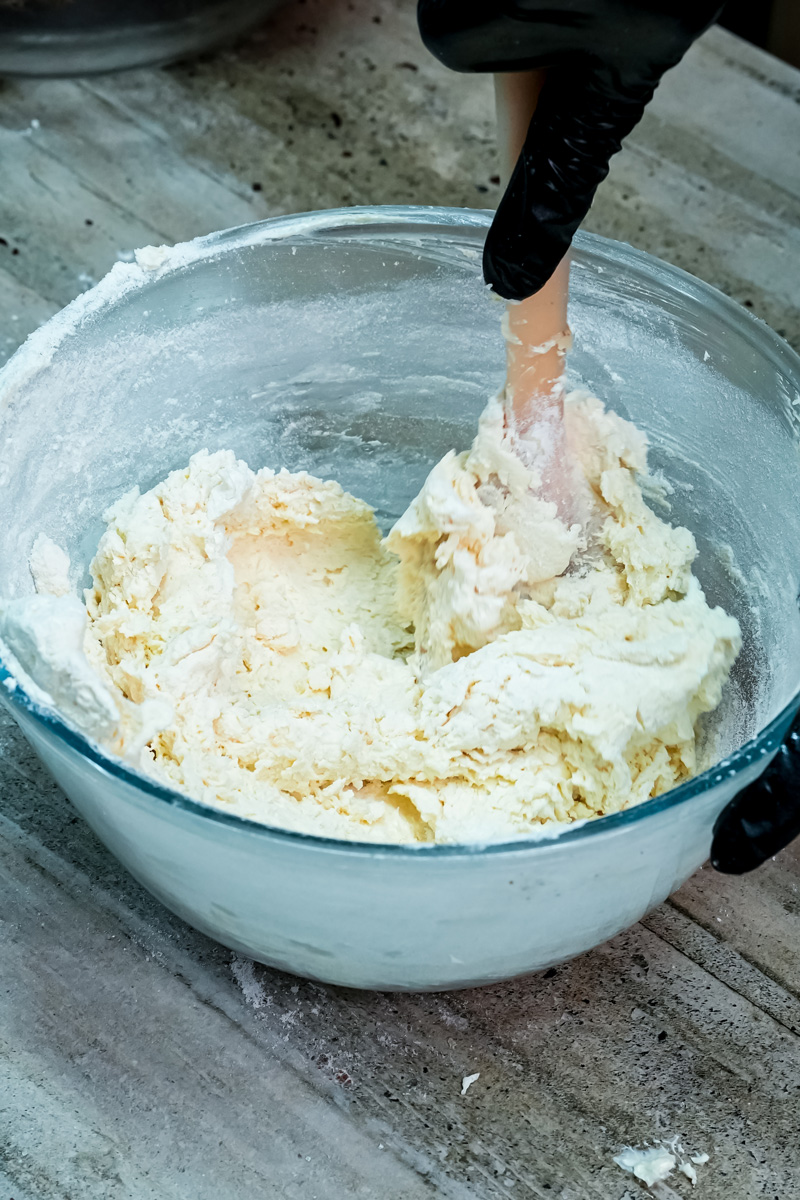
Folding in the Flour: Gently fold in the all-purpose flour. The dough should be soft and pliable. If it’s too stiff, add a tablespoon of lukewarm milk at a time until it feels like soft Play-Doh.
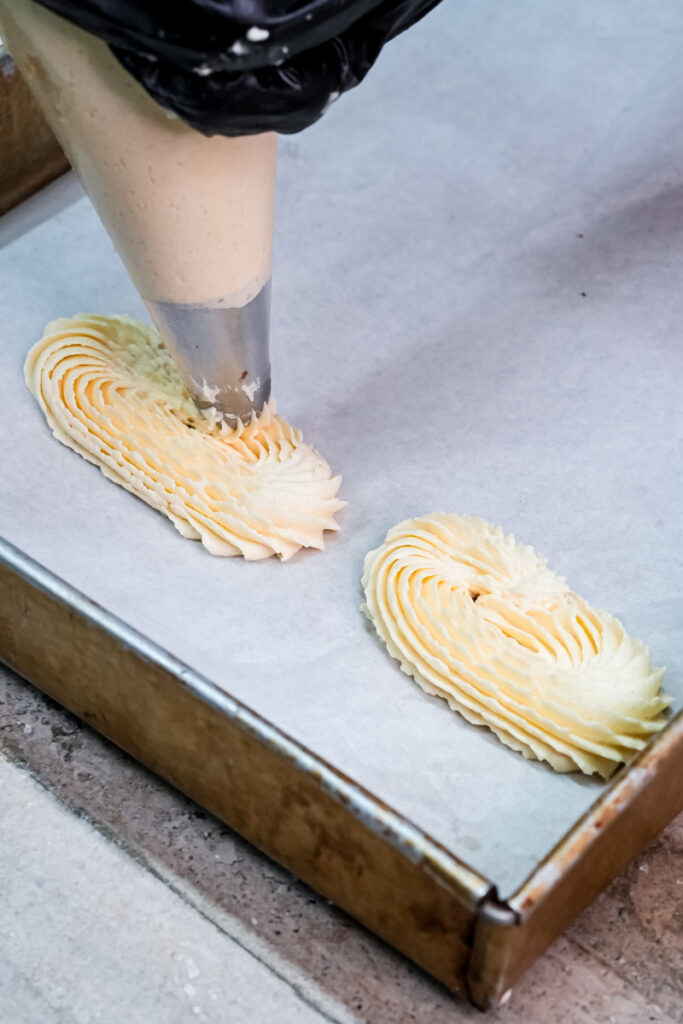
Piping Your Shapes: This is the best part! Load the dough into your cookie press or piping bag. Press your beautiful designs directly onto the baking sheet. Make sure to press down firmly so the dough sticks. If you’re using sprinkles, add them now—they stick best before the cookies are baked.

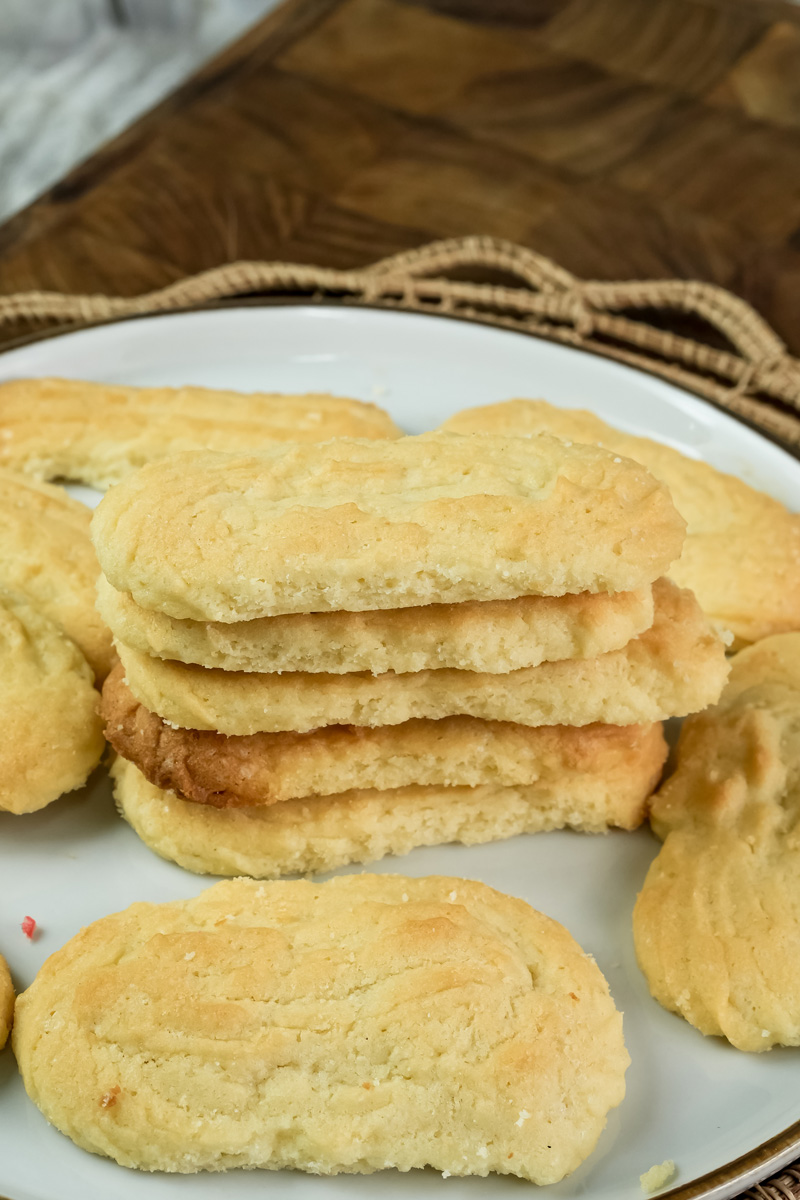
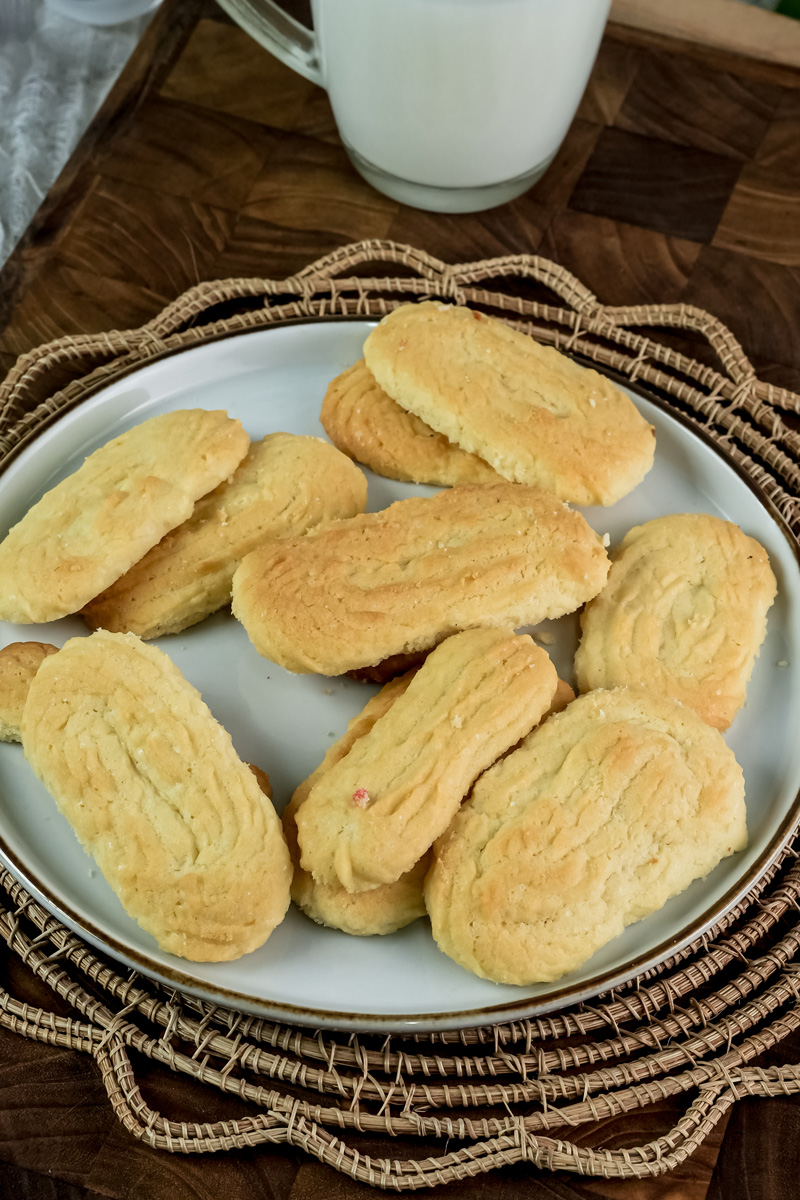
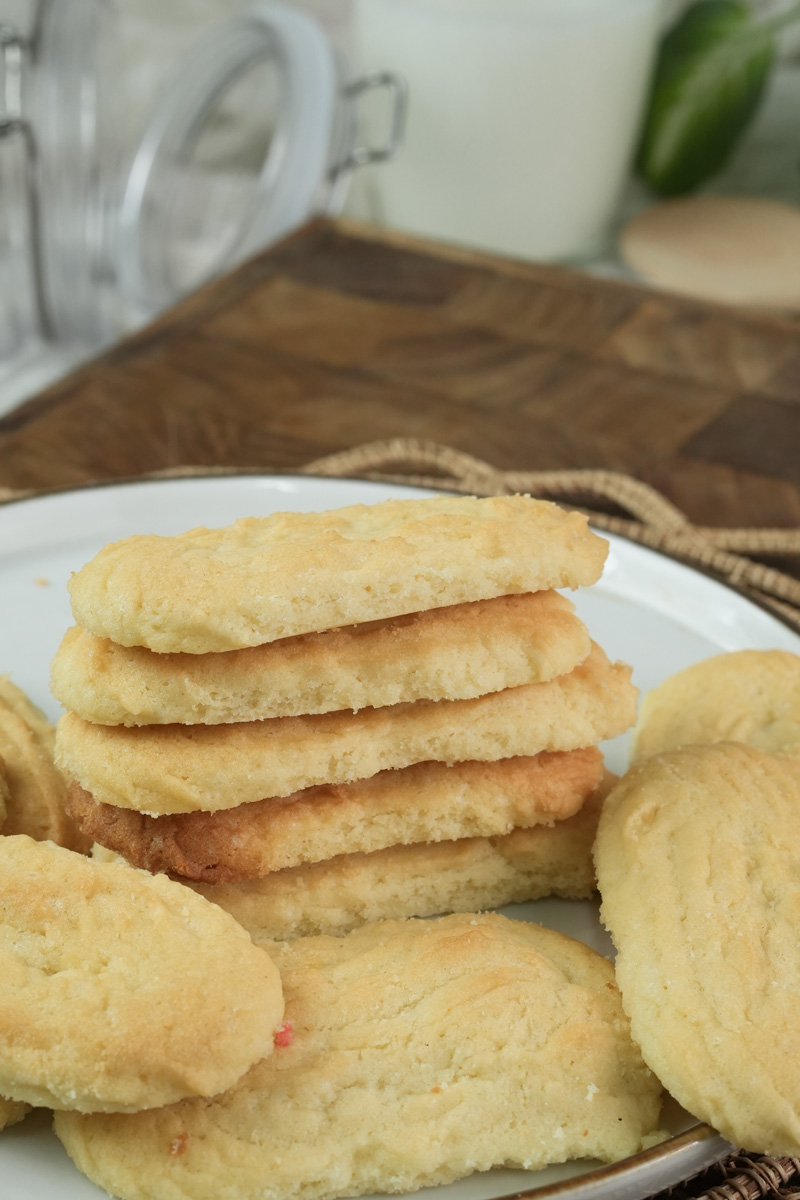
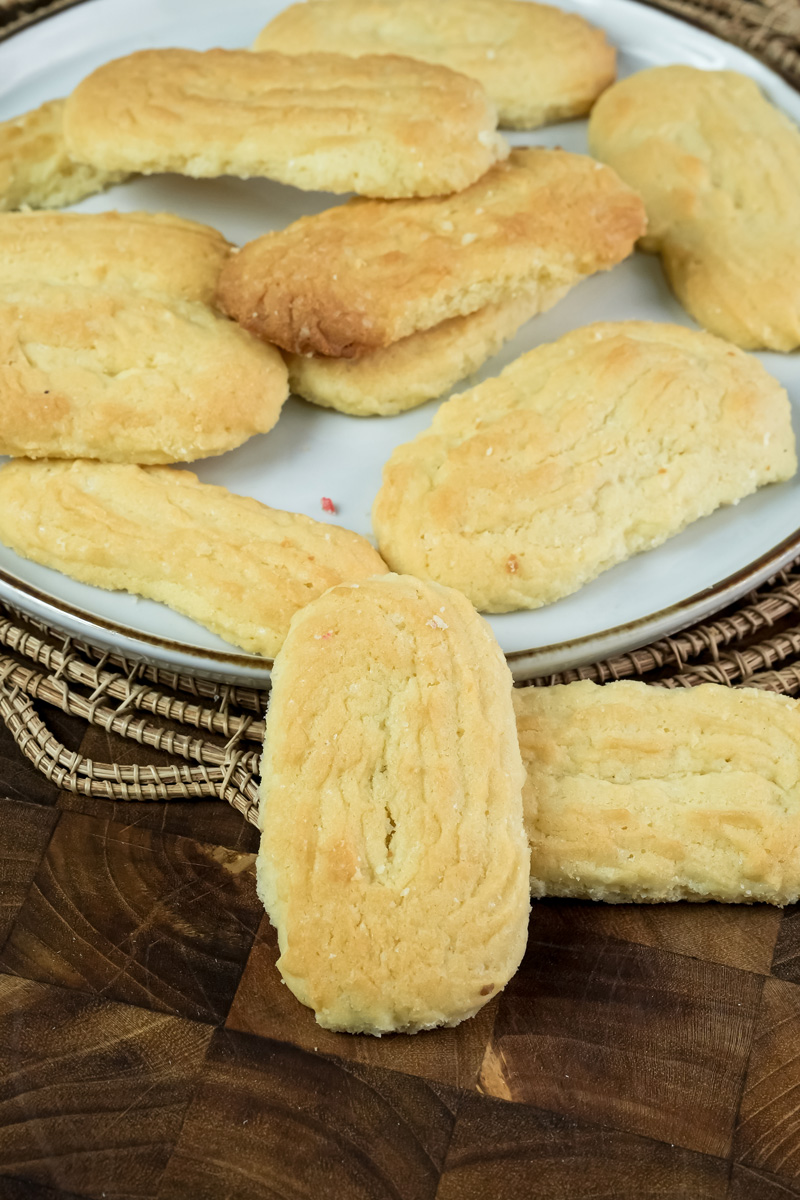
Bake to a Pale Golden: Pop the trays in the preheated oven for 10-12 minutes. You want the cookies to be a pale golden color, not dark brown. This keeps them tender and melt-in-your-mouth.
Cooling and Decorating: Let the cookies sit on the hot tray for about 5 minutes, then move them to a cooling rack. Once they’re completely cool, you can dip them in melted chocolate. Let the chocolate set for about 15-20 minutes.

Variations & Customization: Make Them Your Own
This recipe is super easy to change up.
- Dietary Modifications: For a gluten-free version, swap the all-purpose flour for a gluten-free baking blend. For a vegan-friendly cookie, use a good quality plant-based butter and a flax egg.
- Flavor and Spice: Don’t like almond extract? Use peppermint or lemon instead! You can also add a pinch of cinnamon or nutmeg for a warmer, spiced holiday flavor.
- Everyday vs. Fancy: For a simple cookie, bake them plain. For something more elegant, dip half of each cookie in melted chocolate and top with chopped nuts or a little edible glitter.
- Seasonal Adaptations: These are a holiday classic, but they work for any time of year. Use different food coloring and press out shapes like flowers for spring or snowflakes for winter.
Serving & Storage: The Final Touch
These cookies are perfect for making ahead.
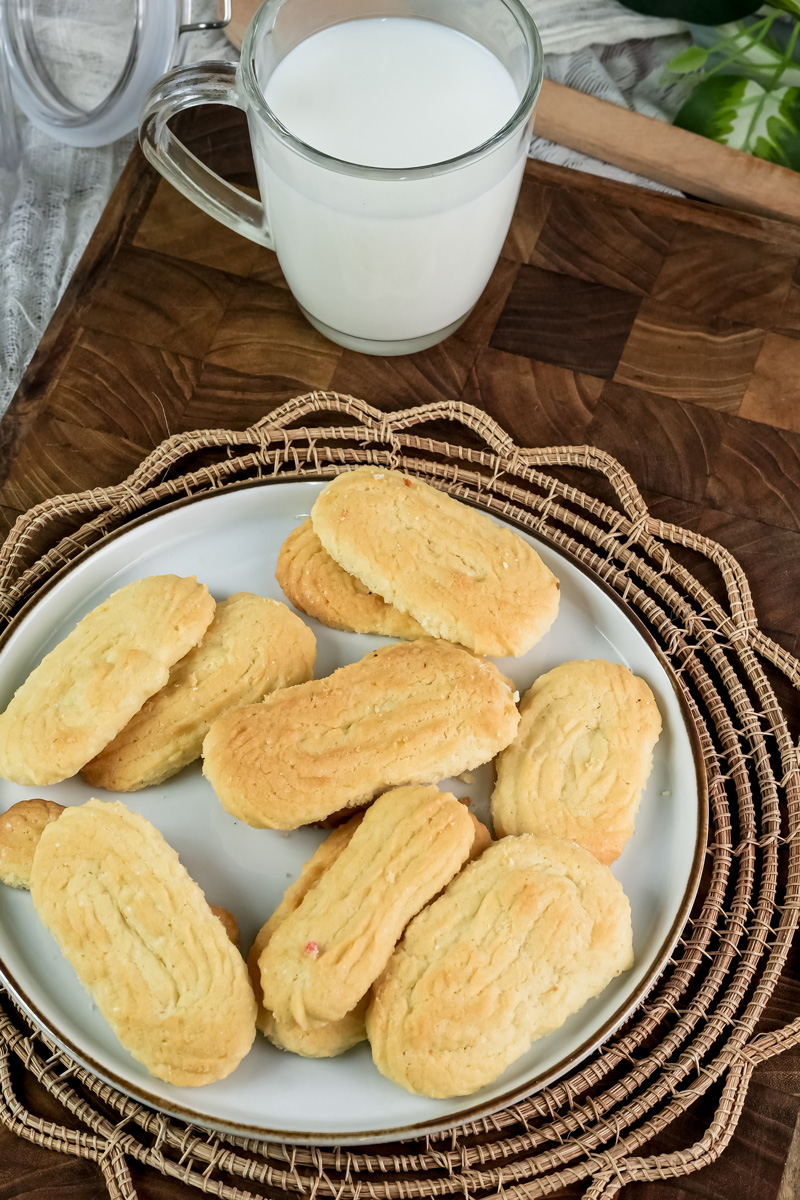
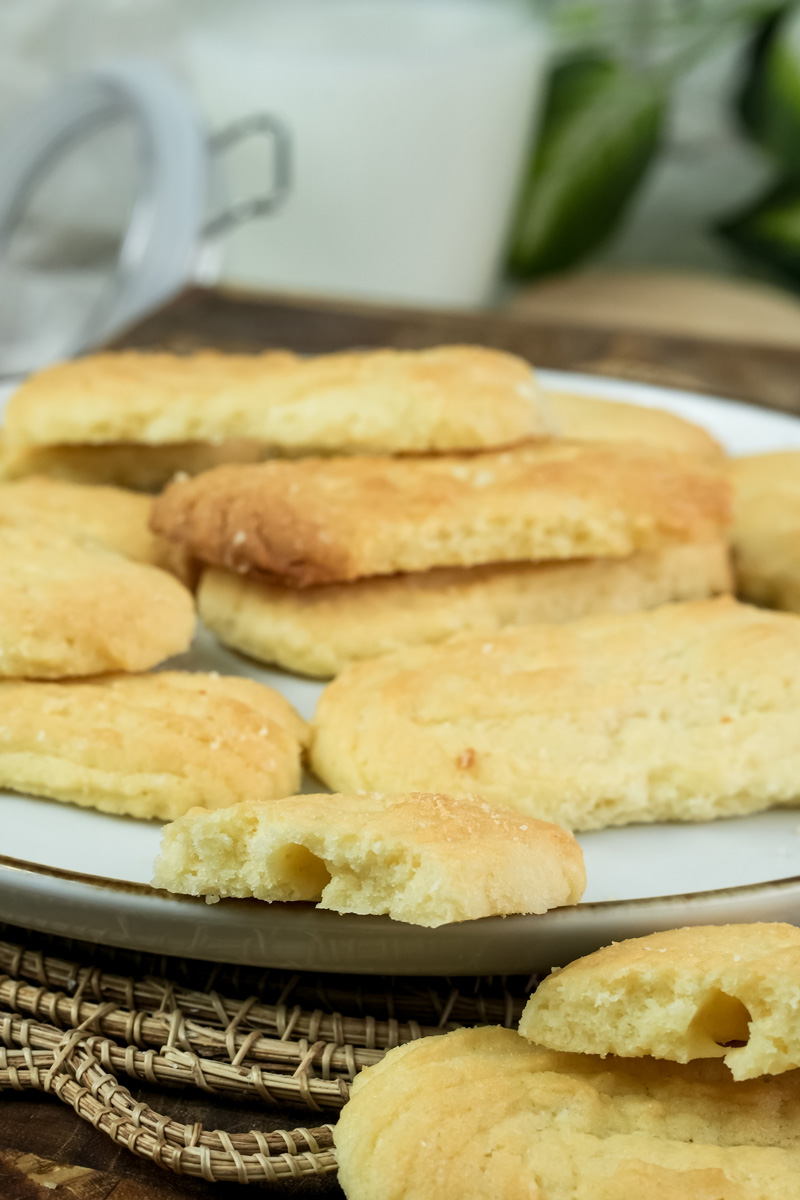
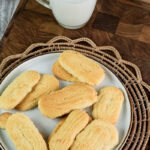
Serving Suggestions: They’re great on their own, but they also go perfectly with a warm cup of coffee or tea. Arrange them on a simple white plate to show off their beautiful shapes.
Make-Ahead and Freezing: You can mix the dough and freeze it in an airtight bag for a few weeks. When you’re ready to bake, just let the dough sit at room temp for a few hours. The baked cookies can also be frozen for later.
Storage Instructions: Once they’re cooled and decorated, store them in an airtight container at room temperature. They’ll stay fresh for days, though I doubt they’ll last that long!
PrintSpritz Cookies
These aren’t just cookies; they’re a buttery, melt-in-your-mouth taste of holiday magic. A simple European classic that’s a breeze to make, these cookies are perfect for gifting or a festive get-together.
- Prep Time: 20 minutes
- Cook Time: 10-12 minutes
- Total Time: ~40 minutes
- Yield: 40 cookies 1x
- Category: Dessert
- Cuisine: European / German
Ingredients
- 1 cup (2 sticks) salted butter, softened
- ½ cup caster sugar
- 1 large egg
- 1 tsp vanilla extract
- 1 tsp almond extract
- 2 ¼ cup all-purpose flour
- 2–3 tbsp lukewarm milk (optional)
- Sprinkles and/or melted chocolate for decorating
Instructions
- Prep: Preheat your oven to 180°C (350°F). Don’t line your baking sheets. The dough needs to stick to the pan to hold its shape.
- Cream Butter & Sugar: In a large bowl, beat the softened butter and sugar with an electric mixer until it’s light and fluffy. This is key for a tender cookie.
- Mix in Wet Ingredients: Add the egg, vanilla, and almond extract. Mix until everything is smooth and fully combined.
- Add Flour: Gently fold in the flour with a spatula. If the dough feels too stiff, add a tablespoon of lukewarm milk at a time until it’s soft and easy to pipe.
- Shape & Decorate: Load the dough into your cookie press or a piping bag with a star tip. Pipe your shapes onto the unlined baking sheet. Add sprinkles now if you’re using them.
- Bake: Bake for 10-12 minutes, or until the cookies are a pale golden color.
- Cool & Finish: Let the cookies rest on the baking sheet for 5 minutes before moving them to a wire rack to cool completely. Once cool, dip them in melted chocolate for an extra special touch.
Notes
- Tips & Tricks: Make sure your butter is truly softened to room temperature—this is the most important step for a perfect dough. If you don’t have a cookie press, a piping bag works great!
- Serving Suggestions: These are wonderful on their own or with a warm cup of coffee or tea.
- Storage: Store spritz cookies in an airtight container at room temperature. They’ll stay fresh for several days, but trust me, they won’t last that long!