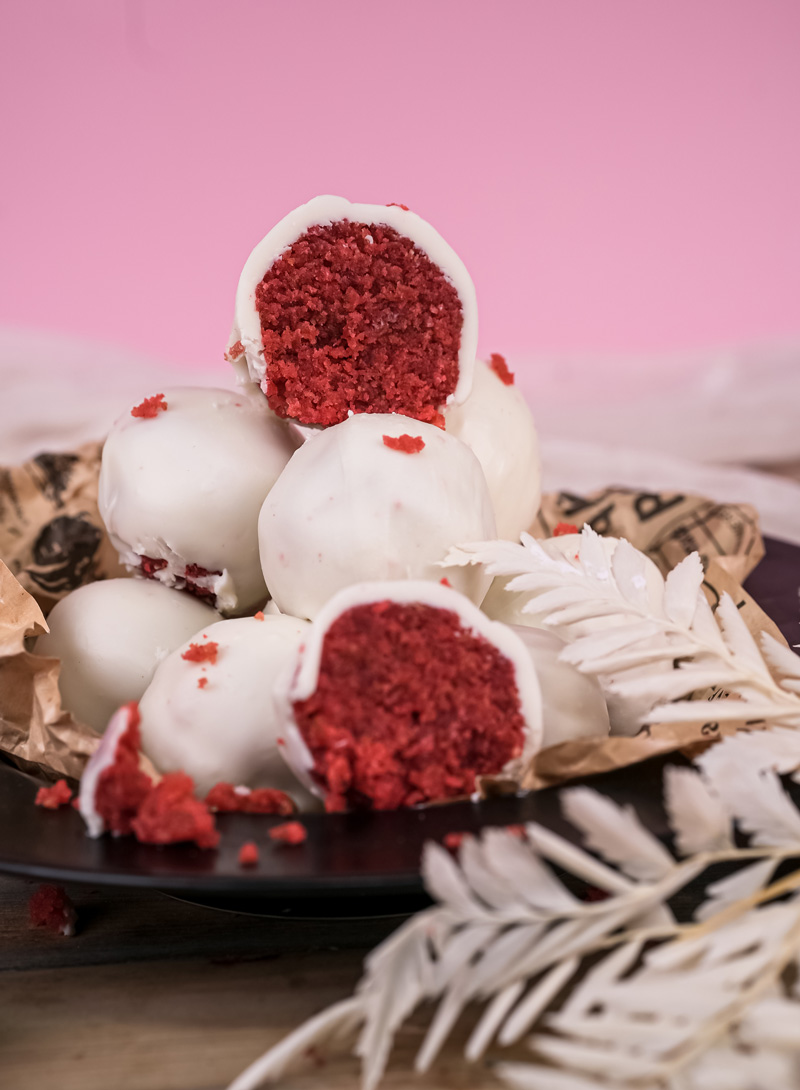
Hey there! Welcome. I’m so glad you’re here. Today, we’re going to make something seriously special: the best Strawberry Cake Pops you’ve ever had.
Seriously.
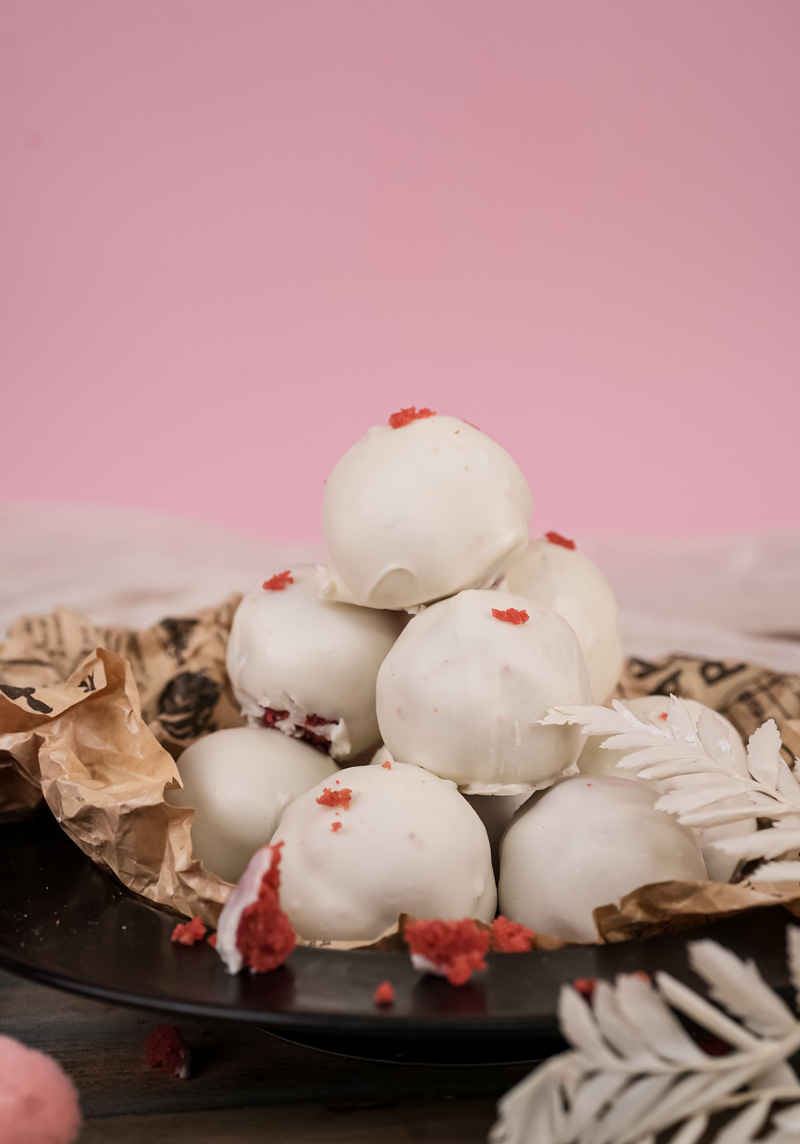
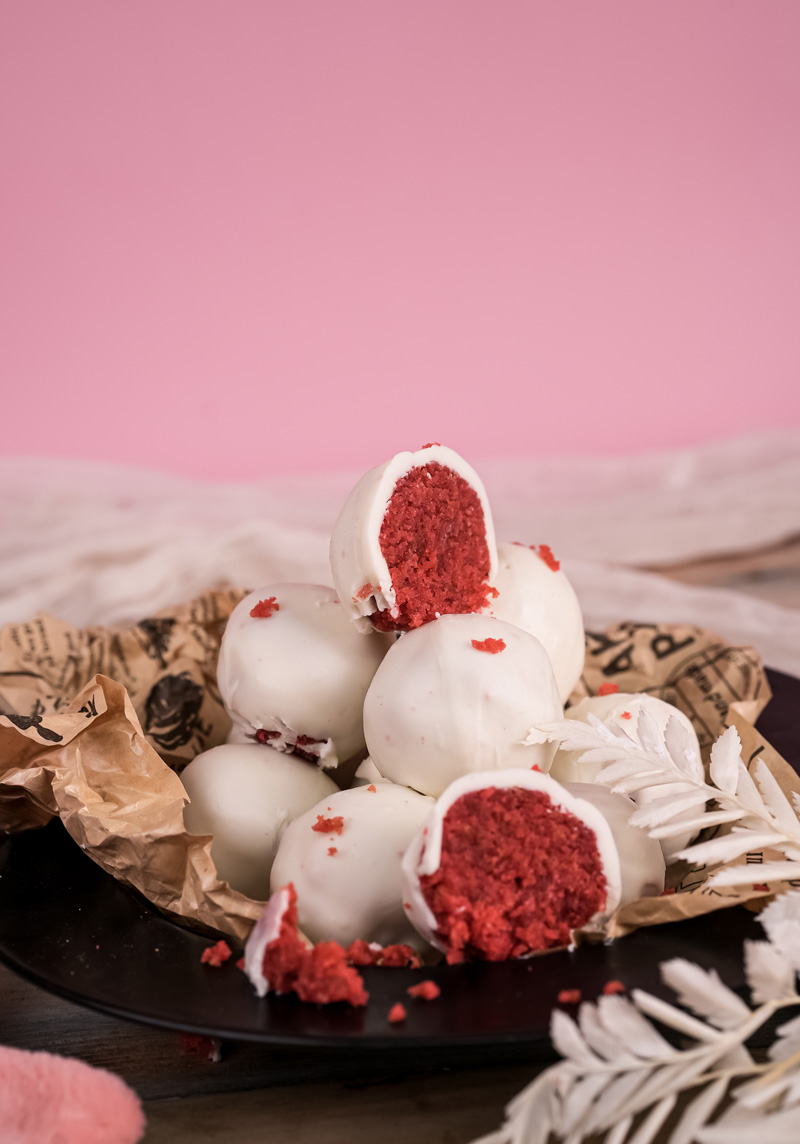
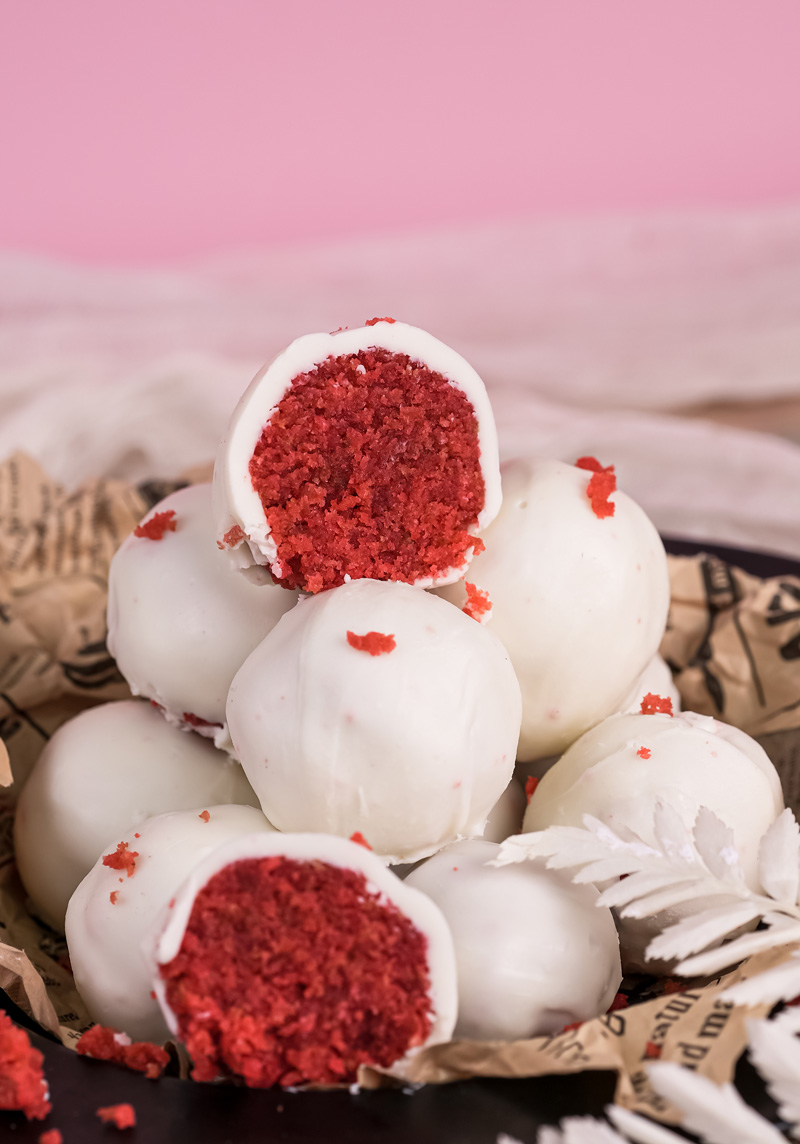
Forget those super-sweet, kinda fake-tasting ones. We’re making these from the ground up. The result? A perfect little bite of real strawberry cake, held together with tangy cream cheese, and covered in a crisp chocolate shell. It’s so good.
This isn’t just a recipe. It’s a fun project, perfect for a weekend when you just want to bake something that feels a little magical. So, grab your apron, and let’s get into it.
A Little Backstory
So, cake pops basically took over the world around 2008. It was all thanks to a super creative baker named Angie Dudley, who you might know as Bakerella. She came up with it as a smart way to use up leftover cake scraps. Pretty clever, right?
Now, a lot of recipes use a box cake mix, which is fine. But this recipe? It’s all about celebrating real, from-scratch baking. I was inspired by that classic strawberries and cream combo, and the star of the show is a homemade strawberry cake that’s incredibly tender and flavorful.
What to Expect
Before we jump in, let’s look at the game plan. This recipe has a few steps, but don’t worry, I’ll be with you the whole way. It’s the perfect Saturday baking project!
- Time Commitment: You’ll be actively in the kitchen for about an hour. But baking is all about patience, right? There’s also about 2-3 hours of cooling and chilling time. This is super important, so don’t rush it! Just think of it as a chill afternoon project.
- How Many It Makes: This recipe makes about 20 cake pops. Perfect for a party or just sharing with friends. If you need more or less, you can easily adjust it.
| Cake Pops | Cake Ingredients | Cream Cheese | Candy Melts |
| 10 Pops | Use half of everything | ~2 oz (58g) | ~3.5 oz (100g) |
| 20 Pops | Follow the recipe | 4 oz (115g) | 7 oz (200g) |
| 40 Pops | Double everything | 8 oz (230g) | 14 oz (400g) |
- Difficulty Level: I’d call this intermediate. But don’t let that word scare you! None of the steps are crazy hard. It just means there are a few stages that need a little bit of care. It’s a great recipe if you’re a beginner looking to try something new or if you’re already a pro.
The Tools You’ll Need
You don’t need a fancy professional kitchen, I promise. Here’s what you should have ready:
- A stand mixer (or a hand mixer and some muscle!)
- An 8-inch round cake pan
- Parchment paper
- Mixing bowls, a spatula, and a sifter
- A small cookie scoop (about 1.5 tablespoons). This is my secret weapon for getting all the pops the same size!
- Lollipop sticks
- A deep, microwave-safe bowl for melting the coating
- A cake pop stand. Or get creative! A block of styrofoam or a sturdy cardboard box with some holes poked in it works great.
Want to make things even easier? You can totally split up the work. Bake the cake up to 2 days ahead. Just wrap it up tight and keep it on the counter. You can even crumble it ahead of time and store the crumbs in an airtight container.
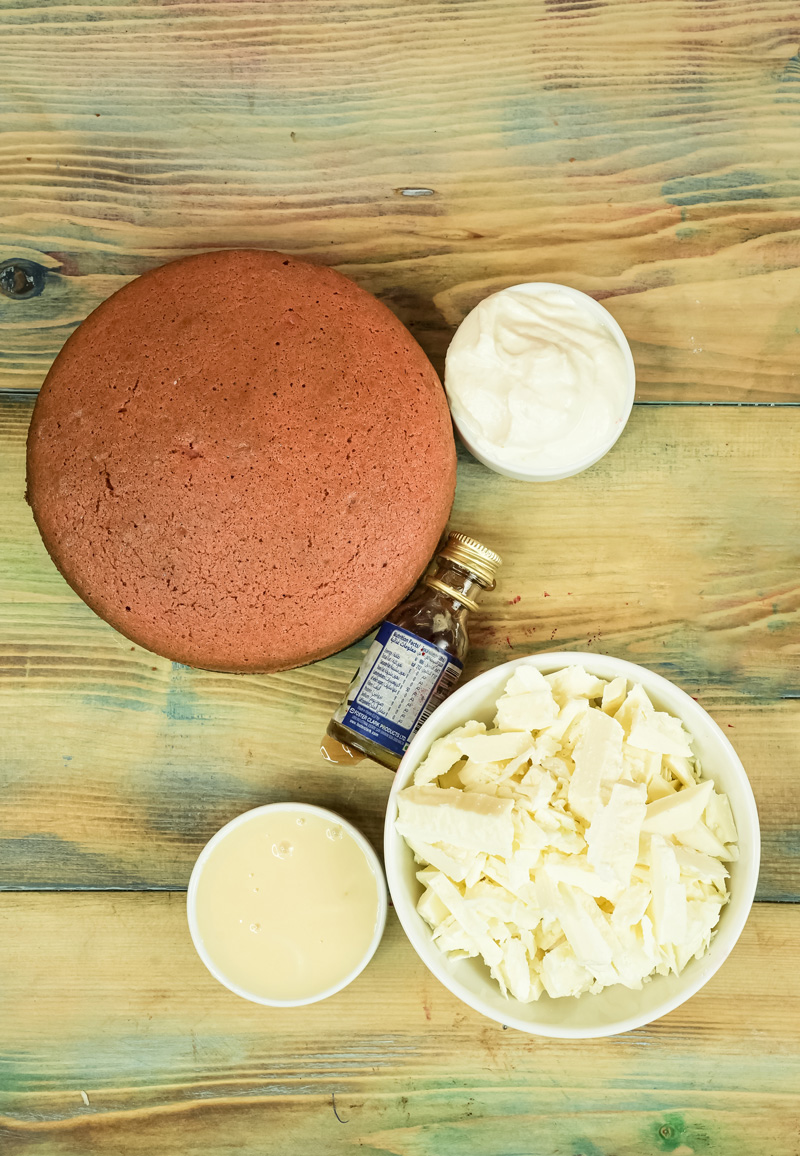
The All-Important Ingredients
You know what they say: great baking starts with great ingredients. Let’s talk about what we’re using.
For the Amazing Strawberry Cake:
The flavor for these cake pops starts with a really, really good cake. We’re using real strawberry puree and buttermilk to make it super tender and moist.
A quick tip: Try to have your eggs and buttermilk at room temperature. It helps everything mix together smoothly, which is the key to a light cake. You can get eggs to room temp fast by just putting them in a bowl of warm water for 5-10 minutes.
Here’s what you’ll need:
- Unsalted Butter (softened): 150g
- Extra-fine Granulated Sugar: 290g
- Egg Whites (room temp): from 3 large eggs
- Vanilla Extract: 1 ½ tsp
- Cake Flour: 150g. Now, cake flour is the secret to a super soft cake. It has less protein than all-purpose flour. If you don’t have any, no sweat! You can make your own. For every 1 cup of all-purpose flour, just take out 2 tablespoons and put in 2 tablespoons of cornstarch. Sift it together, and you’re set!
- Baking Powder: 1 tsp
- Baking Soda: ½ tsp
- Salt: ¼ tsp
- Buttermilk or Plain Yogurt (room temp): 160ml
- Strawberry Puree: 60g. You can make this by just cooking down fresh or frozen strawberries until they’re nice and thick.
- Pink Food Coloring (optional): 1-2 drops
For the Binder and Coating:
- Cream Cheese: 115g of the full-fat, block-style kind. Trust me on this one. Please don’t use the whipped stuff in a tub. It has too much water and can make your cake pops greasy. The cream cheese adds the perfect tangy flavor to balance the sweetness.
- Candy Melts: 200g of pink or white candy melts are your best friend here. They melt easily and set up hard without any fuss. If you want to use high-quality white chocolate, you totally can. You might just need to add a teaspoon of coconut oil to get it thin enough for dipping.
- Crushed Freeze-Dried Strawberries: For sprinkling on top. This adds a pop of color and a huge burst of real strawberry flavor.
Let’s Bake! Your Step-by-Step Guide
Alright, time to get our hands a little dirty. I’ll break it all down for you.
Part 1: Making That Perfect Strawberry Cake
First up, get your oven preheating to 329°F (165°C). A slightly lower temp helps the cake bake flat, which is perfect for us. Line the bottom of your 8-inch cake pan with parchment paper, but don’t grease the sides. This helps the cake climb up the sides for a better rise.
In a medium bowl, sift together your cake flour, baking powder, baking soda, and salt. Don’t skip the sifting! It makes the cake much lighter.
Now, grab your stand mixer. Beat the softened butter and sugar on medium-high for a good 3 minutes, until it looks pale and fluffy. Turn the mixer to low, add the vanilla, and then add the egg whites, one at a time. Once they’re in, turn the speed up to high and let it go for a full 5 minutes. Seriously, set a timer for this. It might feel like a long time, but this step whips a ton of air into the batter, which is what makes the cake so light.
Turn the mixer back down to low. We’re going to alternate adding the dry ingredients and the buttermilk. Start with the dry, then wet, then dry, then wet, and end with the dry. Mix only until each part is just barely combined. If you over-mix here, your cake can get tough.
Last, gently fold in your strawberry puree and a drop of pink food coloring (if you’re using it) with a spatula.
Pour the batter into your pan and bake for about 25 minutes. It’s done when a toothpick stuck in the center comes out clean. Let the cake cool in the pan for about 10 minutes, then flip it onto a wire rack to cool completely.
And I mean completely.
I learned this the hard way once. I got impatient and tried to mix the cake crumbs when they were still a little warm. I ended up with a goopy, oily mess. Be patient! Go watch an episode of your favorite show or something. It’s worth the wait.
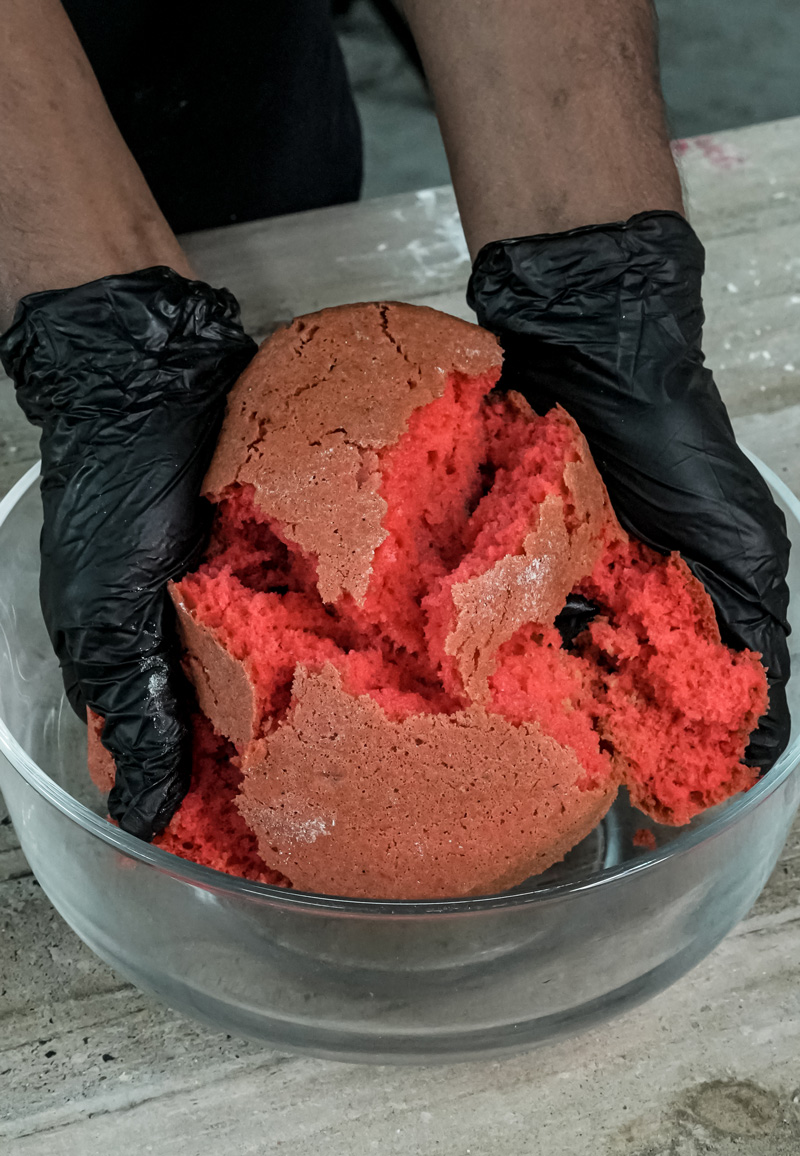
Part 2: Putting the Cake Pops Together
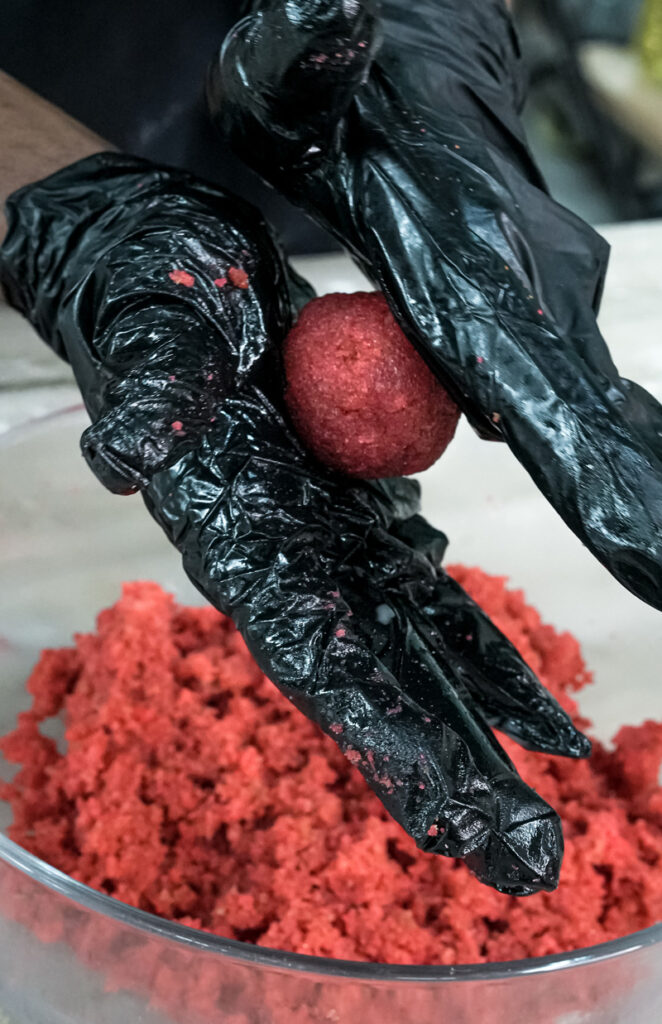
Once the cake is 100% cool, it’s time for the really fun part. Crumble the cake into a big bowl. Just use your hands and rub the cake between your fingers until you have fine crumbs with no big chunks.
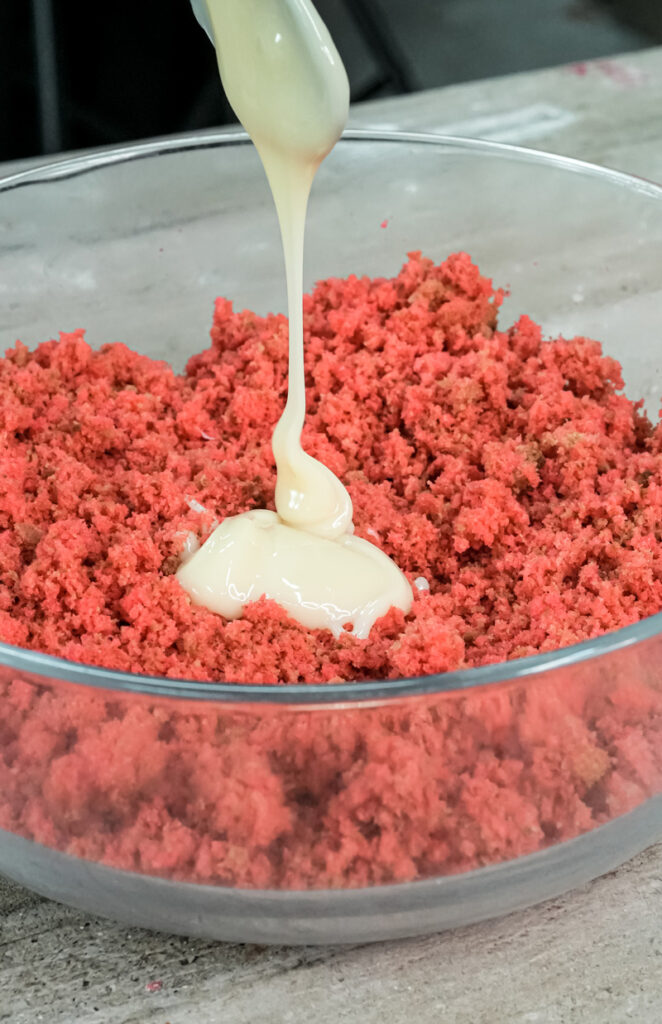
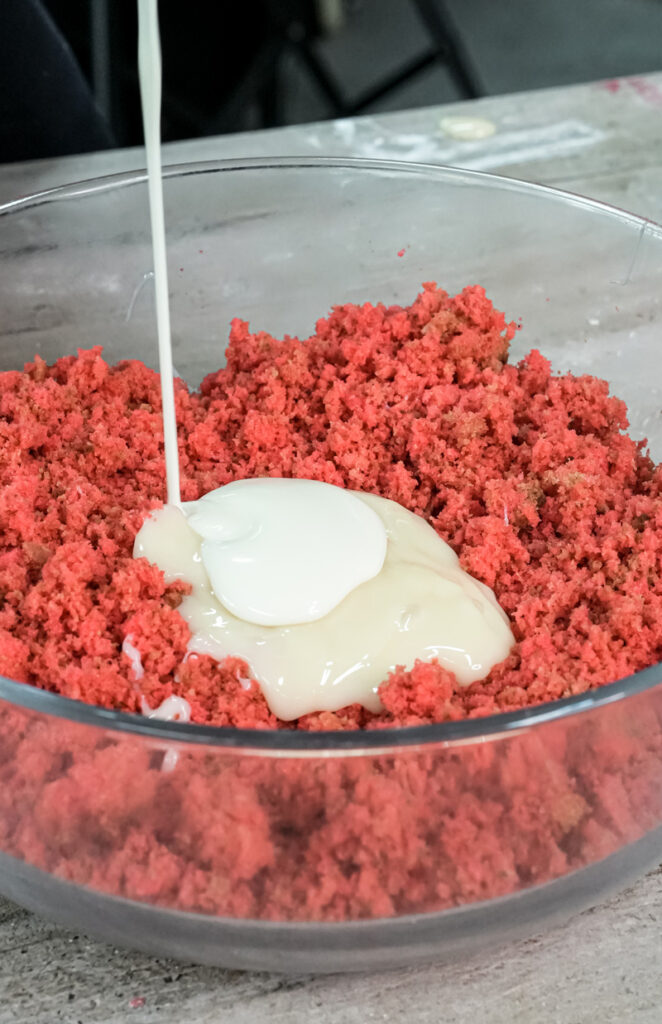
Now, add the cream cheese. Start with about half of it, and mix it in with your hands or a spoon. You’re going for a texture like Play-Doh—moist enough to roll into a ball, but not wet or sticky. Keep adding a little cream cheese at a time until you get there. This is a common spot to make a mistake. If you add too much, the cake pops will be oily and fall right off the sticks.
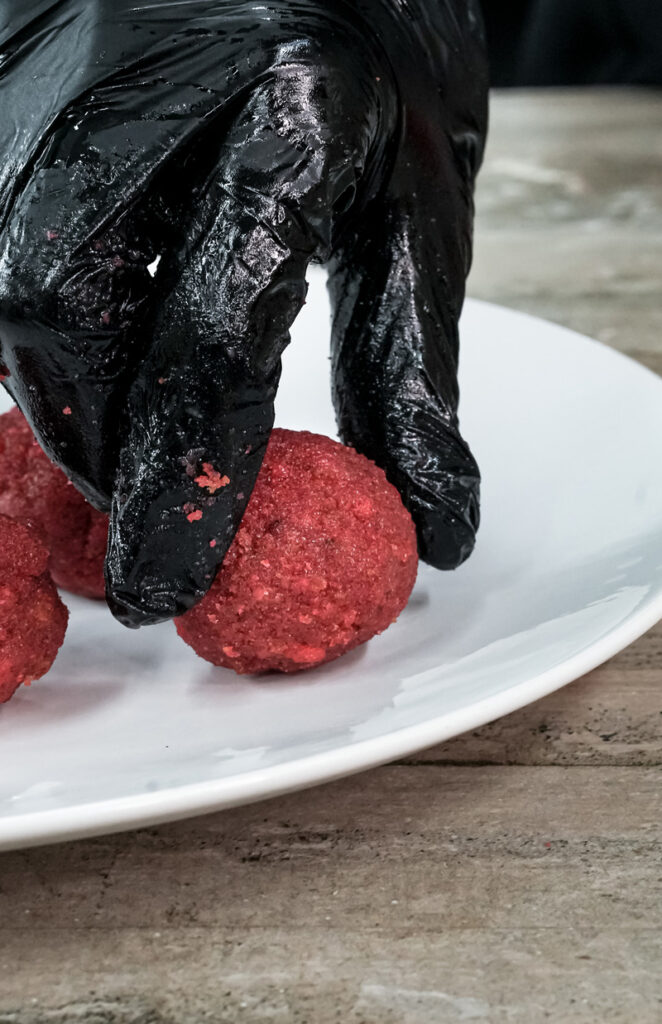
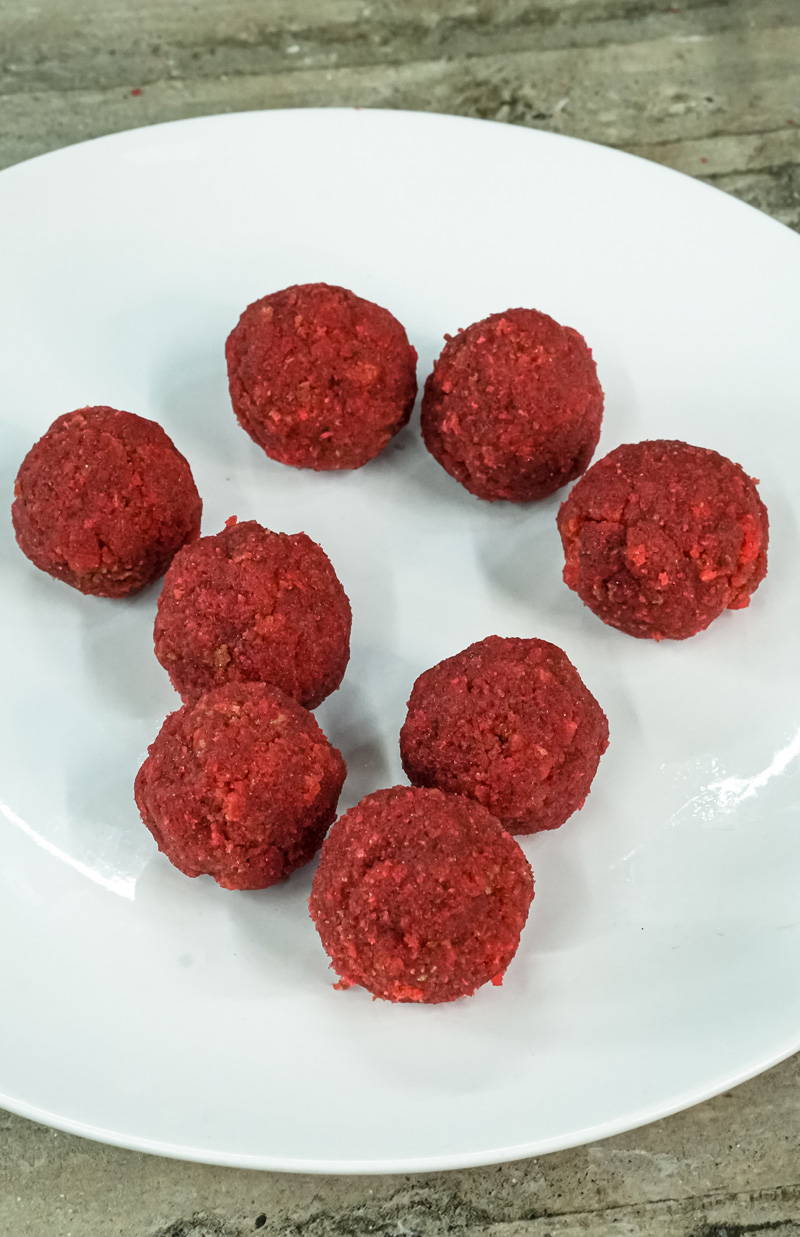
Use your small cookie scoop to make 20g balls. Roll each one between your palms until it’s nice and smooth. Put the finished cake balls on a baking sheet lined with parchment paper and stick them in the fridge for at least 30 minutes. Don’t skip the chilling!
Part 3: Dipping and Decorating
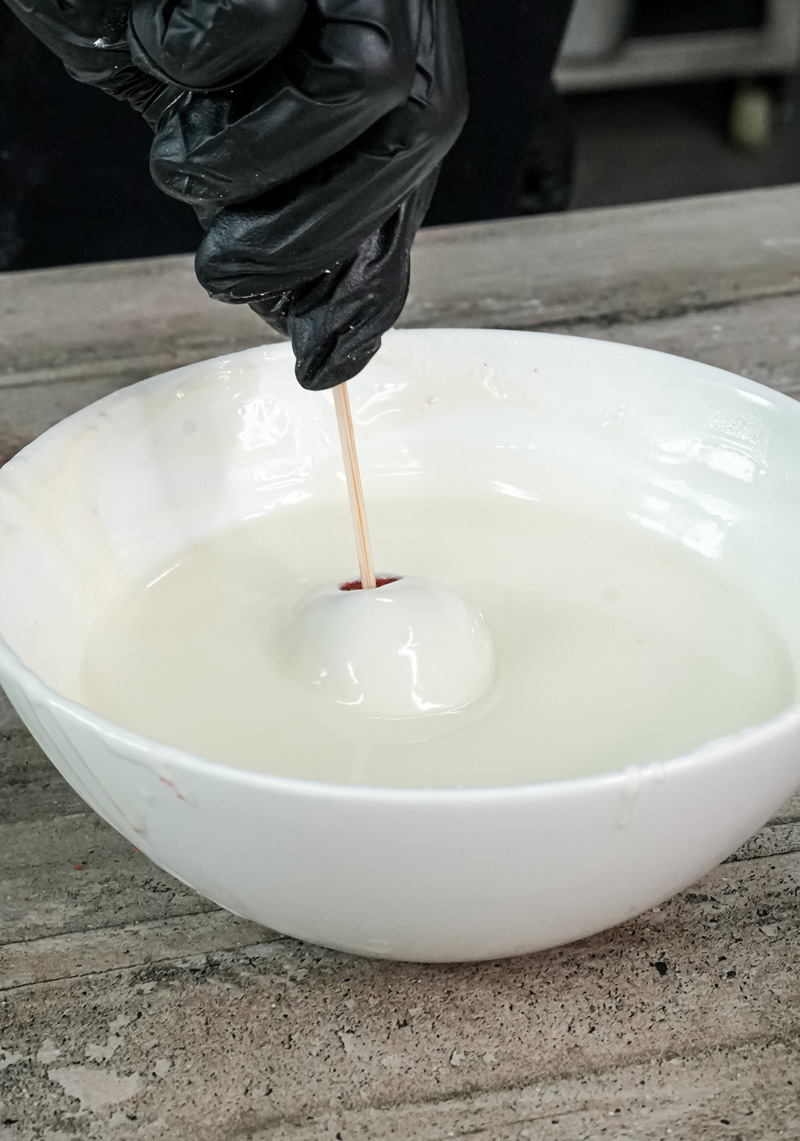
While the cake balls are chilling, melt your candy melts. Put them in a deep, microwave-safe bowl or a mug. A deeper container is way easier for dipping. Microwave for 30 seconds at a time, stirring after each one, until it’s totally smooth. Don’t let it get too hot, or the chocolate will get thick and clumpy.
Okay, grab your chilled cake balls. Dip about half an inch of a lollipop stick into the melted chocolate, then stick it into the center of a cake ball, about halfway through. The chocolate is like glue. Put them back in the fridge or freezer for 5-10 minutes to let the “glue” set. This is my number one trick to keep your cake pops from taking a sad dive into the chocolate!
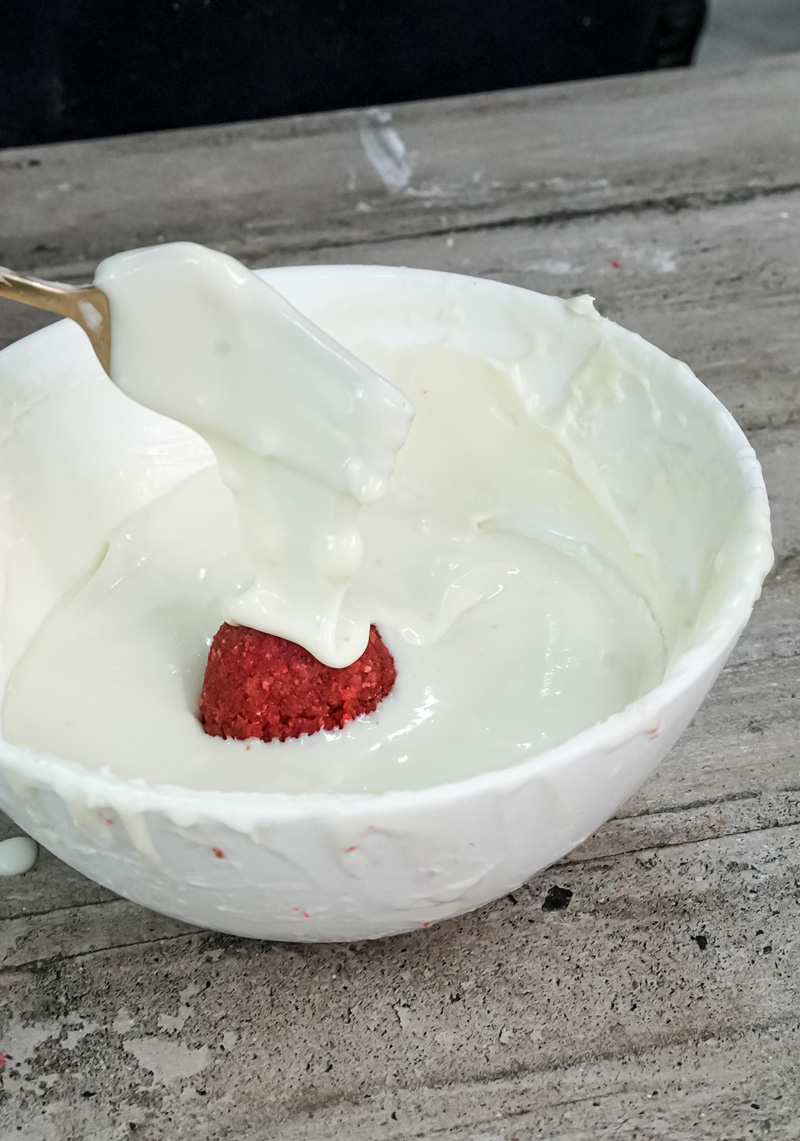
Time for the final dip. Hold the stick and dip a cake pop straight down into the melted chocolate until it’s covered. Don’t swirl it around. Just lift it straight out and let the extra chocolate drip off. You can tap your wrist gently to help it along.
Right away, before the coating sets, sprinkle on your crushed freeze-dried strawberries.
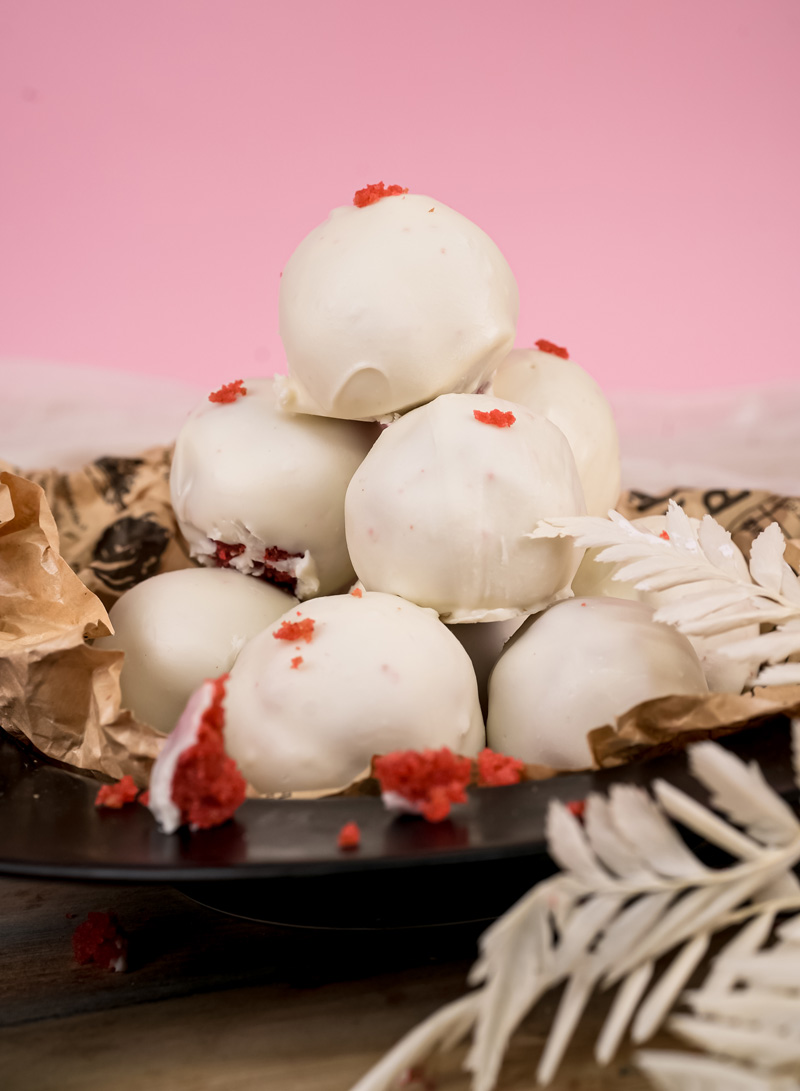
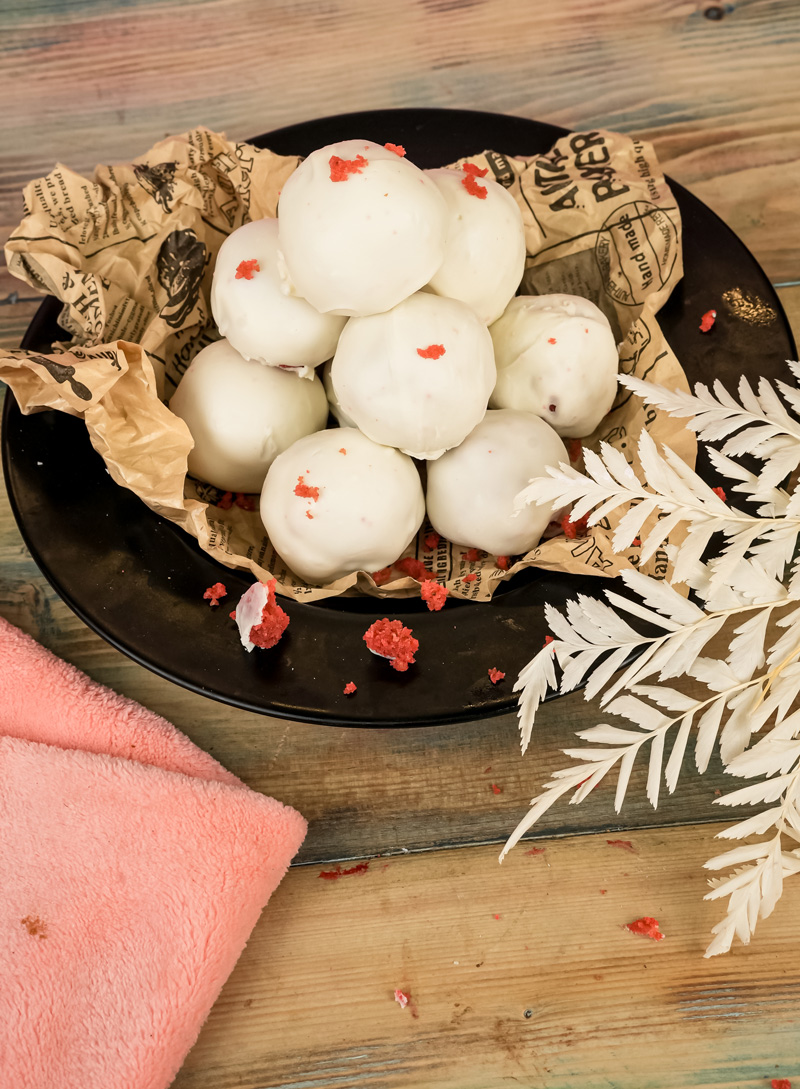
Place the finished pop in your stand to harden. Repeat with the rest of your cake balls, and look at what you made!
Get Creative with It!
This recipe is amazing as is, but it’s also super fun to customize.
- Flavor Twists: Add the zest of one lemon to the cake batter for a yummy strawberry-lemonade vibe. Or try dipping them in dark chocolate for a richer flavor.
- Holiday Fun: Use different colored candy melts and sprinkles for any occasion! Red and green for Christmas, pastels for Easter, you get the idea.
- Dietary Swaps: For a gluten-free version, just use a good 1-to-1 gluten-free baking flour instead of cake flour. For a vegan version, use vegan block butter, plant-based buttermilk (like soy milk with a little lemon juice), an egg replacer, vegan cream cheese, and vegan white chocolate.
Storing Your Beautiful Creations
You did it! Now, how do you store these little works of art?
- Serving: A cake pop stand is a classic look. You can also just arrange them on a platter. They’re perfect on their own or with a cup of coffee.
- On the Counter: Finished cake pops are fine in an airtight container at room temp for up to 2 days.
- In the Fridge: For longer storage, keep them in an airtight container in the fridge for up to a week.
- In the Freezer: You can freeze the uncoated cake balls for up to 3 months. Just thaw them in the fridge before dipping. You can also freeze the finished cake pops for up to a month! To thaw, let them sit in the fridge overnight. This keeps the chocolate shell from getting sweaty.
I really hope you have fun with this recipe. Happy baking!
PrintStrawberry Cake Pops

Forget the overly sweet, store-bought versions. This from-scratch recipe creates perfectly moist and flavorful strawberry cake pops with a tangy cream cheese binder, all wrapped in a crisp chocolate shell. They are a fun project for any celebration and taste absolutely divine!
- Prep Time: 45 minutes
- Cook Time: 25 minutes
- Total Time: 3 hours 10 minutes
- Yield: 20 cake pops 1x
- Category: Dessert
- Cuisine: American
Ingredients
For the Strawberry Cake:
- 150g Cake Flour
- 150g Unsalted Butter, softened
- 290g Granulated Sugar
- 3 large Egg Whites, room temperature
- 1 ½ tsp Vanilla Extract
- 1 tsp Baking Powder
- ½ tsp Baking Soda
- ¼ tsp Salt
- 160ml Buttermilk, room temperature
- 60g Strawberry Puree
- 1–2 drops Pink Food Coloring (optional)
For Assembly & Coating:
- 115g Block-Style Cream Cheese, softened
- 200g Pink or White Candy Melts
- Crushed Freeze-Dried Strawberries, for garnish
Instructions
- Prep for Baking: Preheat your oven to 329°F (165°C). Line the bottom of an 8-inch round cake pan with parchment paper (do not grease the sides). In a medium bowl, sift together the cake flour, baking powder, baking soda, and salt.
- Make the Cake Batter: In a stand mixer, cream the butter and sugar on medium-high for 3 minutes until pale and fluffy. Add the vanilla. On low speed, add the egg whites one at a time, then whip on high for 5 minutes until airy.
- Combine & Bake: Reduce mixer speed to low. Alternate adding the dry ingredients and the buttermilk, beginning and ending with the dry mixture. Mix only until just combined. Gently fold in the strawberry puree and food coloring. Pour into the pan and bake for 25 minutes, or until a toothpick comes out clean.
- Cool Completely: Let the cake cool in the pan for 10 minutes before flipping it onto a wire rack to cool completely. This is crucial for the right texture.
- Assemble the Pops: Once cool, crumble the cake into fine crumbs in a large bowl. Add half the cream cheese and mix with your hands until it forms a dough-like consistency (similar to Play-Doh). Add more cream cheese sparingly if needed—be careful not to make the mixture too wet.
- Roll & Chill: Use a small cookie scoop to portion 20g balls. Roll them until smooth, place on a parchment-lined baking sheet, and chill in the fridge for at least 30 minutes.
- Melt Coating & Prep Sticks: Melt the candy melts in a deep, microwave-safe bowl in 30-second intervals, stirring until smooth. Dip about ½ inch of a lollipop stick into the melted coating, then insert it halfway into a chilled cake ball. Return the pops to the fridge for 10 minutes to set the “glue.”
- Dip & Decorate: Holding the stick, dip a cake pop straight down into the coating until fully submerged. Lift it out, allowing excess to drip off. Immediately add your strawberry sprinkles before the coating hardens. Place the finished pop upright in a stand to dry completely.
Notes
- Tips & Tricks: For the best results, use room temperature eggs and buttermilk. Don’t over-mix the batter after adding the flour. The trick to preventing cake pops from falling off the stick is to use the melted coating as a “glue” and let it set before dipping the whole pop.
- Serving Suggestions: Display your beautiful cake pops upright in a cake pop stand, or arrange them on a platter for a party.
- Storage Instructions: Store finished cake pops in an airtight container. They will last for up to 2 days at room temperature, up to a week in the refrigerator, or up to a month in the freezer. To thaw frozen pops, let them sit in the refrigerator overnight to prevent condensation on the chocolate shell.