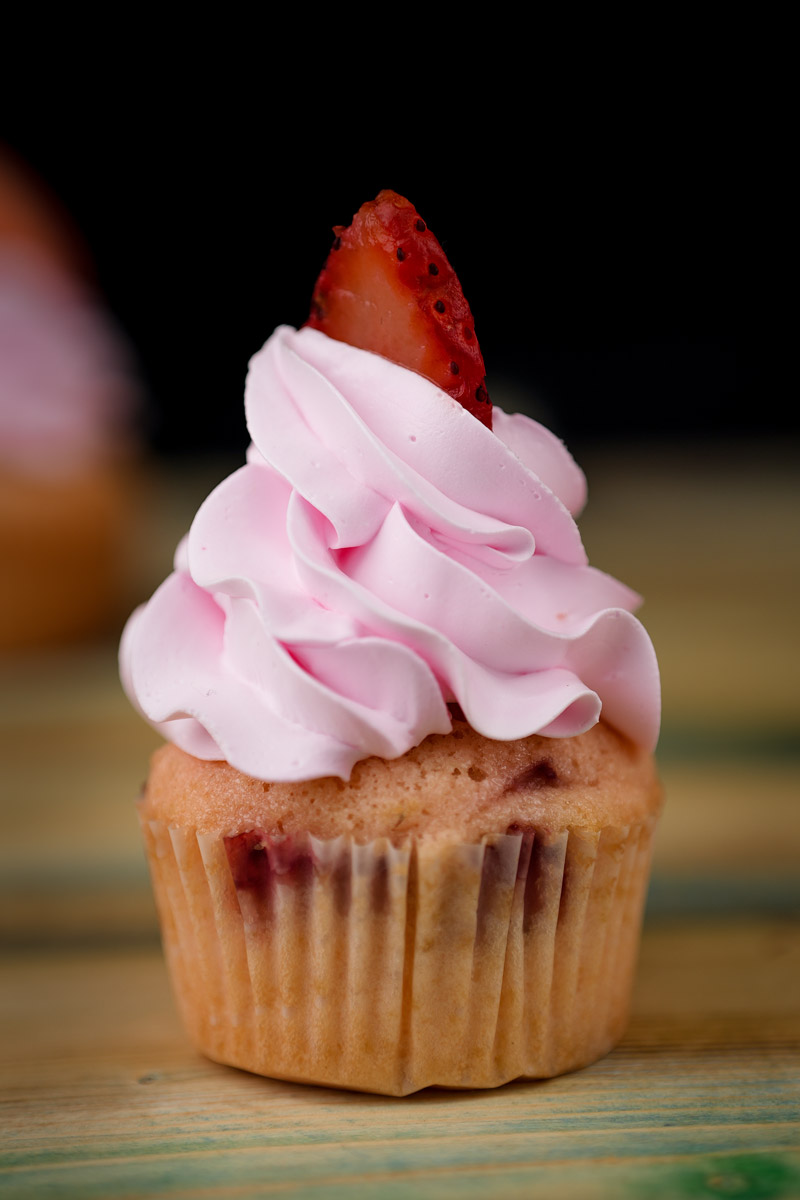
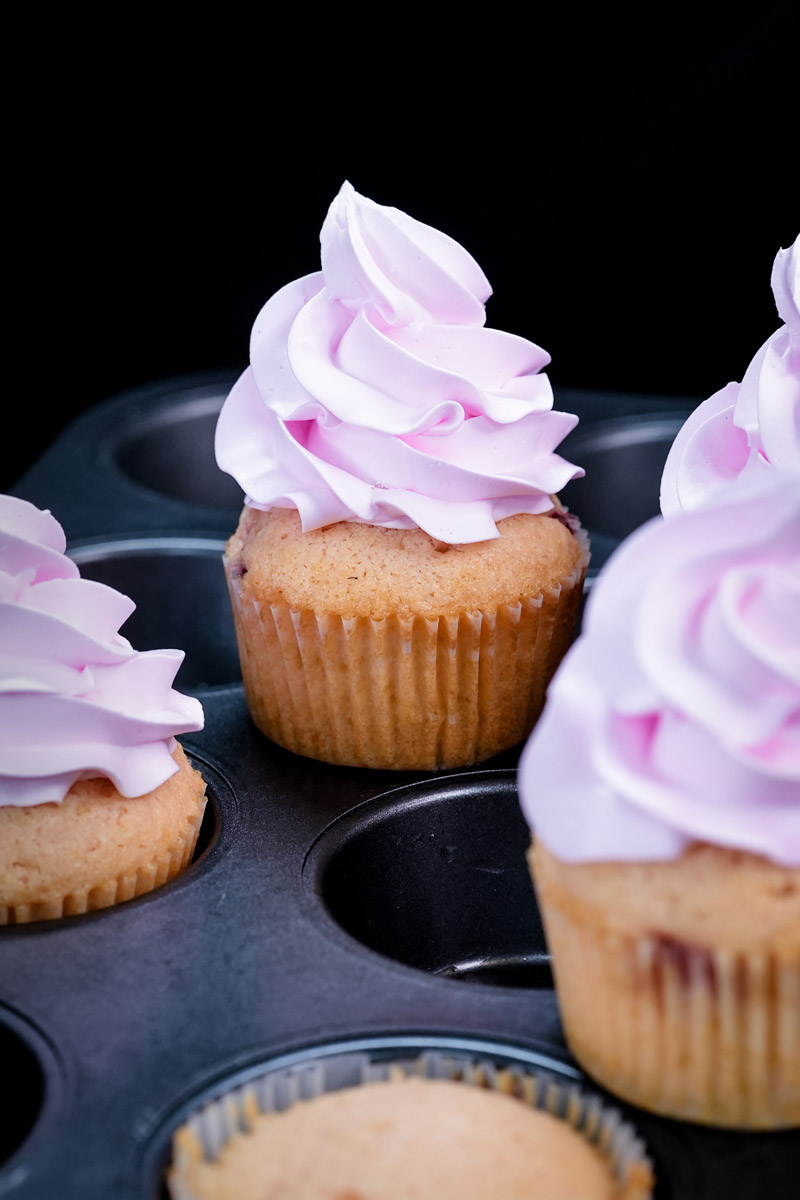
Hey everyone! Ready to bake something really cheerful? Let’s talk strawberry cupcakes.
Seriously, just saying “strawberry cupcakes” makes me think of warm days and happy times. So good.
Now, lots of recipes out there get pretty fancy. Fresh strawberry sauces, complicated frostings… sometimes you just want something easy. Something quick that still tastes like pure strawberry yumminess. Right?
That’s exactly what this recipe is all about.
It reminds me of those simple, old-school bakes. Easy peasy, but big on flavour. We’re using strawberry essence here – it’s like bottled strawberry happiness! It gives that bright, fun strawberry taste, kind of like strawberry candy or a classic milkshake. Honestly, it makes these easy strawberry cupcakes super simple to whip up.
These aren’t about capturing that subtle fresh berry taste. Nope. These are about fun, pink, tasty cupcakes you can make in a flash. Perfect if you’re new to baking, baking with kids, or just really need a sweet treat right now.
Think of them as your secret weapon for adding a pop of pink to any party. Or just a lovely little bite with your afternoon cuppa.
Alright, aprons on? Let’s do this!

What You’re Getting Into: The Quick Look
Here’s the lowdown on making these little gems:
- Getting ready: Only takes about 10-15 minutes. Seriously fast!
- Baking time: Another quick 10-15 minutes in the oven. Boom.
- How many: Makes about 5 or 6 regular-sized cupcakes. Just right for a small family or, you know, just for you!
- Need more? Easy! Just double everything. I even made a little chart for you below.
- Hard or easy? Totally easy! Beginners, this one’s for you.
- Stuff you’ll need:
- A regular muffin tin (the 6-cup kind)
- Cupcake liners (paper ones are fine!)
- Two bowls (one medium, one small-ish)
- An electric mixer helps a lot. Handheld or stand mixer, both work. Or, a whisk and some serious arm power!
- A rubber spatula or wooden spoon
- Measuring cups and spoons
- A sifter (or a fine mesh strainer)
- A wire rack for cooling the cupcakes (super important!)
- Making ahead? The batter is best baked right away. But! You can bake the cupcakes (without frosting) a day early. Frosting can often be made ahead too.
Going Bigger: Doubling the Fun
| Ingredient | For 5-6 Cupcakes | For 10-12 Cupcakes |
|---|---|---|
| Butter | 125g | 250g |
| Sugar | 90g | 180g |
| Egg | 1 | 2 |
| Strawberry Essence | 1 tsp | 2 tsp |
| Pink Colour | 1/2 tsp | 1 tsp |
| All-Purpose Flour | 80g | 160g |
| Baking Powder | 1 tsp | 2 tsp |
| Baking Soda | 1/4 tsp | 1/2 tsp |
(Quick tip: Baking a double batch might take an extra minute or two in the oven, so keep an eye out!)
What Goes In: Your Tasty Ingredients!
Okay, ingredient time! Nothing too crazy here, which is nice.
First up: 125 grams of butter. I like using unsalted butter so I can control the salt, but salted is fine too (just skip any extra salt later). Make sure it’s soft, like, room temperature soft. Super important for getting it creamy with the sugar!
Speaking of sugar, you’ll need 90 grams of regular granulated sugar. Sweetness, obviously, but it also helps make the cupcakes nice and tender.
Then, one large egg. Room temperature again, please! I know, I know, but it really does mix in better. Eggs hold things together and make the cupcakes richer.
For that strawberry punch, grab 1 teaspoon of strawberry essence. You’ll find it near the vanilla extract in the baking aisle. It gives a strong, yummy strawberry flavour every time. Want that pretty pink look? 1/2 teaspoon of pink food colour (liquid or gel) will do it. Add more or less depending on how pink you want to go!
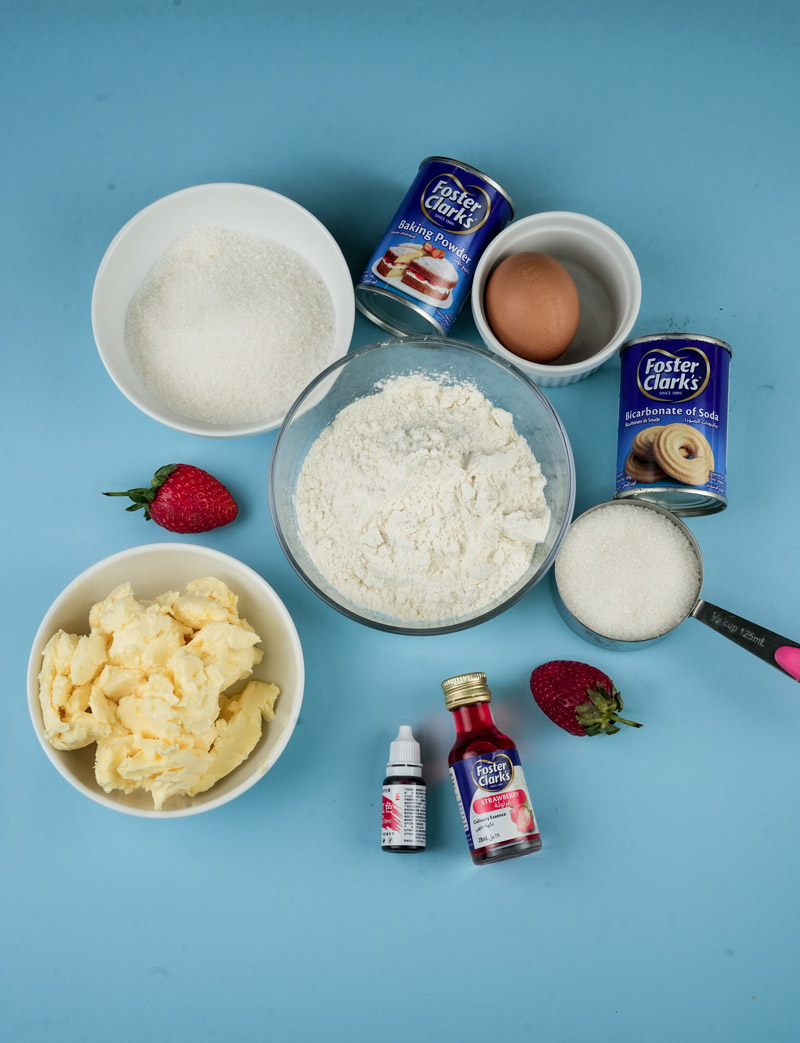
Now for the dry stuff. We need 80 grams of all-purpose flour. You might notice there’s quite a bit of butter compared to the flour. What does that mean? It means these cupcakes will be rich, moist, and really tender. Yum!
We also need help making them rise! That’s where 1 teaspoon of baking powder and 1/4 teaspoon of baking soda come in. They’re like the magic lift-off crew for your cupcakes. If you used unsalted butter, maybe add a tiny pinch of salt (like 1/8 tsp) – salt just makes everything taste better.
Why Room Temperature Stuff Matters: Seriously, don’t skip softening the butter and letting the egg warm up a bit. Cold butter won’t cream properly, and a cold egg can make the batter curdle. Just leave them out on the counter for maybe 30 minutes before you start. Easy fix!
Sifting is Good! Another quick tip: sift your flour, baking powder, and baking soda together. It gets rid of lumps and adds a little air. Makes for lighter cupcakes! Just whisking them together in a bowl works too if you don’t have a sifter.
Swaps and Ideas:
- Butter: Margarine can work, but butter tastes way better. If you use salted butter, just don’t add any extra salt.
- Sugar: If you have caster sugar (it’s finer), great! But regular sugar is totally fine.
- Strawberry Essence: Can’t find it? Use vanilla extract instead! You’ll just have delicious vanilla cupcakes. Still a win!
- Food Colour: Totally optional. Skip it if you want!
- Egg: This recipe is pretty specific with its wet-to-dry ratio. Egg substitutes might work, but I haven’t tested them here, it could get tricky.
Okay, Let’s Bake! Step-by-Step Fun
Ready to turn that list into actual cupcakes? Let’s go!
Oven On! Tins Ready! First, crank up your oven to 180°C (that’s 350°F). While it’s heating, pop those paper liners into your muffin tin. 5 or 6 should do it. Keeps things clean!
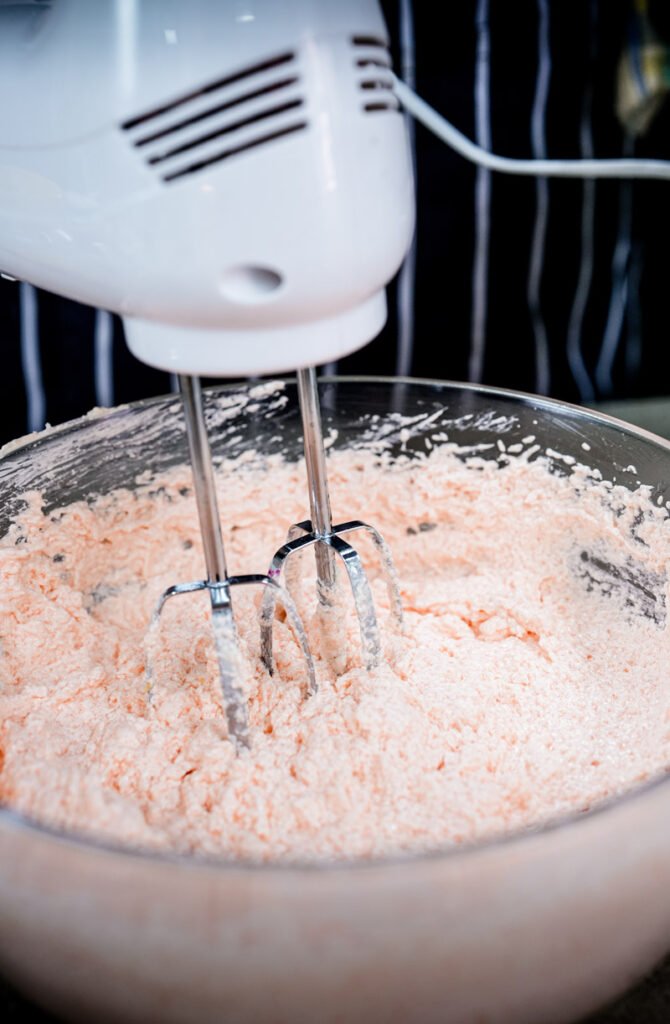
Creamy Dreamy: Put your soft butter and the sugar into your medium bowl. Get your electric mixer (or that whisk!) and beat them together. Keep going until it looks pale and fluffy, like a cloud. This takes maybe 3-4 minutes with a mixer. Don’t forget to scrape the sides of the bowl so everything gets mixed in! This step beats air into the batter, making your cupcakes tender. So important.

Wet Stuff In: Add your room temperature egg right into the butter mixture. Pour in the strawberry essence and the pink food colour now too. Mix again, but just until the egg disappears and it looks smooth and pink. It might look a little weird or separated for a second, that’s okay, it’ll come together. Don’t go crazy mixing here.
Dry Team Assembled: In your other bowl, put the flour, baking powder, and baking soda. Give them a quick whisk. Or even better, sift them right over the wet ingredients bowl. Fancy! And good for texture.
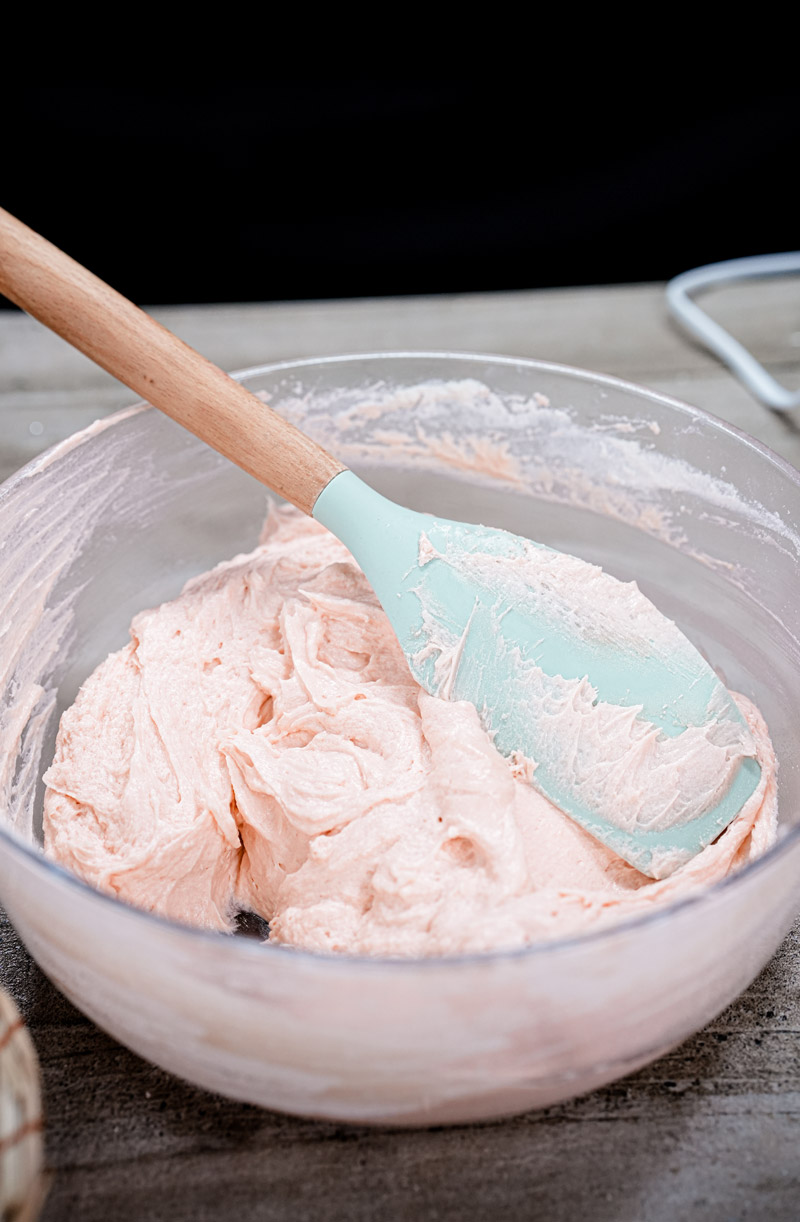
Mix It Gently! Okay, dump the dry stuff into the wet stuff. Now, listen closely: mix gently! Use your mixer on the lowest speed, or just fold it all together with your spatula. Stop mixing the second you don’t see any more white flour streaks. Seriously. Heads Up: If you mix too much now, your cupcakes will be tough. We want tender, melt-in-your-mouth cupcakes, not chewy hockey pucks! The batter will look pretty thick because there isn’t milk or water – that’s totally normal for this recipe.
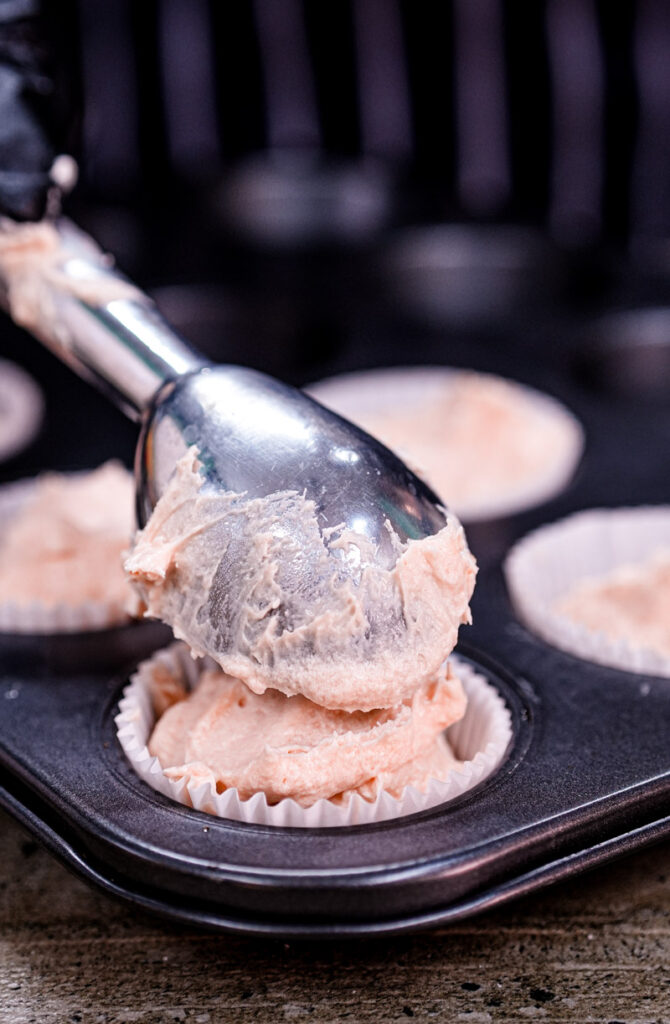
Fill ‘Em Up: Spoon that lovely pink batter into the liners. Try to fill them evenly, about two-thirds full. An ice cream scoop is actually amazing for this! Leave some room for them to rise.
Bake Time! Carefully put the tin in your hot oven. Bake for 10 to 15 minutes. It’s a quick bake, so stay close! How do you know they’re done? The tops will look set, maybe a little golden brown around the edges. Gently poke one – it should spring back. Or do the toothpick test: stick one in the middle. If it comes out clean (no gooey batter), they’re perfect!
Cool Down is Crucial: Take the tin out of the oven (use oven mitts!). Let the cupcakes sit in the tin for just a couple of minutes. Then, move them carefully to a wire rack to cool down completely. Why? Leaving them in the hot tin too long makes the bottoms steamy and sad, and the liners might peel off. Plus, you absolutely cannot frost warm cupcakes. Trust me on this one. Hot cupcake + frosting = a sticky, melted mess. Patience, young baker!
Make Them Your Own: Fun Twists!
These easy strawberry cupcakes are awesome just as they are. But hey, why not play around?
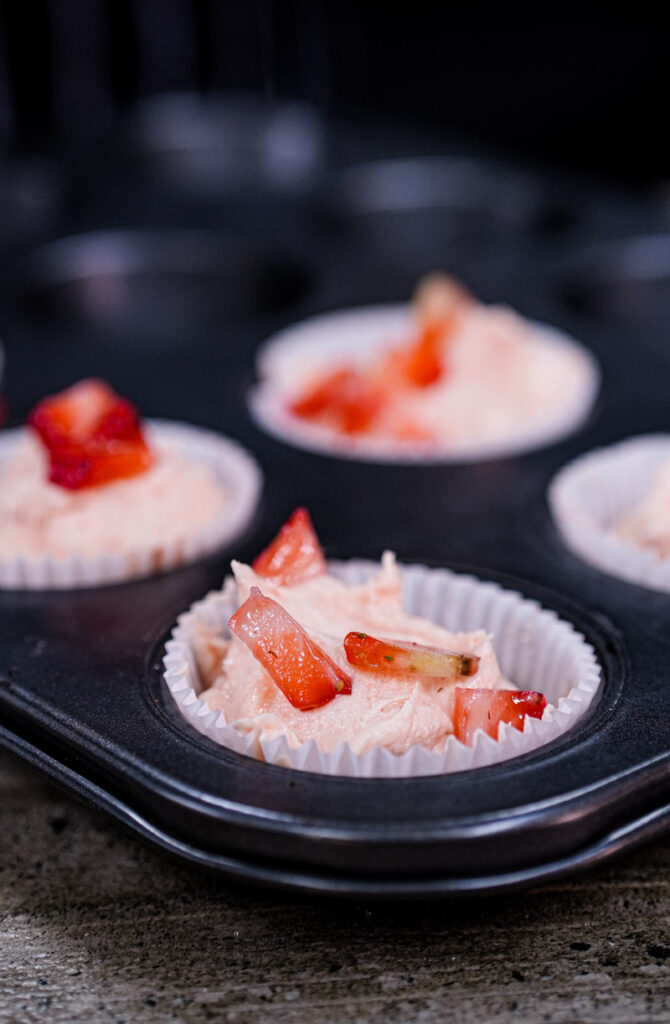
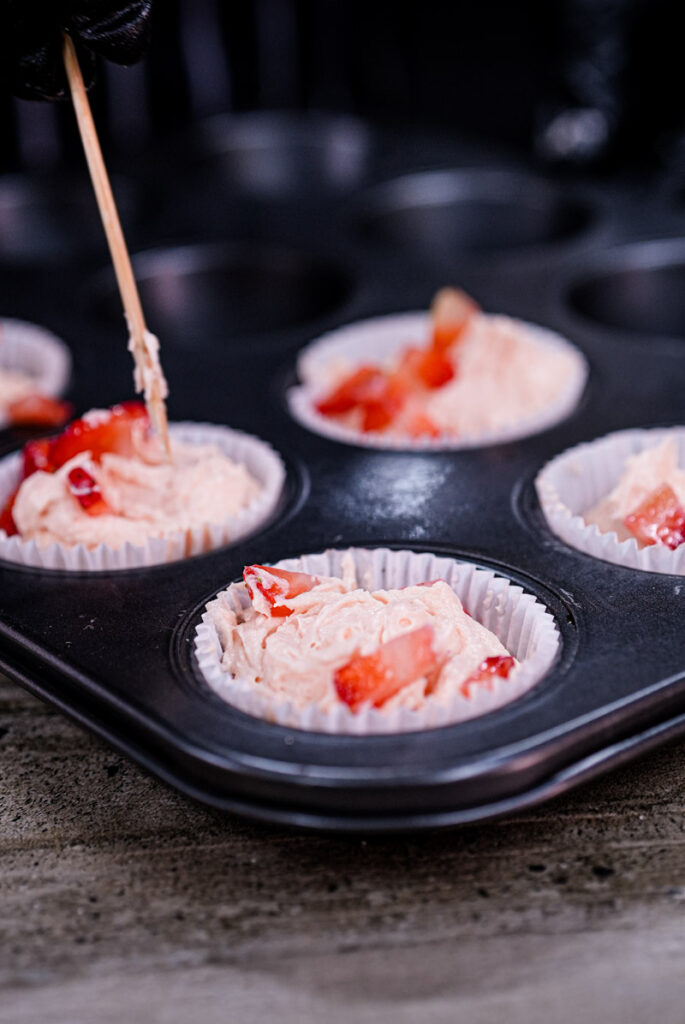
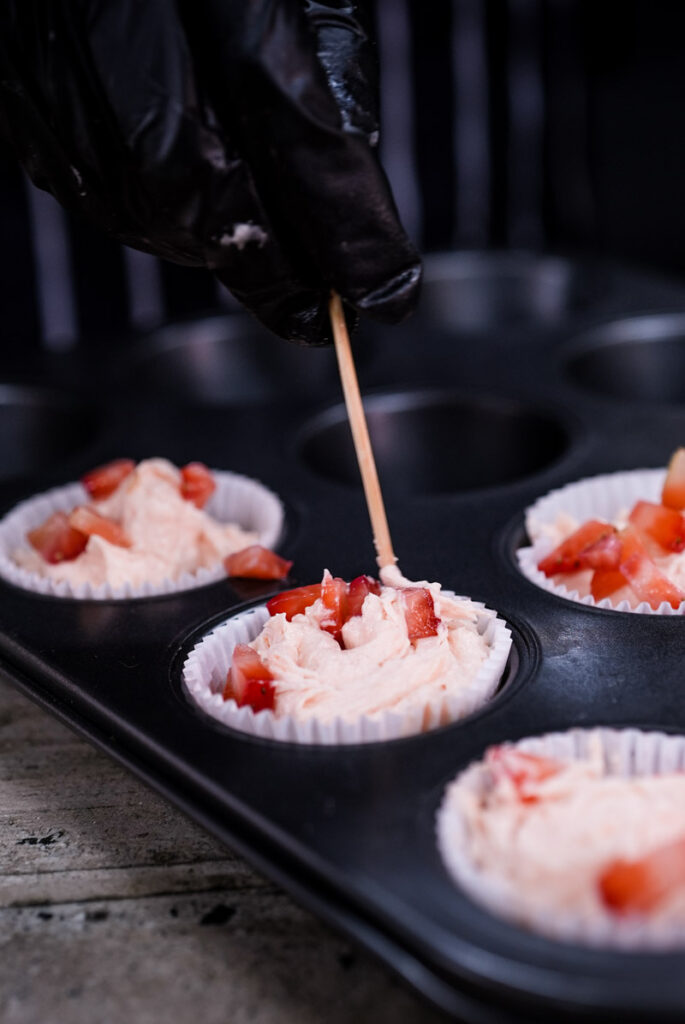
- Real Strawberry Bits: Want some actual fruit in there? Okay! Chop about 1/4 cup of fresh strawberries really small. Gently fold them into the batter right at the very end (after step 5). Just know this adds moisture, so they might need an extra minute or two to bake. Or! You could try adding a tablespoon or two of thick strawberry jam or puree instead of the essence, but that will change the batter, so it’s a bit of an experiment.
- Frosting Time! This recipe leaves the frosting up to you. So many choices!
- Simple Vanilla: Can’t go wrong. Butter, powdered sugar, bit of milk, vanilla extract. Classic.
- Cream Cheese Frosting: That tangy flavour is so good with strawberry. Cream cheese, butter, powdered sugar, vanilla. Yes, please.
- Strawberry Frosting Power! Want Strawberry Cupcakes with Strawberry Buttercream? Oh yeah! Add strawberry jam or, even better, freeze-dried strawberry powder to vanilla buttercream. Intense flavour! You could even mash some fresh strawberries into a simple buttercream.
- Something Lighter? How about a tangy frosting made with strained yogurt (like Labneh), honey, and vanilla? Less sweet, quite interesting!
- Flavour Fun: Add a little lemon zest (maybe 1/2 tsp) when you add the egg. Strawberry + Lemon = Sunshine! A tiny pinch of cardamom? Unexpected, but could be amazing.
- Diet Needs?
- Gluten-Free: You could try a good gluten-free flour blend that swaps 1-for-1 with regular flour. The texture might be a little different, though.
- Vegan: Hmm, this one’s tricky. It really relies on the butter and egg. Swapping them would take some serious experimenting because of the recipe’s balance. Plant-based butter and an egg replacer might work, but results could be very different.
Serving and Saving Your Masterpieces
You did it! You have adorable pink cupcakes! Now what?
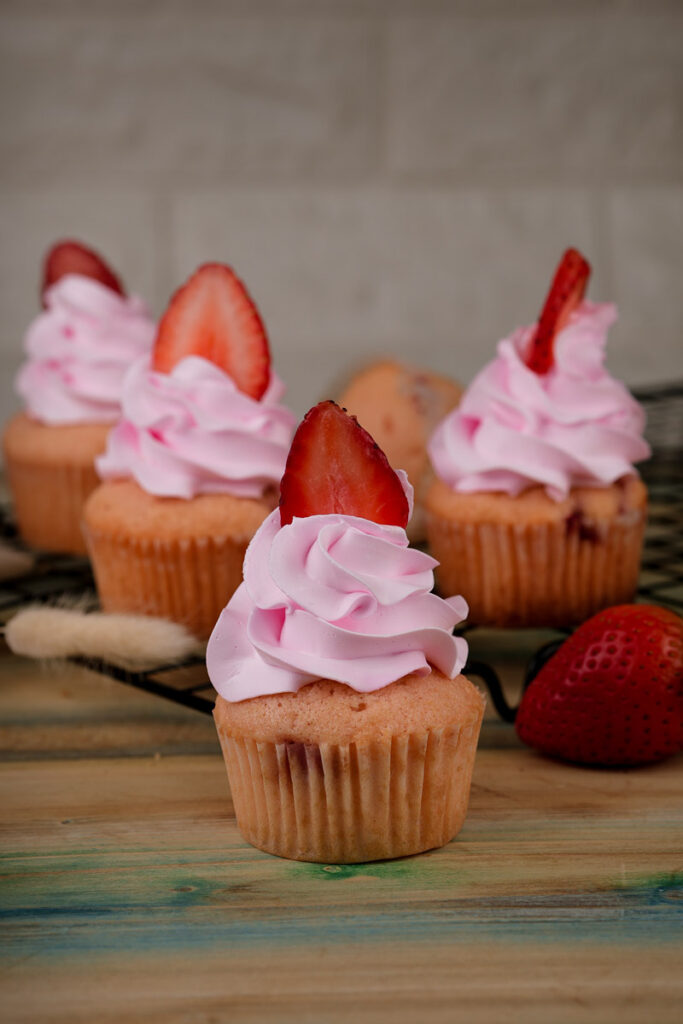
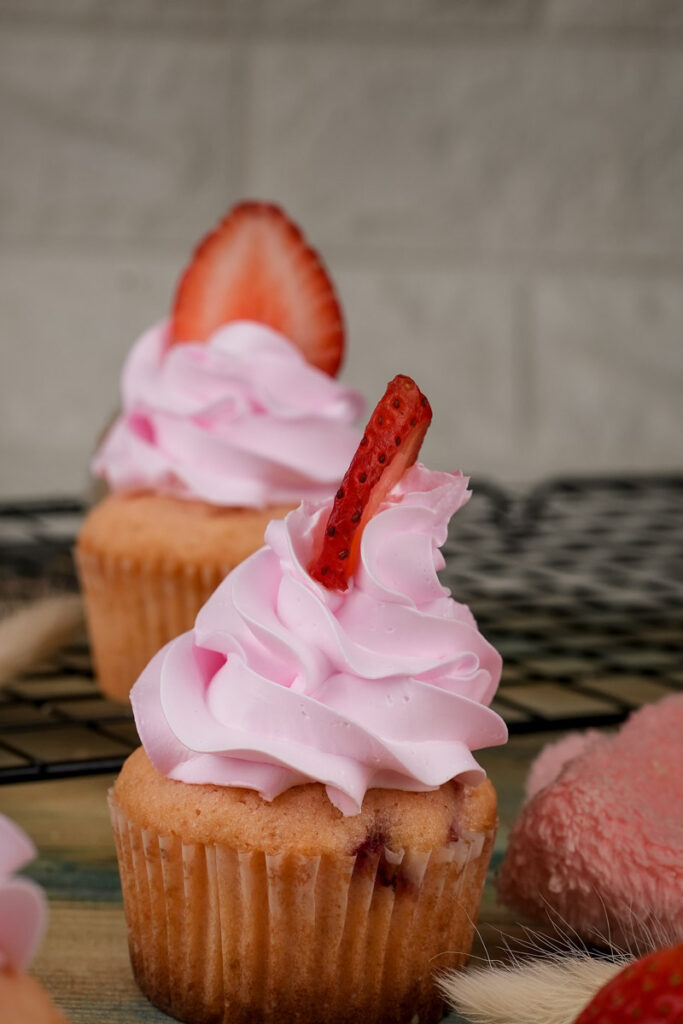
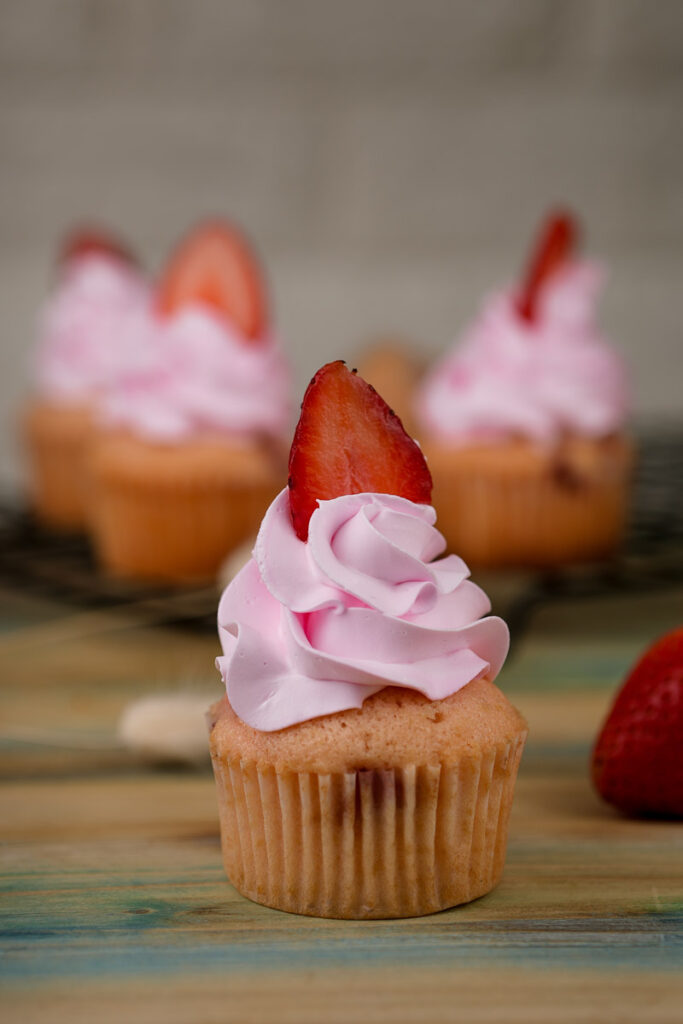
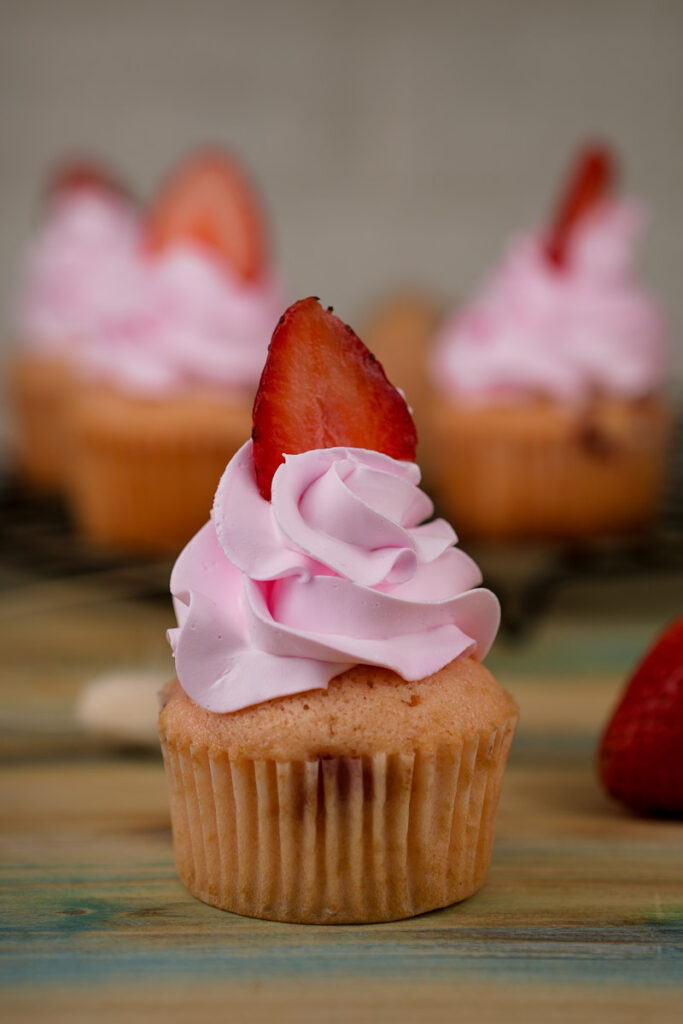
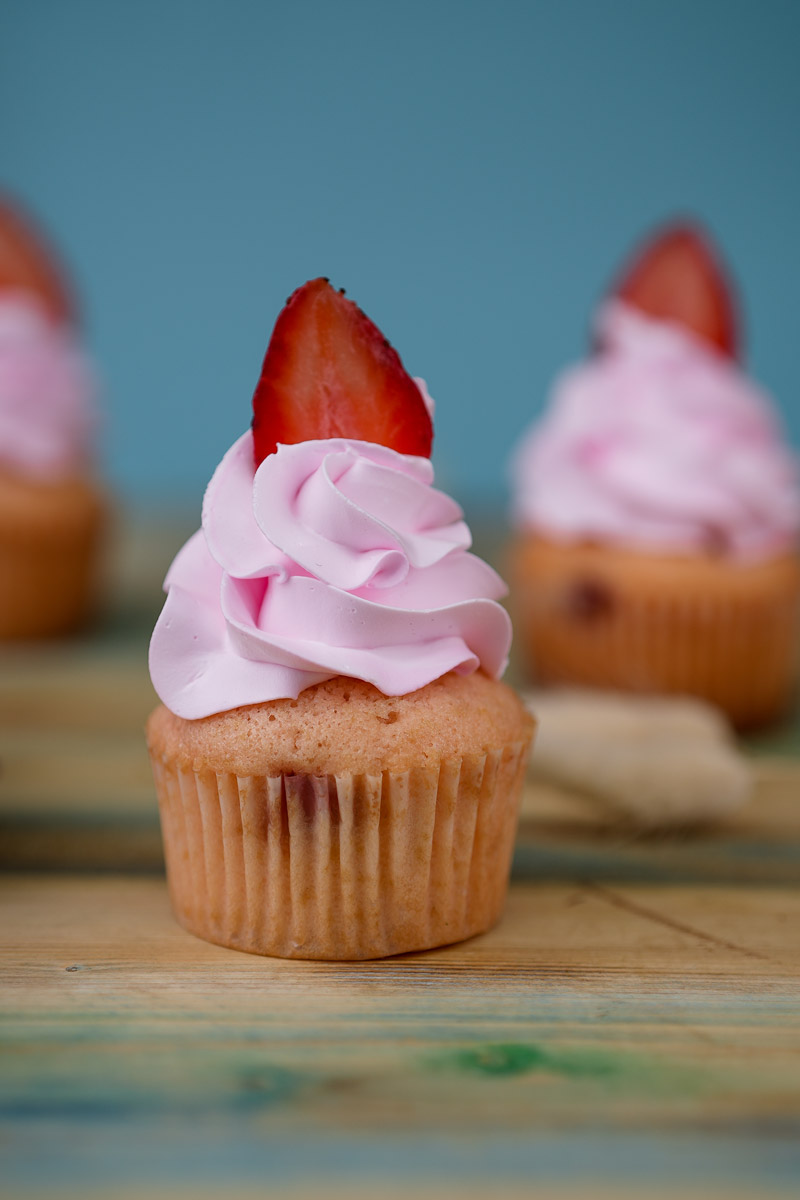
- How to Serve: Honestly? They’re great plain. Perfect with tea or coffee. If you frosted them, a little swirl looks lovely. Maybe pop half a fresh strawberry on top? Or some pink sprinkles! They look super cute on a party table.
- Keeping Them Fresh:
- No Frosting Yet: Once they are totally cool, keep them in an airtight container on the counter. They’ll be good for 2-3 days.
- Frosted: If you used buttercream or cream cheese frosting, they need the fridge. Airtight container, up to 3-4 days. Yogurt frosting? Definitely fridge it.
- Fridge to Fab: Cold cupcakes can be a bit hard. Take them out of the fridge about 30 minutes before you want to eat them. They taste way better at room temp.
- Freeze ‘Em! Yes, they freeze really well!
- Best Way: Freeze them before frosting. Let them cool completely. Pop them on a tray in the freezer for an hour until solid. Then wrap each one in plastic wrap and put them in a freezer bag or container. Good for 2-3 months!
- Ready to Eat: Let them thaw on the counter (still wrapped at first so they don’t get sticky) for a few hours. Then frost and enjoy!
- Plan Ahead: Bake the cupcakes the day before. Store them (unfrosted!) in that airtight container. Make your frosting and keep it separate (in the fridge if needed). Frost them just before you serve them. Easy!
And there you have it! A super simple, super cheerful recipe for strawberry cupcakes. Have fun baking, and even more fun eating them! Happy Baking!
PrintStrawberry Cupcakes

Whip up these super simple and cheerful pink strawberry cupcakes in no time! They use strawberry essence for that classic, fun flavour. Perfect for beginners or a quick sweet treat!
- Prep Time: 15 mins
- Cook Time: 15 mins
- Total Time: 30 mins
- Yield: 5–6 cupcakes 1x
- Category: Dessert
- Cuisine: American / Baking
Ingredients
- 125g Butter, softened (unsalted preferred)
- 90g Granulated Sugar
- 1 large Egg, room temperature
- 1 tsp Strawberry Essence
- 1/2 tsp Pink Food Colour (liquid or gel)
- 80g All-Purpose Flour
- 1 tsp Baking Powder
- 1/4 tsp Baking Soda
- (Optional: Tiny pinch of salt if using unsalted butter)
Instructions
- Get Ready: Heat your oven to 180°C (350°F). Pop 5-6 paper liners in your muffin tin.
- Cream: Beat the soft butter and sugar together with an electric mixer until pale and fluffy (about 3-4 mins). Scrape the bowl!
- Add Wet Stuff: Beat in the room temp egg, strawberry essence, and pink food colour until just combined.
- Dry Mix: In a separate small bowl, whisk the flour, baking powder, and baking soda (and salt, if using).
- Combine Gently: Add the dry mix to the wet mix. Fold or mix on LOW speed just until you don’t see dry flour. Seriously, don’t overmix! The batter will be thick.
- Fill: Spoon batter evenly into the liners, filling them about two-thirds full.
- Bake: Bake for 10-15 minutes. They’re done when a toothpick stuck in the centre comes out clean.
- Cool Down: Let cupcakes cool in the tin for 2 minutes, then move them to a wire rack to cool completely before frosting or storing.
Notes
- Serving: Delicious plain! Or top with your favourite vanilla, cream cheese, or even strawberry frosting once totally cool. A fresh berry on top looks lovely.
- Top Tips:
- Room temperature butter and egg are key for texture!
- The most important thing? Don’t overmix the batter after adding flour – keeps them tender!
- Sifting the dry ingredients helps make them lighter.
- Storage:
- Store unfrosted cooled cupcakes in an airtight container at room temp for 2-3 days.
- Store frosted cupcakes (depending on frosting type) in an airtight container in the fridge for up to 3-4 days. Bring to room temp before enjoying for best taste!
- Freeze unfrosted cupcakes for up to 3 months (wrap well!). Thaw at room temp.