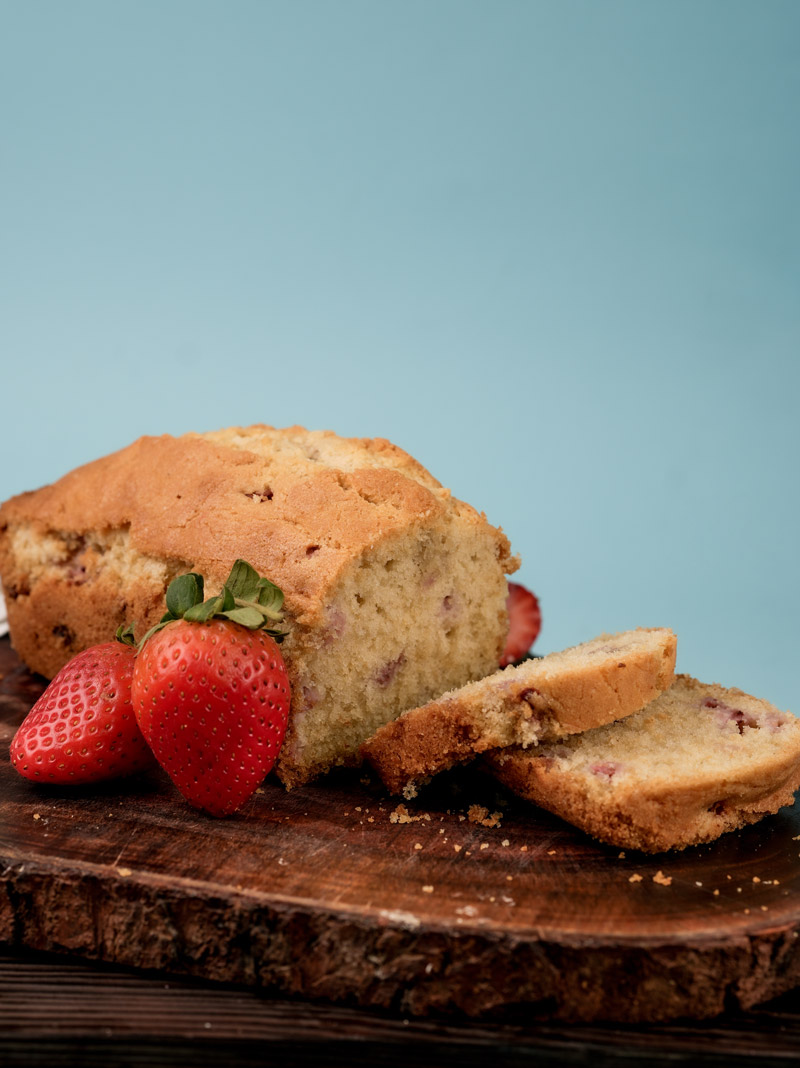
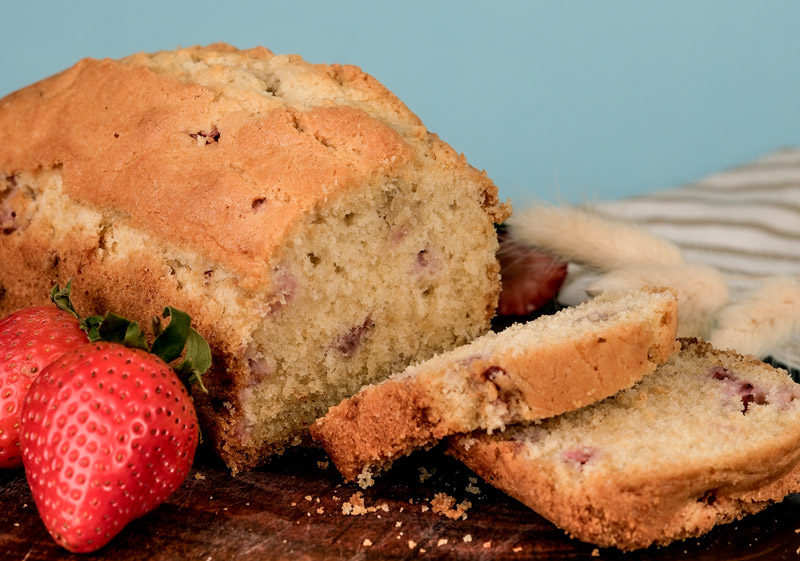
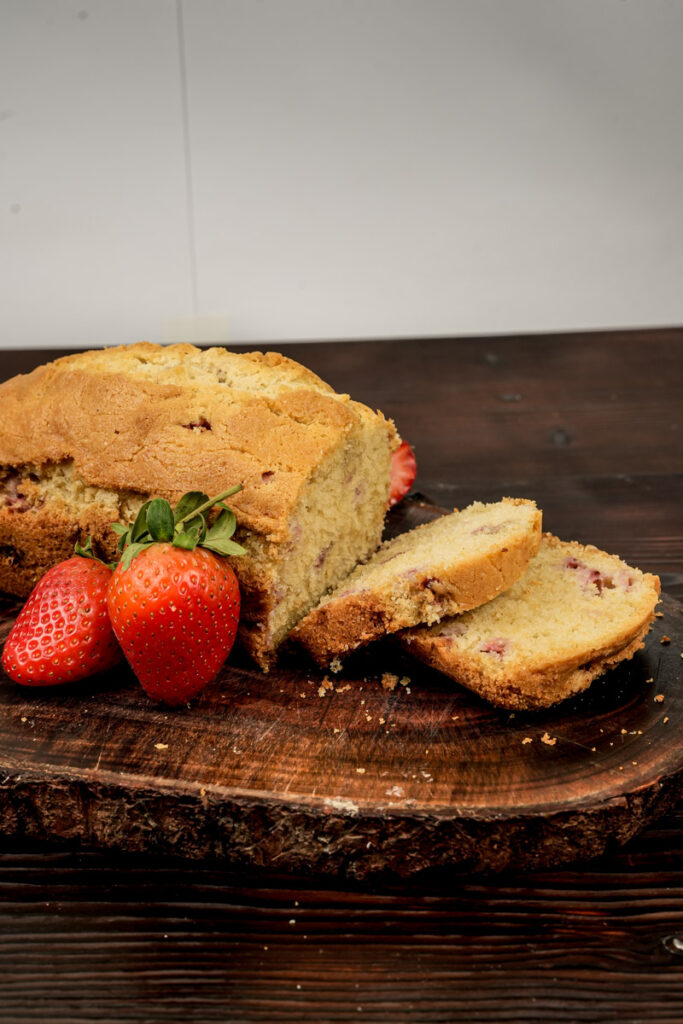
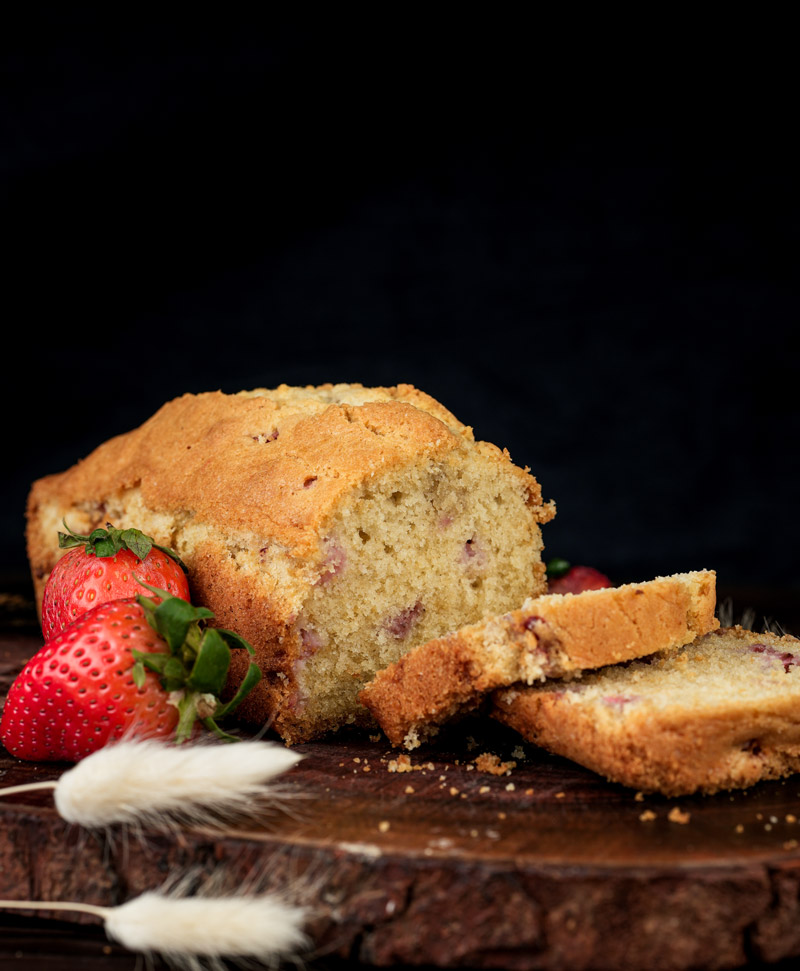
Welcome, friend! I’m so glad you’re here. Let’s bake something really delicious together: a Strawberry Pound Cake.
Honestly, is there anything better than a classic pound cake? It’s just so comforting. But add fresh strawberries? Chef’s kiss. Pure magic.
This recipe is a little different from your grandma’s old-school pound cake (you know, the one with a pound of everything!). We’re using both butter and oil. Why? It makes the cake incredibly moist. Like, seriously tender. Plus, a little almond flour adds this lovely nutty background flavor. And that pretty pink color? Just for fun!
This isn’t your typical hours-long pound cake project. Think of it as an Easy Strawberry Pound Cake. It’s quicker, especially if you make smaller treats like muffins (we’ll talk about that!). Big flavor, less waiting. Perfect for afternoon tea or just… because cake!
Ready to grab your apron? Let’s make this gorgeous Fresh Strawberry Pound Cake!
What You’re Getting Into: The Baking Game Plan
Before we start tossing flour around, let’s see what’s needed.
How Long, How Much, How Hard?
- Getting Ready: Give yourself about 15-20 minutes. This is for grabbing ingredients, chopping berries, and mixing things up. Easy peasy.
- Baking Time: Okay, listen up, this is important! The recipe says 25-30 minutes. That’s only if you’re making muffins or maybe tiny loaf cakes. Want a regular-sized strawberry loaf cake (like 8×4 or 9×5 inches)? You’ll need way longer. Probably 50-70 minutes, maybe even more. Don’t worry, I’ll show you how to tell when it’s perfectly baked.
- How Many Treats: It says 10-12 servings. Again, that sounds like muffins or mini-slices. For a bigger loaf, think more like 8-10 slices. Unless you cut them really thin!
- Want less cake? Or more? Good news! This recipe is easy to tweak.
- Cut it in half? Use just 1 egg and halve everything else. I did this once when I only had a few strawberries left – worked great!
- Double it? Should be fine! Just make sure your mixing bowl is big enough. Here’s a quick guide:
- Want less cake? Or more? Good news! This recipe is easy to tweak.
- Toughness Level: I’d say it’s pretty straightforward. Basic stuff like mixing butter and sugar. The only tricky part is nailing that bake time for the pan you choose. But you’ve got this!
Tools for the Job
You don’t need a fancy kitchen. Just the basics:
- Bowls: A big one for the main batter, a smaller one for the dry stuff.
- Mixer: A hand mixer is perfect. Got a stand mixer? Awesome! No mixer? You can do it by hand, but be ready for an arm workout when creaming the butter and sugar!
- Whisk: For mixing the floury bits.
- Spatula/Spoon: For folding everything together. You know, scrape down the sides. Get every last bit.
- Measuring Stuff: Cups and spoons are fine. But honestly? A kitchen scale is your best friend for baking, especially for flour. Gets it spot on.
- Baking Pan: The big decision! Muffin tin or mini-loaf pans for that quick 25-30 min bake. A standard loaf pan (8×4 or 9×5 inch) or even a small Bundt pan means a longer bake. Choose your adventure!
- Wire Rack: Super important for cooling the cake so it doesn’t get soggy.
- Knife & Board: For those lovely strawberries.
Thinking Ahead (Like a Pro!)
- Bake Now, Eat Later: Pound cake is amazing because it often tastes better the next day! Seriously. Flavors get cozier. Feel free to bake it a day or two early.
- Freeze It: Yep, this cake freezes like a dream! Wrap it up tight (before or after slicing) in plastic wrap and then foil or a freezer bag. Just thaw it on the counter when you’re ready. More on this later!
- The Batter: Quick tip – don’t mix the batter and then let it sit around for ages. That baking powder starts working once it gets wet. Mix it up, get it in the pan, and bake pretty soon after.
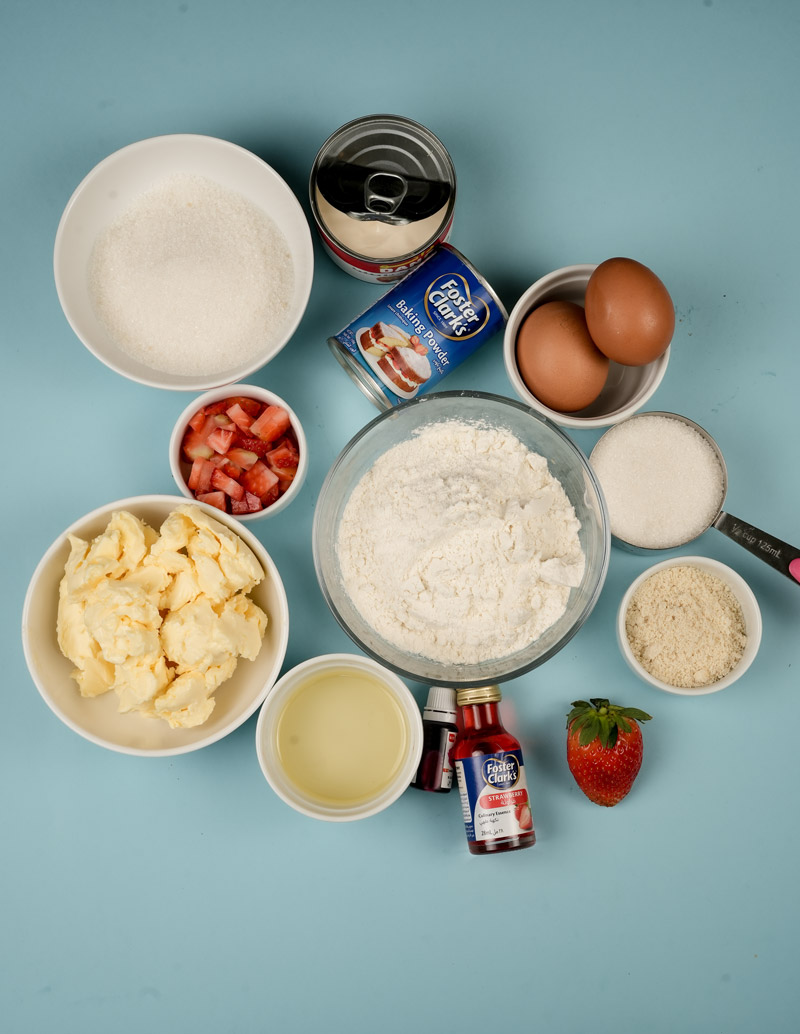
Your Ingredient Line-Up: The Cake Stars
Okay, let’s talk ingredients. Good quality stuff makes a difference, trust me!
First up, 80g of Unsalted Butter. This is where that rich flavor starts. Use unsalted so you control the saltiness. Make sure it’s soft – like, leave it on the counter for an hour or two. Soft butter is key for mixing. Seriously. Don’t skip this.
Then, 45g of Vegetable Oil. Any light oil works (canola, etc.). This is our secret weapon for moisture. It keeps the cake super tender.
Next, 75g of Granulated Sugar. For sweetness, obviously, but it also helps the cake brown nicely. This recipe isn’t crazy sweet compared to some pound cakes. Like it sweeter? You could probably bump it up a tiny bit, maybe to 100g total. Your call!
For that strawberry punch, we’ve got 1 tsp of Strawberry Essence (or extract). And 1 tsp of Pink Food Colouring. The color is totally optional! Want a more natural look? Just leave it out. No biggie.
Two Large Eggs hold everything together and make it rich. Again, room temperature is best! Cold eggs don’t mix in as well. Let ’em hang out with the butter. Add 2 tbsp of Dano Cream for extra moisture. Can’t find that brand? No problem! Use heavy cream, sour cream, or even plain full-fat Greek yogurt. Sour cream or yogurt will add a little tang, which is actually pretty nice.
Now for the body of the cake: 125g of All-Purpose Flour. Spoon it into your measuring cup, don’t pack it down! Or even better, weigh it if you have a scale. Too much flour = dry cake. Sad face. We also add 15g of Almond Flour (sometimes called almond meal). It gives a nice texture and a hint of nuttiness. Yum.
1 tsp of Baking Powder makes the cake rise.
And the star: Fresh Chopped Strawberries! You’ll want about ½ to 1 cup, diced up. Quick trick: after you chop them, gently toss them with a spoonful of the flour mixture you measured out. This stops them from all sinking to the bottom. Clever, right? Oh, and pat them dry after washing – extra water can mess with the batter.
Let’s Get Baking! Your Step-by-Step Guide
Alright, take a deep breath. Let’s do this! Imagine I’m right there with you.
Get Ready! First, crank up your oven to 170°C (that’s 338°F). This temperature is great for muffins or mini-loaves. BUT, if you’re using a bigger loaf pan, drop it down a bit to 160-165°C (320-325°F). This helps the middle cook through without burning the edges on that longer bake. Okay, oven’s heating. Now, grease your pan(s) really well with butter or spray. Sprinkle some flour in, tap out the extra. Using a loaf pan? Line it with parchment paper (bottom and long sides) – makes getting the cake out SO much easier later. Make sure your butter, eggs, and cream are at room temp. Chop up those strawberries nice and small (like ½ inch pieces).
Dry Stuff: Grab a medium bowl. Whisk together the all-purpose flour, almond flour, and baking powder. Whisking mixes it evenly and adds a little air. Set it aside.
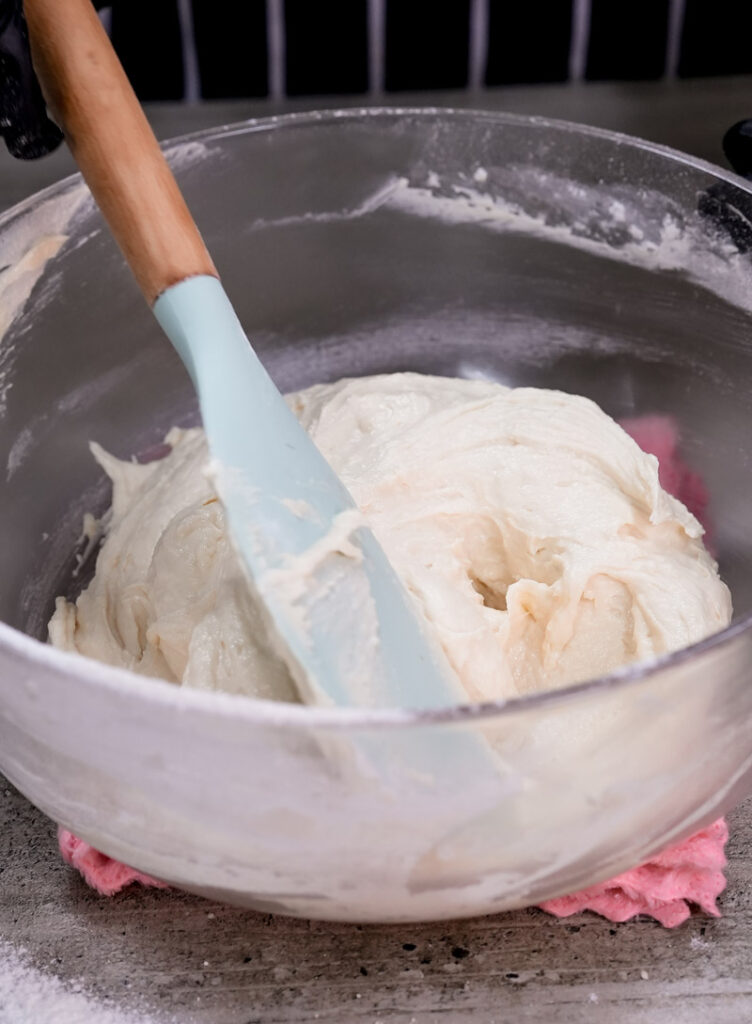
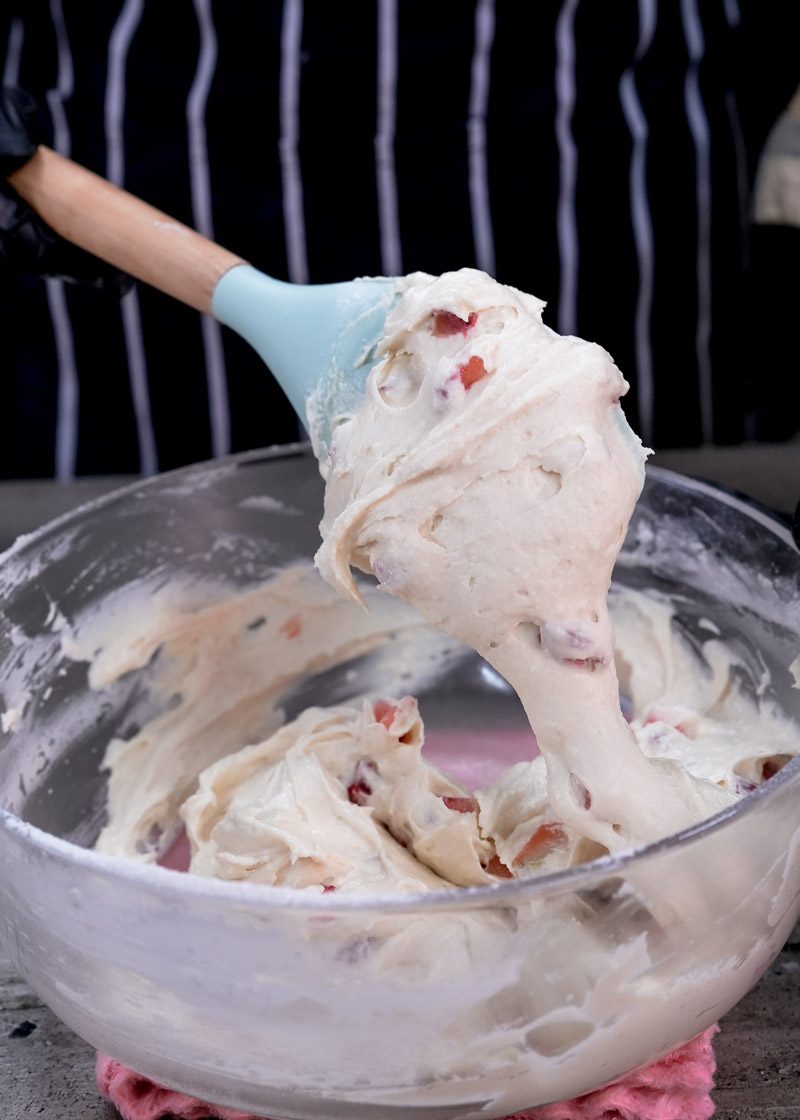
Creamy Dreamy: In your big bowl, put the softened butter, oil, and sugar. Get your electric mixer. Start on low, then crank it up to medium-high. Beat ’em together for a good 3-5 minutes. Watch it change! It should get way lighter in color and look super fluffy, almost like frosting. This step beats air into the batter – super important for a tender cake. Don’t cut corners here! Once it looks amazing, beat in the strawberry essence and pink color (if you’re using it).
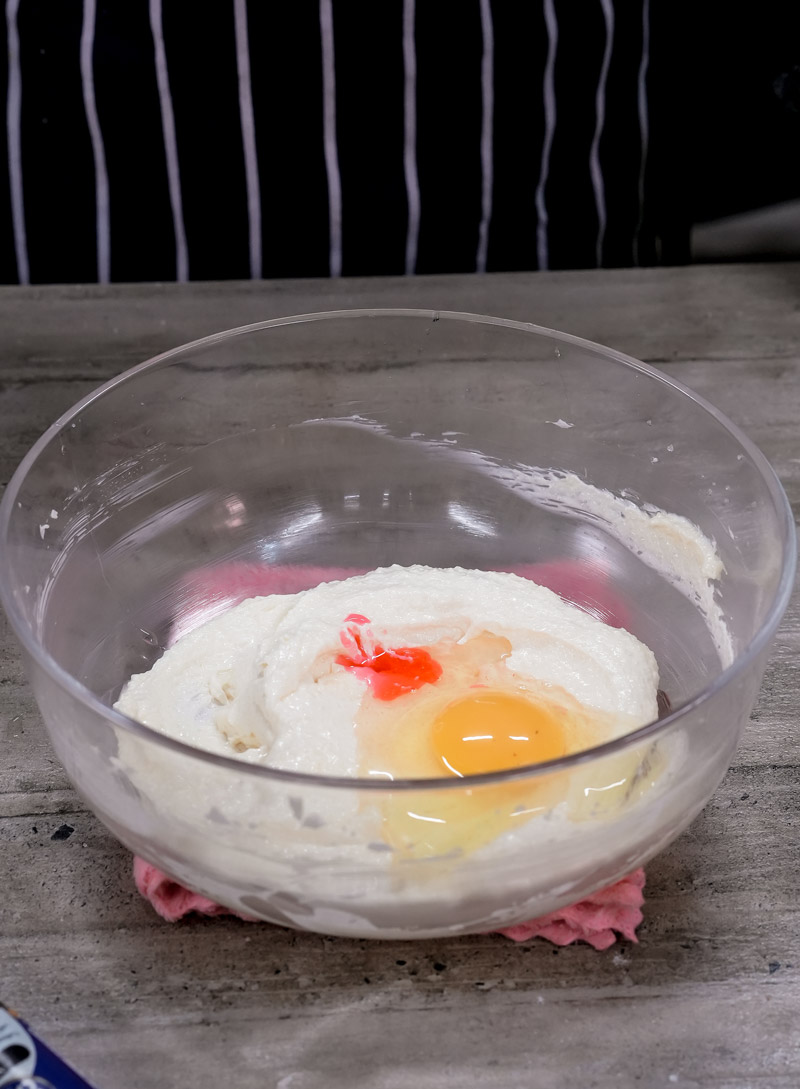
Add the Eggs: Add the room temp eggs, one at a time. Beat well after adding the first one before you add the second. Make sure it’s all mixed in. The batter might look a little weird or curdled for a second – just keep beating, it’ll come together.
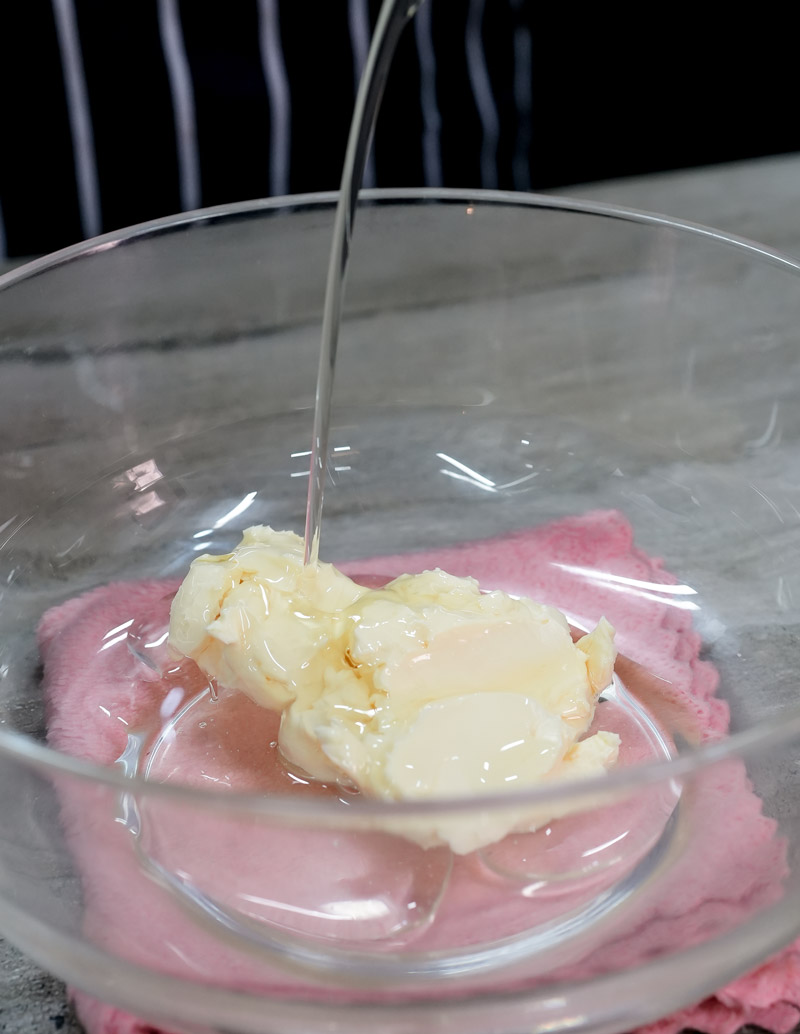
More Goodness: Mix in the Dano cream (or whatever creamy thing you’re using) on low speed. Just until it’s mixed in. Don’t go crazy.
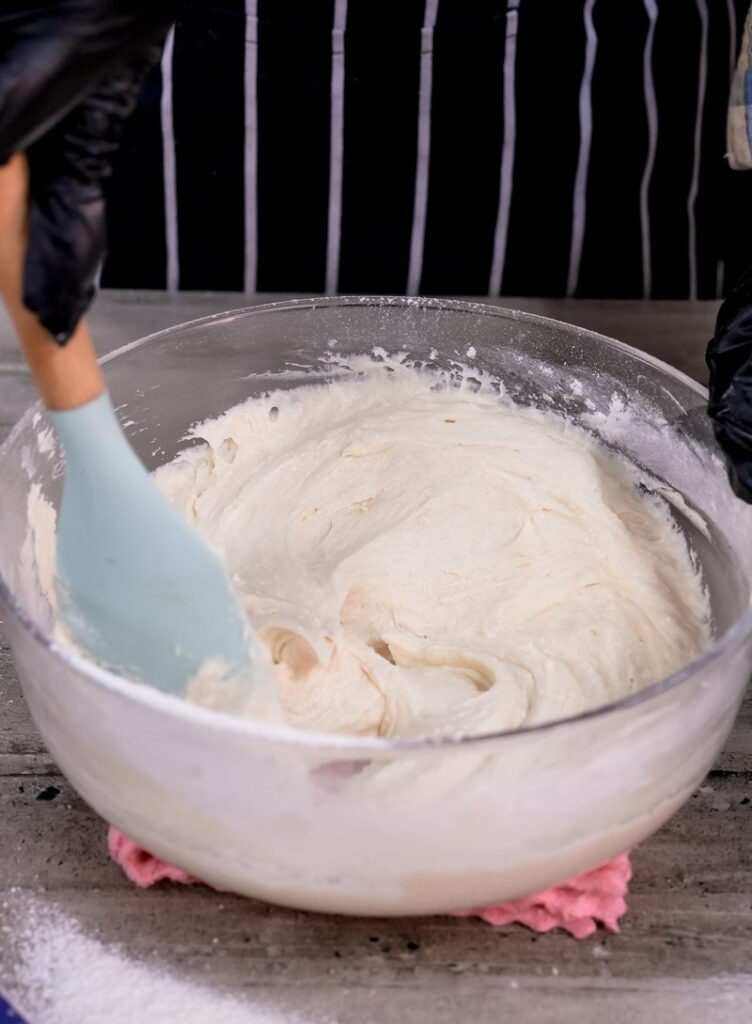
Mix It Up (Gently!): Time for the dry ingredients you whisked earlier. Add them to the wet stuff. Mix on the lowest possible speed, or even better, fold it in gently with your spatula. Stop mixing as soon as you don’t see big streaks of flour. Seriously, don’t overmix! Overmixing makes gluten grumpy, and grumpy gluten makes tough cake. We want happy, tender cake!
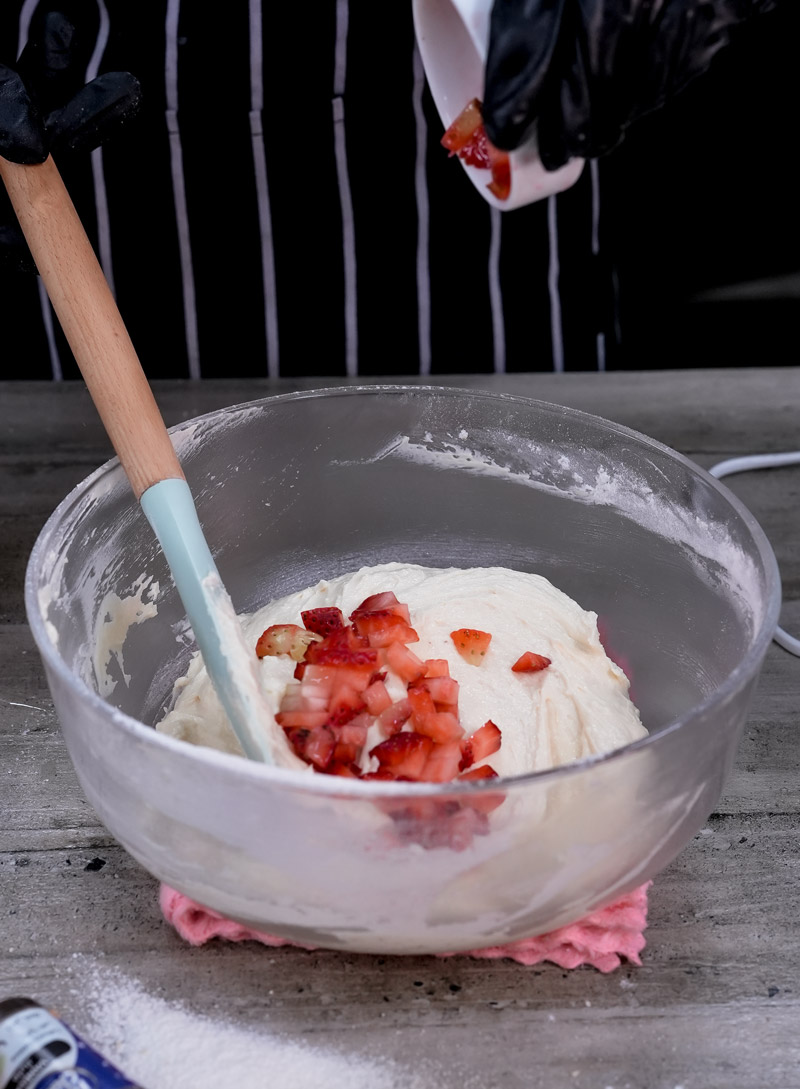
Berry Time: Remember those chopped strawberries? Did you toss them in a spoonful of the flour mixture? Good! Now, gently fold them into the batter with your spatula. Just a few turns until they look nicely spread out. Be gentle!
Into the Pan & Bake! Carefully spoon the batter into your pan(s). Making muffins? Fill ’em about two-thirds full. Using a loaf pan? Spread it out evenly. Give the pan a little tap on the counter to knock out big air bubbles. Okay, into the hot oven they go!
Muffins/Mini-Loaves: Bake for 25-30 minutes. Check around 23 minutes.

Standard Loaf Pan (8×4 or 9×5 inch): Bake for 50-70 minutes. Could be longer! Start checking at 50 minutes. How to check? Stick a wooden skewer or toothpick right into the center. If it comes out clean (maybe a few moist crumbs, but no wet batter), it’s done! The top should be golden and feel slightly springy when you gently touch it.
Cool It! Once it’s baked, let the cake(s) cool in the pan on a wire rack for 10-15 minutes. This helps them firm up a bit. Then, carefully flip them out onto the wire rack (or lift out with the parchment paper!) to cool all the way down. Completely cool. If you try to slice or glaze it while it’s warm, it might fall apart or the glaze will just melt right off. Patience, my friend!
Make It Your Own: Fun Twists & Ideas
This recipe is a great starting point. Let’s play!
- Got Dietary Needs?
- Gluten-Free? Try a good 1-to-1 gluten-free flour blend (one that has xanthan gum). Use it instead of the regular flour. Keep the almond flour. The texture might be a little different, but pound cakes are usually pretty forgiving.
- Vegan? Oof, this one’s tough with all the butter and eggs. You could try vegan butter, oil, maybe flax eggs (1 tbsp flax meal + 3 tbsp water per egg, let it sit 5 mins), and a plant-based cream or yogurt. No promises, though – it’ll be a different cake! Let me know if you experiment!
- Flavor Fun:
- Add ½ teaspoon of vanilla extract with the strawberry stuff. Classic combo!
- Lemon or orange zest (like 1 tsp) added with the butter/sugar? Amazing with strawberries.
- Swap the strawberries! Raspberries, blueberries, chopped peaches… go wild! (If using super juicy fruit, you might need a slightly longer bake).
- Feeling fancy? Fold in ½ cup of white chocolate chips. Yes please.
- Skip the pink color for a more natural vibe. Still beautiful!
- Everyday vs. Party Time:
- Honestly, it’s great just plain. Simple slice, happy baker.
- Want to dress it up? A simple glaze is easy: mix powdered sugar with a tiny bit of milk or lemon juice until it drizzles. Or go all out with cream cheese frosting! Serve slices with whipped cream and more berries. So pretty!
- Seasonal Swaps: Think spring? Swirl in some rhubarb jam. Summer? Blueberries! Fall? Chopped apples and a pinch of cinnamon (maybe soften the apples a bit first).

Serving & Storing Your Amazing Cake
You did it! High five! Now for the best part: eating it.
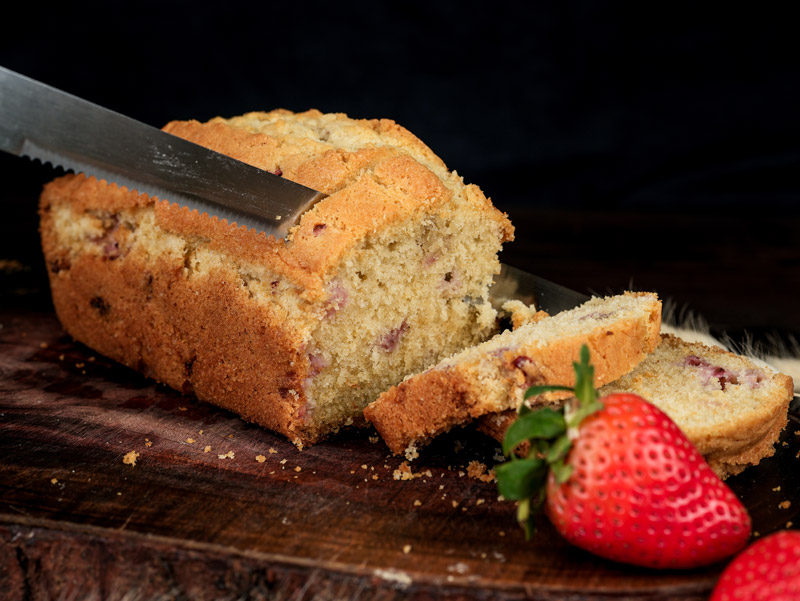
- Making it Pretty: A simple dusting of powdered sugar right before serving looks lovely. If you glazed it, let the glaze set first. Slice it up and arrange on a nice plate. Maybe add a few whole strawberries or mint leaves? Fancy!
- What Goes With It? Perfect with a cup of tea or coffee. Duh. For dessert? A scoop of vanilla ice cream or some whipped cream takes it over the top. A little fresh fruit salad on the side is nice too.
- Keeping Leftovers: Got extra? (How?!) Store it in an airtight container on the counter. It should be good for about 3 days. If your kitchen is hot, or if you used cream cheese frosting, pop it in the fridge (up to a week). Let slices sit out for a bit before eating if they’re chilled – tastes better at room temp!
- Freeze for Future You: Wrap the completely cooled cake (whole or sliced) really well in plastic wrap, then add a layer of foil or stick it in a freezer bag. It’ll keep for up to 3 months. I always slice some before freezing – perfect for grabbing just one piece later! Thaw it in the fridge overnight or just leave it on the counter for a few hours.
- Reheat? Nah, probably not needed. But if you like warm cake, 10-15 seconds in the microwave is all you need.
I really hope you love this Easy Strawberry Pound Cake! Have fun baking, and enjoy every single crumb. Happy Baking!
PrintStrawberry Pound Cake
Ready for a treat? This isn’t your average pound cake! It’s incredibly moist (thanks to a butter and oil combo!), packed with fresh strawberries, and surprisingly easy to whip up. Perfect for sharing… or not!
- Prep Time: 15-20 mins
- Cook Time: 25-30 mins (for muffins/mini-loaves) OR 50-70+ mins (for 8×4 or 9×5 loaf pan)
- Total Time: 40 mins – 1.5 hours (depends on pan!)
- Yield: 8–10 slices (loaf) or 10-12 muffins 1x
- Category: Dessert, Cake
- Cuisine: American-inspired
Ingredients
- 80g Unsalted Butter, softened
- 45g Vegetable Oil
- 75g Granulated Sugar
- 2 Large Eggs, room temperature
- 1 tsp Strawberry Essence (or extract)
- 1 tsp Pink Food Colouring (optional)
- 2 tbsp Dano Cream (or heavy cream, sour cream)
- 125g All-Purpose Flour (plus 1 tbsp extra for berries)
- 15g Almond Flour (or almond meal)
- 1 tsp Baking Powder
- ½ to 1 cup Fresh Strawberries, chopped small
Instructions
- Get Set: Preheat oven! 170°C (338°F) for muffins/minis OR 160-165°C (320-325°F) for a larger loaf pan. Grease and flour your pan(s). Lining a loaf pan with parchment helps too!
- Dry Mix: Whisk together the all-purpose flour (remember to save 1 tbsp for later!), almond flour, and baking powder in a bowl.
- Cream It: In a big bowl, use an electric mixer to beat the softened butter, oil, and sugar until pale and fluffy (about 3-5 mins). Don’t rush this bit! Beat in the strawberry essence and pink color, if using.
- Eggs In: Add eggs one at a time, beating well after each.
- Creaminess: Mix in the Dano cream (or substitute) on low speed until just combined.
- Combine Gently: Add the dry ingredients to the wet. Mix on low speed or fold with a spatula until just combined. Don’t overmix!
- Berry Time: Gently toss the chopped strawberries with that 1 tbsp of reserved flour. Fold the floured berries into the batter. Easy does it!
- Bake: Spoon batter into your prepared pan(s). Bake according to the times listed above (check pan size!). Cake is done when a toothpick stuck in the center comes out clean.
- Cool Down: Let the cake cool in the pan for 10-15 mins, then turn out onto a wire rack to cool completely. So important!
Notes
- Serving Ideas: Lovely plain! Or dust with powdered sugar, drizzle with a simple glaze (powdered sugar + milk/lemon juice), or serve with whipped cream and more berries. Yum with ice cream too!
- Tips & Tricks:
- Use room temperature butter, eggs, and cream for the best batter.
- Tossing berries in flour helps stop them from sinking!
- Pan size really changes bake time! Check loaf cakes early (around 50 mins) and keep checking.
- Don’t overmix the batter once flour is added – keeps it tender!
- Storing Leftovers: Keep tightly covered at room temperature for up to 3 days. Or store in the fridge for up to a week (especially if frosted). It also freezes beautifully! Wrap well (sliced or whole) and freeze for up to 3 months. Thaw on the counter.