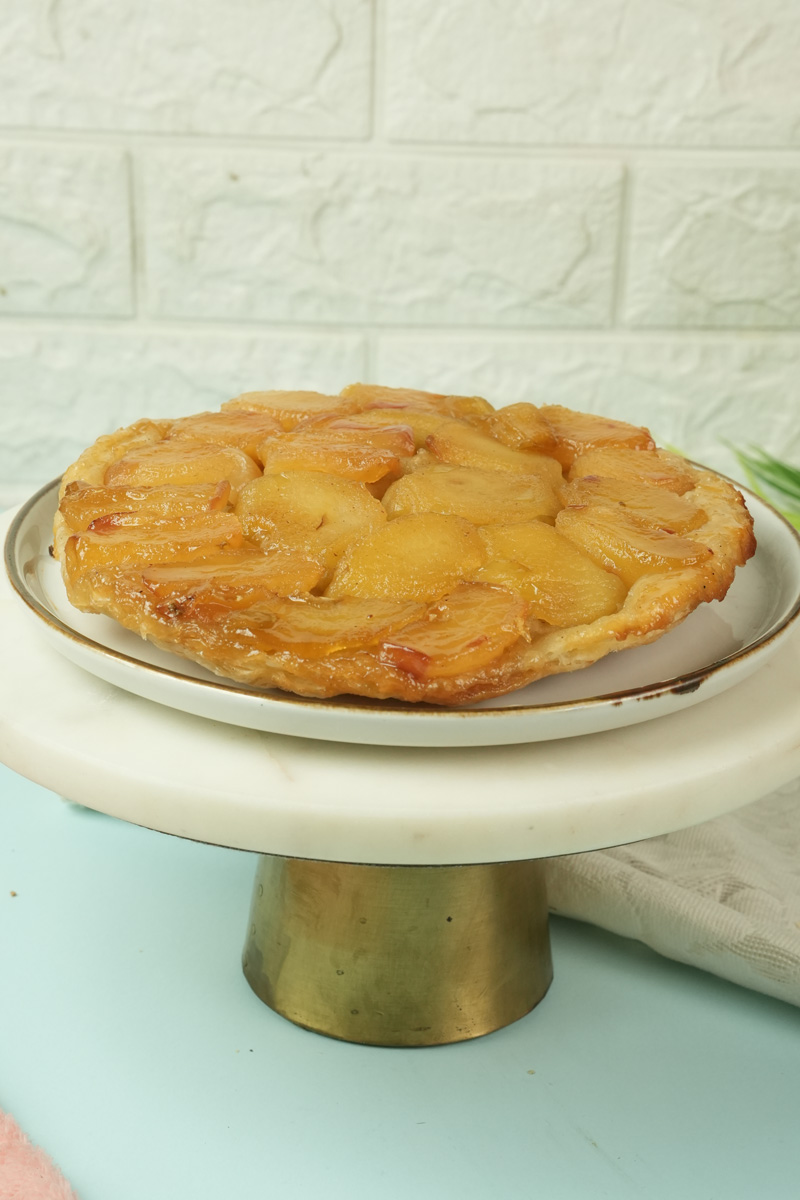
Hey there! Let’s talk about a dessert that looks like it belongs in a fancy French bakery but is secretly one of the most straightforward, impressive things you can make. The Tarte Tatin.
The first time I saw one, I was floored. A perfect spiral of dark, glistening apples on a flaky, buttery crust. It looked like magic. The story goes it was invented by accident by the Tatin sisters in 19th-century France. One of them supposedly overcooked her apples, threw some pastry on top in a panic, and flipped it over to serve. The result? A legend.
That “happy accident” is exactly what makes this dessert so forgiving. It’s supposed to be a little rustic and imperfect. It’s just apples, sugar, butter, and pastry. Simple stuff. So, forget the fancy reputation. Today, I’m going to walk you through how to make this showstopper. I promise, it’s easier than you think.

A Quick Look at What We’re Doing
Before we start melting sugar, let’s get a quick lay of the land.
Time: Plan for about 1 hour and 35 minutes from start to finish. But listen, the actual hands-on, doing-stuff part is only about 25 minutes. The rest is just baking and waiting. You can totally handle that.
How much does it make? This recipe makes one tart, which is perfect for 6 people. Need to adjust? No problem. It’s pretty flexible.
| Servings | Skillet Size | Apples | Sugar | Water | Butter | Puff Pastry |
| 4 | 8-inch | 3 | ½ cup | 4 tbsp | 3 tbsp | ½ sheet |
| 6 (This Recipe) | 10-inch | 4-5 | ⅔ cup | 6 tbsp | 4 tbsp | 1 sheet |
| 8 | 12-inch | 6-7 | 1 cup | 8 tbsp | 6 tbsp | 1½ sheets |
Difficulty: Let’s call this “Brave Beginner.” If you’ve never made caramel, it can feel a little intimidating. But don’t worry. The key is just to watch it. I’ll tell you exactly what to look for.
The Gear: Your most important tool is a 10-inch oven-proof skillet. I swear by my old cast-iron skillet. It gets screaming hot and holds its heat, which is perfect for caramel. A heavy stainless steel pan works too, just make sure the handle can go in the oven! You’ll also need a baking sheet to catch any drips. Trust me on this.
Can I make it ahead? YES. This is one of my favorite things about this recipe. You can totally prep the apple and caramel base a day or two ahead. Just let it cool, cover the skillet, and pop it in the fridge. When you’re ready for dessert, just slap the pastry on top and bake. Easy.
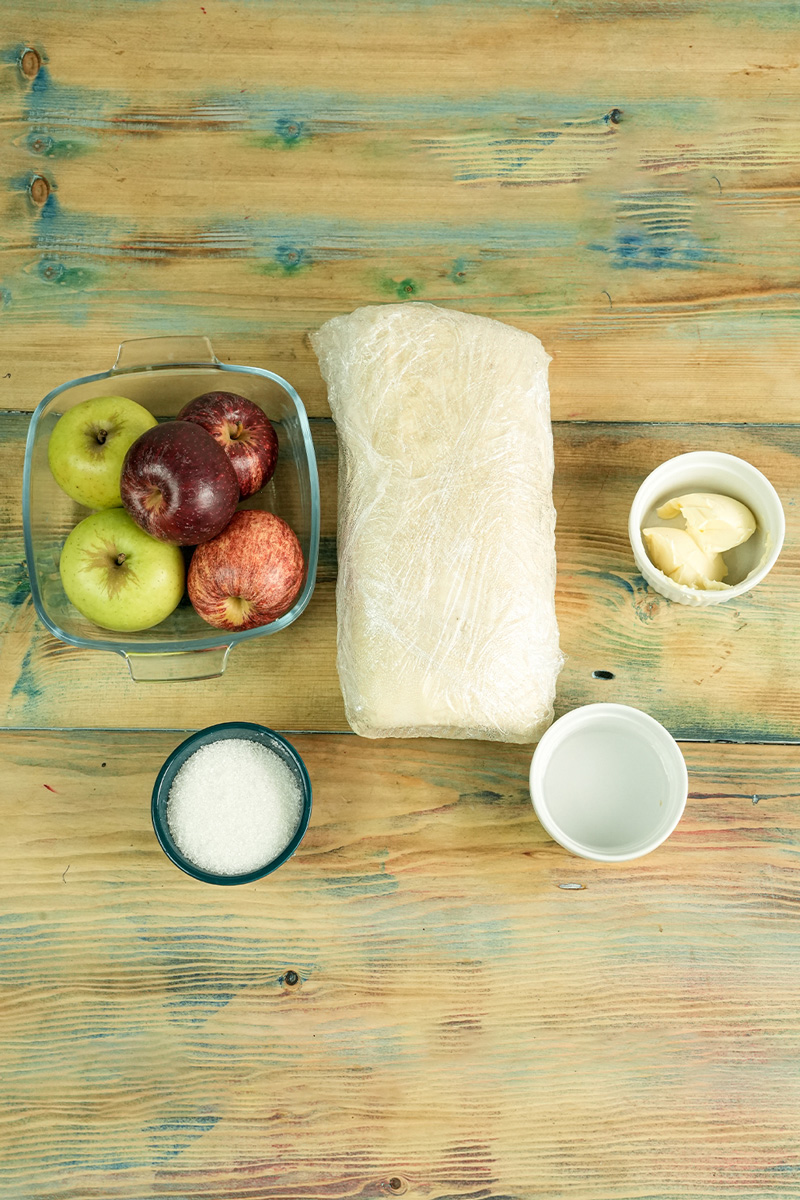
The Ingredients: Simple is Best
You don’t need a long shopping list for this. It’s all about a few good ingredients.
- Apples: You’ll need 4 to 5 firm baking apples. The type of apple is really important here. You want something that won’t turn into applesauce when you cook it. My top pick is Granny Smith. They are super tart, which cuts through all that rich, sweet caramel perfectly. Honeycrisp or Braeburn are great choices, too. Get them peeled, cored, and cut into quarters.
- The Sweet Stuff: You’ll need ⅔ cup of granulated sugar and 6 tablespoons of water. This is what becomes our beautiful caramel.
- Butter: We’ll use 4 tablespoons of salted butter. I always use salted because that little bit of salt makes the flavor of the caramel so much more interesting. If you only have unsalted, just add a good pinch (about ¼ teaspoon) of salt.
- Puff Pastry: You’ll need one sheet of puff pastry. Look in the freezer aisle for an all-butter puff pastry. It just tastes better and puffs up more beautifully than the ones made with oil. Make sure it’s thawed but still nice and cold.
Let’s Get Cooking, Step-by-Step
Alright, let’s do this. Put on some music, pour yourself a drink, and let’s make a tart.
1. Make the Caramel
First, get your oven preheating to 400°F (200°C).
Now, grab that 10-inch skillet. Dump the sugar in and spread it out evenly. Drizzle the water over the top. Put the skillet on the stove over medium heat.
Your only job for the next 5-7 minutes is to watch. Don’t walk away! The mixture will start to bubble. You can give the pan a gentle swirl now and then, but try not to stir it too much. You’re watching for the color to change from clear to a light honey-gold.
The moment it hits that perfect amber color, pull it off the heat and stir in the butter. Be careful! The mixture will bubble up like a science experiment. Just keep stirring until the butter is all melted and you’ve got a smooth, foamy sauce. You just made caramel. See? Not so bad.

2. Cook the Apples
Now for the fun part. Gently add your apple quarters into that hot caramel. Let them sizzle. For the next 15 minutes, let them cook, giving them a stir every few minutes to get them coated in all that goodness.
Your kitchen is about to smell incredible.
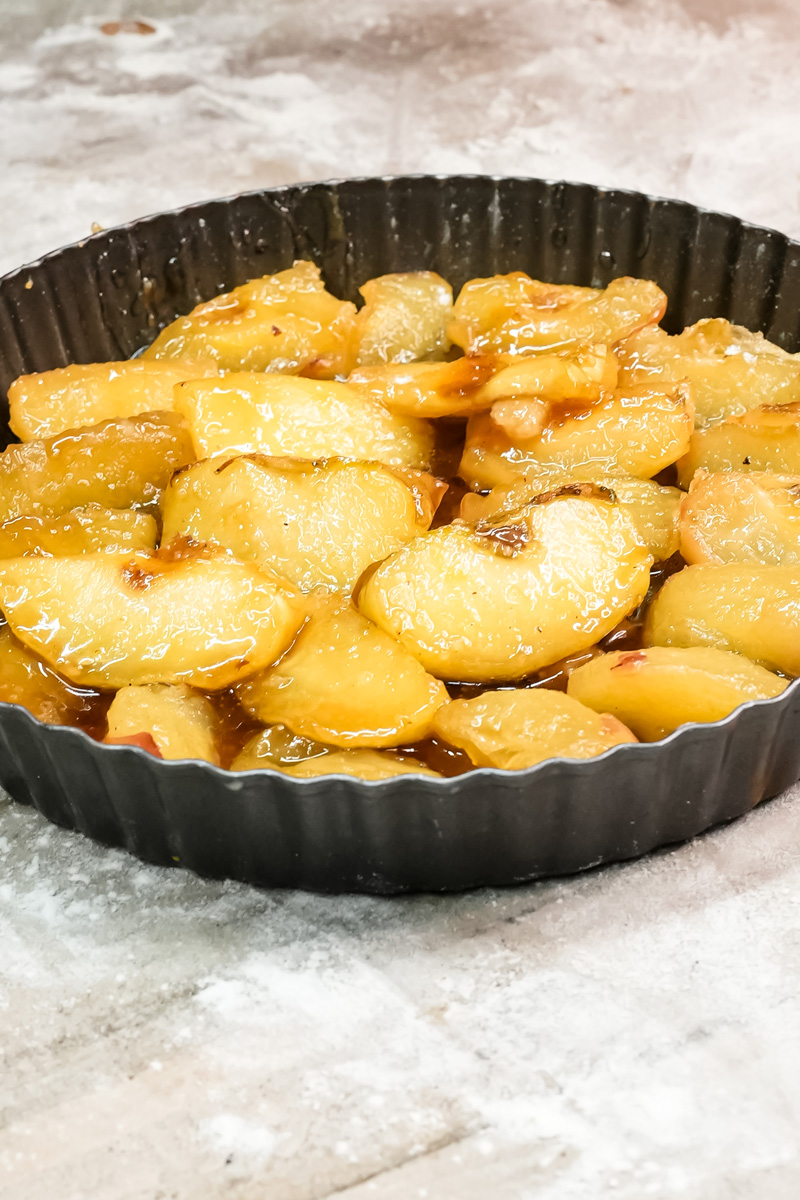
You’re looking for two things to happen: the apples will soften up a bit, and the caramel will darken from a honey color to a deep amber, like a good ale. This step is super important—it gets flavor into the apples and cooks some water out of them, which means you won’t have a soggy tart later.
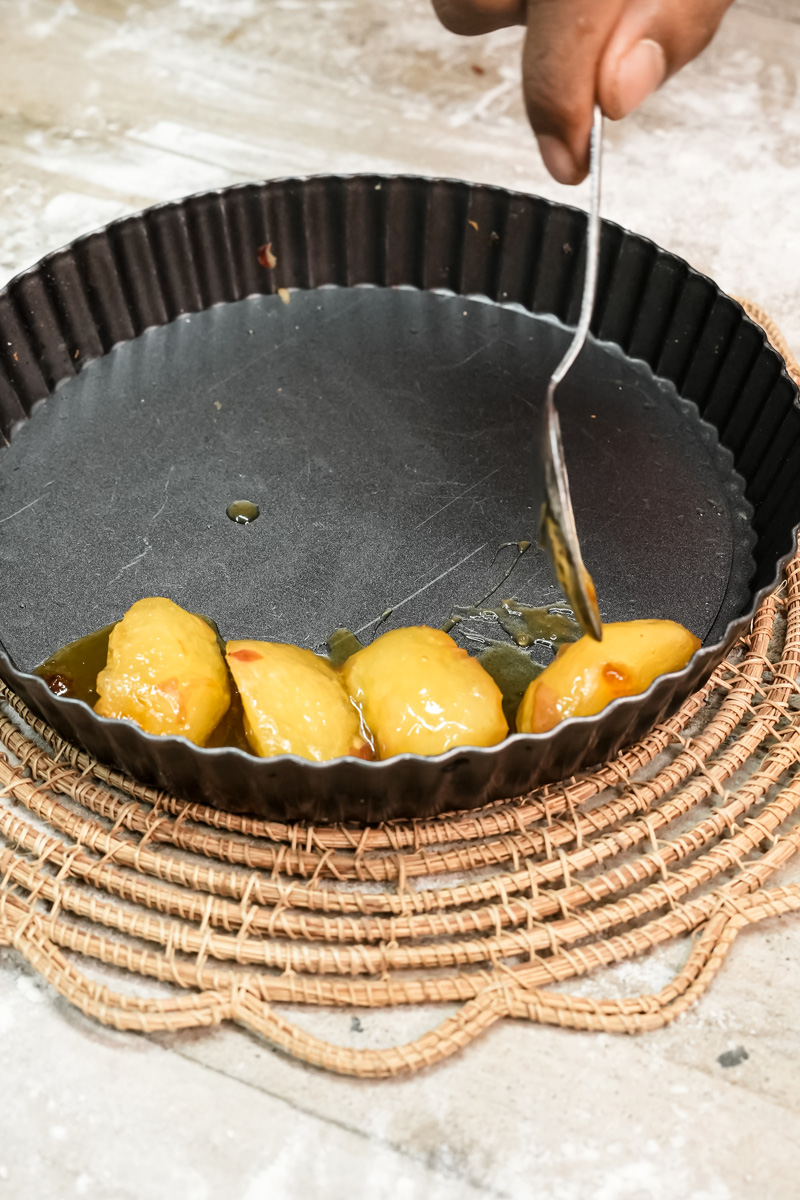
3. Put It All Together
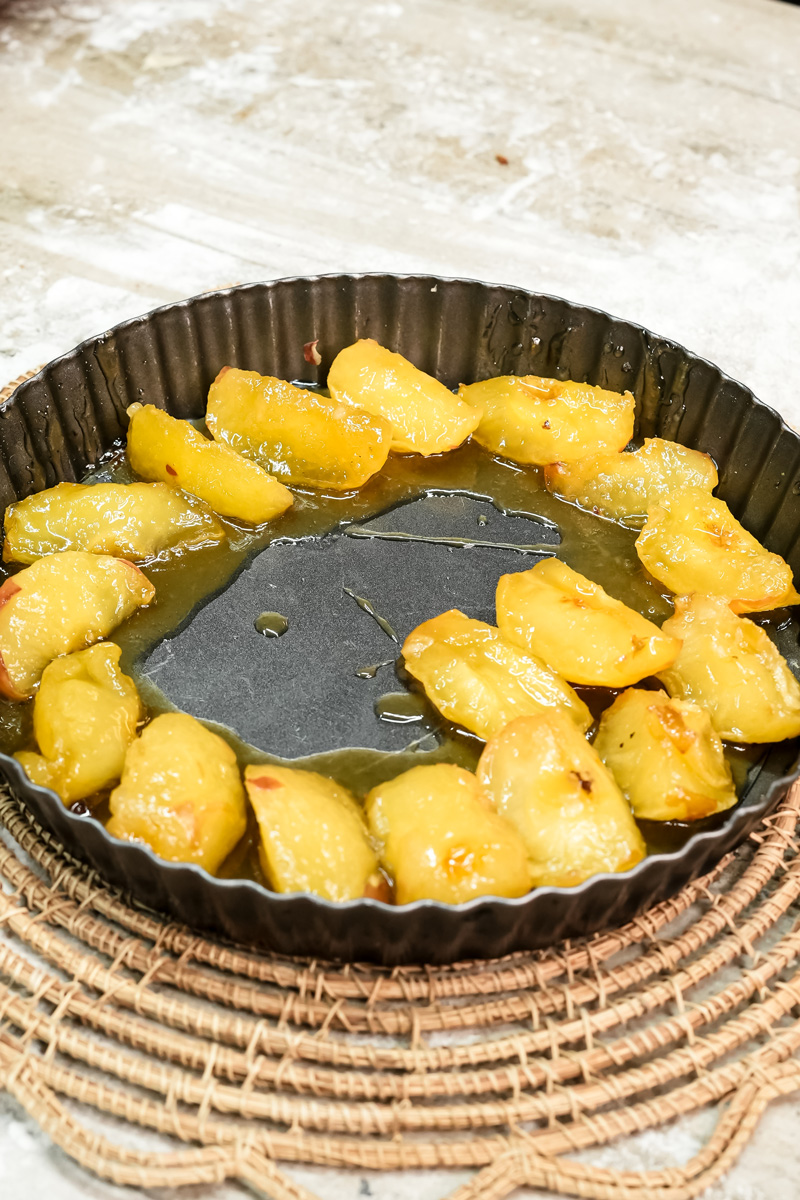
Once the caramel is that gorgeous deep amber, take the skillet off the heat.
Now it’s time to play a little food-Tetris. Use a fork to arrange the apples neatly in the pan, curved-side down. Pack them in there nice and tight, in circles. Remember, this is going to be the top of your tart, so make it pretty!
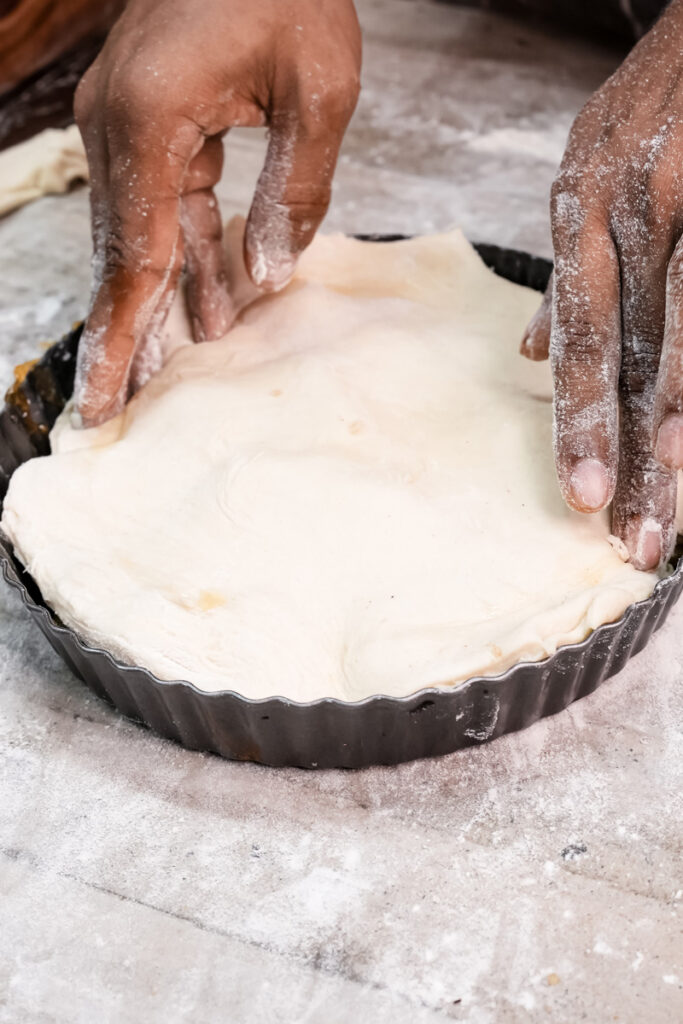
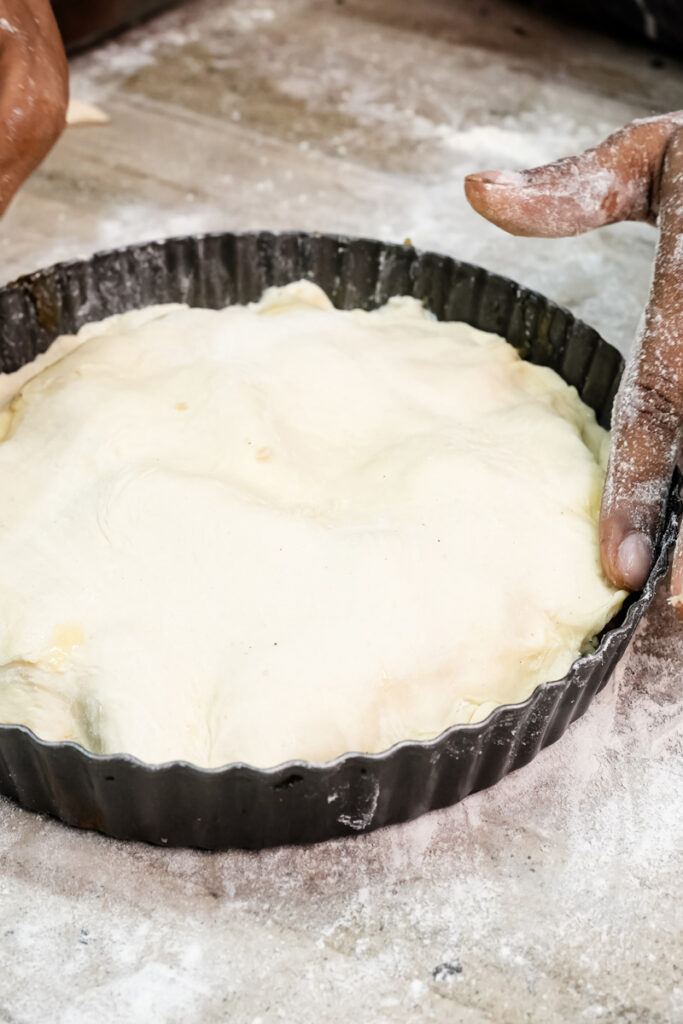
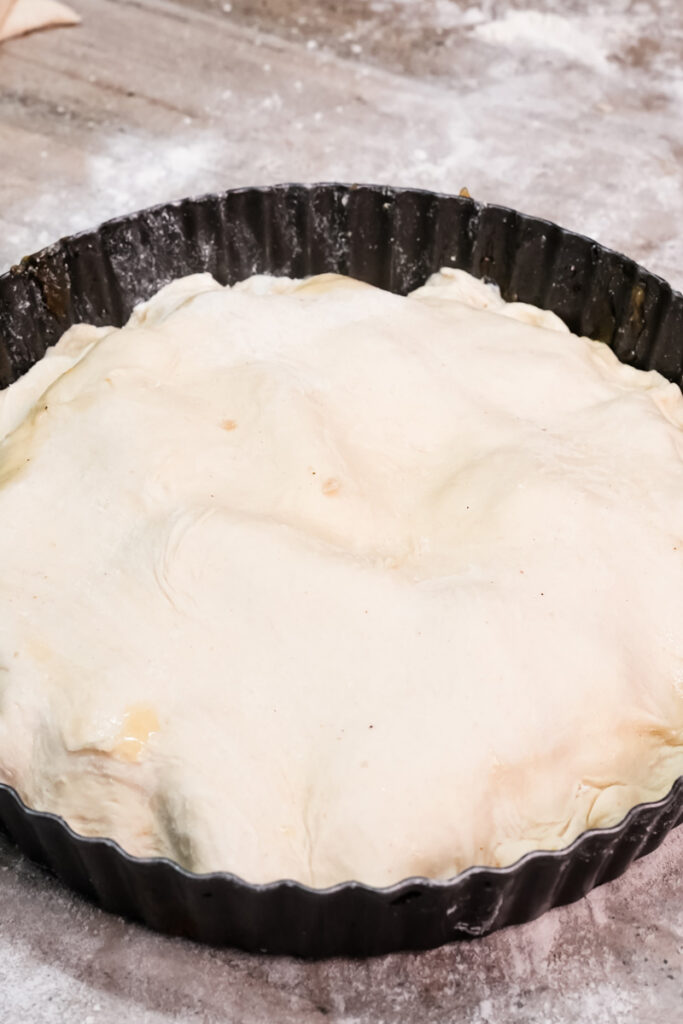
Next, the pastry. On a lightly floured counter, roll your puff pastry sheet out so it’s a little bigger than your pan—about 11 inches across. Drape the pastry over the apples. Then, take a spoon and tuck the edges of the pastry down inside the pan, around the apples.
Last thing, and this is the most important tip I can give you: place the whole skillet on a rimmed baking sheet. This will catch any caramel that bubbles over. You will thank me when you don’t have to clean burnt sugar off the bottom of your oven.
4. Bake and Rest
Slide the whole setup into your hot 400°F oven. Let it bake for 35 to 40 minutes. You’ll know it’s done when the pastry is puffed up and a beautiful deep golden brown.
Pull it out of the oven and put it on a cooling rack. And now, the hardest part of the entire recipe. Patience. You have to let it cool for at least 15 minutes (or up to 30 if you’re using heavy cast iron). This lets that molten caramel cool down just enough to stick to the apples instead of running everywhere when you flip it.

5. The Big Flip!
Okay. It’s time. Your moment of glory.
Take a large serving plate (one with a rim is a good idea) and place it on top of the skillet. Put one hand flat on the plate and grab the skillet handle with your other hand (use an oven mitt!). Take a deep breath, and in one quick, confident move, FLIP IT OVER.
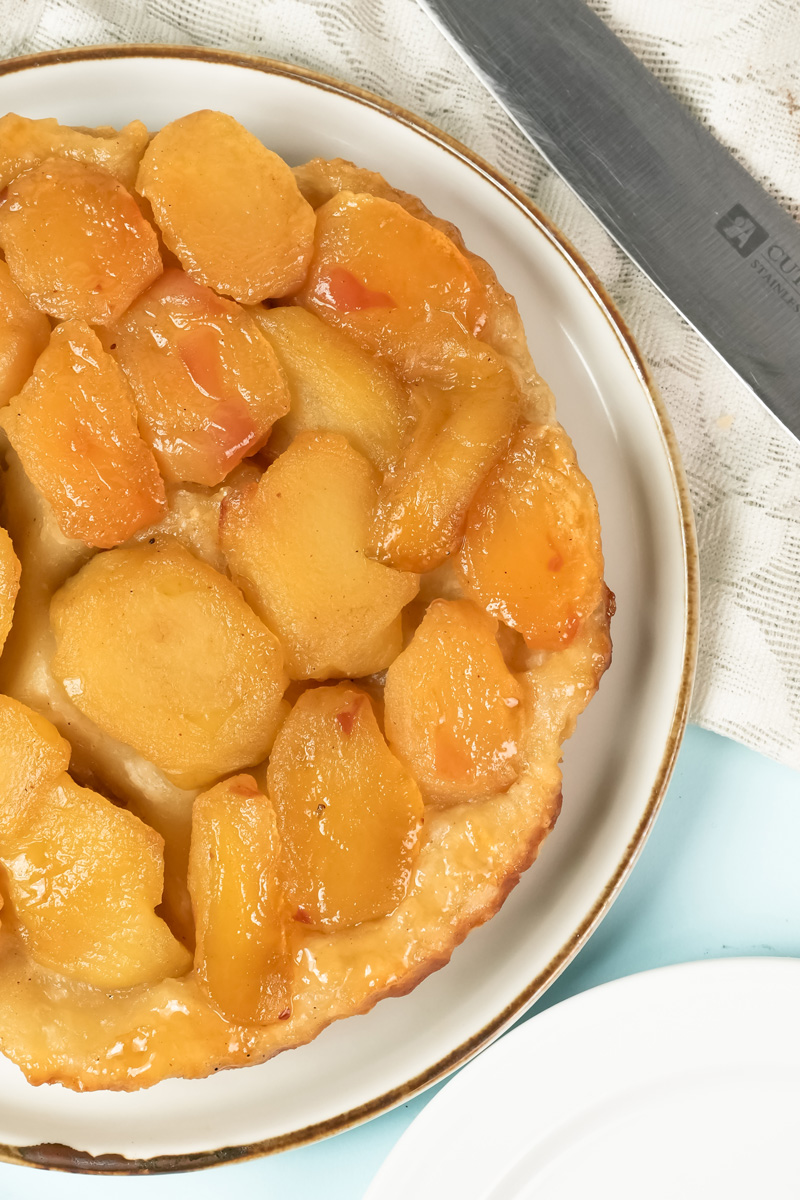
Set the plate down and slowly lift the skillet away. Ta-da! If a few apples stick to the pan, no worries. Just use a spatula to gently scoop them out and place them back where they belong.
You did it. You made a Tarte Tatin.

Want to Mix It Up?
Once you nail the classic, feel free to play around.
- Add some spice: Throw a cinnamon stick or a star anise into the sugar while it cooks.
- Make it boozy: A splash of brandy, dark rum, or Calvados added with the butter is amazing.
- Try other fruits: This works great with firm pears, plums, or even pineapple rings.
- Vegan or GF? Easy. Use your favorite vegan block butter and vegan puff pastry, or a good gluten-free puff pastry.
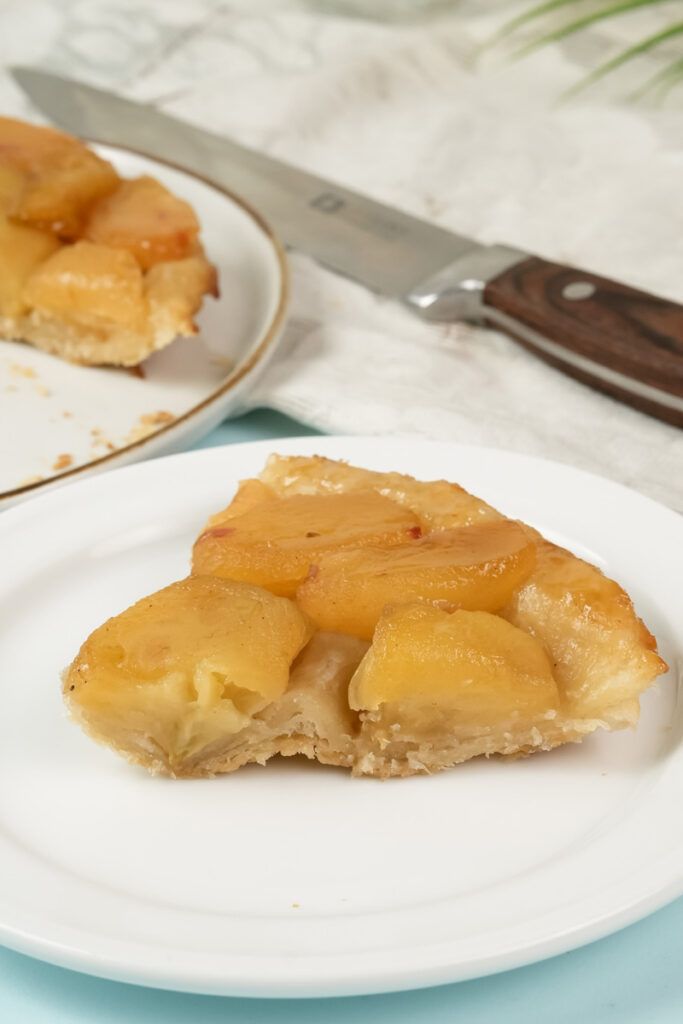
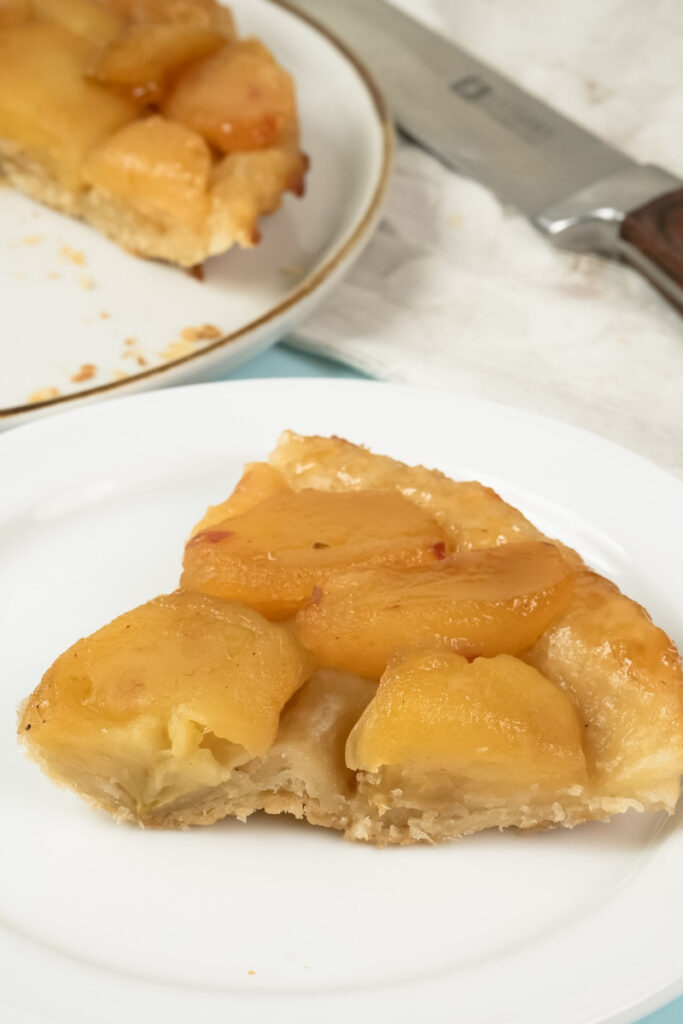
How to Serve and Store It
This tart is best served warm, maybe 30 minutes after it comes out of the oven. The French way is with a spoonful of crème fraîche, which has a tangy flavor that cuts the sweetness beautifully. But let’s be real, a scoop of vanilla ice cream melting into the warm caramel is just about perfect.
If you have leftovers, store them in the fridge uncovered for up to 2 days. Covering it will make the pastry go soft. To reheat, just pop a slice in a 350°F (175°C) oven for 5-10 minutes until the pastry is crisp again.

I really hope you have fun making this. Happy baking!
PrintTarte Tatin

A show-stopping French dessert where sweet, jammy apples are caramelized to perfection under a buttery, flaky puff pastry crust. It’s an “upside-down” tart that looks incredibly fancy but is secretly one of the most rewarding and straightforward desserts to make at home.
- Prep Time: 25 minutes
- Cook Time: 55 minutes
- Total Time: 1 hour 35 minutes (includes essential resting time)
- Yield: 6 people 1x
- Category: Dessert
- Cuisine: French
Ingredients
- 4–5 firm baking apples (Granny Smith or Honeycrisp are perfect), peeled, cored, and quartered
- ⅔ cup granulated sugar
- 6 tbsp water
- 4 tbsp salted butter, cut into pieces (If using unsalted, add ¼ tsp sea salt)
- 1 sheet all-butter puff pastry, thawed but still cold
Instructions
- Prep: Preheat your oven to 400°F (200°C). Have your quartered apples ready to go.
- Make the Caramel: In a 10-inch oven-proof skillet (cast iron is ideal), combine the sugar and water. Place over medium heat and cook, swirling the pan occasionally, until the mixture turns a beautiful light amber color. Don’t walk away, as it can burn quickly!
- Add Butter & Apples: Immediately remove the pan from the heat and stir in the butter until it melts. Be careful, it will bubble up. Gently add the apple quarters and return to the heat. Cook for about 15 minutes, stirring occasionally, until the apples soften slightly and the caramel deepens to a rich amber color.
- Assemble the Tart: Remove the skillet from the heat. Carefully arrange the apples tightly in the skillet with the rounded side down. Drape the puff pastry over the apples and tuck the edges down into the sides of the pan.
- Bake: Place the entire skillet on a rimmed baking sheet (this is a non-negotiable tip to catch drips!). Bake for 35-40 minutes, or until the pastry is puffed and deep golden brown.
- Rest & Flip: Let the tart rest in the pan for at least 15 minutes. This is a crucial step to allow the caramel to thicken. To serve, place a large plate over the skillet and, using oven mitts, confidently flip it over. Lift the skillet away.
Notes
- Serving Suggestions: This tart is best served warm. It’s heavenly with a scoop of vanilla bean ice cream or a dollop of tangy crème fraîche to balance the sweetness.
- Tips & Tricks: An oven-proof, cast-iron skillet will give you the best, most even caramel. Packing the apples tightly is key to a beautiful presentation.
- Storage & Reheating: Store any leftovers uncovered in the refrigerator for up to 2 days (covering it will make the pastry soggy). To reheat, place a slice in a 350°F (175°C) oven for 5-10 minutes, just until the pastry is crisp and the caramel is warm and gooey again.