There’s something so special about that classic Twix combo. You know the one: buttery shortbread, gooey caramel, and rich chocolate. It’s a trio that’s made the candy bar a legend for decades, but what if I told you you could capture all that magic right in your own kitchen?
These cookies aren’t just a dessert. They’re a bite of pure nostalgia, a throwback to simpler times. I was inspired to create this recipe after seeing how popular the idea was online. And I get it. The contrasting textures and flavors create a totally decadent experience that’s just impossible to resist.
The best part? This recipe is simple. Even if you’ve never baked before, you can still whip these up. It’s perfect for anyone who loves to bake and wants to share a little homemade happiness.
Recipe Overview
Ready to bake? Here’s what you can expect in terms of timing and effort. These cookies are a labor of love, but the process is straightforward. A great project for a quiet afternoon!
Timing: This recipe takes about an hour and 45 minutes from start to finish. That includes 30 minutes of prep, 15 minutes of baking, and an hour of chilling and setting. A little patience goes a long way.
Servings: The recipe makes a perfect batch of 10 cookies, but you can easily double or triple it. Just check out the table below for quick reference.
Skill Level: I’d rate this as a moderate difficulty recipe. The steps are easy, but you have to be patient. The key is making sure each layer is properly set before moving on. Don’t rush it!
Tools: You’ll need a few basics: an electric mixer (stand or hand mixer), a rolling pin, a round cookie cutter, a microwave-safe bowl for melting the caramel and chocolate, and baking sheets lined with parchment paper. These tools will make everything so much easier.
Make-Ahead Option: You can totally make the cookie dough up to a day in advance and store it in the fridge. This is a game-changer if you’re short on time. It splits up the work and makes baking feel less daunting.
| Item | Original Recipe (10 cookies) | Double Batch (20 cookies) |
| Butter | 1/2 cup | 1 cup |
| Flour | 1 cup | 2 cups |
| Caramels | 11 oz. | 22 oz. |
| Chocolate | 1 1/2 cups | 3 cups |
Ingredients
This recipe uses simple, accessible ingredients that come together to create a truly delicious treat. Let’s walk through each one and talk about what makes them great.
For the shortbread base:
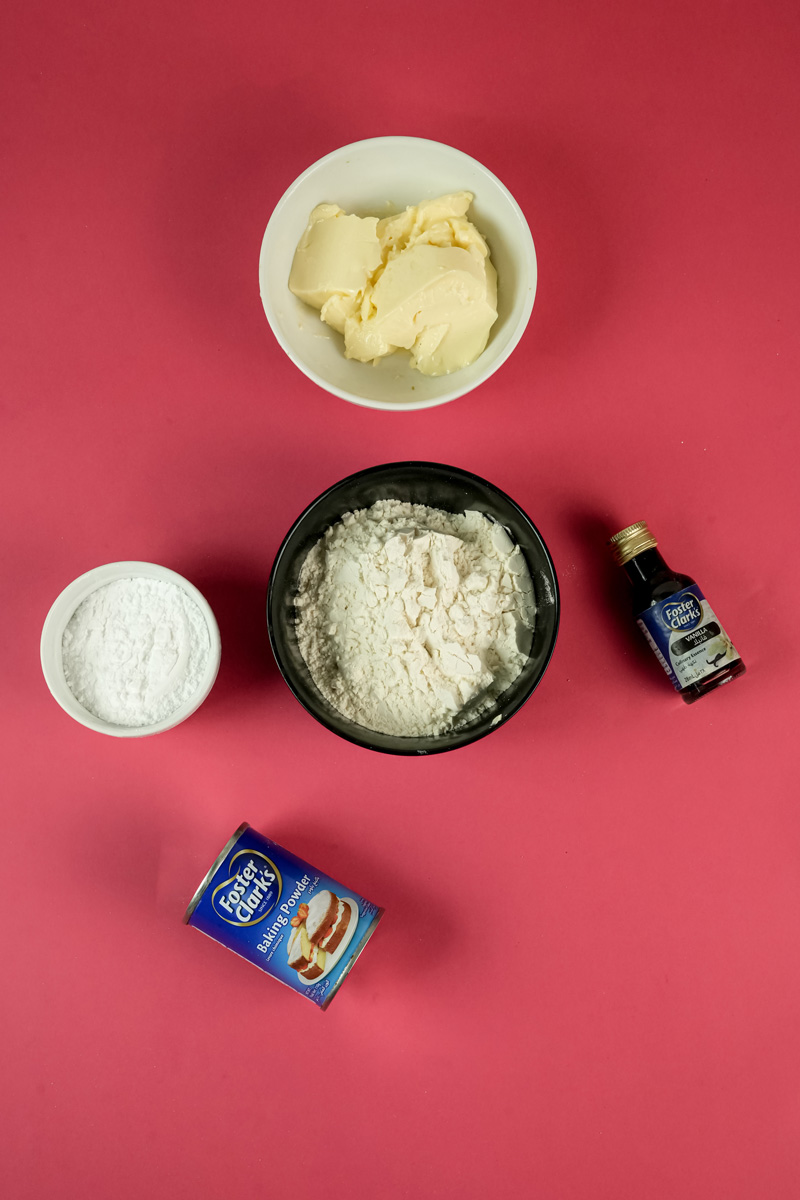
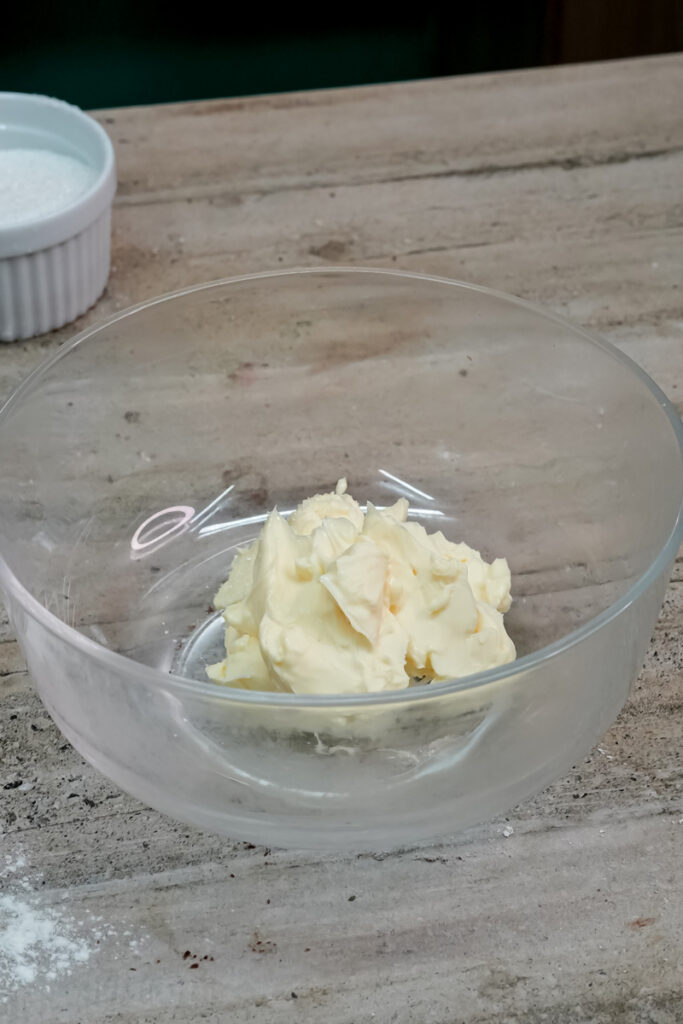
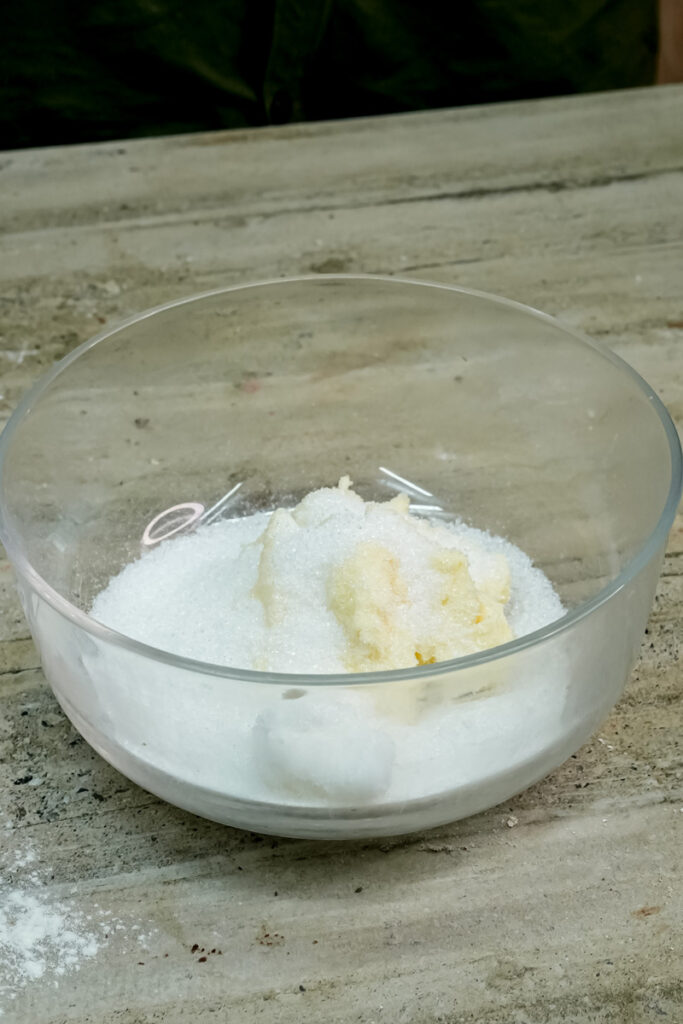
- Butter, powdered sugar, vanilla extract, baking powder, and all-purpose flour. Using powdered sugar instead of granulated sugar in the dough is a little trick that creates a tender, melt-in-your-mouth texture. For the butter, make sure it’s softened to room temperature. This is crucial for properly creaming it with the sugar, which gives the cookies their light and airy consistency.
For the gooey caramel layer:
- Kraft Caramel Bits, milk, and a pinch of salt. The caramel bits are a huge time-saver. No unwrapping! Plus, they melt beautifully. The milk makes the caramel spreadable, and the salt balances out the sweetness. You could also use soft caramel squares or even caramel sauce from a jar if you prefer.
For the chocolate layer:
- Milk chocolate chips and a little vegetable oil. The oil helps thin the chocolate, giving it a smooth, glossy finish that hardens perfectly. You can use other oils like coconut oil, or for a richer finish, even shortening. Feel free to experiment with different types of chocolate, like semi-sweet or dark, to adjust the sweetness to your liking.
Step-by-Step Method
Let’s get our hands dirty and make some dough!
1. Crafting the Perfect Shortbread Base
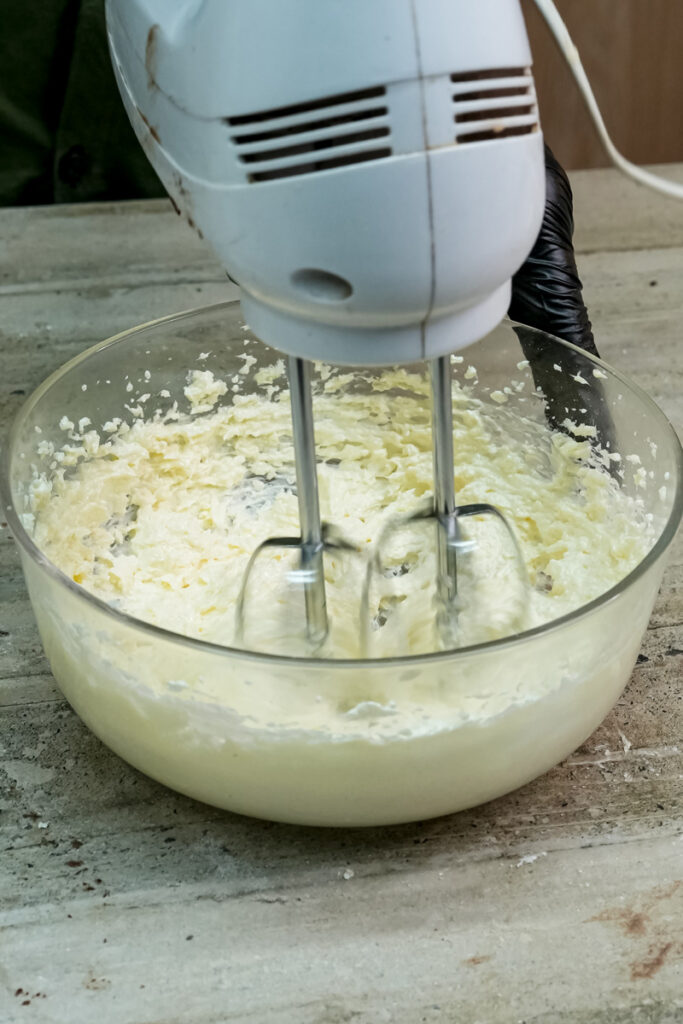
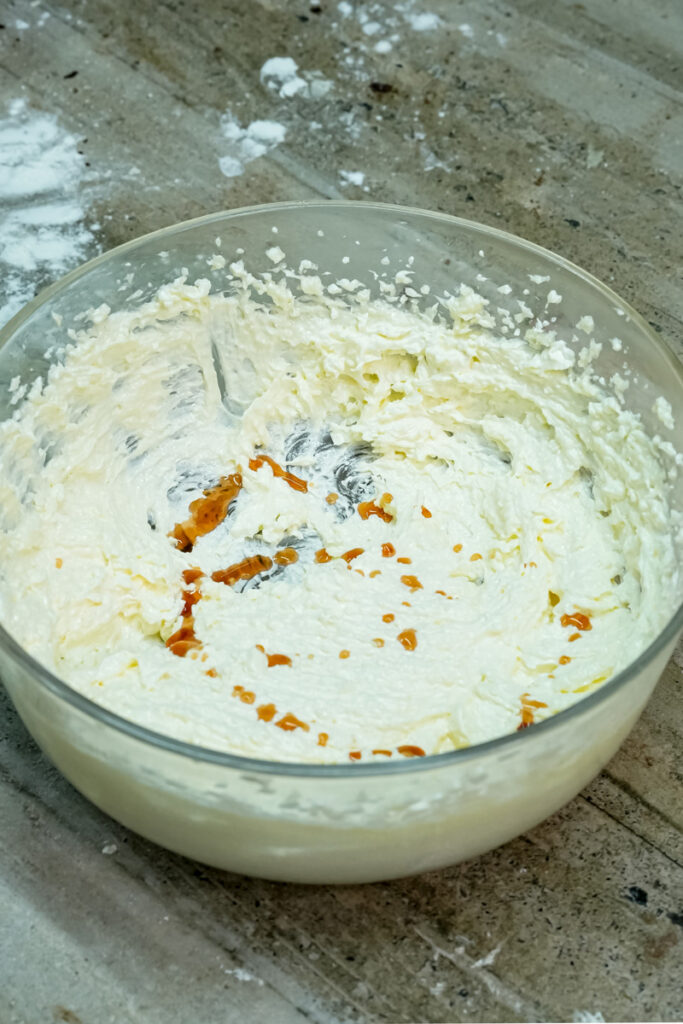
Grab your electric mixer. We’re going to cream the softened butter and powdered sugar together until they’re light and fluffy. You’ll know it’s ready when the mixture turns a pale, creamy color and looks like soft frosting.
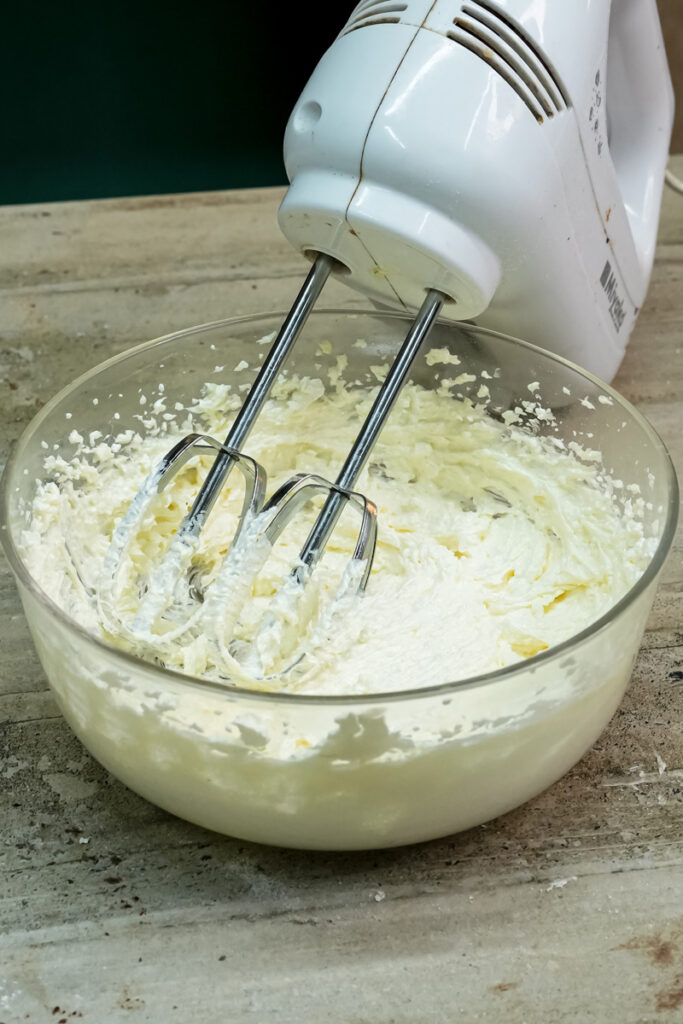
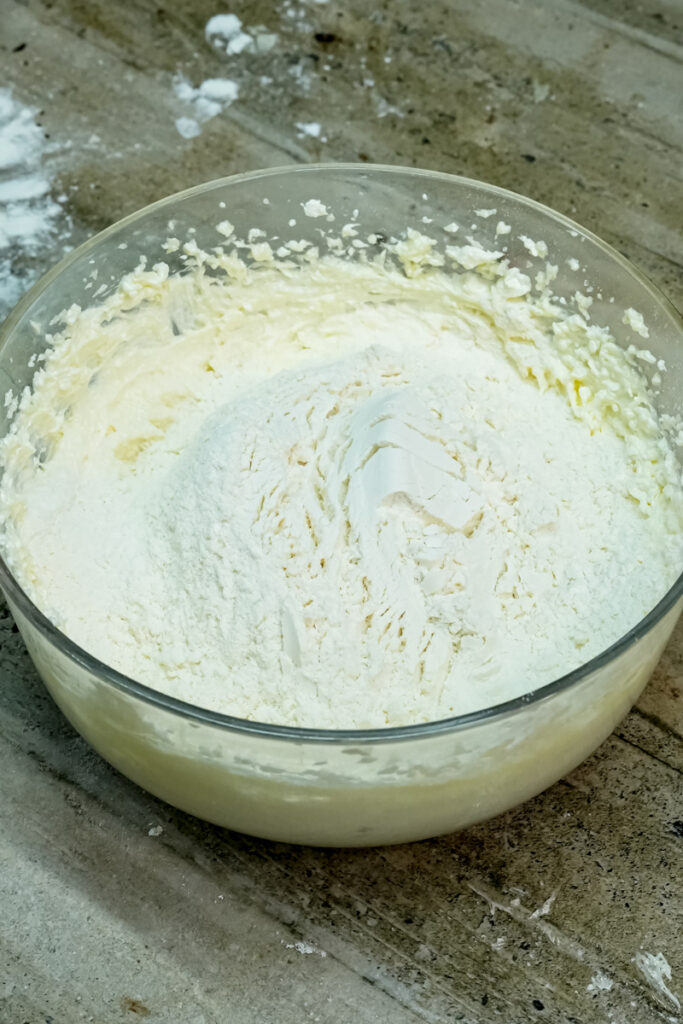
Next, add the vanilla, baking powder, and flour. Mix just until everything is combined. Be careful not to overmix! That can lead to a tough cookie. The dough should be soft and pliable, a bit like Play-Doh.
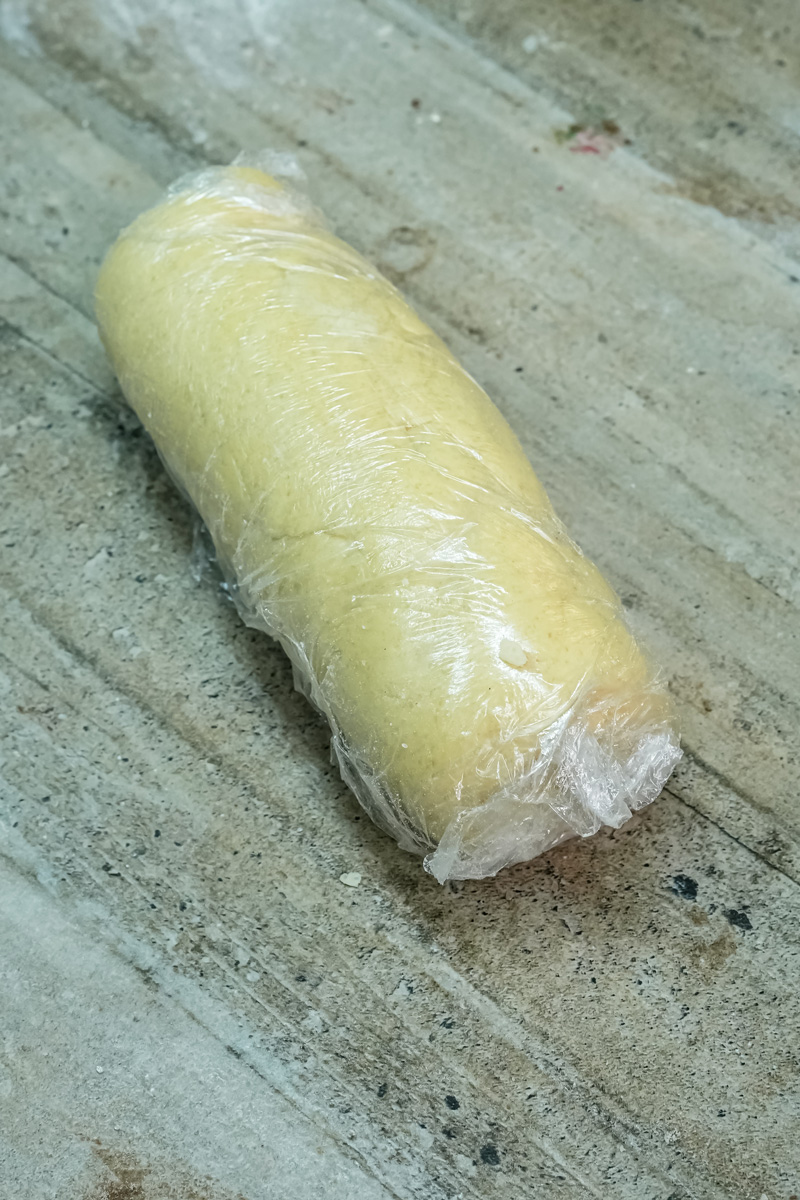
Now, wrap the dough in plastic wrap and put it in the fridge to chill for at least an hour. This step is non-negotiable! Chilling the dough is key to preventing your cookies from spreading too much in the oven. It ensures they hold their perfect round shape.
2. Baking the Buttery Cookies
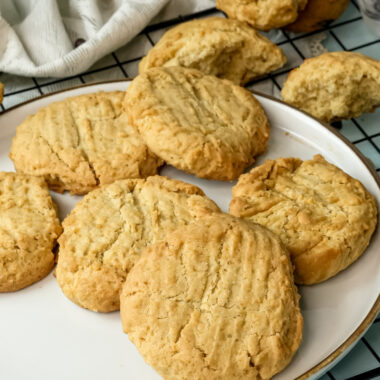
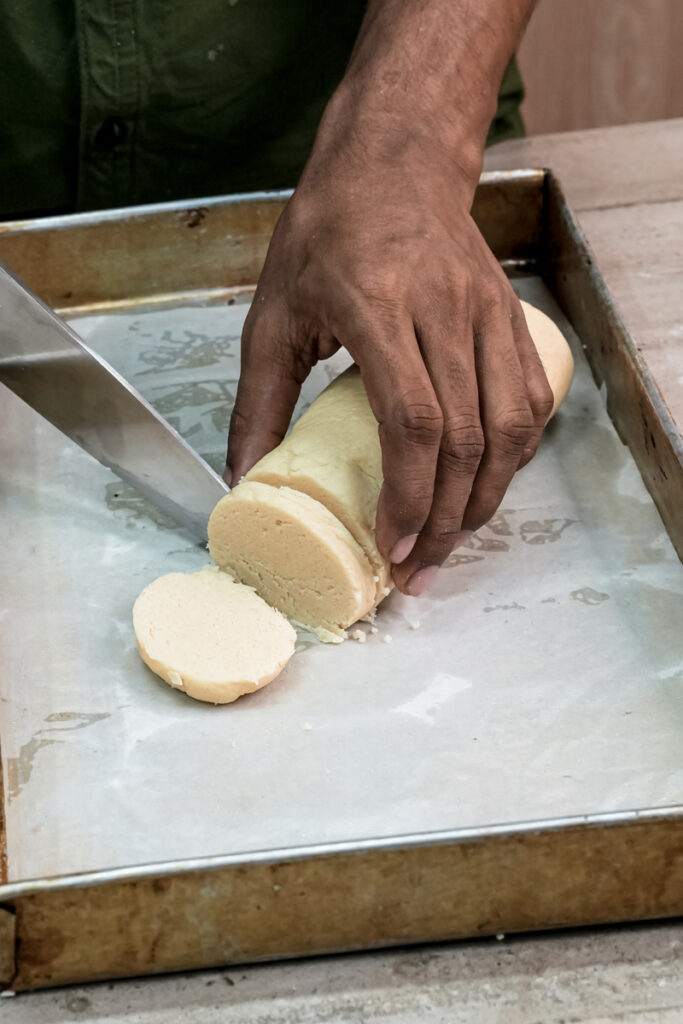
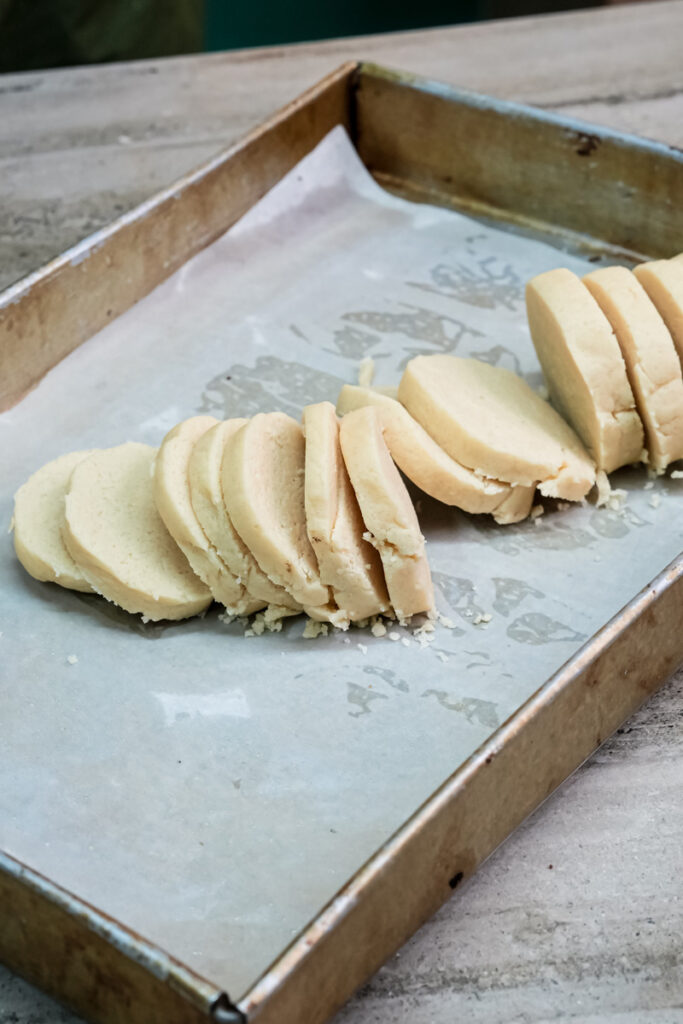
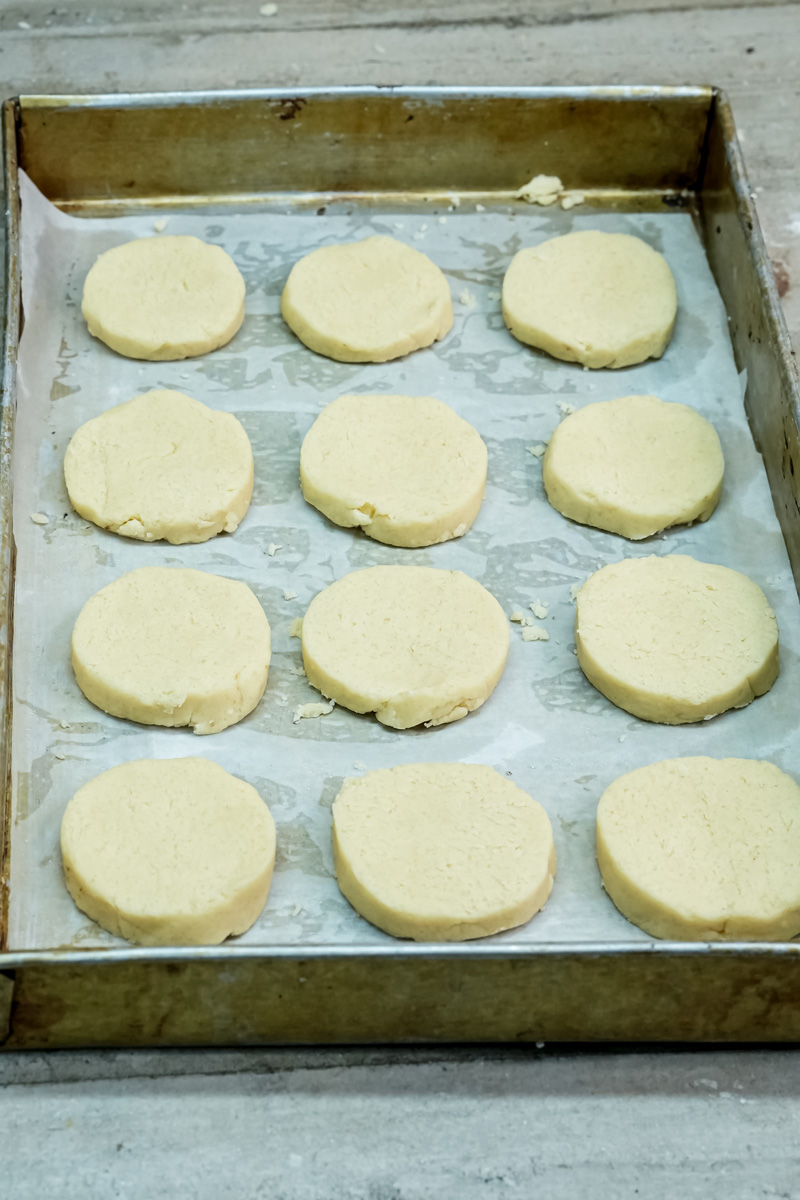
Once the dough has chilled, preheat your oven to 350°F and prepare your baking sheets with parchment paper. Lightly flour your counter and rolling pin, and roll out the dough to about 1/4-inch thickness. Since these cookies won’t rise much, the thickness you roll them to is exactly what you’ll get. Use your round cookie cutter to cut out the shapes and transfer them to the baking sheet.
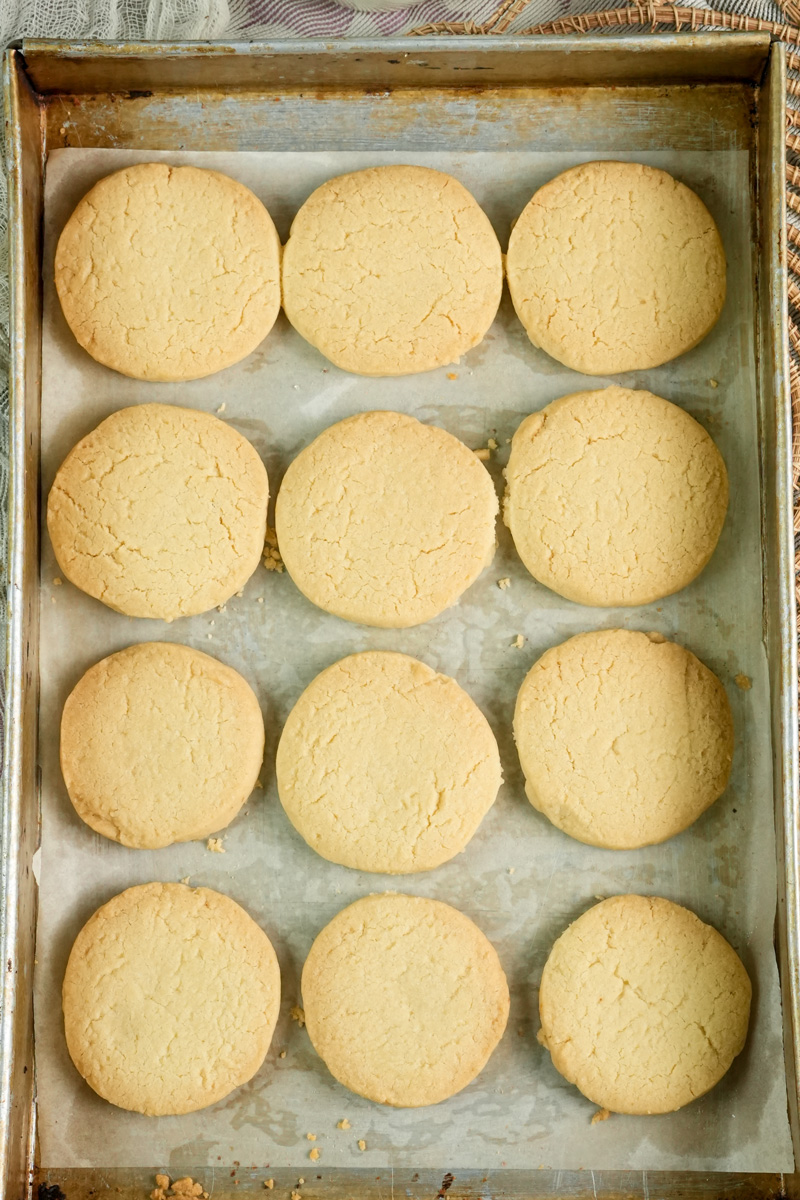
Bake for 7-10 minutes. You’re not looking for a deep golden-brown color; instead, you want the cookies to be just set and no longer glossy. Once they’re done, remove them from the oven and let them cool completely on a wire rack. They need to be fully cooled before the next step to prevent the caramel from melting them.
3. Creating the Gooey Caramel Layer
Now for the best part! In a microwave-safe bowl, combine the Kraft Caramel Bits and milk. Pop it in the microwave for one minute, then remove and stir carefully—it will be hot and sticky! Continue heating in 20-second intervals, stirring in between, until the caramel is smooth and lump-free. For a perfect flavor, stir in the salt.
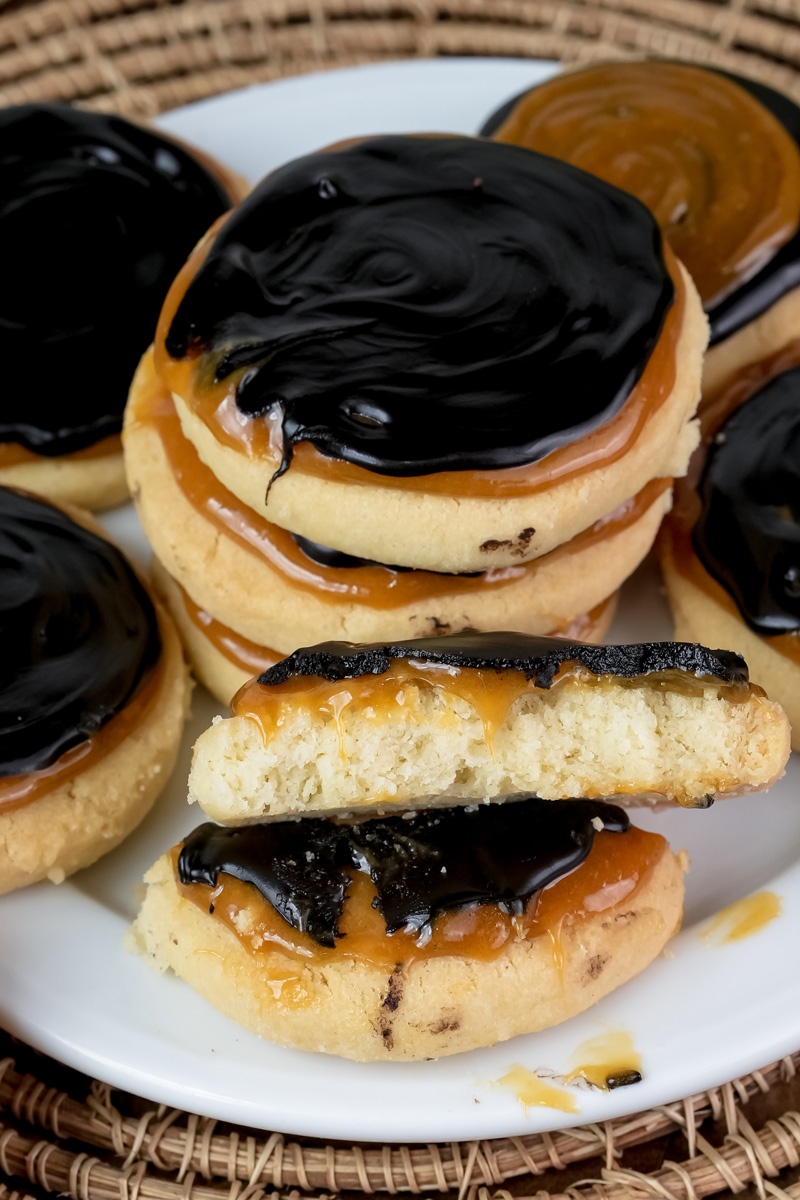
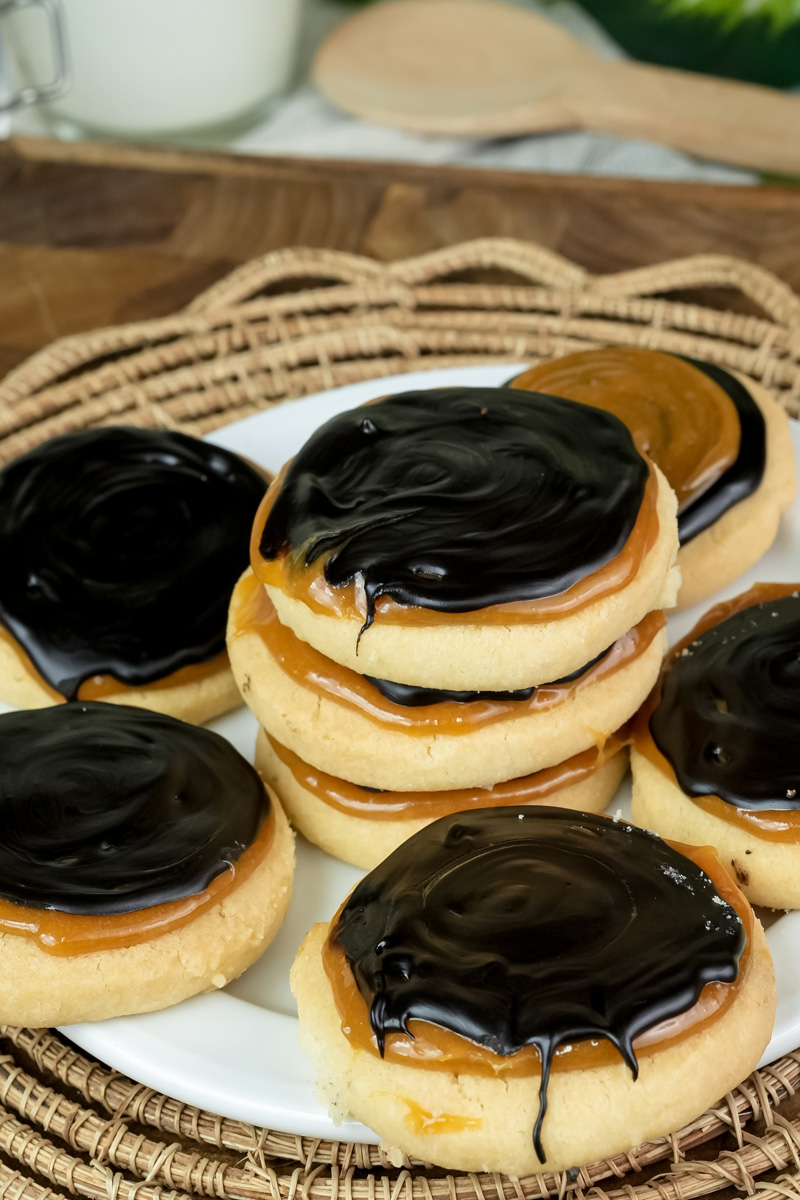
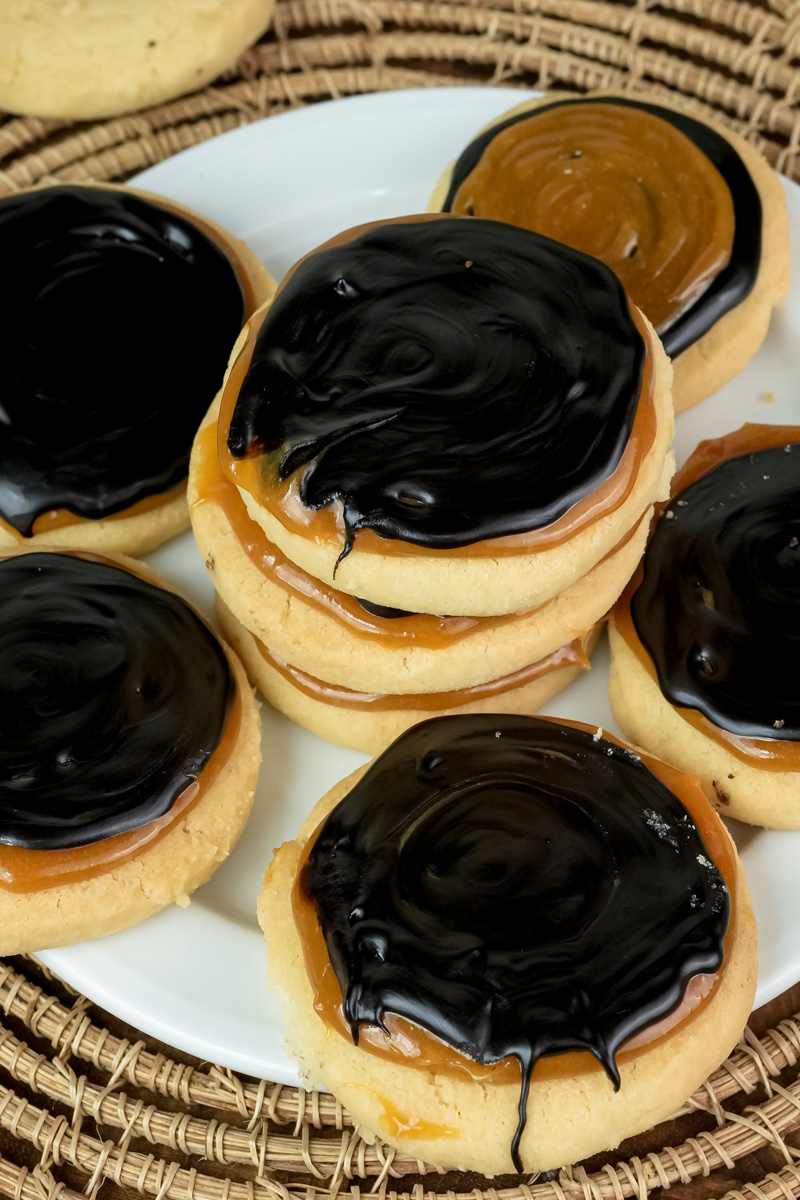
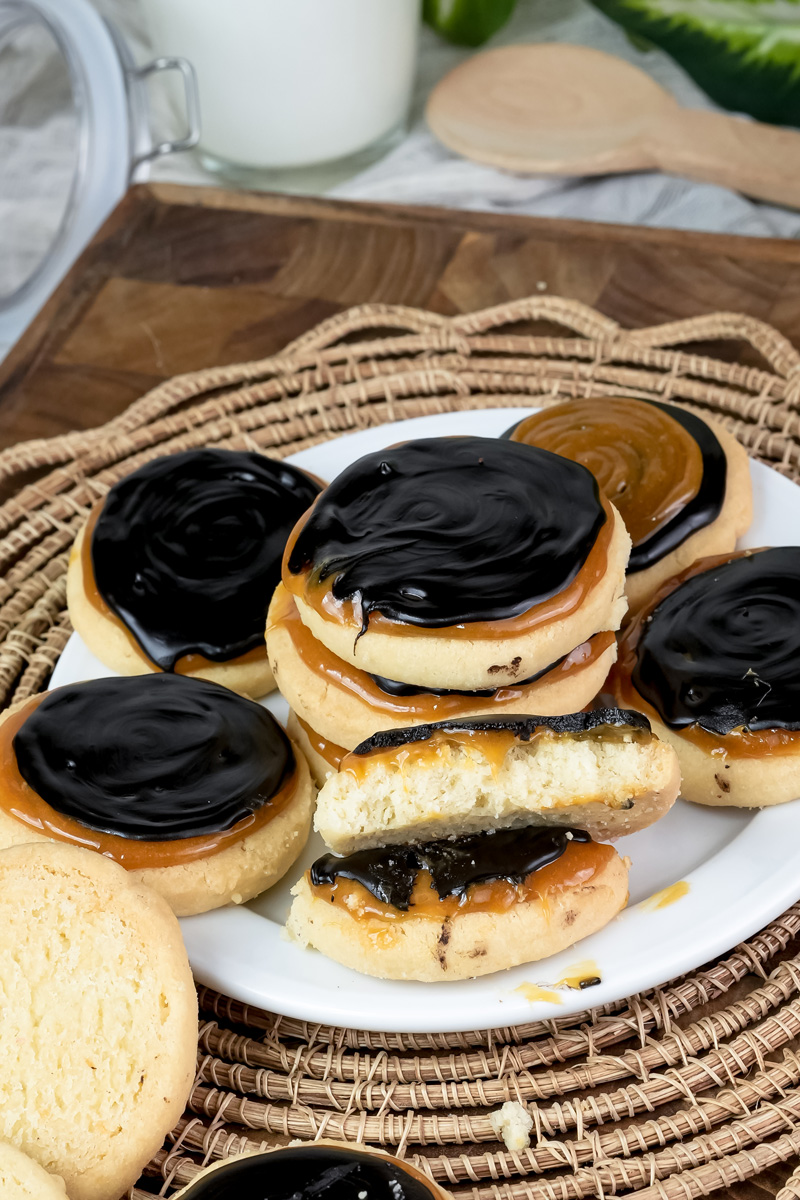
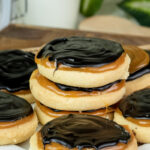
Spoon about a teaspoon of the warm caramel onto each cooled cookie. You can use a spoon to swirl it around and cover the surface. This layer needs to set up before the chocolate goes on. This takes about 30 minutes at room temperature, or you can place them in the fridge to speed up the process. You’ll know it’s ready when it’s no longer sticky to the touch.
4. The Final Chocolate Touch
The final step is the most rewarding. In another microwave-safe bowl, combine the milk chocolate chips and vegetable oil. Heat this mixture in 30-second increments, stirring after each time, until the chocolate is smooth. Be careful not to overheat it! Chocolate can seize and become unusable.
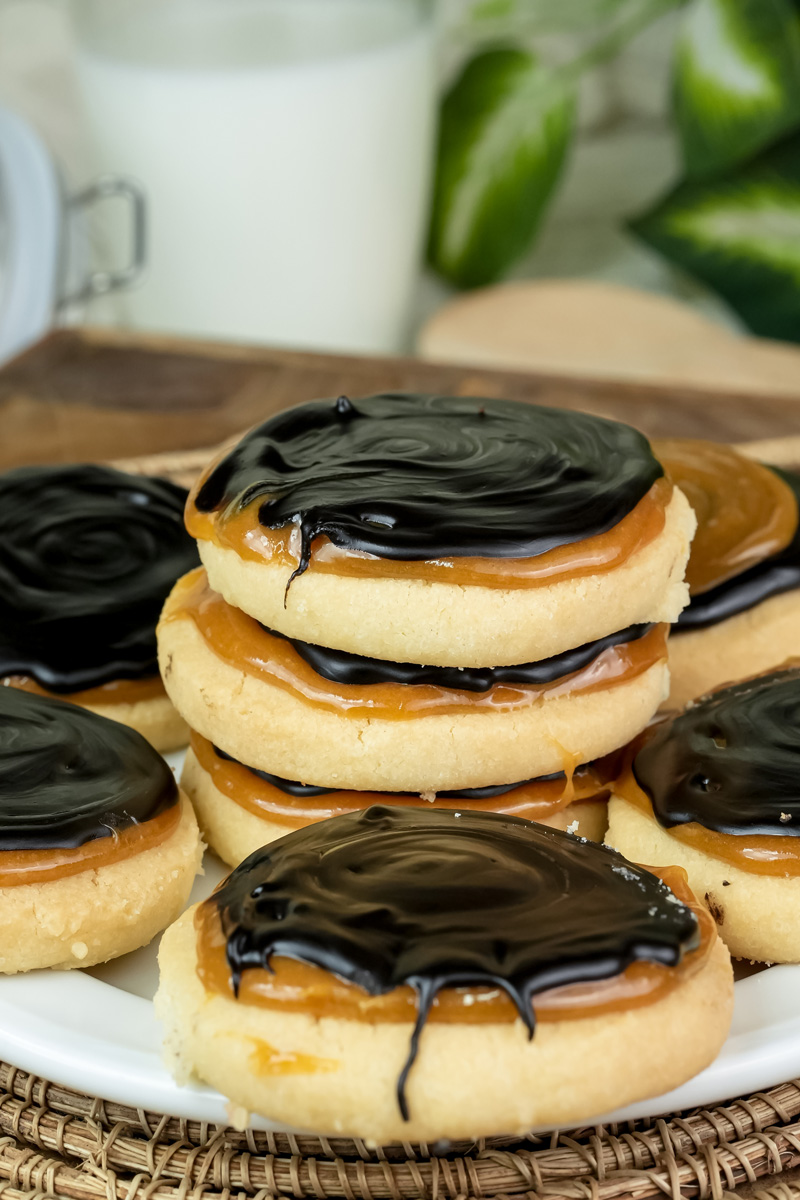
Once your chocolate is melted and glossy, spoon a teaspoon onto the set caramel on each cookie. Give it a gentle swirl to cover the caramel. You can also use a pastry bag for a more controlled drizzle. The cookies are ready to eat once the chocolate is fully set.
Variations & Customization
The best thing about a great recipe is making it your own. Here are a few ideas for adding your personal touch to these delicious cookies.
- For dietary modifications: You can find gluten-free all-purpose flour blends that work well in this type of shortbread recipe. For a vegan option, you can substitute the butter with a plant-based alternative and use a dairy-free caramel and chocolate. Just be sure to find high-quality products that are specifically for baking to ensure the right texture.
- To adjust the flavor: Try different kinds of chocolate. If you prefer a less sweet cookie, swap the milk chocolate chips for semi-sweet or dark chocolate. You could also add a sprinkle of sea salt on top of the melted chocolate layer to create a wonderful balance of sweet and savory.
- Seasonal adaptations: You can easily incorporate festive sprinkles or a touch of peppermint extract for a holiday version. You can also press a few chopped pecans into the caramel layer before the chocolate sets for a “turtle” variation. The possibilities are endless!

Serving & Storage
These cookies are so beautiful and delicious, they don’t need much in the way of side dishes! I recommend serving them on a pretty platter as a standalone dessert, maybe with a cup of coffee or a cold glass of milk.
To store your finished cookies, place them in an airtight container. They will stay fresh at room temperature for about 3-4 days. I also love storing them in the fridge, especially if you want a chilled treat. While the cookie base can be frozen for up to 3 months, it’s not recommended to freeze the fully assembled cookies, as the caramel layer may change texture when thawed.
Twix Cookies
Capture all the magic of a classic Twix bar right in your kitchen! These homemade Twix cookies are a fun project, featuring a melt-in-your-mouth shortbread base, a gooey caramel center, and a smooth chocolate topping. Pure nostalgia in every bite.
- Prep Time: 30 minutes
- Cook Time: 15 minutes
- Total Time: 1 hour 45 minutes (Chilling Time)
- Yield: 10 cookies 1x
- Category: Dessert
- Cuisine: American
Ingredients
For the Shortbread Base
- ½ cup butter, softened
- ¼ cup powdered sugar
- 1 tsp vanilla extract
- 1 cup all-purpose flour
- ½ tsp baking powder
For the Caramel Layer
- 11 oz Kraft Caramel Bits
- 2 tbsp milk
- pinch of salt
For the Chocolate Topping
- 1½ cups milk chocolate chips
- 1 tsp vegetable oil
Instructions
- Make the Dough: In a mixer, cream softened butter and powdered sugar until light and fluffy. Add vanilla, baking powder, and flour. Mix until just combined, then wrap the dough in plastic and chill in the fridge for at least 1 hour. Don’t skip this step!
- Bake the Cookies: Preheat your oven to 350°F. Roll out the chilled dough to ¼-inch thick. Use a round cookie cutter to cut shapes and place them on a parchment-lined baking sheet. Bake for 7-10 minutes, or until just set. Let cool completely on a wire rack.
- Create the Caramel: In a microwave-safe bowl, combine caramel bits and milk. Microwave for one minute, then stir. Continue heating in 20-second bursts, stirring until smooth. Stir in a pinch of salt. Spoon a teaspoon of warm caramel onto each cooled cookie. Let it set for about 30 minutes at room temperature (or speed it up in the fridge).
- Add the Chocolate: In another microwave-safe bowl, melt chocolate chips and vegetable oil in 30-second increments, stirring after each, until smooth and glossy. Spoon a teaspoon of melted chocolate over the set caramel.
- Let it Set: Let the cookies rest until the chocolate hardens completely. Then, they’re ready to enjoy!
Notes
- Serving Suggestions: These are best served on their own with a cold glass of milk or a cup of coffee.
- Tips & Tricks: To get a smooth, glossy chocolate coating, don’t overheat the chocolate. The vegetable oil helps keep it perfect.
- Storage: Store in an airtight container at room temperature for up to 3-4 days. For a chilled treat, store them in the fridge. Freezing isn’t recommended for the assembled cookies, as the caramel’s texture may change.