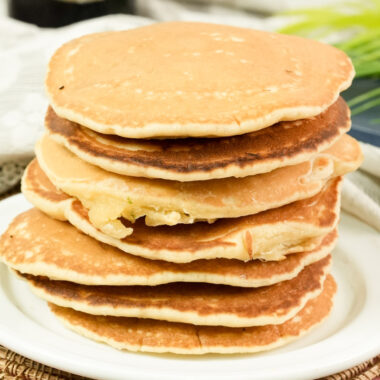
I am so happy you’re hanging out in the kitchen with me today. Honestly, there is something kind of magical about a vanilla mug cake. It is the best “I need a snack right now” fix. It fills that gap between a late-night craving and a big baking project.
Mug cakes got popular back in the 1980s when everyone started getting microwaves. Back then, they were usually dry and rubbery. Not anymore. Now, they have turned into fancy, single-serve treats.
I recently tried to make a quick dessert and realized why this specific recipe is so great. It is just so simple. It uses basic pantry items and skips the egg. That is the secret. Eggs usually make mug cakes feel like a sponge. This version uses the right mix of butter and flour. It tastes more like a real pound cake.
Whether you are in a college dorm or a pro baker who hates washing dishes, this is your new secret weapon.
Recipe Overview: The Quick Look
Before we start, let’s look at the plan. This is a low-stress project. It’s perfect for kids or beginners. Just keep a few things in mind so it turns out great every time.
| Detail | Information |
| Prep Time | 5 Minutes |
| Cook Time | 1.5 – 2 Minutes |
| Total Time | 7 Minutes |
| Difficulty | Level 1/5 |
| Servings | 1 Big Serving |
You just need a microwave-safe mug. I suggest a 12-ounce mug. The batter looks small, but it will climb up the sides! If you don’t have a whisk, just use a dinner fork. It works great to stir the flour.
A quick tip? Do not double the recipe in one big bowl. Microwave physics is weird. If you want to make them for friends, prep separate mugs. Put the dry stuff in each one first. Then add the wet stuff right before you cook them.
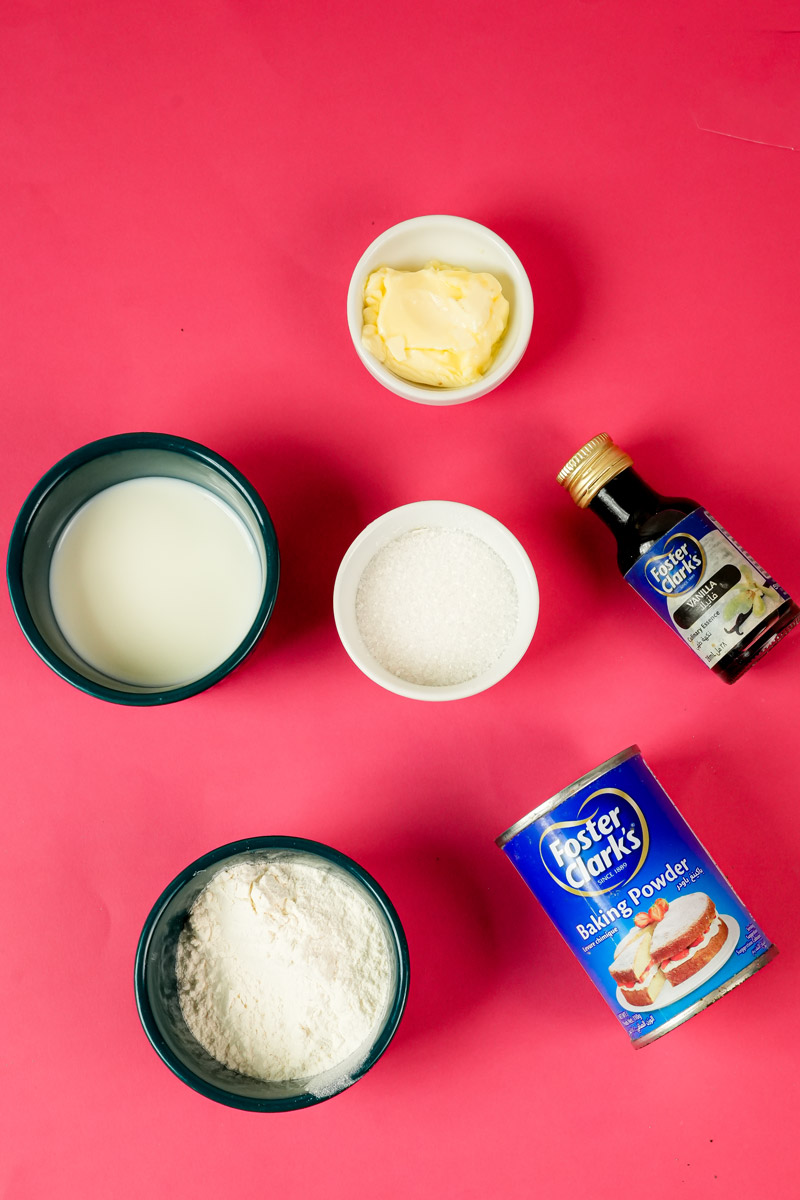
The Ingredients: Simple and Tasty
The best part? You probably have all of this in your cupboard already. Since there aren’t many ingredients, use the good vanilla if you have it. It really makes a difference.
The Wet Stuff:
- 2 tablespoons butter: Use salted or unsalted. If you go with unsalted, add an extra pinch of salt later.
- 1 teaspoon vanilla extract: Use vanilla bean paste if you want those pretty black specks.
- 1/4 cup milk: Whole milk is the tastiest. Oat, almond, or 2% work fine too.
The Dry Stuff:
- 2 tablespoons sugar: This makes it sweet but not too sugary.
- 1/4 cup flour: Use all-purpose. Don’t pack it down. Spoon it into the cup. If you use too much, the cake gets heavy.
- 1/4 teaspoon baking powder: This gives it the lift.
- 1/8 teaspoon salt: This makes the vanilla flavor pop.
Step-by-Step Method: Let’s Bake!
Let’s do this. Making a mug cake is easier than boiling an egg.
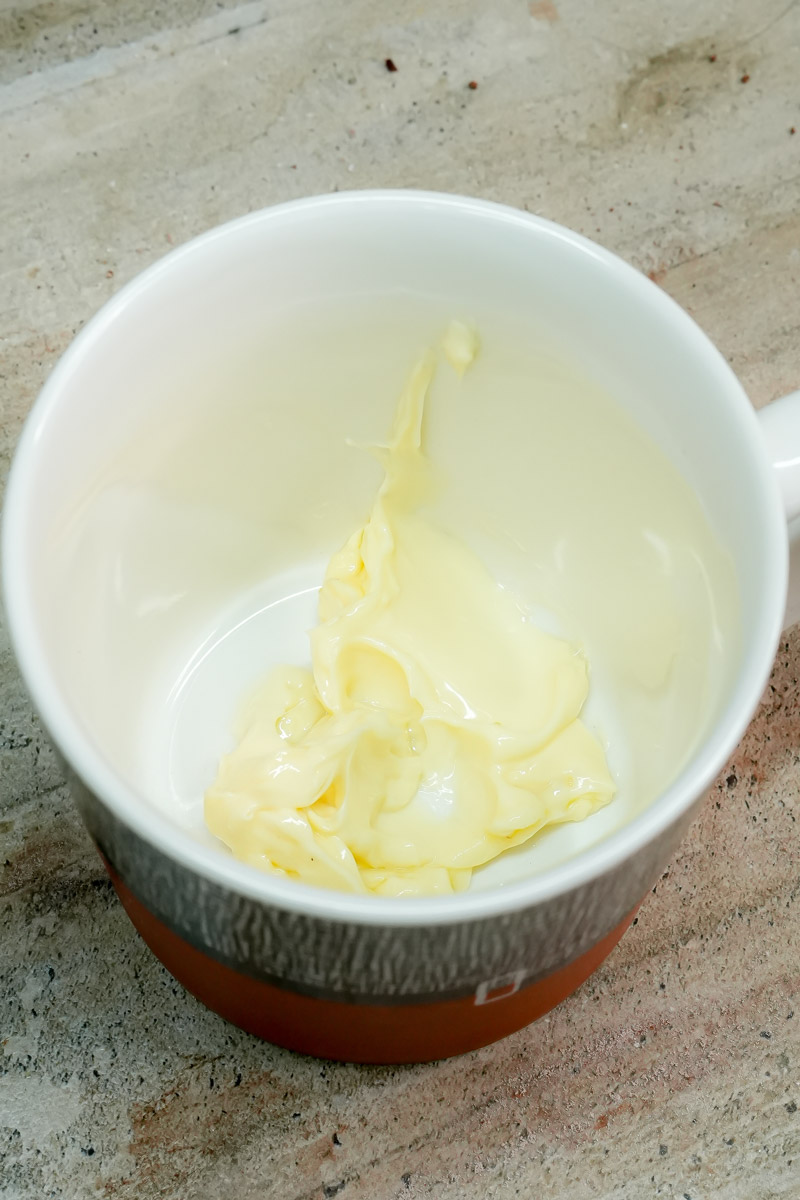
Melt the butter. Put it in the mug and microwave for 20-30 seconds. Let it cool for a moment so it isn’t boiling hot.
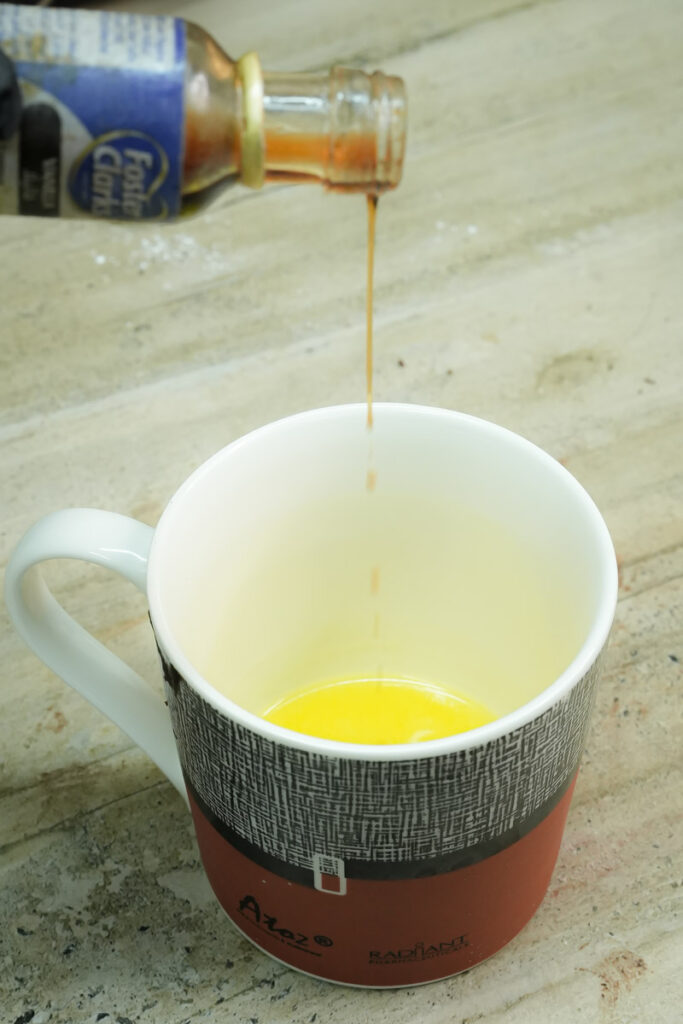
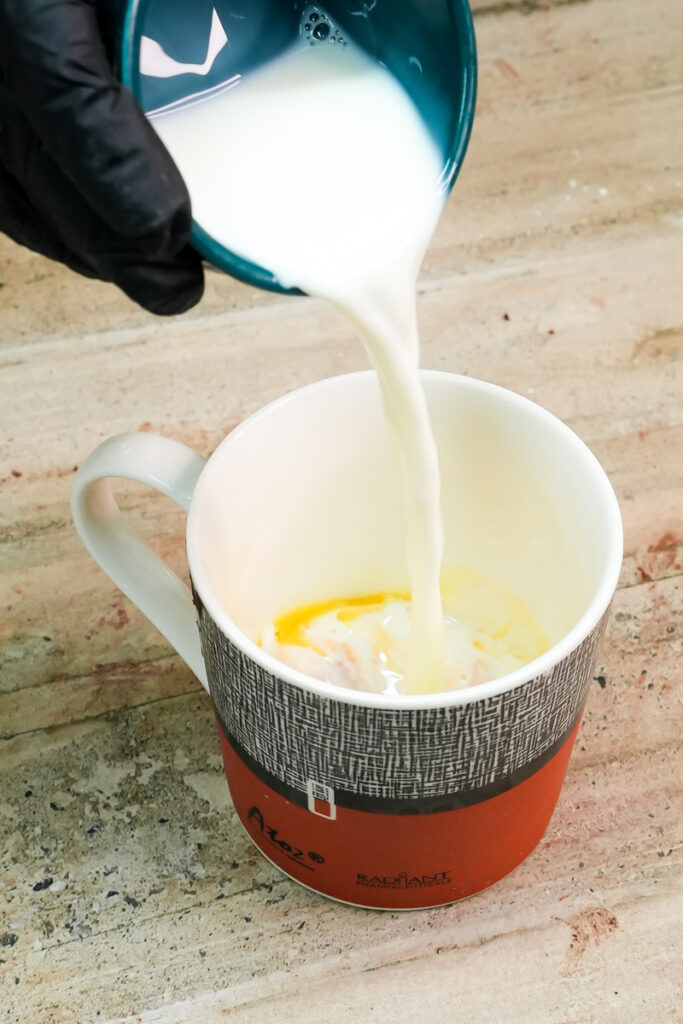
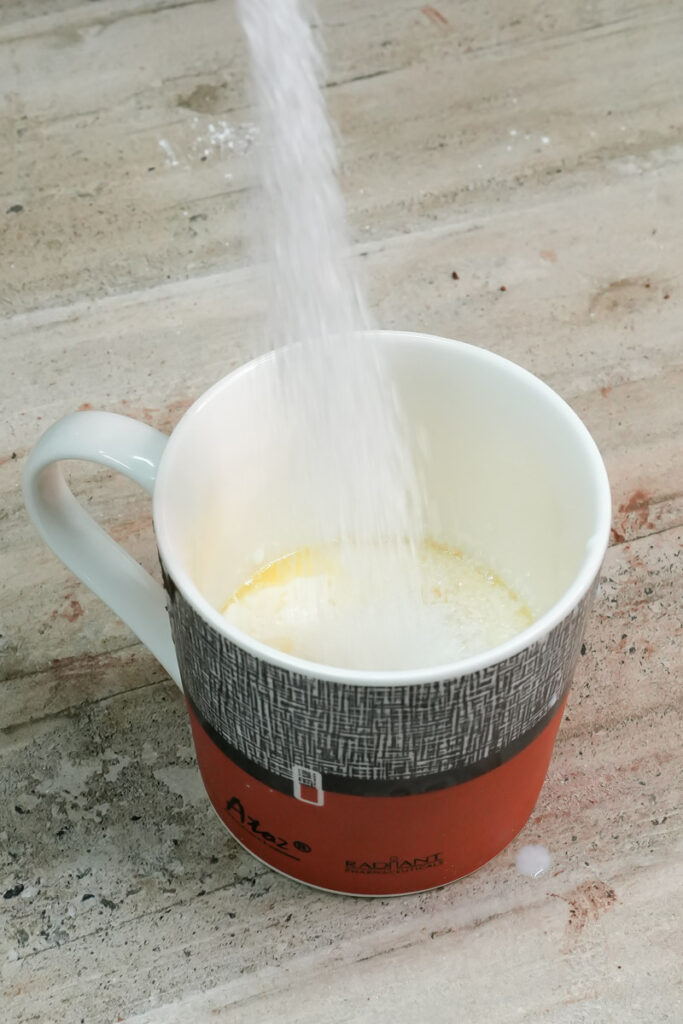
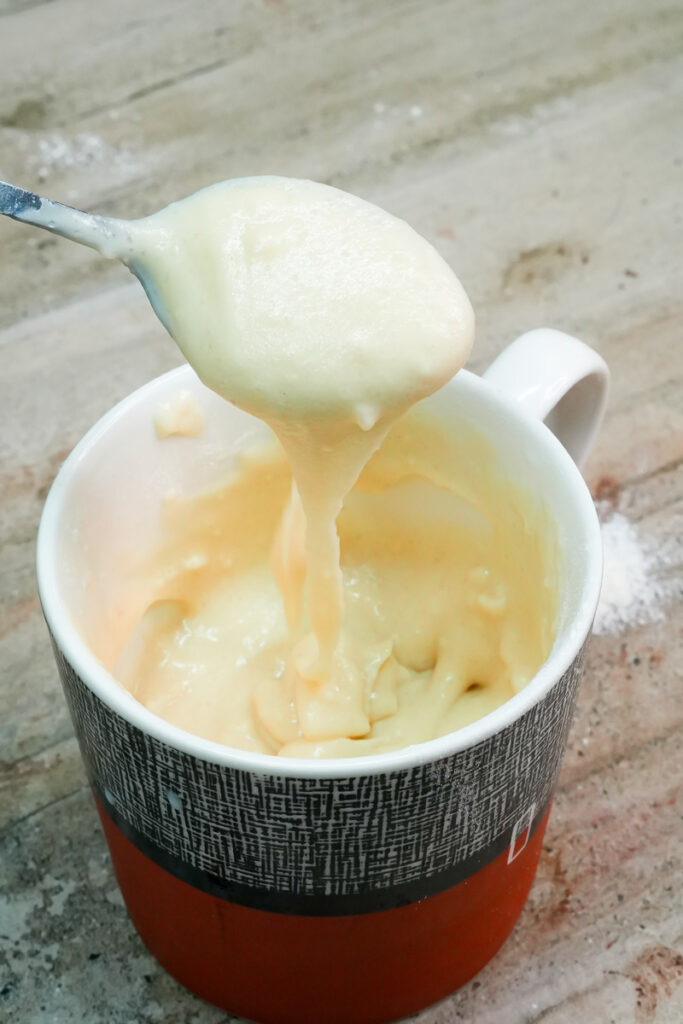
Add the liquids. Pour in your milk, vanilla, and sugar. Stir it well with your fork. You want the sugar to start dissolving. It should smell amazing.
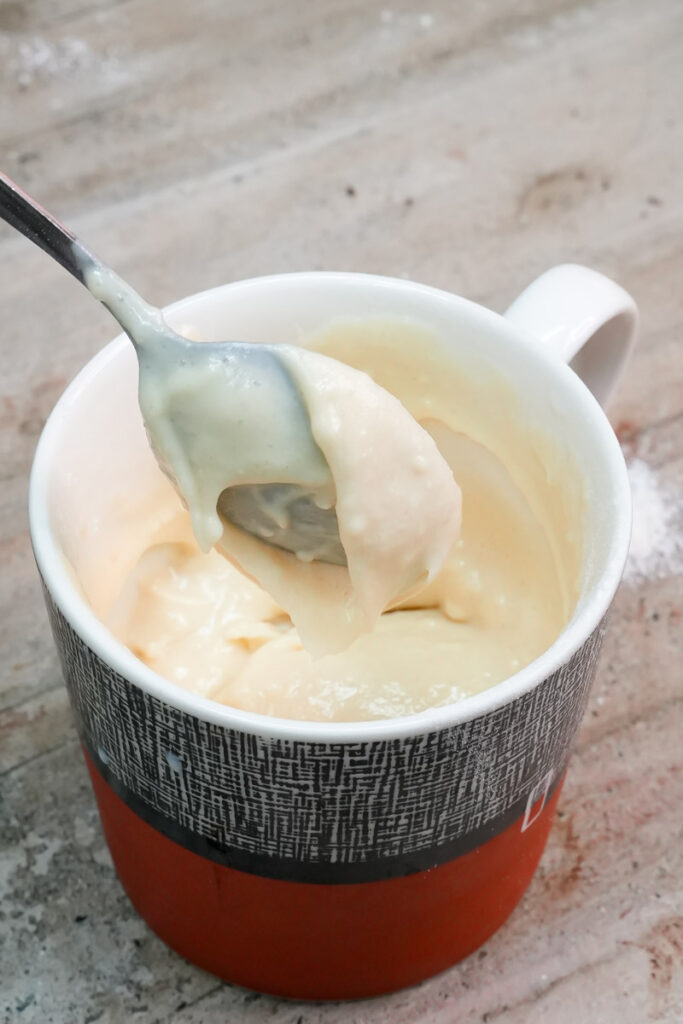
Add the structure. Stir in the flour, baking powder, and salt. This is the most important part.
Stop stirring. Only mix until the white streaks disappear. If you over-mix, you’ll end up with a cake that feels like a pencil eraser. Nobody wants that.
Cook it. Put the mug in the microwave. I put mine a little off-center on the glass tray. It helps it cook more evenly.
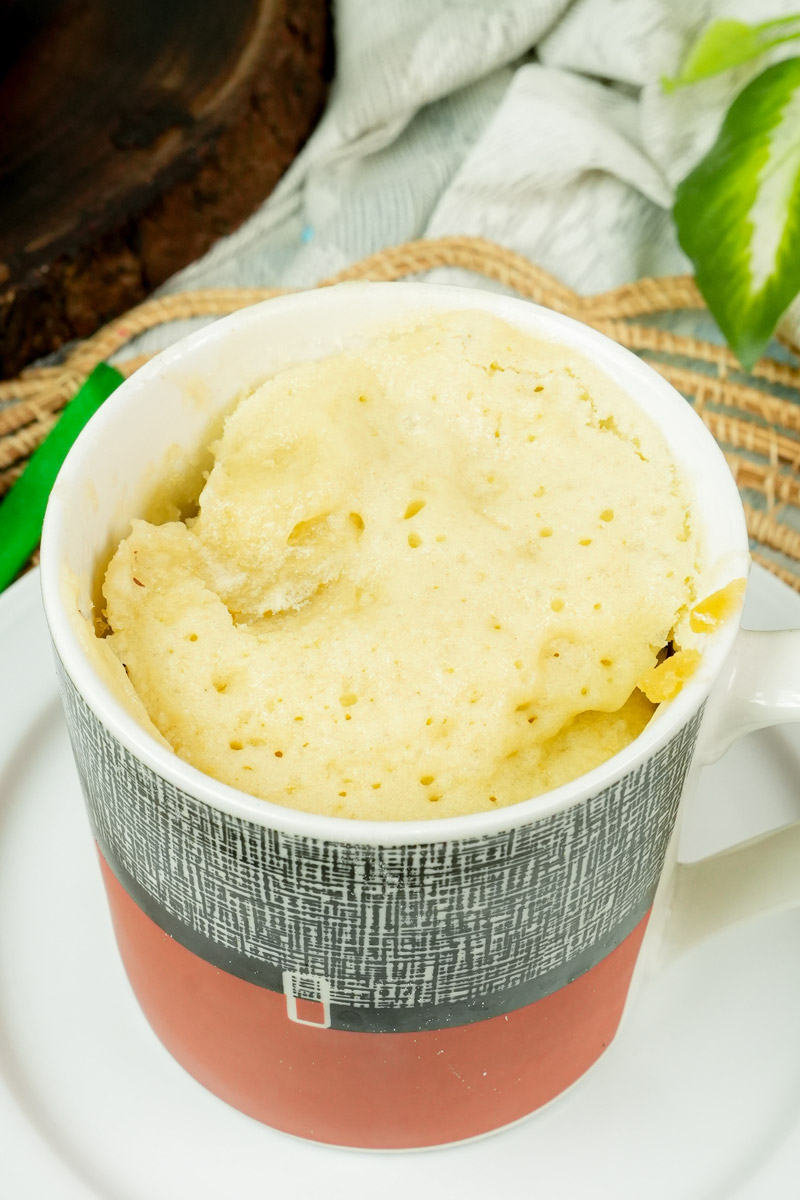
Set the time. Start with 1 minute and 30 seconds. The cake will rise high. Don’t worry, it usually won’t spill!
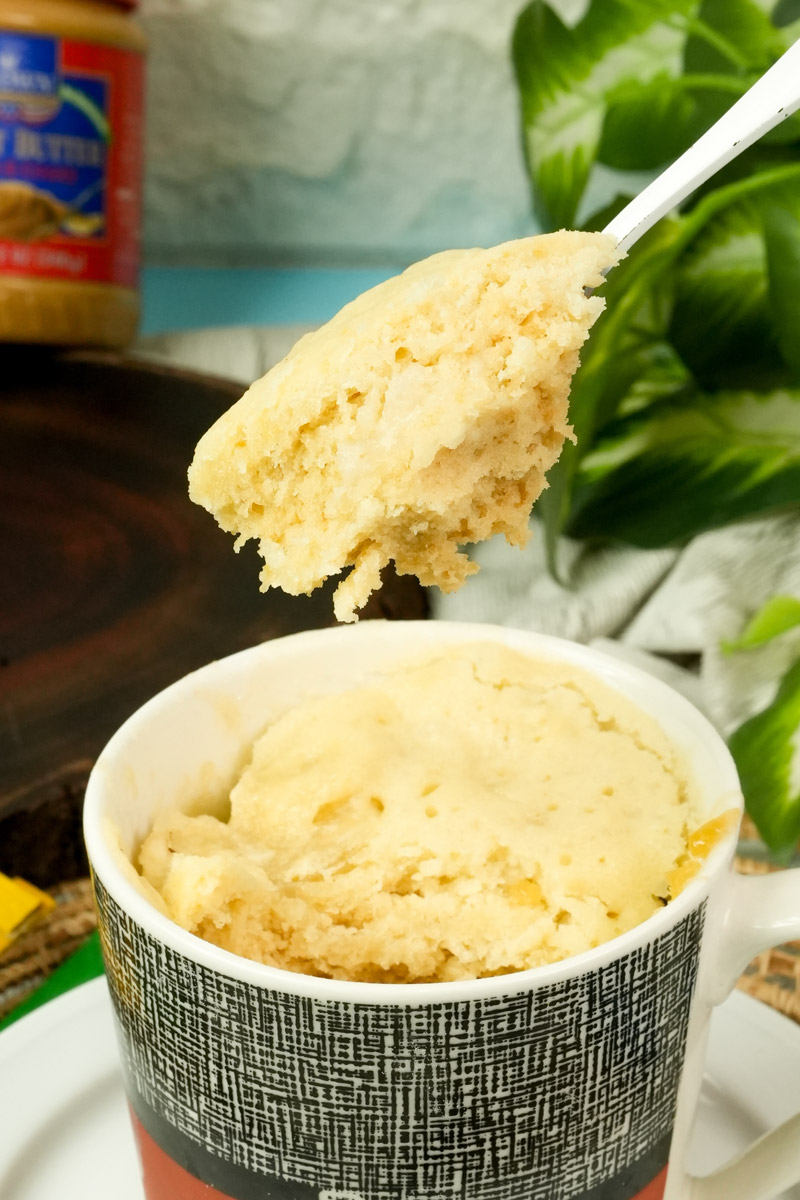
The touch test. The top should feel firm and bouncy. If it’s wet, give it 15 more seconds.
Wait. Let it sit for one minute before you eat. This helps the middle finish cooking.
Make It Your Own
This is the only recipe you need because you can change it so easily.
- Make it Vegan: Use melted coconut oil and almond milk.
- Make it Gluten-Free: Use a 1-to-1 GF flour blend. It works great because the cook time is so short.
- The “Fancy” Version: Add a tablespoon of sprinkles for a birthday cake vibe. You could also drop a few white chocolate chips in the middle.
- Seasonal Swaps: Add cinnamon in the fall. In the summer, top it with fresh strawberries.
Serving and Storage
You can eat it right out of the mug. That’s the classic move. If you want to be fancy, run a knife around the edge and flip it onto a plate. Top it with whipped cream or some caramel.
One thing to remember? Eat it fast. Mug cakes dry out quickly because of how microwaves work. They are best within 15 minutes. If you have leftovers, wrap the top with plastic wrap. But honestly? It’s so fast to make that you should probably just make a fresh one.
| Topping Idea | Flavor Profile |
| Fresh Raspberries | Tart and bright |
| Nutella Drizzle | Rich and nutty |
| Lemon Zest | Fresh and aromatic |
| Crushed Oreos | Cookies and cream |
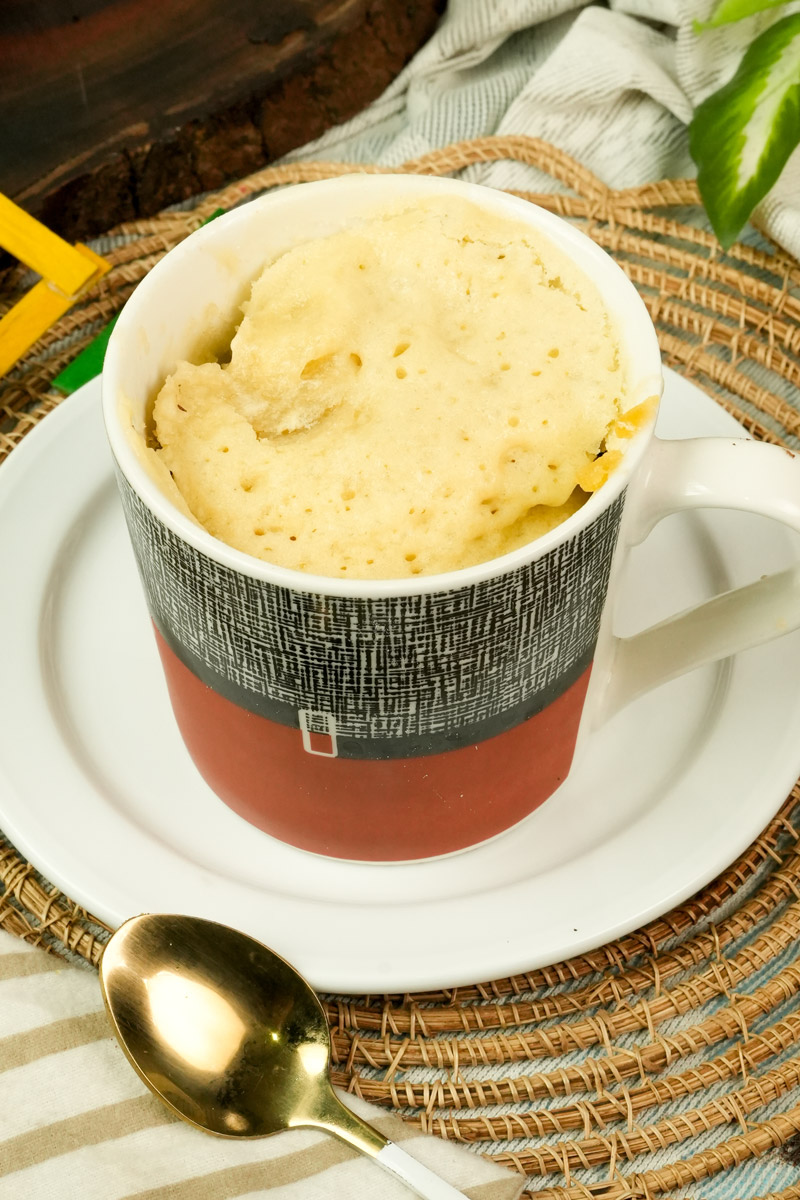
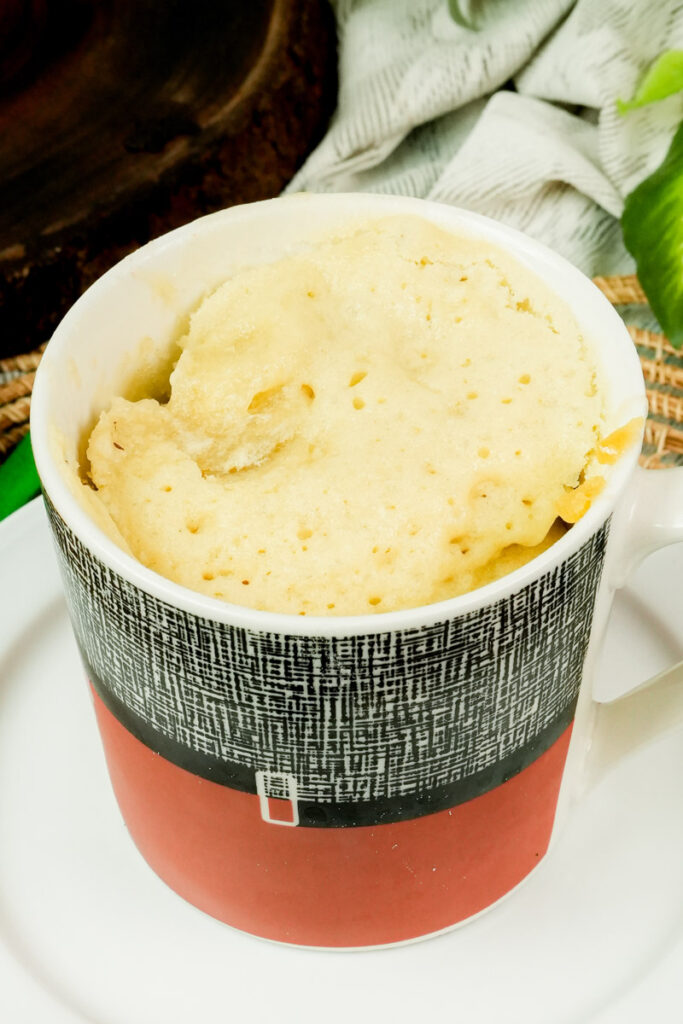
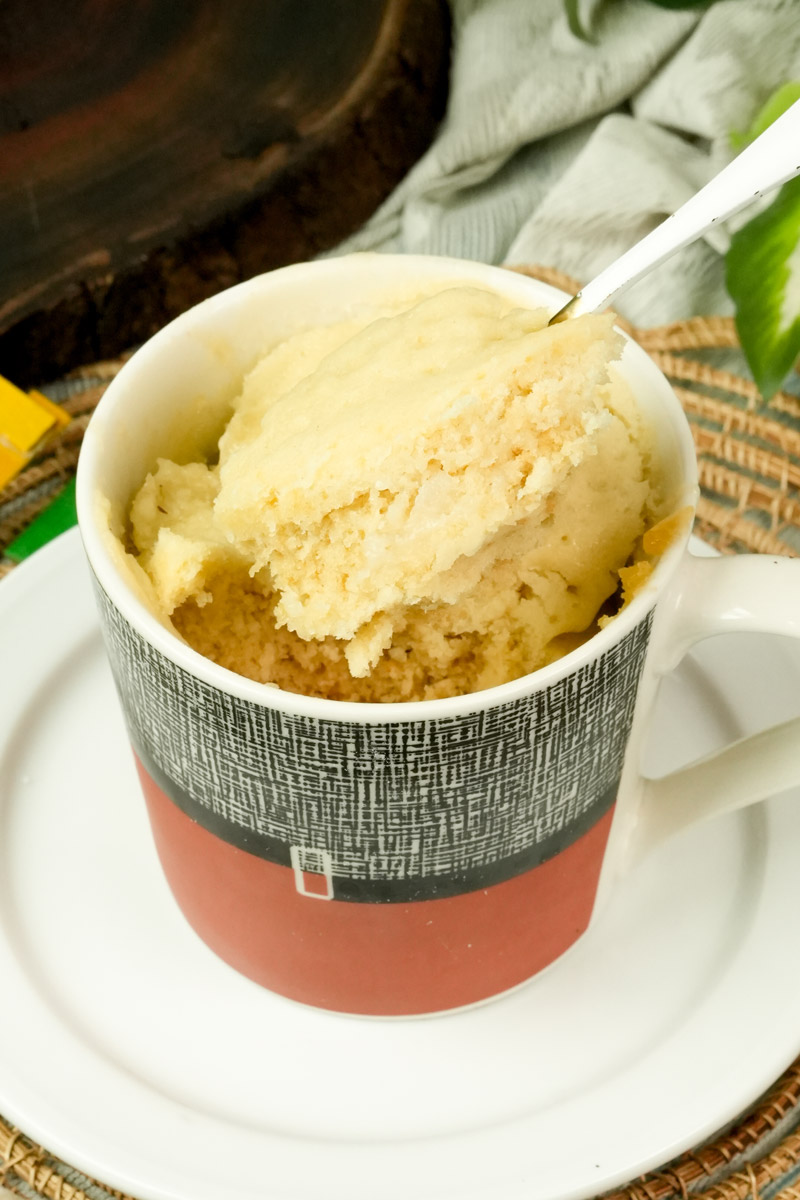
Vanilla Mug Cake
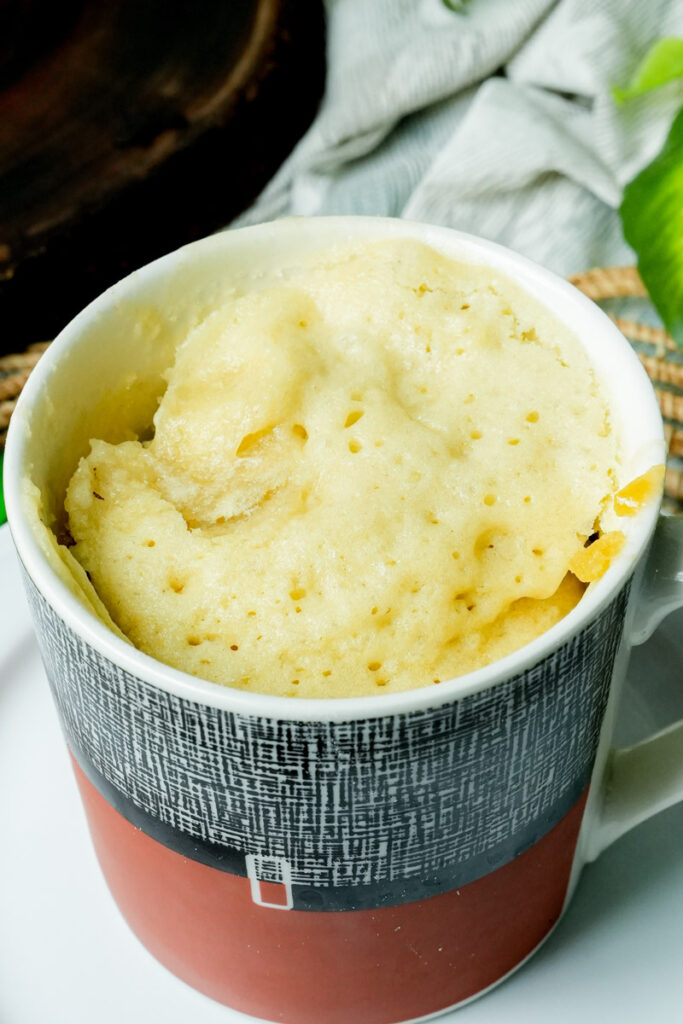
If you need a sweet treat right now, this is the answer. It’s a soft, buttery vanilla cake that cooks in your microwave in about 90 seconds. Unlike those rubbery mug cakes from the past, this egg-free version stays moist and fluffy, just like a real slice of pound cake. It’s the perfect size for one person and uses simple ingredients you already have in your kitchen.
- Prep Time: 5 Minutes
- Cook Time: 2 Minutes
- Total Time: 7 Minutes
- Yield: 1 Serving
- Category: Dessert
- Cuisine: American
Ingredients
The Wet Mix:
- Butter: 2 tablespoons (melted)
- Milk: 1/4 cup (whole milk is best)
- Vanilla Extract: 1 teaspoon
The Dry Mix:
- Sugar: 2 tablespoons (granulated)
- Flour: 1/4 cup (all-purpose)
- Baking Powder: 1/4 teaspoon
- Salt: 1/8 teaspoon (or a small pinch)
Instructions
- Melt it down: Place the butter in a 12-ounce microwave-safe mug. Heat for 20-30 seconds until melted.
- Mix the base: Whisk in the milk, vanilla, and sugar with a fork. Keep stirring until the sugar starts to dissolve.
- Add the lift: Stir in the flour, baking powder, and salt.
- Watch the mix: Stir until the white streaks just disappear. Stop right there! If you mix too much, the cake will turn out tough.
- Bake it: Place your mug slightly off-center in the microwave. Cook on high for 1 minute and 30 seconds.
- The Test: Touch the top lightly. It should feel springy and firm, not wet. If it’s tacky, add 15 more seconds.
- Rest: Let the cake sit in the microwave for 60 seconds before taking it out. This helps the center finish cooking.
Notes
Serving Suggestions:
- The Classic: Top with a big dollop of whipped cream or a scoop of vanilla ice cream.
- The Funfetti: Fold in 1 tablespoon of sprinkles before cooking for a “birthday cake” look.
- The Fruit: Add a spoonful of jam or fresh berries on top after baking.
Tips & Tricks:
- Spoon your flour: Never scoop the flour directly with your measuring cup. It packs it down and makes the cake dry. Spoon it in and level it off with a knife.
- Mug Size: Use a 12-ounce mug to avoid any messy overflows.
- No Egg? Yes! Skipping the egg is the secret to a better, more cake-like texture in the microwave.
Storage & Reheating:
- Eat it fresh: This cake is best enjoyed within 15 minutes. Microwave cakes dry out fast once they cool.
- Leftovers: If you can’t finish it, wrap the top with plastic wrap to keep the moisture in. Reheat for only 5-10 seconds.