I have a confession. Most nights around 9:00 PM, I get a massive craving for something sweet. I don’t want to bake a whole batch of cookies. I definitely don’t want to wash a mountain of bowls.
I recently tried to find a quick fix that didn’t taste like a rubbery sponge. That is how I found this vegan chocolate mug cake. It is a total lifesaver. It is warm, gooey, and ready in under five minutes.
Think of this as your “emergency dessert.” It uses basic stuff you already have in your pantry. No eggs. No butter. No waiting for the oven to heat up. It’s like a warm hug in a cup.
The Quick Stats
Before we start mixing, here is the breakdown of what you’re looking at.
| Feature | Details |
| Prep Time | 2 Minutes |
| Cook Time | 40–60 Seconds |
| Skill Level | Easier than making toast |
| Yield | 1 Big Mug |
| Pro Tip | Don’t cook two mugs at once! |
What You’ll Need
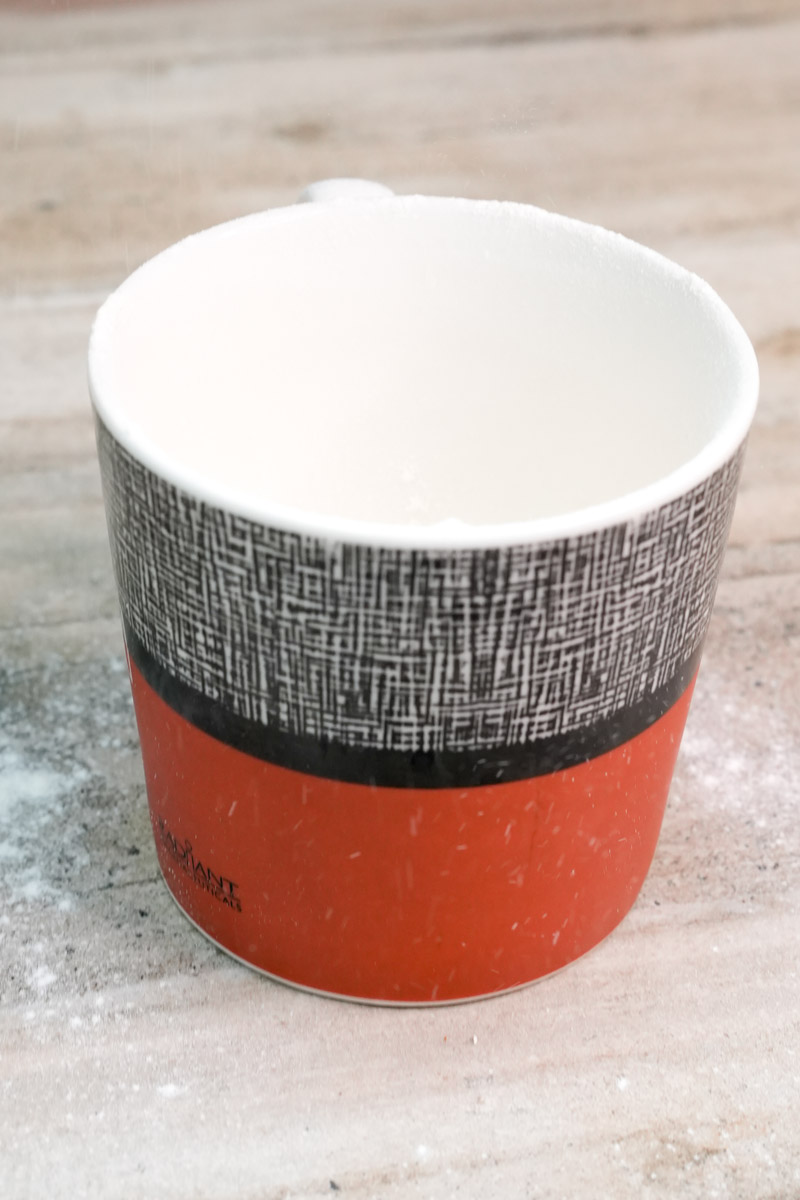
You don’t need fancy tools. Just a standard ceramic mug. Make sure it holds at least 12 ounces. If the mug is too small, you’ll end up with a chocolate volcano in your microwave. Trust me, I’ve cleaned that mess up before. It’s not fun.
The Dry Stuff:
- All-purpose flour: 2 tablespoons (level it off with a knife)
- Sugar: 2 tablespoons
- Unsweetened cocoa powder: 2 tablespoons
- Baking powder: 1/4 teaspoon
- Salt: 1/8 teaspoon (this makes the chocolate taste way better)
The Wet Stuff:
- Non-dairy milk: 3 tablespoons (oat or soy works best)
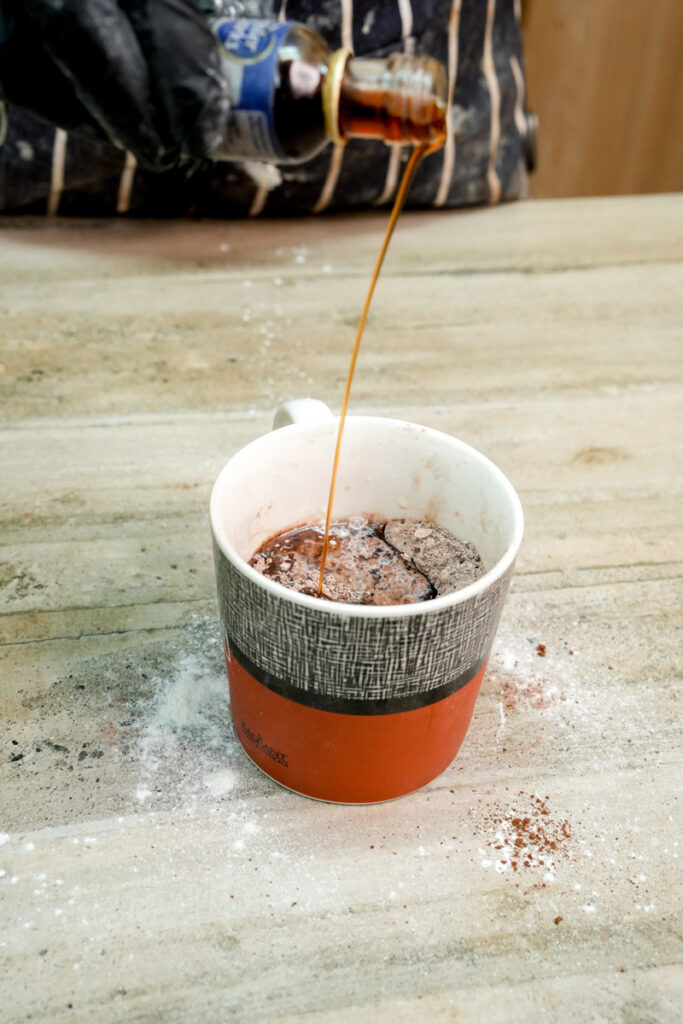
- Oil: 1 tablespoon (canola or melted coconut oil)
- Vanilla extract: 1/2 teaspoon
The Fun Stuff:
- Dairy-free chocolate chips: 2 tablespoons

Can I Swap This?
Sometimes the pantry is bare. Don’t panic. Here is a quick guide for substitutions.
| If you don’t have… | Use this instead… |
| All-Purpose Flour | Oat flour or GF 1:1 blend |
| Granulated Sugar | Brown sugar or coconut sugar |
| Canola Oil | Applesauce or avocado oil |
| Soy/Oat Milk | Cashew milk or even water |
Let’s Make It (Step-by-Step)
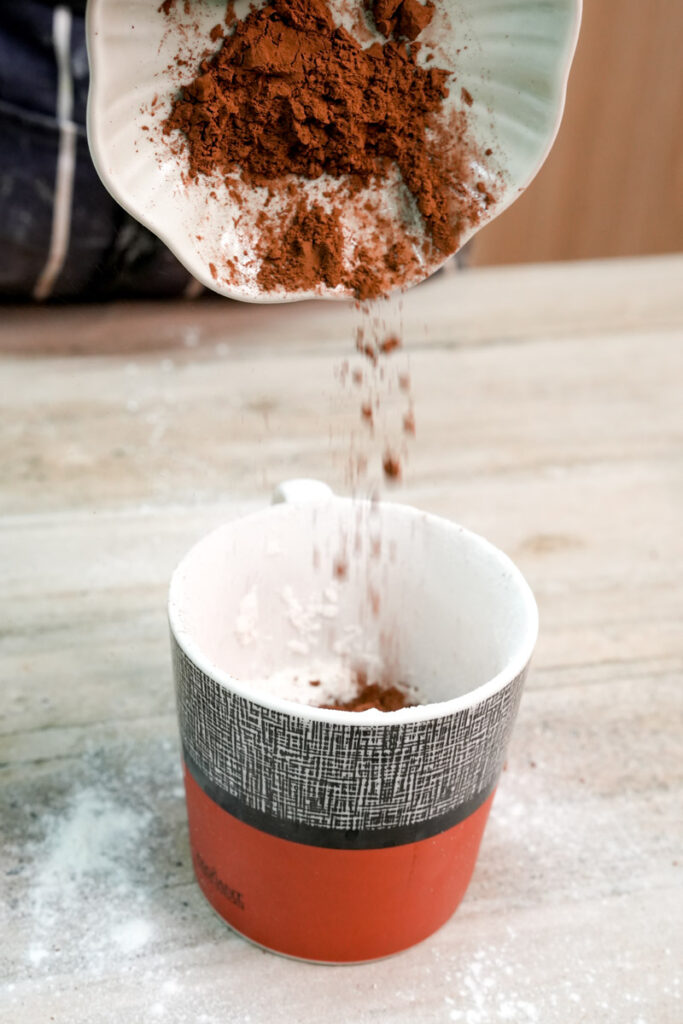
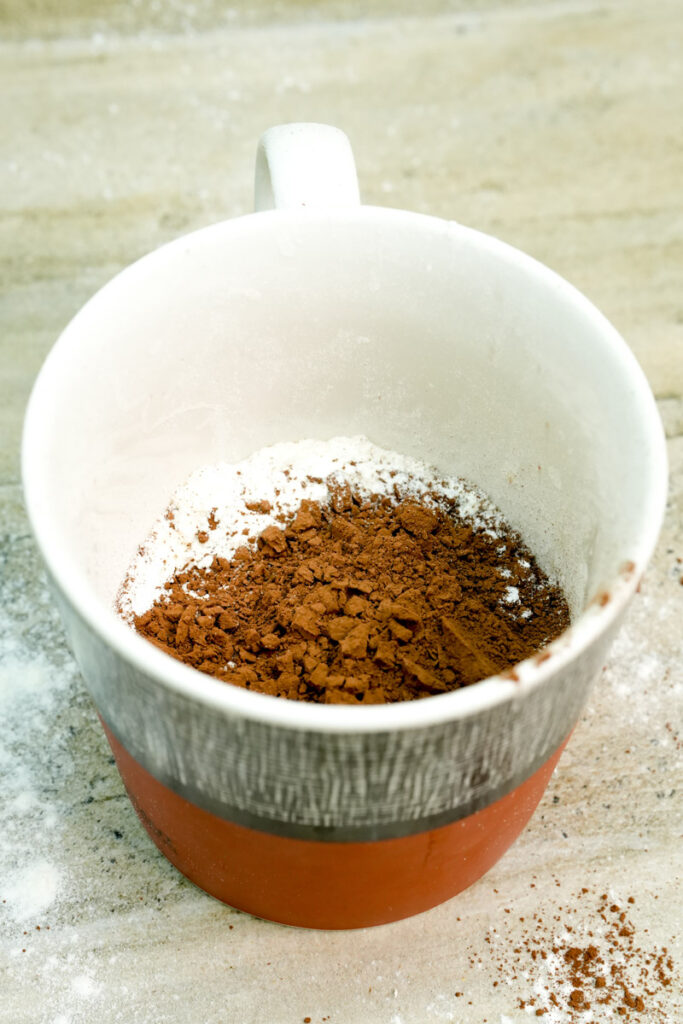
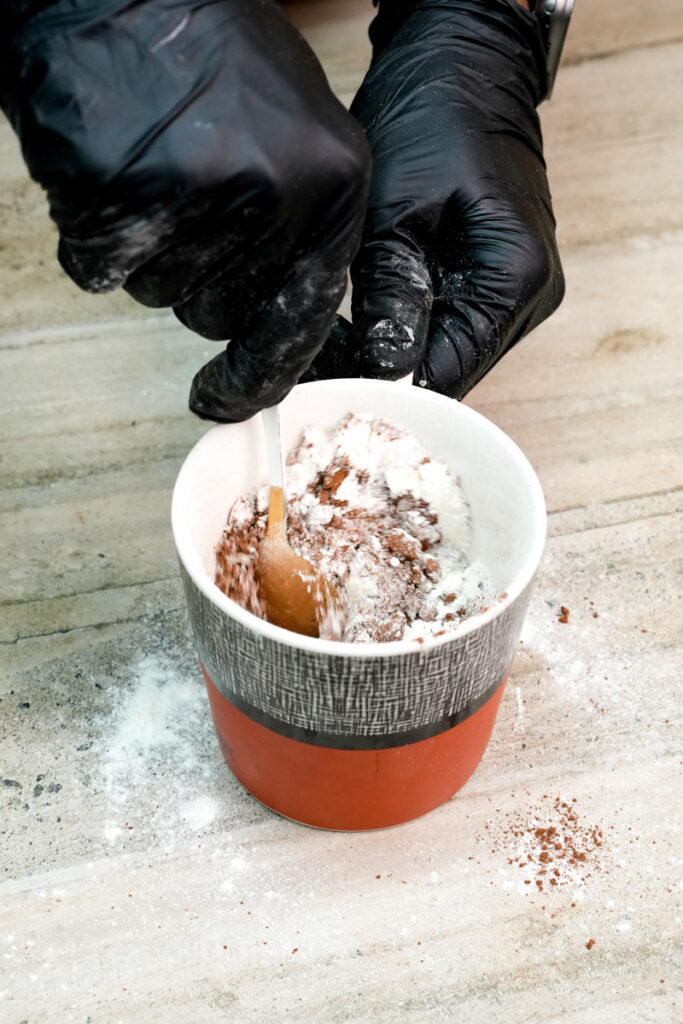
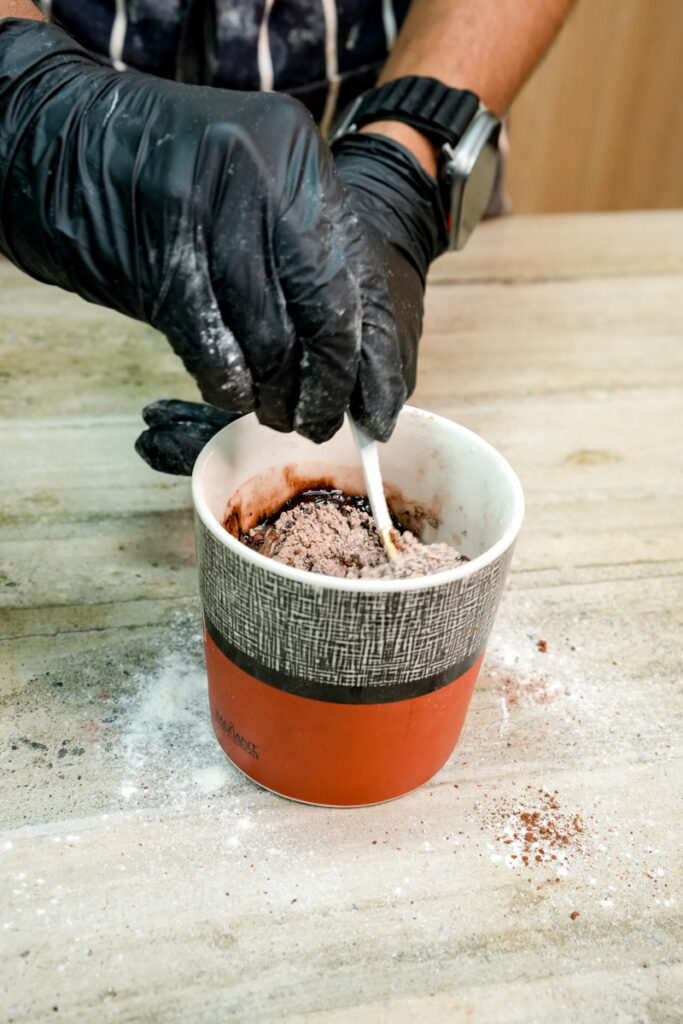
Step 1: Mix the dry bits.
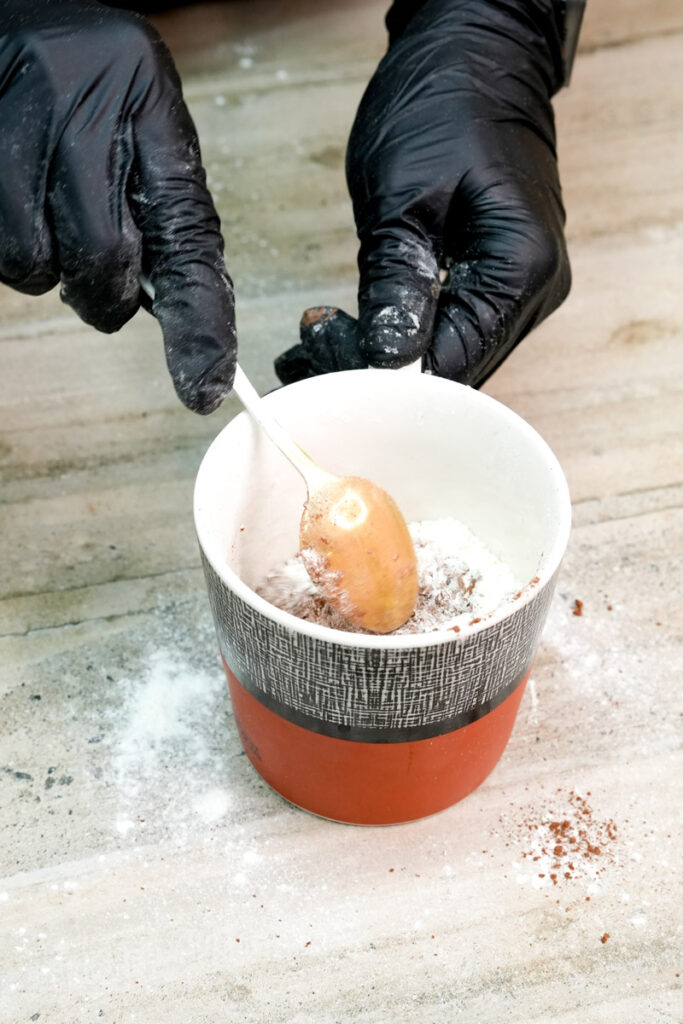
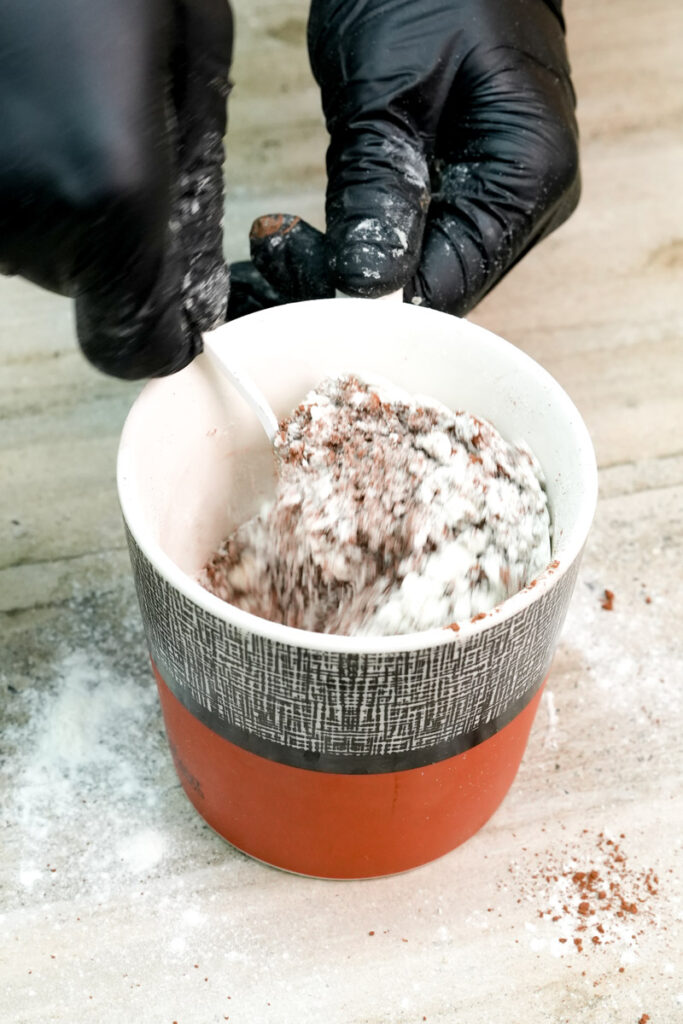
Grab your mug. Throw in the flour, sugar, cocoa, baking powder, and salt. Use a fork to whisk it. Make sure you get into the bottom edges of the mug. You don’t want a clump of dry flour waiting for you at the end.
Step 2: Make it wet.
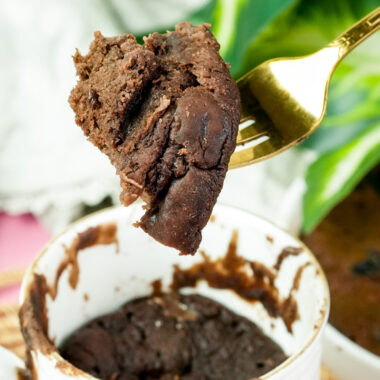
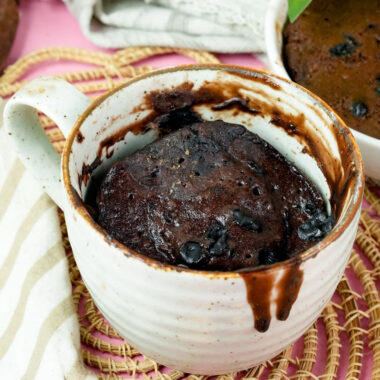
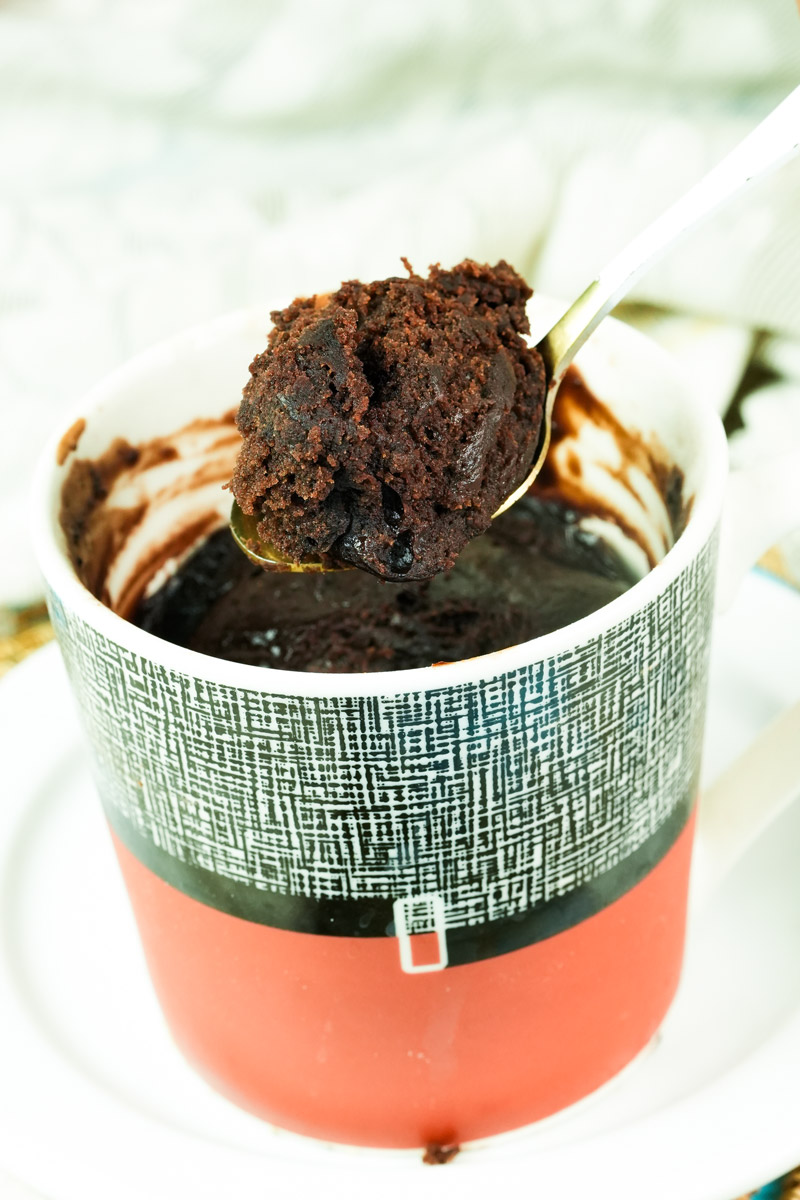
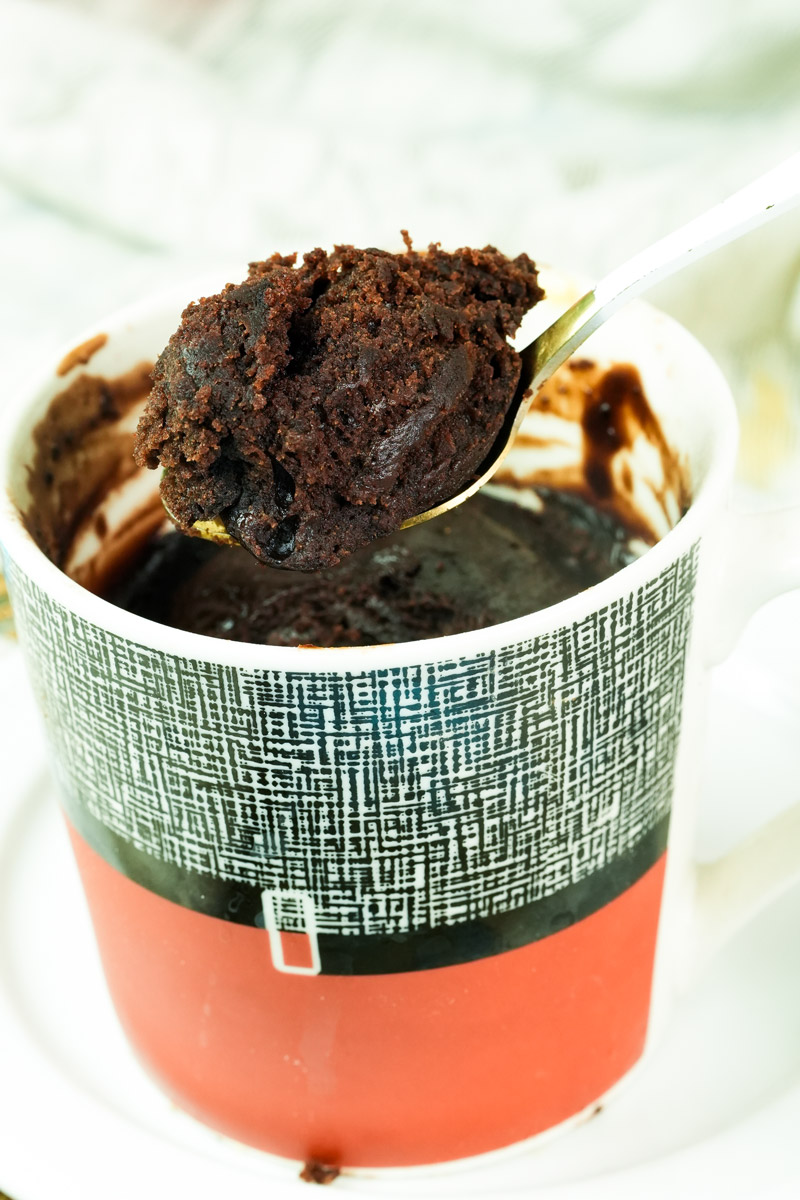
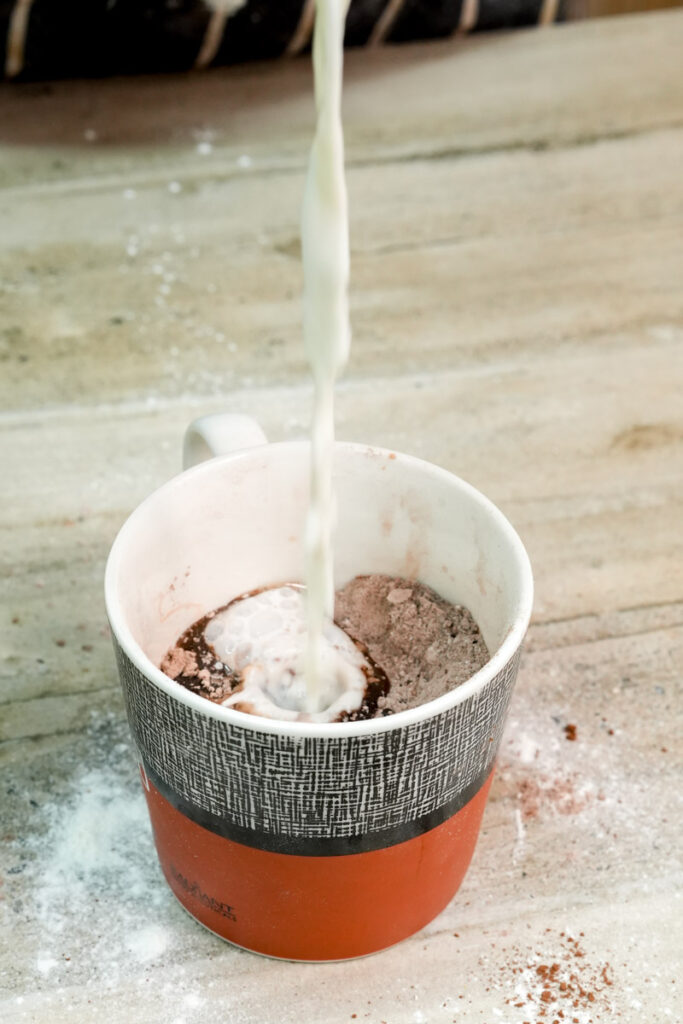
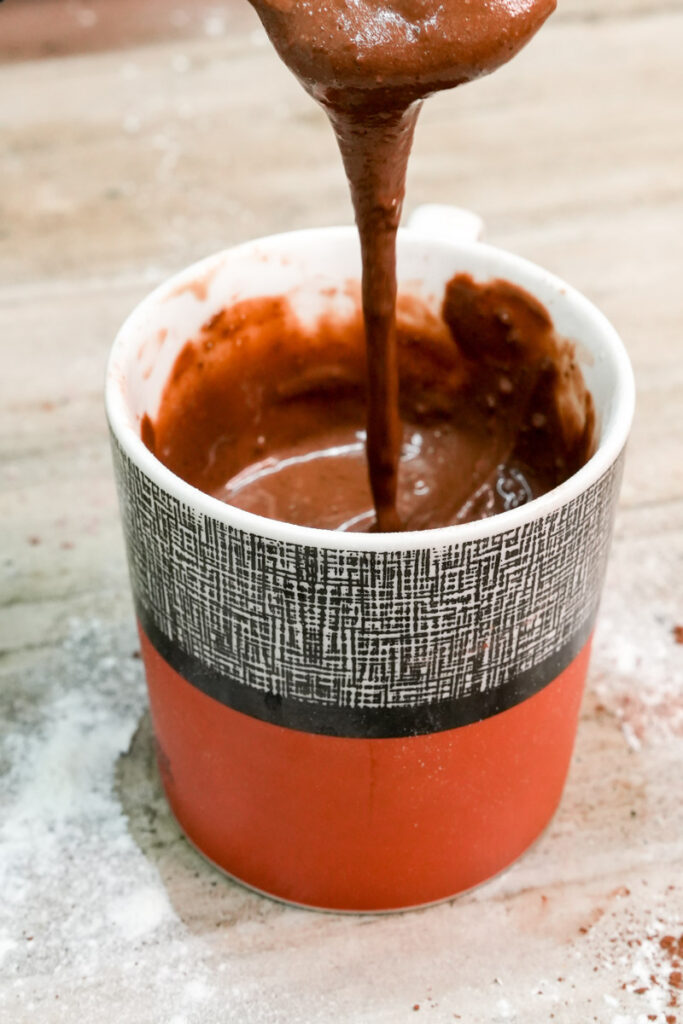
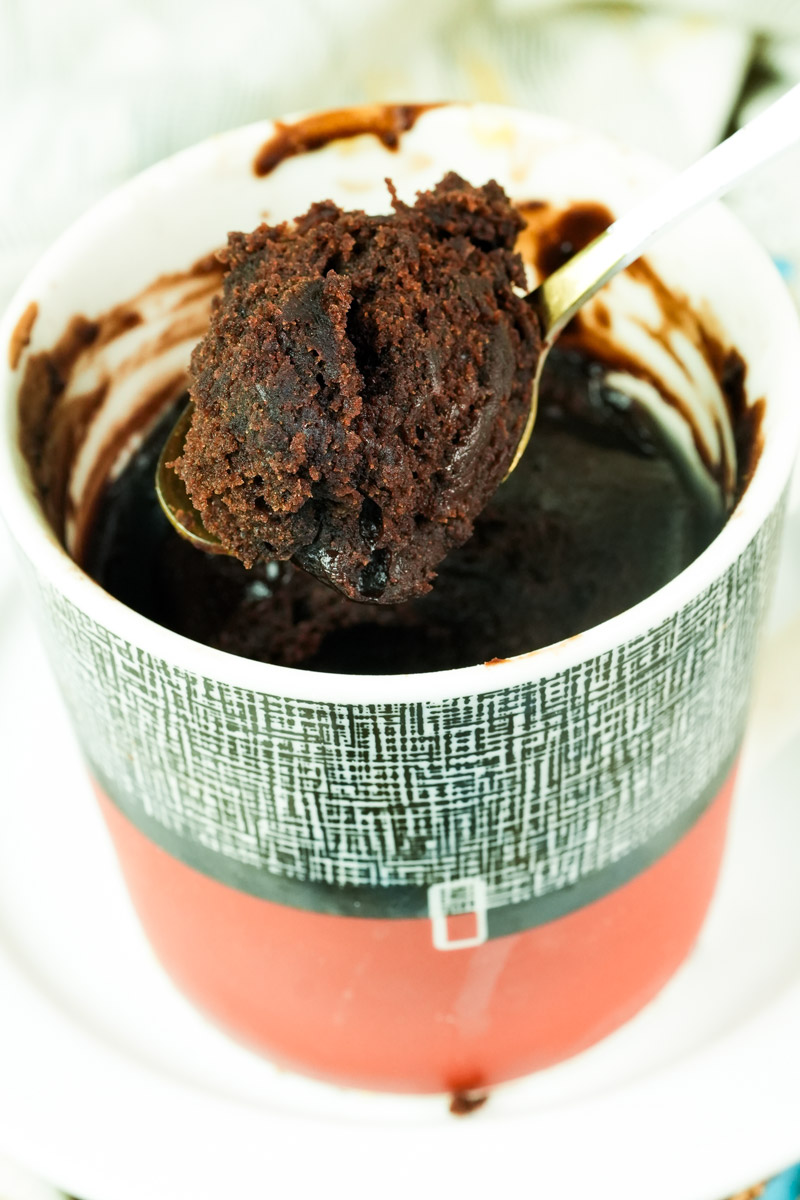
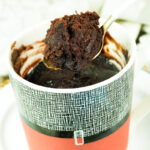
Add your milk, oil, and vanilla. Stir it until it looks like thick chocolate paint. It should be smooth and glossy. Now, stir in those chocolate chips. I like to push a few into the middle of the batter. It creates a “lava” center.
Step 3: Zap it.
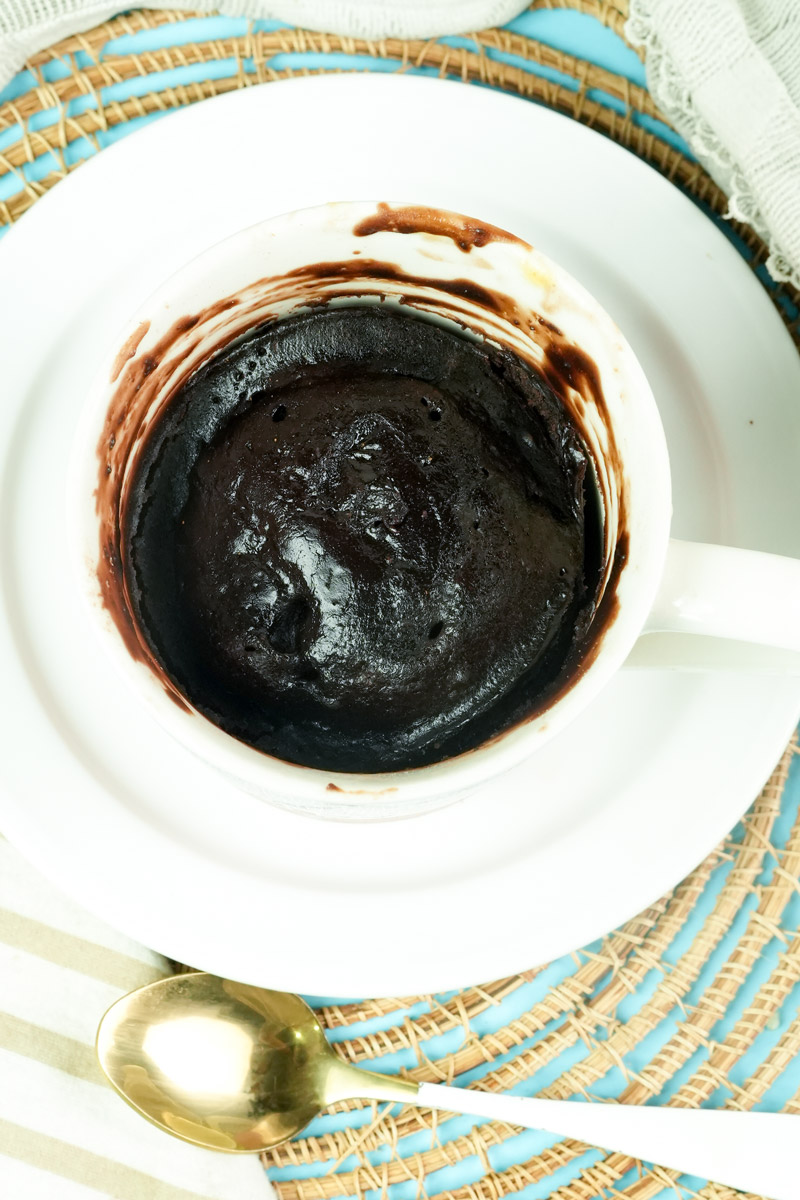
Put the mug in the microwave. Start with 40 seconds.
The center should still look a little wet. That’s a good thing! If you overcook it, it turns into a hockey puck. If it needs more time, give it 10 more seconds. If you smell toasted chocolate, it’s done.
Make It Your Own
The best part? You can play with the flavors.
- The Spicy One: Add a pinch of cinnamon and a tiny bit of cayenne.
- The PB Lover: Drop a big spoonful of peanut butter right in the center before you cook it.
- The Fruit Fix: Toss in some dried cherries or a spoonful of jam.
Serving and Storing
You could eat this while standing over the sink. I’ve done it. But if you want to be fancy, add a scoop of vegan vanilla ice cream. The way the cold cream melts into the hot cake is pure magic.
As for leftovers? Honestly, there probably won’t be any. If there are, just cover the mug. It stays okay for about a day. When you want to eat it again, splash a tiny bit of water on top and microwave for 10 seconds. It helps bring the moisture back.
PrintVegan Chocolate Mug Cake
This is the ultimate “emergency dessert” for those late-night cravings. It’s a warm, fudgy, and decadent chocolate cake made right in your favorite mug. No eggs, no dairy, and zero mountain of dishes. It’s basically a chocolate hug in a cup that’s ready before your favorite show finishes its intro.
- Prep Time: 2 Minutes
- Cook Time: 45 Seconds
- Total Time: Under 3 Minutes
- Yield: 1 Mug
- Category: Dessert
- Cuisine: American
Ingredients
The Dry Base:
- All-purpose flour: 2 tablespoons (level it off with a knife)
- Granulated sugar: 2 tablespoons
- Unsweetened cocoa powder: 2 tablespoons
- Baking powder: 1/4 teaspoon
- Salt: 1/8 teaspoon (don’t skip—it makes the chocolate pop!)
The Wet Mix:
- Non-dairy milk: 3 tablespoons (oat or soy are great)
- Oil: 1 tablespoon (canola or melted coconut oil)
- Vanilla extract: 1/2 teaspoon
The Gooey Center:
- Dairy-free chocolate chips: 2 tablespoons
Instructions
- Whisk the Dry Bits: Grab a 12oz microwave-safe mug. Toss in the flour, cocoa, sugar, baking powder, and salt. Give it a good whisk with a fork. Make sure you dig into the bottom corners so no dry flour is left hiding.
- Add the Wet Mix: Pour in your plant milk, oil, and vanilla. Stir gently until it looks like thick, glossy chocolate ribbons.
- The Secret Step: Stir in your chocolate chips. I like to push a few down into the center with my finger. This creates those “lava” pockets we love.
- Microwave: Pop the mug in the microwave for 40 to 60 seconds.
- Check for Done: At 40 seconds, the top should look slightly shiny and wet. Stop there for a fudgy texture. If you want it more like a traditional cake, give it another 10–20 seconds.
Notes
Serving Suggestions:
- Top with a scoop of vegan vanilla ice cream while it’s still hot.
- Add a dollop of coconut whipped cream and fresh raspberries.
- Pro Move: Drop a spoonful of peanut butter in the middle before cooking.
Expert Tips:
- Don’t overcook it! A mug cake keeps cooking for a minute after it’s out. If it looks “perfect” in the microwave, it might be dry by the time you eat it.
- The Mug Matters: Use a standard 12oz mug. Anything smaller might overflow and make a mess of your microwave.
Storage & Reheating:
- Best enjoyed fresh. Mug cakes can get firm as they cool.
- If you have leftovers, cover the mug with wrap. It stays fine at room temp for 24 hours.
- To reheat, zap it for 10 seconds with a tiny splash of water on top to bring the moisture back.